 Stephen Holdaway
With the number of negatives I've scanned, manually cropping each and every one image down to the exposed part of the film is pretty tedious. Over the last couple of days I've been hacking together a solution for taking a scanned negative from Adobe Lightroom, detecting the bounds of the exposure using OpenCV, and pushing that crop information back into Lightroom.
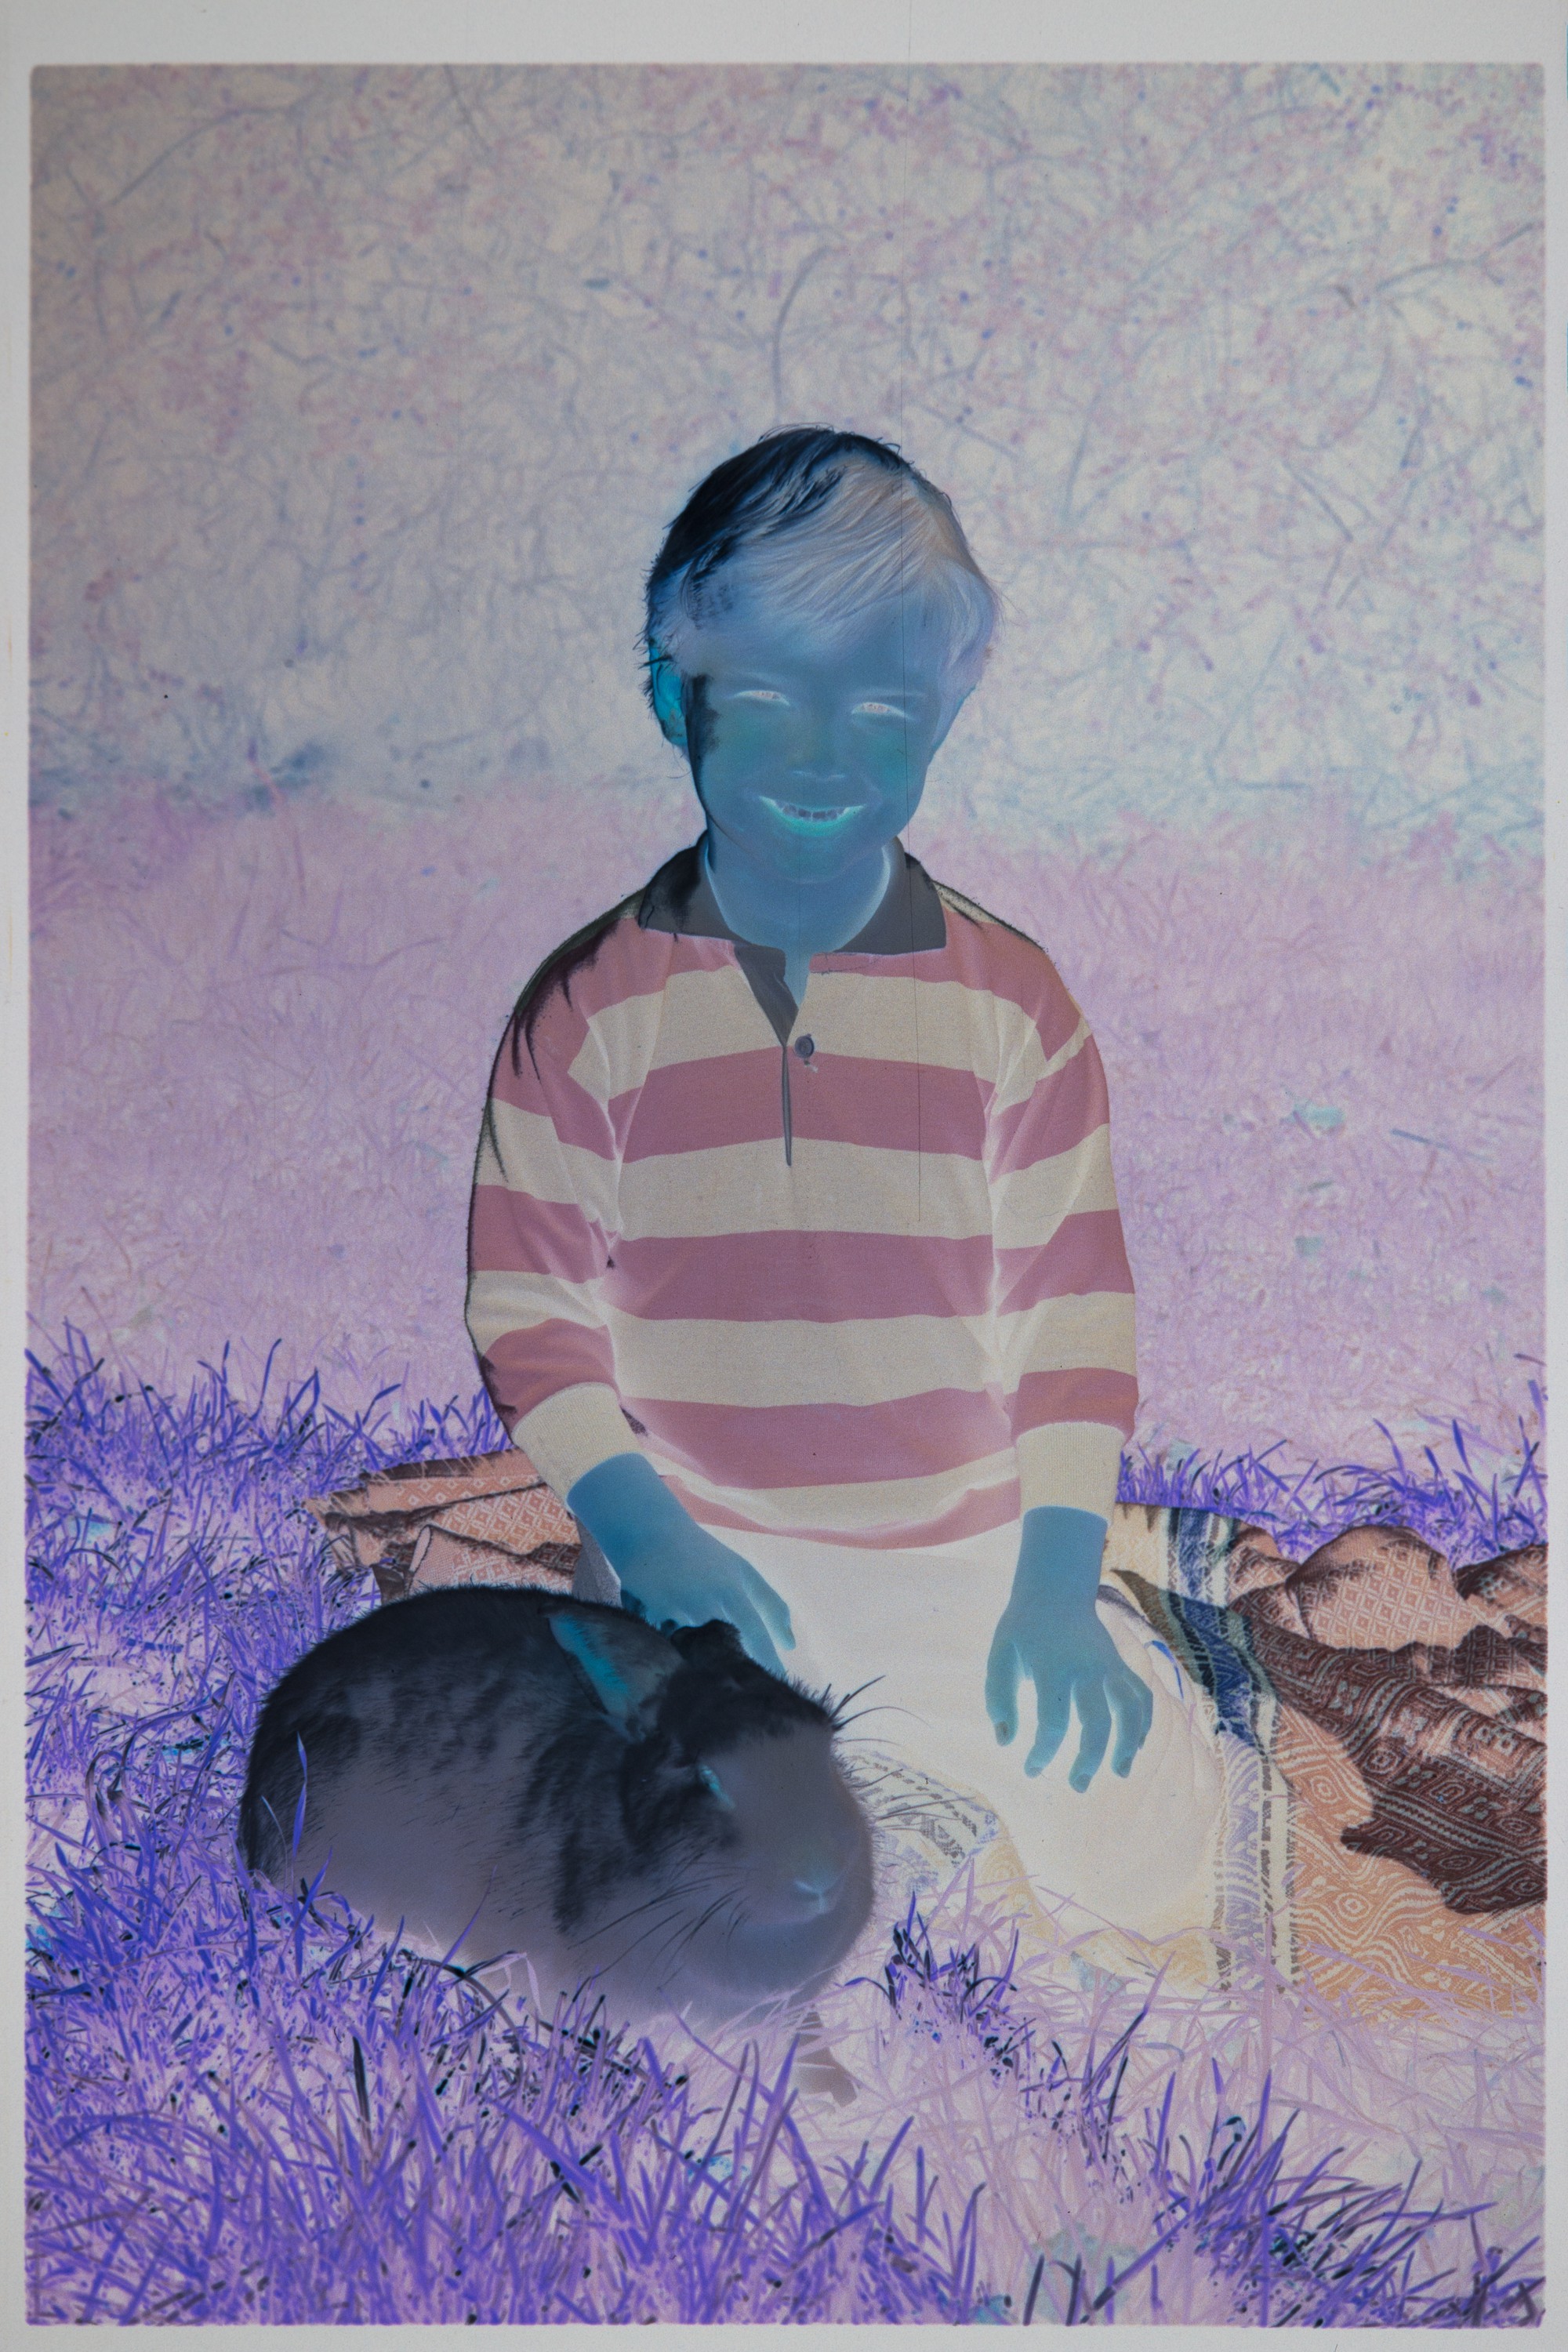
This is a fairly straight forward image processing problem, as most images have an obvious edge between the unexposed film and the exposed part. I chucked together a script in Python that uses a simple brightness threshold to look for this:
 |
 |
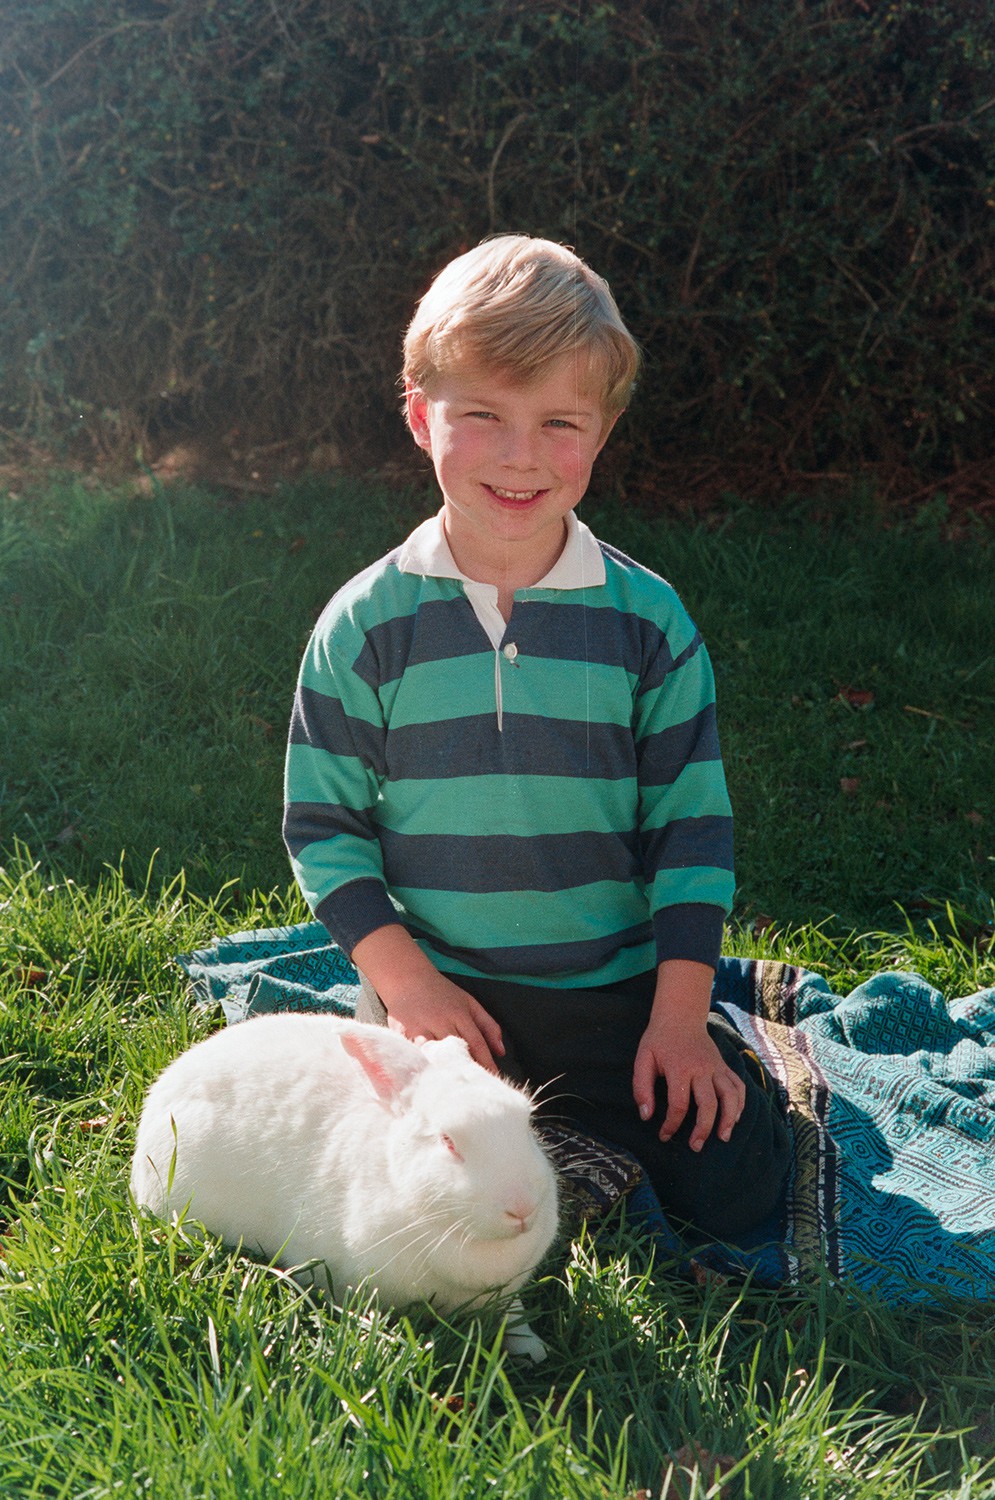
Once the bounds of the frame are known, there's a few small adjustments to improve it. The edge is inset slightly to make sure the crop doesn't contain any (partly) unexposed film, and the crop rectangle is adjusted to have an exact 3:2 aspect ratio. Once that's done, there's a bit of fiddling to turn it into four 0.0 - 1.0 range edge offsets that Lightroom understands.
 |  |
Writing a Lightroom plugin to glue this together was a gigantic pain as the Lua API for Lightroom is poorly documented, and its plugin system is designed only for export plugins (eg. posting to a new social network), but the result was worth it:
The detection process I have at the moment works on most images, but as it looks for the biggest single blob/contour, it fails on images with over or under exposed parts that cross the full width or height of the frame. I'm looking at running a few different passes to resolve this. Underexposed images don't process very well as they have low (or no) contrast between the exposure and the rest of the film.
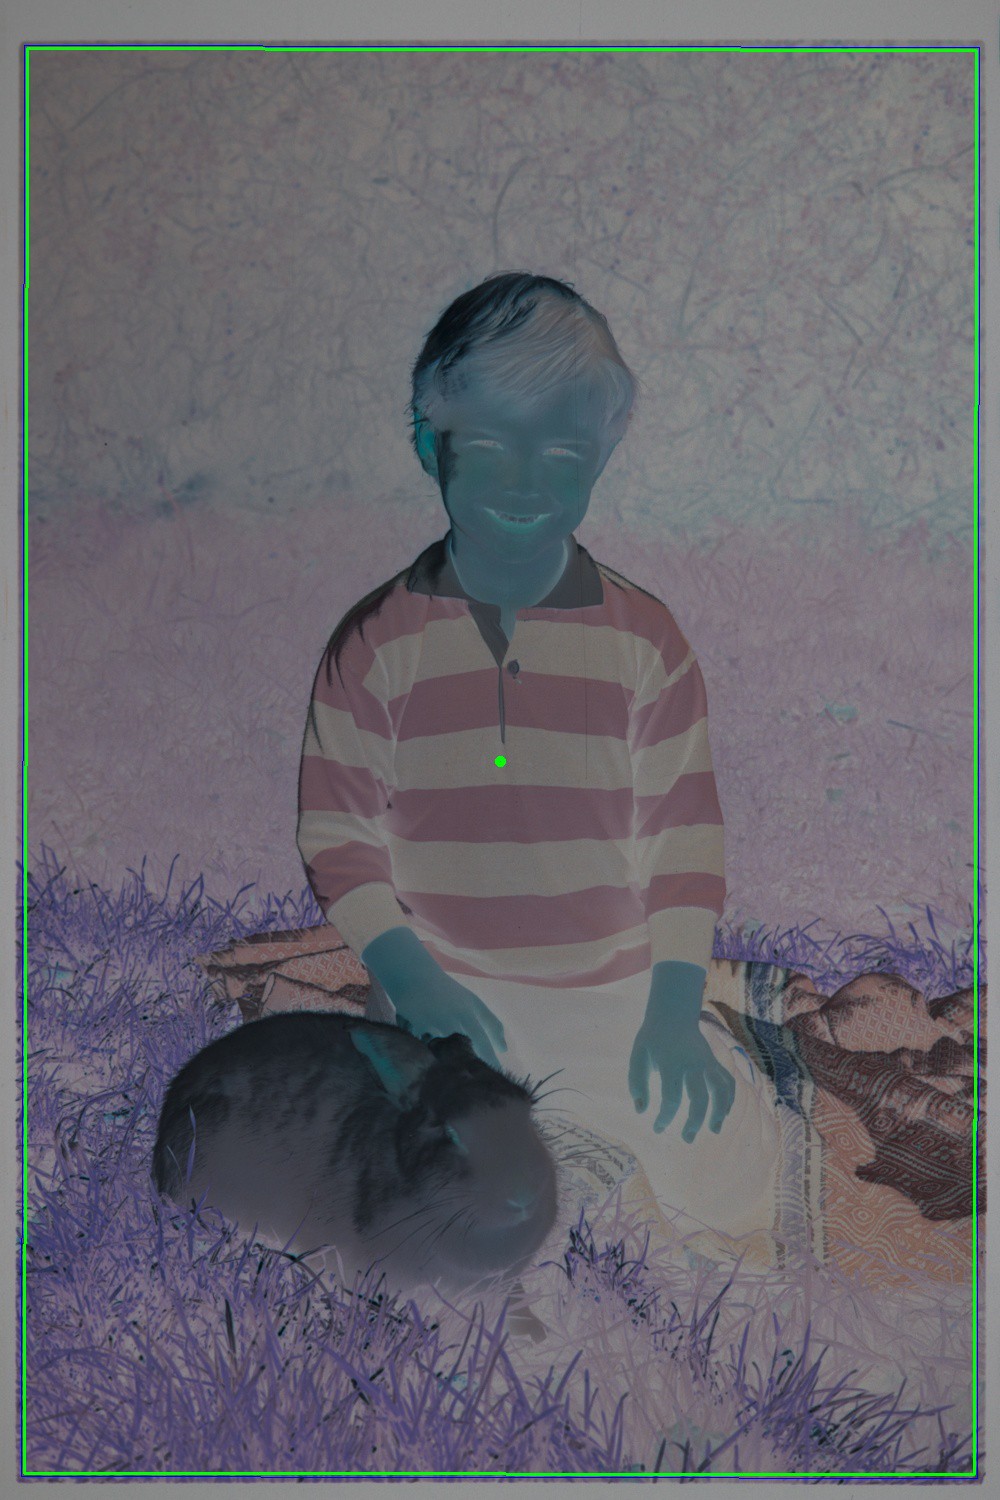
Currently the resulting crop is the median of all rectangles over a minimum size. These are the green rectangles in the gifs above (the red rectangles are too small and are ignored).
To prevent light shining through sprocket holes from affecting the frame, the brightest pixels in the image are masked out during thresholding. The darkest pixels probably also need to be ignored to stop dark marks on the film being included as an edge.
Here's the code at the time of writing.
Discussions
Become a Hackaday.io Member
Create an account to leave a comment. Already have an account? Log In.
Automatic cropping, including a mode specific to color negatives (that works well in batch scenes) is a native feature of Capture One Cultural Heritage Edition (used for things like film scanning) but I could see how this hack could help those who are doing this in Lightroom for whatever reason.
Notably the overall color, tone, profiling, and detail extraction in Capture One is just plain better for this than LightRoom. Also, C1 has a full Applescript Library for those who want to extend it further (see also: https://www.dtcommercialphoto.com/product/dt-building-blocks-applescripts/) which makes it more hacker friendly than LR's very limited plugin structure.
Are you sure? yes | no
Lol. Right. Why doesn't everyone just get C1 Cultural Heritage? Well, maybe because it's $6000 a license, and it still *sucks* for converting color negatives (seriously, it's so bad that the gallery on their website only shows black and white photos). Do a search for "Negative Lab Pro" - its the first thing I've seen that gave me colors as good as my lab. Now with this auto crop script, I have everything I need :)
Are you sure? yes | no
I would love to see that Python script as it's super interesting to me with how little/much effort things like this can be done with the proper software!
Nice progress on your dia scanning!
Are you sure? yes | no
The Python script is hiding at the bottom of the Gist linked at the end of the post:
https://gist.github.com/stecman/91cb5d28d330550a1dc56fa29215cb85#file-detect-py
The image is prepped and iterated in findExposureBounds(), with getRect() turning a threshold value into a rectangle.
The OpenCV stuff is actually pretty straight forward once it's installed. I hadn't used it before, so this is put together from 90% Googling and 10% reading the docs. The hardest part was the slight differences between the 2.x and 3.x OpenCV API and the sometimes ambiguous error messages it gives when a parameter type is wrong.
Are you sure? yes | no