 Jorj Bauer
I had absolutely no intention of posting this on Hackday. It's a small one-day hack (well, two-day, if you count the time waiting for the epoxy to dry) that piggybacks on all the other blinkylight fun I've had. New code? Nope; I'd already abstracted running strings of WS2812s from a Moteino. New technology? Nope; I have little black boxes I build for the WS2812s in my house already. It's purely the aesthetic that's different here.
So on December 2nd, I sat down with my spare parts bin and pulled this thing together.
And of course Hackaday posted a circuit sculpture challenge. On December 4th.
If I were building this *for* a sculpture challenge, I'd probably use the brass rods in my basement to give it more of the rectilinear mid-century look. Maybe it's better that I was just knocking this off as more of a Seussian sculpture.
Anyway - down to business! I don't have many photos of the build itself, but I can describe the process.
I have a lot of WS2812 blinky things in my life, particularly around Christmas. We use them for Christmas tree lights (driven by a Teensy 3.1 and OctoWS2812). We have lights around some of the house windows (on the inside). We have over-cabinet lights in the kitchen. There's the purposeless LED display I built a few years back. I have strings of 2812s around my office windows at work, and around my office door. Clearly, I have no shortage of these things; and last year, while looking for cheap and reliable 2812 strands to augment my supply, I stumbled across this gem - the "CHINLY 93 LEDs 6-ring WS2812 RGB LED Ring".
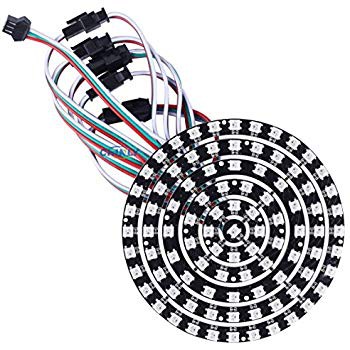
I could easily see how breaking out the rings on a cone-shaped form would make it a tree shape. We spent some family time last year talking about what it would look like, and trying to shape pieces of styrofoam for the form.
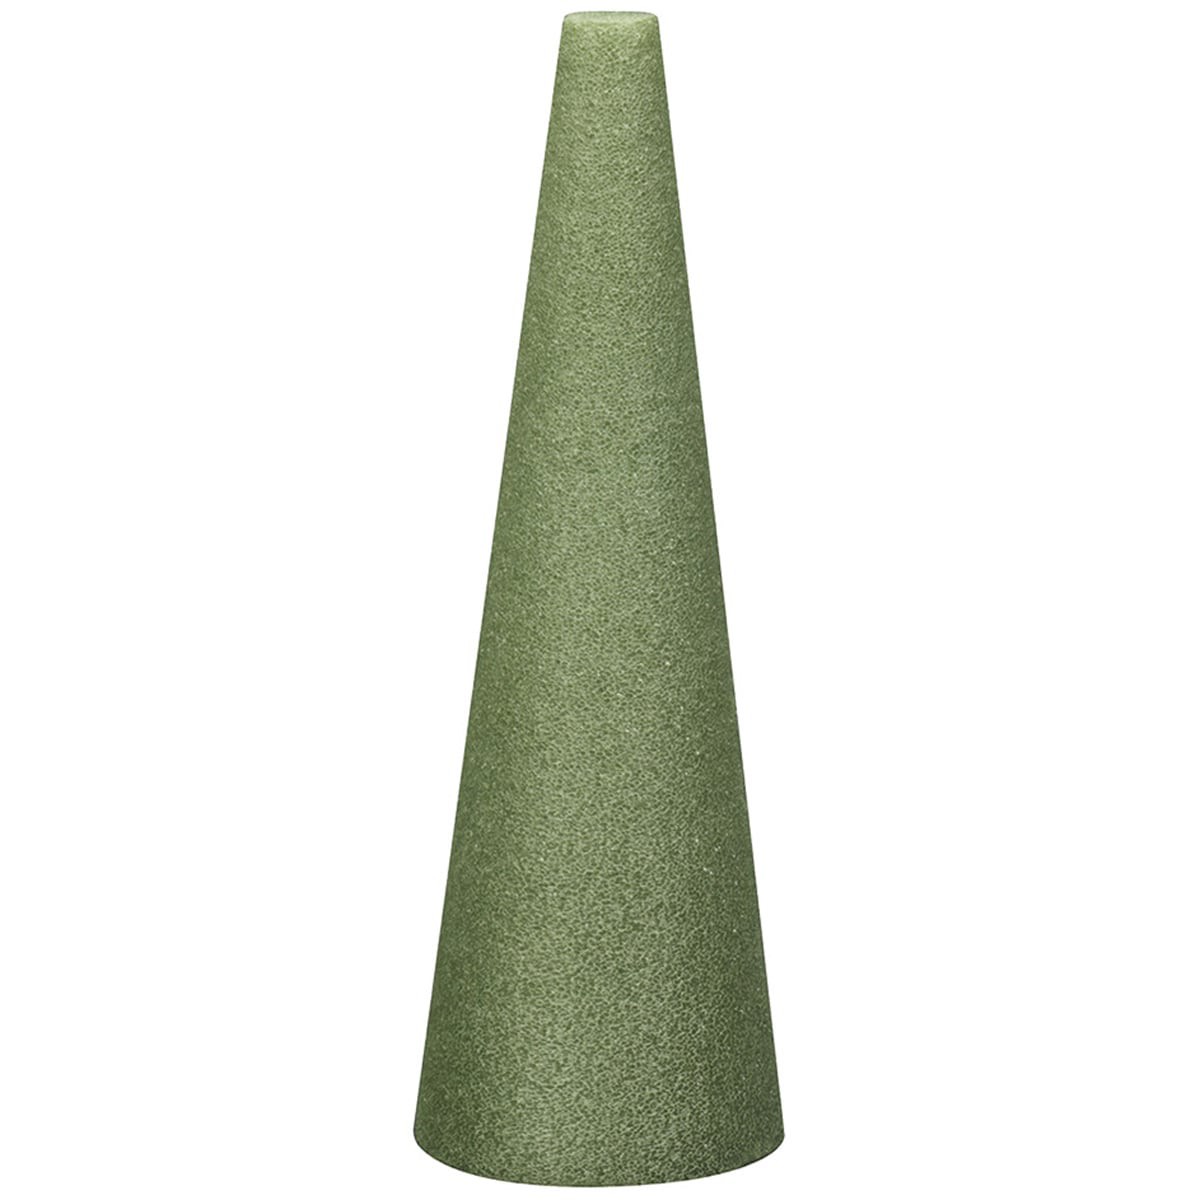
Well, that styrofoam ($3 from Michaels) is the right width at the bottom, the wrong height and angle, and is very hard to shape reliably. After a few failed attempts, I bought a second hunk of foam but shelved the project for the season. So the pieces were ripe for the pickin' this year.
Given that the form had turned out to be the most difficult part, I decided I wanted to *abandon* the form itself. What about making it a floating sculpture, where the rings are just hanging in mid-air? You'd be able to see the far side of the tree, which sounded more appealing to me anyway. No pesky heat issues (unlike the purposeless LED display - let me tell you, putting a pile of LEDs in a glass jar is just not a good idea). No fighting the styrofoam. No building or finding a new form.
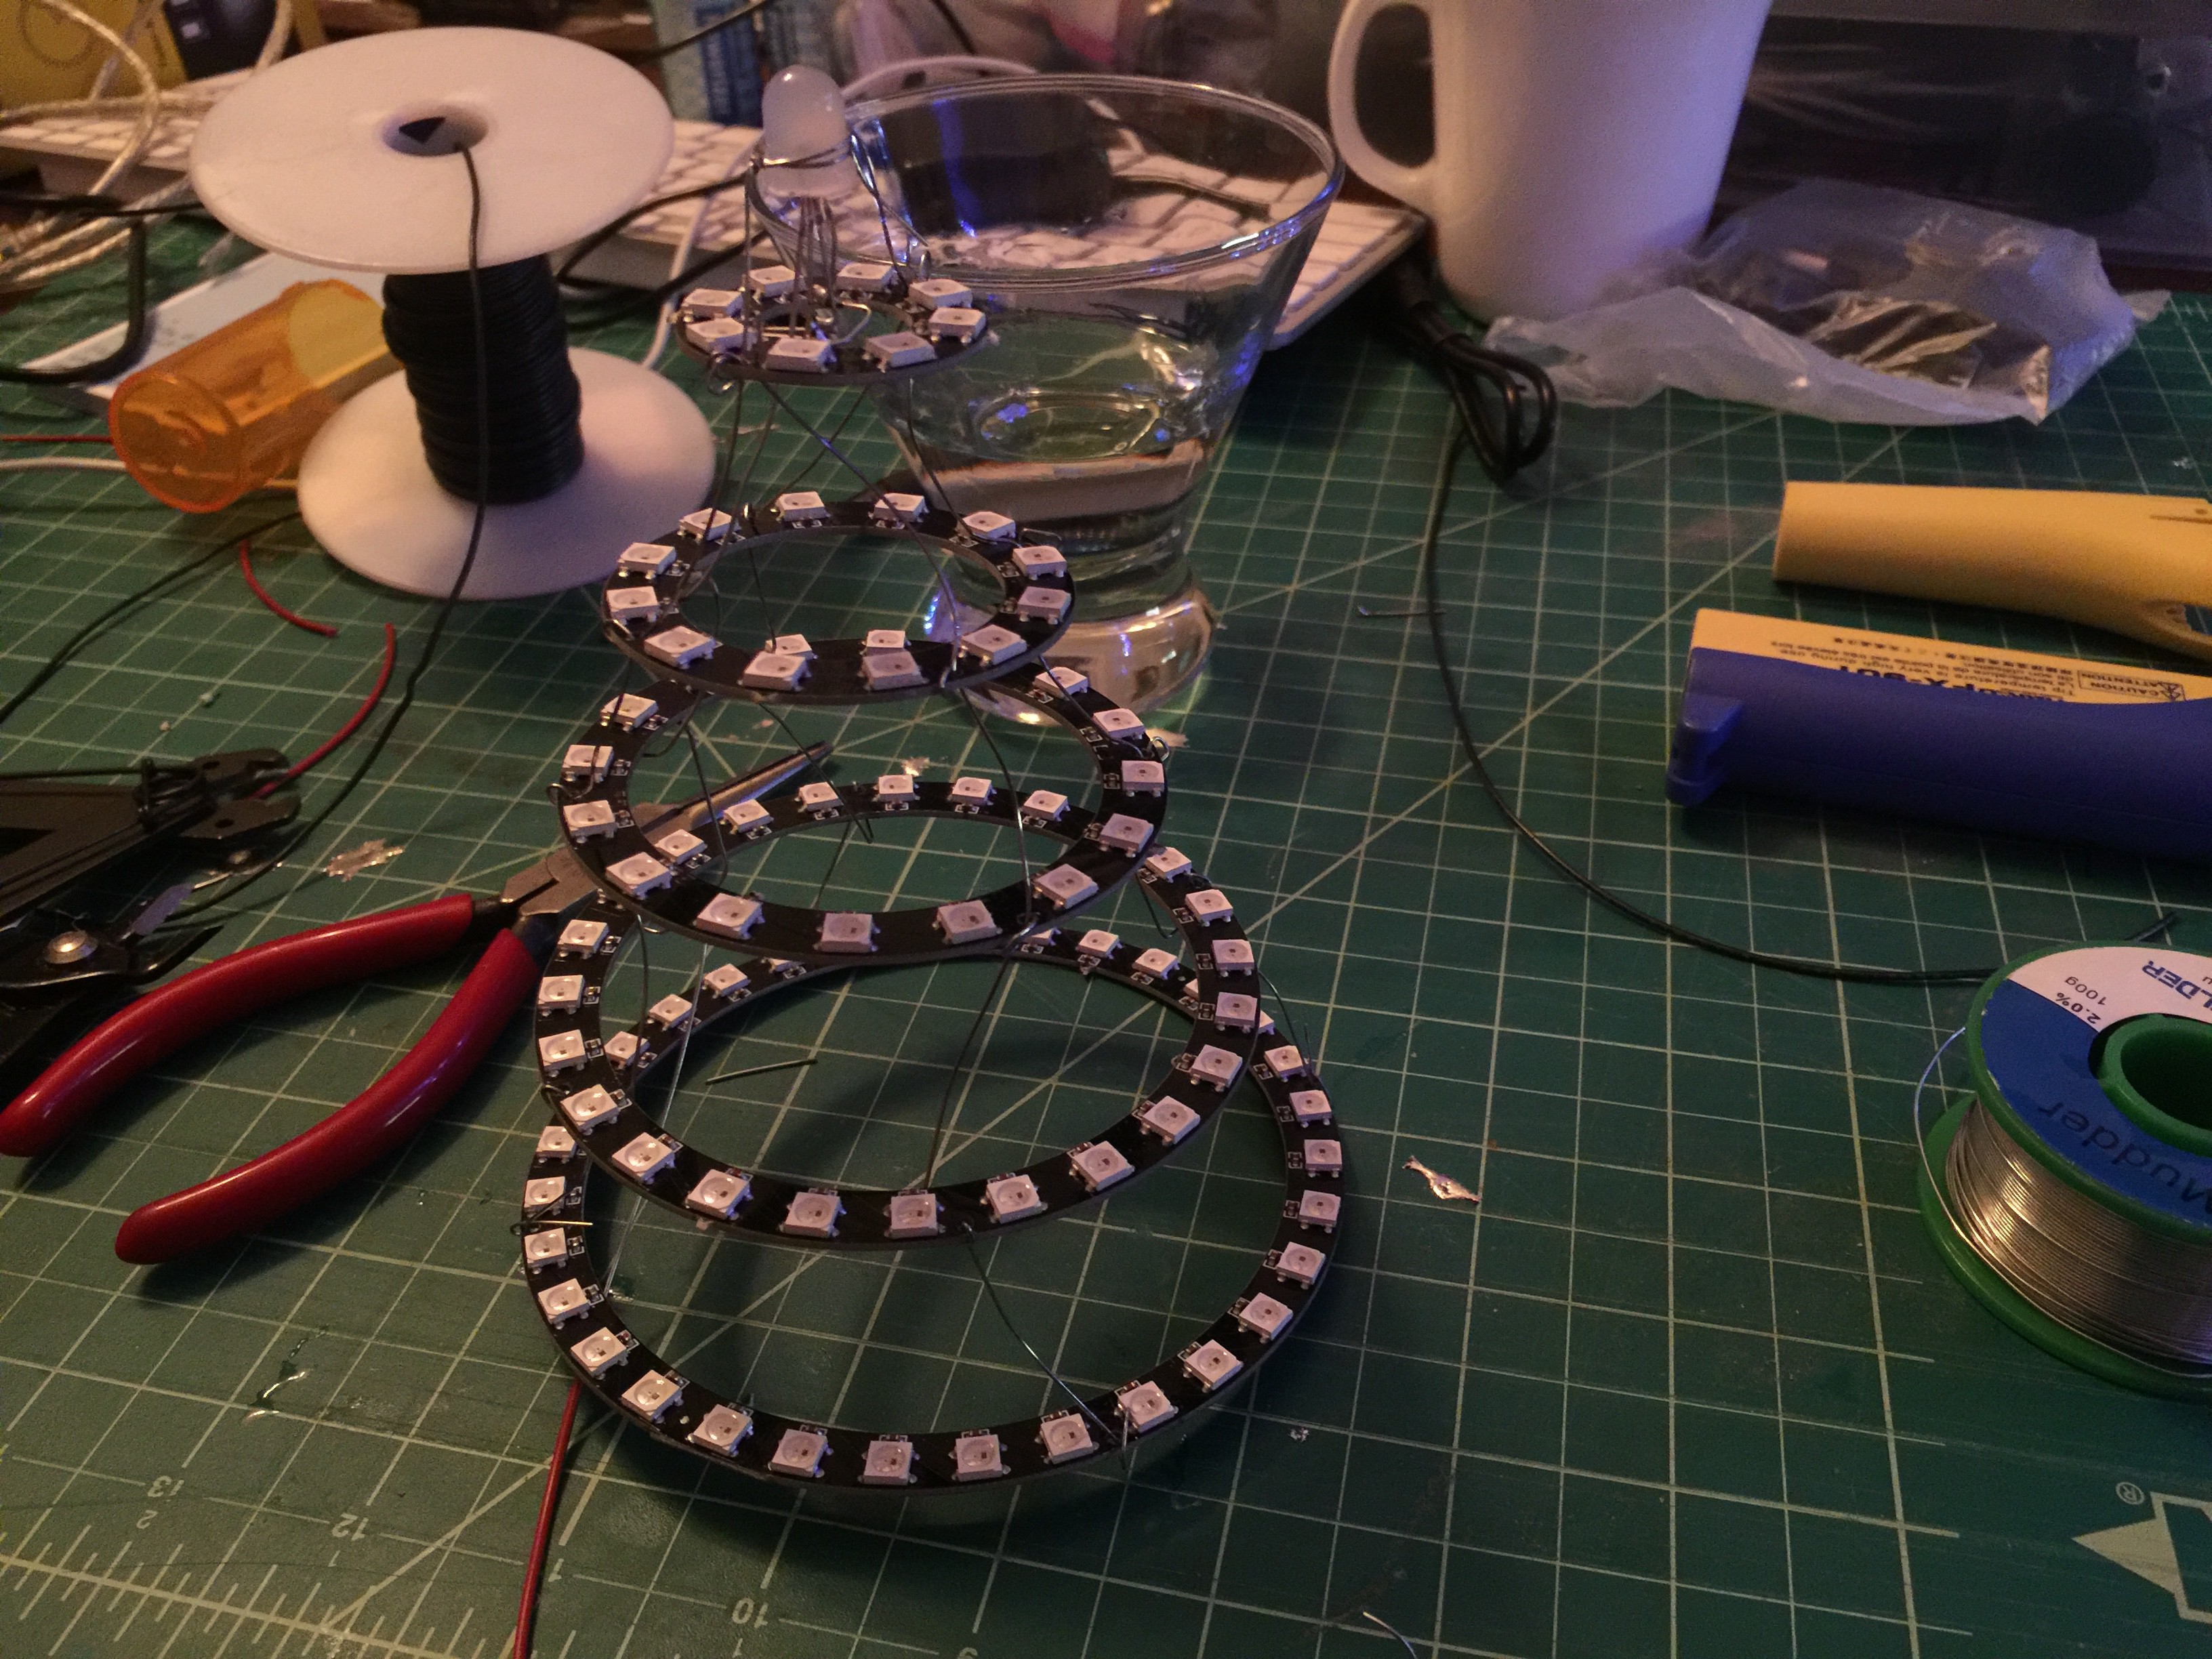
I happen to have several rolls of spring steel in stock in my workshop (I'm tired of saying "in my basement" so let's go with the more pretentious, ok?). One is 20-gauge Malin stainless steel, bought for some amateur radio antenna projects more than a decade ago. I figured that would be a good start here. There are small holes around the edges of the LED rings; you can see above that they're not exactly aligned, but they're close. I pulled the spring steel through each of them and, with much cursing and fussing, looped the spring steel around and back through each for some stability. Of course each time you do this with one, you're upsetting the balance of the next; there's not much structural stability here (effectively you have a little less than one dimension of stability, holding each at the point of inflection but with a lot of compressive wiggle room). This was by far the longest and most tedious part of the build; there's a lot of balancing to be done with each piece of spring steel added. The result is fairly solid, and the steel comes off looking a little like tinsel. At least that's what I tell myself. ;)
I do have this one mid-build photo that shows the misalignment in progress. You can see it's clearly trying to lean to the left...
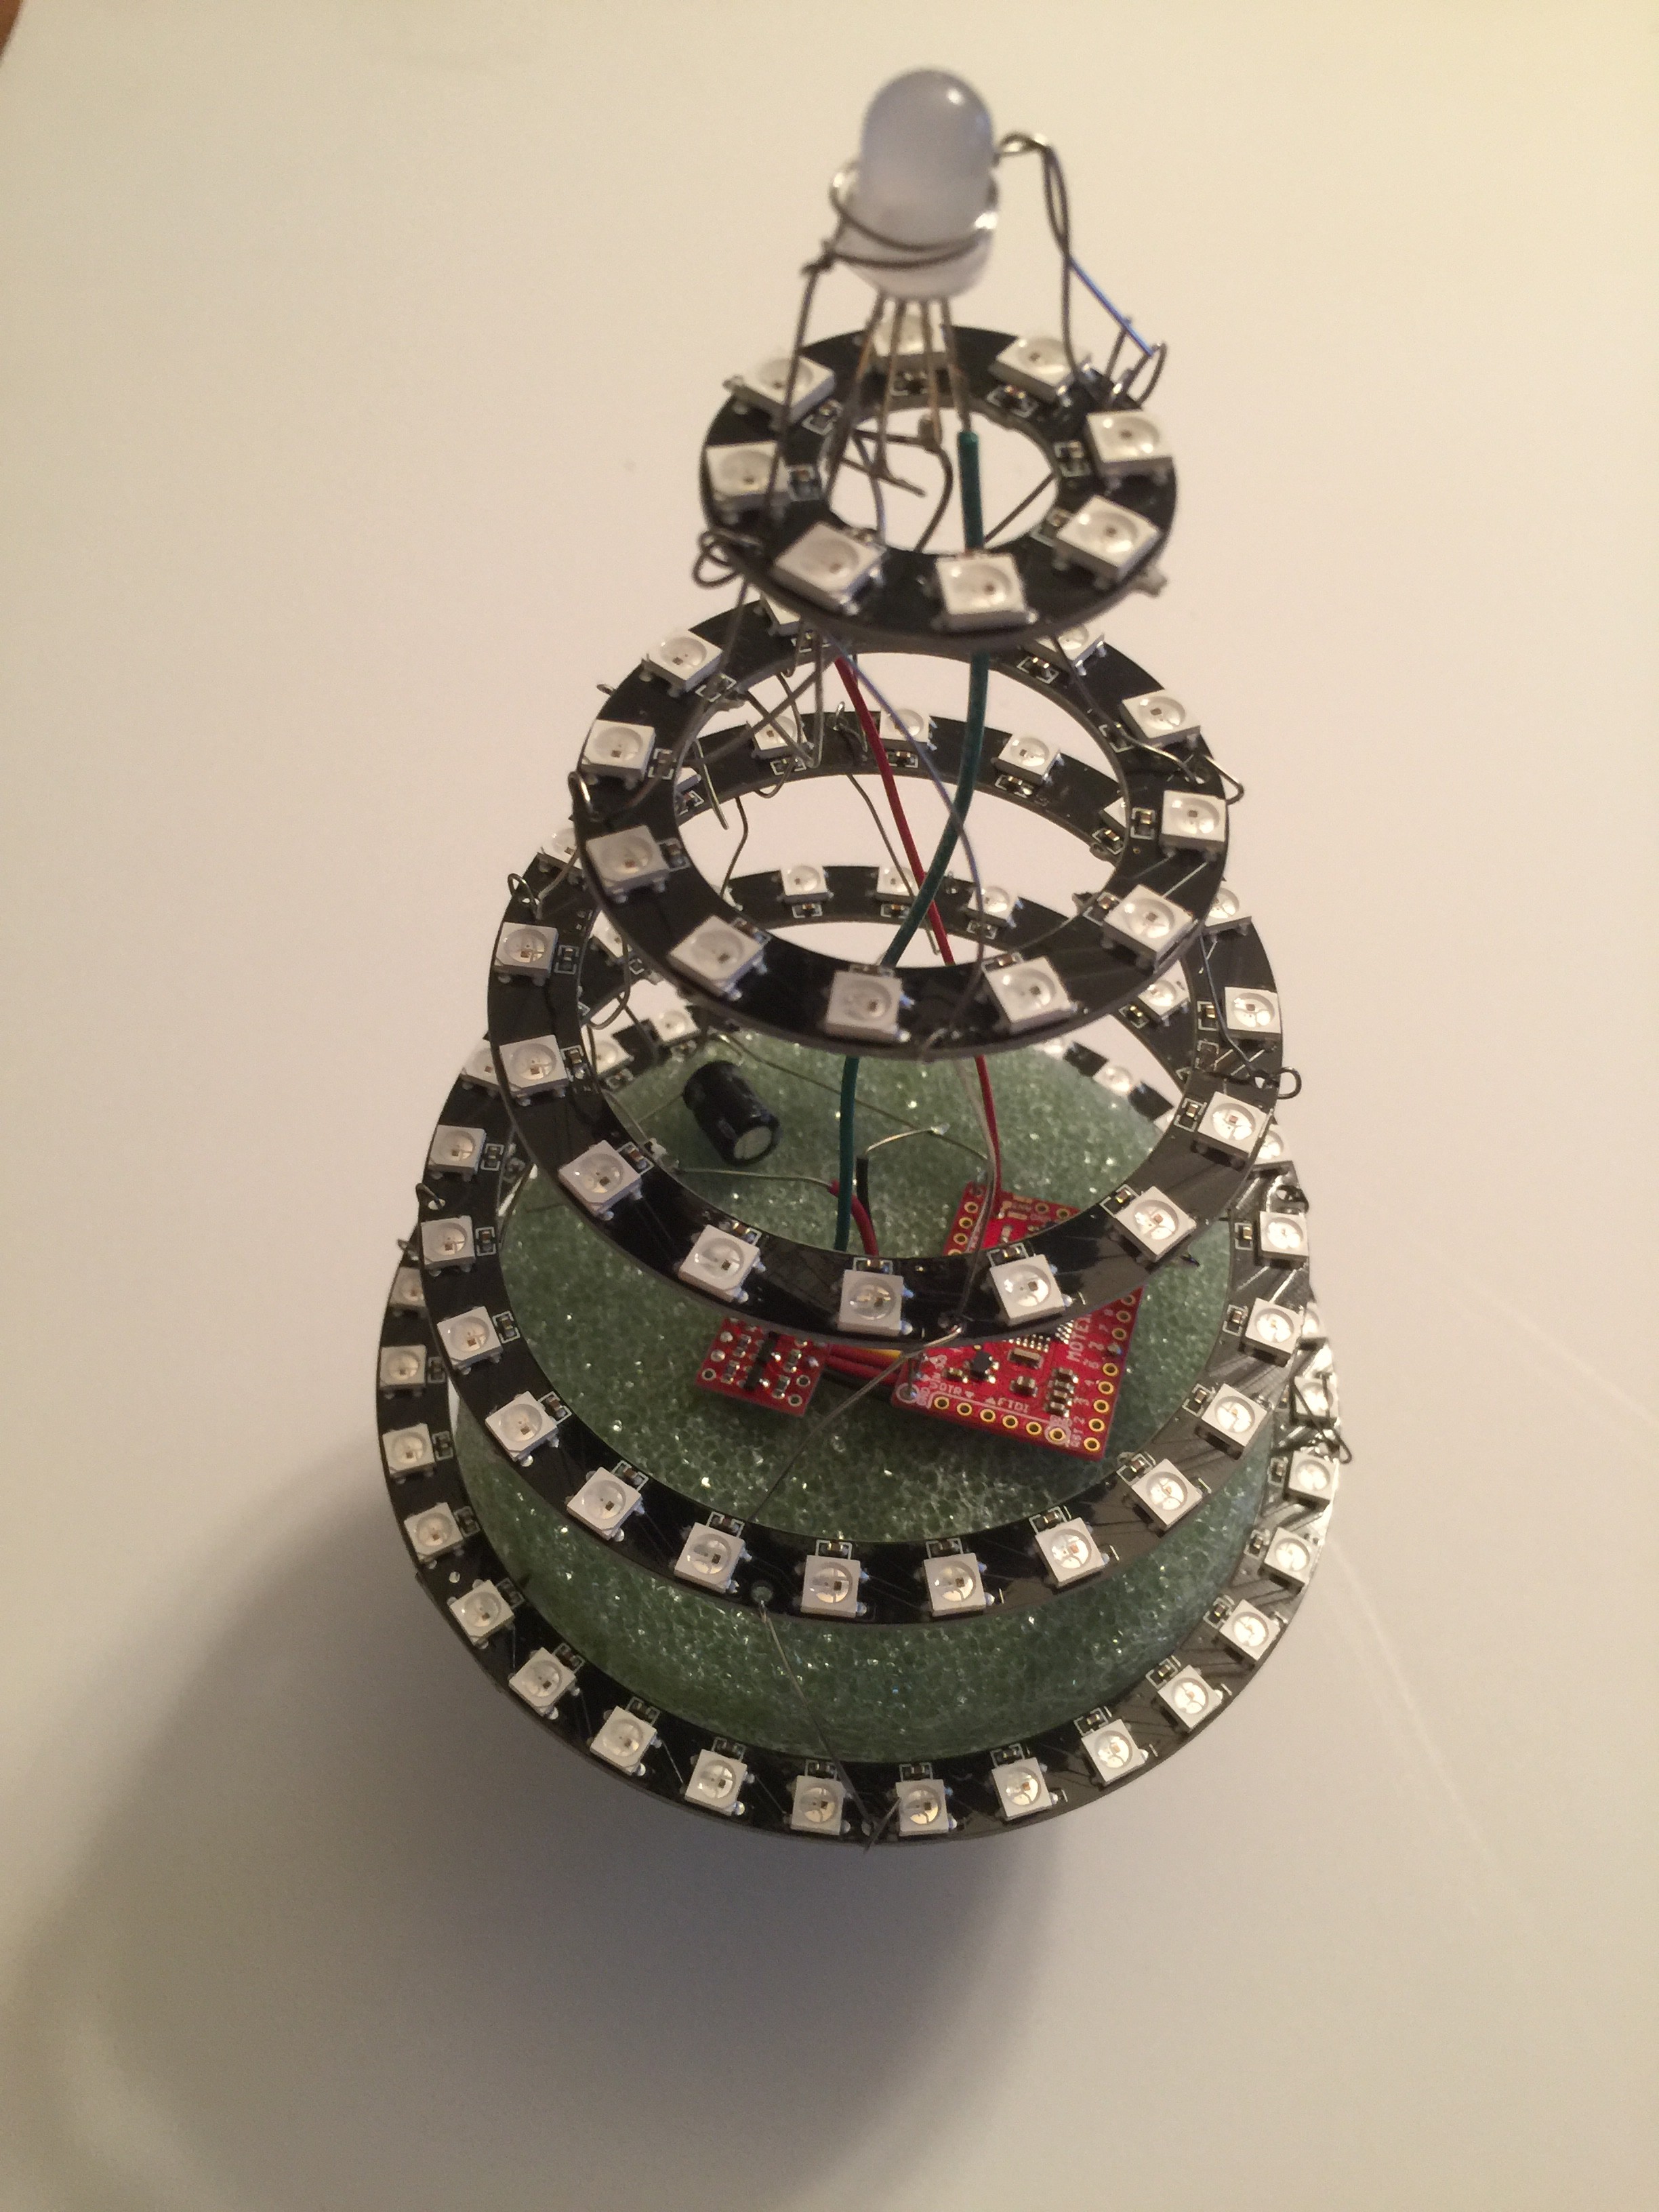
And at the end of the build:
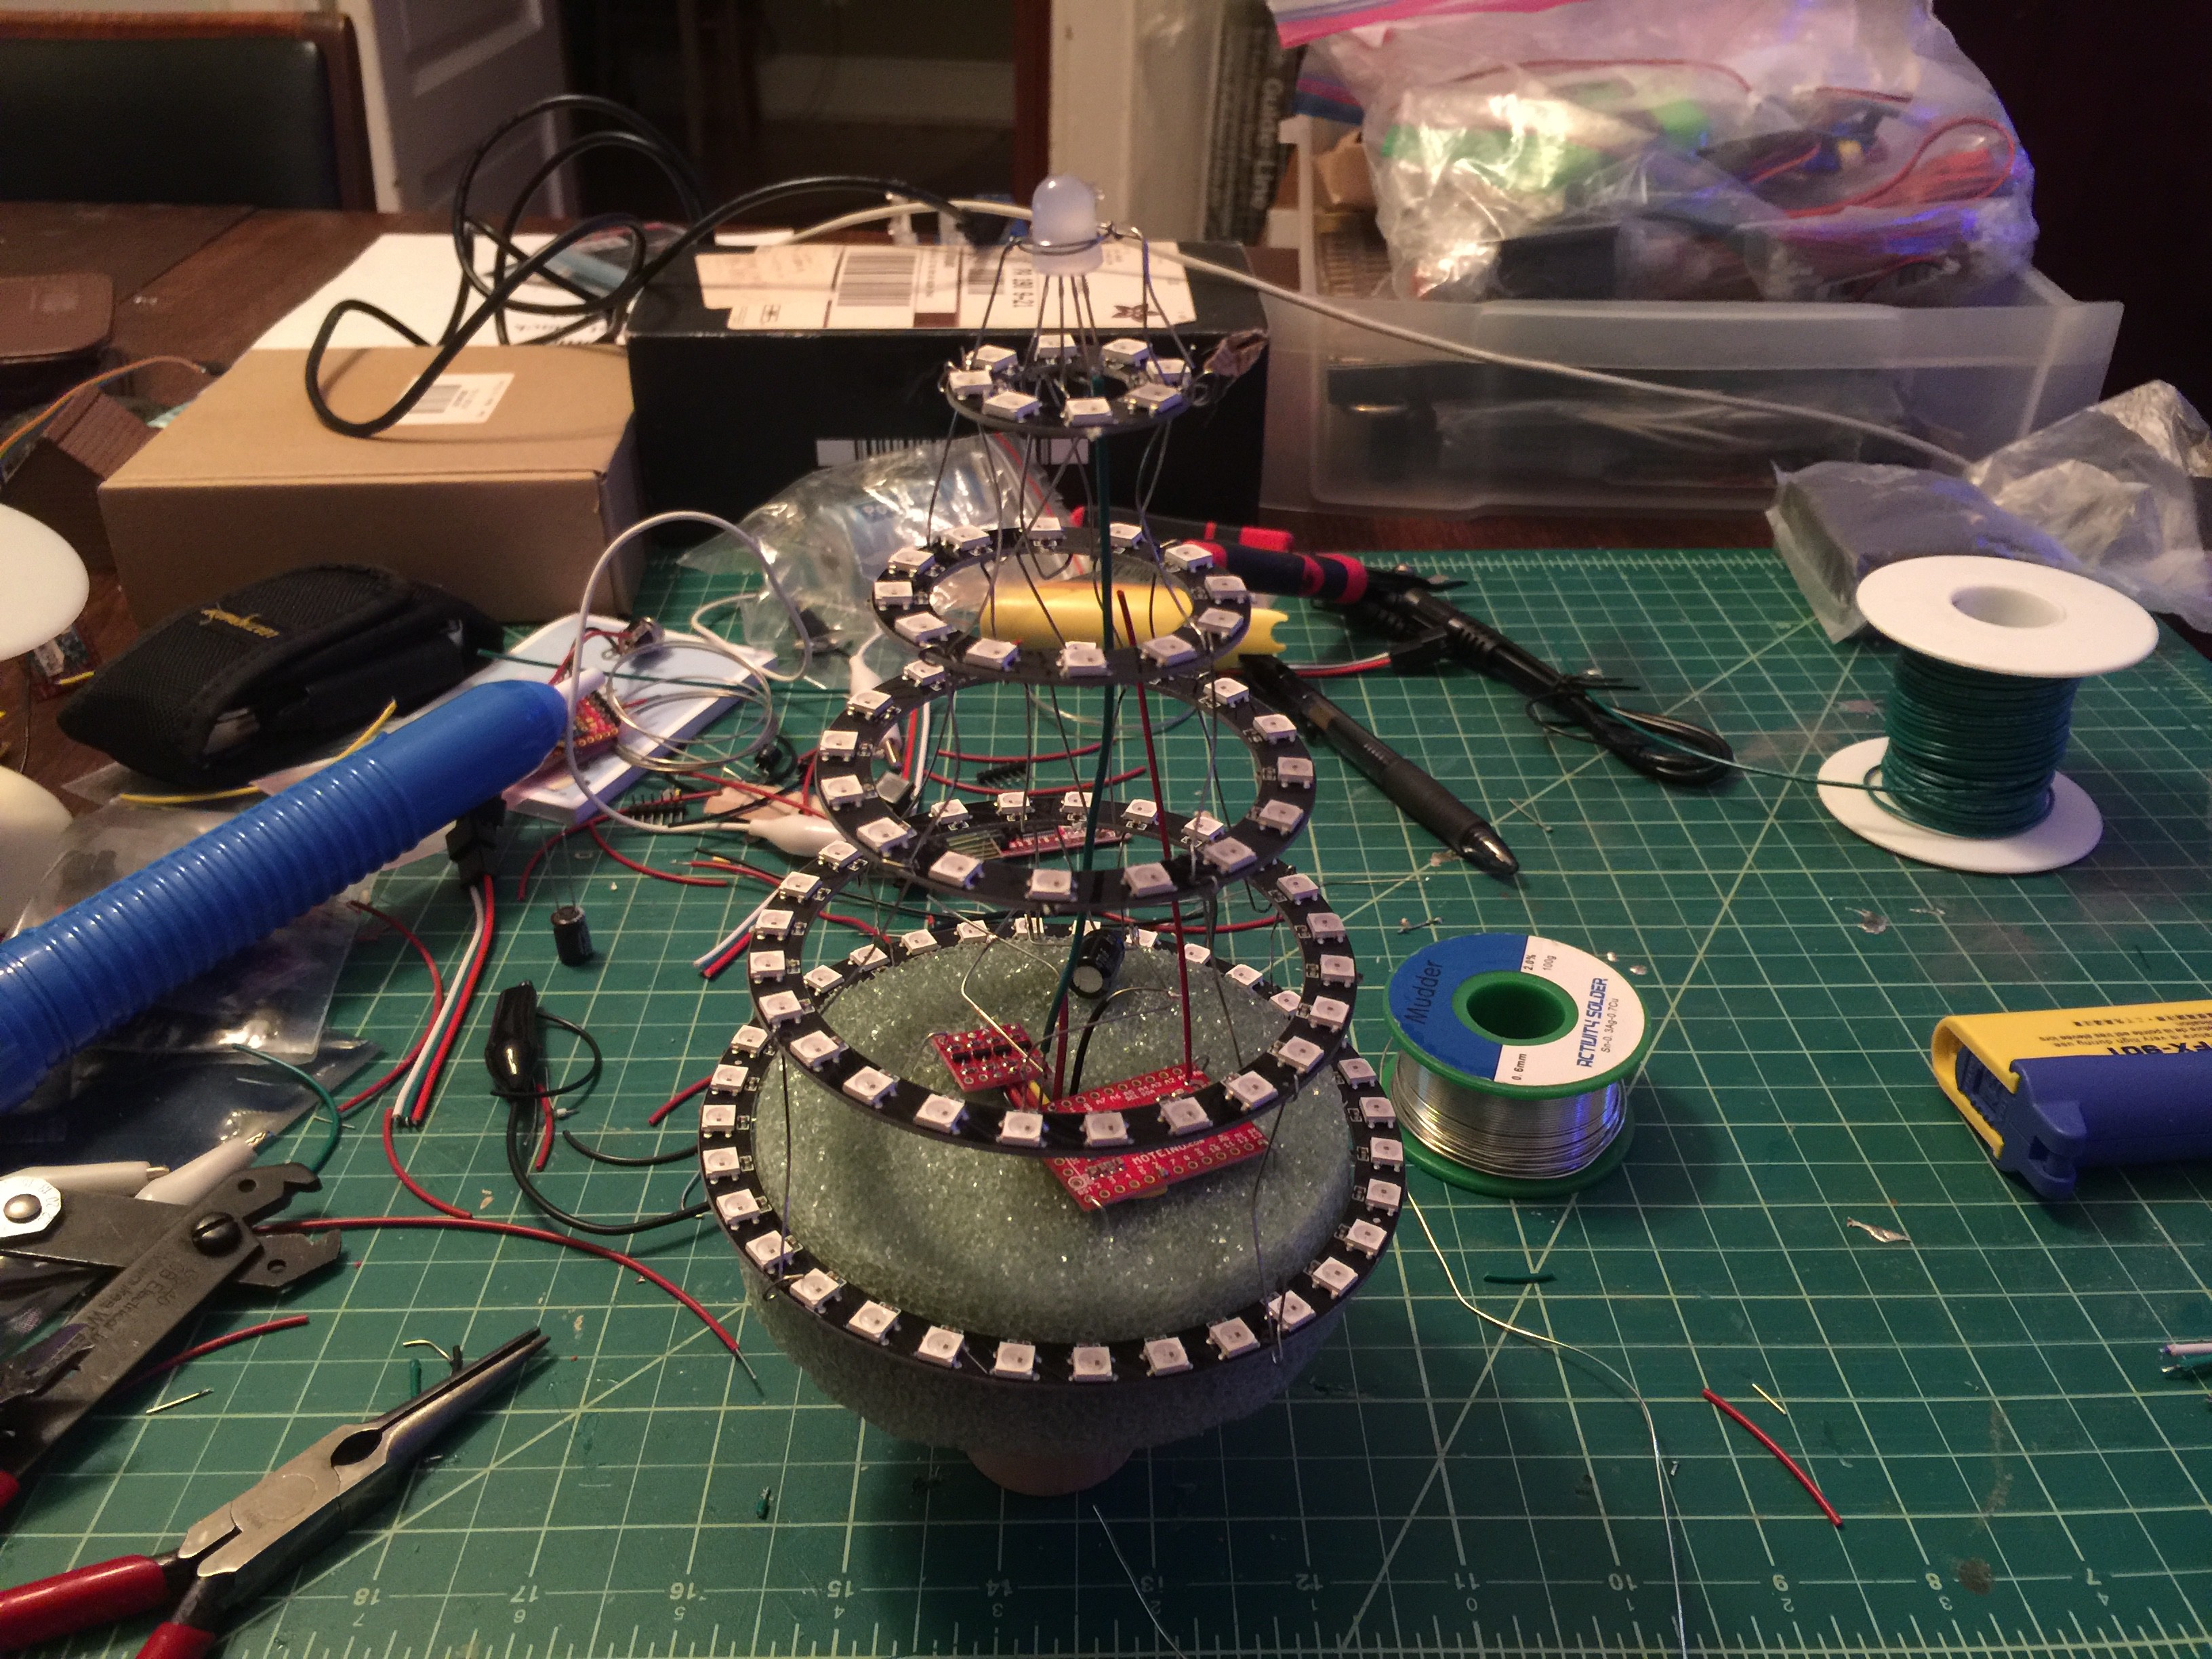
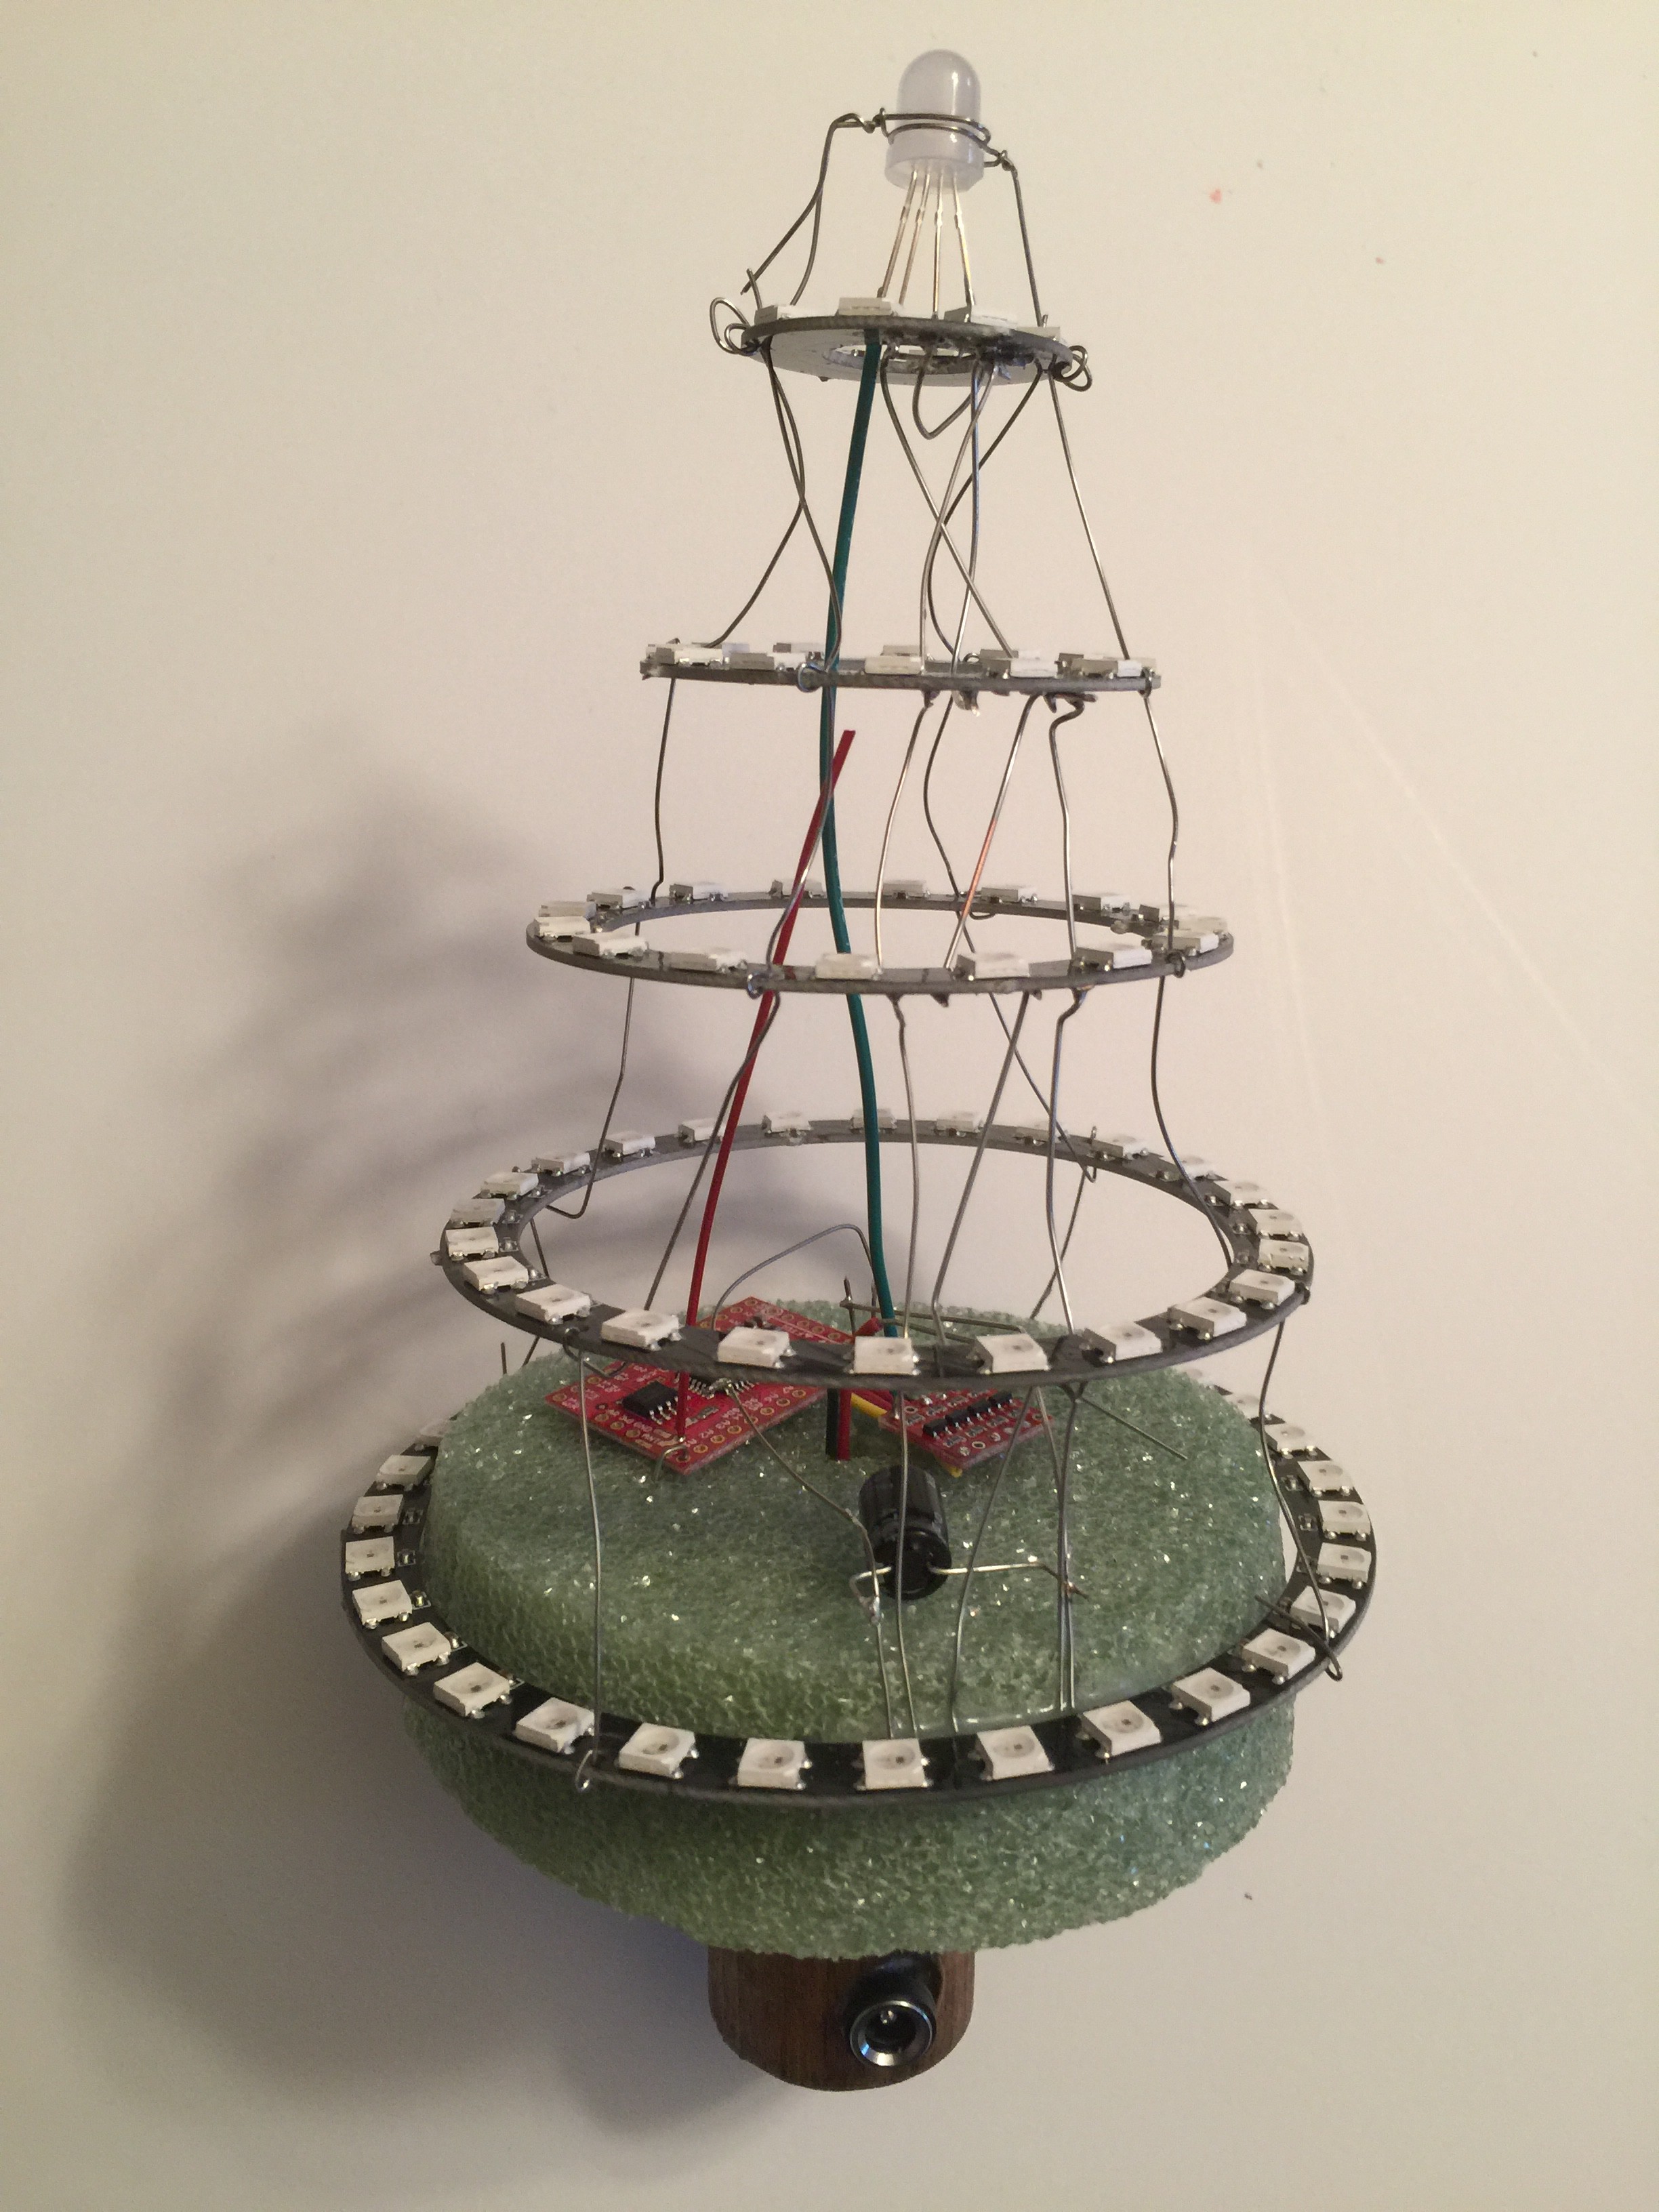
You can see all of the places that I had to man-handle the spring steel to get the shape I wanted.
Now, what would have been the very top ring is a single pixel on a PCB. I decided to replace it with a WS2812B in a more traditional LED package from Adafruit, for more star-like appearance. The spring steel continues up from two sides to wrap around that LED as well. To complete the tree motif, I took a piece of wooden dowel; drilled a hole through the center, and then tapped in to that from one side for the power jack. The wires from the jack run up through the hole -- at which point I decided to use some of that green foam (cut with a hot knife) to tie together the trunk and the base of the tree rings. The circuitry is exactly what you see - a Moteino; one 3.3v logic level shifter; and one capacitor to smooth out the power a bit. It's powered from a 5v 8A wall wart; the regulator on the Moteino is plenty good enough to deal with its irregularities. The logic level shifter is only necessary if the 5v supply is a little on the high side; then the 3.3v output from the Moteino isn't enough to register on the first WS2812, and they won't work. (About half of my supplies are fine without the level shifter, and half aren't.)
And yes, with the Moteino in there, I can remote control the tree. :)
Some small finishing details: there's a little epoxy (it's actually epoxy resin for fiberglass, thickened with hydrophobic fumed silica before putting in the catalyst) holding the bottom ring to the foam (look at the power and signal wires right in front of the shot above, and you can *just* see the glue where they meet the bottom ring, and it meets the green foam), and also gluing the trunk to the foam. If you go this route just be careful of what glue you pick; many glues may dissolve the foam! I picked this one specifically because it wouldn't. (And maybe a little bit because I have about an extra gallon of the stuff. Perhaps.)
There it is, unlit.
The fun starts when it's lit up, of course, and you're halfway across the room. I posted it here on Instagram on December 3rd... https://www.instagram.com/p/Bq8u8aCDXSc/
Of course, every project has to have some unforseen obstacle! This one is no exception.
I had initially wired up the bottom ring as the first set of LEDs; then the one above; and at the end, the single WS2812 from Adafruit on top. The top LED wouldn't light. Replaced it with another, which also wouldn't light; then built a quick test harness to prove that the Adafruit LEDs worked as I expected; and finally, wound up dragging out the Saleae Logic probe to figure out what the heck was going on.
I wish I'd saved the traces to discuss here, but I didn't!
It turns out that the rings aren't actually WS2812s. They're SK6812s. They're "compatible." Mostly.
The way all of these work is to chain the signals: the microcontroller sends a string of on/off pulses, which the first device reads; and then when the first device has gotten all the pulses it expects but gets more and overflows, it begins sending the oldest pulses to the next device in the chain. When the second device overflows it starts sending to the third. And so on. So the timing and voltage levels that come out of the microcontroller only reach the first LED in the chain - the timing and voltage that reach the second LED are completely generated by the first device. The Moteino, for example, generates 3.3v logic signals. Without the logic level shifter, as long as the first LED is able to correctly identify the on/off pulses, then the rest of the chain will be fine - the first LED winds up sending 5v pulses out to the second device, because it's re-generating the signal when it sends it.
But I do have a 3.3v to 5v logic level shifter in there, and it's not the logic levels that are the problem. It's the timing.
The SK6812 uses pulses that are a tiny bit shorter (just over 400nS, if I recall correctly), and they appear to be too fast for this WS2812 to understand. I "fixed" the problem by reversing the wiring, so that the WS2812 is first. The SK6812s have no problem interpreting the timing from the WS2812, and all is good.
There's one other subtle issue which isn't obvious from any of this: the order in which these SK6812s interpret the color bits is different than the WS2812. What does that mean? Well, the Red and Green are flipped - so if I tell the tree to light up all red, the rings are red but the topper is green! I've decided it's a feature for now. :)
The code's up on github; the schematic is basically just "wire pin 6 of the Moteino to the level shifter to the LEDs."
A merry merry to all of you, and a happy, healthy, and hacky 2019!