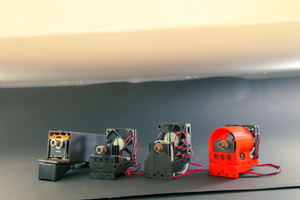
The i3’s lower fan is supplied with a 12v pulse width modulated power supply that can be utilised to manage the intensity of the laser and, therefore, the heat being applied to the object being cut or engraved. It was important to choose a laser module that enabled this functionality to be taken advantage of. Research led me to Endurance Lasers and a 3.5w module with TTL was selected and purchased. The module arrived very quickly considering it was an intercontinental delivery - taking less than a week.
The project can be split into three parts, physically mounting the laser, electronically connecting the laser and updating the firmware to allow full integration between the laser and the Lightburn software.
Physical Connection
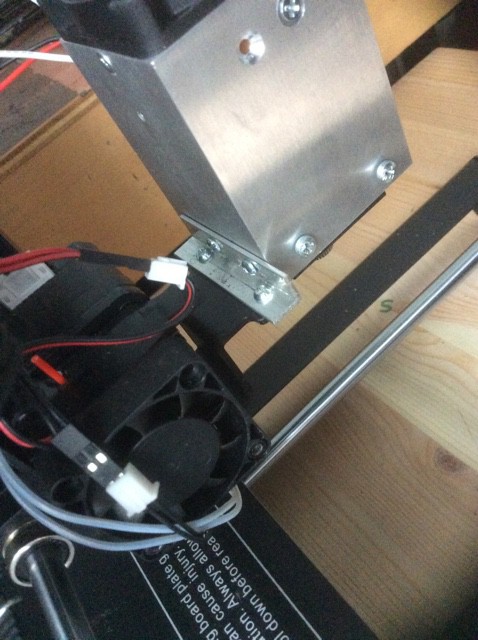
Whilst awaiting delivery of the laser I prepared a length of 10mm x 10mm aluminium angle bracket by measuring the distance between the two bolt holes where the lower fan on the Wanhao was mounted and drilling the aluminium with two M3 sized holes at an appropriate distance apart. When the Endurance Laser arrived, it was provided with numerous mounting holes that could be used, so I selected two at an appropriate height and mounted the aluminium bracket to it. The bracket was then secured to the fan mountings on the i3. This took longer to type than it did to do! One of the photographs shows the finished bracket in place between the laser and the i3.
Electronic Connection
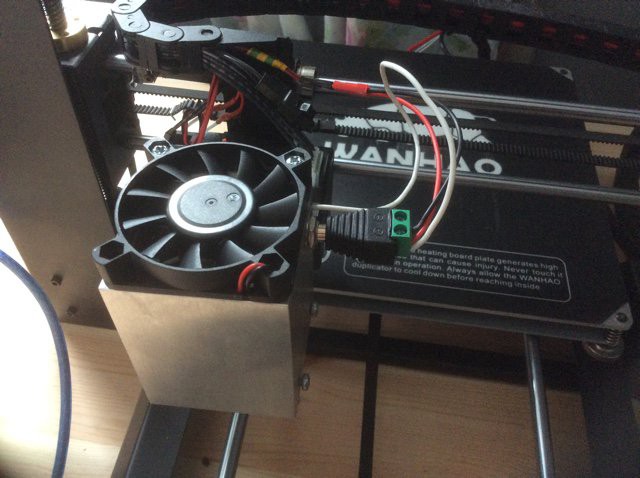
The Endurance comes with a simple arrangement of three wires, a positive and negative pair and a third, white wire for TTL control. To facilitate taking full advantage of the PWM feed on the i3 fan, the power supply to the lower fan was undone and replaced with a connection that took the positive and TTL feed of the laser to the positive lead on the fan wiring and the negative wires were both connected together. This allows full control of the laser intensity by the software. This wiring was all achieved by using a 3.5mm adapter as shown in one of the pictures.
Updating the Firmware
At this stage, the laser was ready for use and could have successfully been used with the existing, if slightly odd, version of Repetier firmware that was originally installed on the Wanhao i3. There are numerous pieces of freeware that could be used. As I had been impressed with a free trial of Lightburn software, I needed to find a firmware for the Wanhao’s Melzi control board that would allow full integration between Lightburn and the Endurance Laser, whilst still allowing me to use the printer for its original purpose. After careful consideration I chose Marlin for this and downloaded a suitable branch of the firmware from Github. I used this one Marlin
On examination in the Arduino IDE, I discovered that the firmware ran the z axis the “wrong way” for my purposes so, in order to best suit my needs, the z axis was reversed in the Arduino IDE before being flashed to the Melzi board. Attempts to flash the firmware to the Melzi board proved that there was no bootloader installed on it so this was done by following one of many of the instructions available online. It is imperative to insert the “reset” jumper on the Melzi board and to change the power supply jumper to “usb” before attempting this. Once properly connected with Du Pont jumper wires, the flashing of the bootloader and the firmware was very quick.
It is worth repeating that this last step is only necessary if you want to use Marlin firmware as I did. If you don’t, the installation is incredibly easy and quick.
Results
I have met my objective of mounting a fully operable laser engraving and cutting module on my Wanhao i3, whilst maintaining its ability to 3d print. Whilst of low to mid range power in comparison to their more expensive options,, the 3.5w Endurance Laser module is able to engrave wood and slate and has been...
Read more »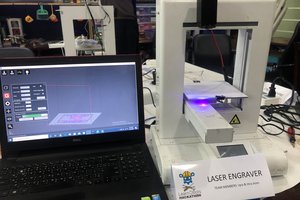

 smartDIYs
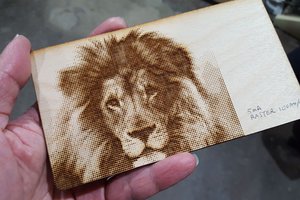
 Hari Wiguna