 Ákos Melczer
CastVolumeKnob is hardware volume control for Chromecast Audio devices, based on the ESP8266 microcontroller using micropython.
The problem
- For controlling the volume on Chromecast devices you need to use your phone. - it is clumsy, not very intuitive.
The requirements
- Easy to use, hardware based volume control.
- Wireless
- Visual feedback of the current volume level
- Relatively cheap
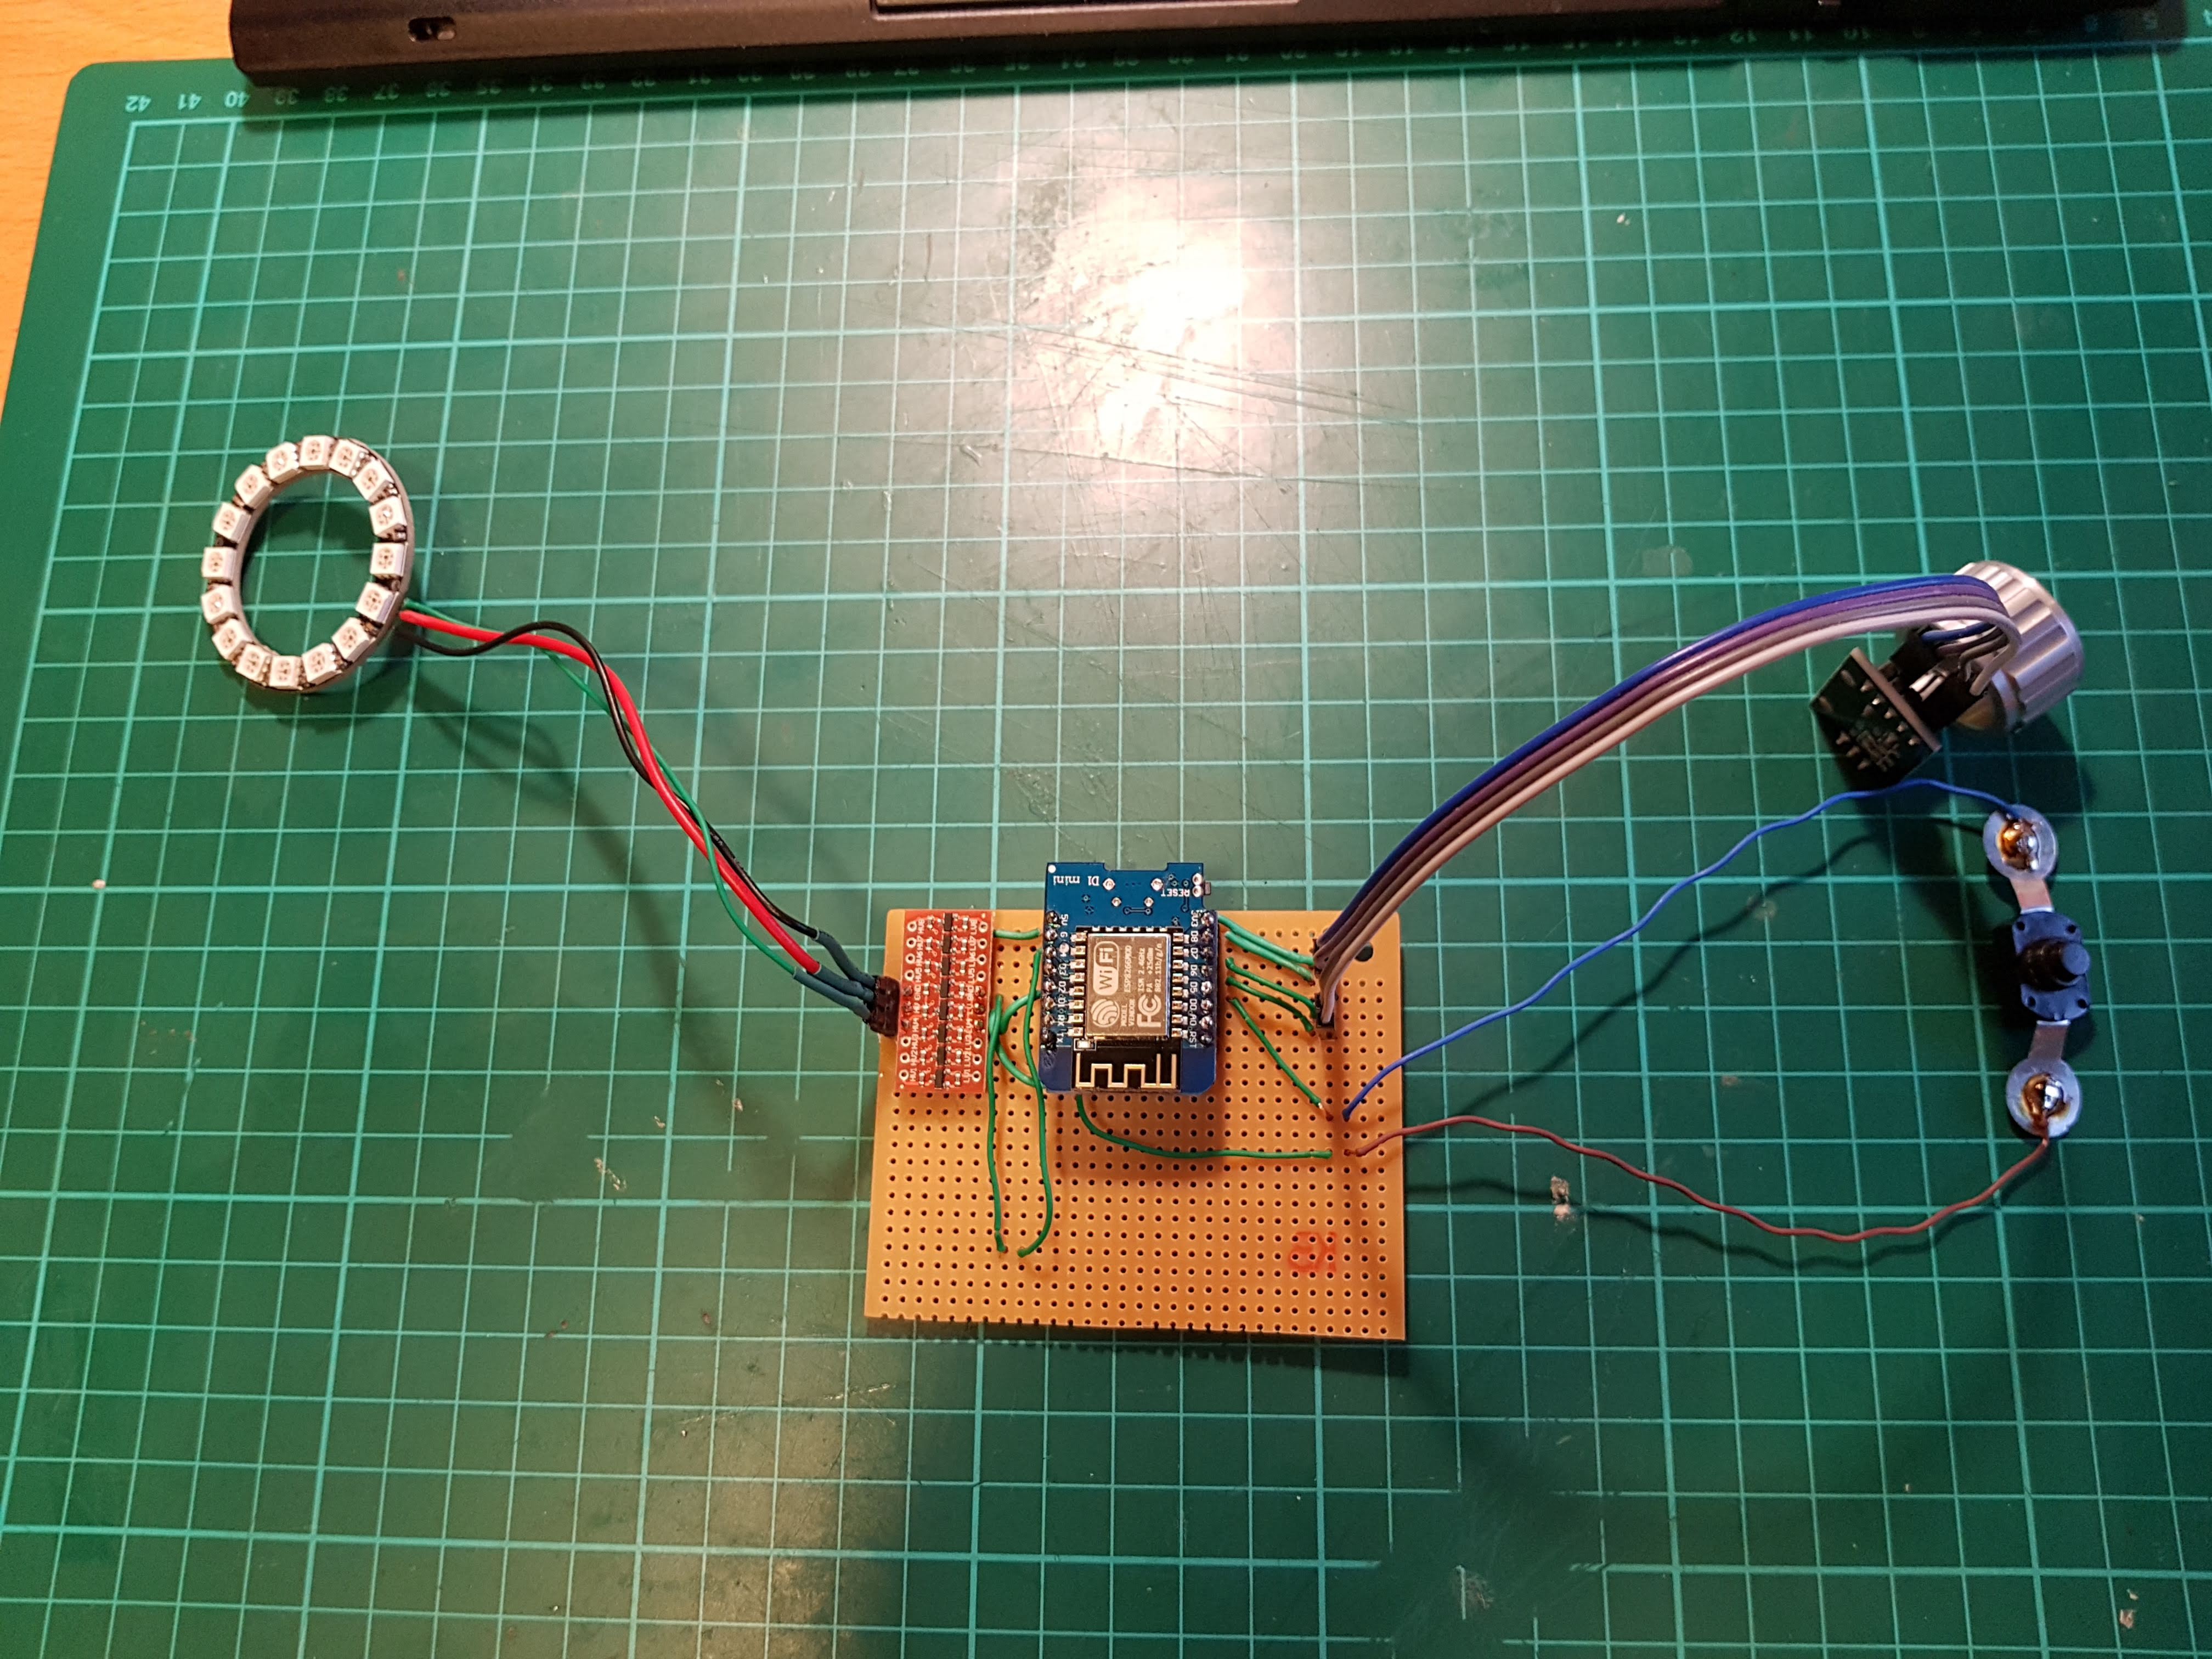
The solution
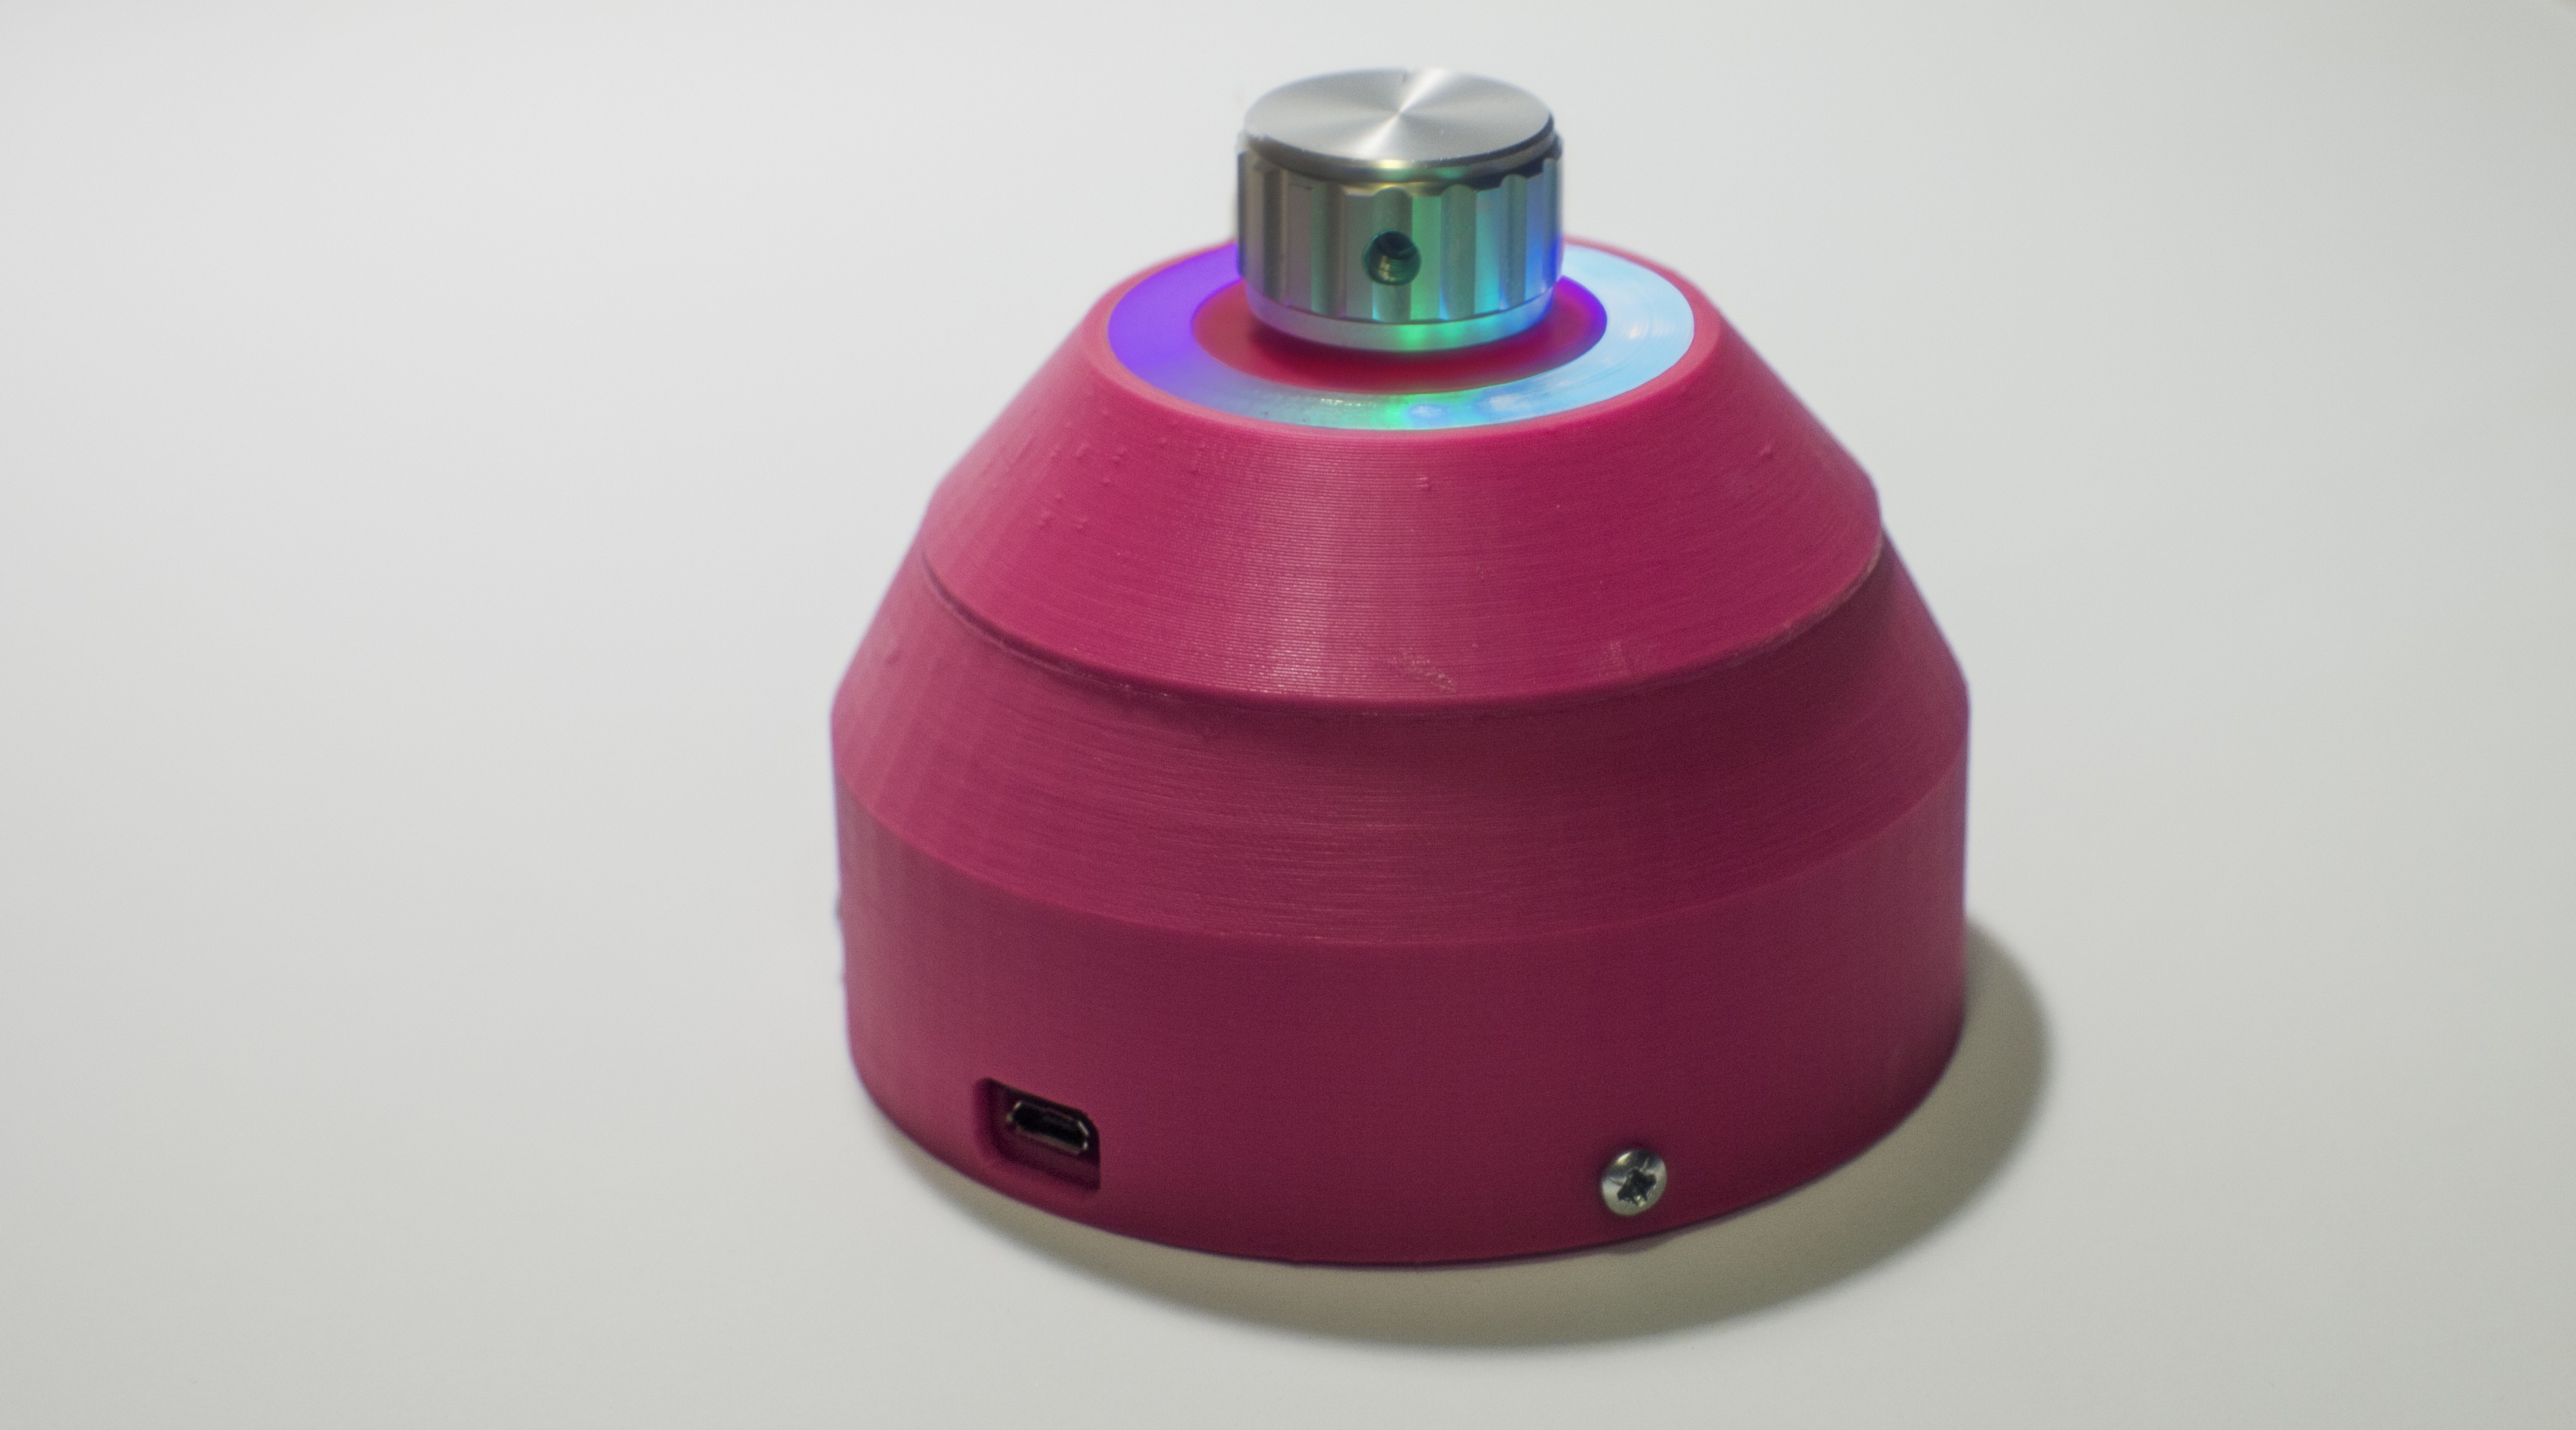
This is the final form. Completely wireless, rechargeable device.
To wake it up you have to tap the knob once. After it wakes up it automatically connects to the first chromecast device, you can control its volume by turning the knob. To change the device tap the knob again. To stop the music playback press and hold the knob until the LEDs turn red.


 Jana Marie
 Alan Green
 Stephen Harrison
Hey Akos, this looks like it could be a perfect solution for what I'm trying to do. Basically I used cc audio to connect several speakers through my house. My wife regularly wants to change volume but is not using the casting device. Would this solution work to control a whole speaker group or just one speaker at a time? Apologies for the simple question. I'm a little new to all this, thanks.