 nick.r.brewer
It's recommended that you set up the SD card on the Raspberry Pi Zero before you put it into the camera.
Software Required
- PiCamera -- http://picamera.readthedocs.org/
- Gitcore
- GraphicsMagick -- http://www.graphicsmagick.org/
- (Optional) twython -- https://github.com/ryanmcgrath/twython
Software Steps:
- Run -- sudo apt-get update
- Run -- sudo apt-get upgrade
- Install PiCamera -- sudo apt-get install python-picamera
- Install GraphicsMagick -- sudo apt-get install graphicsmagick
- Install Gitcore -- sudo apt-get install git-core
- Install GifCam -- sudo git clone https://github.com/nickbrewer/gifcam.git
- Optional, Install twython -- https://github.com/ryanmcgrath/twython
- Optional, install mount USB - http://www.raspberrypi-spy.co.uk/2014/05/how-to-mount-a-usb-flash-disk-on-the-raspberry-pi/
Create Autorun Script:
- Run -- sudo crontab -e
- add this line to end of that file - @reboot sh /home/pi/gifcam/launcher.sh (The launcher.sh in this git is setup for the basic gifcam, if you want to use twython or USB you'll have to modify this)
Permissions:
- If hitting "permission denied" run - sudo chown -R pi /home/pi/gifcam/
Pix-E Assembly
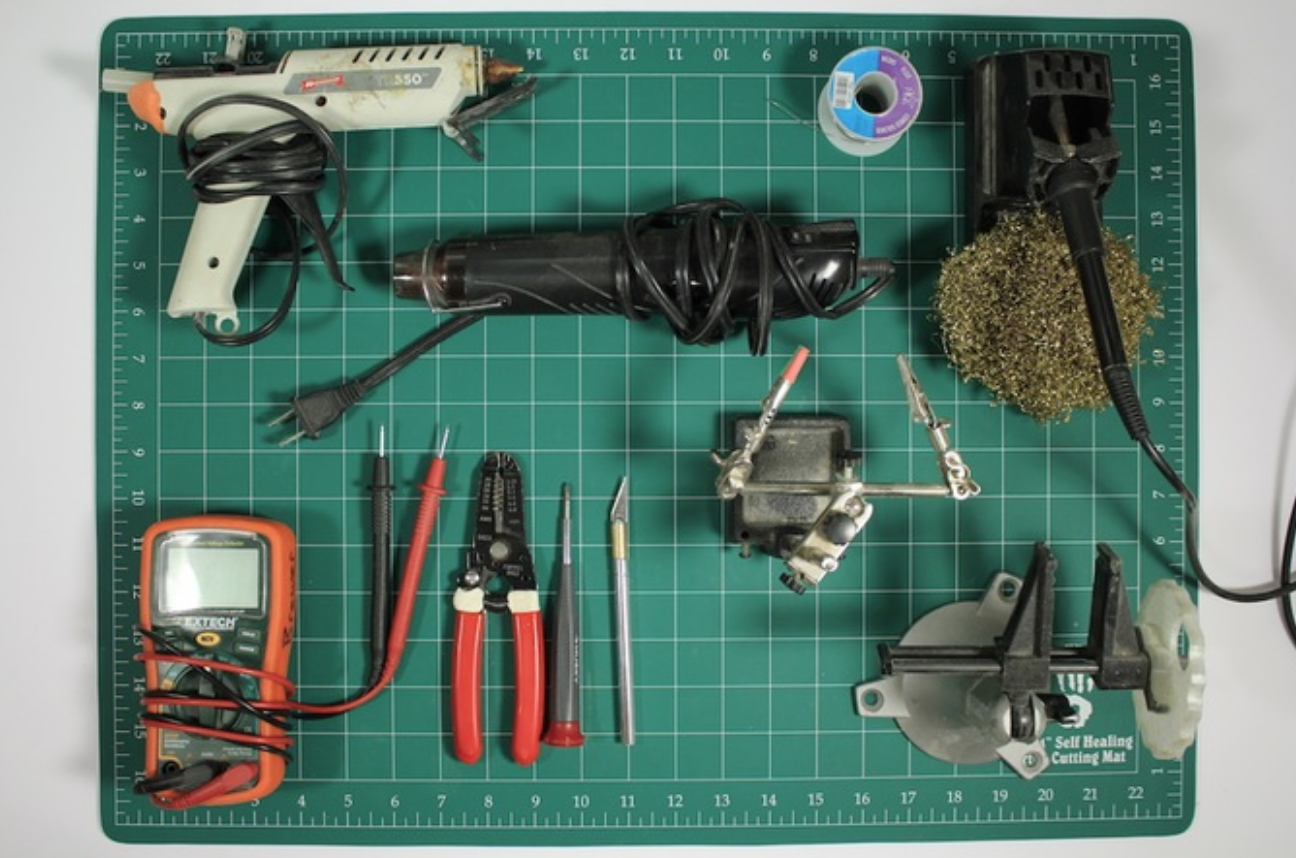
Tools Needed:
- Multimeter - to test connections
- Wire Strippers
- Screwdriver
- Exacto Knife
- 3rd hands/panavise
- Hot Glue Gun
- Hot Air Gun
- Soldering Iron
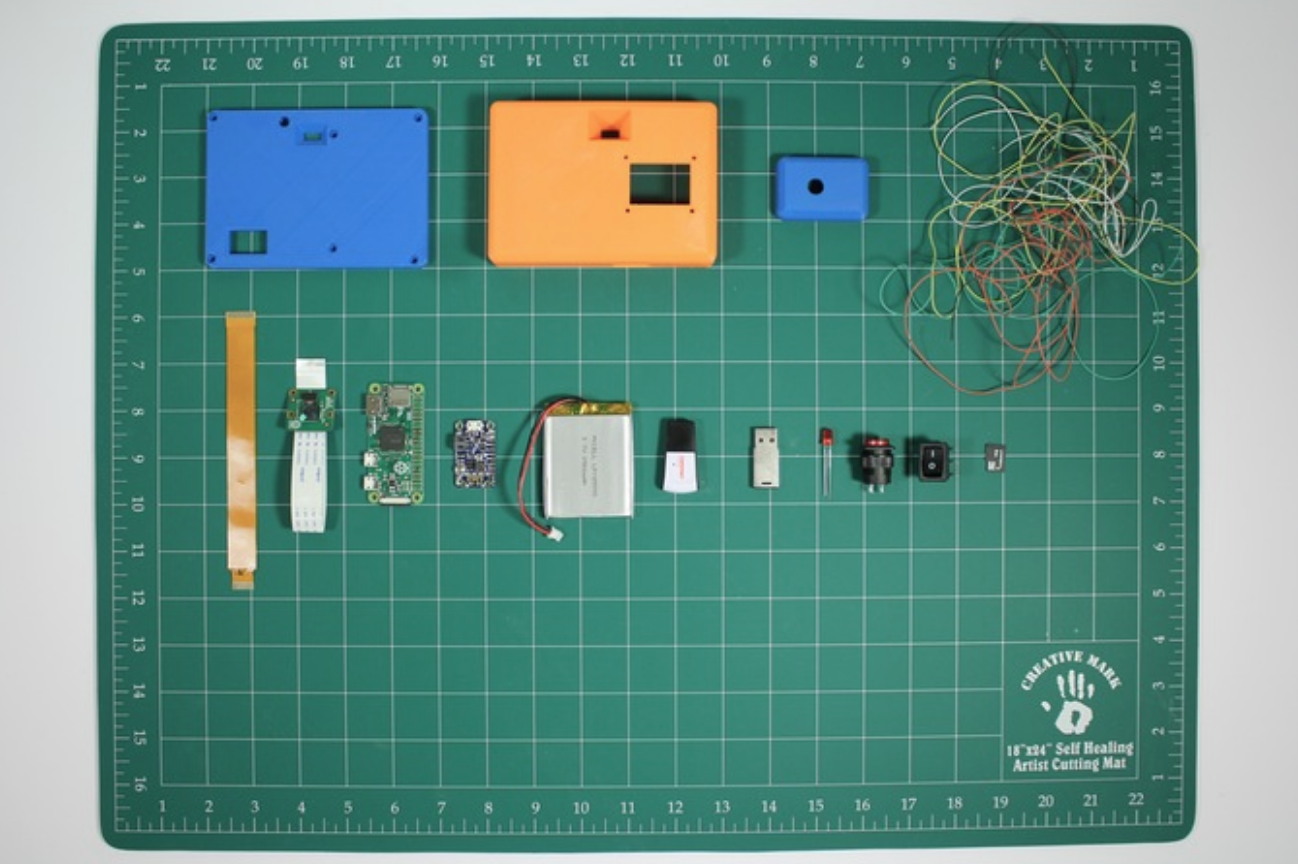
Parts Needed:
- 3D Printed Parts
- Wire
- Micro SD Card
- Switch
- 16mm pushbutton
- LED
- USB Drive (optional)
- USB Wifi (optional)
- 2200 cylinder or 2500 mAh lipo battery
- Powerboost 500c
- Raspberry Pi Zero v1.3
- Raspberry Pi Camera + Cable
- M2.5 screws
- M2 screws
- Resistors
Tap the posts on the 3D Printed parts with a M2.5. Don't tighten these down too tight or you'll strip the hole. This step will make it much easier to assemble later.
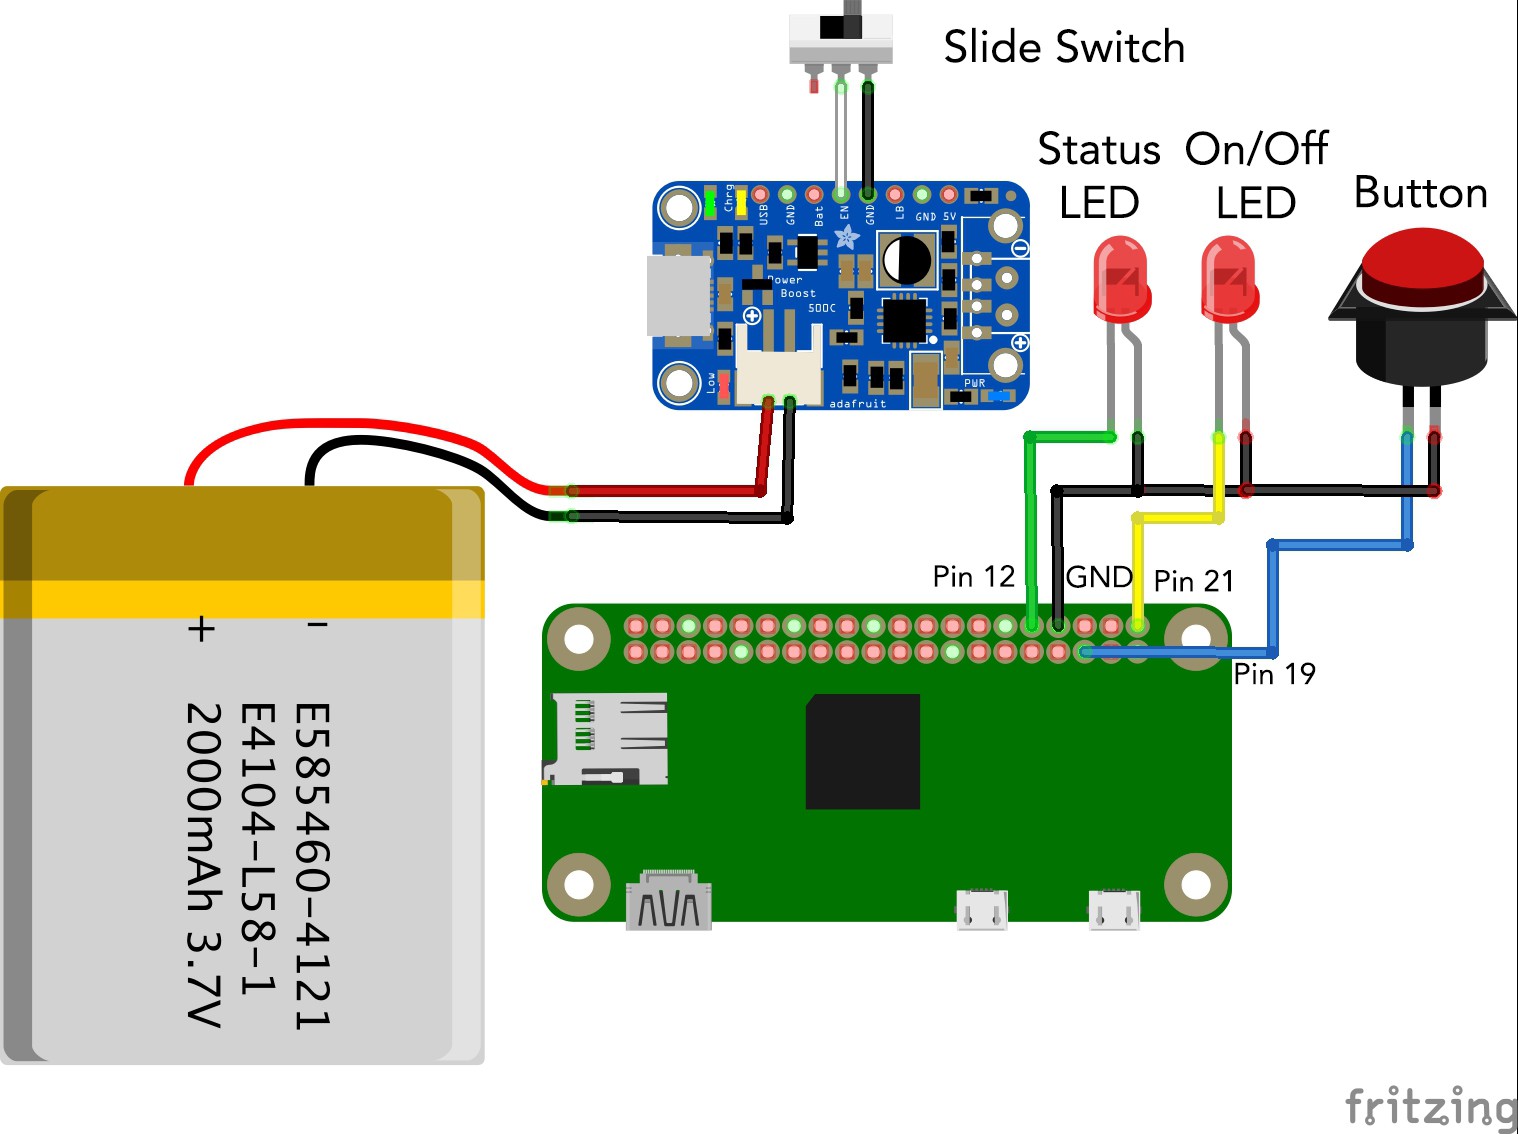
Wire the components separately, then assemble them into the camera body and solder to the Raspberry Pi Zero after it's installed.
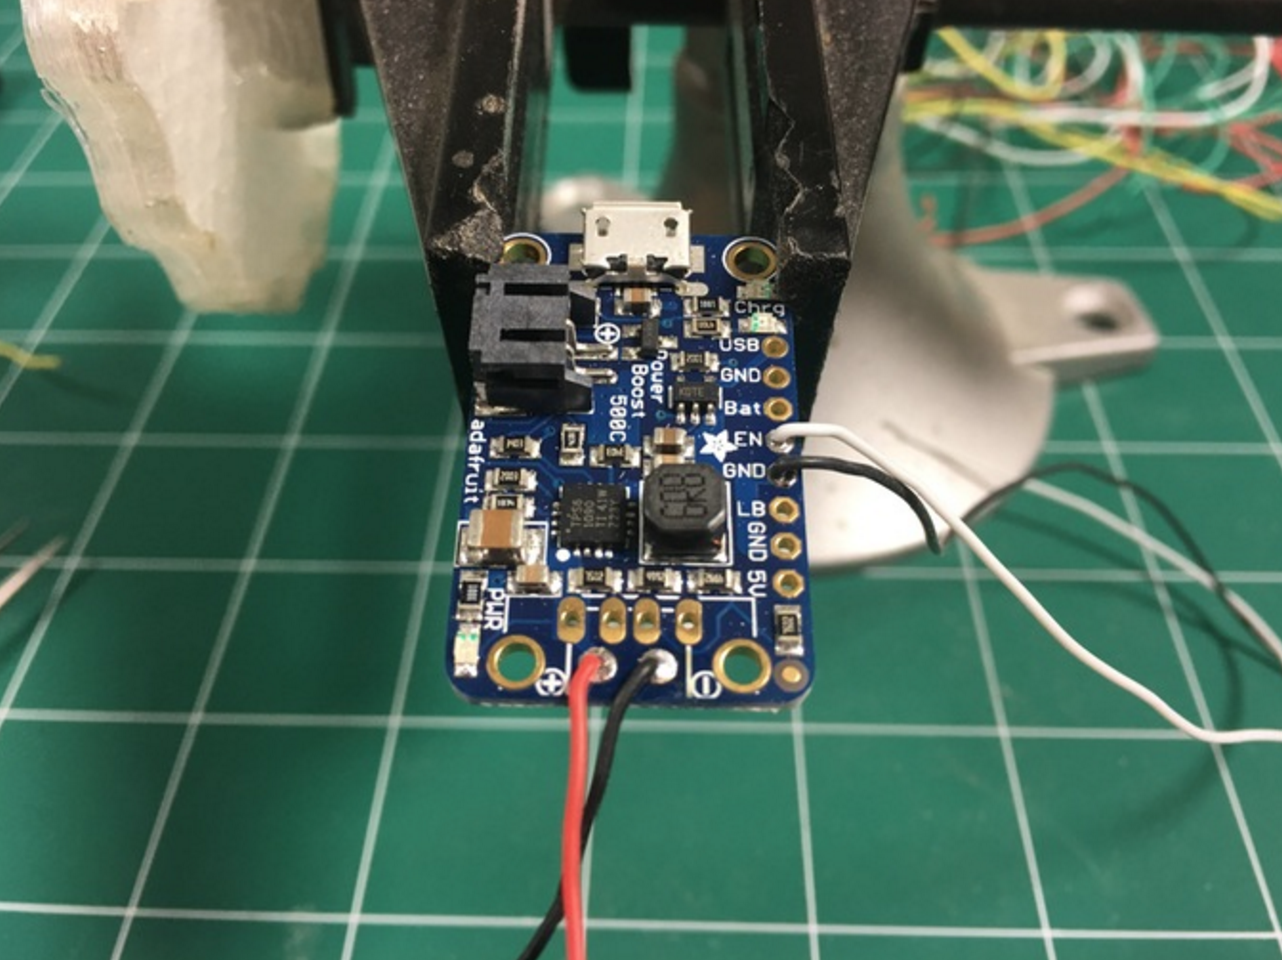
Wire the Powerboost 500c
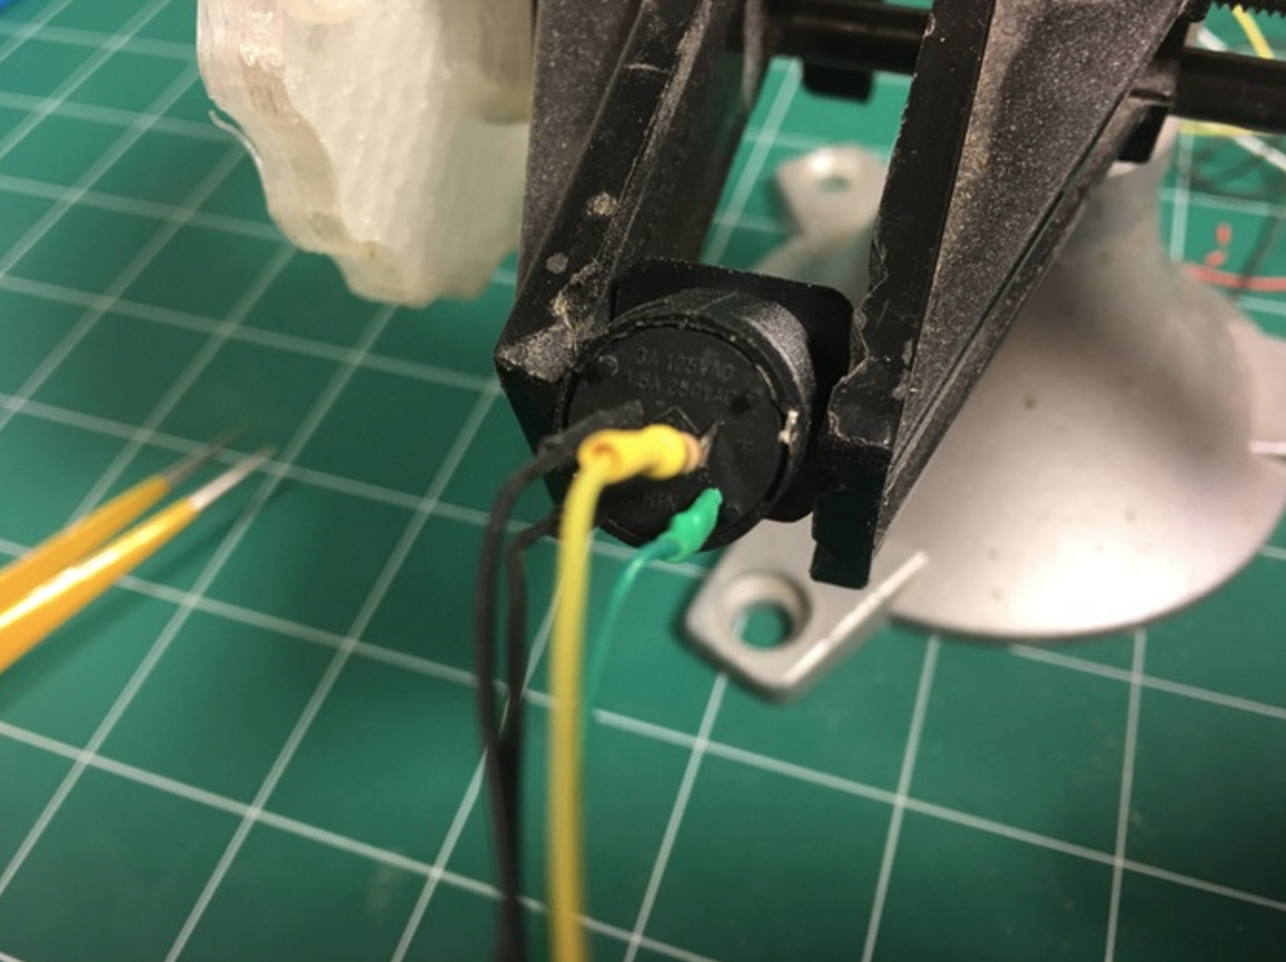
Wire the illuminated pushbutton (don't forget to add a resistor to the LED)
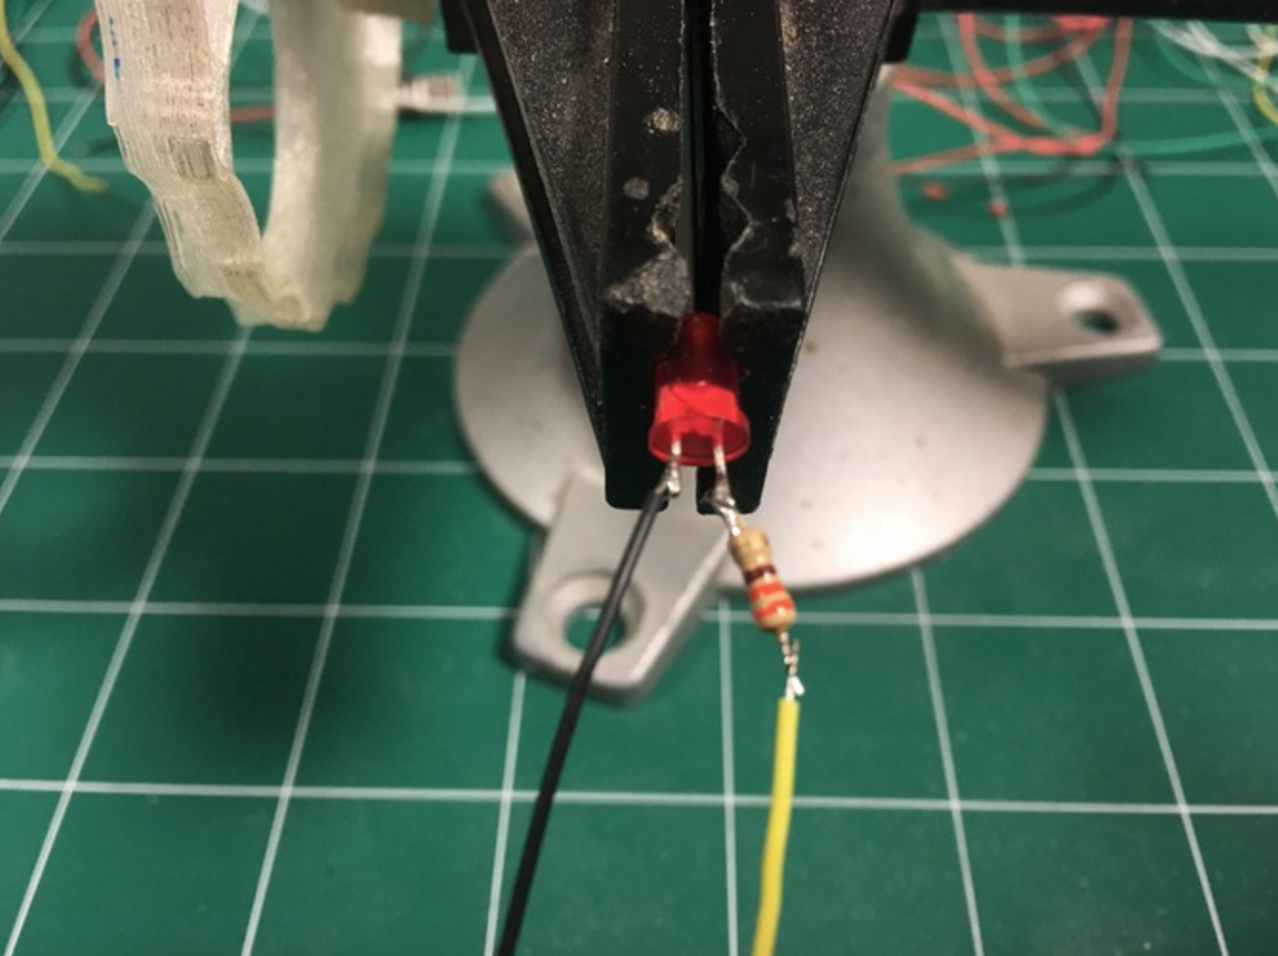 Wire the LED that will attach to the camera back.
Attach the Raspberry Pi Camera to the front and attach the front to the camera body. Make sure the ribbon cable is oriented correctly and use caution, it is fragile.

Attach the battery to the camera body (if you use a 2200 mAh cylinder lipo, it will snap into the right side of the body) using hot glue, and attach the Powerboost 500c to the case. DO NOT plug the battery into the powerboost just yet, save that for the end.
Attach the ribbon cable to the Raspberry Pi Zero and place the Zero into the case. Put in the pushbutton as well.
Wire the pushbutton, powerboost, and the back LED to the Pi Zero GPIO pins.

Wire the PowerBoost to the back switch and hot glue the LED into place. Don't go overboard here, a little will do.

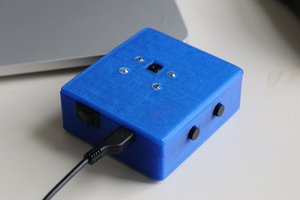
Make sure the switch is off and plug the battery into the powerboost. Nothing should happen, but if you turn the switch on, the blue ON light should come on.
Test it out and if everything's working, close it up and go have fun!We also have 5 printable wrappers that you can cut out and put around the camera to give it that 90s disposable camera feel.


 Connor Yamada
 Jim Bennett
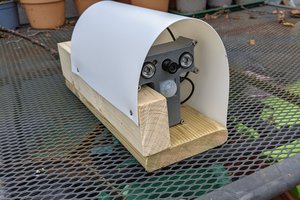
 Sam
Sam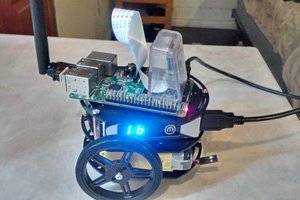
 Brenda Armour
Started this project with my son, but am very confused, as the schematic does not match the pictures. Also, what resistors are needed, and are they needed for both LEDs? And where do you get the micro USB adapter that has the 2 wires coming out for power?