 Jamie
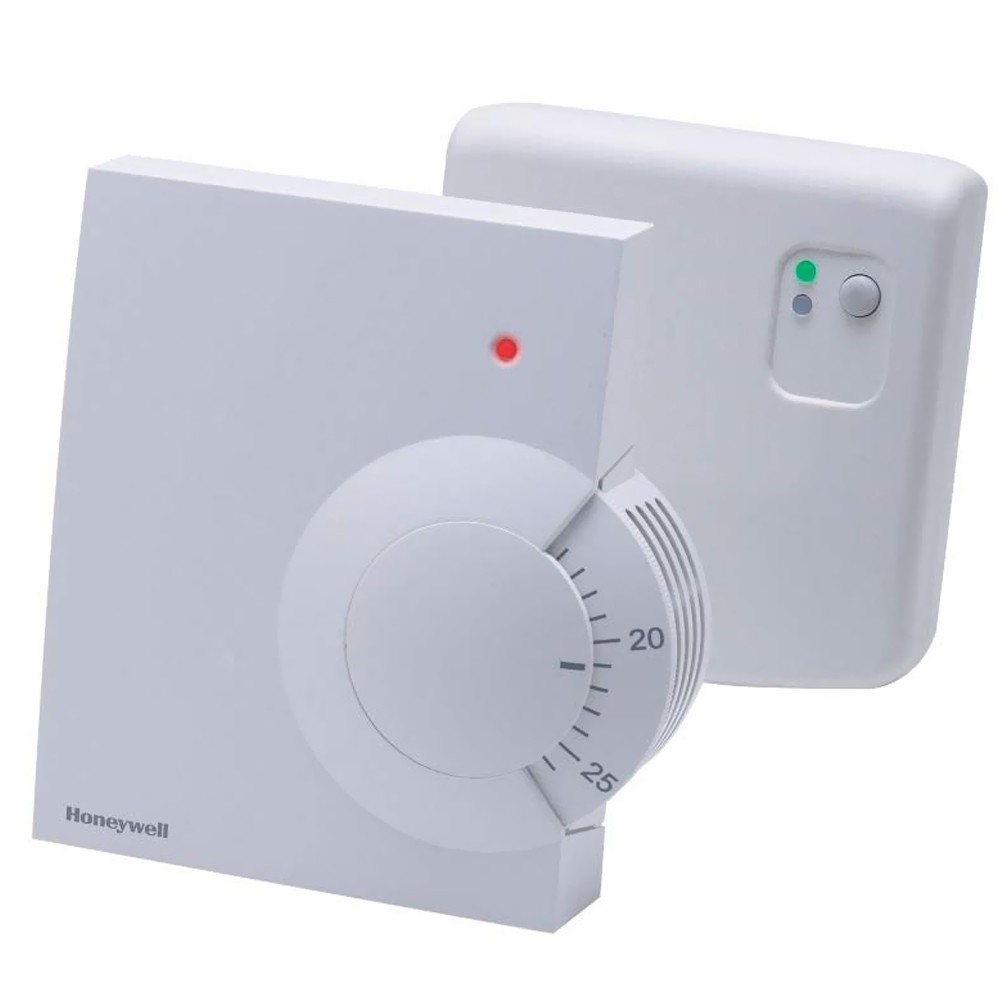
JamieThis project is designed to be a fully featured smart thermostat that will control the heating within my flat. I live in a rental, so there were a few constraints that otherwise would not apply to a heating control system.
Firstly it had to be able to be integrated into the current heating system, as I am not buying a new heating loop for a rental property. Secondly it had to be easily reversible, so that when I move out the flat I am able to remove all traces of the system and get my damage deposit back.
With respect to the actual features of the thermostat I wanted it to be able to give full daily granularity over different heating schedules and the ability to change settings (such as desired temp) without going into the actual code. This project is in active development, so I aim to add features as I am able to.
Until the project is complete, all further information will be included in the project logs. Once it is "completed" (as if any maker project is ever really completed) I will condense all the project logs into a main report that I will put in this section. I will also write full step-by-step instructions, including all code and software elements, so that anyone can emulate it.
Update 31/03/2022:
I never managed to finish this - life got in the way.


 FiZiX
FiZiX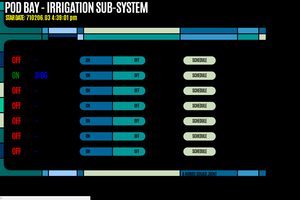
 Jon Hobbs
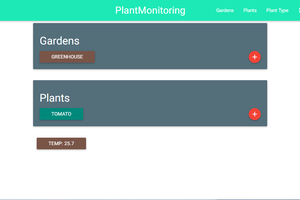
 klhutchins
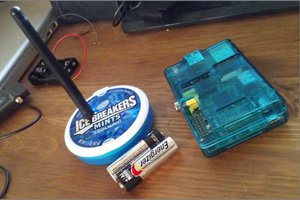
 mark gunderson