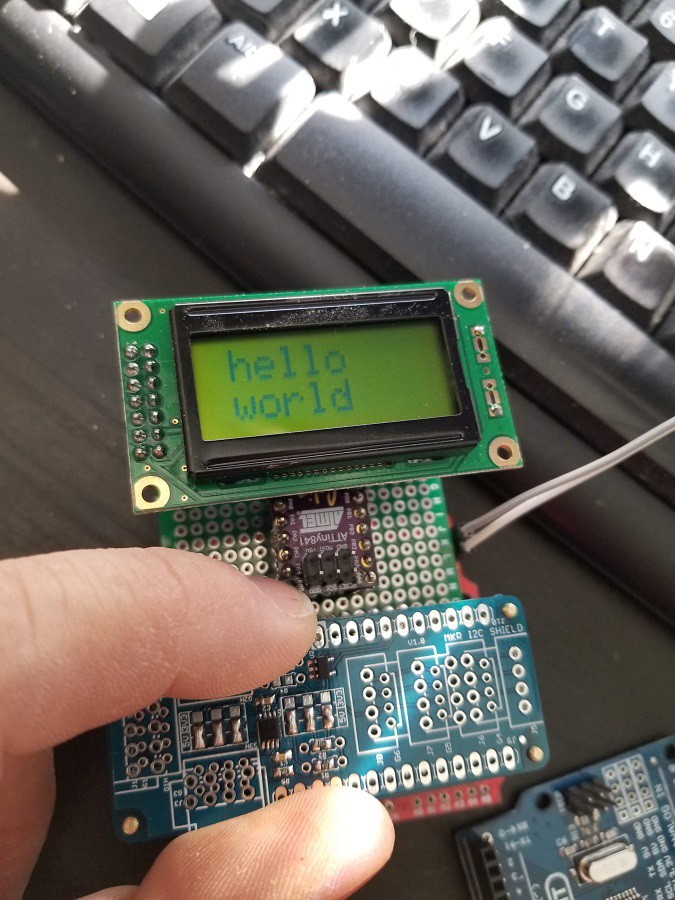
I had all kinds of fun debugging the test jig. I decided not to burn my (expensive) MKR 1010 Wifi for this and substitute an ATTiny841, but that left me with needing a donor 5V and 3V3 supply. Oh, I'll just use a Funduino Nano shield I though. Realizing afterwards that while that does provide a 3V3 supply, it relies on the Nano for the 5V - which is why the current setup is jumpering in a 5V supply from an Uno clone. I do want a supply with the polyfuse etc, not just a raw 5V feed, as by definition the test jig is going to be subjected to shorts etc.
I also found I had a bad ATTiny841, and my Arduino build environment for ATTiny was mangled.
In the end it all worked out. The jig simply drives an 0802 LCD through one of my I2C adapter boards, and resets it and flashes "Hello World" every second.
I plan to rebuild it on an arduino proto shield so I can use the power supply from that directly and maybe use the arduino as another I2C target, test other pins etc. The current setup just checks the functionality of the logic converter and the Group 2 outlets. My main concern is that the LSF0102DCTR logic converter has 0.65mm pin spacing - half the spacing I have used on previous projects, so the likelihood of bridging during soldering is higher.
The jig uses a product board suspended above a proto-boards with pin headers. The protoboard holes are too small for the pogo pins to go through, so that gives a nice hard stop for height. The jig board has no components on it except the 4.7k pullup resistors for the 3V3 I2C bus, which are normally mounted on the Arduino MKR board itself, but missing from the ATTiny841.
The ATTiny841 board is from the shared space at oshpark. This is a very basic breakout, and I wish it had a footprint for the bypass cap - I'm running out of thru-hole 104's!
On the supply side the boards arrived very quickly - after Chinese new year ended - and various components and headers and connectors are on order, as are SMD stencils from oshstencils. I have enough parts on hand to make up a few by hand today. The one pictured was pick-and-placed approximately by my thrifty pnp and then manually soldered - after prodding the parts over to the right place. Tweezering is still much faster!

 Alastair Young
Discussions
Become a Hackaday.io Member
Create an account to leave a comment. Already have an account? Log In.