 Jan
JanIntroduction
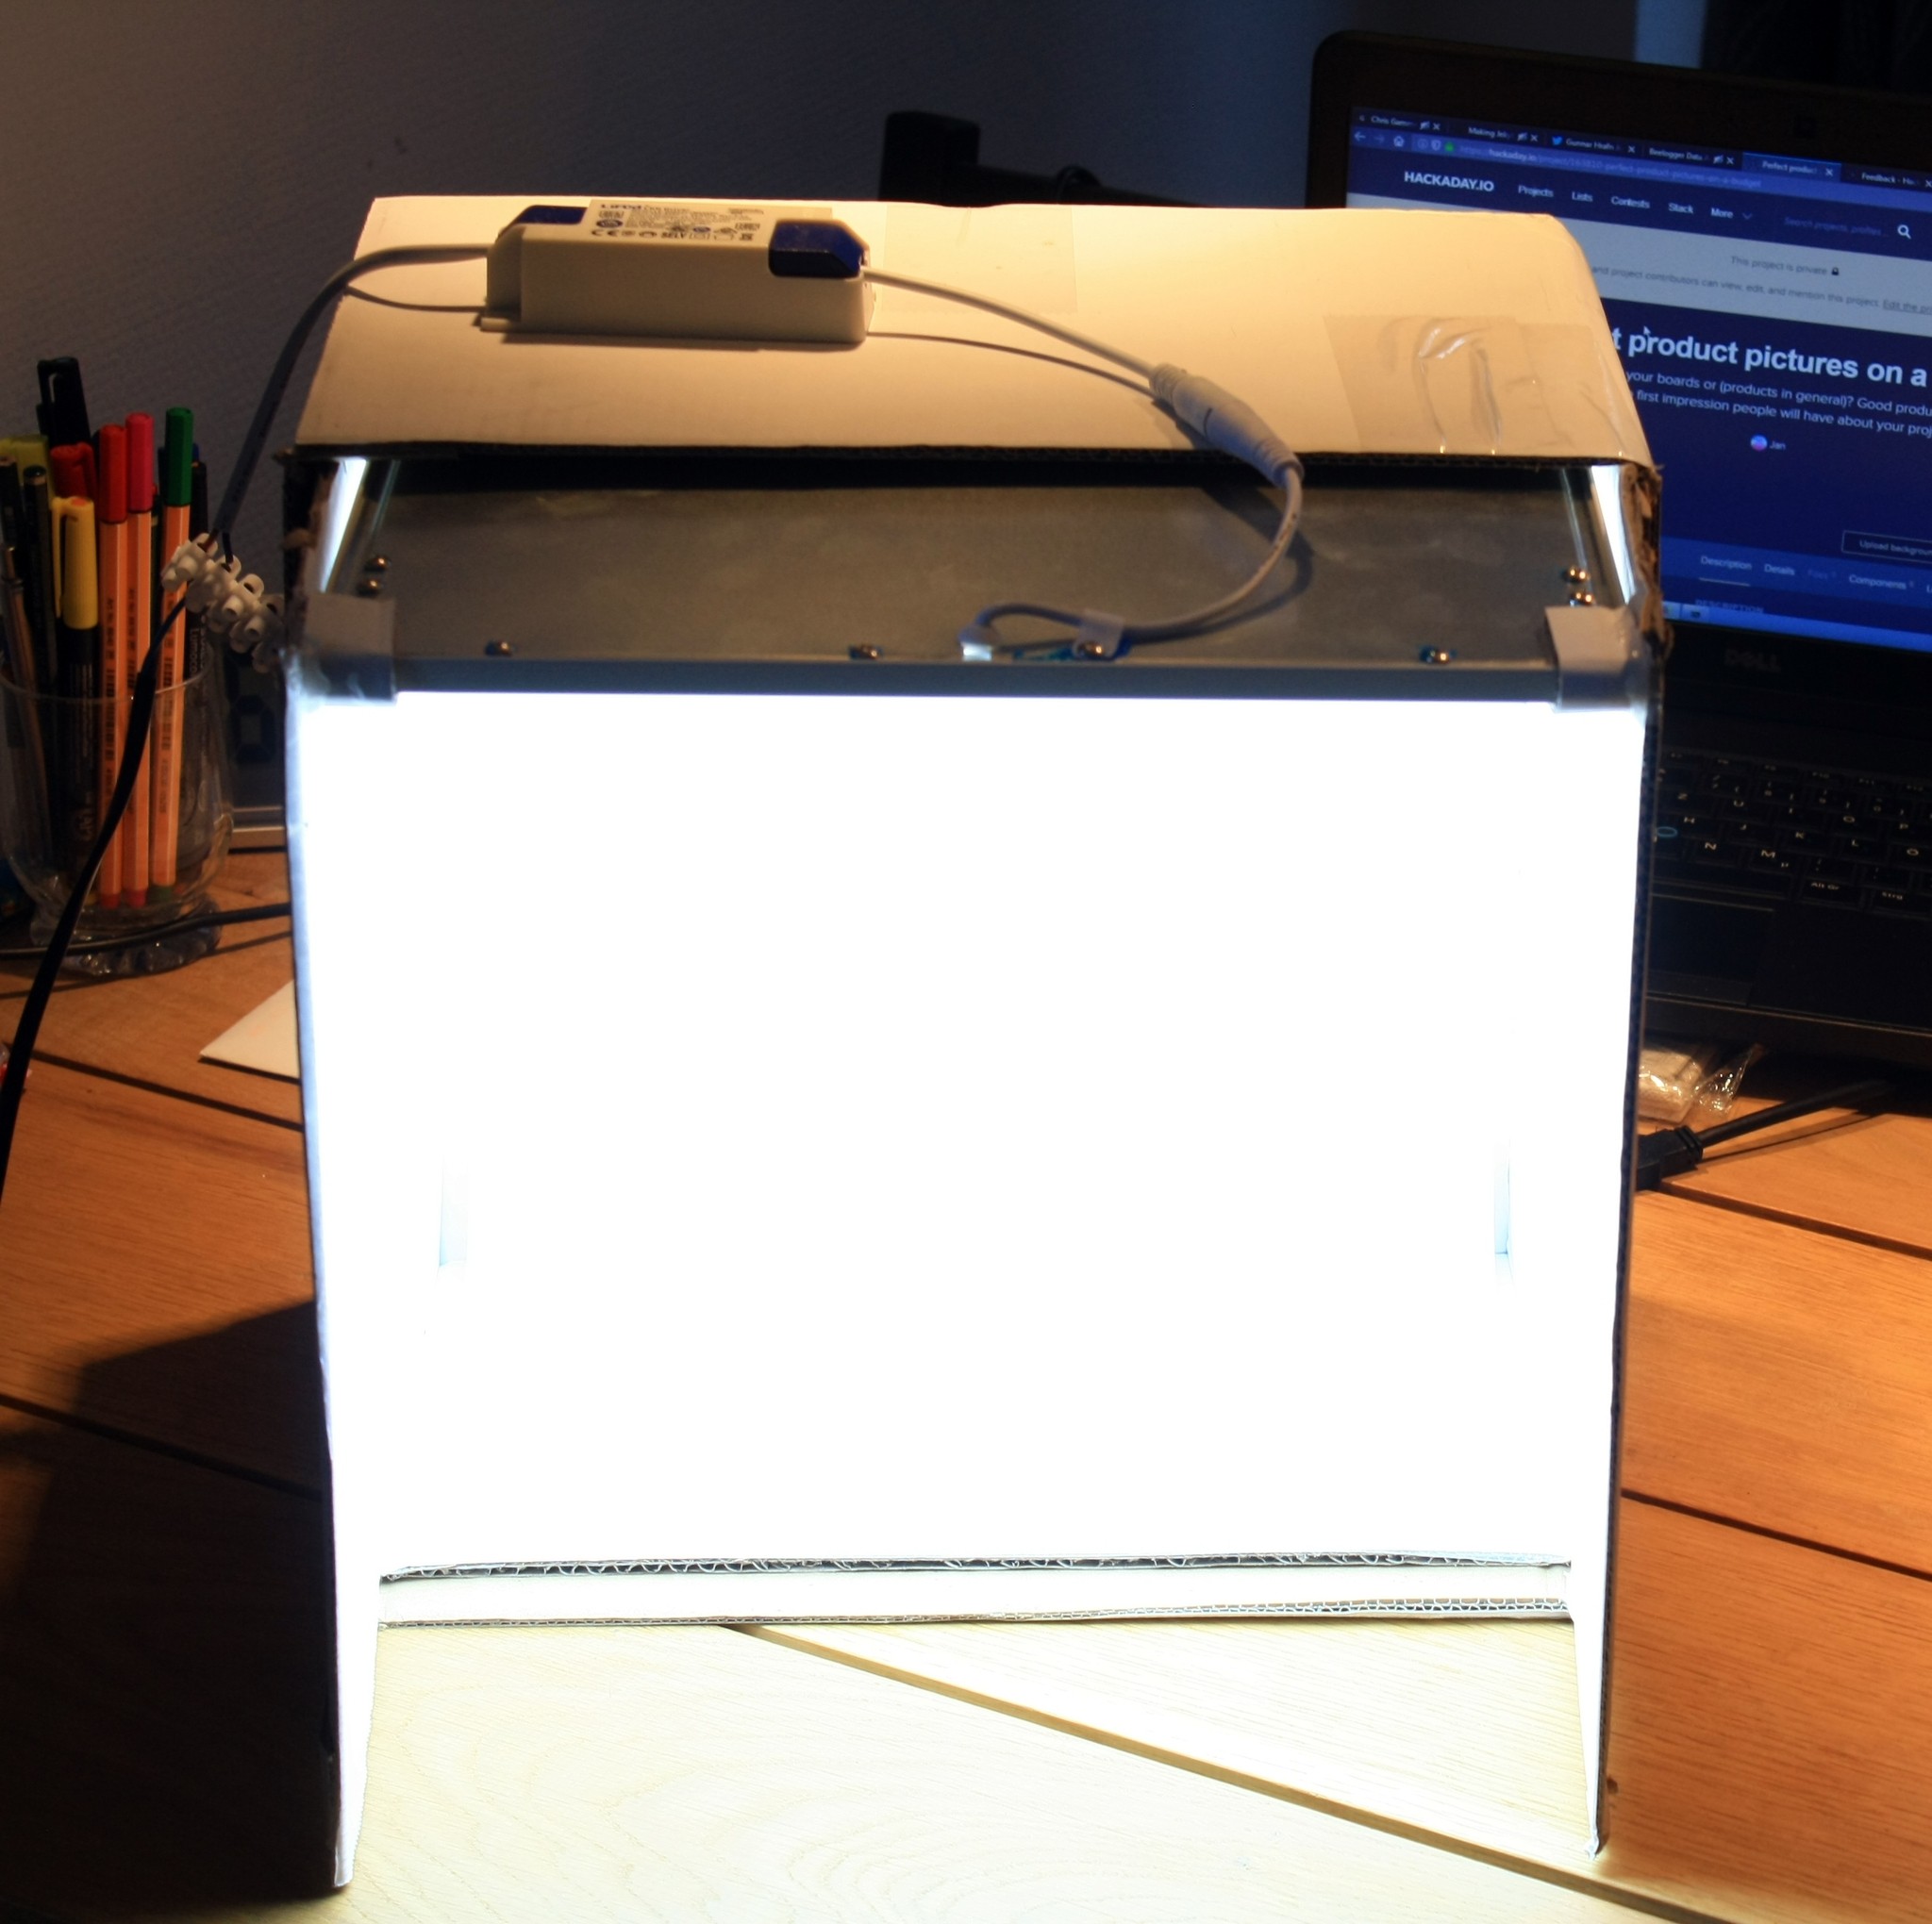
The lightbox is a really simple thing, it's no more than a cardboard box which suits your needs in size (bigger box for bigger products).
Many tutorials tell you to make huge cutouts in the side panes, glue some diffusing plastic sheet to it and point some kind of lamp to it to light the inside of the box.
We go a different route!
The box
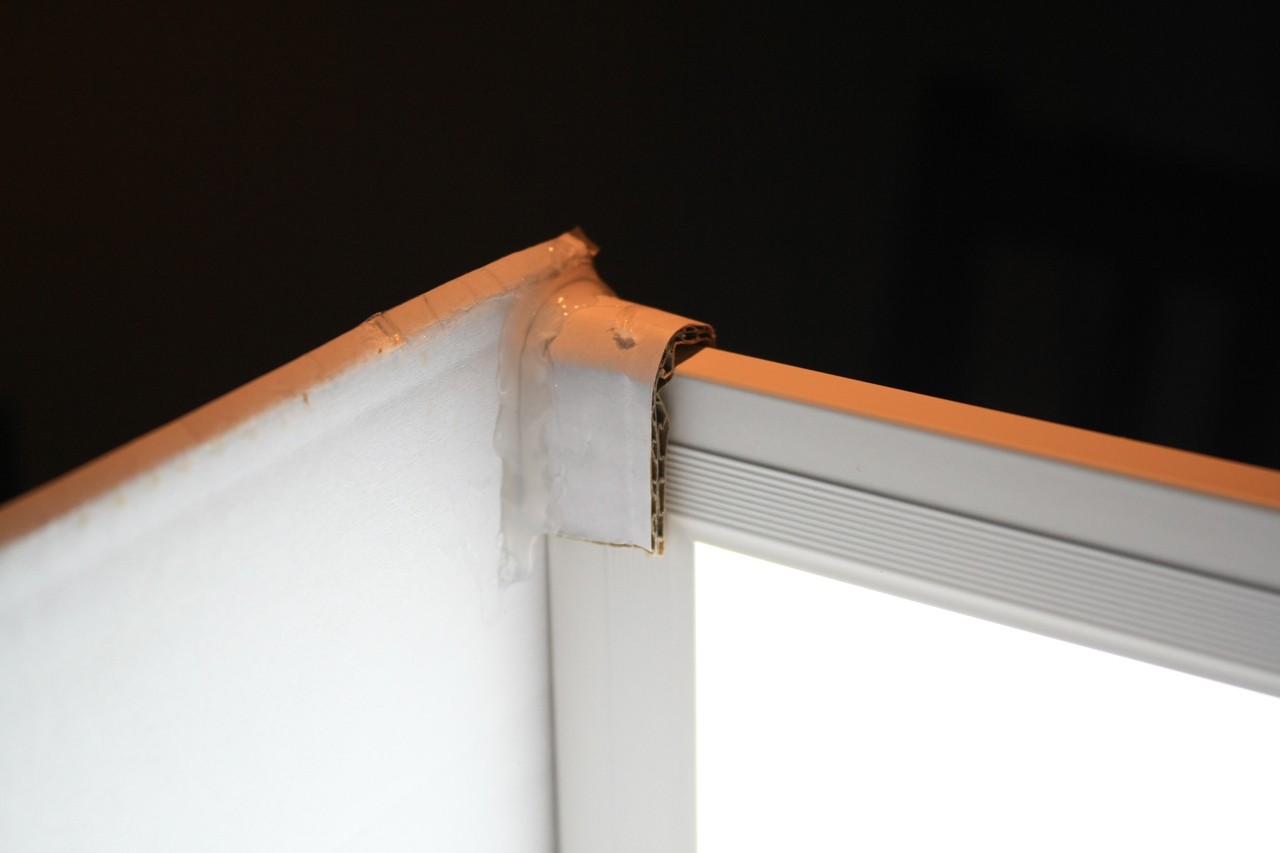
Use whatever you have at hand and can easily cut into and work with. I used a shipping box which is white on the outside. I cut off 4 flaps and glued them white-side facing in back into the box.
You want as much white surface inside your box as possible.
The light source
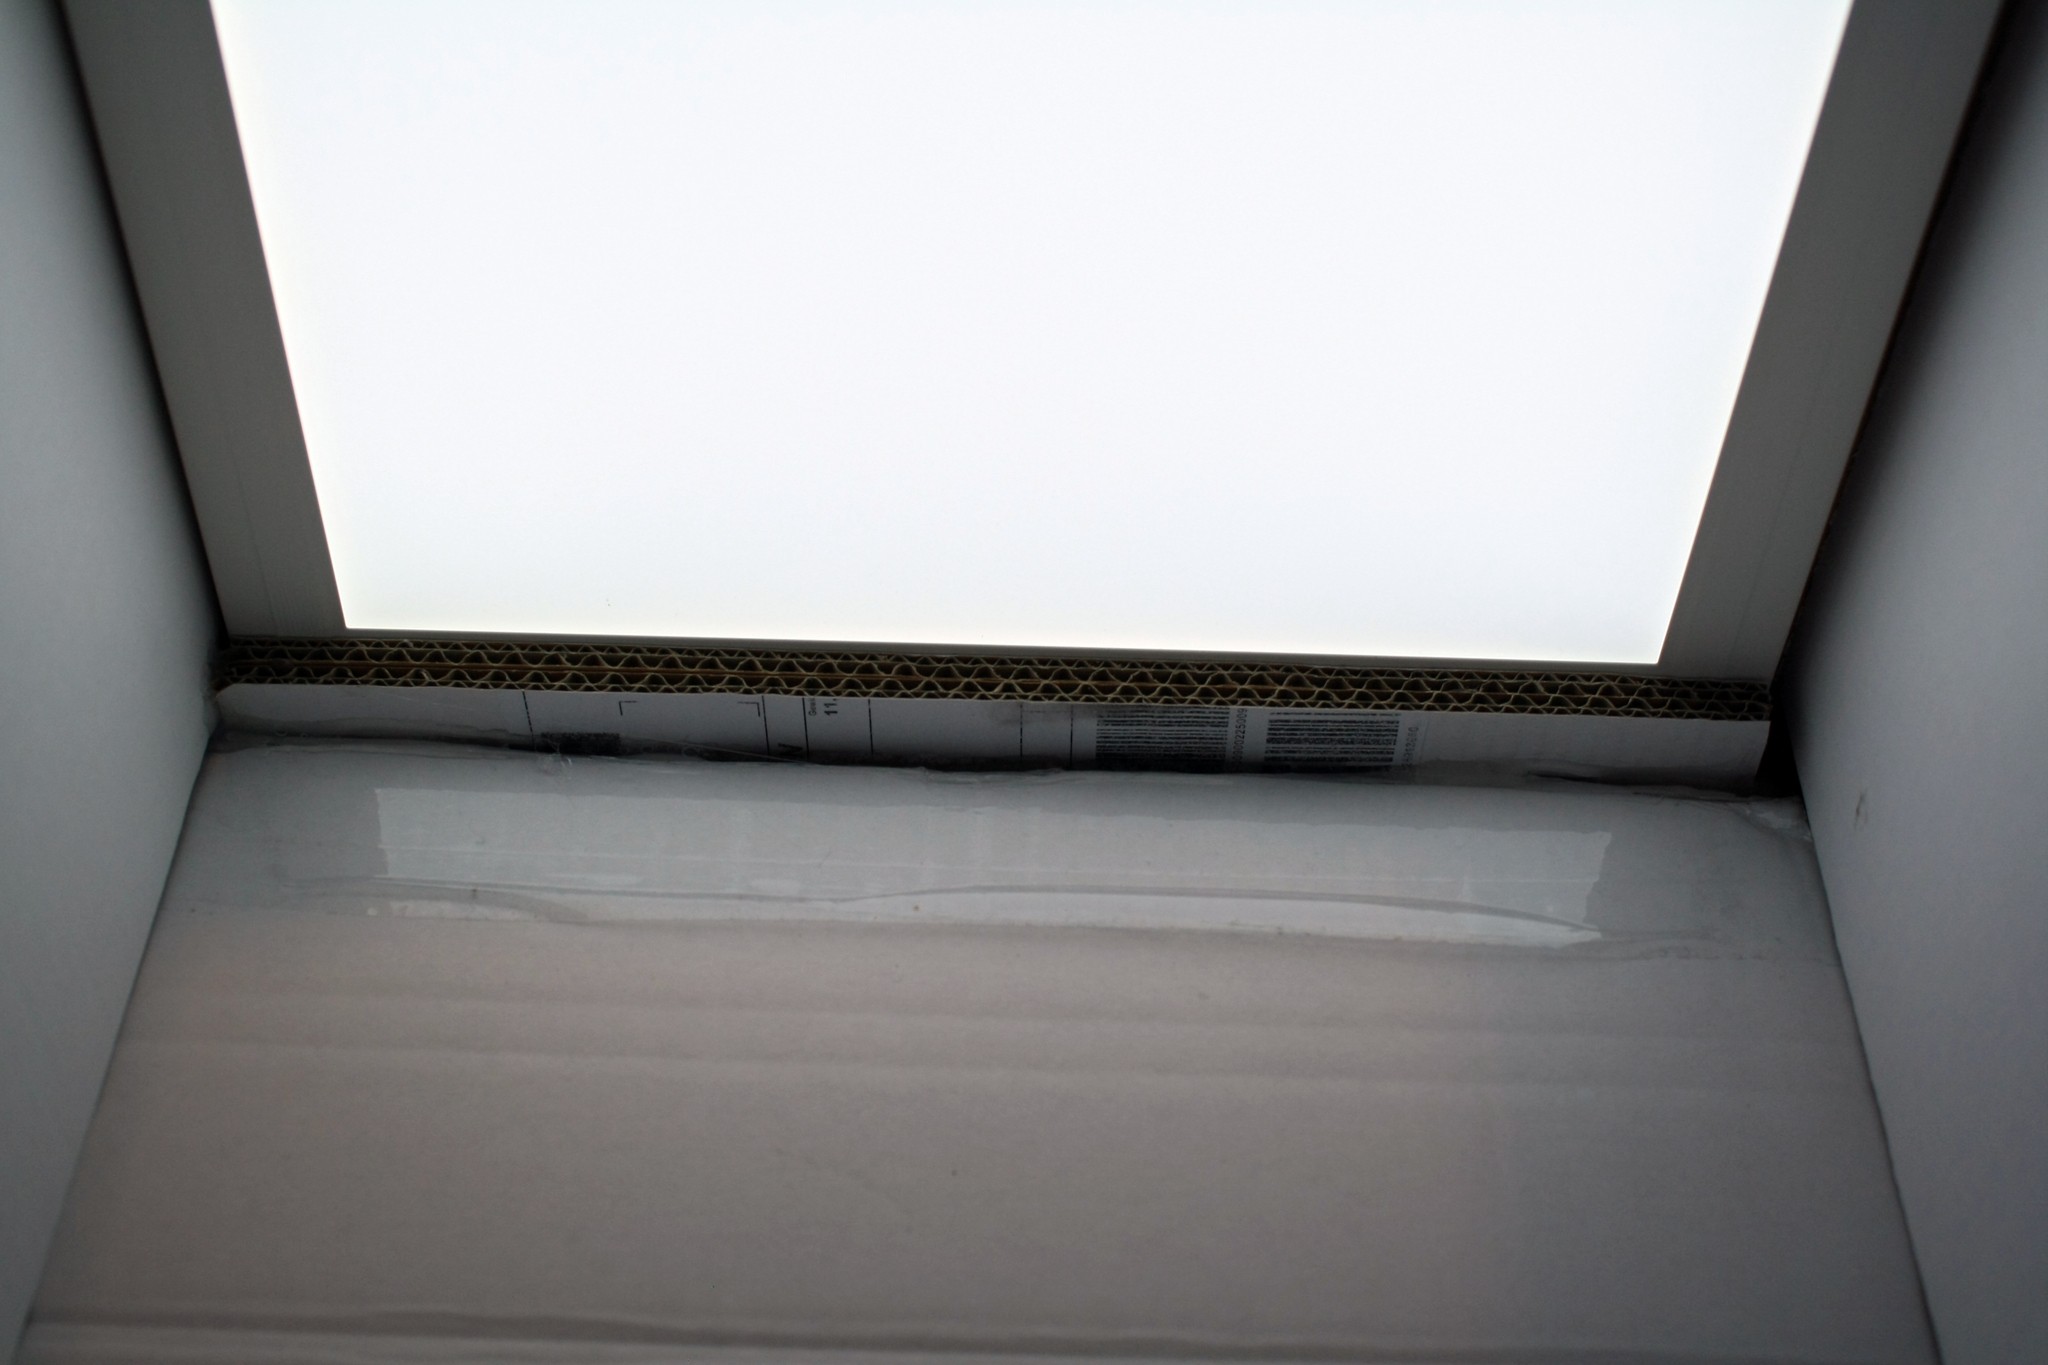
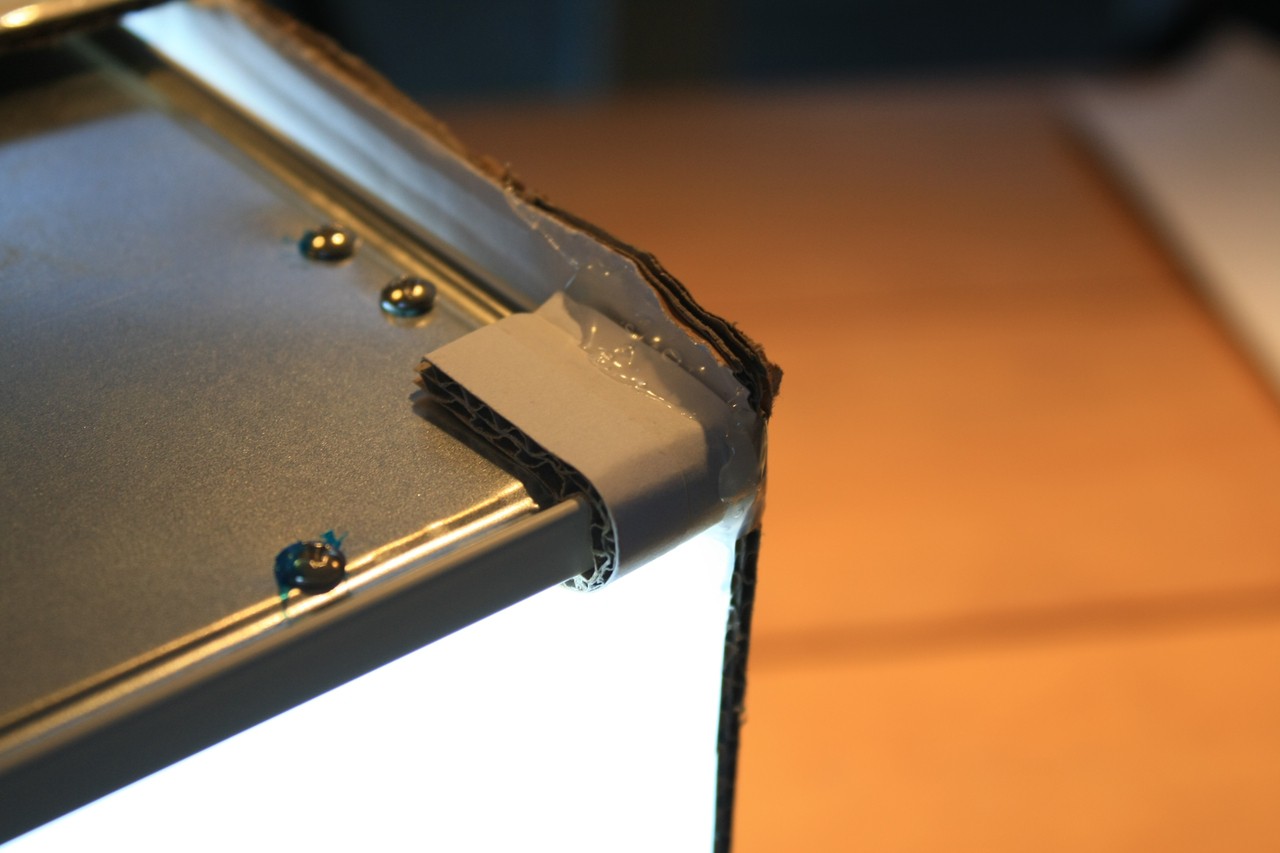
I chose one of those cheap LED-tiles for lighting rooms as the only light source. It is mounted inside, at the "ceiling" of your box. Search for "LED ceiling panel" or similar on eBay or wherever and get one :)
I glued some cardboard stripes to the back to make some kind of ledge for the panel to sit on. The panel is held in place by two "cardboard brackets" in the front of the box, so it can't fall down.
That's it. Really.
A few words on the light color: I chose 6500K, there are lot's of panels with 5000 to 5200K as well. They all work. Your camera does the white balancing anyway.
On a side note those cheap LED panels all come from China, no one knows what LEDs they use and if the have the color temperature printed on the box!
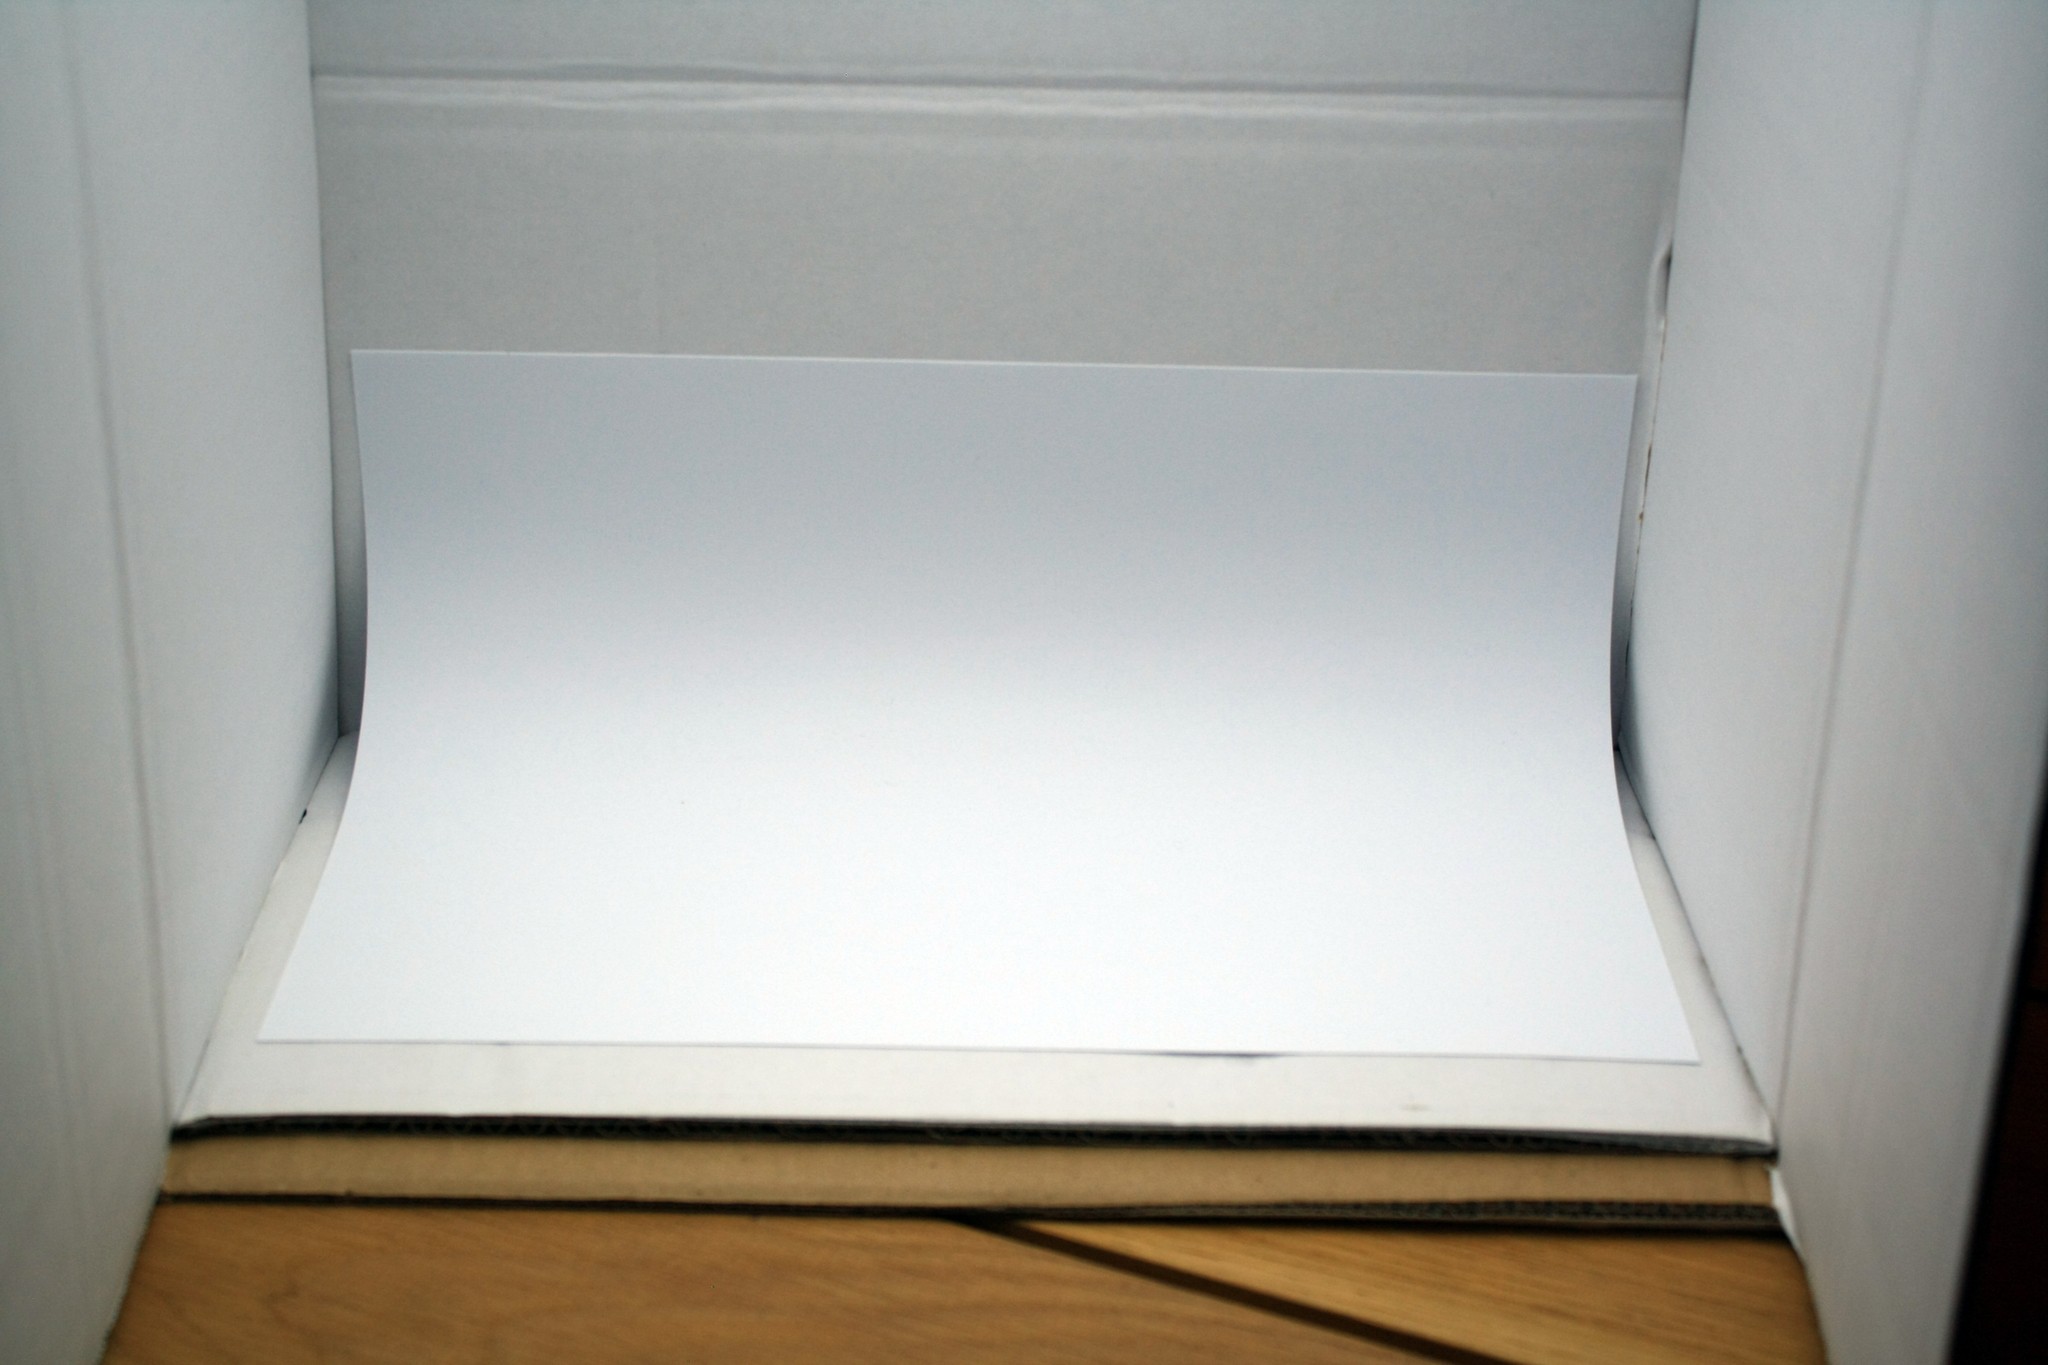
The "infinity" cove
This is just a sheet of white copy paper. It helps you keep hard shadows down to a minimum.
Discussions
Become a Hackaday.io Member
Create an account to leave a comment. Already have an account? Log In.