 EM
EMSo, while plastic bottles are pretty easy to process, I have a lot of 3D printing scraps, and I wanted to recycle those as well. So, I shall details my experiences with doing this.
Preparing the Plastic
-------------------------------
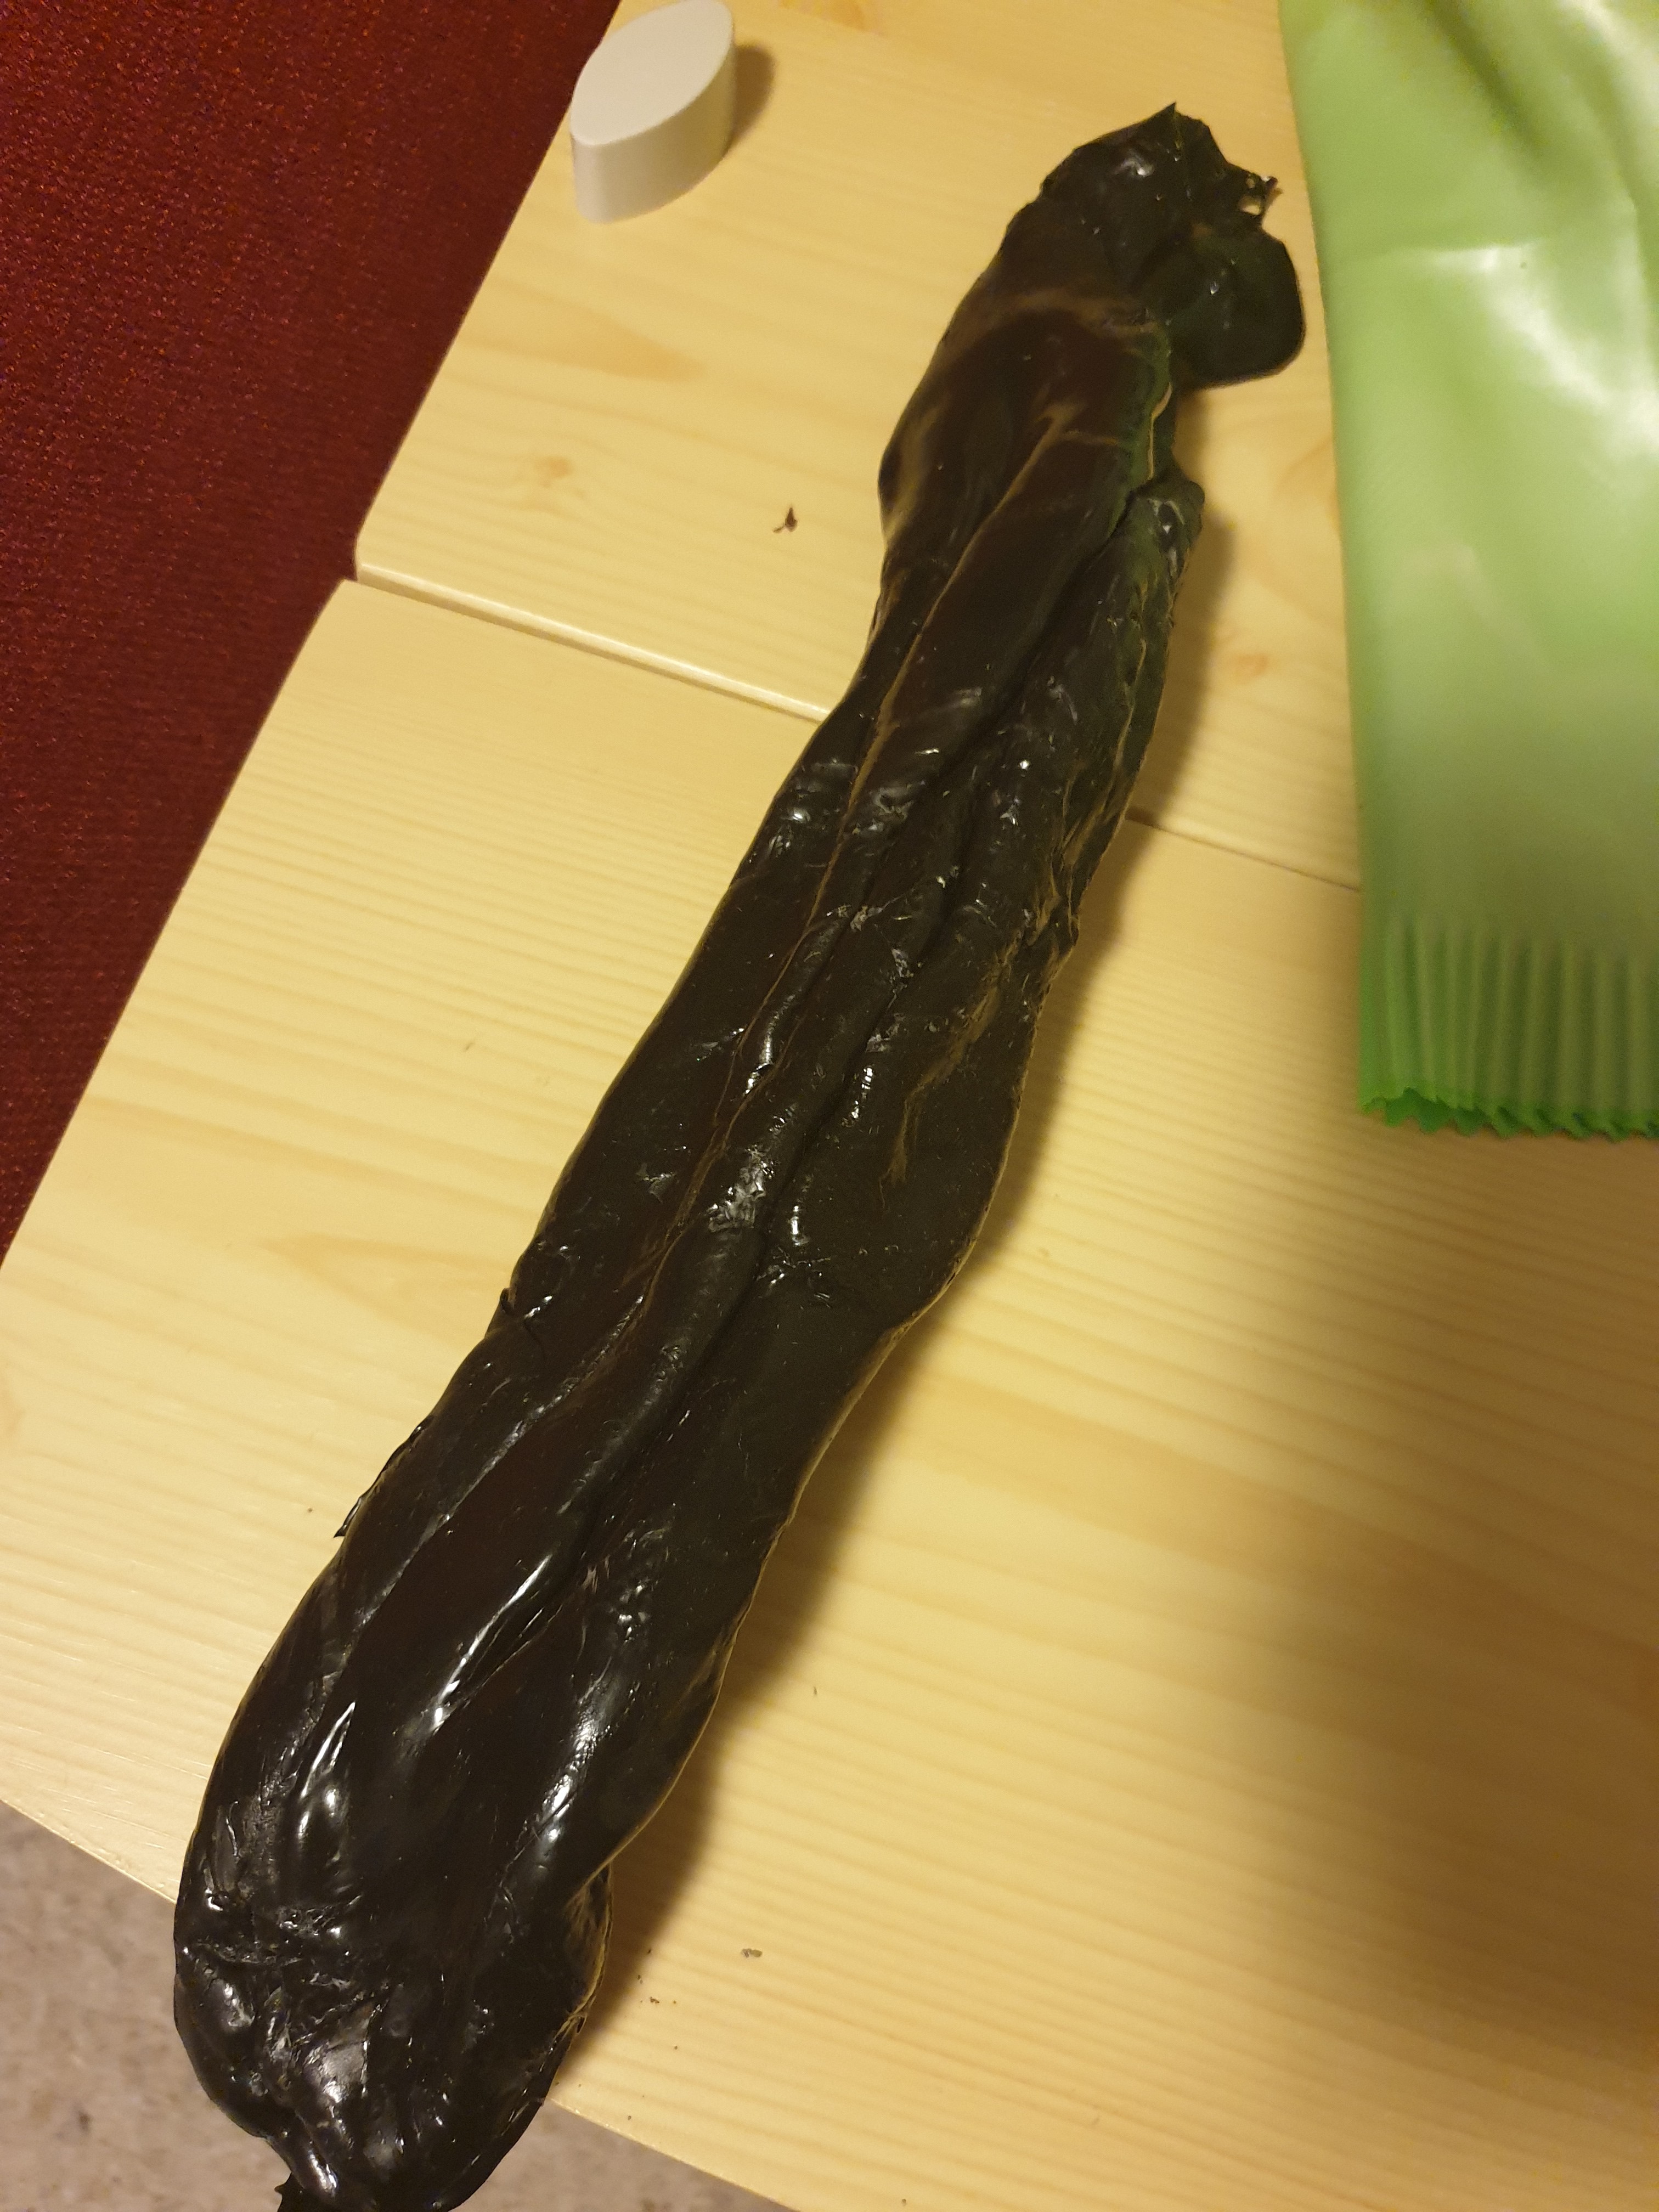
While the plastic from bottles comes in easily rolled up sheets that can be shredded without much issues, the scraps from 3D printing are a mixture of flaky, thin starting layers and far thicker failed prints. These couldn't be put into the mulcher, as the flaky pieces would fall straight through, and the larger parts would either not fit in the narrow entryway, or would snap, rather than shred, as the layered nature of FDM printing makes prints quite fragile along the X and Y axes. As such, I figured I'd melt it into something akin to a branch. While I lacked a tube suitable for using as a mould, I initially figured I could melt it in a flat baking tray lined with baking paper, snap the sheet into appropriately sized lengths, and feed those into the mulcher. However, I found my oven was not capable of melting the plastic fully. While it did combine all the plastic into one mass, it remained too viscous to spread out evenly. So I tried something else. After removing it from the oven, and wearing some washing up gloves, I peeled the plastic off the baking paper straight away, rolling it up into a tube. Once I had this, I then used a rolling pin to lengthen the tube and reduce it's diameter so it would fit into the mulcher. If anyone of you wish to try this, I would heavily recommend getting some thick leather gloves to use when handling the plastic, washing up gloves are not adequate, and I barely avoided burns multiple times. Once I had created this rod of plastic, I placed it in front of the air conditioner to cool for about an hour. I was impatient at the time, and it'd probably be best to leave it to cool overnight, as you want the plastic to be as brittle and solid as possible in order to avoid it just warping around the blade. Due to my difficulties handling the hot plastic, my initial attempt was too thick to easily fit into the mulcher, requiring me to apply considerably force to get it in. Once I had managed to get it into the mulcher, it shredded fine. However, while it shredded alright, the mulcher was definitely struggling, due to the thickness and strength of a solid rod of plastic. As such, in future I plan to create longer, thinner rods, and if possible attempt to keep the inside hollow, which will allow for smaller fragments. The other issue I encountered was the blades cutting the end down until there was nothing for them to catch on, requiring me to remove the rod and rotate it. Doing this several time managed to get through the majority of the plastic, although I was left with the thickest part at the end, as I was unable to get it to shred.
Instructions
-----------------
- Gather PLA plastic scraps
- Line large, deep oven tray with baking paper
- Place the amount of scraps you think will fill the tray once melted on the tray
- Place tray in oven and turn the temperature as high as it will go (this is about 280C on mine)
- Wait until there are no obvious scraps left unmelted and you have one continuous mass
- Remove from oven
- While wearing thick gloves, roll the plastic up
- Use a roller (I used a wooden one) to roll out the roll of plastic into a long rod, I'd recommend being pretty aggressive with this and getting it as thin as possible before the plastic cools enough to start providing resistance
- Leave to cool overnight
- Shred!
Pictures
------------

Discussions
Become a Hackaday.io Member
Create an account to leave a comment. Already have an account? Log In.