 ahorn42
Whereas version 1 and 2 mainly used lasercuted gears, the transmission of version 3 consists of nearly 100% 3D printed parts. The pulleys and also the belts were 3D printed, only the axes of the pulleys and the bearings were not.
Some challenges were to find the right diameter for the bore of the pulleys to perfectly fit and to build up the transmission on minimum required space and allowing a 18:1 ratio to archive 0.1° rotation by one step of the stepper motor. Also the camera needs to be well balanced so the motors have enough torque to move the camera and withstand external impacts like wind. Another "requirement" due to the lack of time was to reuse as many parts from the old design as possible, but also to leave the door open for plan B (plan B was to revert all changes and use the old design of version 2).
The results is a quite interestingly looking devices, because of many holes in the aluminium parts - but hey - it also saved me some weight to carry on the hikes during the vacation :)
Nevertheless the results were very very satisfying, beyond some minor issues it was much more easy to use and transport as version 2, even if I did not change anything on the software. But the build-up-time, required transport volume and weight, as well as the better resistance against wind impact and the finer rotation resolution were such an improvement that I forgot about the software issues most time. The largest panorama so far had about 2.8 gigapixles (not the panorama shown in the gallery, it has about 1GP at full size, the version uploaded here is downscaled a lot ;). But there is definitely more possible. The main constrains usually are the available time at a place, weather conditions, air pollution or bad sight.
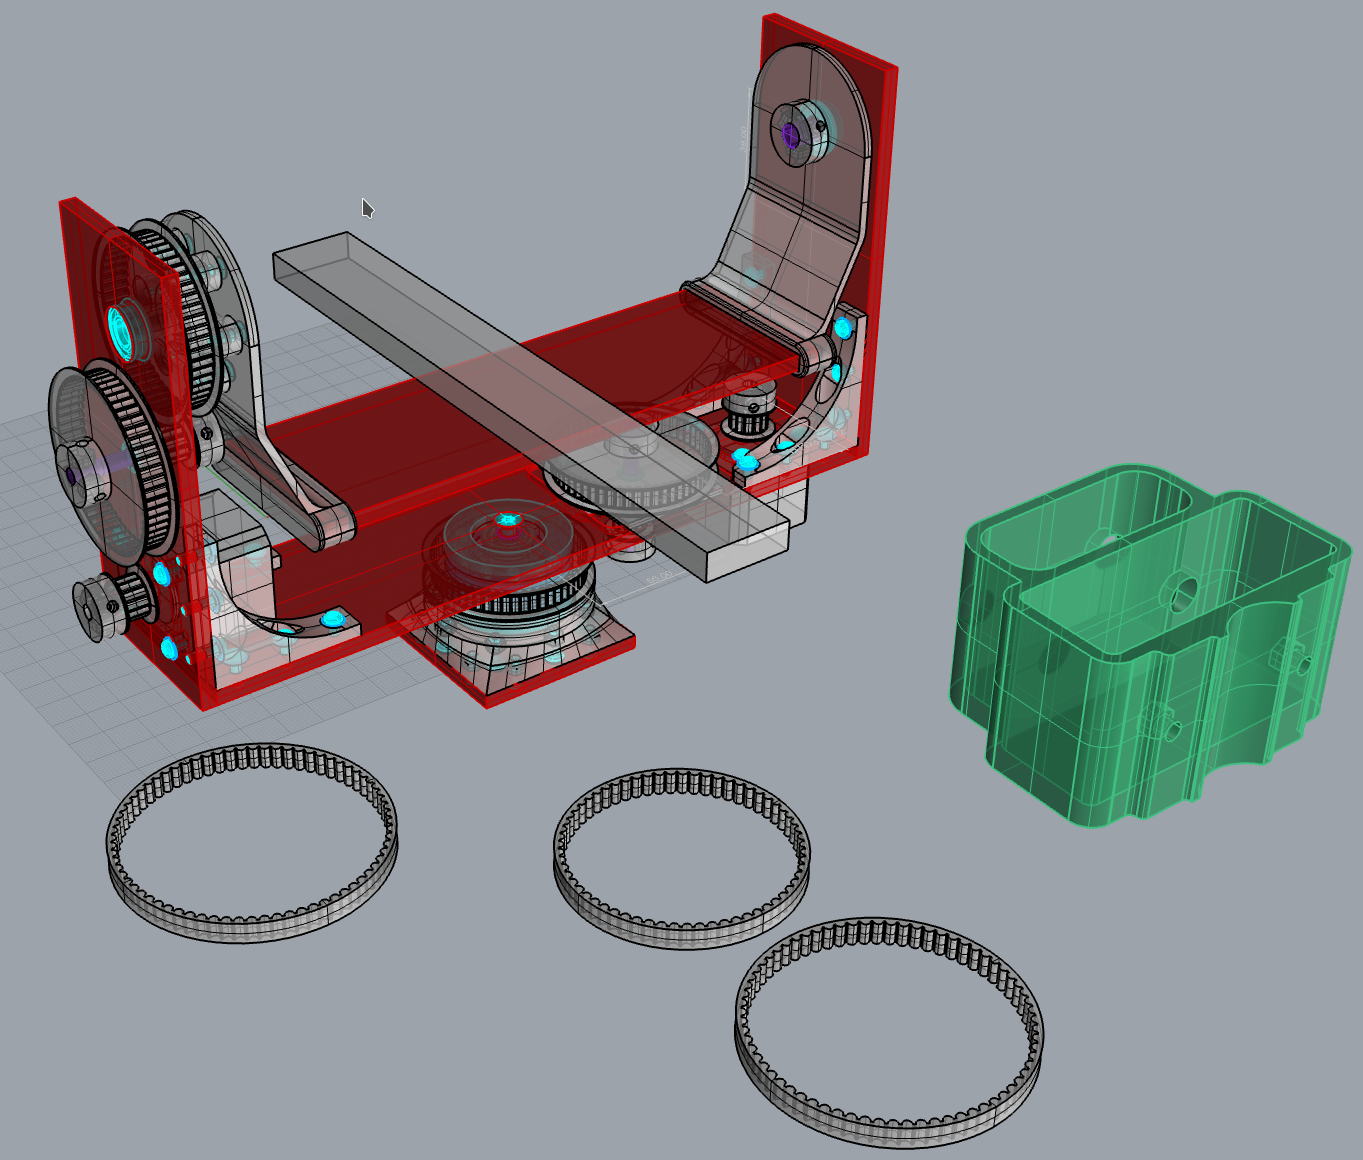
The image above shows the model of nearly all parts of the project, the panorama head in the back, the belts in the front and on the right a little case to mount the powerbanks on the tripod.
Designing Pulleys and Belts
The first pulley and belt I printed about two years ago. This prototype was designed as single purpose object, but since I started to use self printed pulleys and belts more often I created a Grasshopper project (see image below) to easily generate the pulleys and belts according to me needs. (Grasshopper is a plugin for Rhino CAD that allows parametric design) The grasshoper file can be found in the upload as well (htd.gh). HTD stands for high torque drive and is a common shape for pulleys and belts. In this project I used a 3mm tooth pitch, which seems to be at the lower end of possible belts and pulleys that are printable with standard FDM printers. 2.5 might still work, but 3 was well enough till now.

The script allows to define several parameters, e.g. what belt size, what material is used for printing (to adjust the additional extra size on holes etc.), how many tooth, what screws are used for fixation etc.
Printing Belts
Printing the belts was actually easier than expected. You simply need to design them and print them with a flexible, but not too elastic material. I used TPU (more precisly Polymaker Polyflex TPU (Shore A95) and Extrudr TPU Medium (Shore A98)). Clearly these belts are not capable of lifting heavy loads without elongation, but for lightweight use cases as in this example, 3D printed belts seem to be good option to save some money and time. Another advantage is, that you don't need to match an existing tooth count (usually belts are only sold in thooth counts dividable by 3).
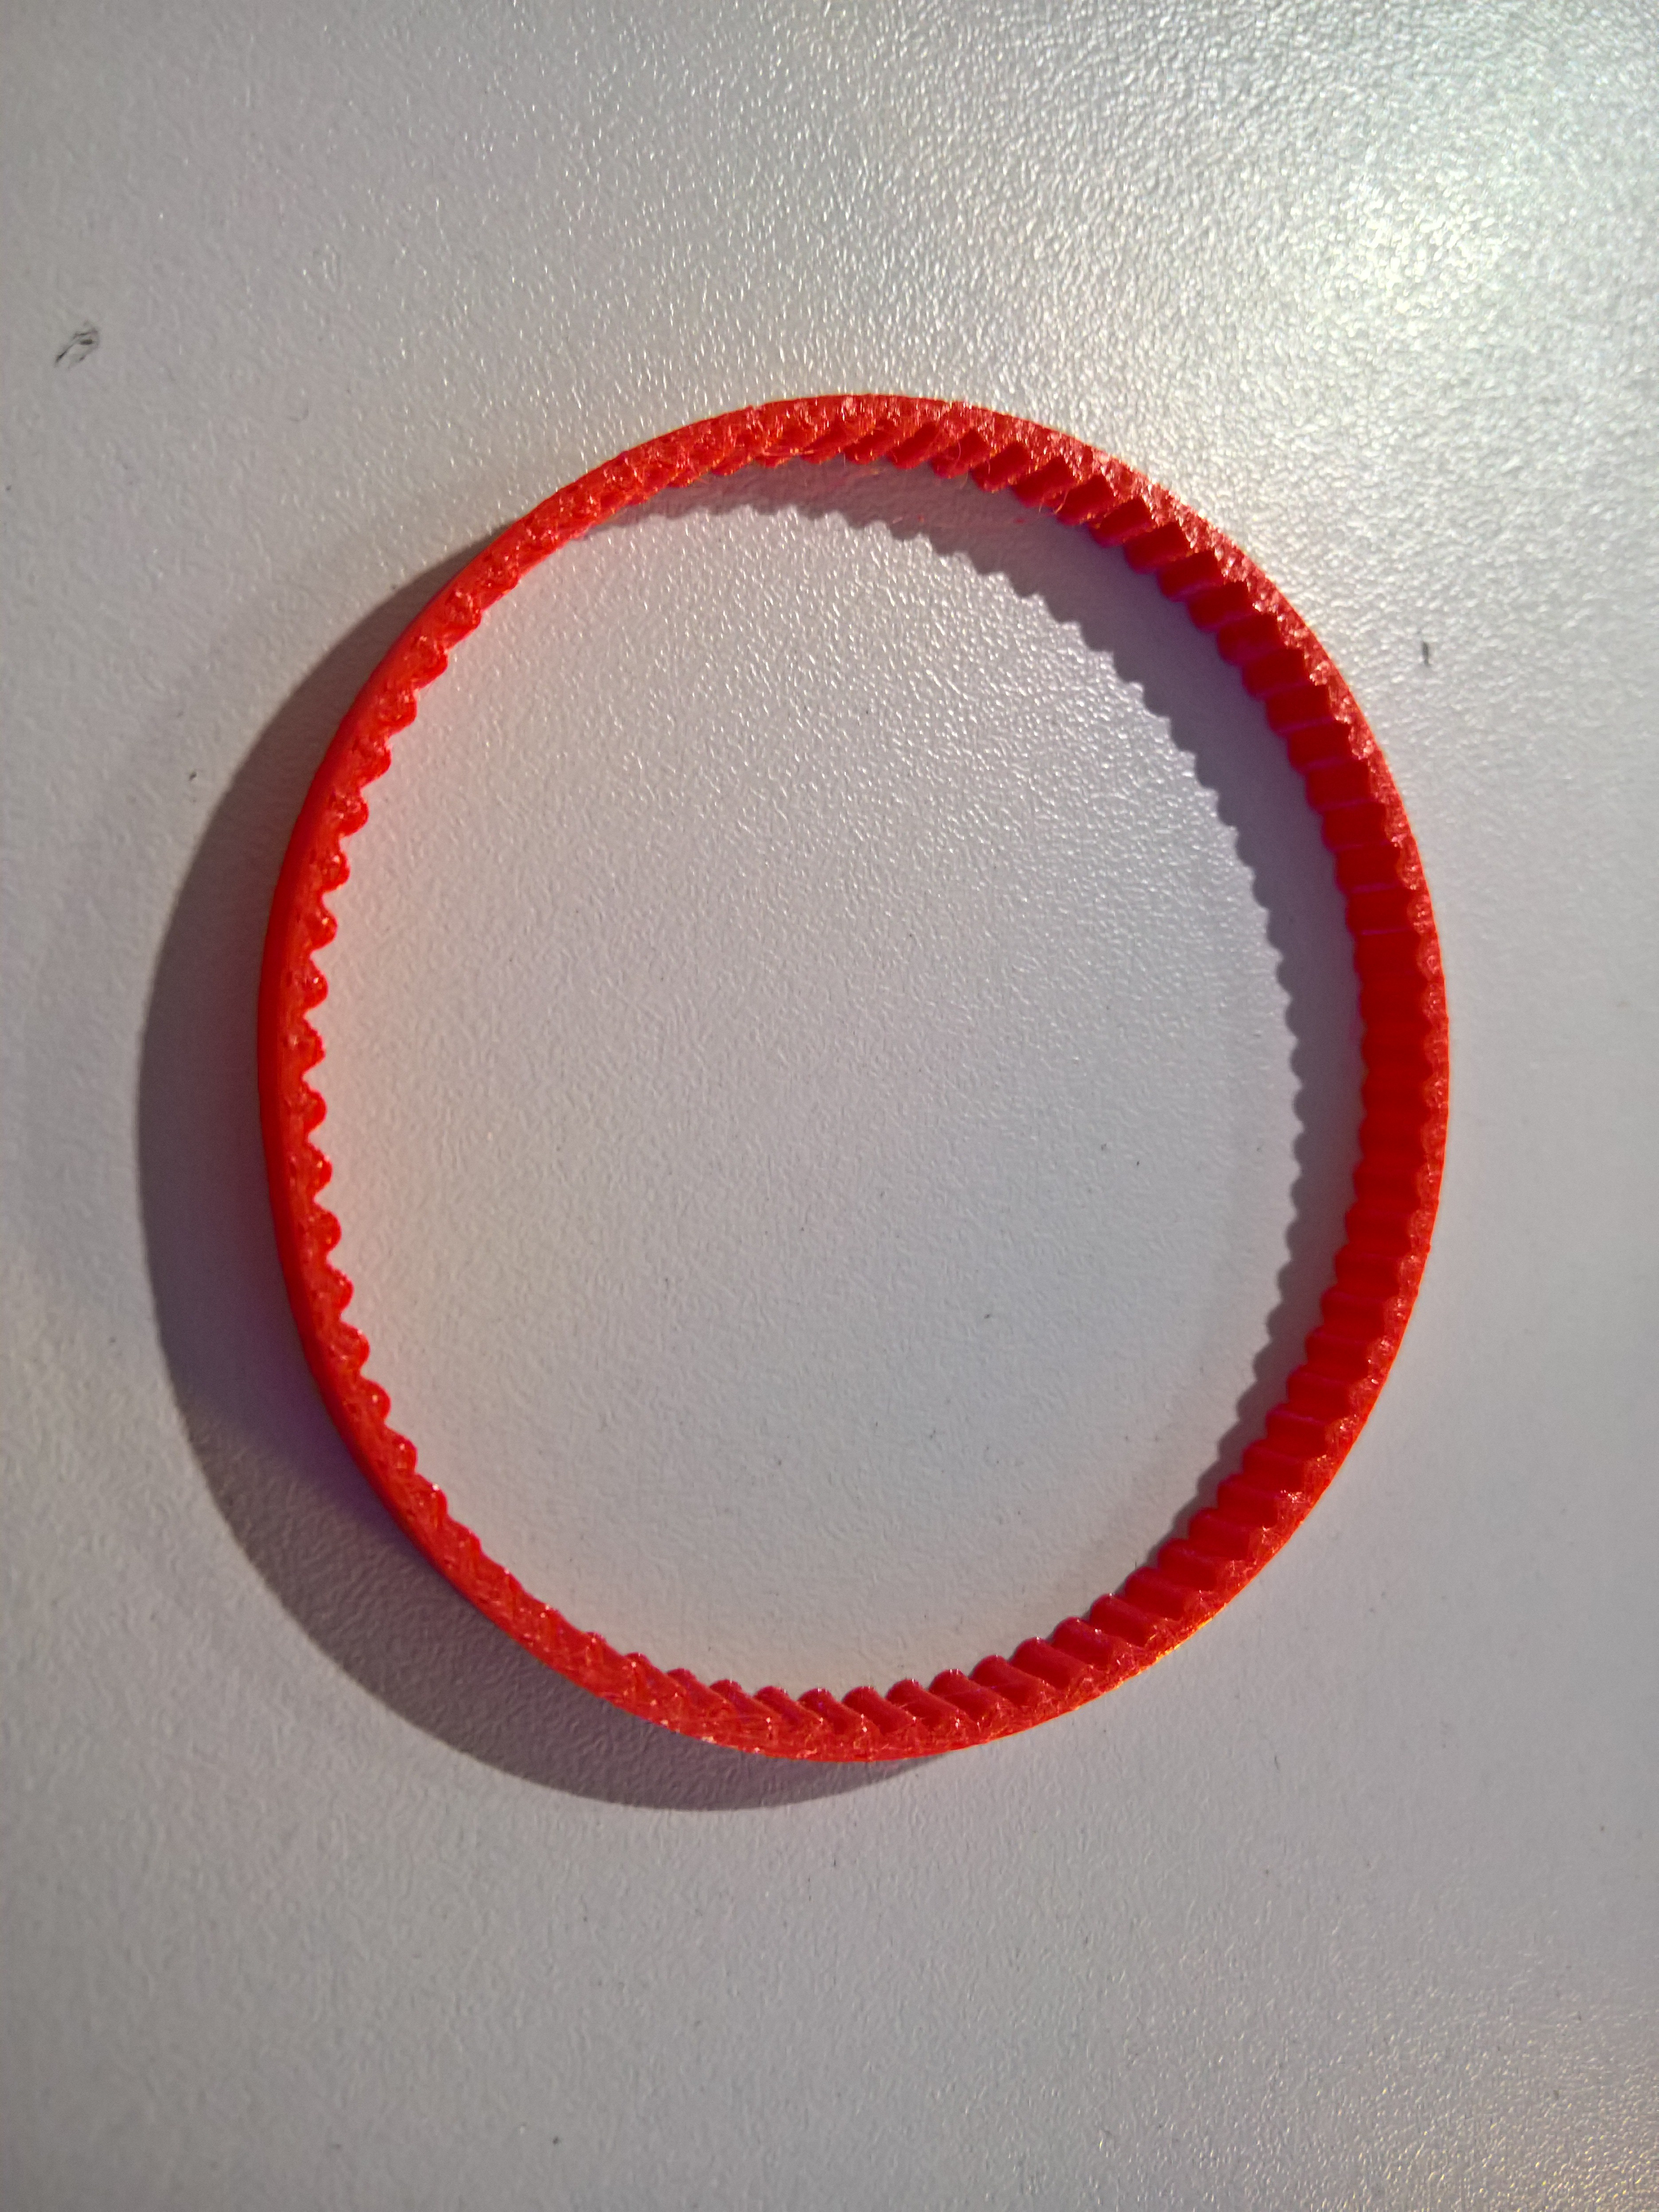
Some tips for the slicing: DO NOT USE BRIM and if possible, reduce the expansion of the first layer a little...
Read more »


 Patrick
 Ted
Ted
 Greg Duckworth
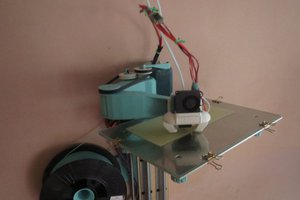
 dekutree64
Wow, love the printed belts on this one. Great stuff!