 Ronald McCollam
With the components hooked up and working, it was time to fit everything into the case.
First up, I drilled a hole for a microUSB extension cable which I connected to the HUZZAH board. I wanted to be able to charge the internal battery and reprogram this without ever opening it up again if possible. I have pictures of that but you really can't see it as it's just a black hole in a black object, so take my word for it.
The first thing I'd need was a way to mask the display at the bottom of the ball. The Magic 8 Ball contains a tube of dark black liquid, so it's pretty opaque on its own. But my display was bright and shiny, and looked like hot garbage just shoved into the circular hole I'd left.
So I started by taking apart a pair of sunglasses to make a dark lens. This had the advantage of being slightly curved already, so fit in well with the shape of the sphere. Out came the trusty Dremel tool again!

(Note the masking tape covering the teeth on the pliers. That was so I didn't scratch up the lens as I held it when I attacked it with the Dremel tool. I definitely didn't want to hold the lens with my fingers while doing this -- trust me, you only make that sort of mistake once.)
I traced around the original 8 Ball interior on the lens with a pencil, thinking that would get me close enough to start doing detail work with a knife. But miraculously, there's a bit of tolerance inside the ball so my Dremel work was enough. It even fit pretty tightly! But I threw some hot glue (or as I call it, Craft Solder) on top of it to be sure.
The display still had a bright white rectangular outline around it where the backlight shone through. I tried coloring over the backlight with a black magic marker, which actually did help some, but not enough. So the next step was to carefully mask it out with high-precision, space-age cardboard. Luckily Adafruit sends all of their packages in black cardboard boxes! Did I mention that I love Adafruit?
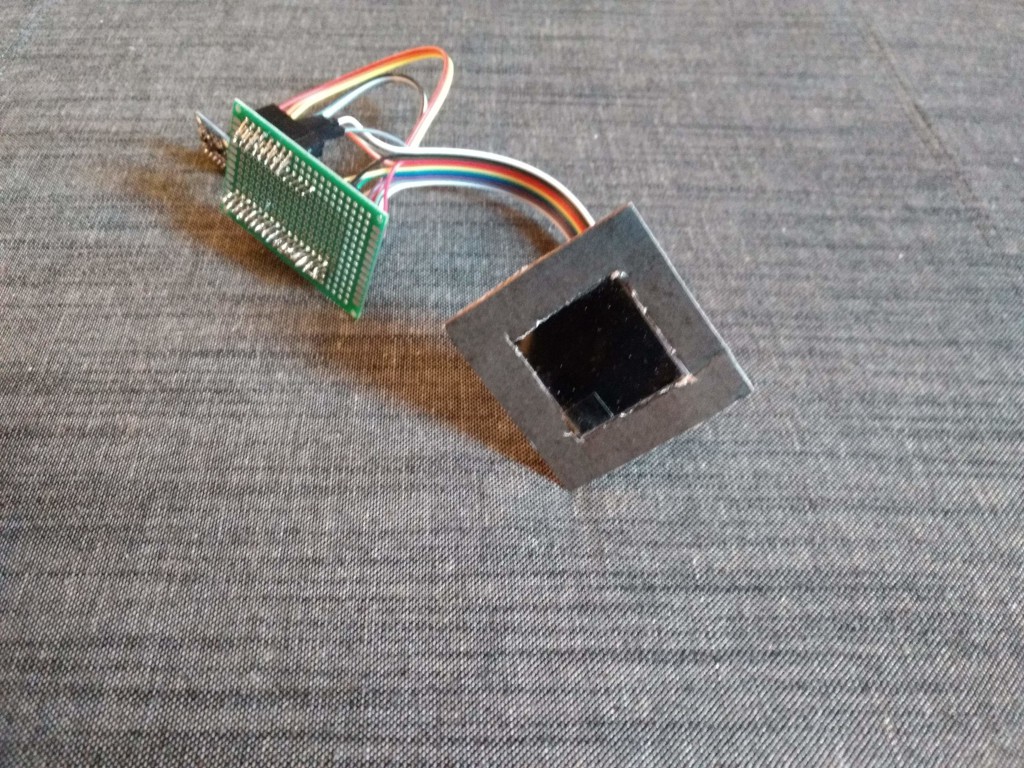
(Pictured here attached to the fully soldered setup because I forgot to take a picture of it on the breadboard.)
So obviously I went to town with the solder (or as I call it, Electronics Glue). I soldered everything together (with a brief diversion to re-solder the one pin I messed up which just happened to be ground, nothing important) and started trying to put it all together.
Turns out that solder and wires and boards also take up space that you should account for when roughing out physical layout.
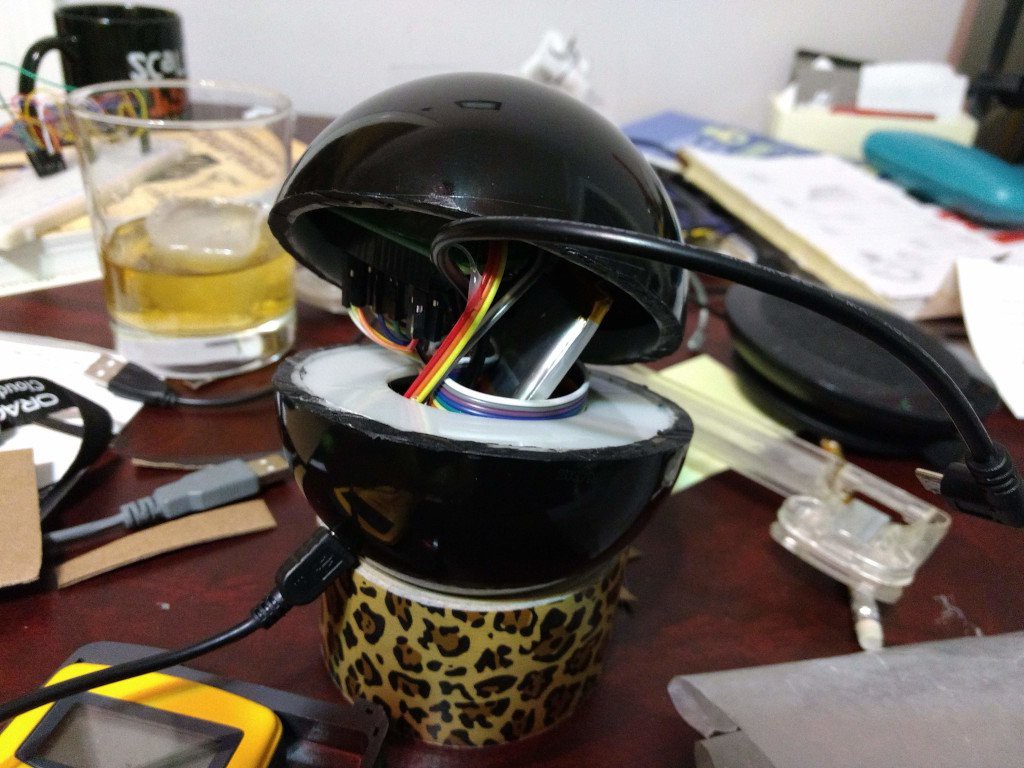
(Also pictured: the whisky I poured to console myself.)
I fooled with this for practically forever before giving up and using a smaller battery. Then it all fit. My biggest concern was that things sloshing around inside would knock loose a connection or that plugging/unplugging would loosen the microUSB port.
Reader, I used seven sticks of hot glue here.
Discussions
Become a Hackaday.io Member
Create an account to leave a comment. Already have an account? Log In.