 Jdaie
JdaieThe Problem
Many software engineers are able to developing products base on raspberry pi, but few of them are good at soldering. Pi zero is very small, it's a good choice when you plan to create a portable prototype. But when it comes with a power bank connected, it's not longer that cute. So we are thinking if there is a portable, solderless solution to supply power for pi zero, it will be very friendly for raspberry pi beginners!
Project Video
How It Works (PiSugar 1)
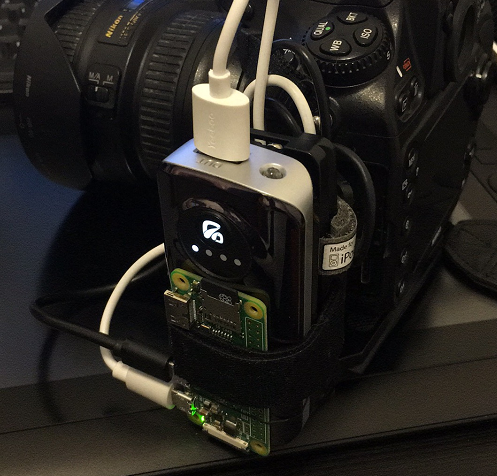
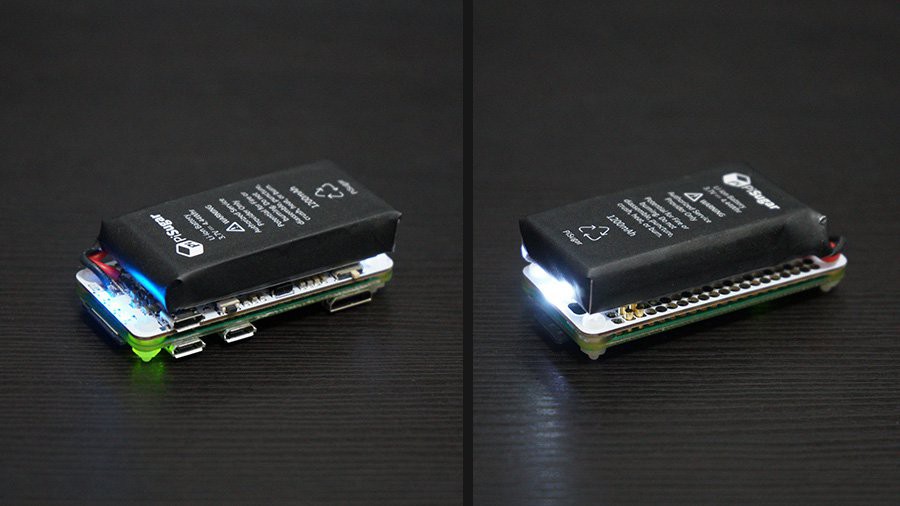
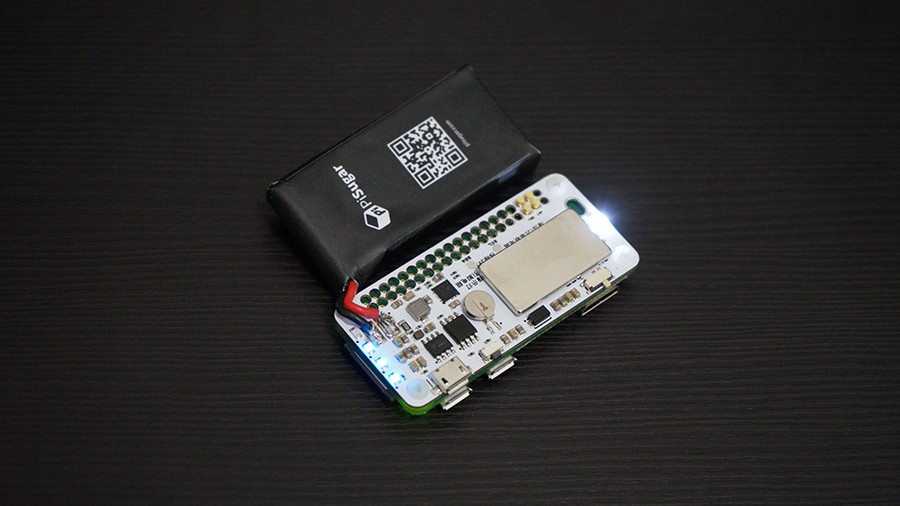
PiSugar battery module use small spring pins to power pi zero from its backside. The 5V power is transited via two bottom pads of pi zero. Therefore it's no need to have a USB cable. Attach the battery board to the back of pi zero is the only thing you need to do.
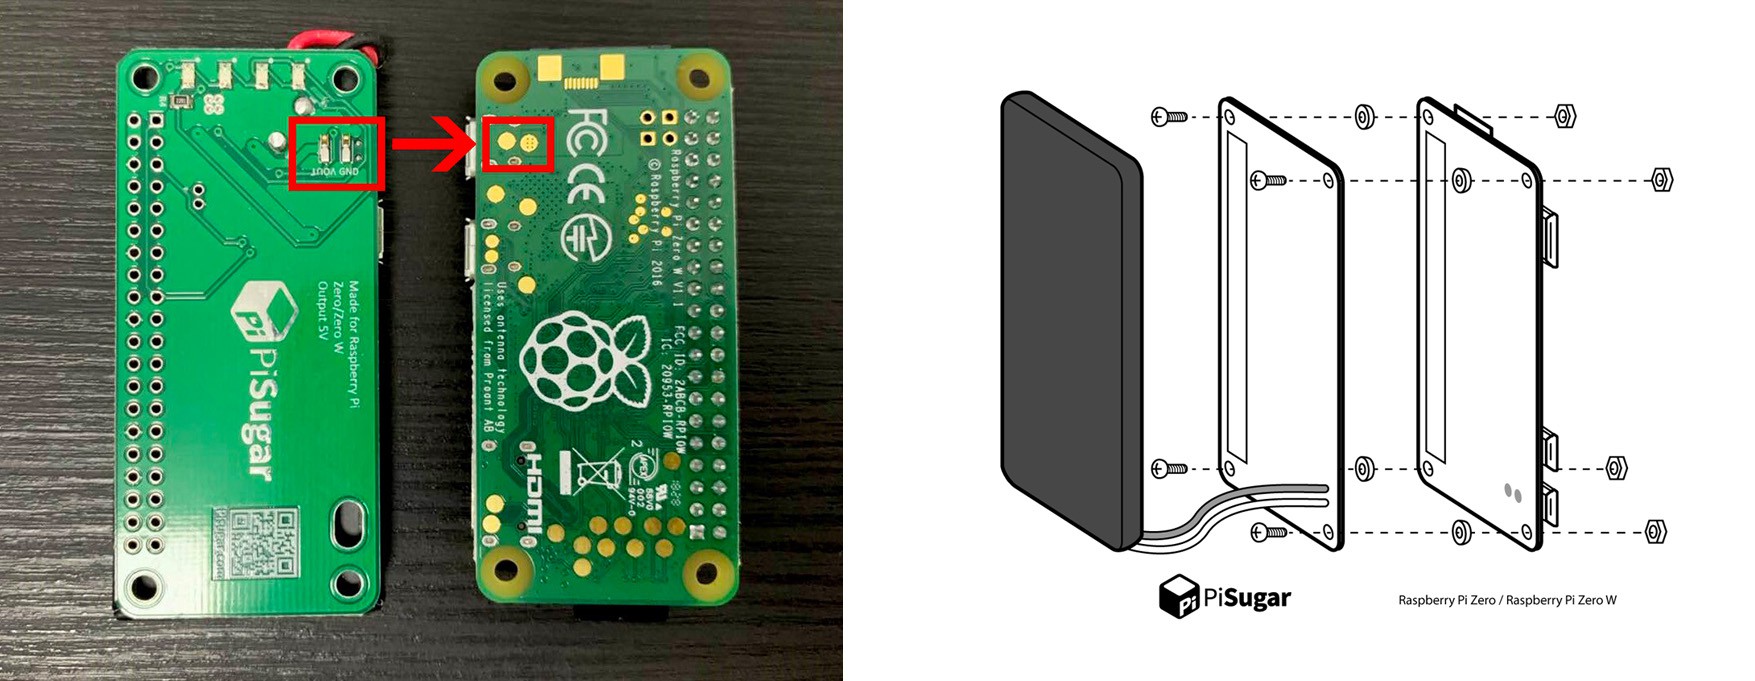
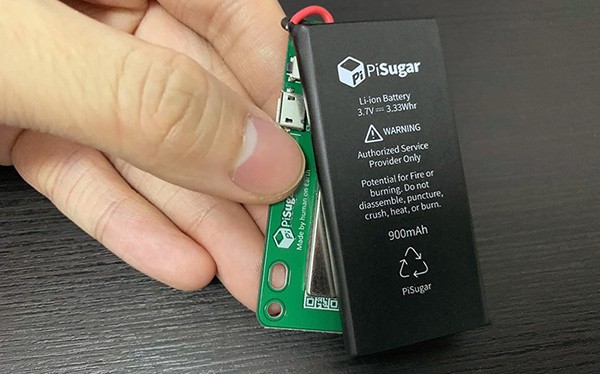
The Li-on battery and the board have the same dimension, so it will mask the screw wholes. Also placing the battery directly on the board is not good for radiating. Therefore we use a magnet to attract the battery to the board, it keeps enough distance between the battery and the board. In another hand, when you need to use the screw wholes, you can easy move away the battery.
SPEC (PiSugar 1)
- same size as pi zero
- super easy to install
- compatible with other piHats
- micro USB charging
- on-board switch
- magnetic design
Full Introduction
Installation
PiSugar has a on-board switch, you can light up your pi zero anywhere with one click. Double click to turn off. Also you can use it when it is charging.
PiSugar Battery is now available on amazon and mercadolibre.
Purchase links:
US, Spain, Italy, France, Germany, UK, Brazil , Argentina, Chile, Mexico
PiSugar Cases
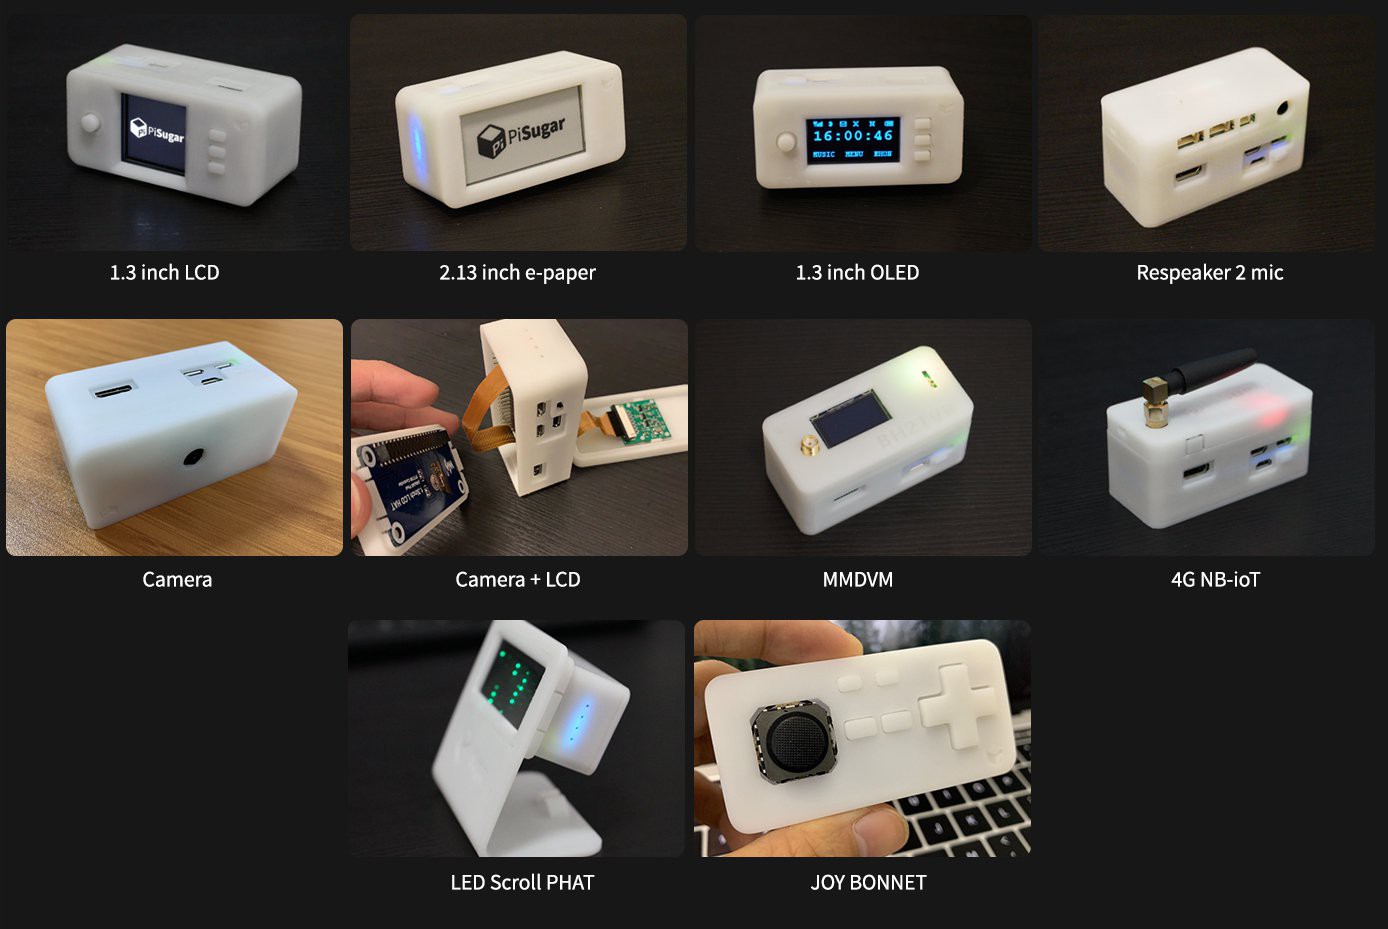
As our goal to make Raspberry Pi more friendly to beginners. We also develop 3D print case models for pi and battery. Also we are continuously creating caps for different piHats! It's now open-source. You can download STL files and print your own pi case.
Basic Case: https://github.com/PiSugar/PiSugar/tree/master/model
Use Cases
Download PiHat Caps: https://github.com/PiSugar/pisugar-case-pihat-cap
About PiSugar 2
It has been half a year since we started designing PiSugar 2. This time we have added lots of important features without increasing its size!
How PiSugar 2 Works
In the previous generation we use spring contact to connect pi zero’s bottom pads. However pi zero cannot interact with the battery without data connection.
Therefore In PiSugar 2, we use special designed pogo pin (sugar-pin) to connect gpio from the bottom. By connecting 5V, GND and 2 i2c pins, we are now able to reach to status of the battery. As we are always insist on solderless and compact sizing, we decide to redesign the pogo pin:
To avoid power interruption when pulling out the charging cable, PiSugar 2 use a double chips design. One chip is for charging, while another is for output. So the output chip won’t switch from battery mode to charging mode and the power won't be interrupted.
PiSugar 2 has an RTC, which is on i2c bus and links to the power chip. You can set an alarm to schedule an auto wake up for your pi. It's now possible to set your pi to work 5 minutes per day and leave it of the grid for a few month : D
A tap button is added to PiSugar 2. It connects to the power chip and finally go to i2c bus. Thus it won't take place of any gpio pin of pi zero. Which is pretty sweet! You can customize single/double/long tap functions. For example you can use single tap as shutter button if you are making a small camera. Or a double tap for a safe shutdown.
SPEC
- Same size as the previous generation!
- Uninterrupted power supply (UPS)
- Real Time Clock (RTC) and schedule wake up
- Slide switch for power
- Customizable tap button
- Battery status detection (battery percent and charging status)
- Powerful management software (GUI and Web)
- System api for secondary development
One More Thing
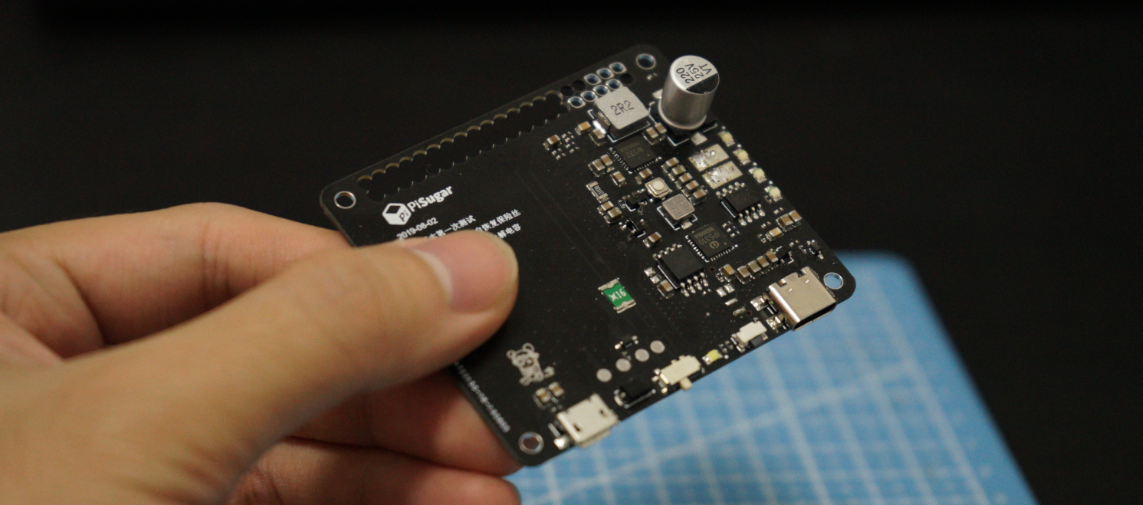
As Raspberry Pi 4B has been published, we are also preparing the bigger version, PiSugar 2 Pro for Pi 2, 3, 4. As we have always insisted, we need it to be portable. So again we choose to power from the bottom with sugar-pin. It will have a type-C charging port and the battery will be designed as detachable.
To be continue ...