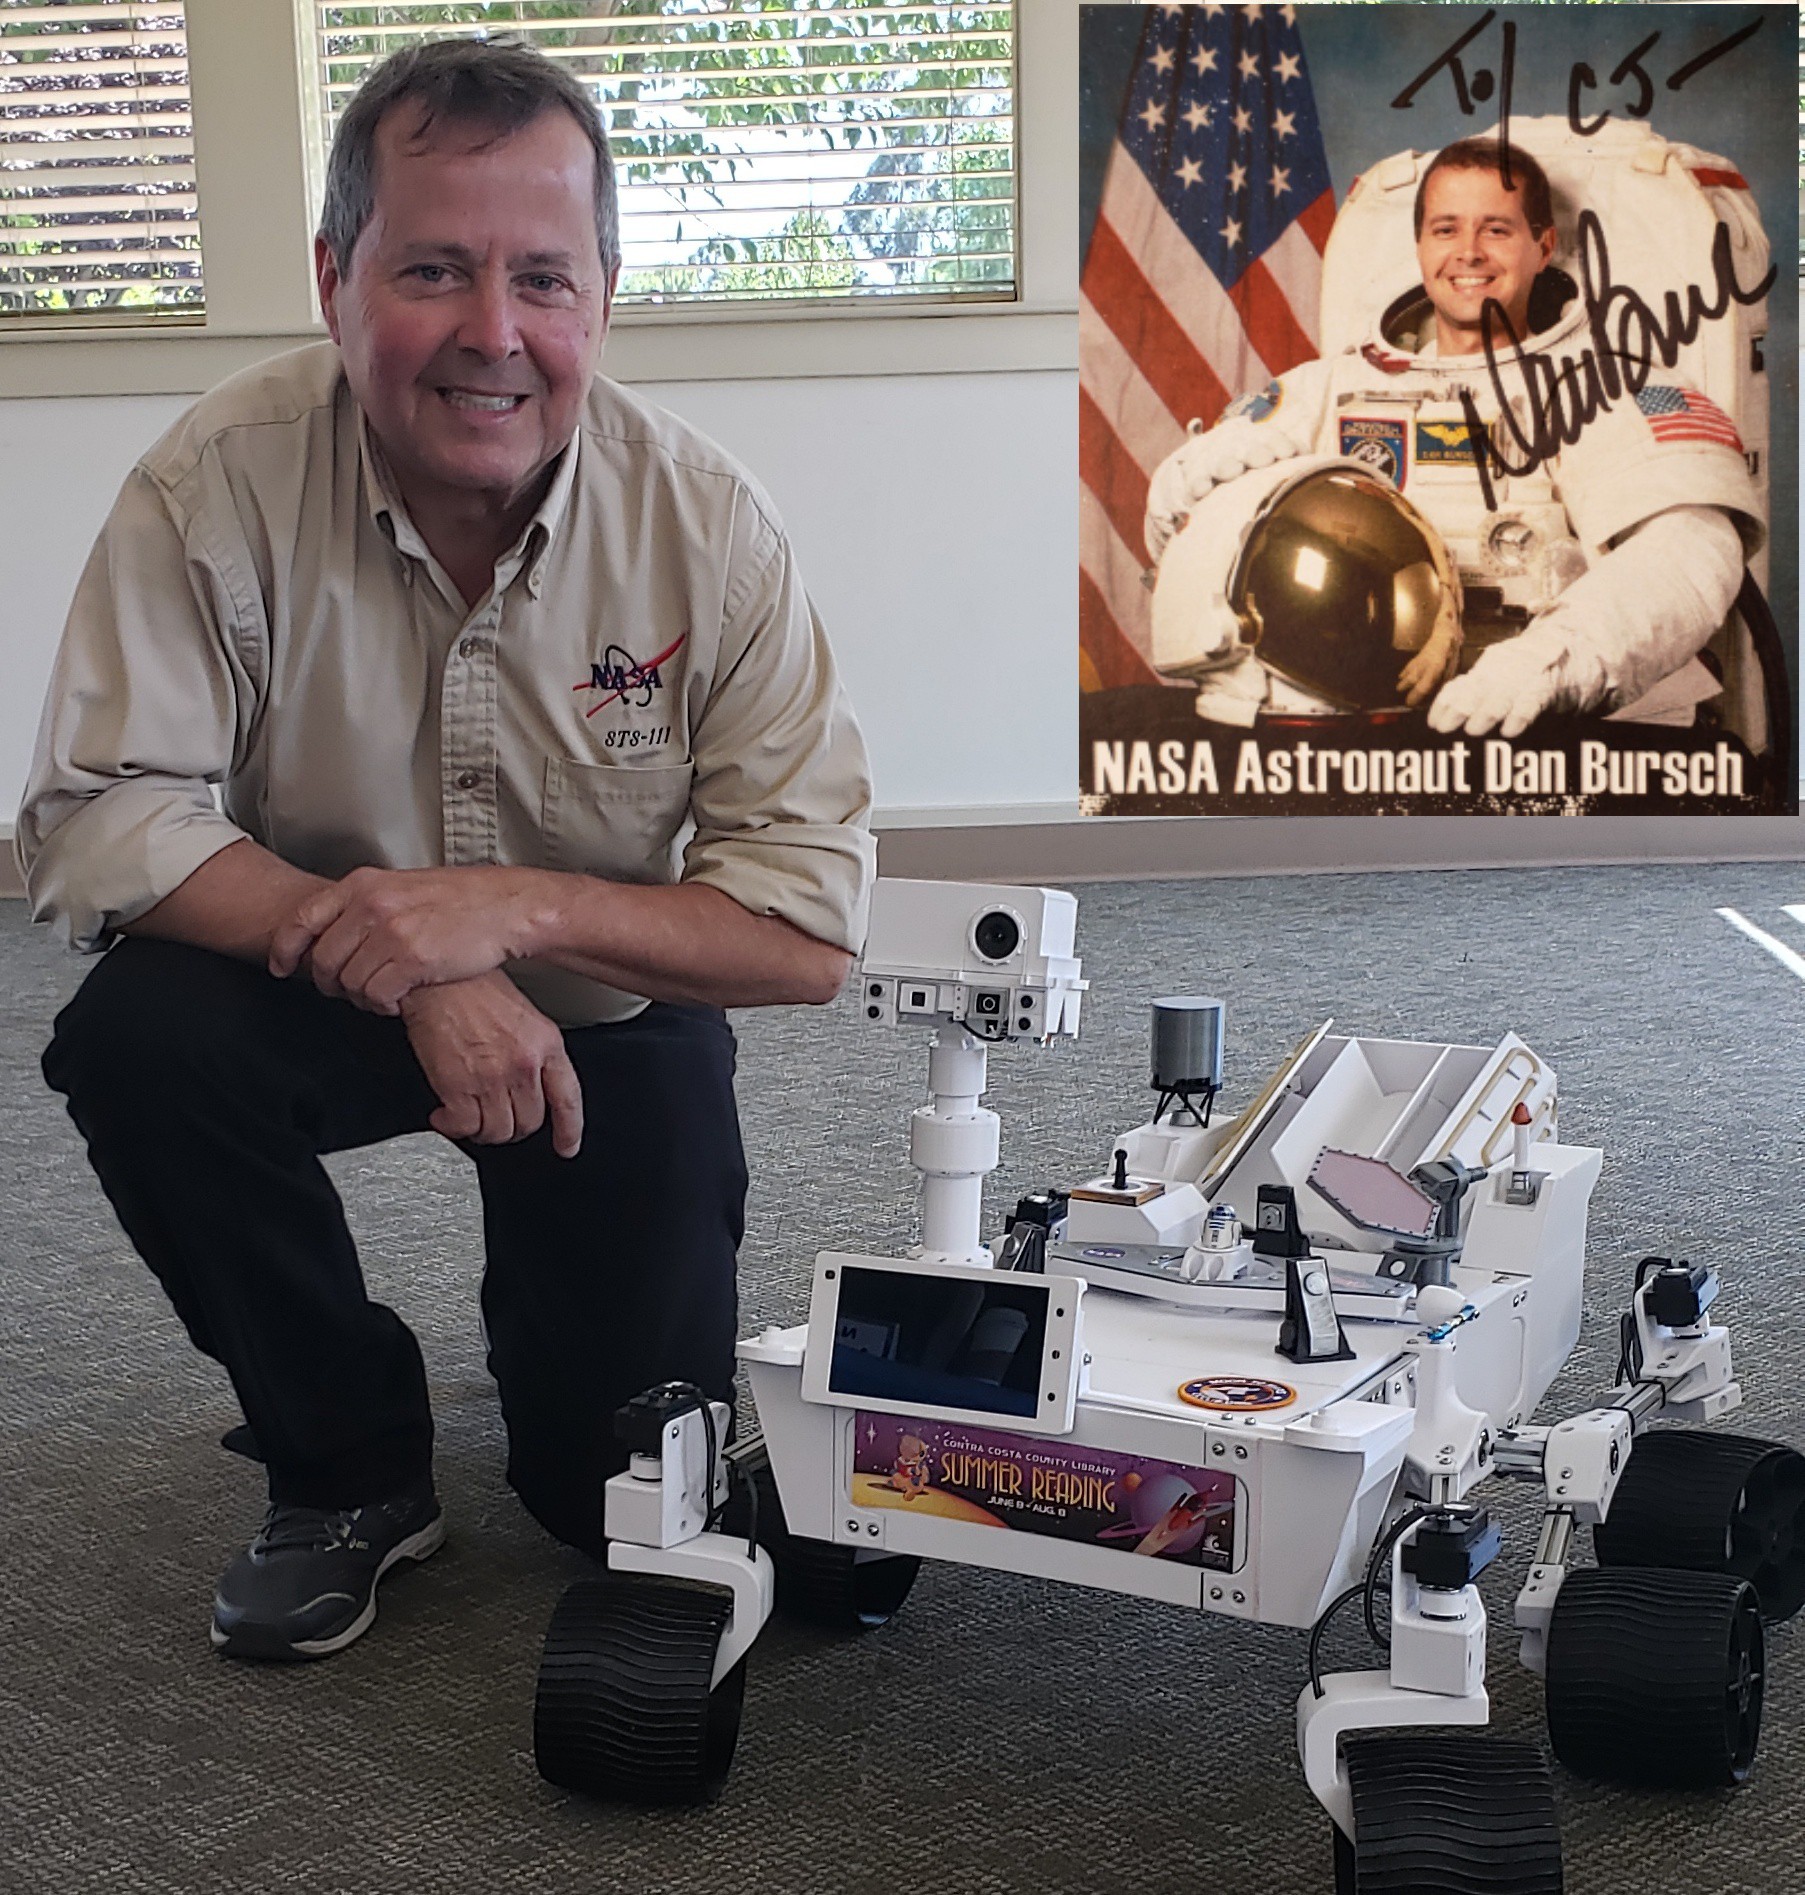
 lmckeega
CJ takes his first 'offroad' test drive.
0%
0%
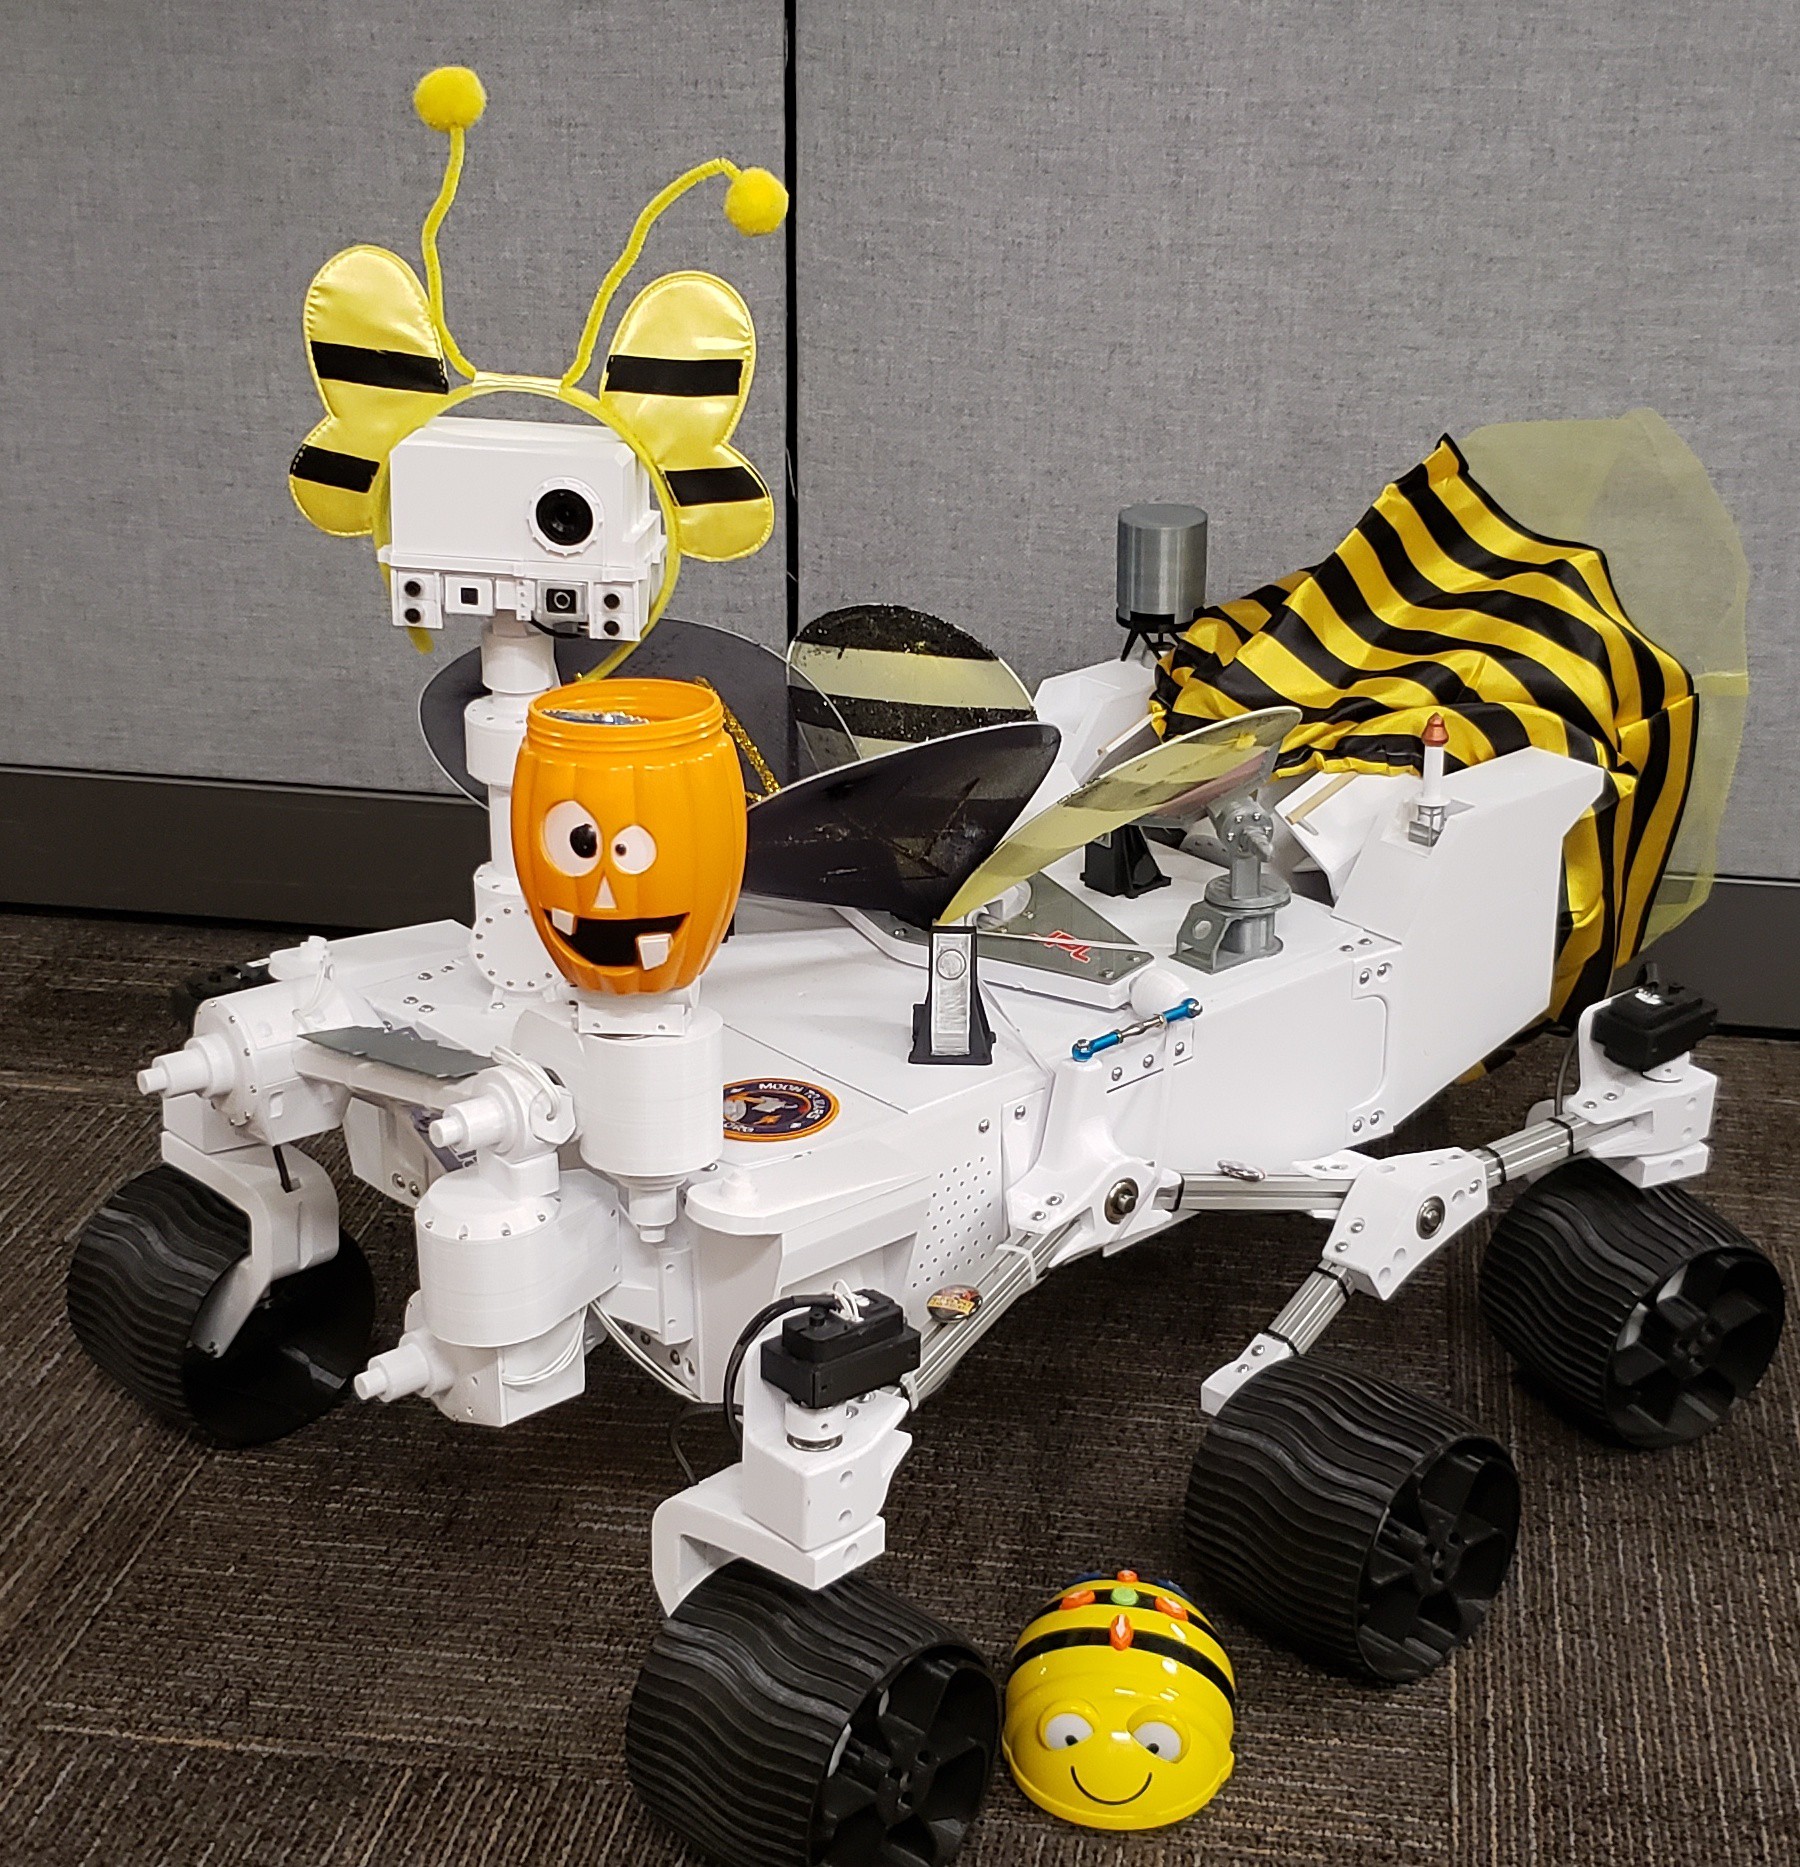
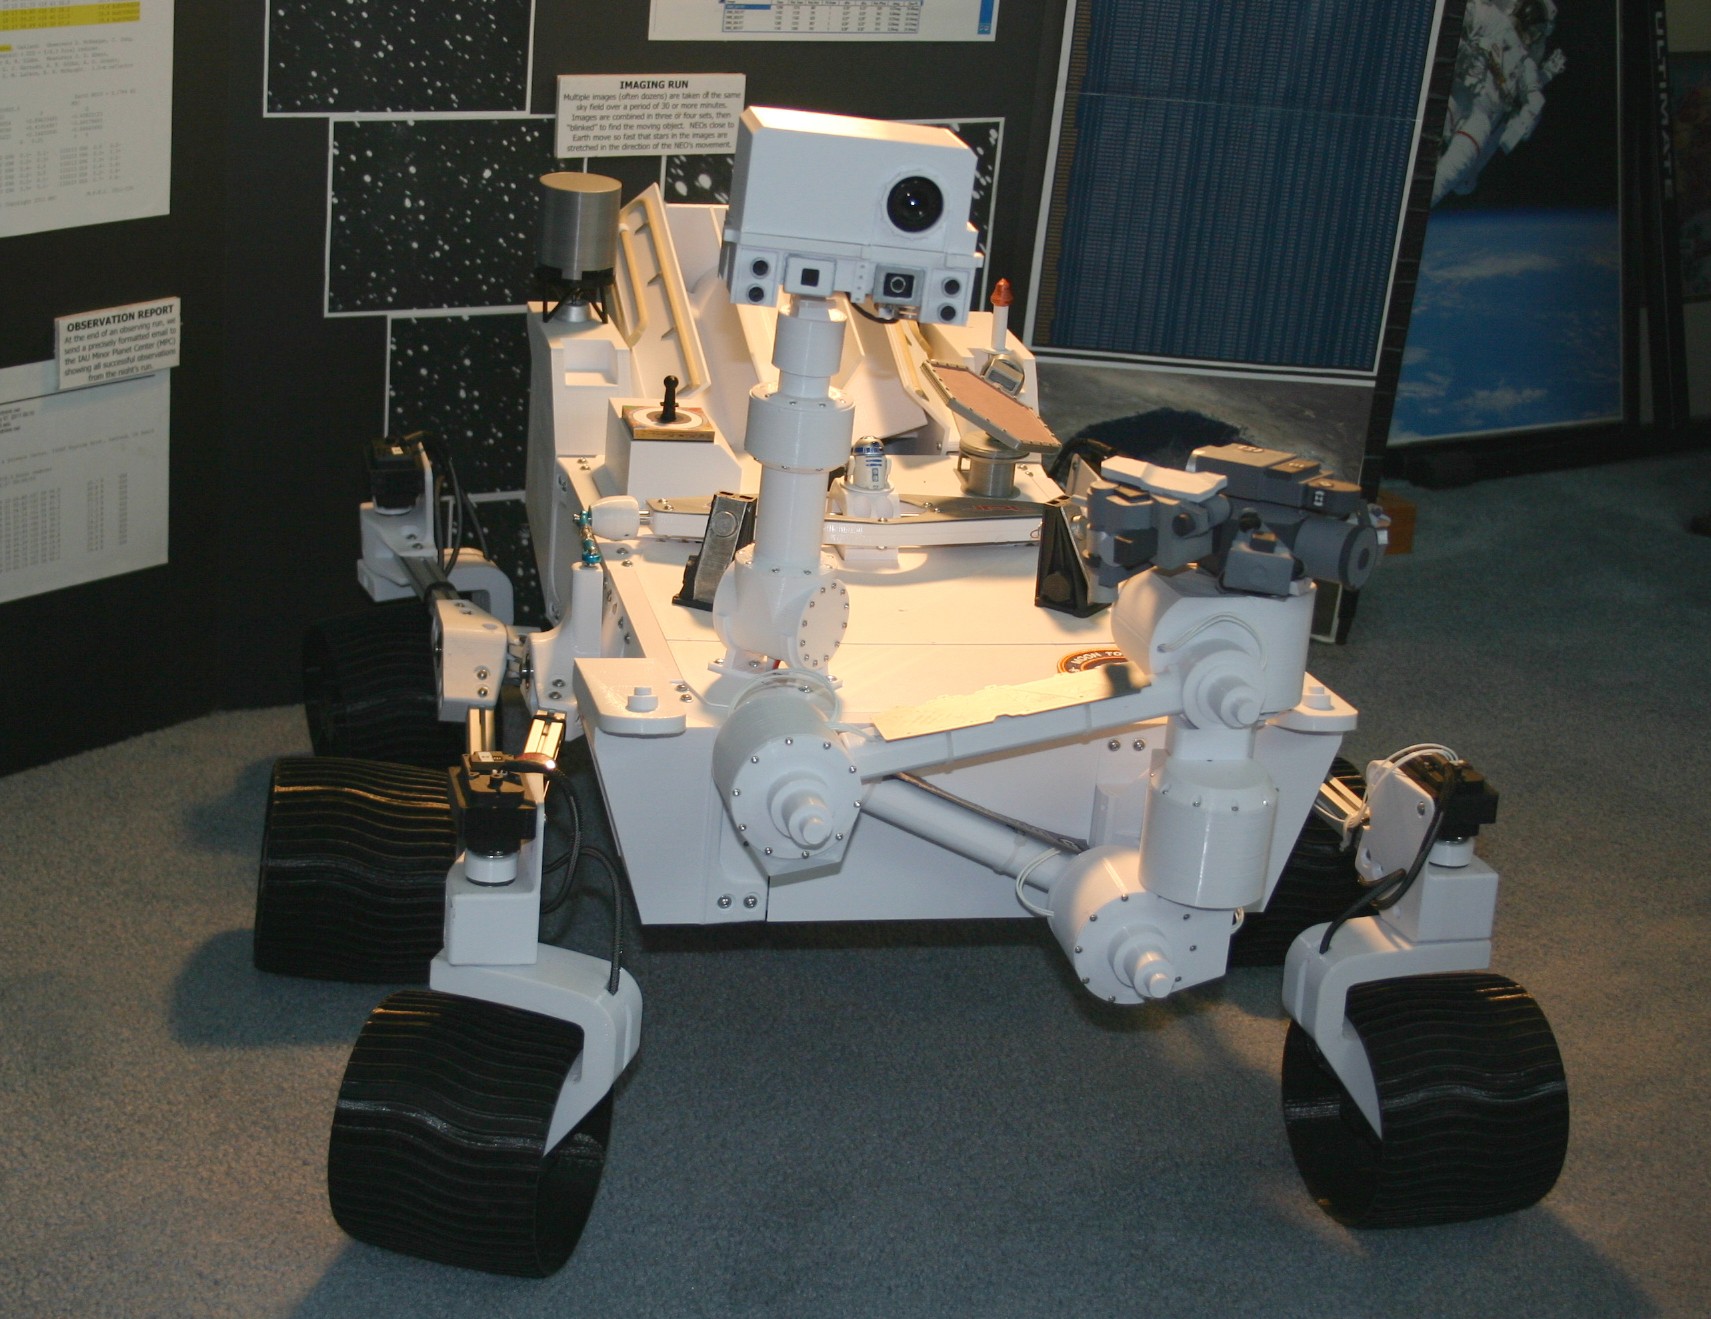
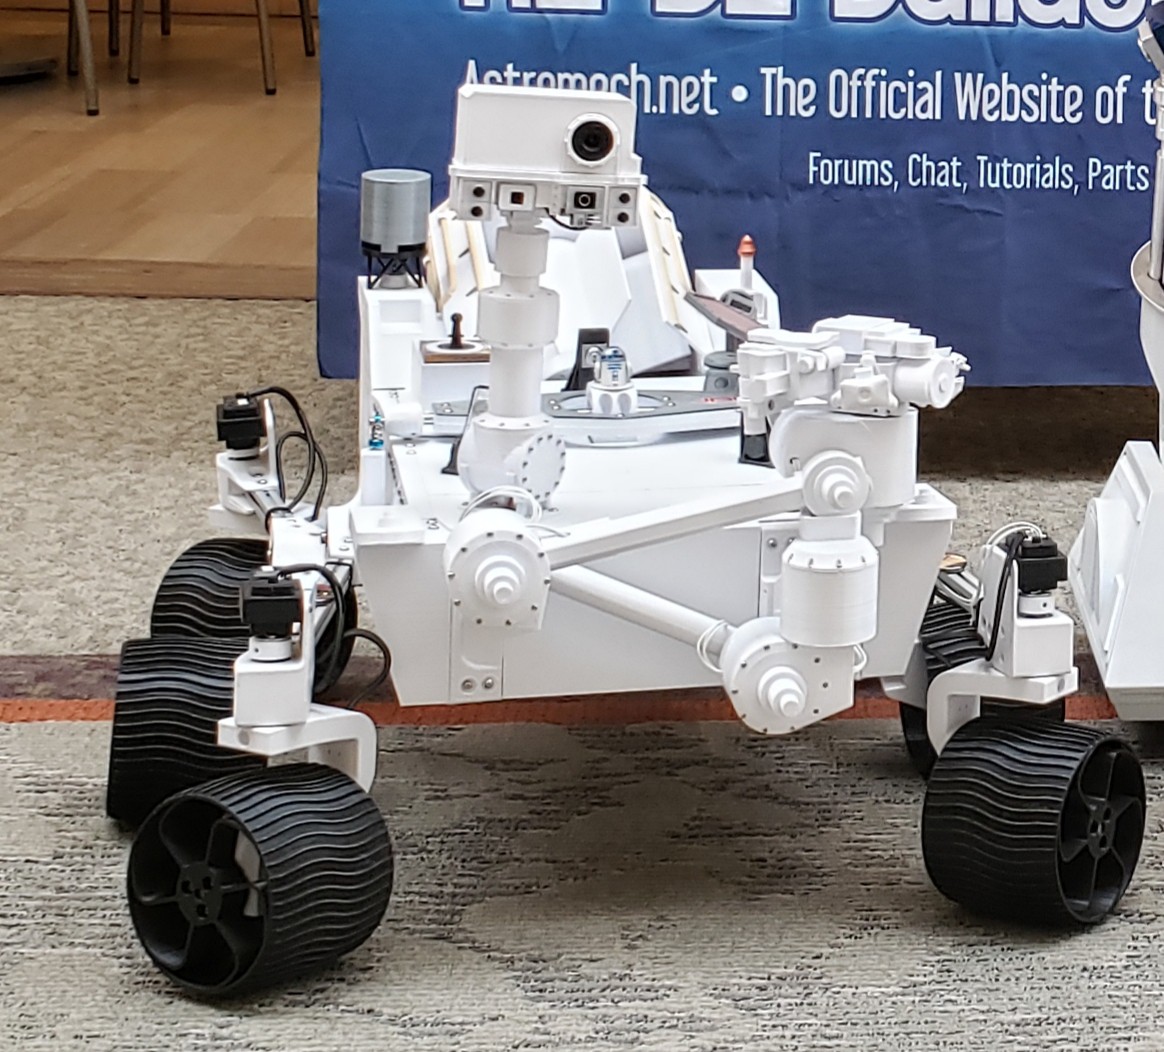
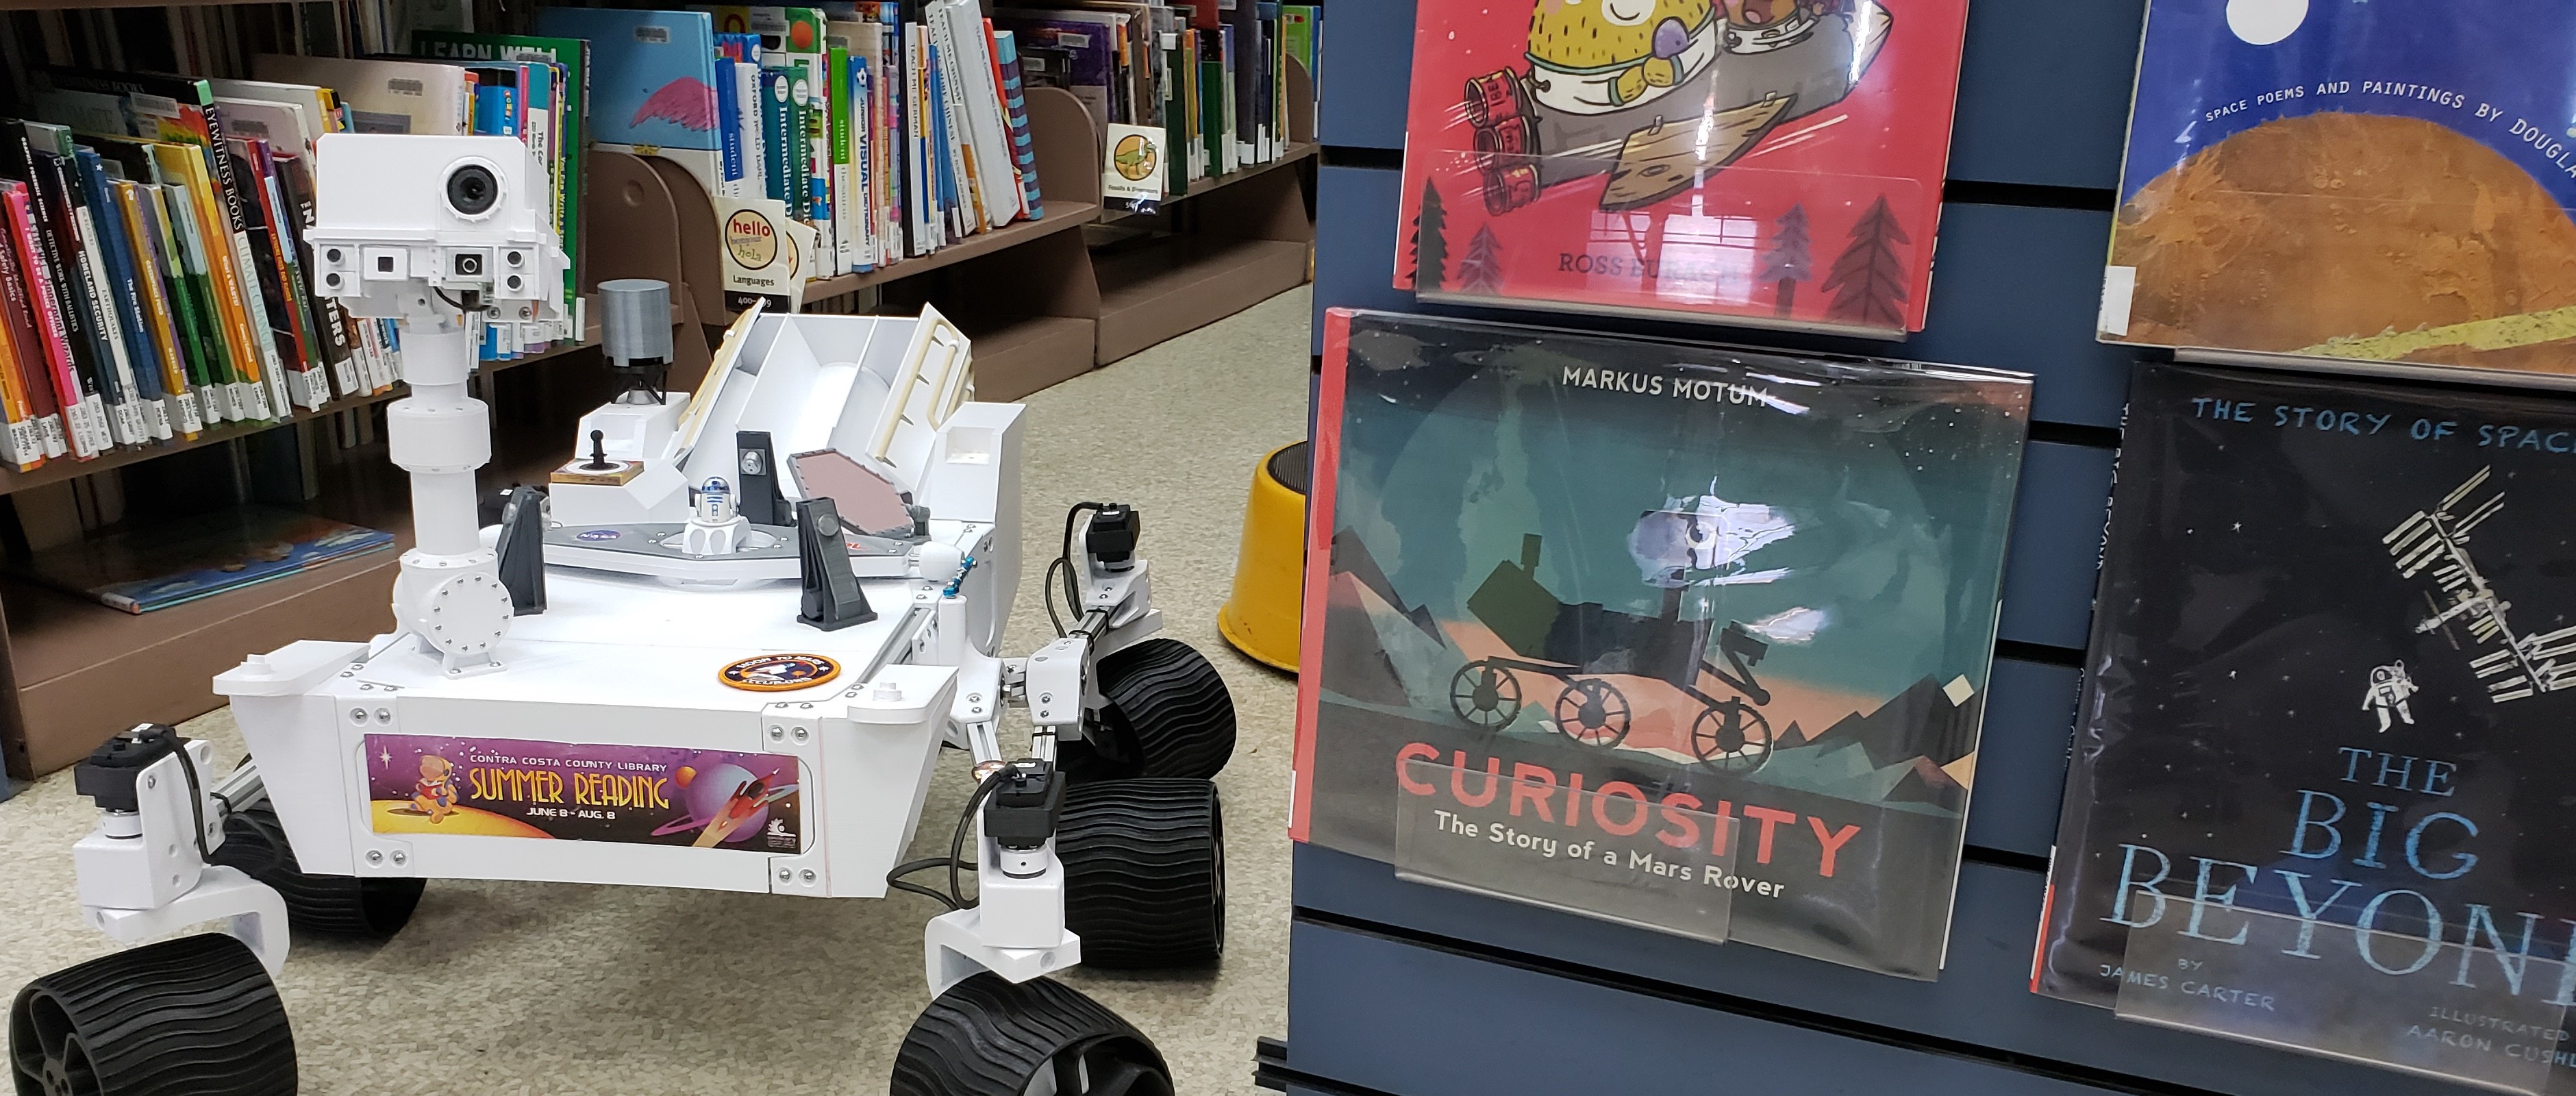
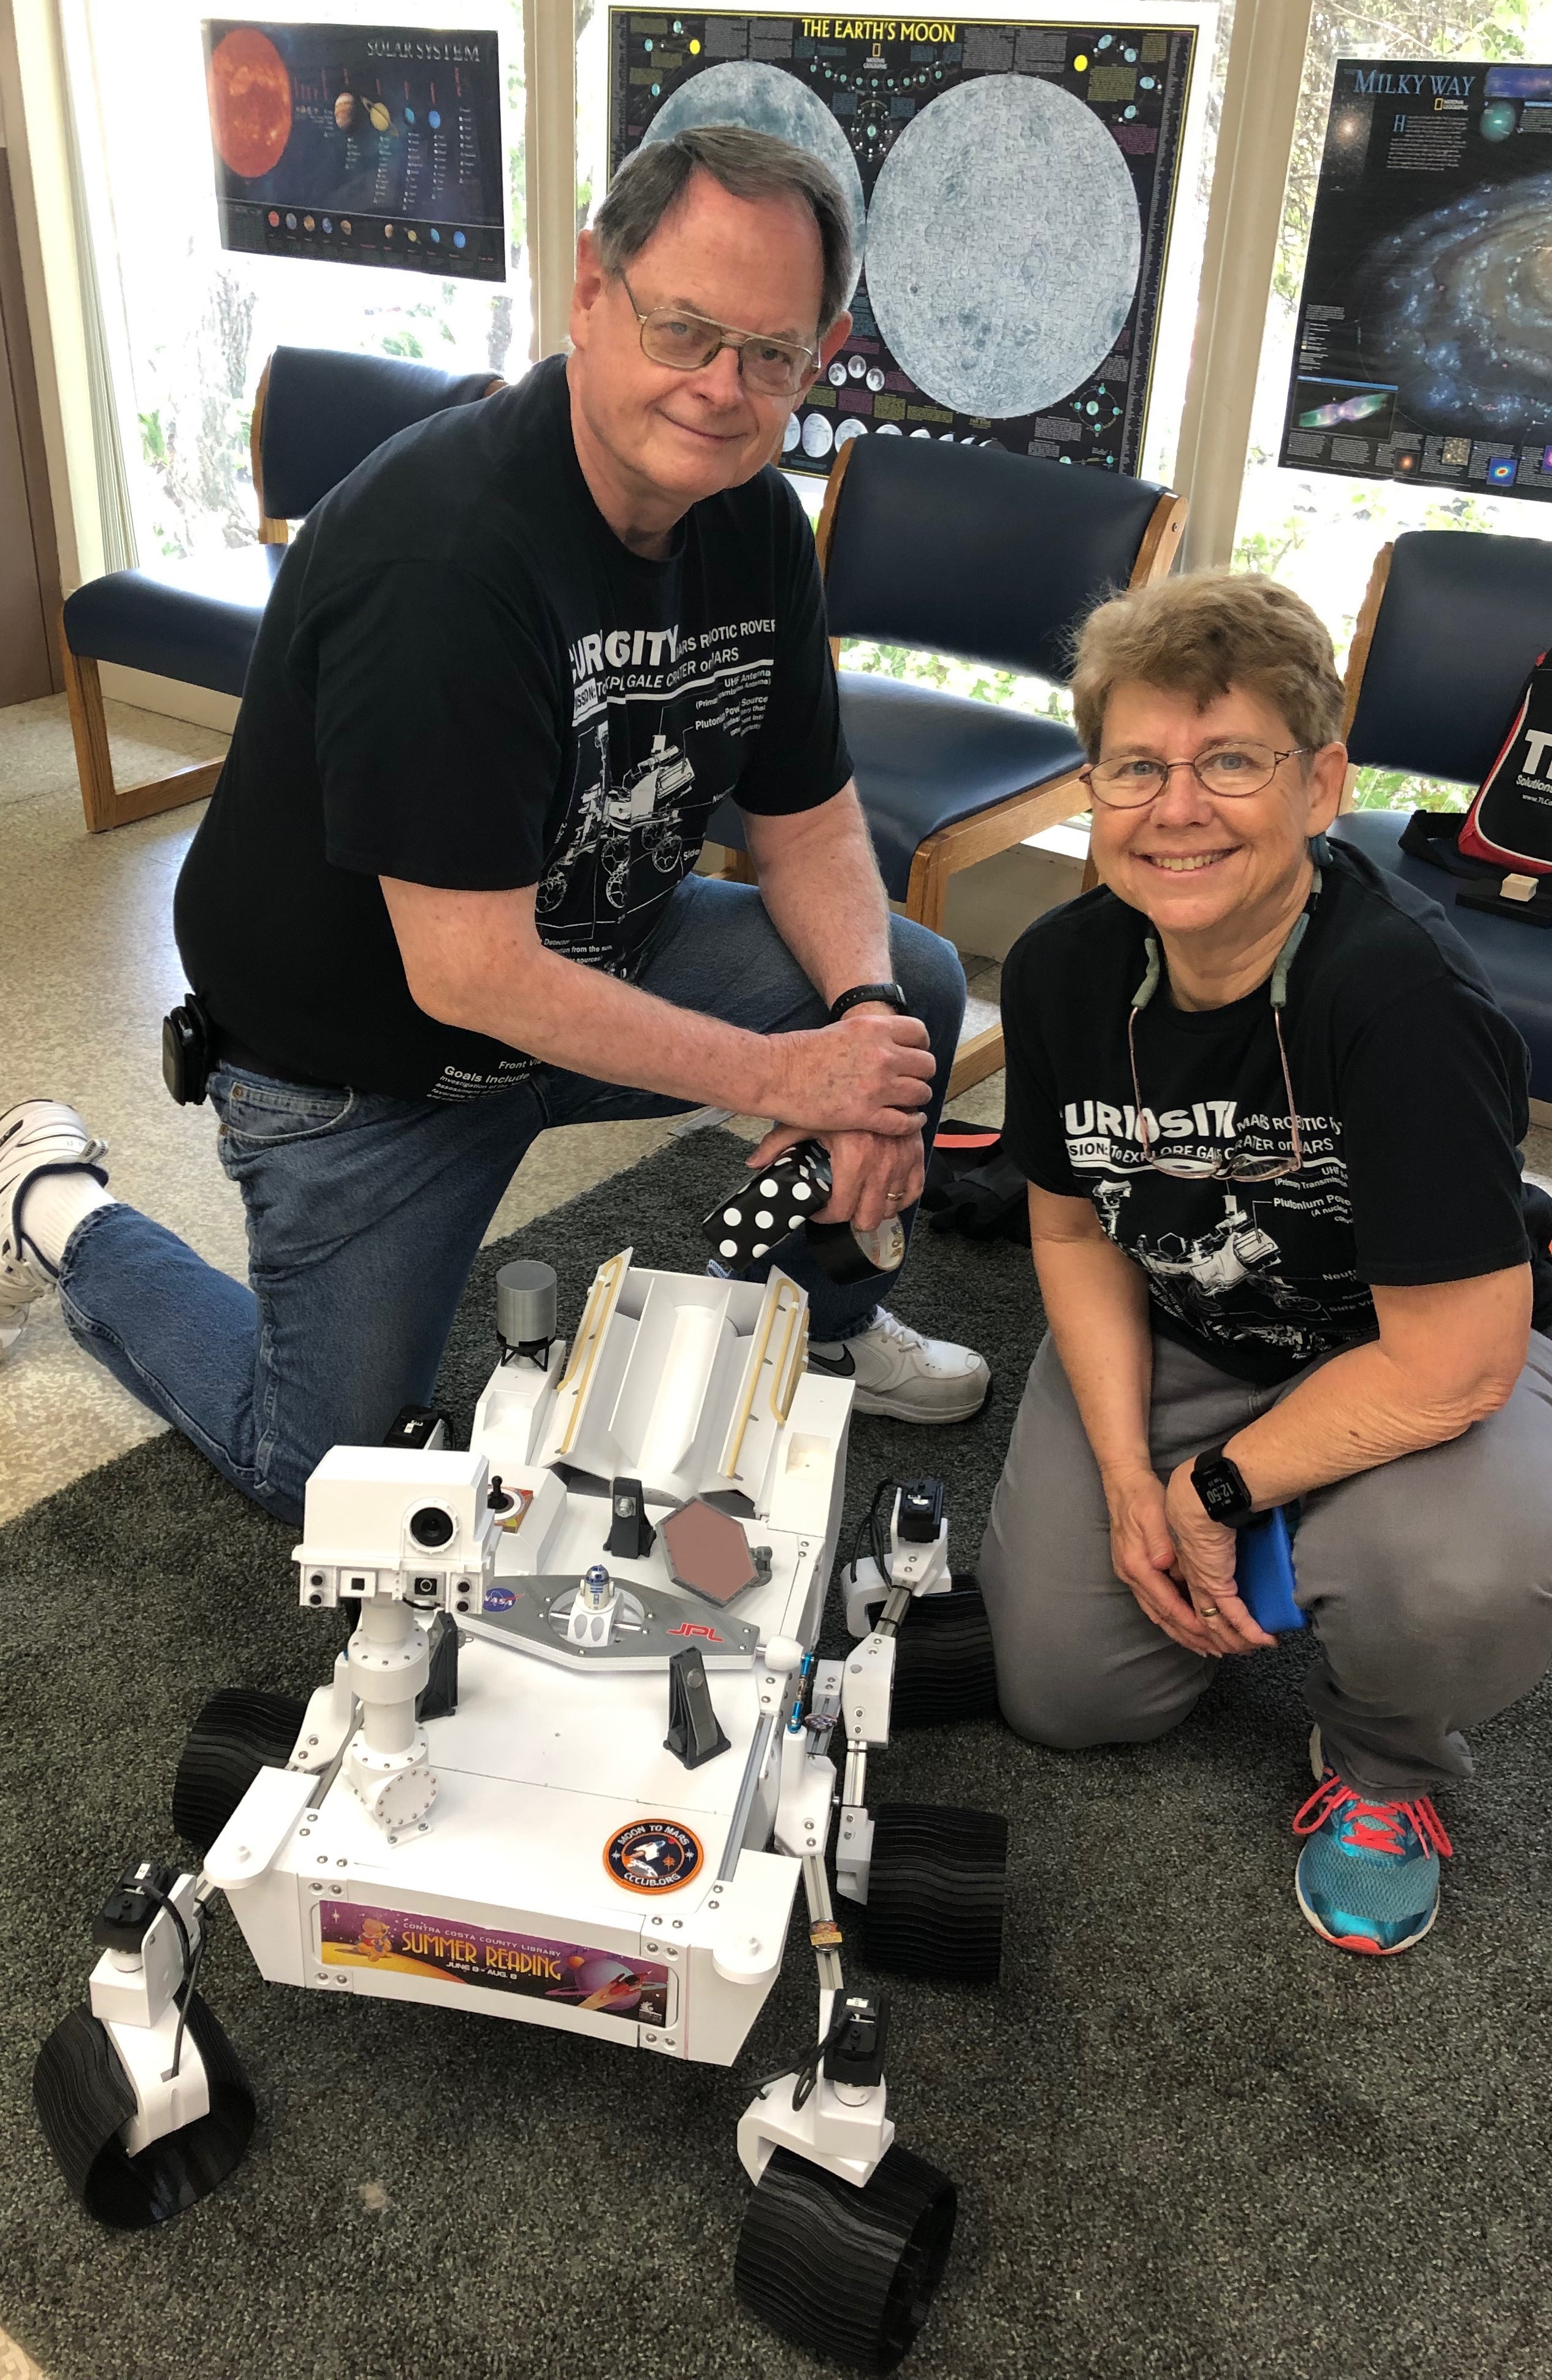
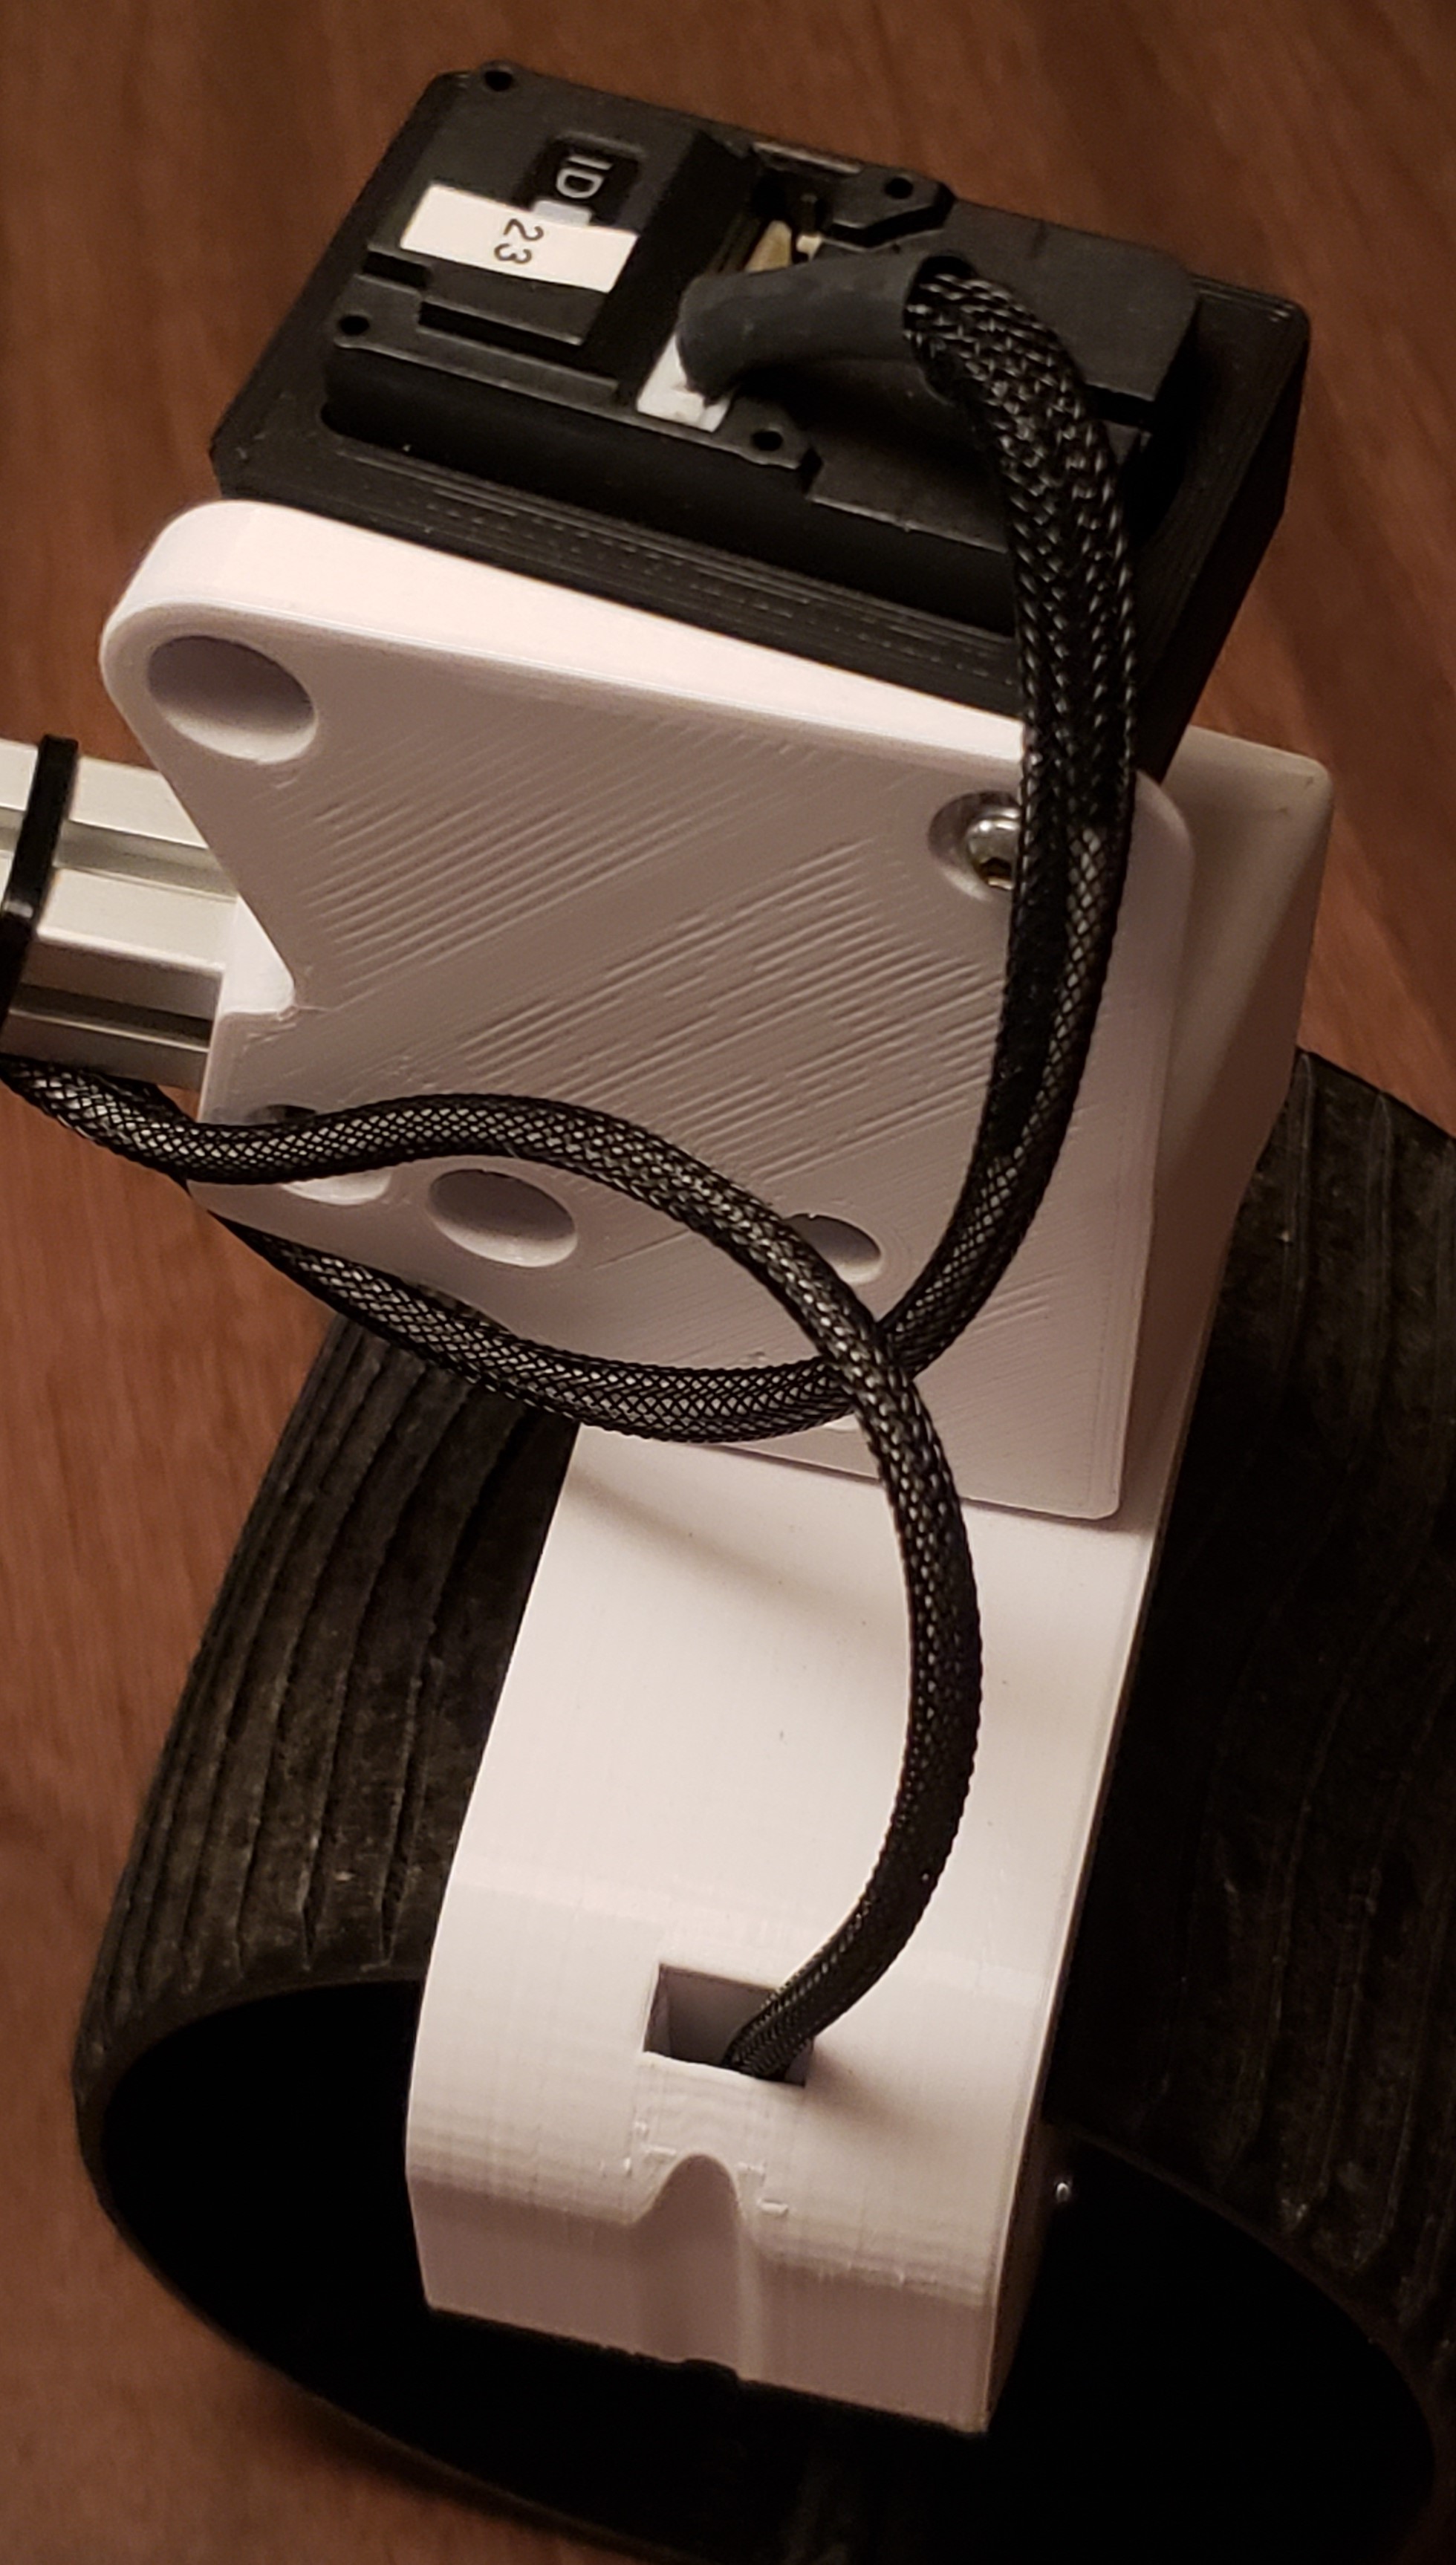
CJ a Sawppy variant
A motorized model of the Mars Curiosity Rover. Based on the Sawppy Rover.
Become a Hackaday.io member
Already have an account? Log in.
Just one more thing
To make the experience fit your profile, pick a username and tell us what interests you.
Pick an awesome username
hackaday.io/
Your profile's URL: hackaday.io/username. Max 25 alphanumeric characters.
Pick a few interests
Projects that share your interests
People that share your interests


 Alex Lovegrove
 stormeporm
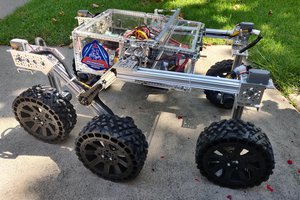
 Achille
 Ben Brooks
Really inspirational, congrats, it's the best one I've seen. Project finished or still ongoing? Are you willing to share the .stl files of the backpart of your rover too?