XenonJohn
-
Project Log #10: New Build Videos 21/10/19
10/21/2019 at 22:51 • 2 commentsHere are some new build videos (in 2 parts as YouTube only allow a max video length of 15min. This is the new hybrid version made from laser cut 3mm ply, aluminium extrusions and 3D printed parts. The version shown here is the basic one without the crank module.
-
Log #9: Redesign using laser cut ply to reduce 3D printing
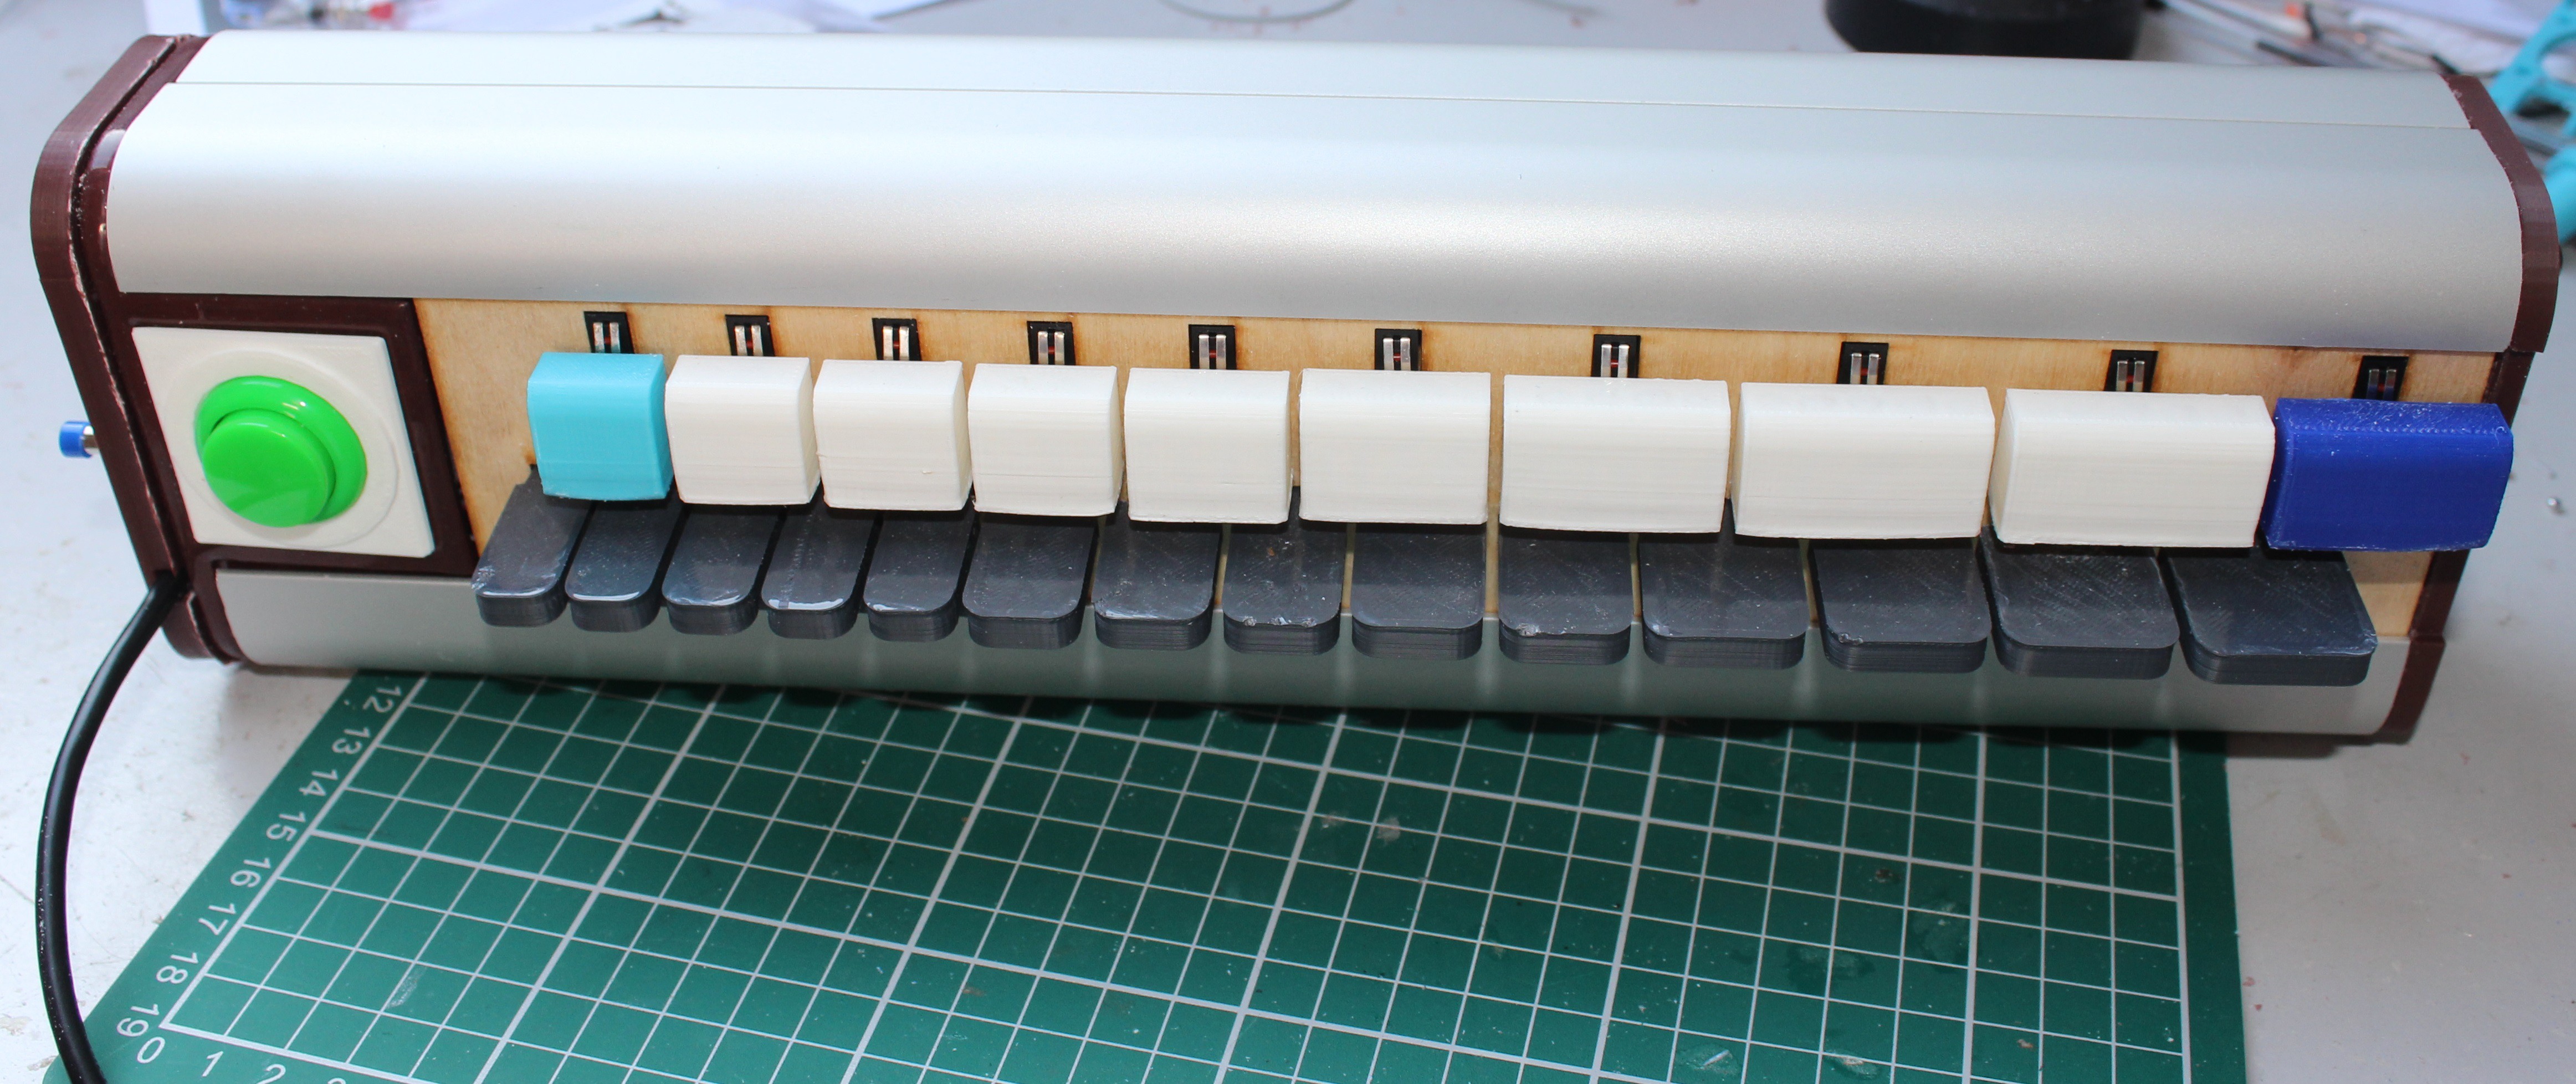
10/20/2019 at 21:50 • 0 commentsOctober 2019: REDESIGN IS COMPLETE using laser cut ply for the front and rear panels to reduce the amount of 3D printing required somewhat, to reduce overall build time and also to reduce the time spent filing and fettling the keys, keyslots and so on to make everything fit and work smoothly.
The set of files I have just uploaded all refer to this easier to build crankless version. All the information is there for you to build one. This has an arcade FIRE button on the front right hand surface. Just hold the right hand end in your right hand, press this button with your middle 2 fingers; the drones and open melody string will sound as if you had started to turn the crank, then you start playing.
- A small amount of filing of the keys may be required but the laser cut ply parts require none at all.
- The keys can easily be renewed if you break one.
- Rear ends of the keys project from rear of keybox in a way more similar to a real HG.
- Keys shaped to hit front deck just before the maximum microswitch travel is reached. This should better protect the microswitches if played too hard.
I am working on a version of this with the previously described crank module. The build for that version will be 95% the same as this i.e. the extra wiring for the bolt-on crank module and slightly different code.
The play button does not have to be lime green, they come in many other colours!
Next project log will feature the crank version of this new design.
![]()
![]()
-
Log #8: Different tunings enabled & feature in "Prog" magazine
09/13/2019 at 14:13 • 0 commentsShort update:
I have improved the software so now you can select either of the two commonest tunings for the keyboard i.e. G/C or D/G. You can select the one you want on startup and also change the tuning while the device is in operation by pressing the upper rightmost three keys simultaneously. It is a bit like a Tesla car, load in a software upgrade and your (unchanged) hardware suddenly performs better.
I have uploaded this version of the code (Version 37).
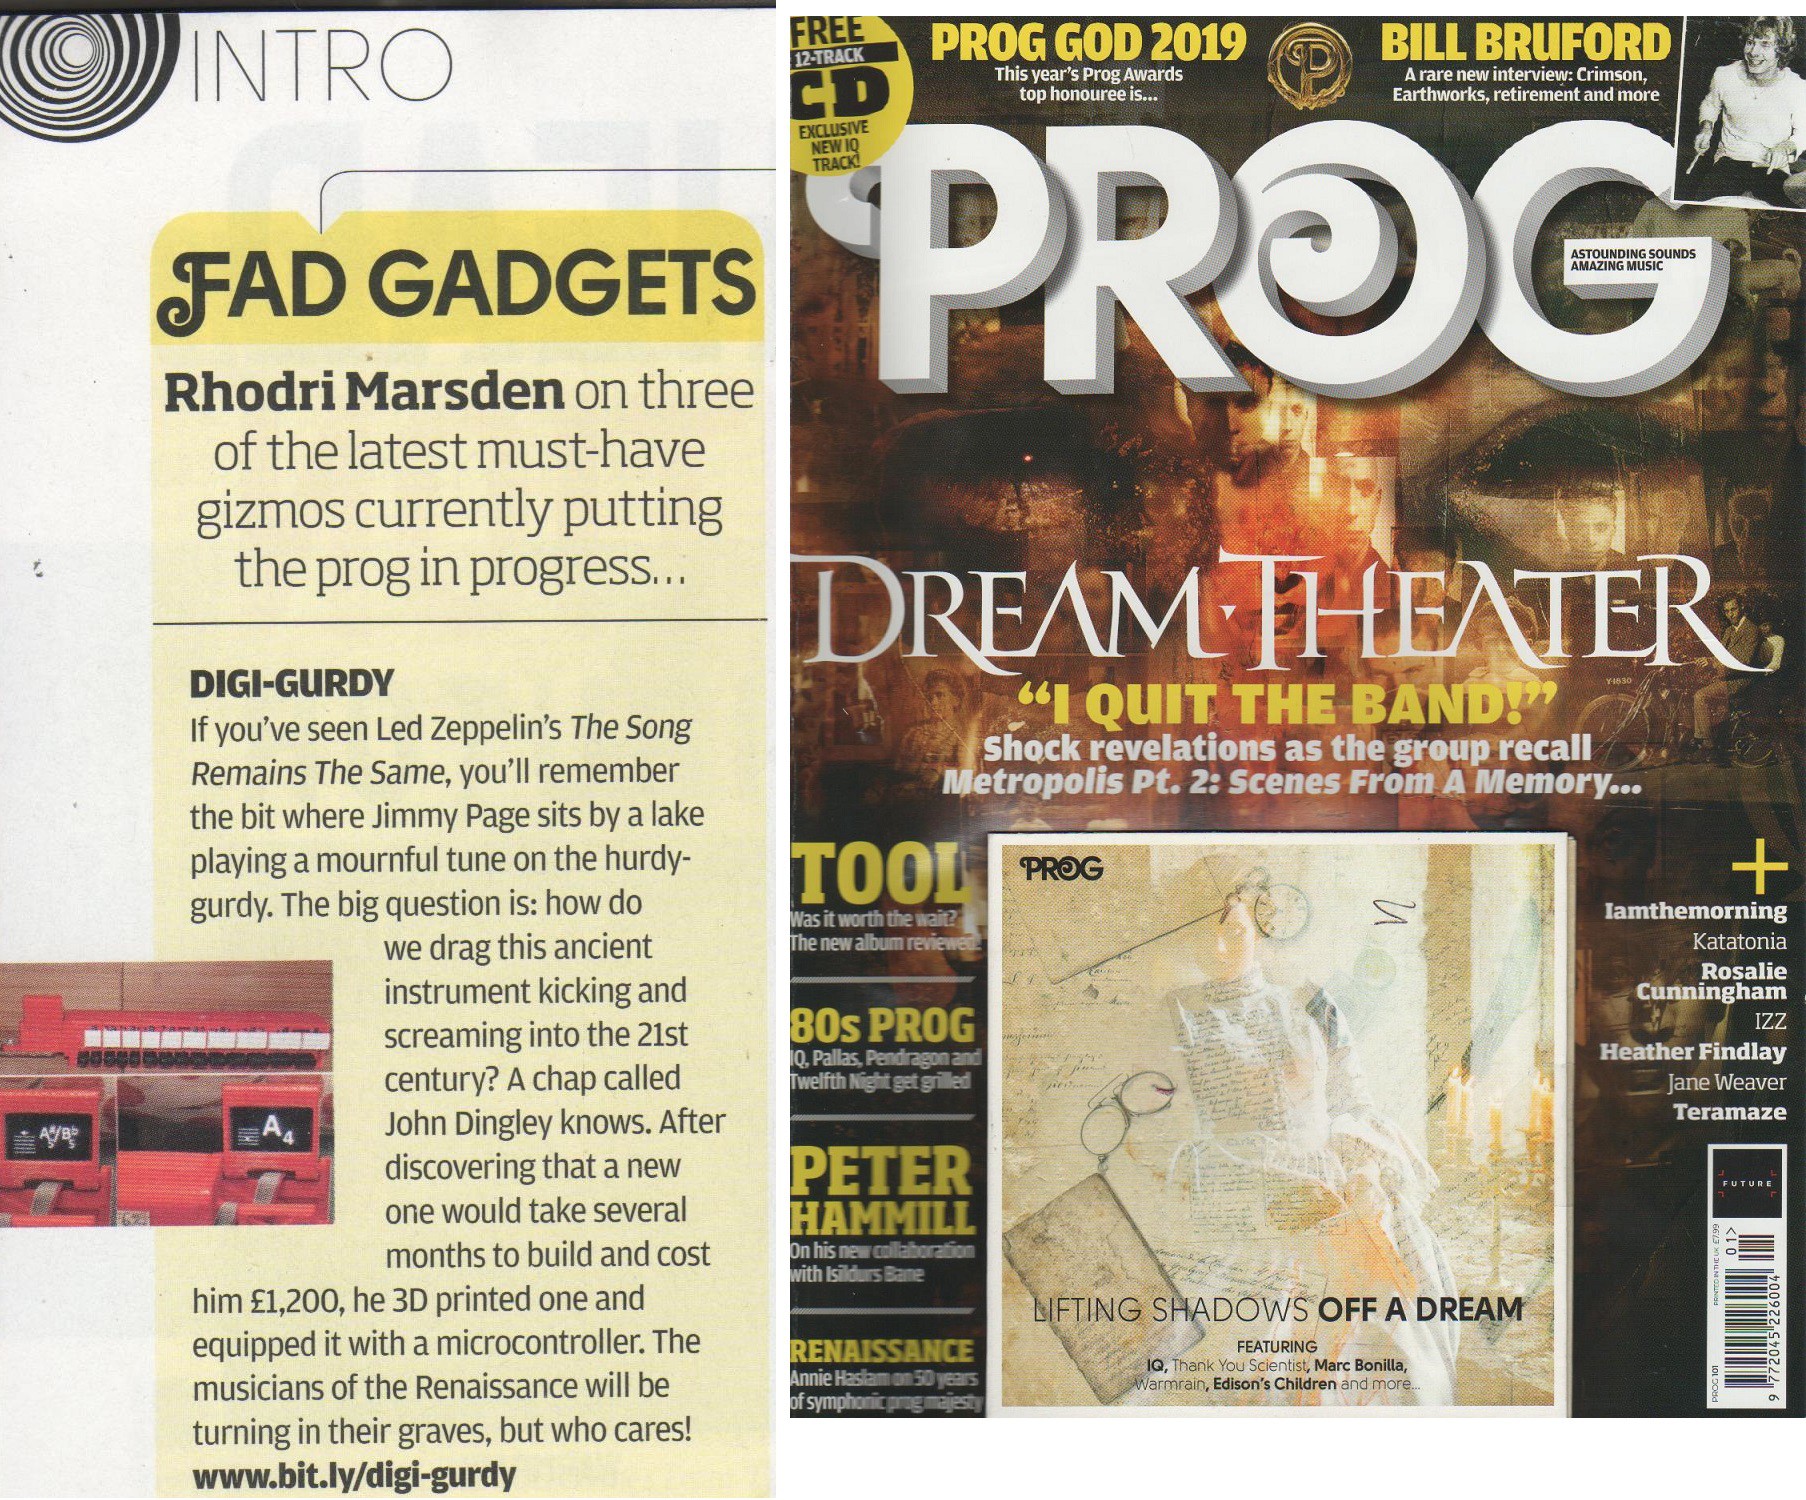
Also the original red plastic DigiGurdy has to my surprise been featured in the current edition of Prog magazine - as in Prog Rock. Aug/September 2019.
I intend to go through all the 3D print files one more time then will also post them up here.
![]()
-
Log #7 How to connect to phone and use Fluidsynth to create music
08/23/2019 at 23:30 • 3 commentsThis video update shows how you use a phone to play the MIDI data coming out of the DigiGurdy.
The soundfont file (.sf2 format) has to have been uploaded onto the phone in advance. I will make this file available soon. All the sounds to be played are stored in this file.
The MIDI player I am using is called FluidSynth and is available free from the Google Play store for Android phones. An Apple version also exists but I have not tried it with the DigiGurdy.
The DigiGurdy outputs data on 5 MIDI channels. In FluidSynth we must assign an instrument or sound to each of these 5 channels for it to work correctly. This is best explained with a video and so the video below shows me setting up Fluidsynth on a phone in this way. FluidSynth has a very basic user interface but it also has very low latency (time between pressing a key and hearing the sound) and so works well with the DigiGurdy.
-
Log #6: Fully Assembled With Crank Module
08/19/2019 at 20:56 • 0 commentsHere is the DigiGurdy coming together at last, with the crank simulator module attached. This video clip gives an overview of the functions of the device from the point of view of a user and also shows how you select and play songs in demonstration mode. I will add a more detailed video at some point showing you how to get the soundfont onto your phone and set it up to play the sounds correctly with the current version of the DigiGurdy. In this update video you can see:
- Crank operated drones and open melody string.
- Crank operated buzzing sound (sound audio file supplied by Nigel Eaton, many thanks).
- More realistic key-click sounds
when the keys are pressed.
- Use of a control knob to adjust the sensitivity of this buzzing rhythm sound when cranking to suit your own style of playing.
- Blue orb on front panel which glows when turning the crank.
- Demonstration of the crank-override switch which allows you to practice the melody without need to turn the crank.
- Demonstration mode is shown being used with user-selection of songs and playback speed.
The whole assembly is held together with just 4 long screws at each end. Almost no adhesives are required apart from where the screen is held in position.
-
Log #5. Workable crank solution found at last
08/06/2019 at 12:00 • 0 commentsProject Log #5. DigiGurdy project.
I finally have a reasonable crank simulator now i.e. a robot gearmotor in reverse (where the crank spins up a motor acting as a dynamo). To create resistance to turning I originally shorted out the motor connections which long term is probably a bad idea as it can cause arcing at the motor brushes and so on.
Here, to create a more controlled load on my dynamo, I experimented with secondary motor + wind resistance vane, inspired by old clock chime mechanisms, before settling on a simple filament torch bulb (remember those?) as the best low cost compact solution.
To be clear, I could have a large pulley with an adjustable friction band around it, or a wheel with a friction material against its edge. That would cost more, be less compact and also push the assembly and adjustment/fettling time up to get it all working properly. The gearmotor-bulb is low cost, compact and just bolts/glues in place. Also as the bulb flashes nicely with each burst of crank rotation speed which in a hurdygurdy also creates the buzzing rhythm sound, I may be able to make a feature of it.
I am retaining the chopper wheel which senses the speed of rotation of the crank. Originally I had thought I might measure the voltage output of the motor using one of the Arduino analog input pins. However the chopper wheel does have low latency, is working well and the sensor adds almost no extra cost.
Most of the cost of a real hurdy gurdy is the labour of the skilled luthier who builds it. Part of this project is to keep the human assembly time down to an acceptable level to make this an affordable compact second instrument for silent practice. This is why, if I can use or adapt a more or less pre-assembled mechanical mechanism, I will do so where possible.
-
Crank handle chopper-wheel experiments and progress
07/28/2019 at 19:48 • 0 commentsI have been experimenting for quite a while now with robot gearmotors as a means of creating something that can be hand cranked, with just the right amount of resistance to turning. I have been encouraged by Nigel Eaton (Hurdy Gurdy maestro) to continue my effort to simulate a crank handle if at all possible and not give up on this aspect of the project. Again, where possible I am trying to keep the component costs down.
The Teensy microcontroller inside the DigiGurdy needs information on the rate of rotation of the crank. When the crank is turning, the Teensy can then activate the simulated drone strings and open melody string(s) to simulate what would happen when the rosined wheel rubs against or bows these strings in a real hurdygurdy. Furthermore, whenever the rotation suddenly speeds up, it can then also simulate the buzzing sound that this would normally produce, i.e. the rhythm part of a hurdygurdy.
I have created a 3D printed chopper wheel which intermittently breaks the infra-red beam of a low cost sensor designed for this purpose. This structure has an unusual shape as it has to be somewhat removed from the area where your hand is cranking the handle to avoid damage, it also has to be shaped to fit onto the shaft of the fishing reel crank I am using, while also allowing access to the grub screws that hold the handle onto the motor and also fit over the end of the motor.
I used software with interrupts for reading position encoders etc. but had major problems as the program would freeze and crash when connected to the phone but not when using the Serial window of my laptop. I eventually found a frequency counter library designed for the Teensy microcontroller and this works really well.
I now have all the functions above more or less working OK, i.e. the drones come on when you turn the handle, the trompette buzz sounds when you accelerate your rate of turning and you are able to play the melody on the keys once the handle is turning. I am very pleased with the outcome so far.
The next step is to redesign the enclosure for this so it is more in keeping with the rest of the DigiGurdy so can be added to the end in a modular manner.
-
Experiments to simulate a crank handle
07/08/2019 at 11:09 • 0 commentsHaving finally worked out how to play the buzzing rhythm sound from the soundfont file on the attached mobile phone MIDI player, at present by pressing a button on the handle, this means I can now replace this button in theory at least with some form of crank handle.
The crank handle is low cost and intended for a fishing reel. I have attached it to a motor which has a reduction gearbox. I had to buy 3 motors with different reduction ratios before I found one with the right amount of mechanical resistance to turning. In this video update I show each motor and also show how I can make an attached pager motor buzz by turning the crank. As the handle on the current Digi-gurdy can slide fully out and is attached electronically to the main body via a headphone plug, this means it could possibly be replaced by a crank module with no modification of the main body of the device, for those who wish to try it. More work required here but clearly this has potential. I will see how I get on and show the results in the next update.
-
Setting up Digi-gurdy with drones & rhythm buzz via a mobile phone
07/08/2019 at 11:00 • 0 commentsUpdate 08/07/2019
Setting up the Digi-Gurdy to play via a mobile phone.
I have now worked out how to play the melody via Channel 1 of a MIDI player running on a phone, the High D trompette via Channel 2, a Low G drone via Channel 3 and the crank-activated buzzing rhythm sound via Channel 4.
The MIDI player is free and called FluidSynth. The soundfont file (a library of sound effectively) that it uses is from the open source MIDI-gurdy project https://github.com/midigurdy/midigurdy to which I have added an extra buzzing sound.
By pressing the upper green button on the handle, the device behaves as if you are turning the crank handle, i.e. you get the drone sounds you have set up plus the open melody string (G4). You then play the melody via the keys while the drones continue to sound.
In this version, the lower yellow button on the handle activates the buzzing trompette sound which is the rhythm section of a hurdygurdy, normally produced by momentary increases in rotation speed of the crank handle.
This means, in my next update, I can look at ways to simulate the crank handle by generation of a suitable voltage signal to the Arduino Teensy via a geared motor to which a crank handle has been attached.
I have also included in the video two quick bursts of the device running in demonstration mode just for fun.
-
Hurdy gurdy basics & Digi-Gurdy physical design.
05/24/2019 at 15:05 • 0 commentsHere is a video outlining the main features of a hurdy gurdy, the instrument we are aiming to partially emulate with an electronic practice version.
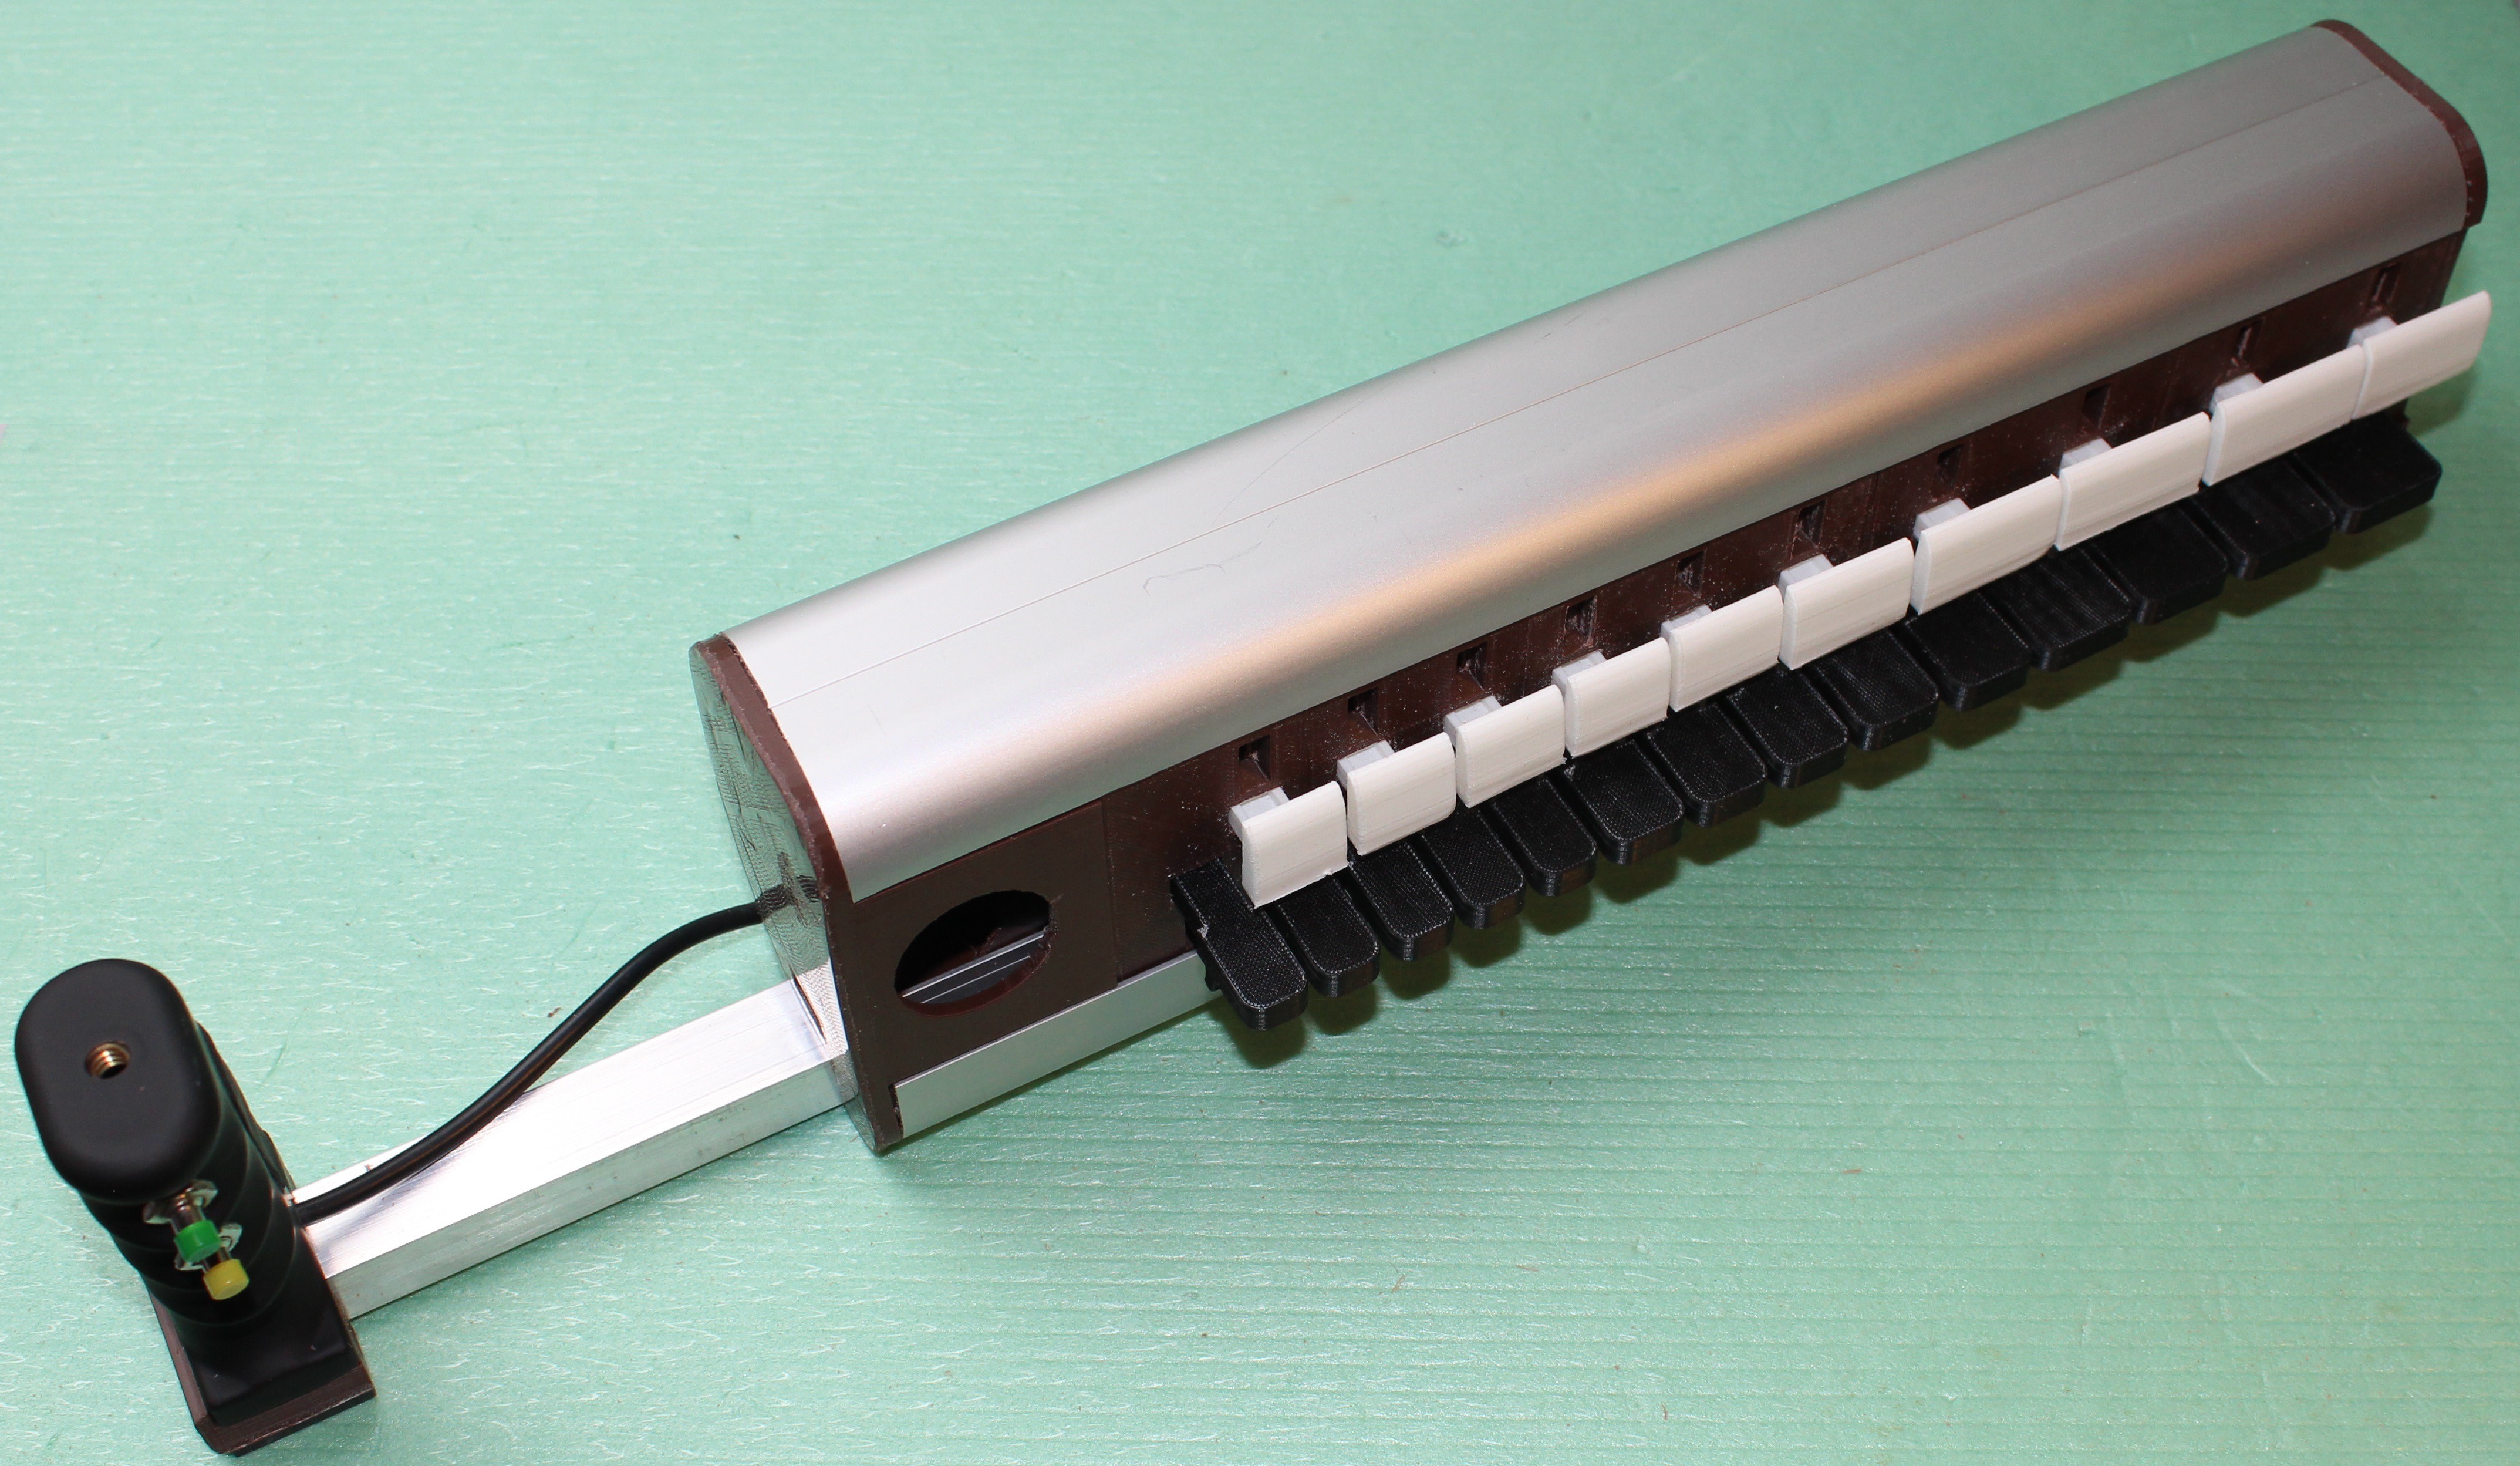
The Digi-Gurdy presents two challenges. The first is the physical design and the second will be the internal electronics. It must be compact, have keys with the same layout as a real hurdy gurdy and while looking good, must be potentially capable of manufacture at reasonable cost. Current experiments combine 3D printed parts which could ultimately be made of plastic in combination with a frame which includes aluminium extrusions.
![]()
- There are ongoing experiments in an attempt to simulate a crank handle but for now a rigid handle is provided for the right hand, which helps you stabilize the device on your lap while playing the keys with your left hand. This may end up being the best compromise.
- This handle is a commercially available plastic pistol-grip handle for cameras.
- It has been fitted to an alloy bar which slides telescopically out of the body of the Digi-Gurdy.
- This keeps the device compact and portable.
- The OLED screen has been relocated into the main body of the device to improve ruggedness.
- The keys are no longer held in place by a small bolt through their tail ends but now reversibly snap into place. This will reduce assembly time and allow easy replacement if ever damaged.
- The micro switches for each key also now push-fit into their sockets without requiring glue to hold them in place. I am now also using roller switches as they give a great feel to the key action.
- I could use resistance wire, contacted by the keys, or a ribbon potentiometer. This would reduce the quantity of wiring, however microswitches will probably be more reliable after heavy use, are designed to operate many thousands of times, give a good feel on each keypress and also return the keys well to their start positions after being pressed.
The video below outlines the main aspects of the physical design. The electronics will be the subject of future updates.
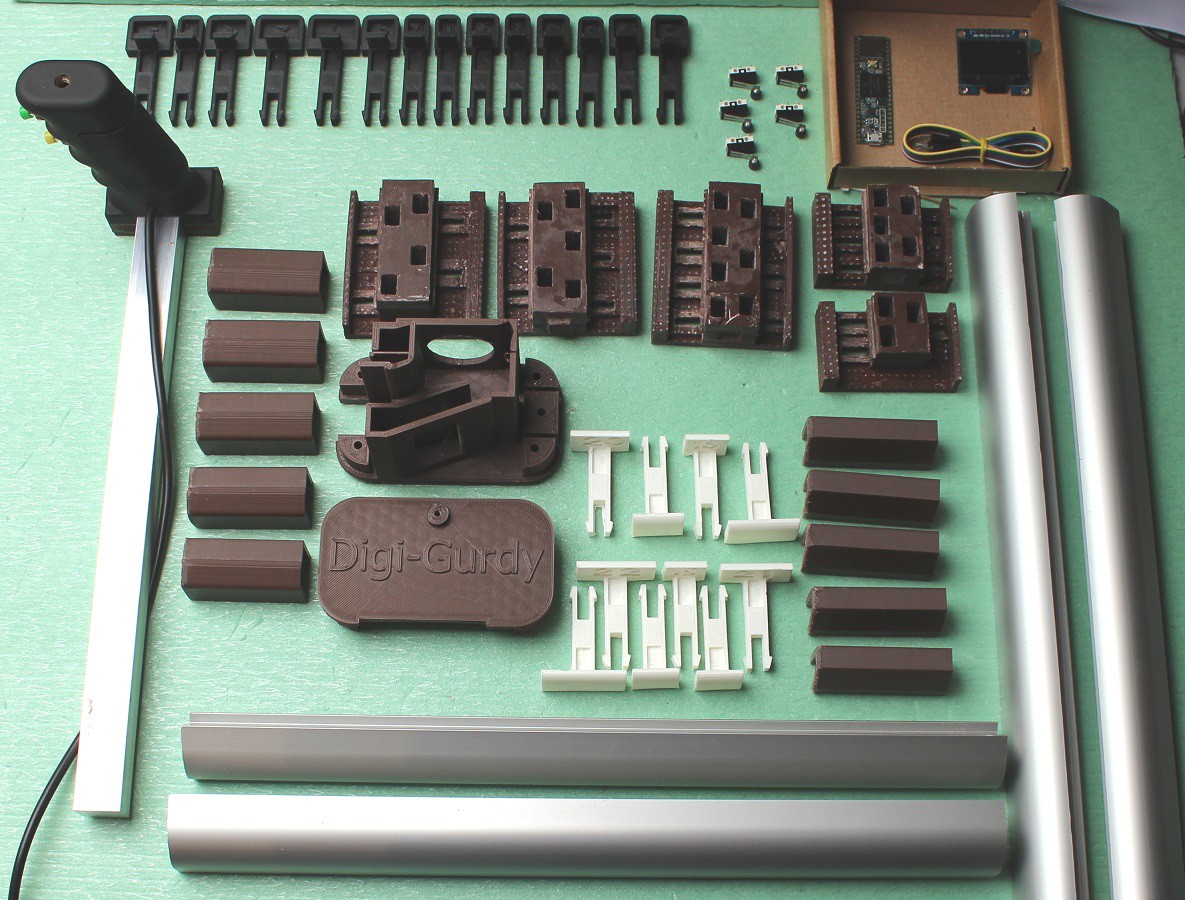
Here are the main parts laid out on the bench.
![]()
The Digi-Gurdy and Digi[Nerdy]Gurdy
MIDI electronic portable practice hurdy-gurdy: It's always in tune.