Mime Industries
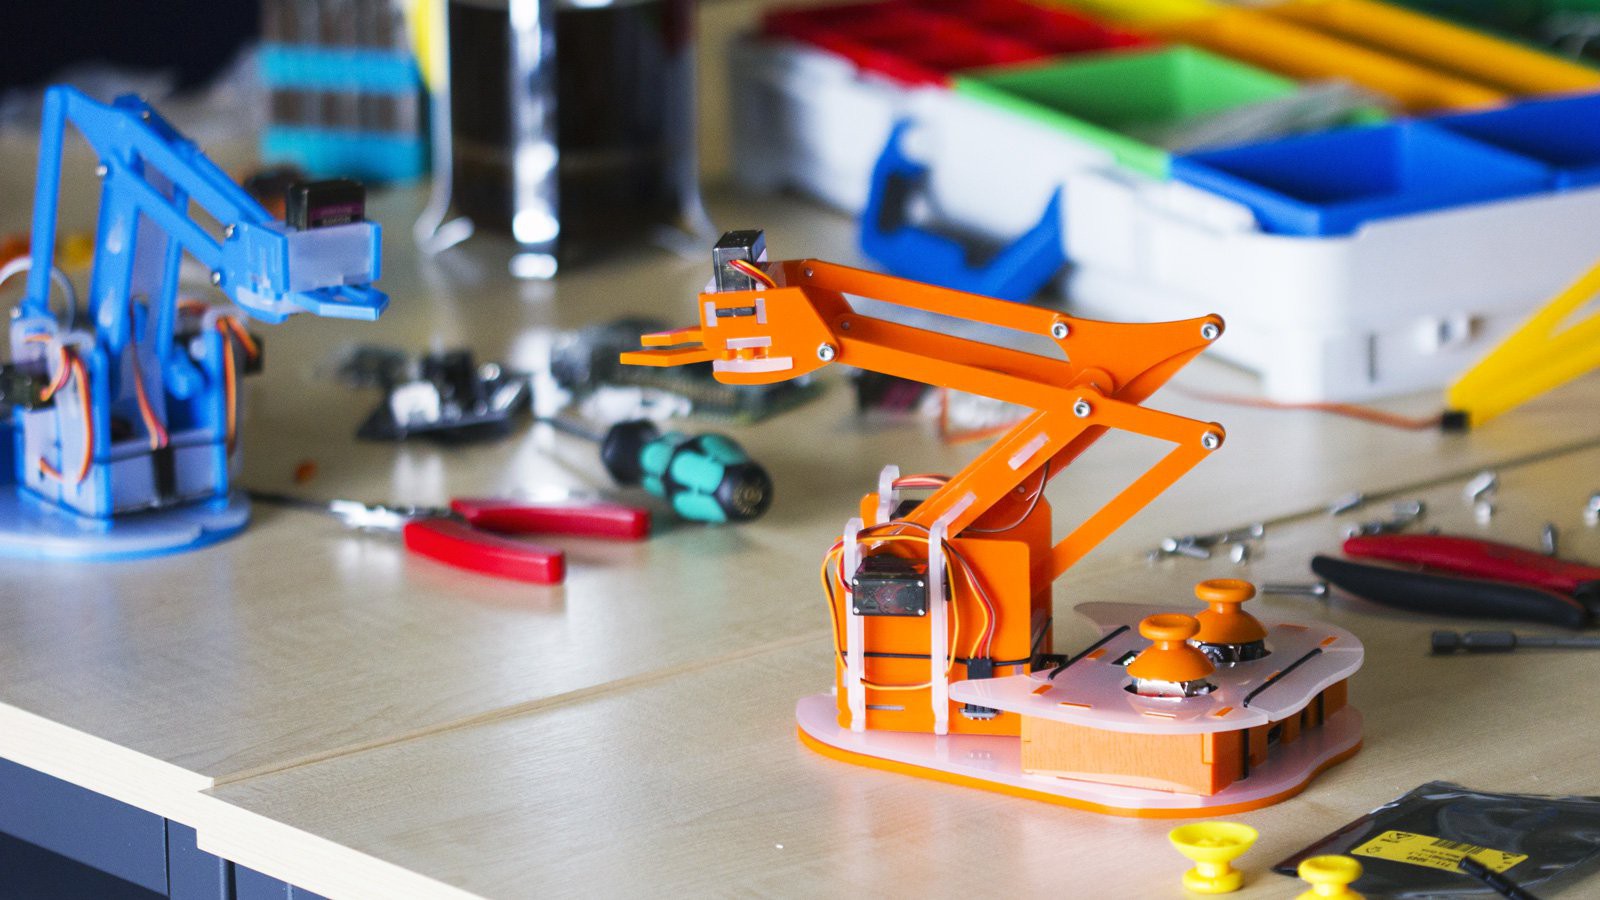
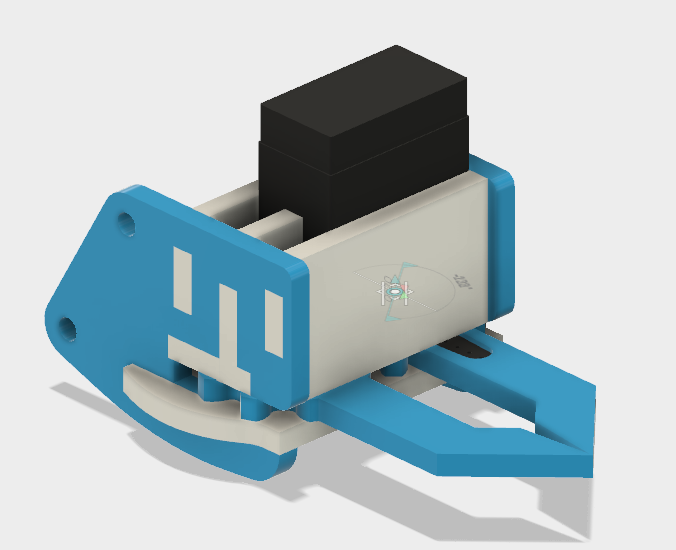
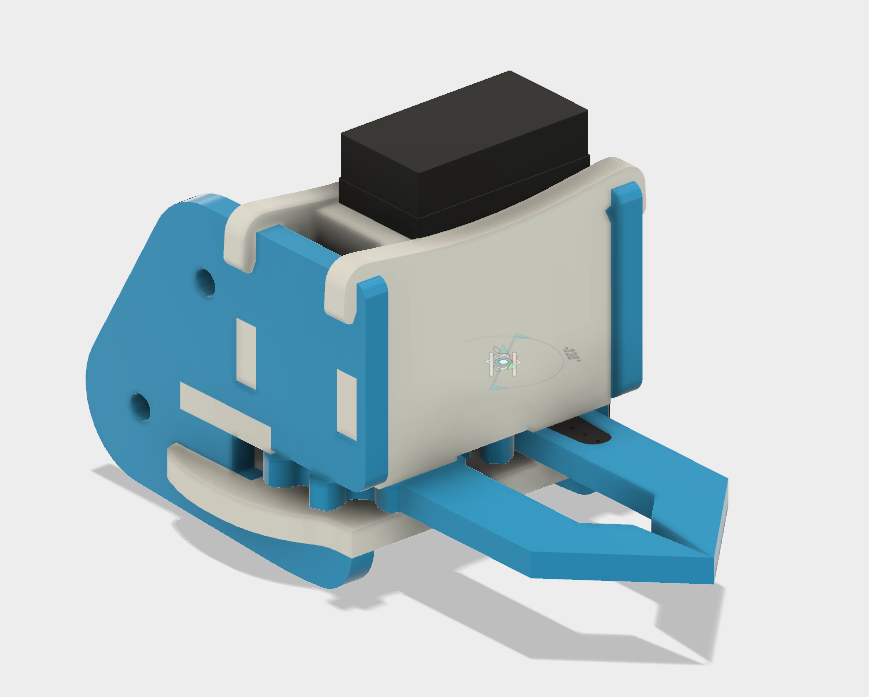
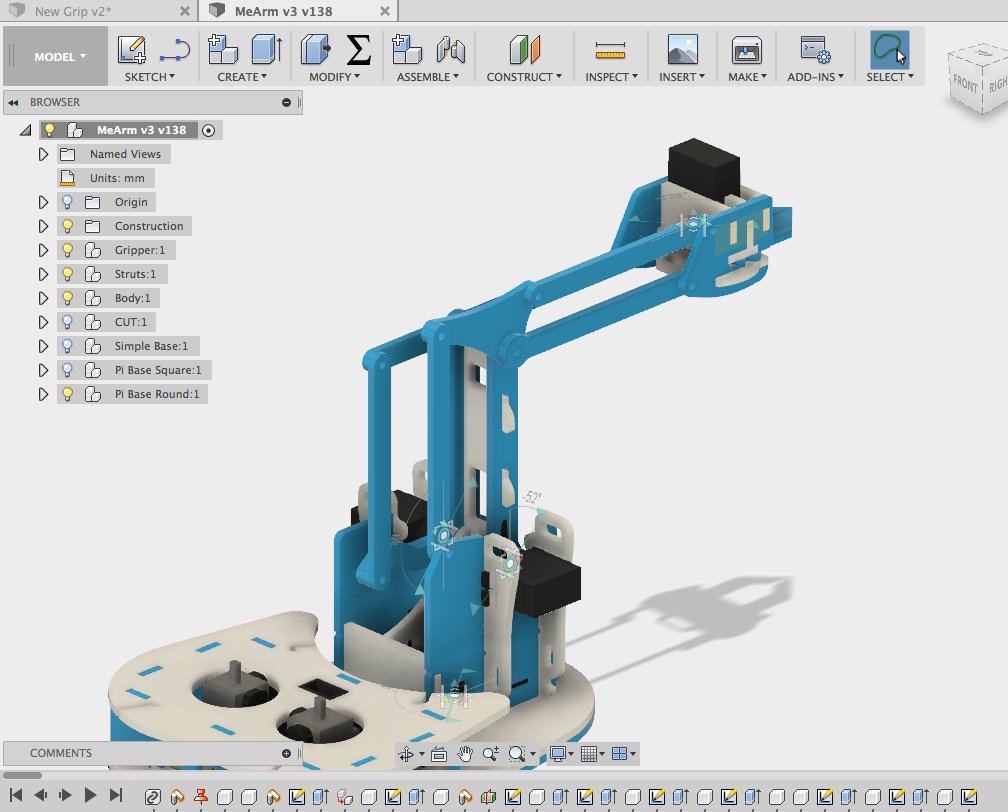
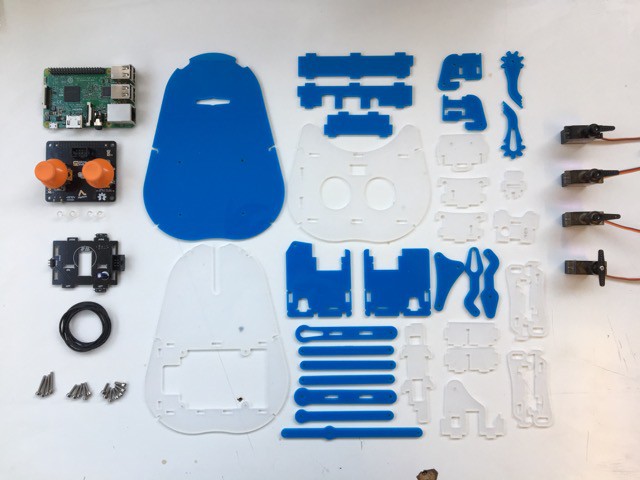
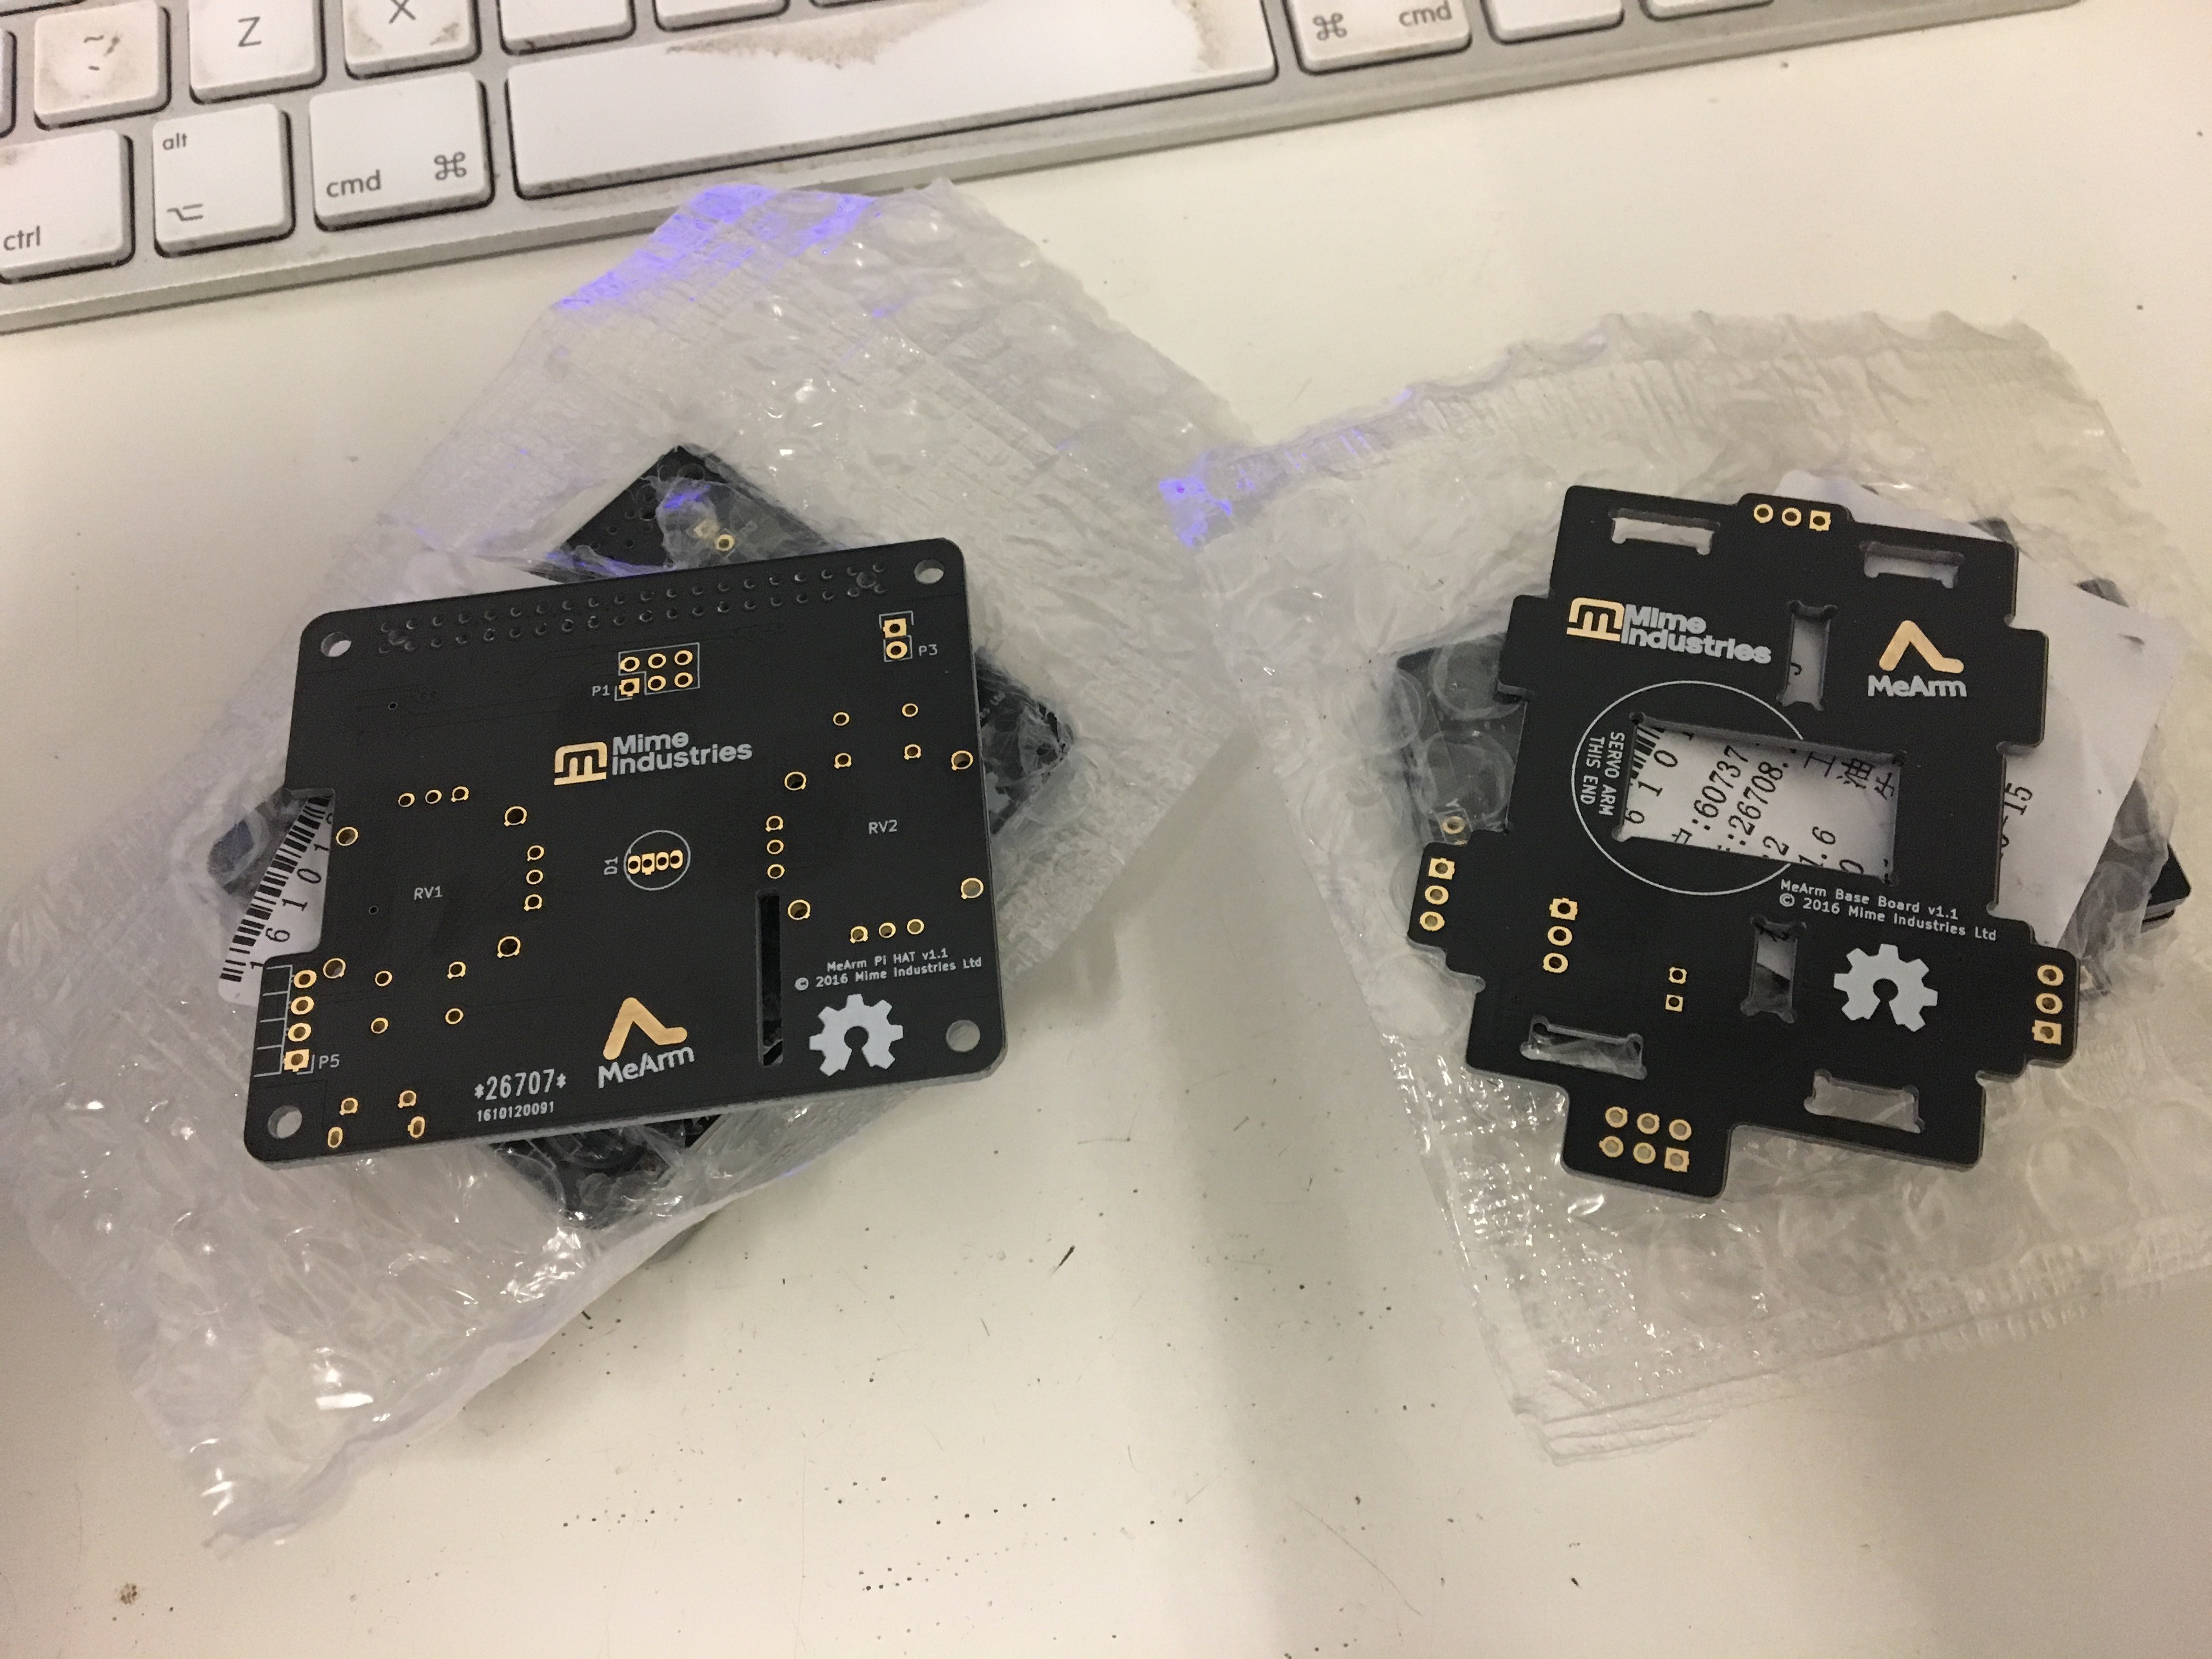
We're reworking the venerable MeArm to make it easier to build and to integrate it neatly with the Raspberry Pi. So far the mechanical re-work has reduced the screw count from around 40 screws to 12 and also made it so that the servos don't need the fiddly screws to attach them to the arm mechanism which should make it much easier for kids to build.
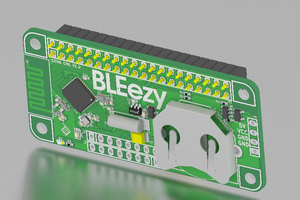
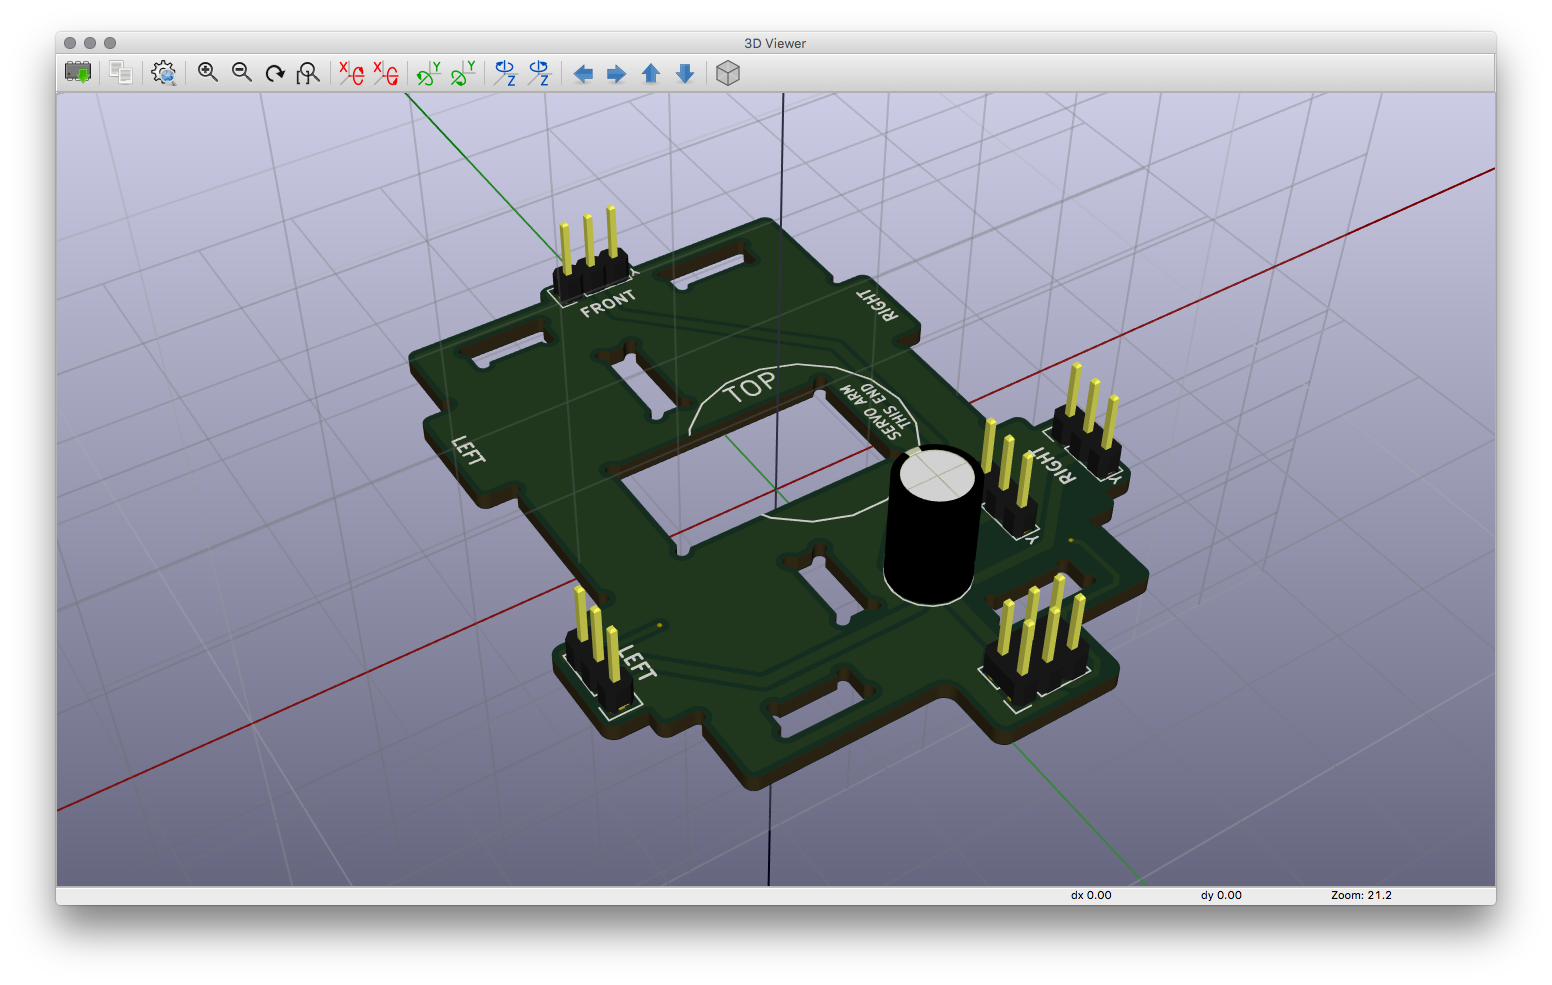
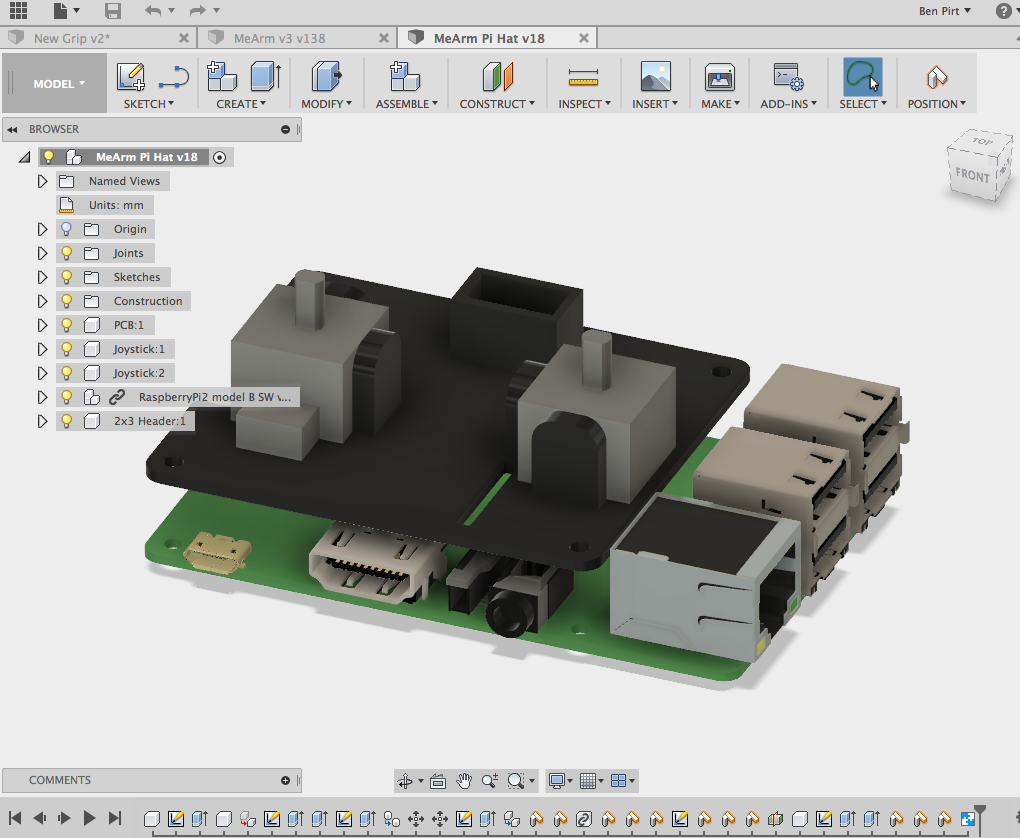
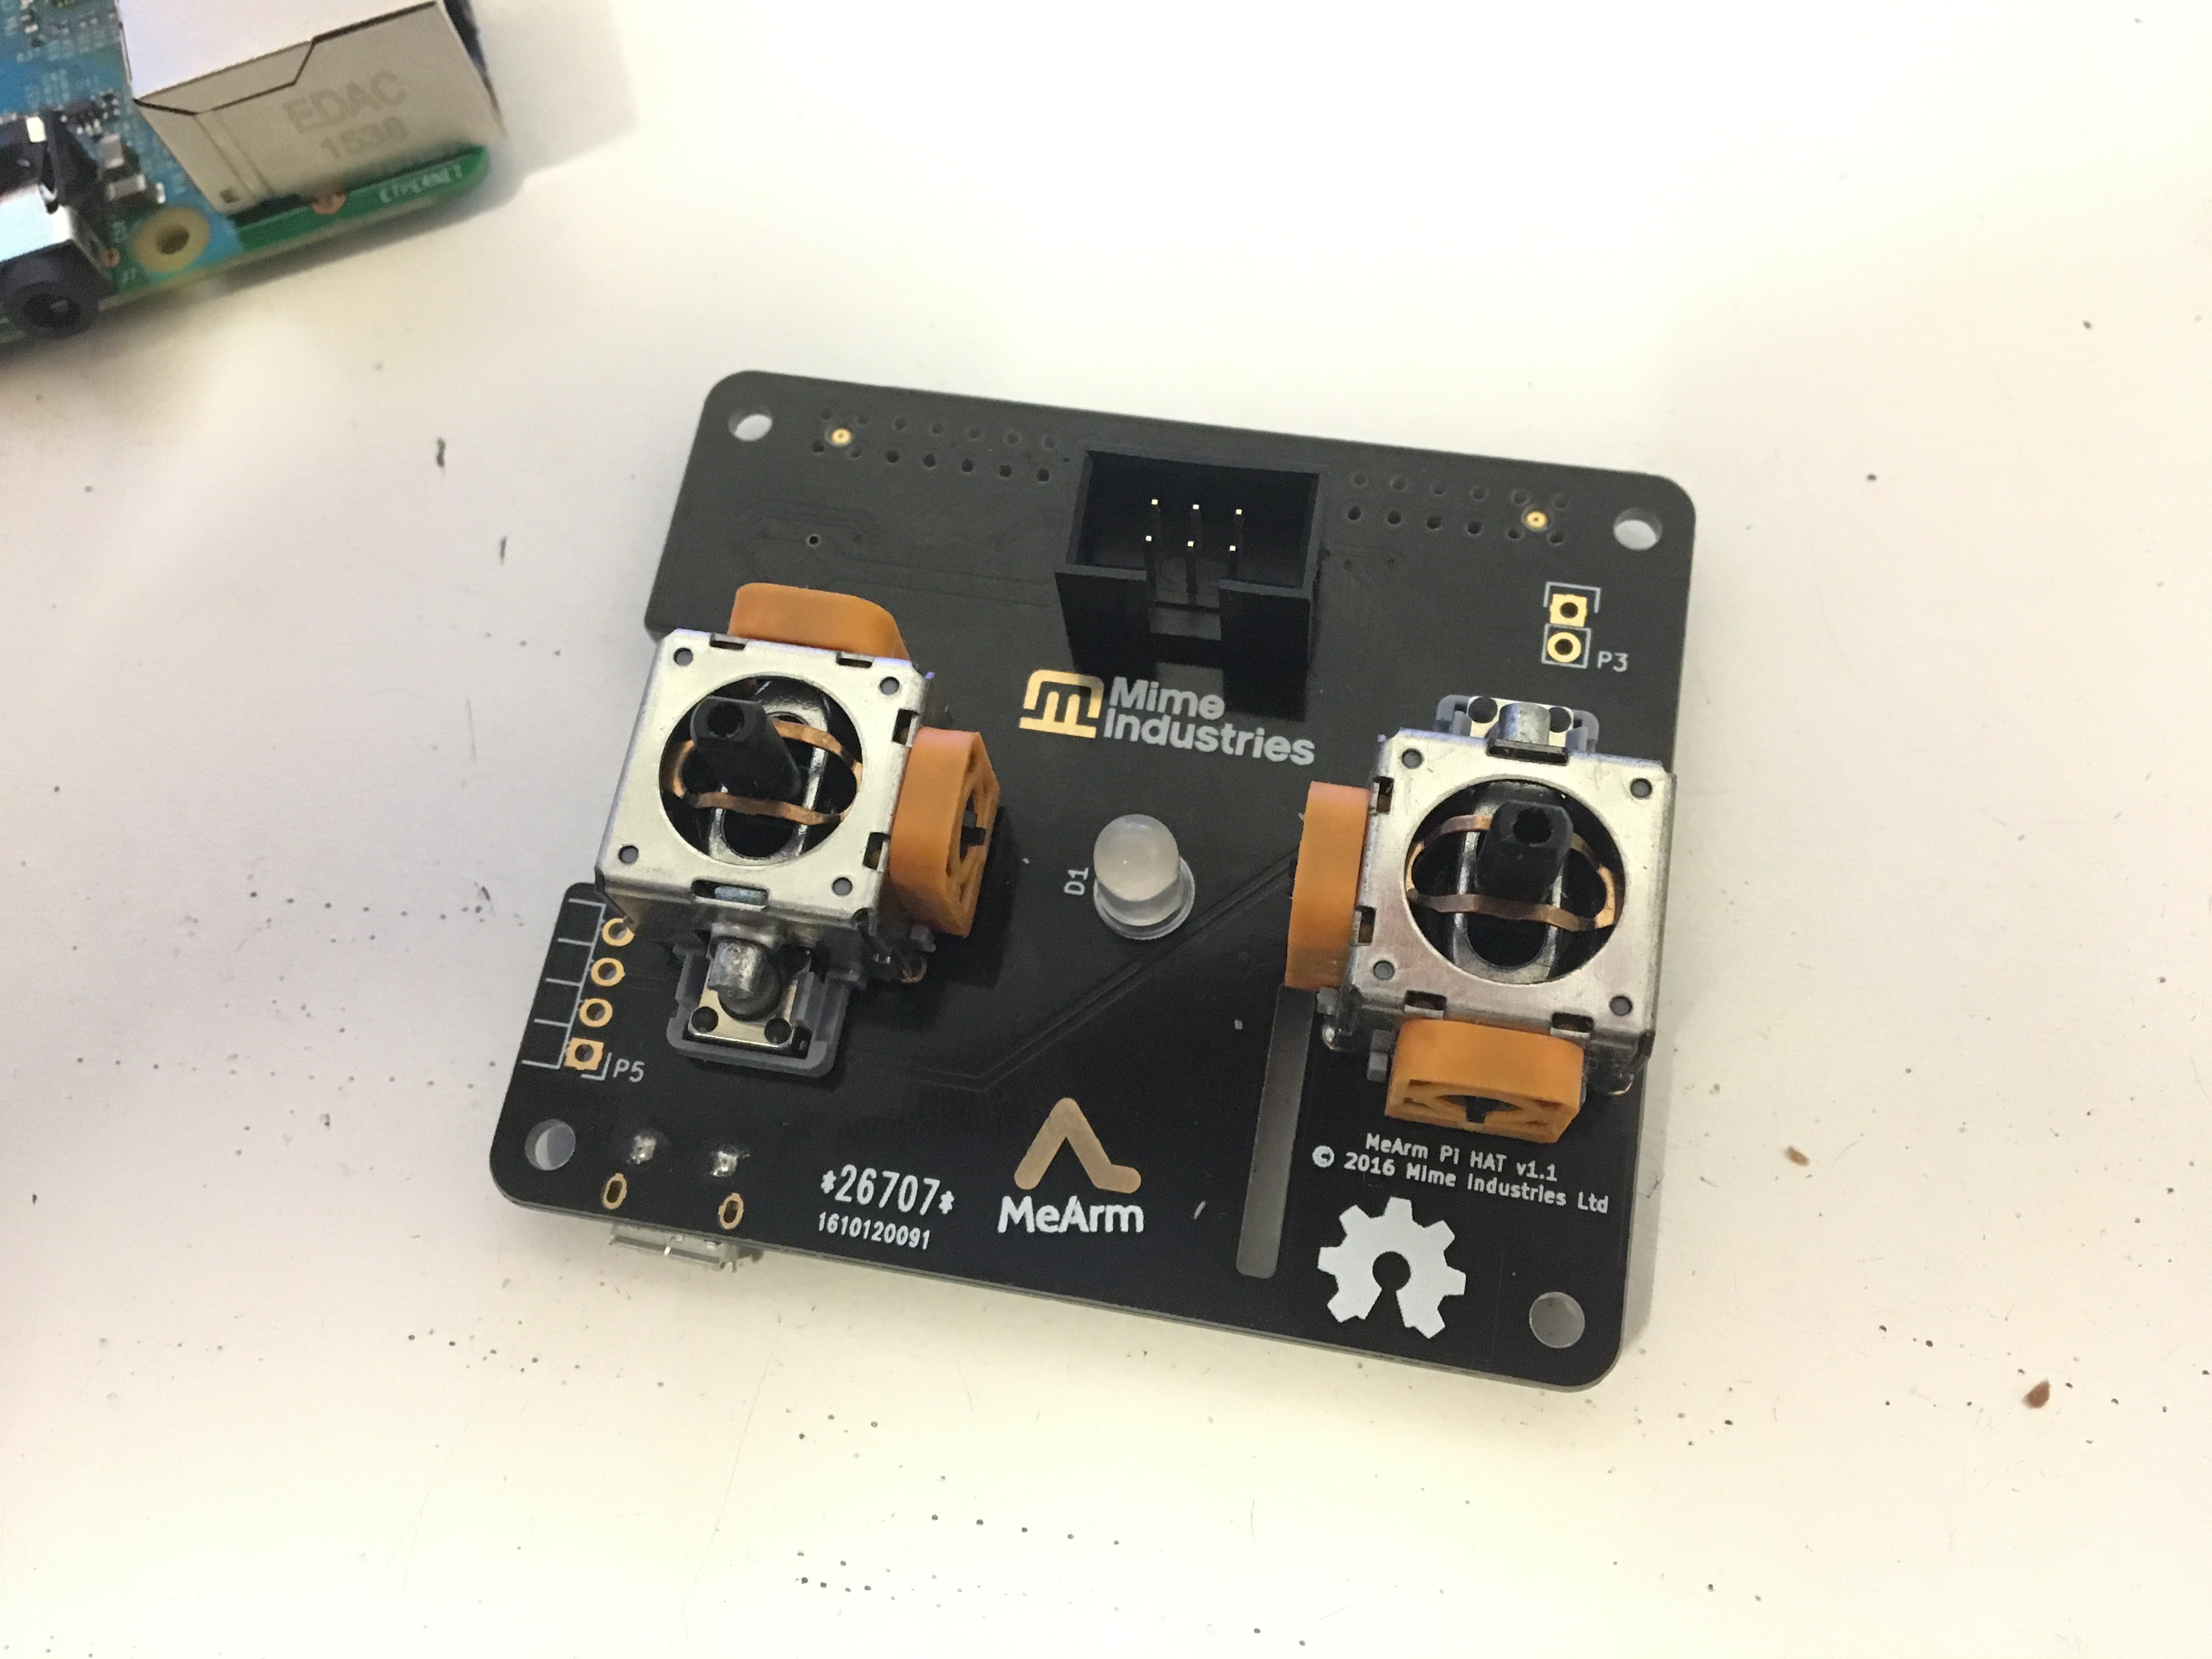
For the Pi integration, we're making a neat HAT that's fully in line with the HAT specs for autoconfiguring the pins and powering the Pi through the GPIO headers. It's got a couple of joysticks on board so it's nice and self-contained and lets you control the arm straight from the Pi without needing it plugged into a monitor or keyboard.
Software-wise, there's a node.js service that runs that does a number of things:
- Reads the joysticks and controls the servos accordingly
- Makes a WebSocket API available for controlling MeArm
- Serves out some JS apps for controlling MeArm straight from your browser
Here's a video of it working:
And here's a demo of the apps running in a browser to make programming it easy:


 julien
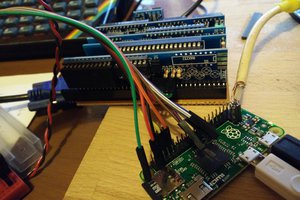
 spencer
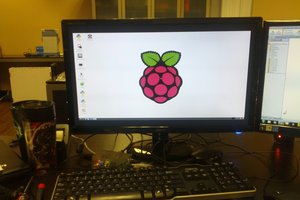
 Hatterofthewaste