 Quinn Morley
I've had the rover put together twice, and experienced challenges both times. In all cases I haven't put a single motor on yet.
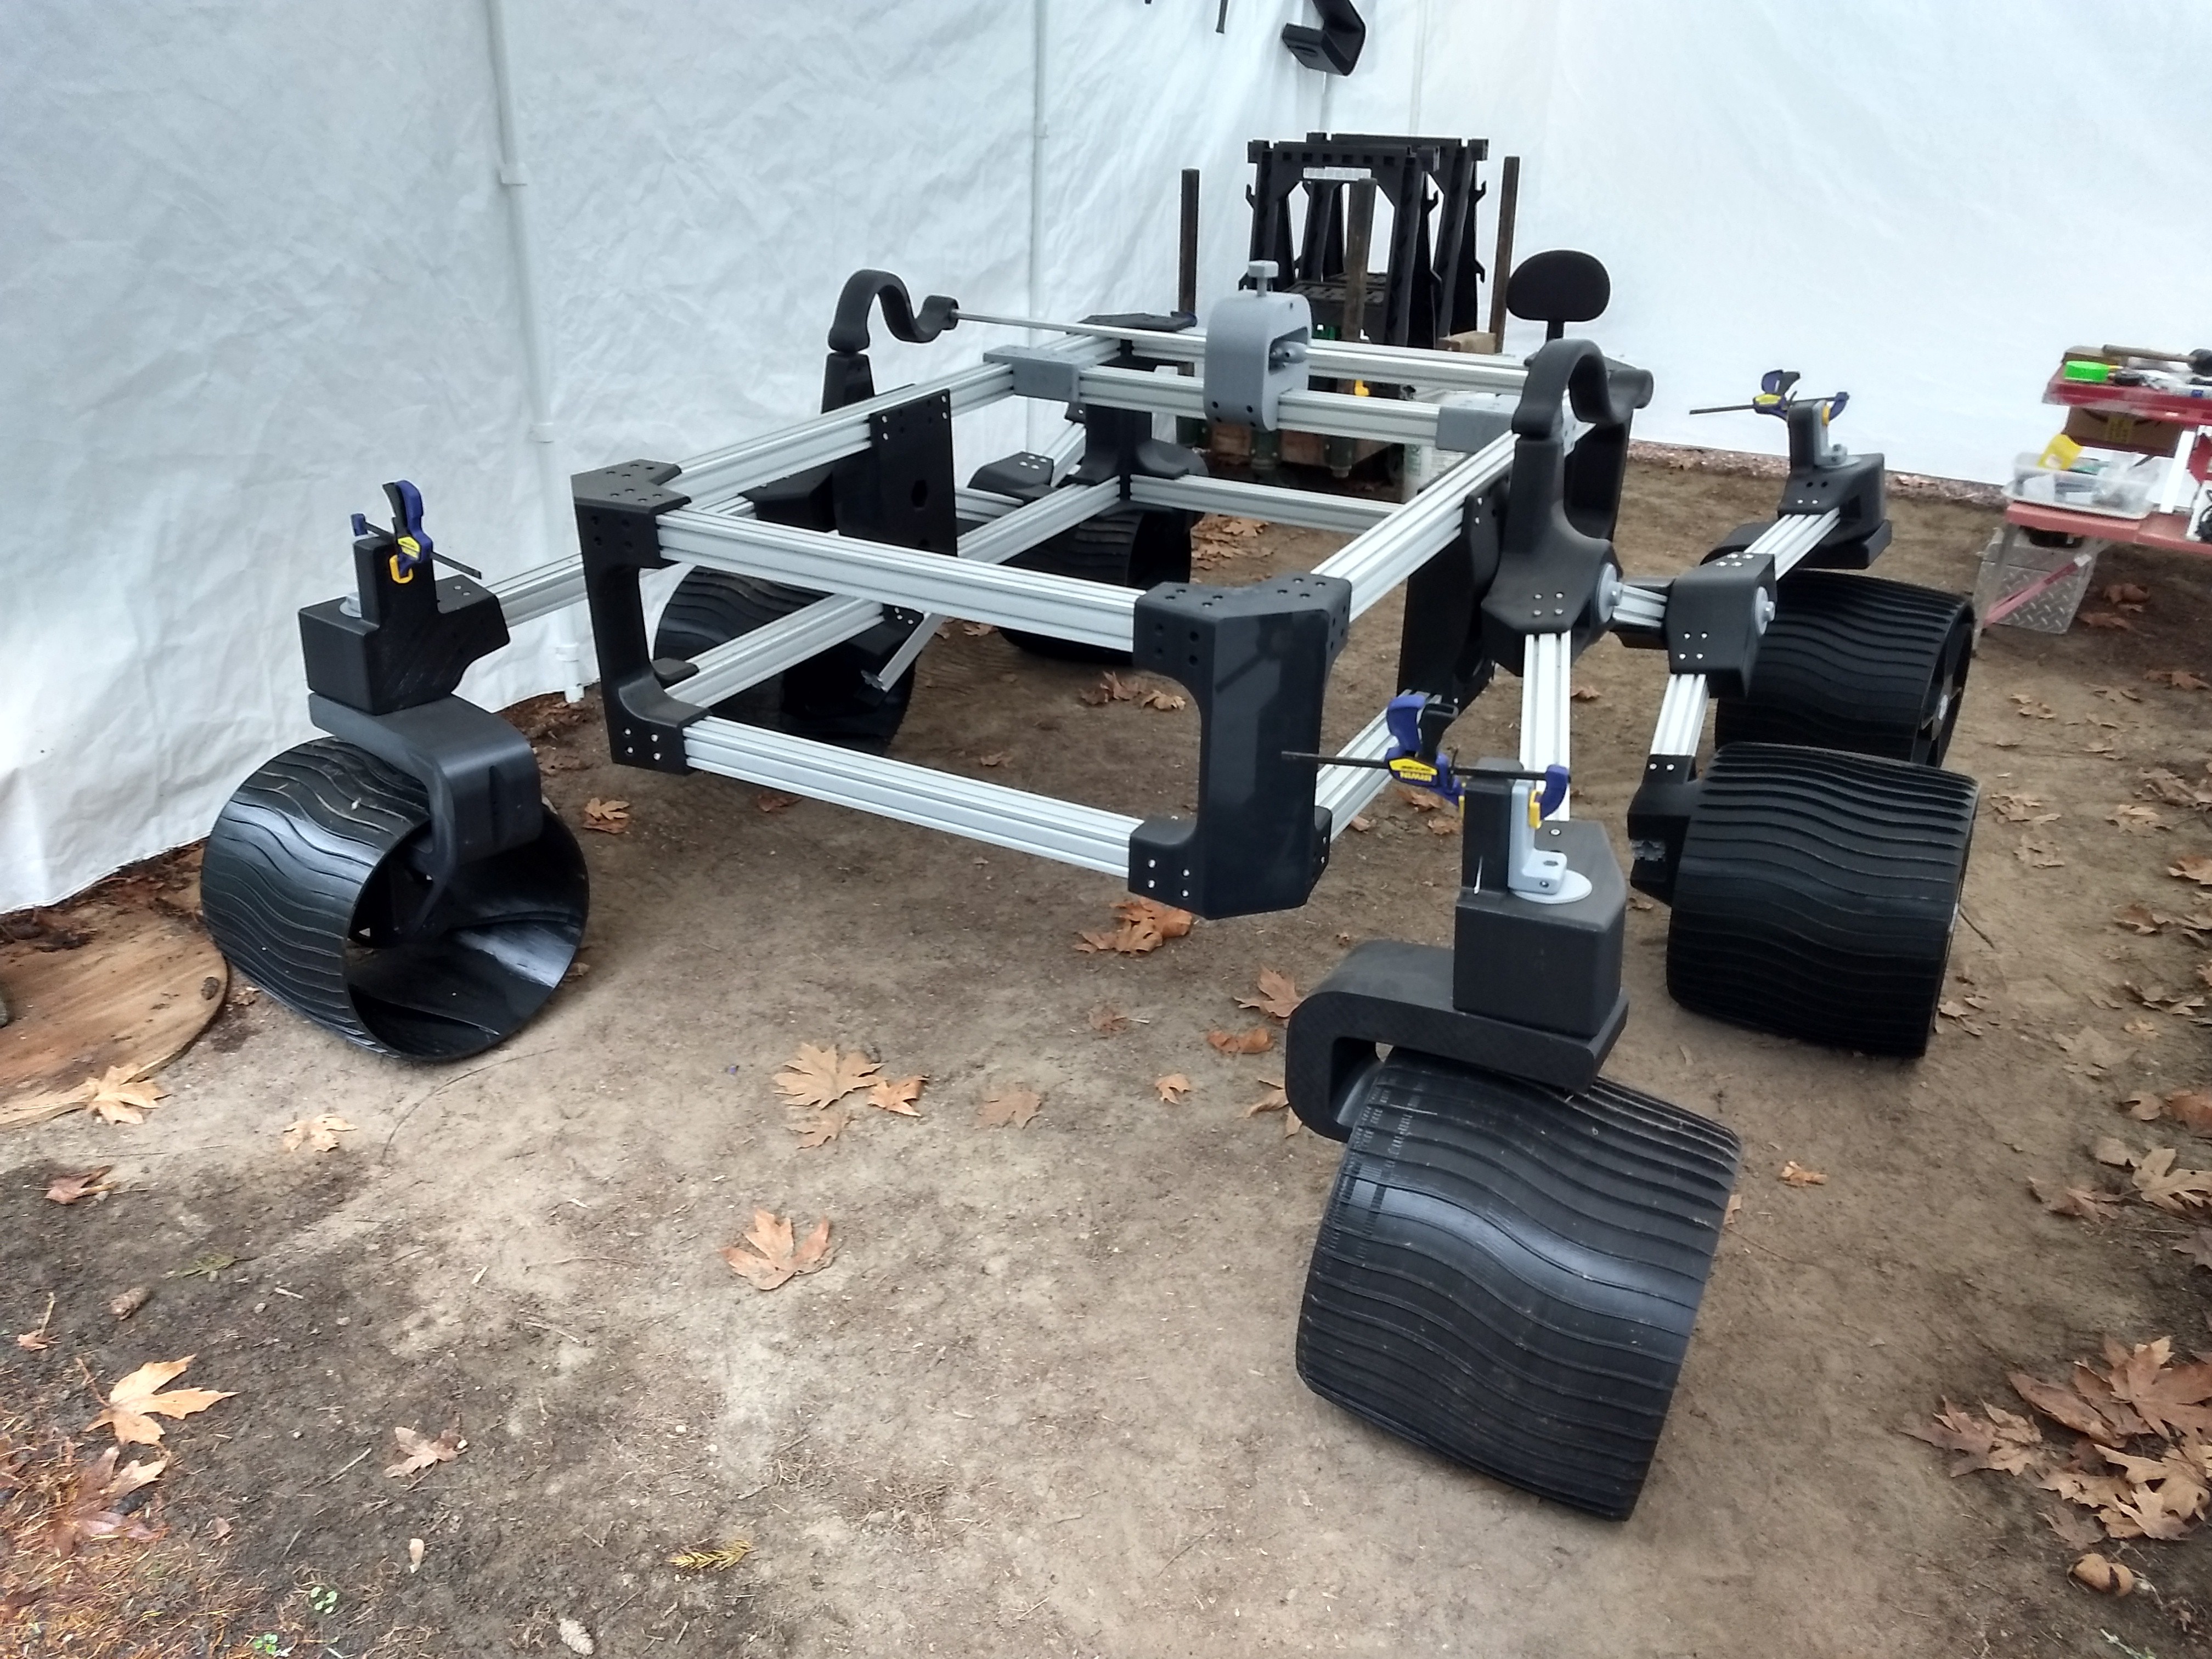
In the above picture, the rover has its weight on the wheels for the first time, but with plastic axles that deteriorated quickly. The differential failed under this static load after about two weeks time, due to the creep of PLA under high stress. The differential holds the body level, so the forward weight of the body is held up via the differential. I have adjusted the body pivot point to minimize this static load, but it is surprisingly easy to "load up" the differential. Given the length of all of the moment arms, this force can get significant rather easily.
All of the axles are now aluminum hex bar, and the differential mechanism has been strengthened (via print settings, not geometry). The differential may need to be redesigned so a one piece hex bar can be used, instead of having the joint in the middle.
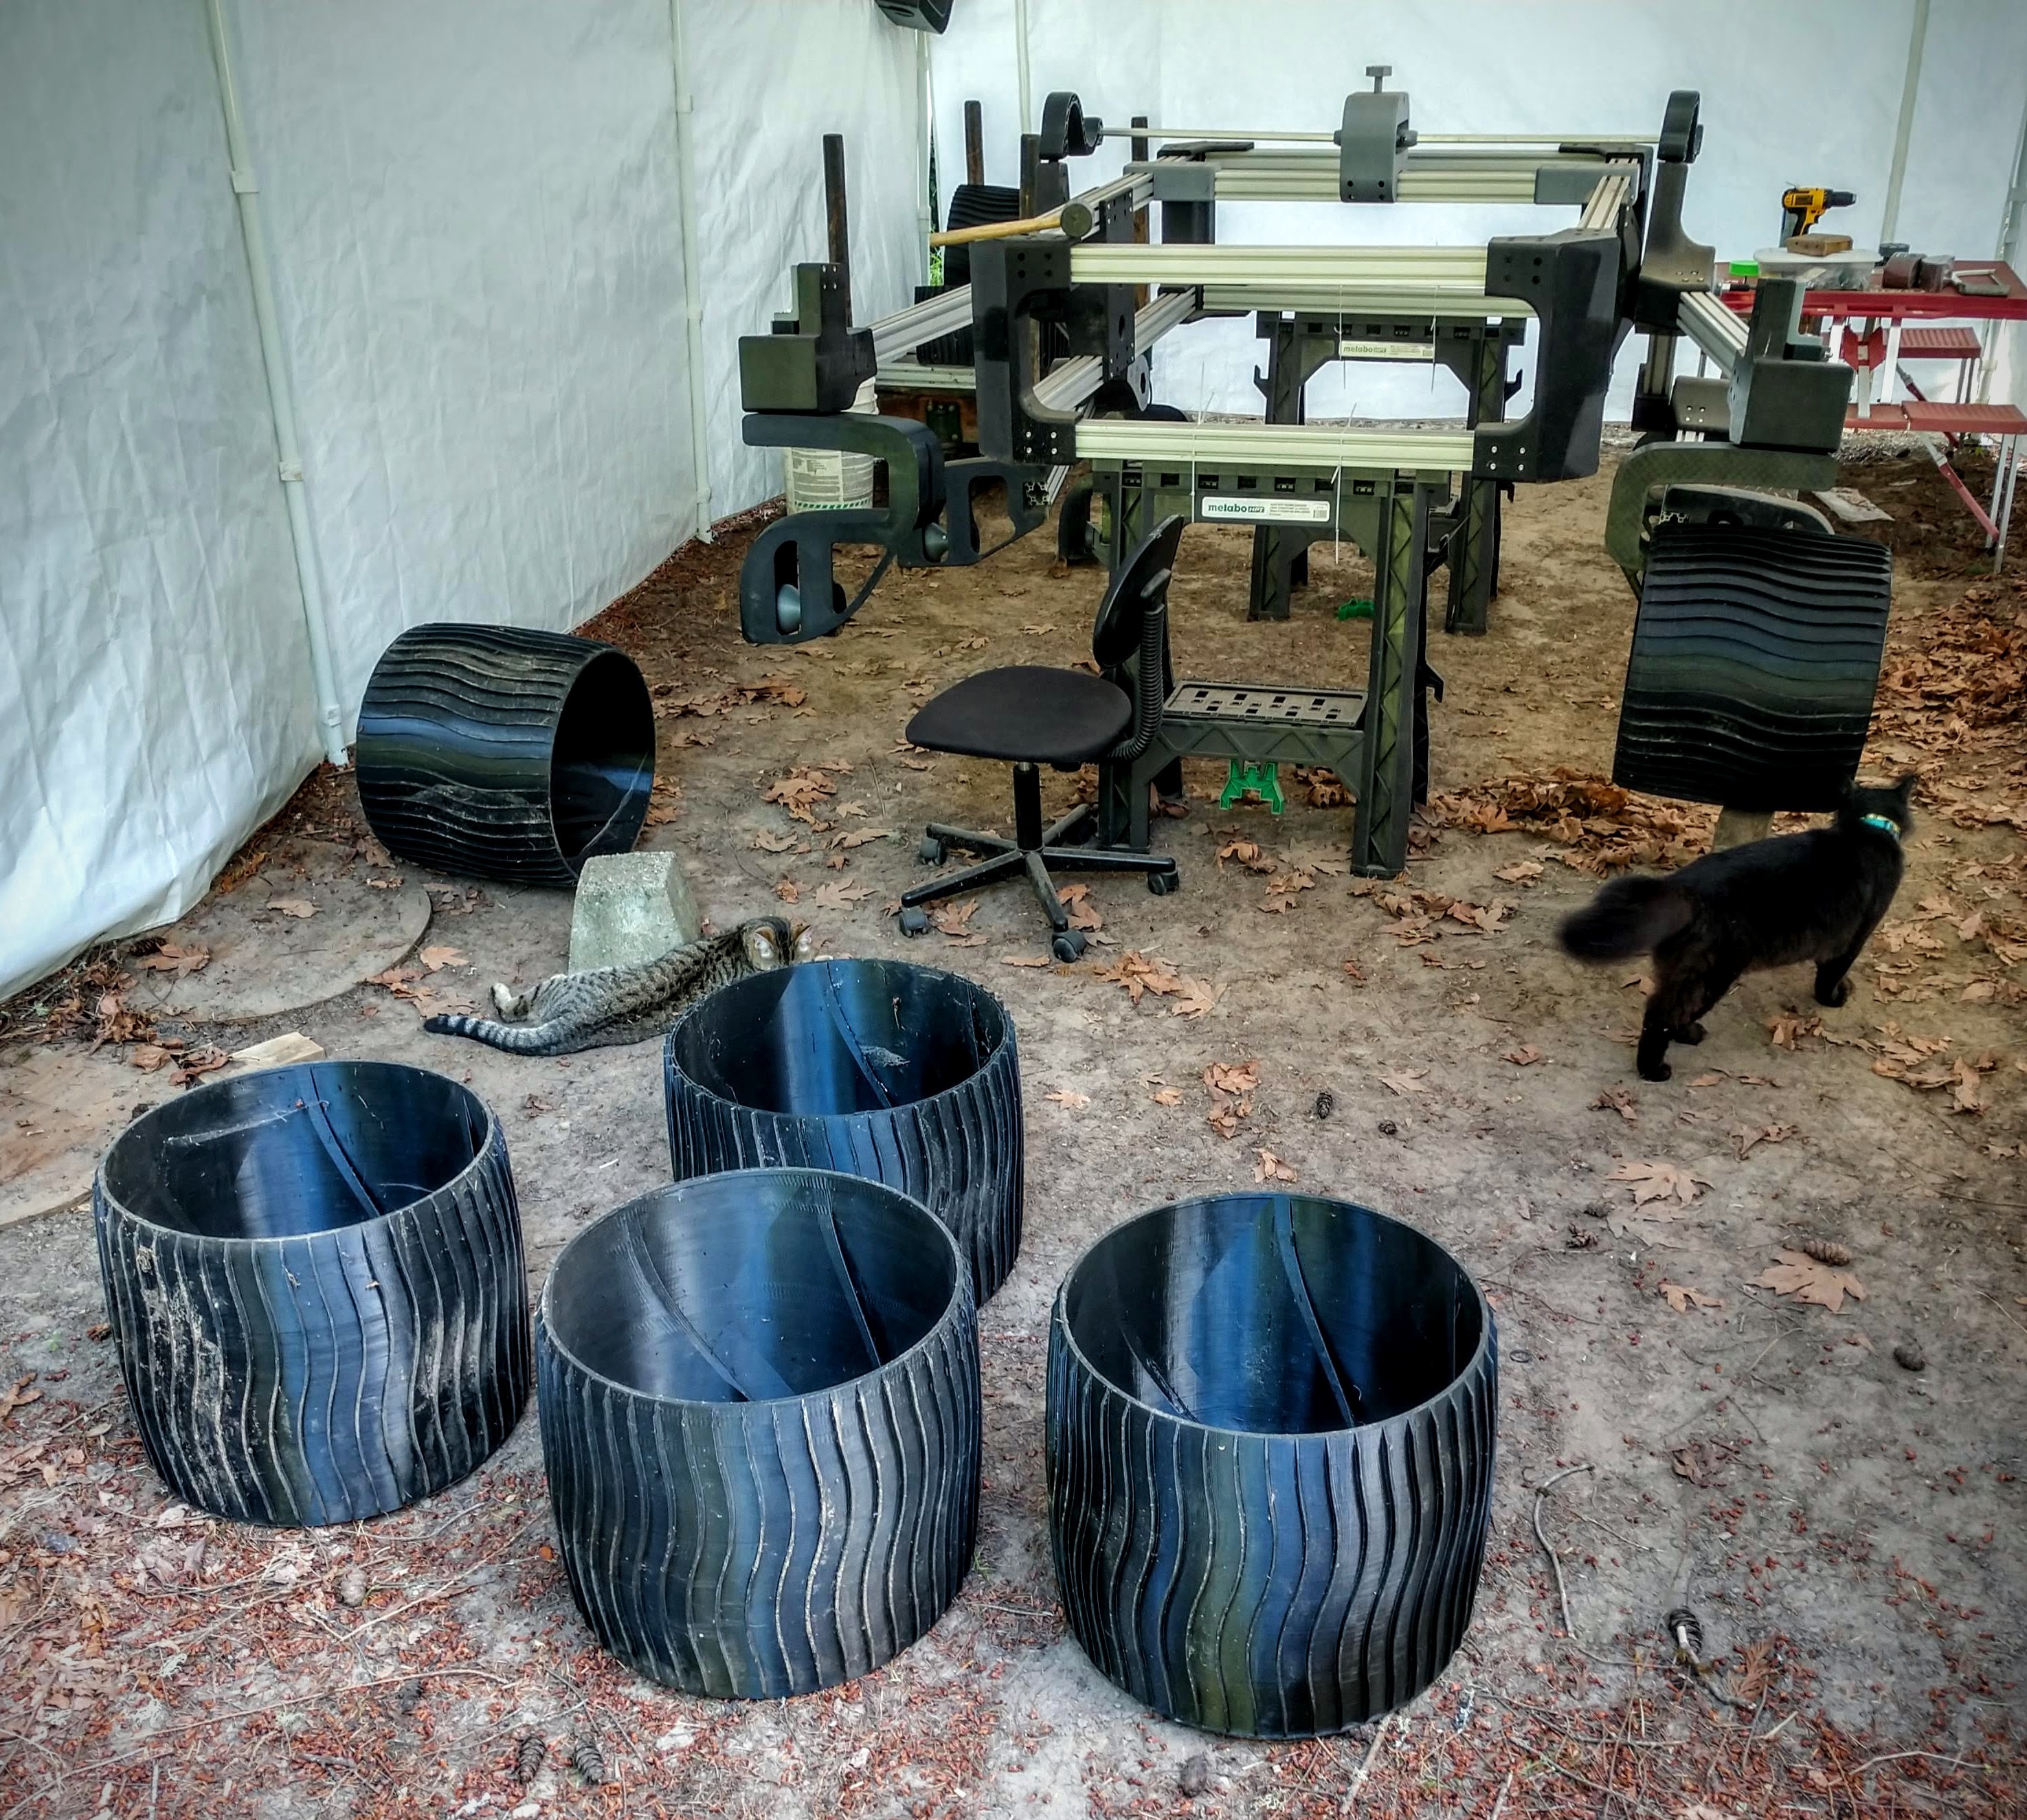
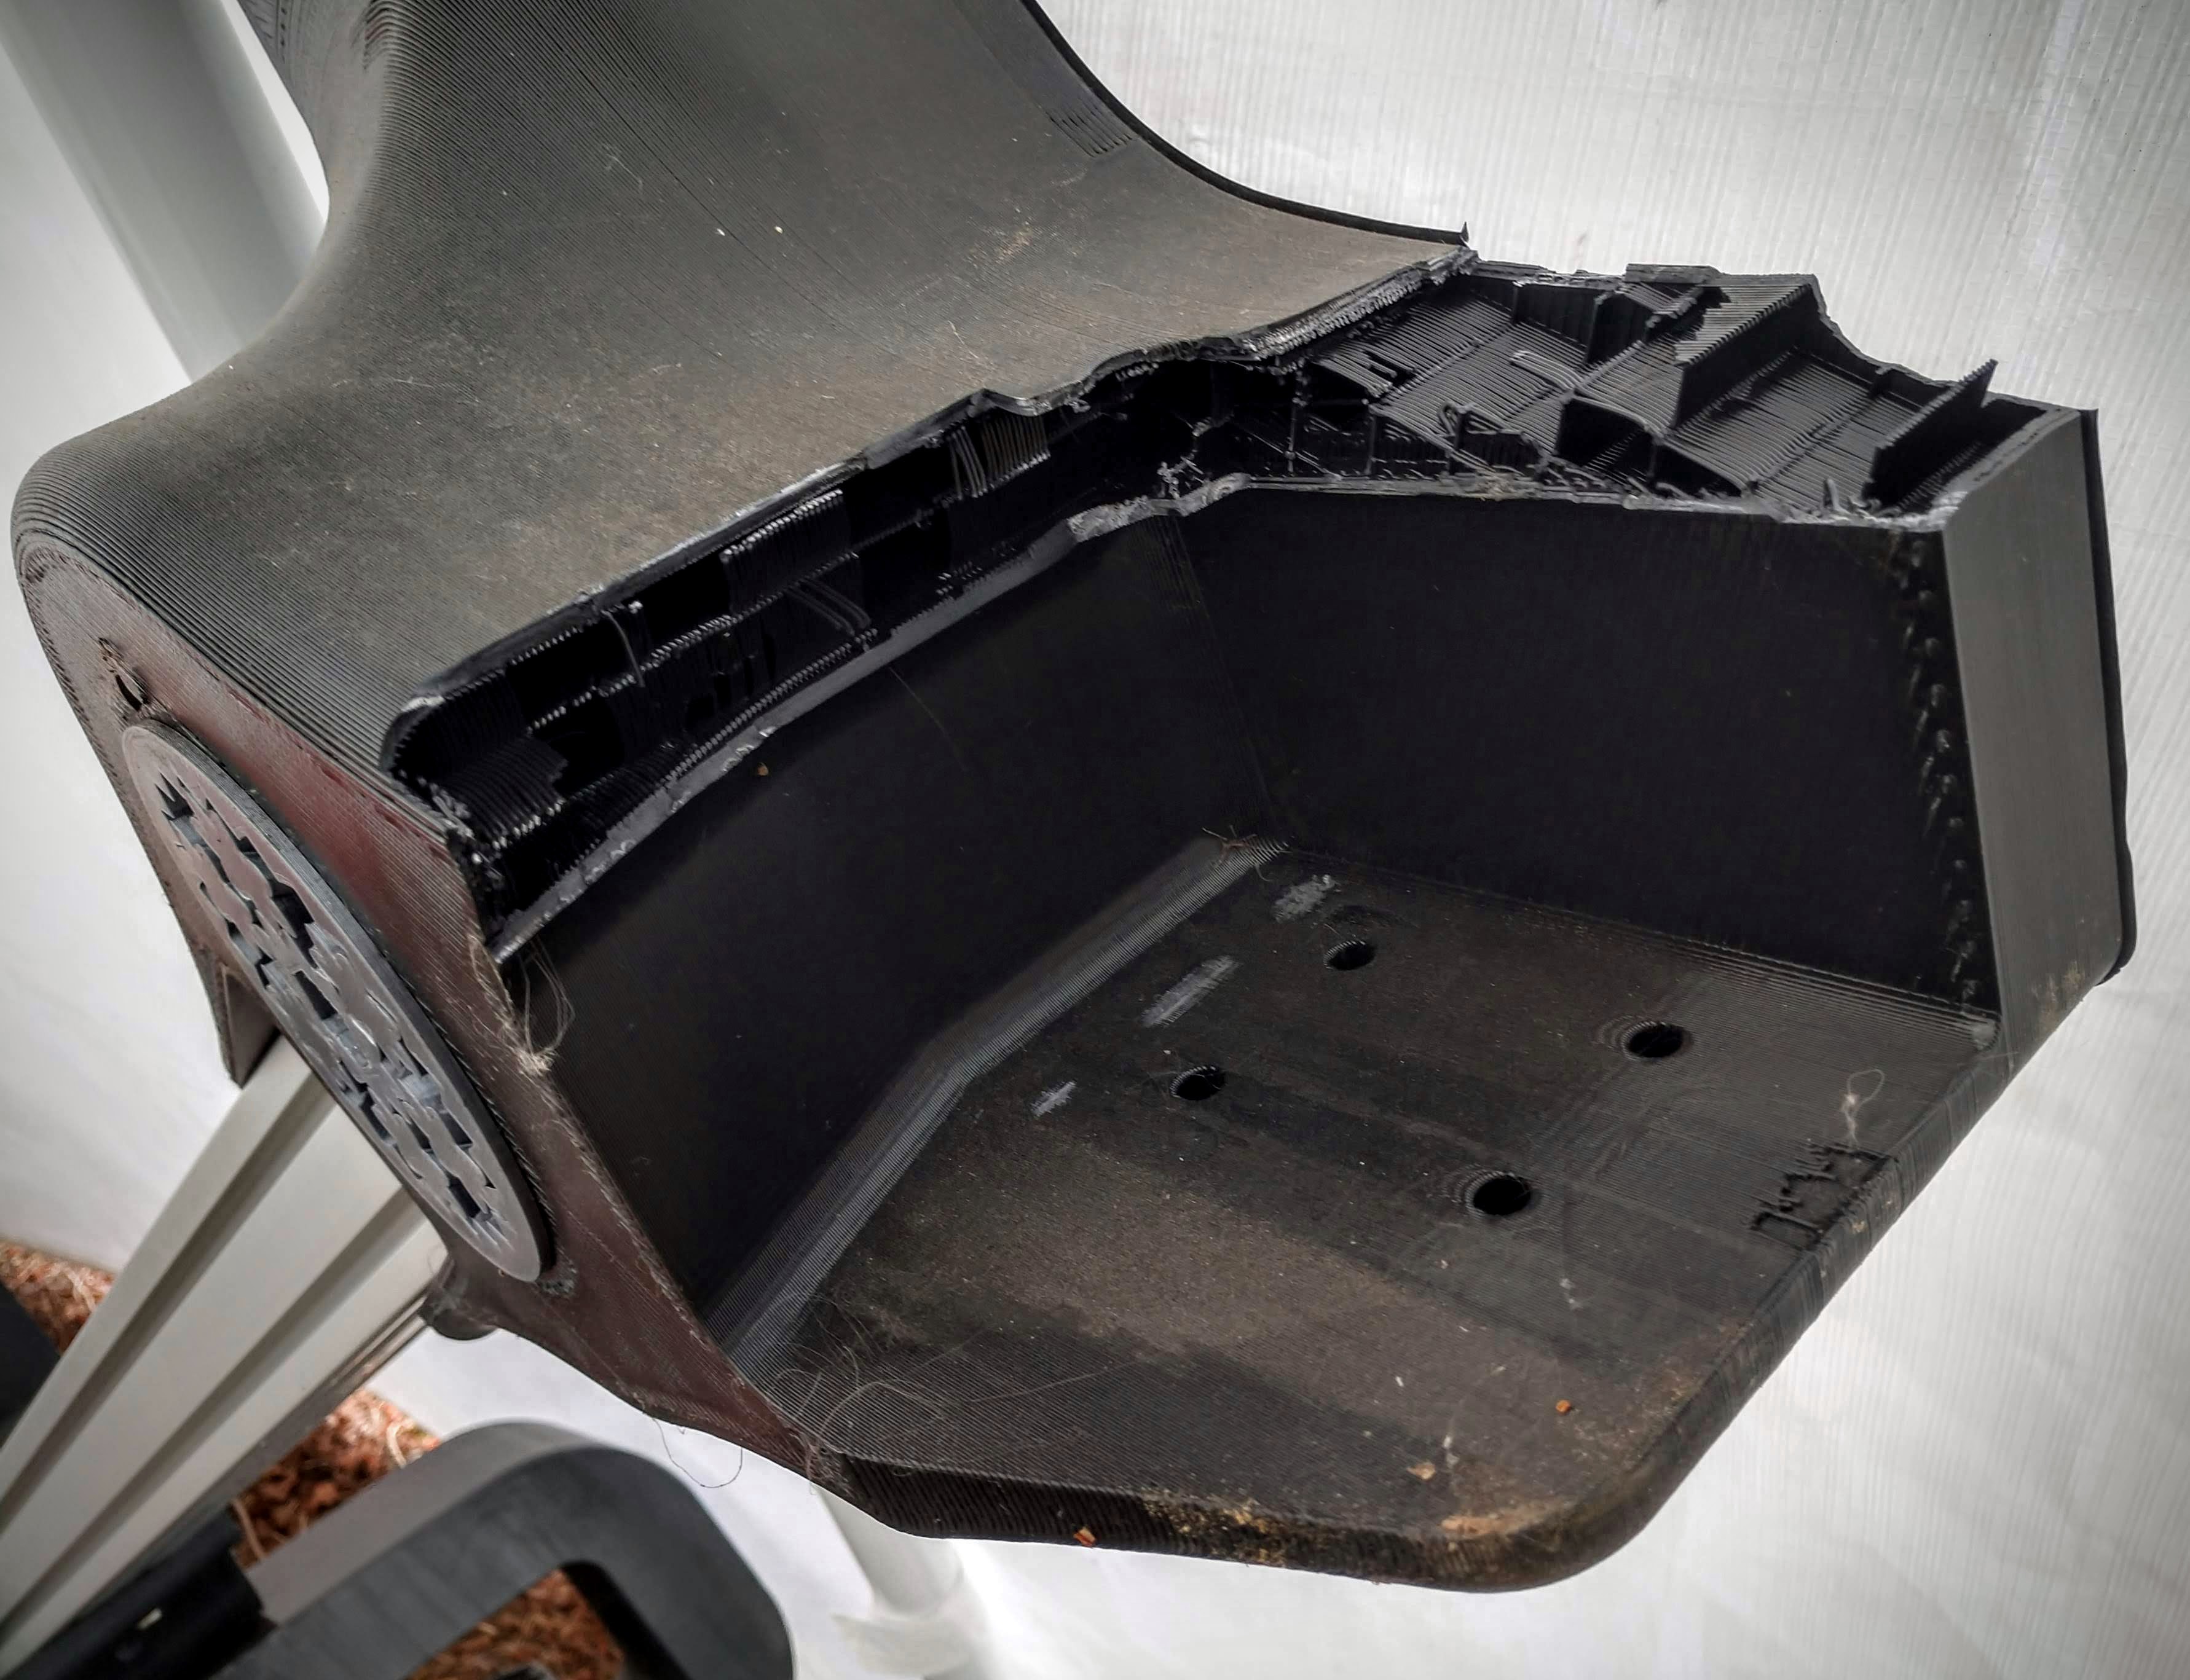
The left-hand main rocker broke recently, so both rockers need to be reprinted with more perimeters. The "diff links" (curvey parts that hook the rocker to the long hex bar of the diff) also need to be printed again. It is difficult to get the diff links to both flex and be strong enough. If they can flex a little, it can help reduce the high loads on the differential itself (the hex bar also flexes a lot, which is great).
Unfortunately I didn't get pictures of the whole rover before the rocker broke (I was rolling it outside to wash it and take pictures at the time). The quick clamps have been replaced with a better "steering lockout" system until the steering motors can be installed (may be quite a while, I hope to use tank steering at first for powered driving). Hopefully I can get my "fresh wash" picture before the end of the summer.
Discussions
Become a Hackaday.io Member
Create an account to leave a comment. Already have an account? Log In.
This is great @Quinn Morley !
It really is a beautiful beast.
Regarding the broken parts, I've read your comment in the general discussion, about not being able to print PETG. My Ender 3 wasn’t doing a good job with PETG until I decided to change the extruder to a 2-geared version. Now it is printing PETG like a charm and the difference in resistance is enormous, especially for this kind of forces. PETG will deform but rarely it will break. The slicing of the parts also make a great difference. I have used variable infill layers (I have been using Ultimaker Cura for slicing) so I can choose which parts need to be more resistant using more material in the infill. The pattern used for infill and shell and the orientation of the printed parts also makes a difference.
Of course I am not building a truck sized rover, but the difference in resistance with PETG is really big.
By the way, you are a very patient guy, I can't imagine the printing time of those huge parts and wheels. :)
Are you sure? yes | no
I'm concerned about the bed temperature and bed adhesion with PETG. The wheel uses every bit of the bed. I have already upgraded to a Bondtech direct drive extrusion system, that consumes 1.5kg/day or about 62g/hr. The wheels take about 3.5 days, turning the speed down as the weight on the build plate increases. The first wheel on the stock machine took 12 days.
I'll keep PETG in mind for things like the rockers. I don't think I'll use it this next round of upgrades, but it may be a worthwhile option if things continue to fight me.
Are you sure? yes | no
Yes, I see your point.
For printing the original size wheels with petg, I had to use raft and also to create a one layer of "tentacles" to keep the wheels from bending up. Then I decided to enclosure the printer and it helped a little further.
I can't even imagine printing a wheel that size.
Congrats for your persistence. :) I admire it.
Are you sure? yes | no