I promised something bigger, and here it is!
I bought a bunch of these on Ebay for about $2 a piece some time ago. I thought I would kill them off in "bare metal" assembly programming and motherboard experiments, but never delved deep enough to do so. So now I've put one on the chopping block! Sadly I broke the die in the process, but more on that later.
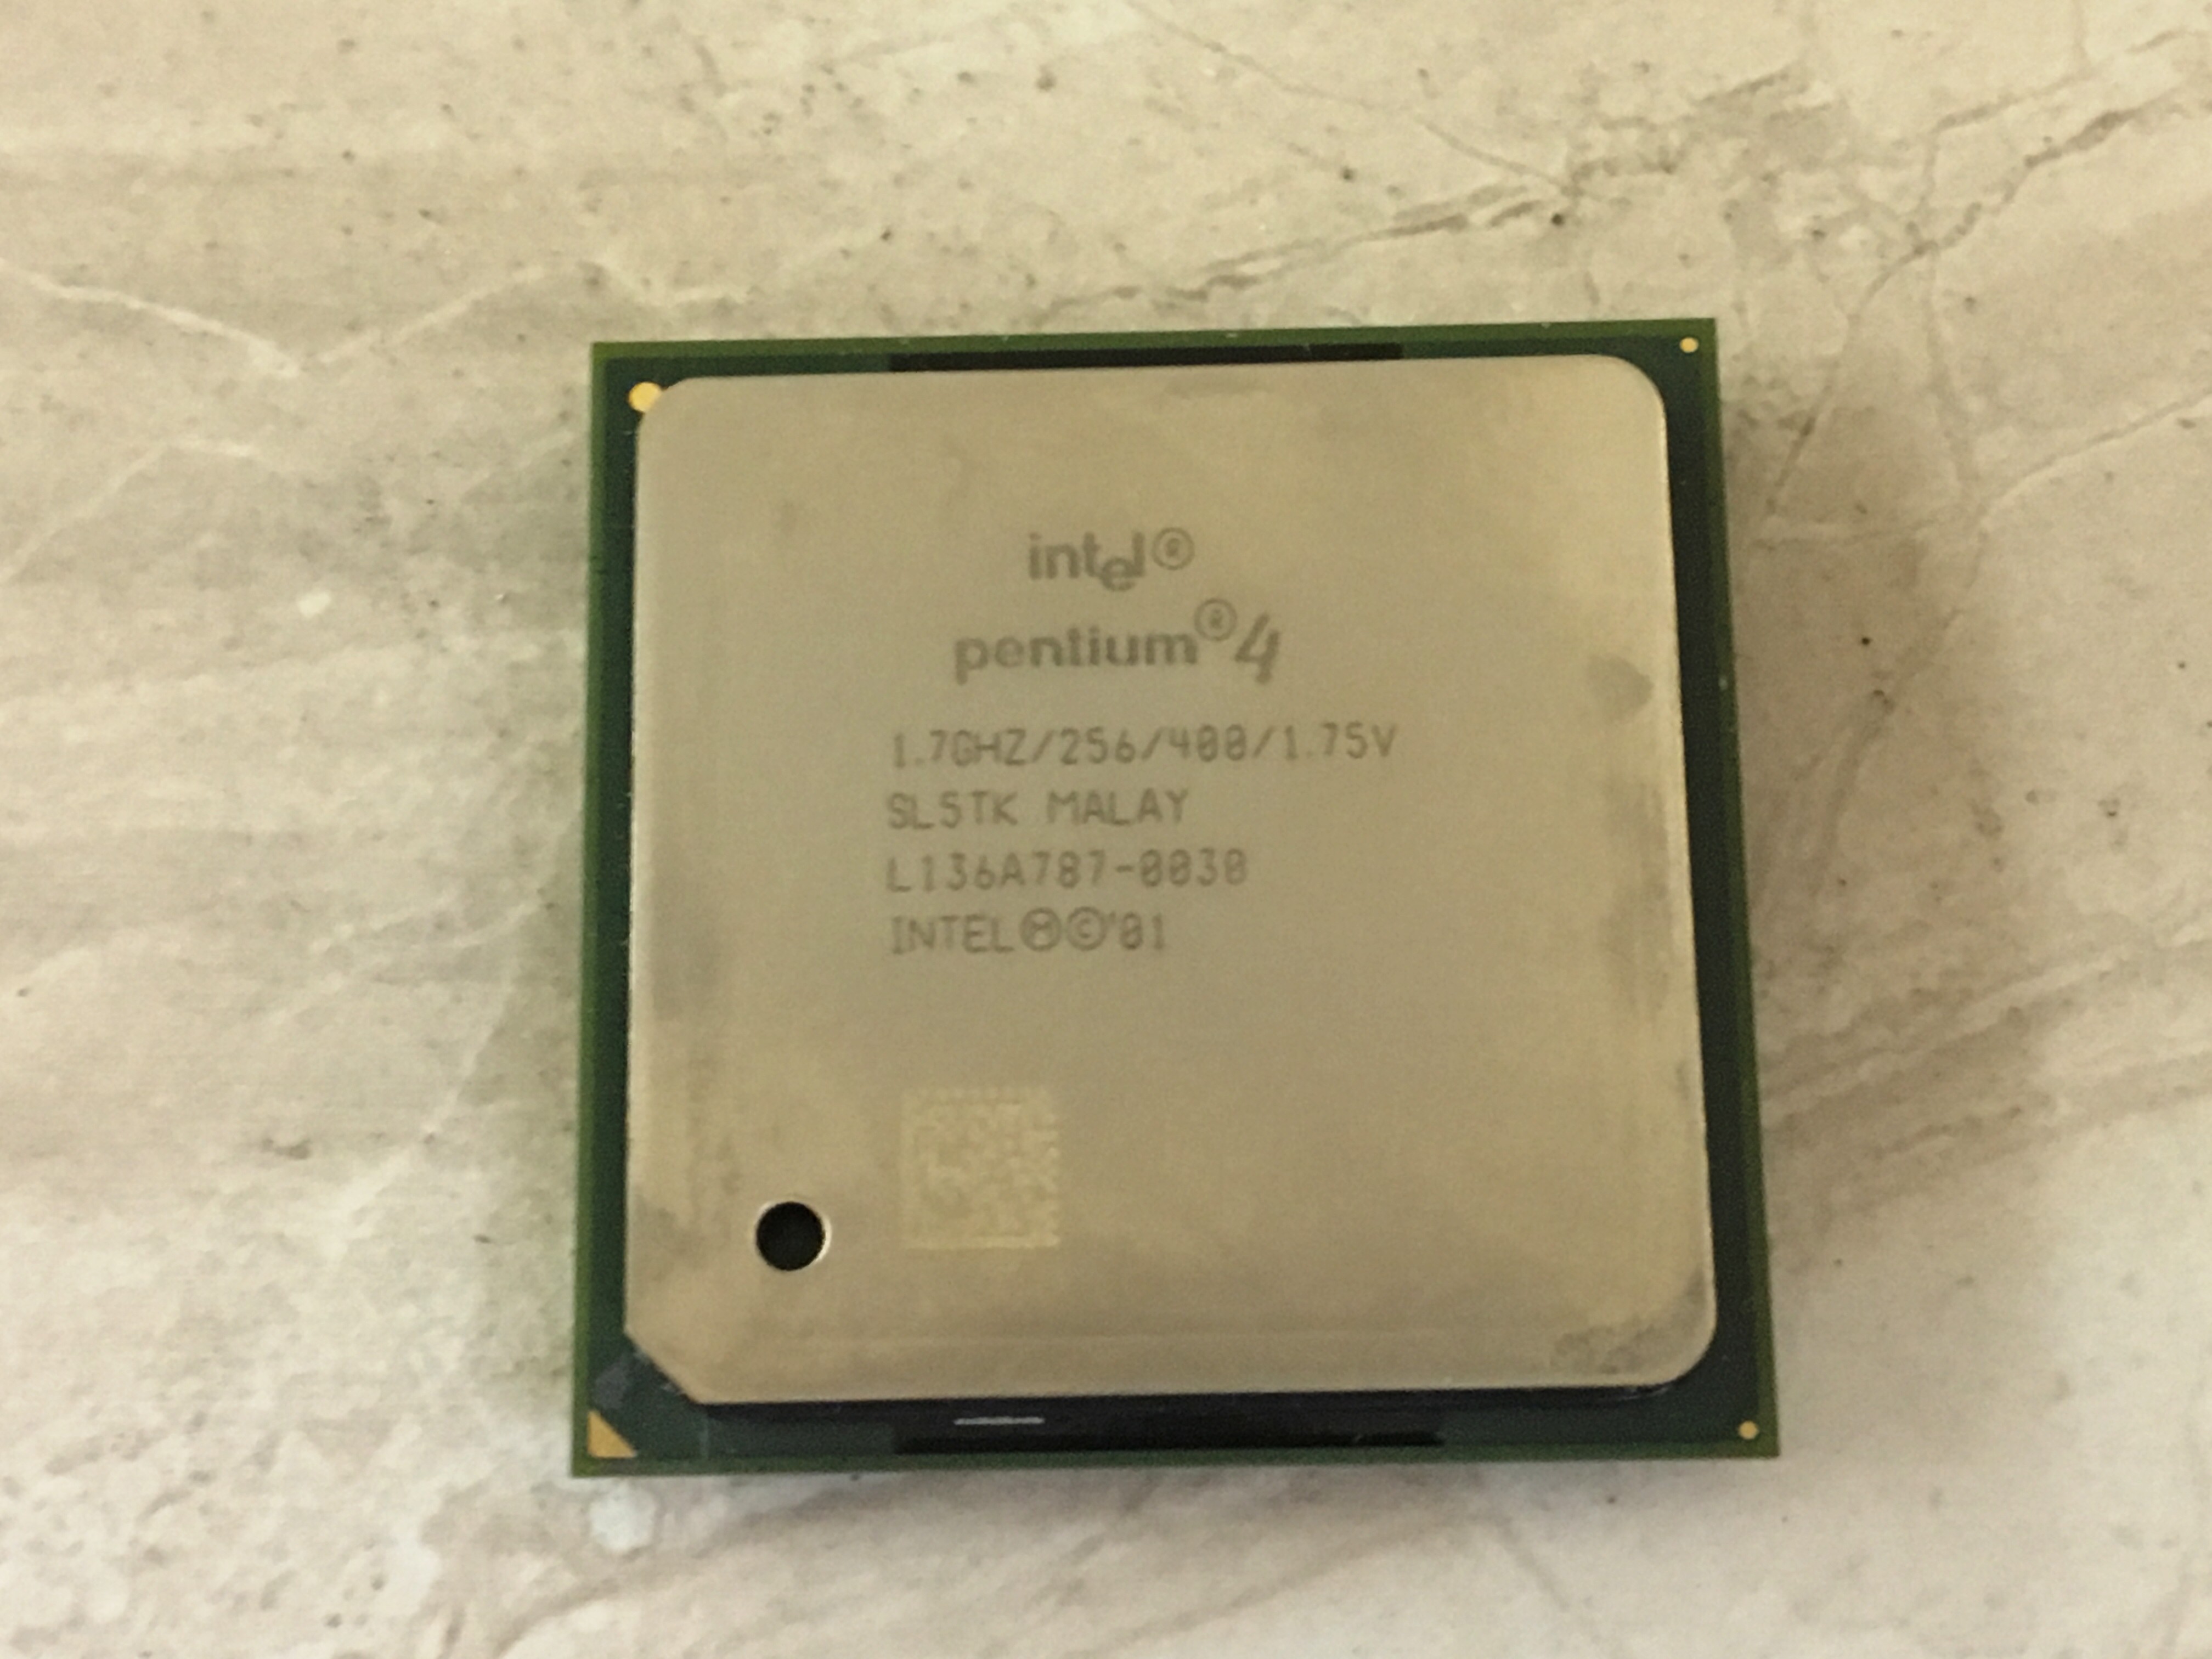
This is a socket 478 Willamette chip, the first of the Pentium 4 designs. It's a pin grid array package.

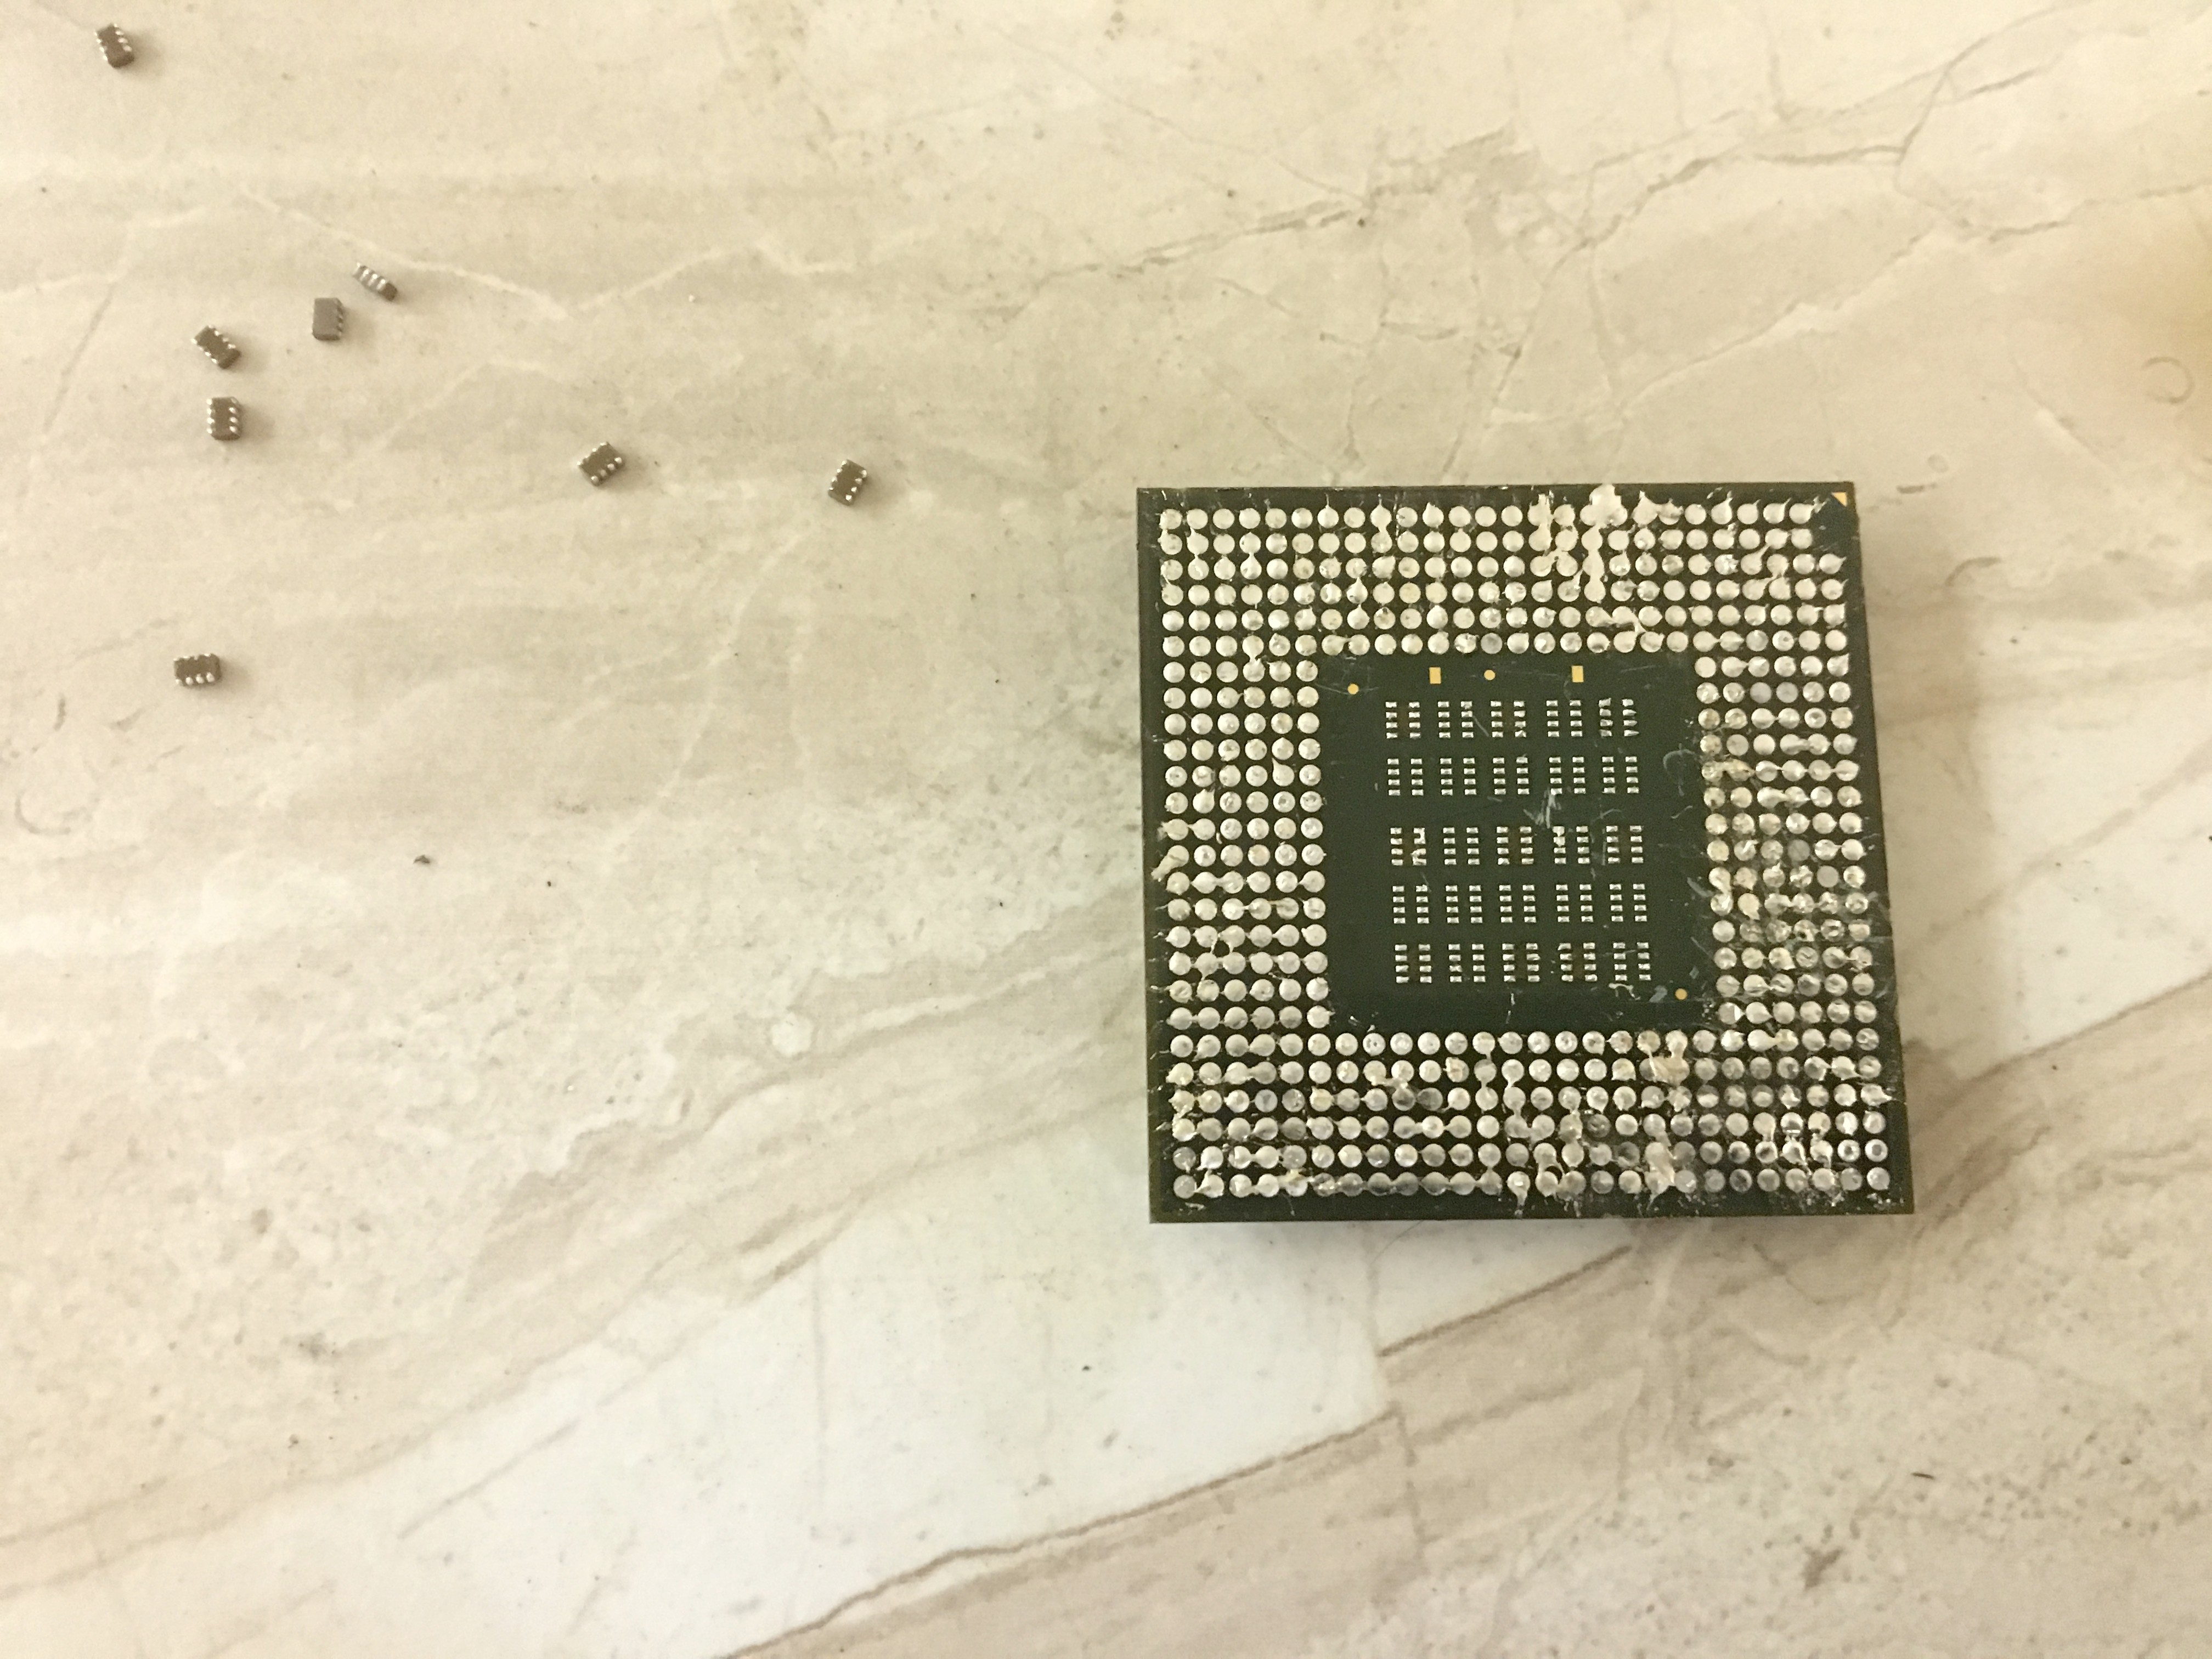
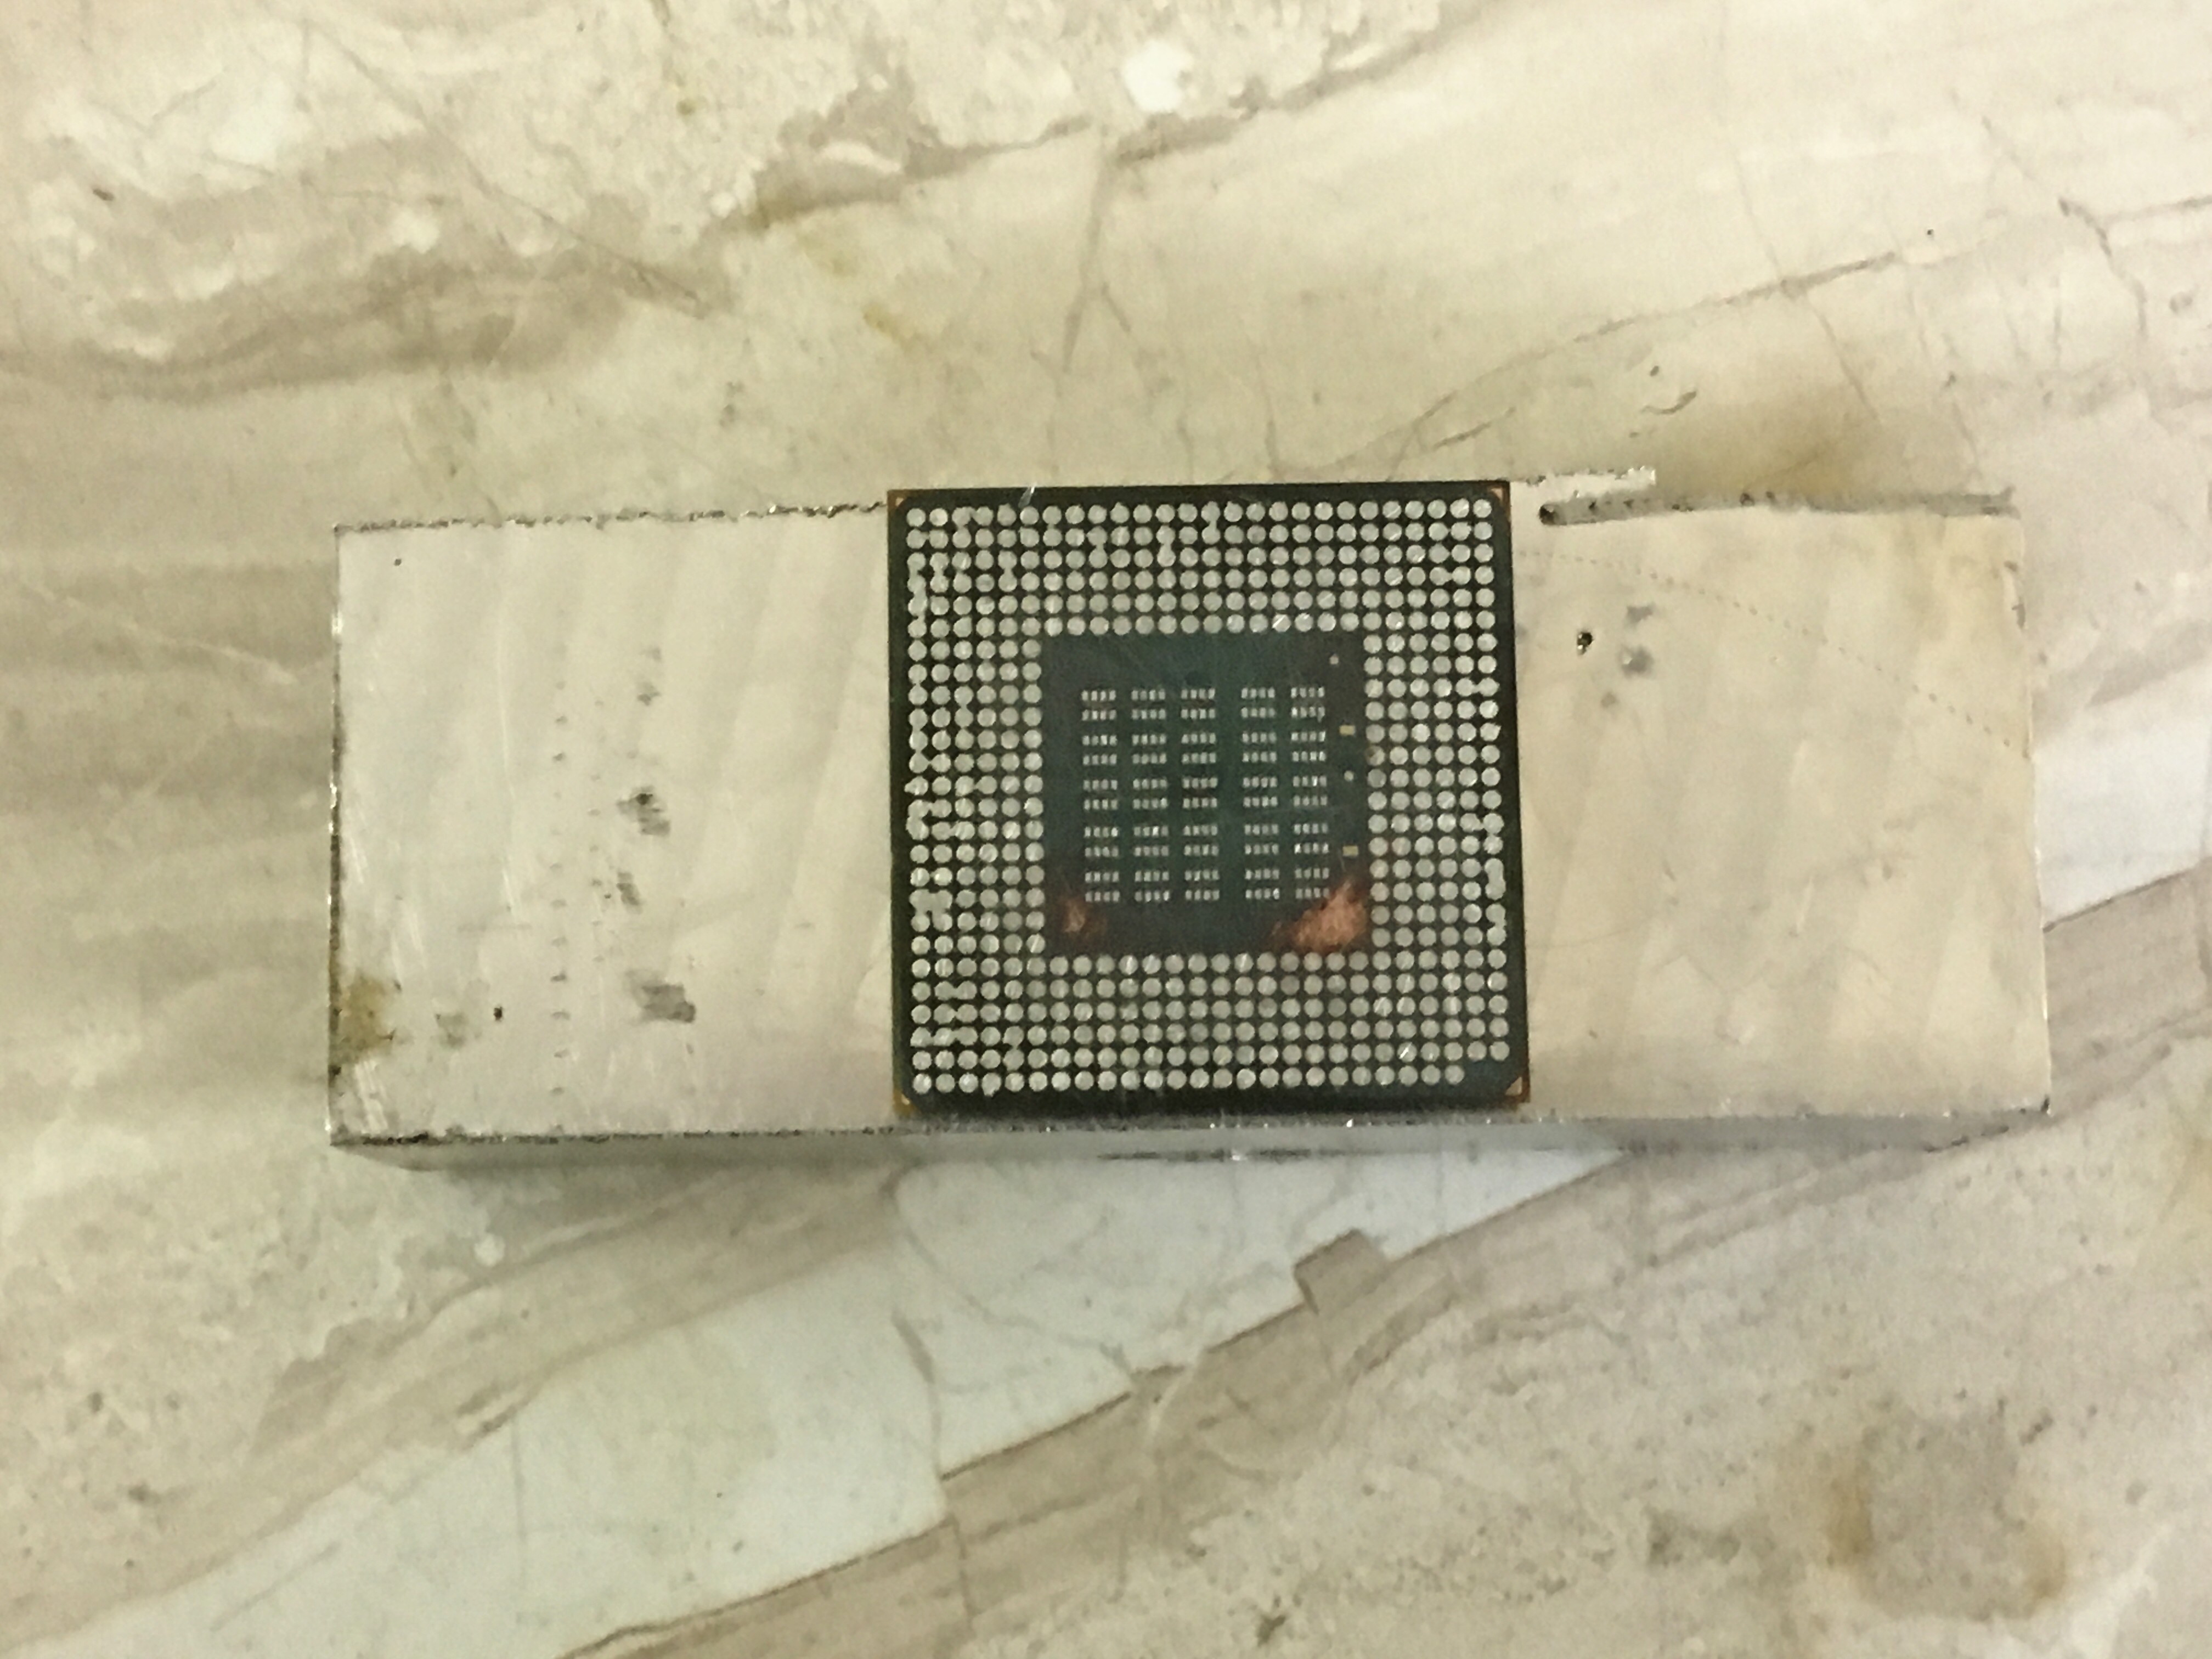
As earlier the first step is to remove the pins (and capacitors in this case) so that the bottom of the chip is flat for sanding. This was a bit more difficult than expected. Either the power planes and heat spreader sucked up a great deal of heat or Intel used a solder with a significantly higher melting point than most. I had to set my hot air tool over 400C to remove the pins and had to resort to my micro-torch to remove the caps, leaving me with this hot mess:
At first I tried holding on to the heat spreader during sanding but it was too slippery. So I super glued a piece of aluminum to it. The reasons for superglue is that it forms a strong bond that is easily weakened by heat, and because it was already on my bench. This piece was quite a lot larger than I'd recommend, but again it's what I had on hand.
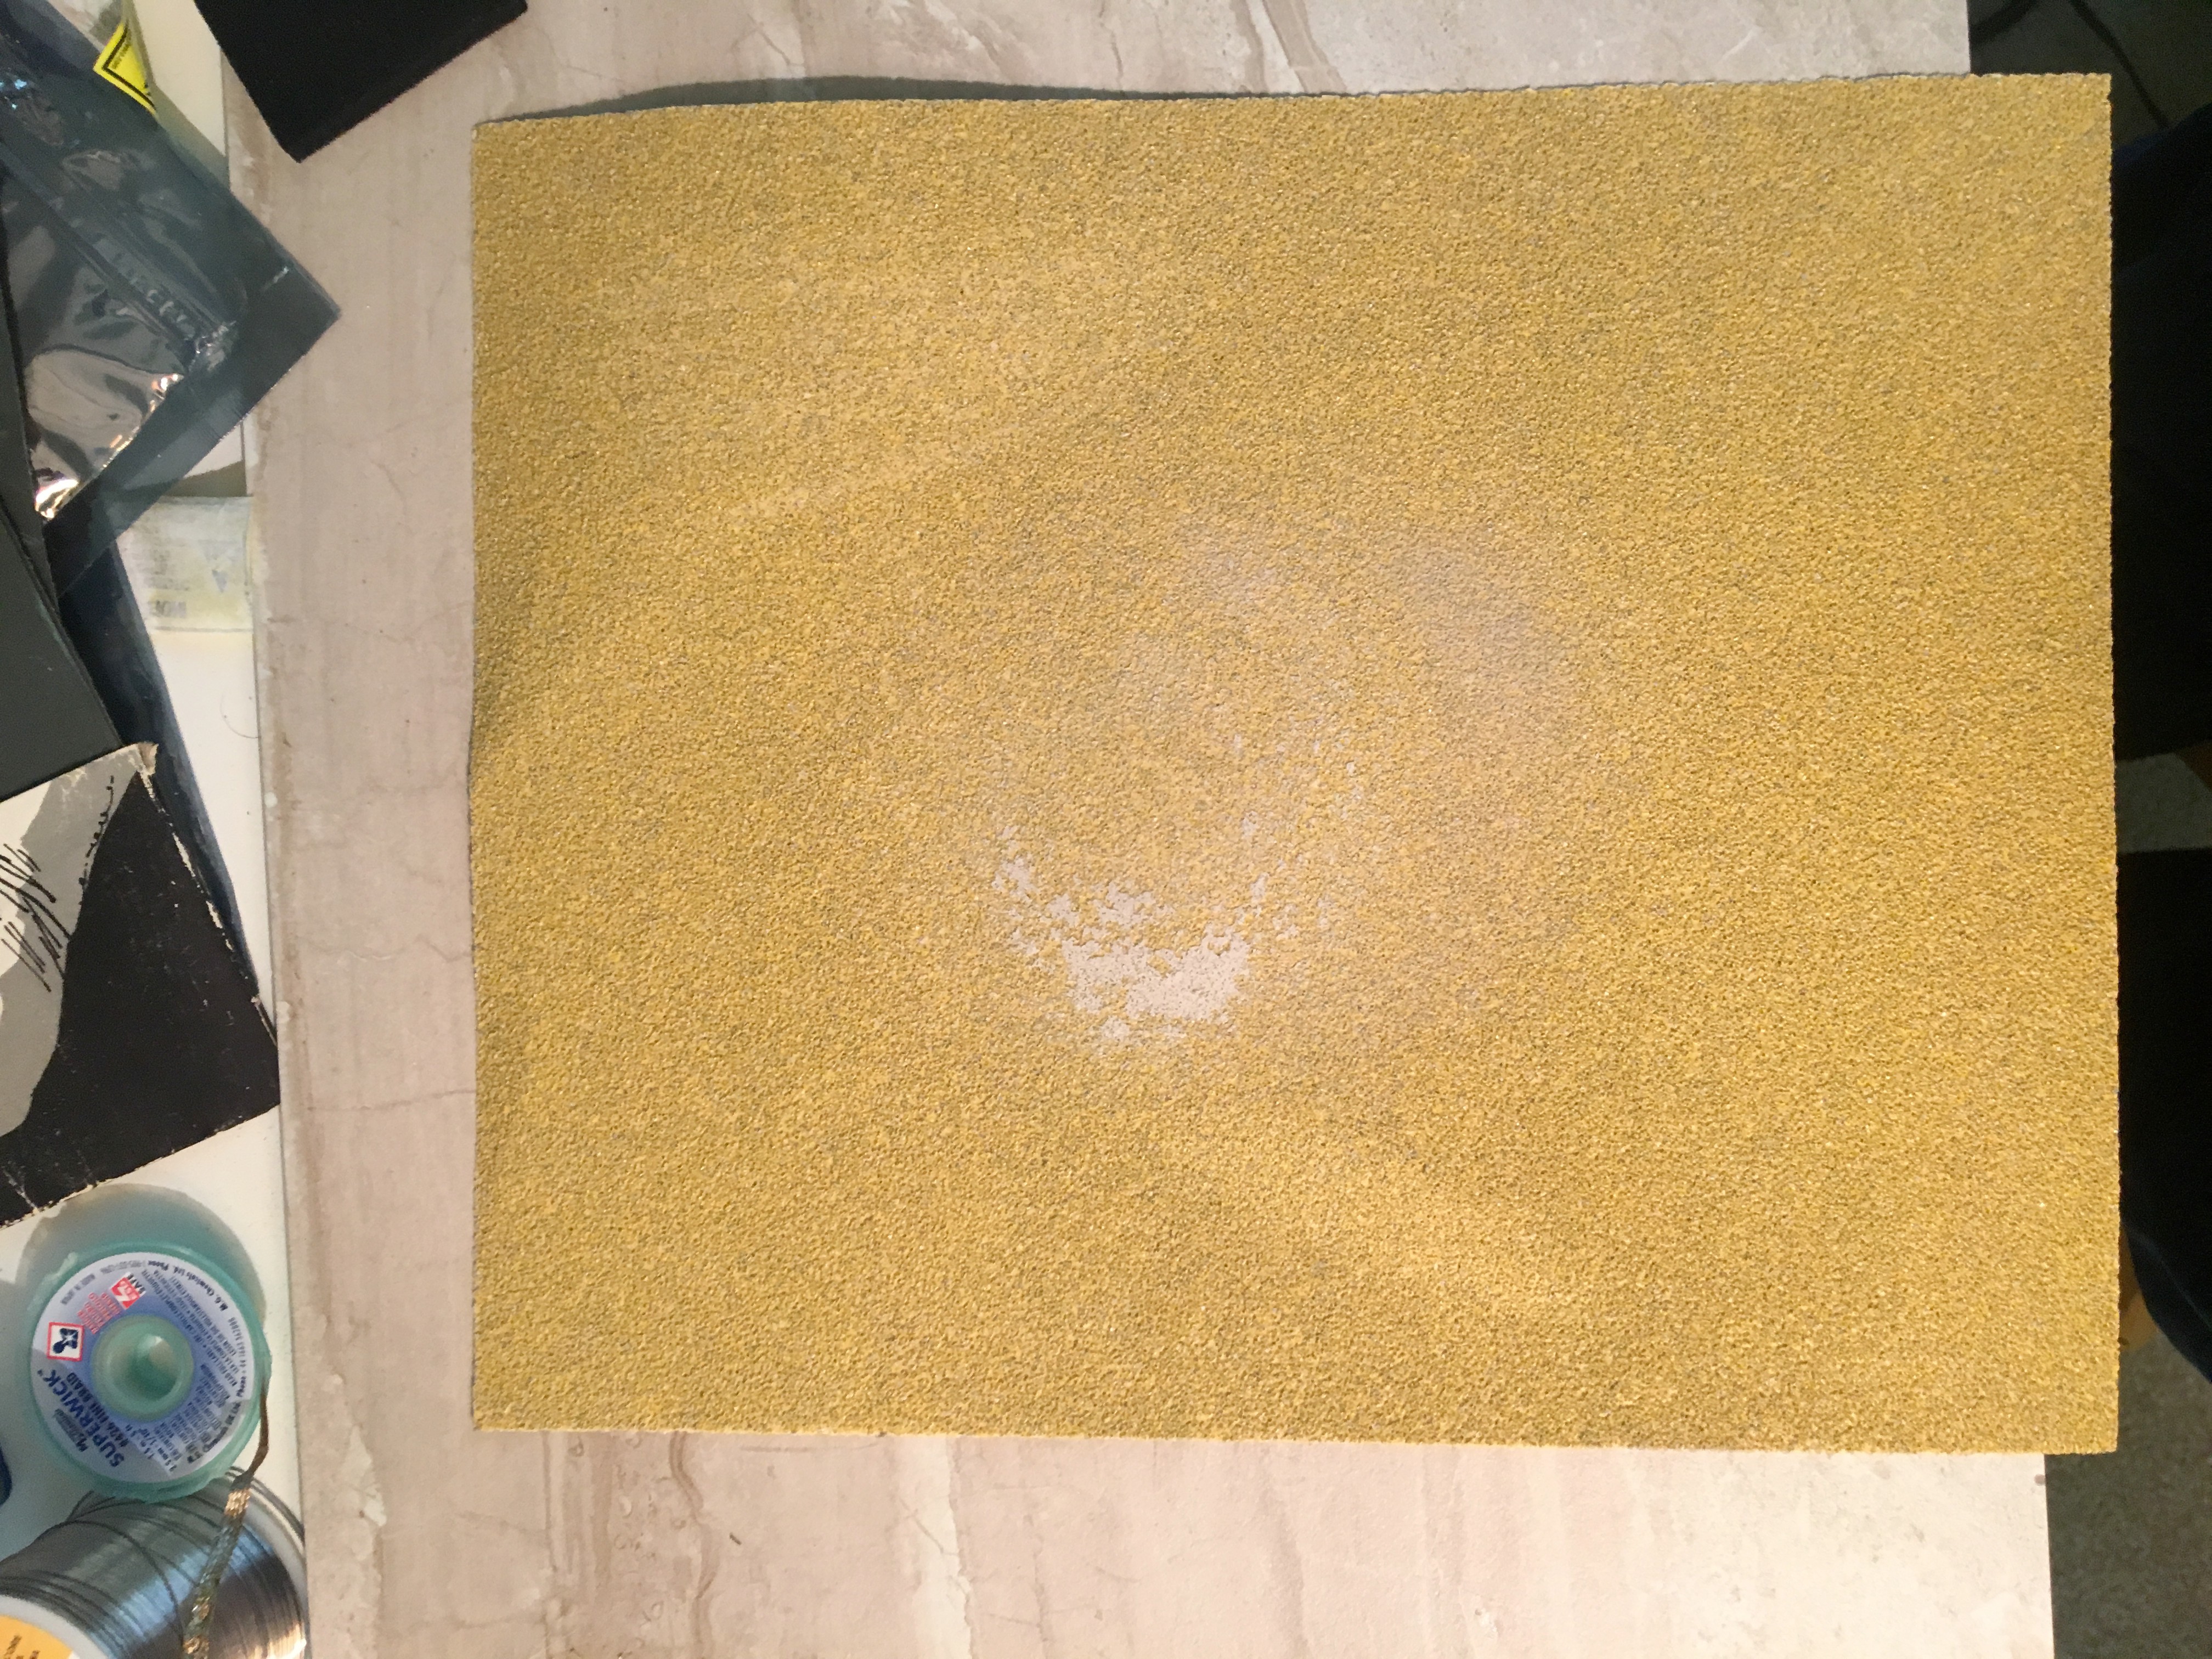
As before I began sanding, this time using 60 grit to get through the thick interposer faster. You need to check it every so often to make sure the sanding is even.
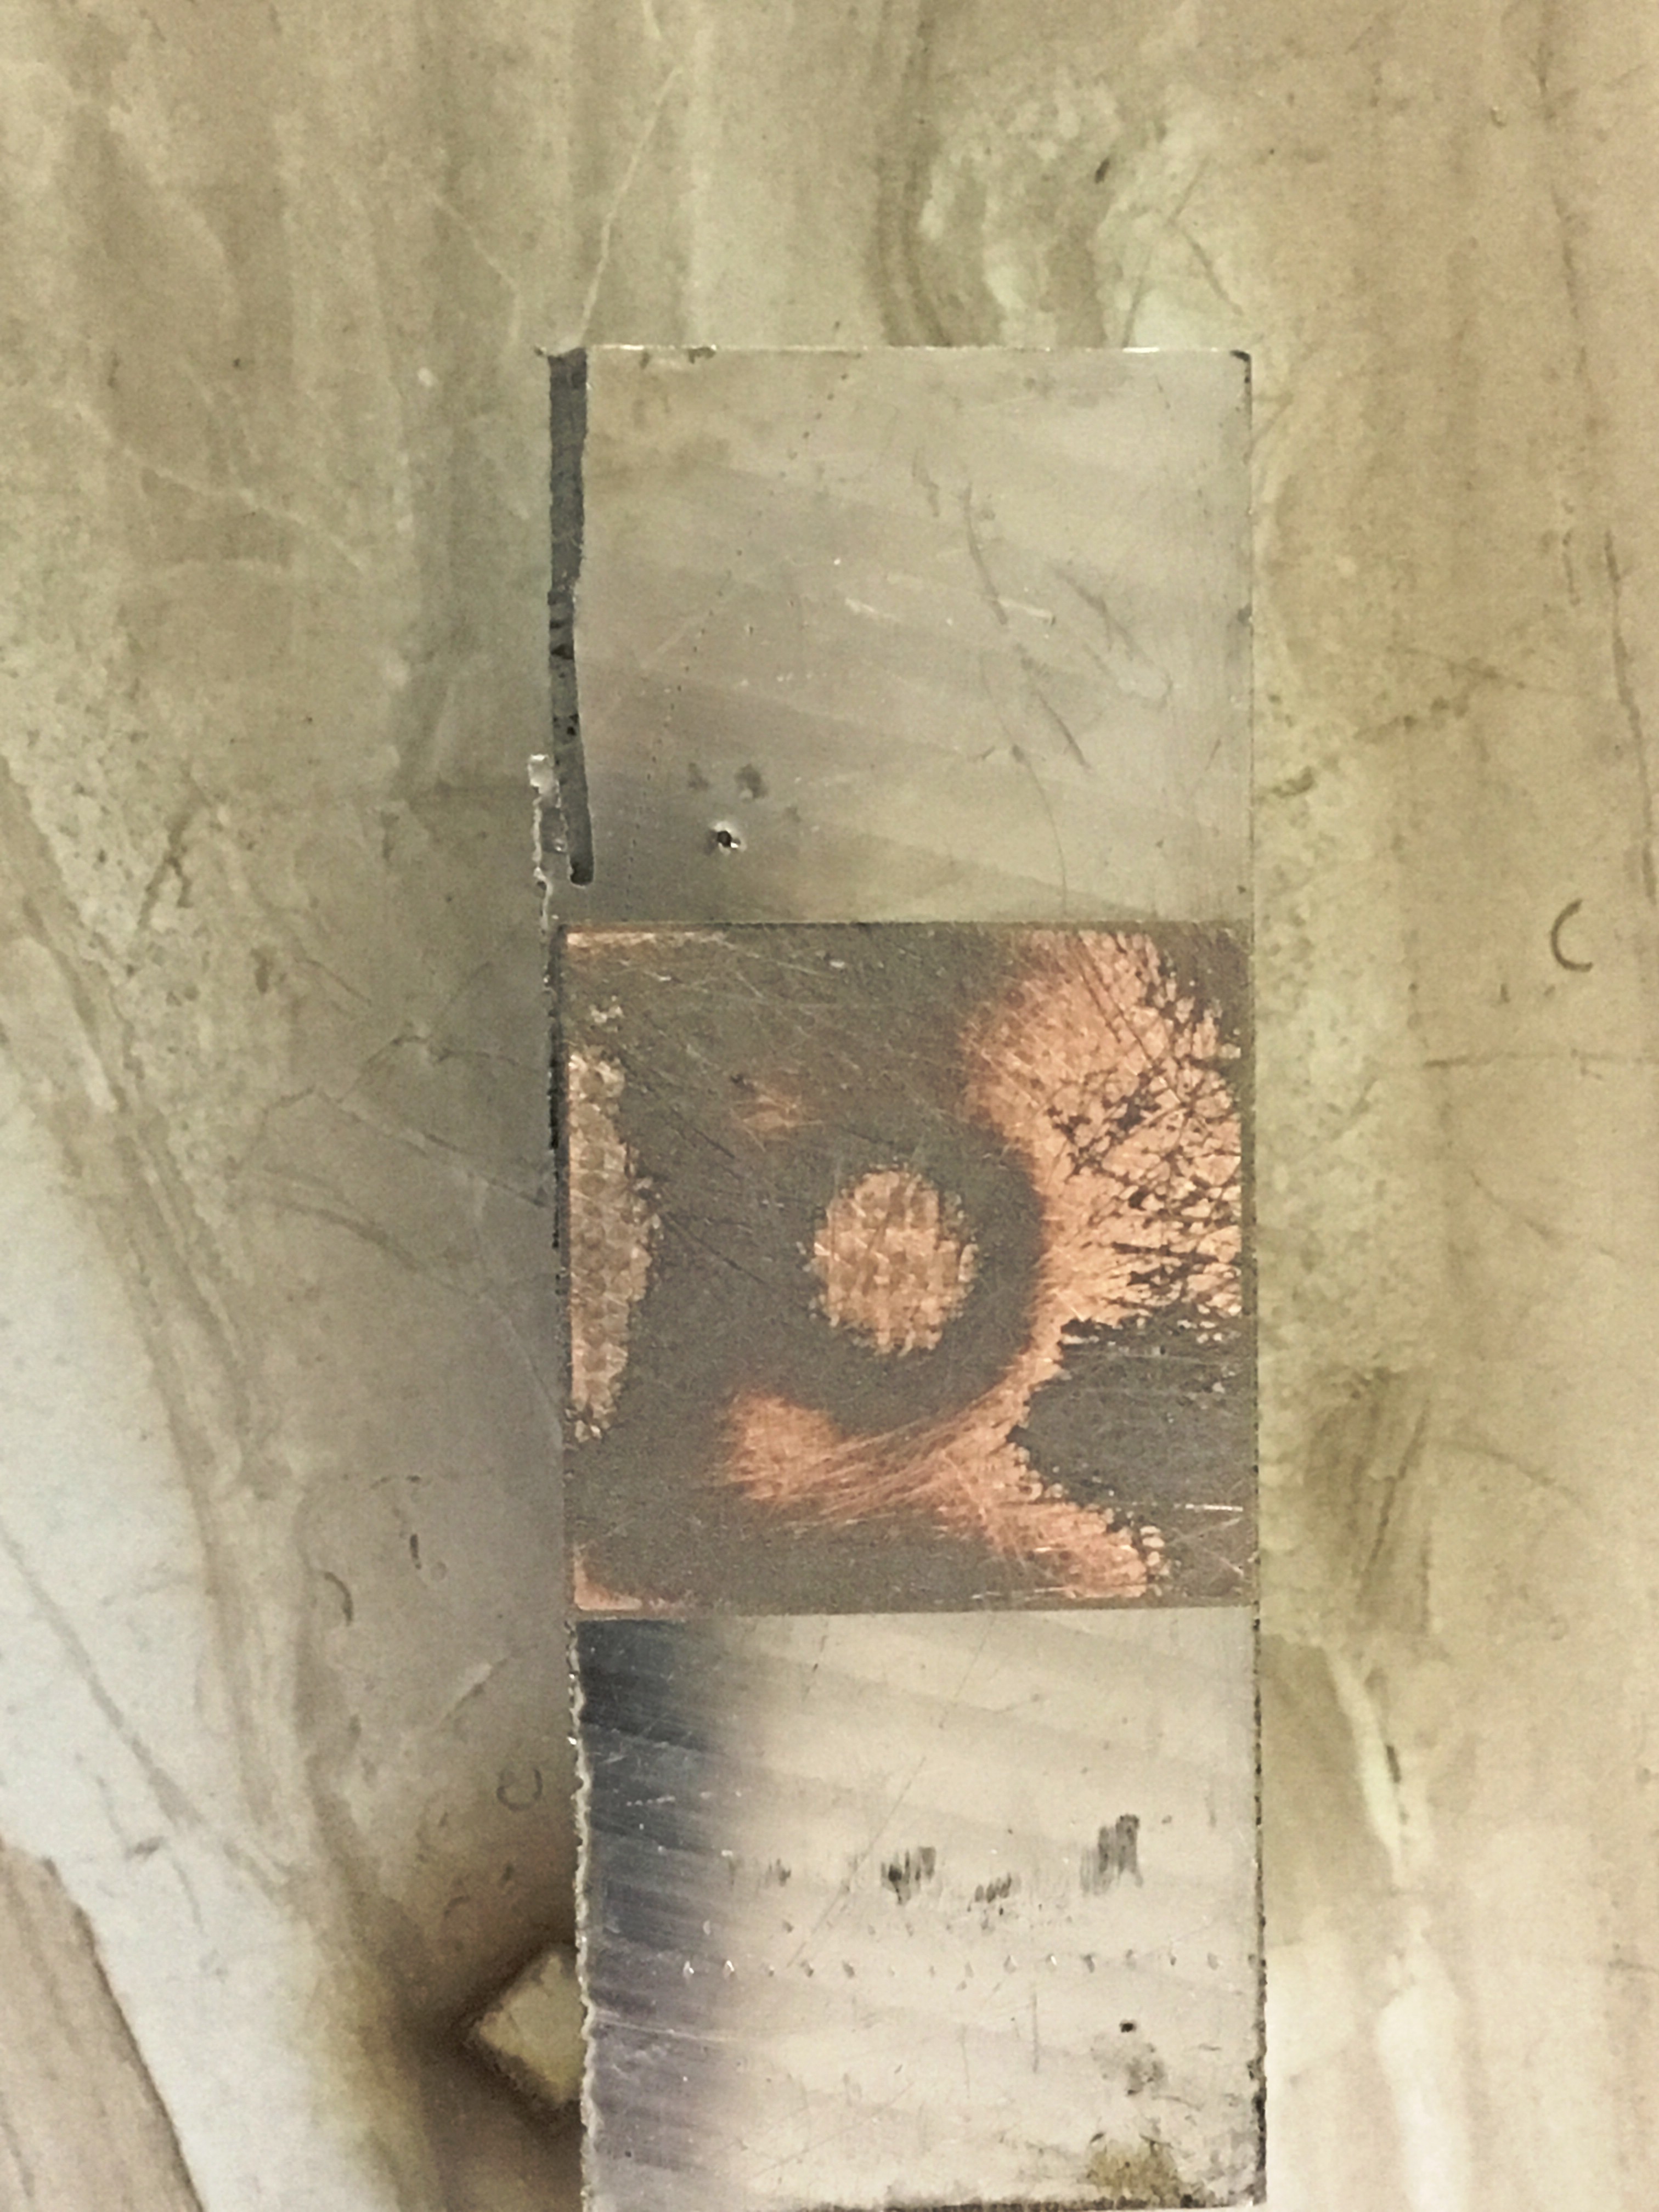
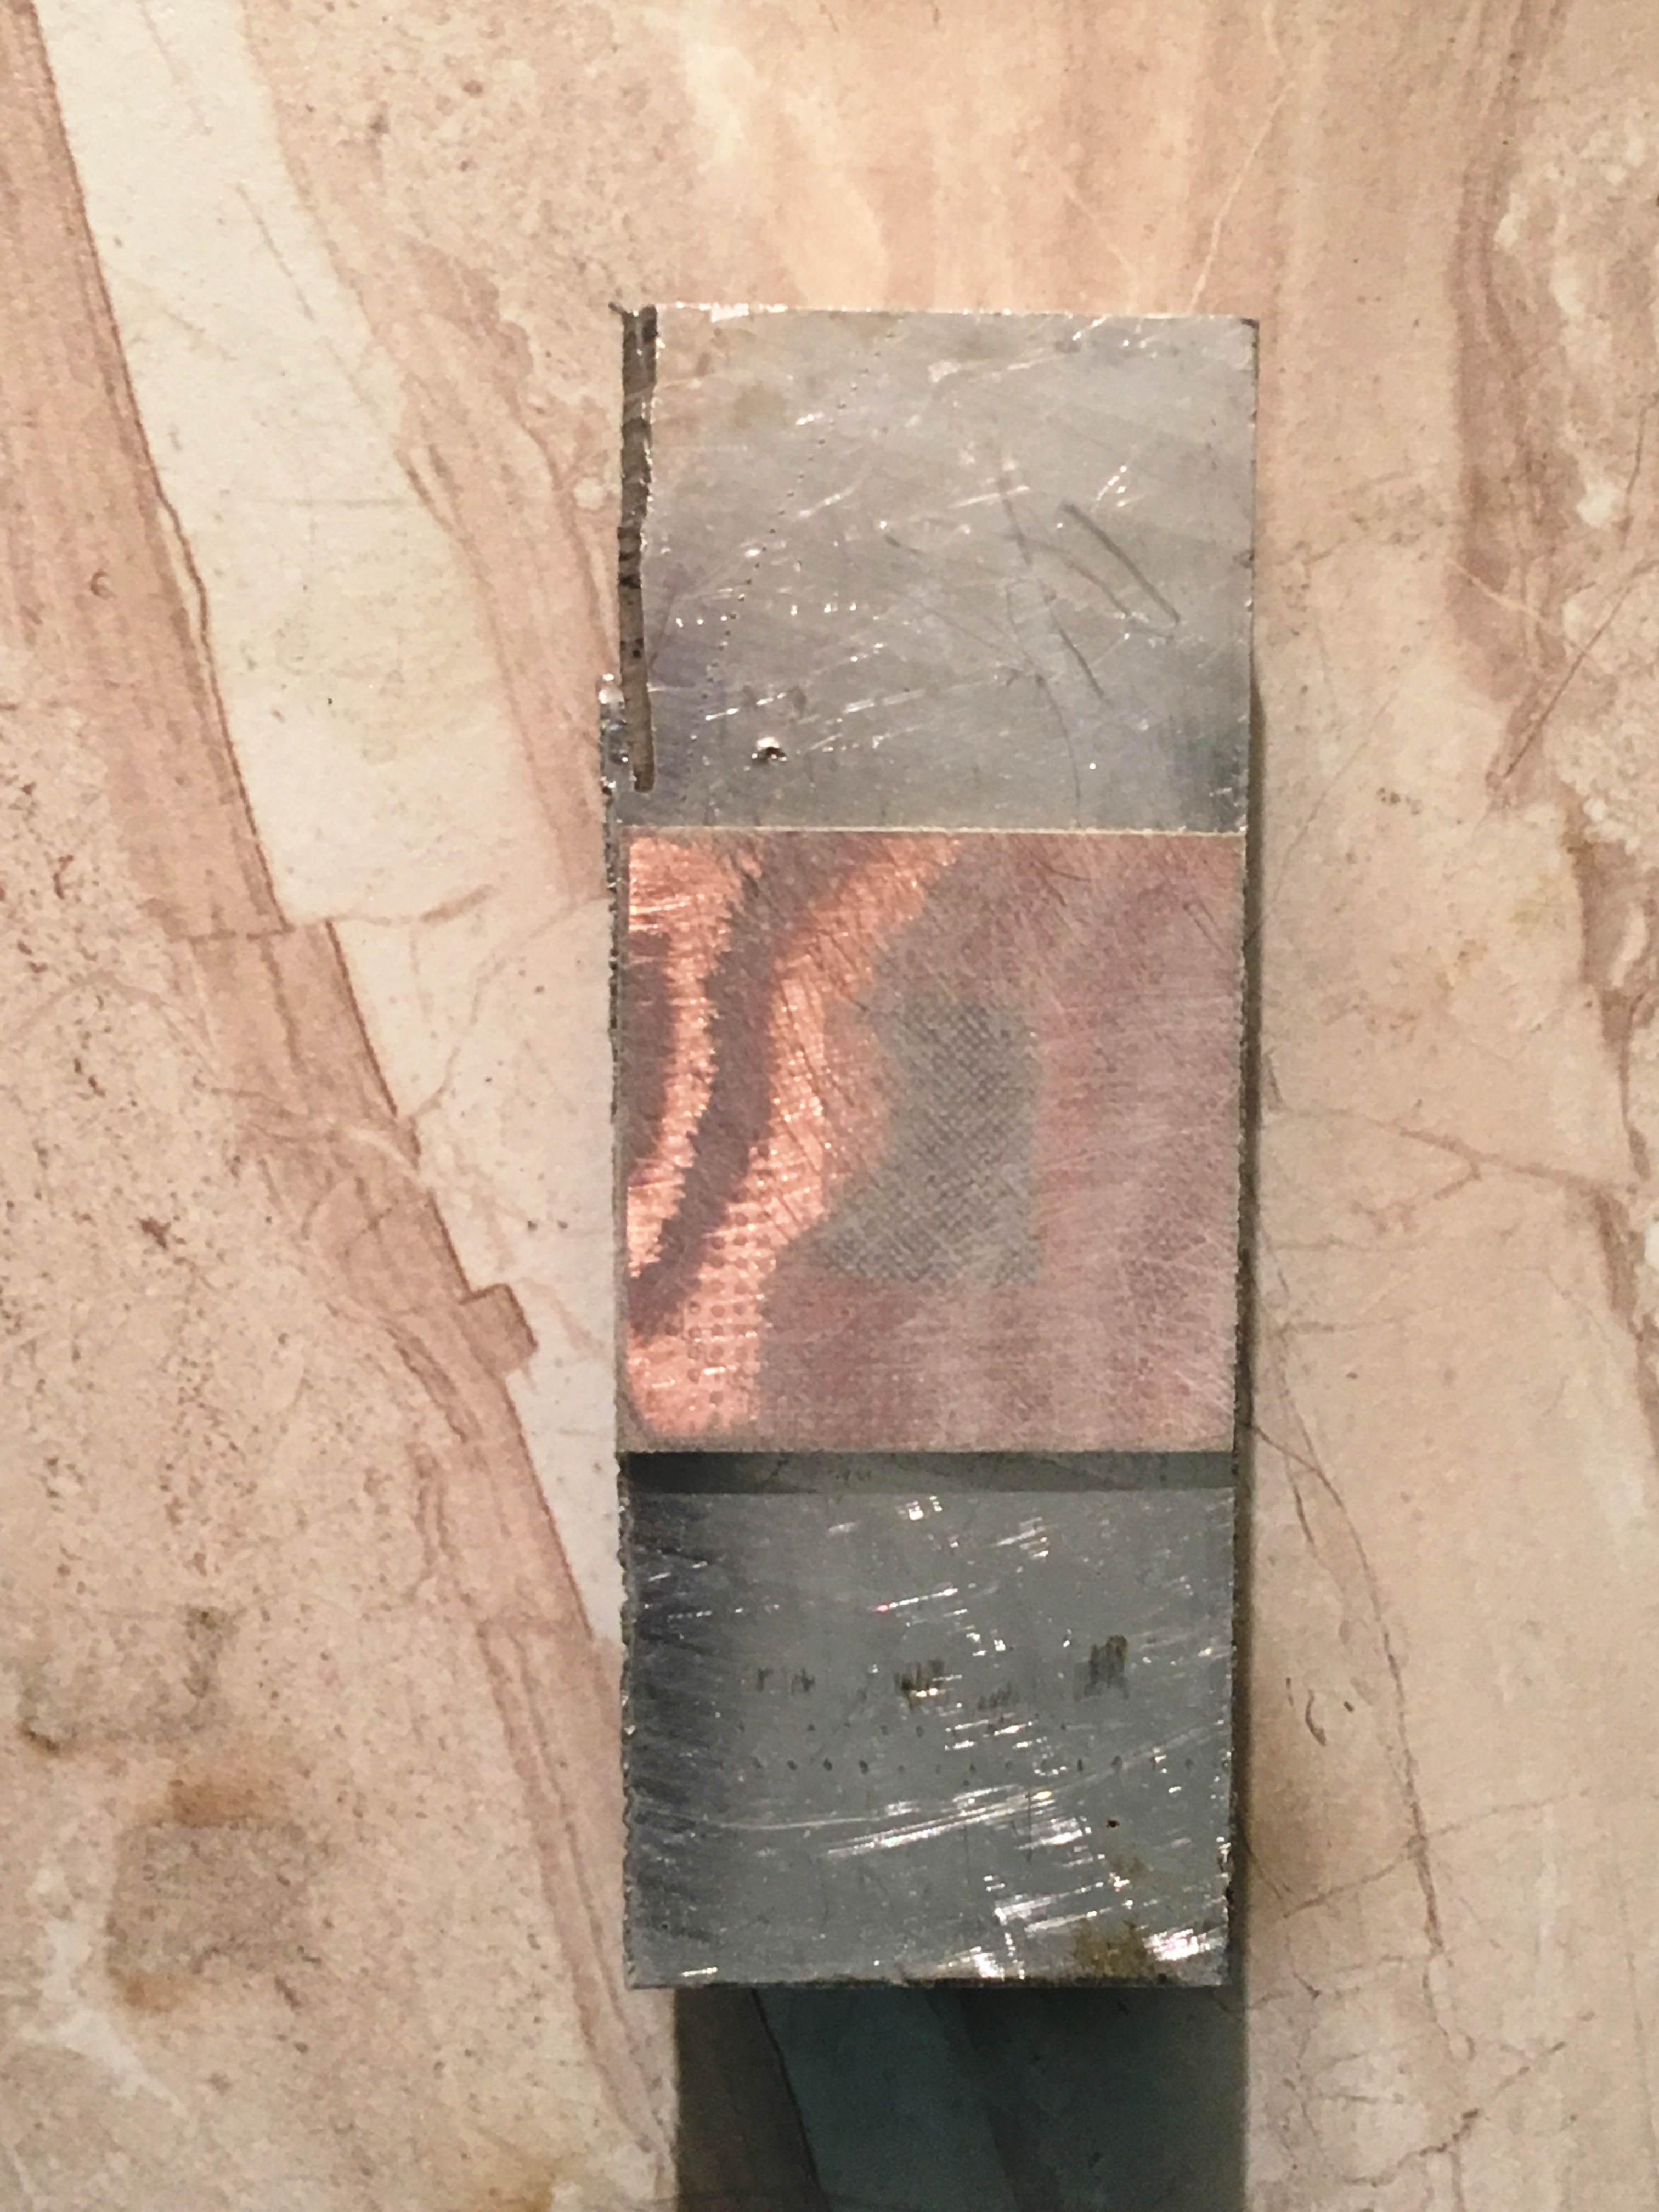
As you sand through the layers on the interposer the color of the dust changes. Shortly after this point I switched to 600 grit.
At about this point the interposer was getting very thin and I seemed to hit the top soldermask layer. Concerned about sanding through it and hitting the die I decided to stop sanding and cut/peel it out so I could fit it in a test tube.
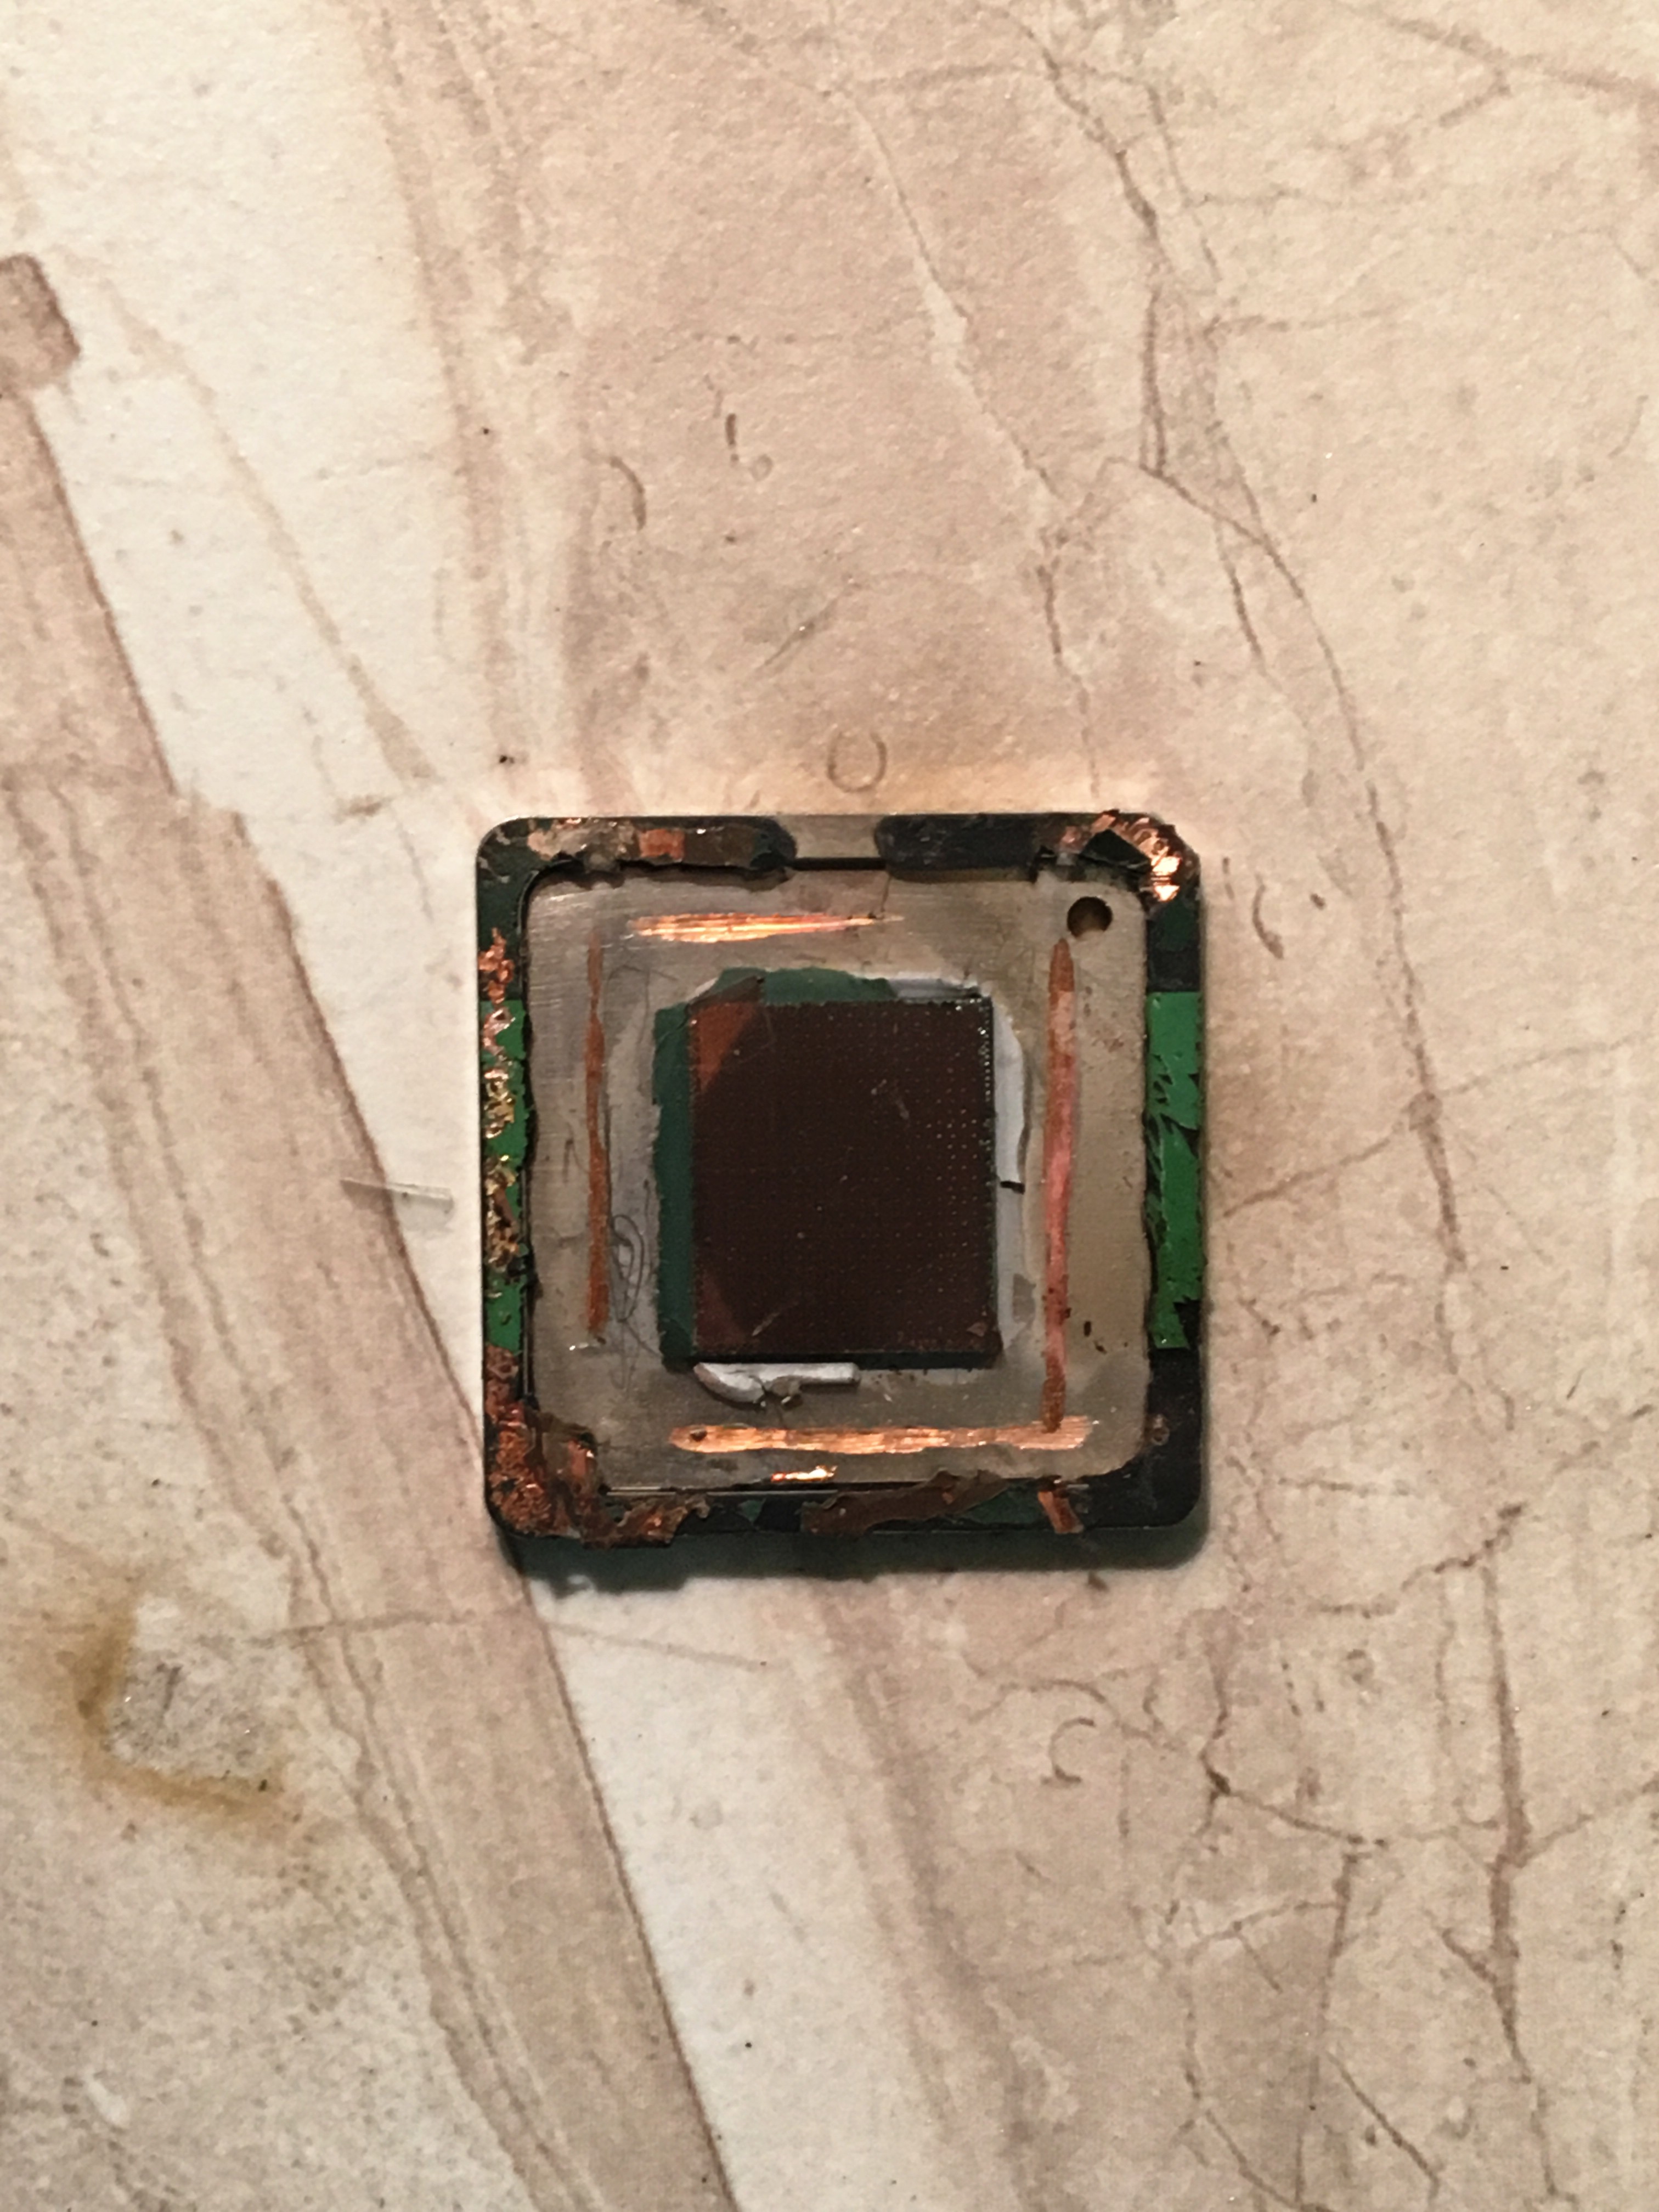
Here I made an interesting discovery: the die wasn't soldered to the heat spreader, but instead used thermal paste! I thought this was a recent trend, one that Intel had taken fire for from the computer enthusiast community. After consulting my friends at TechPowerUp however I learned that Intel started soldering dies mostly during the later revisions of the Pentium 4, then switched to paste again, and has now started soldering some of them again.

Even though there was still part of the interposer attached to the die I decided to put it through the rosin process in the hopes that it would separate. It did at about the 10-minute mark.
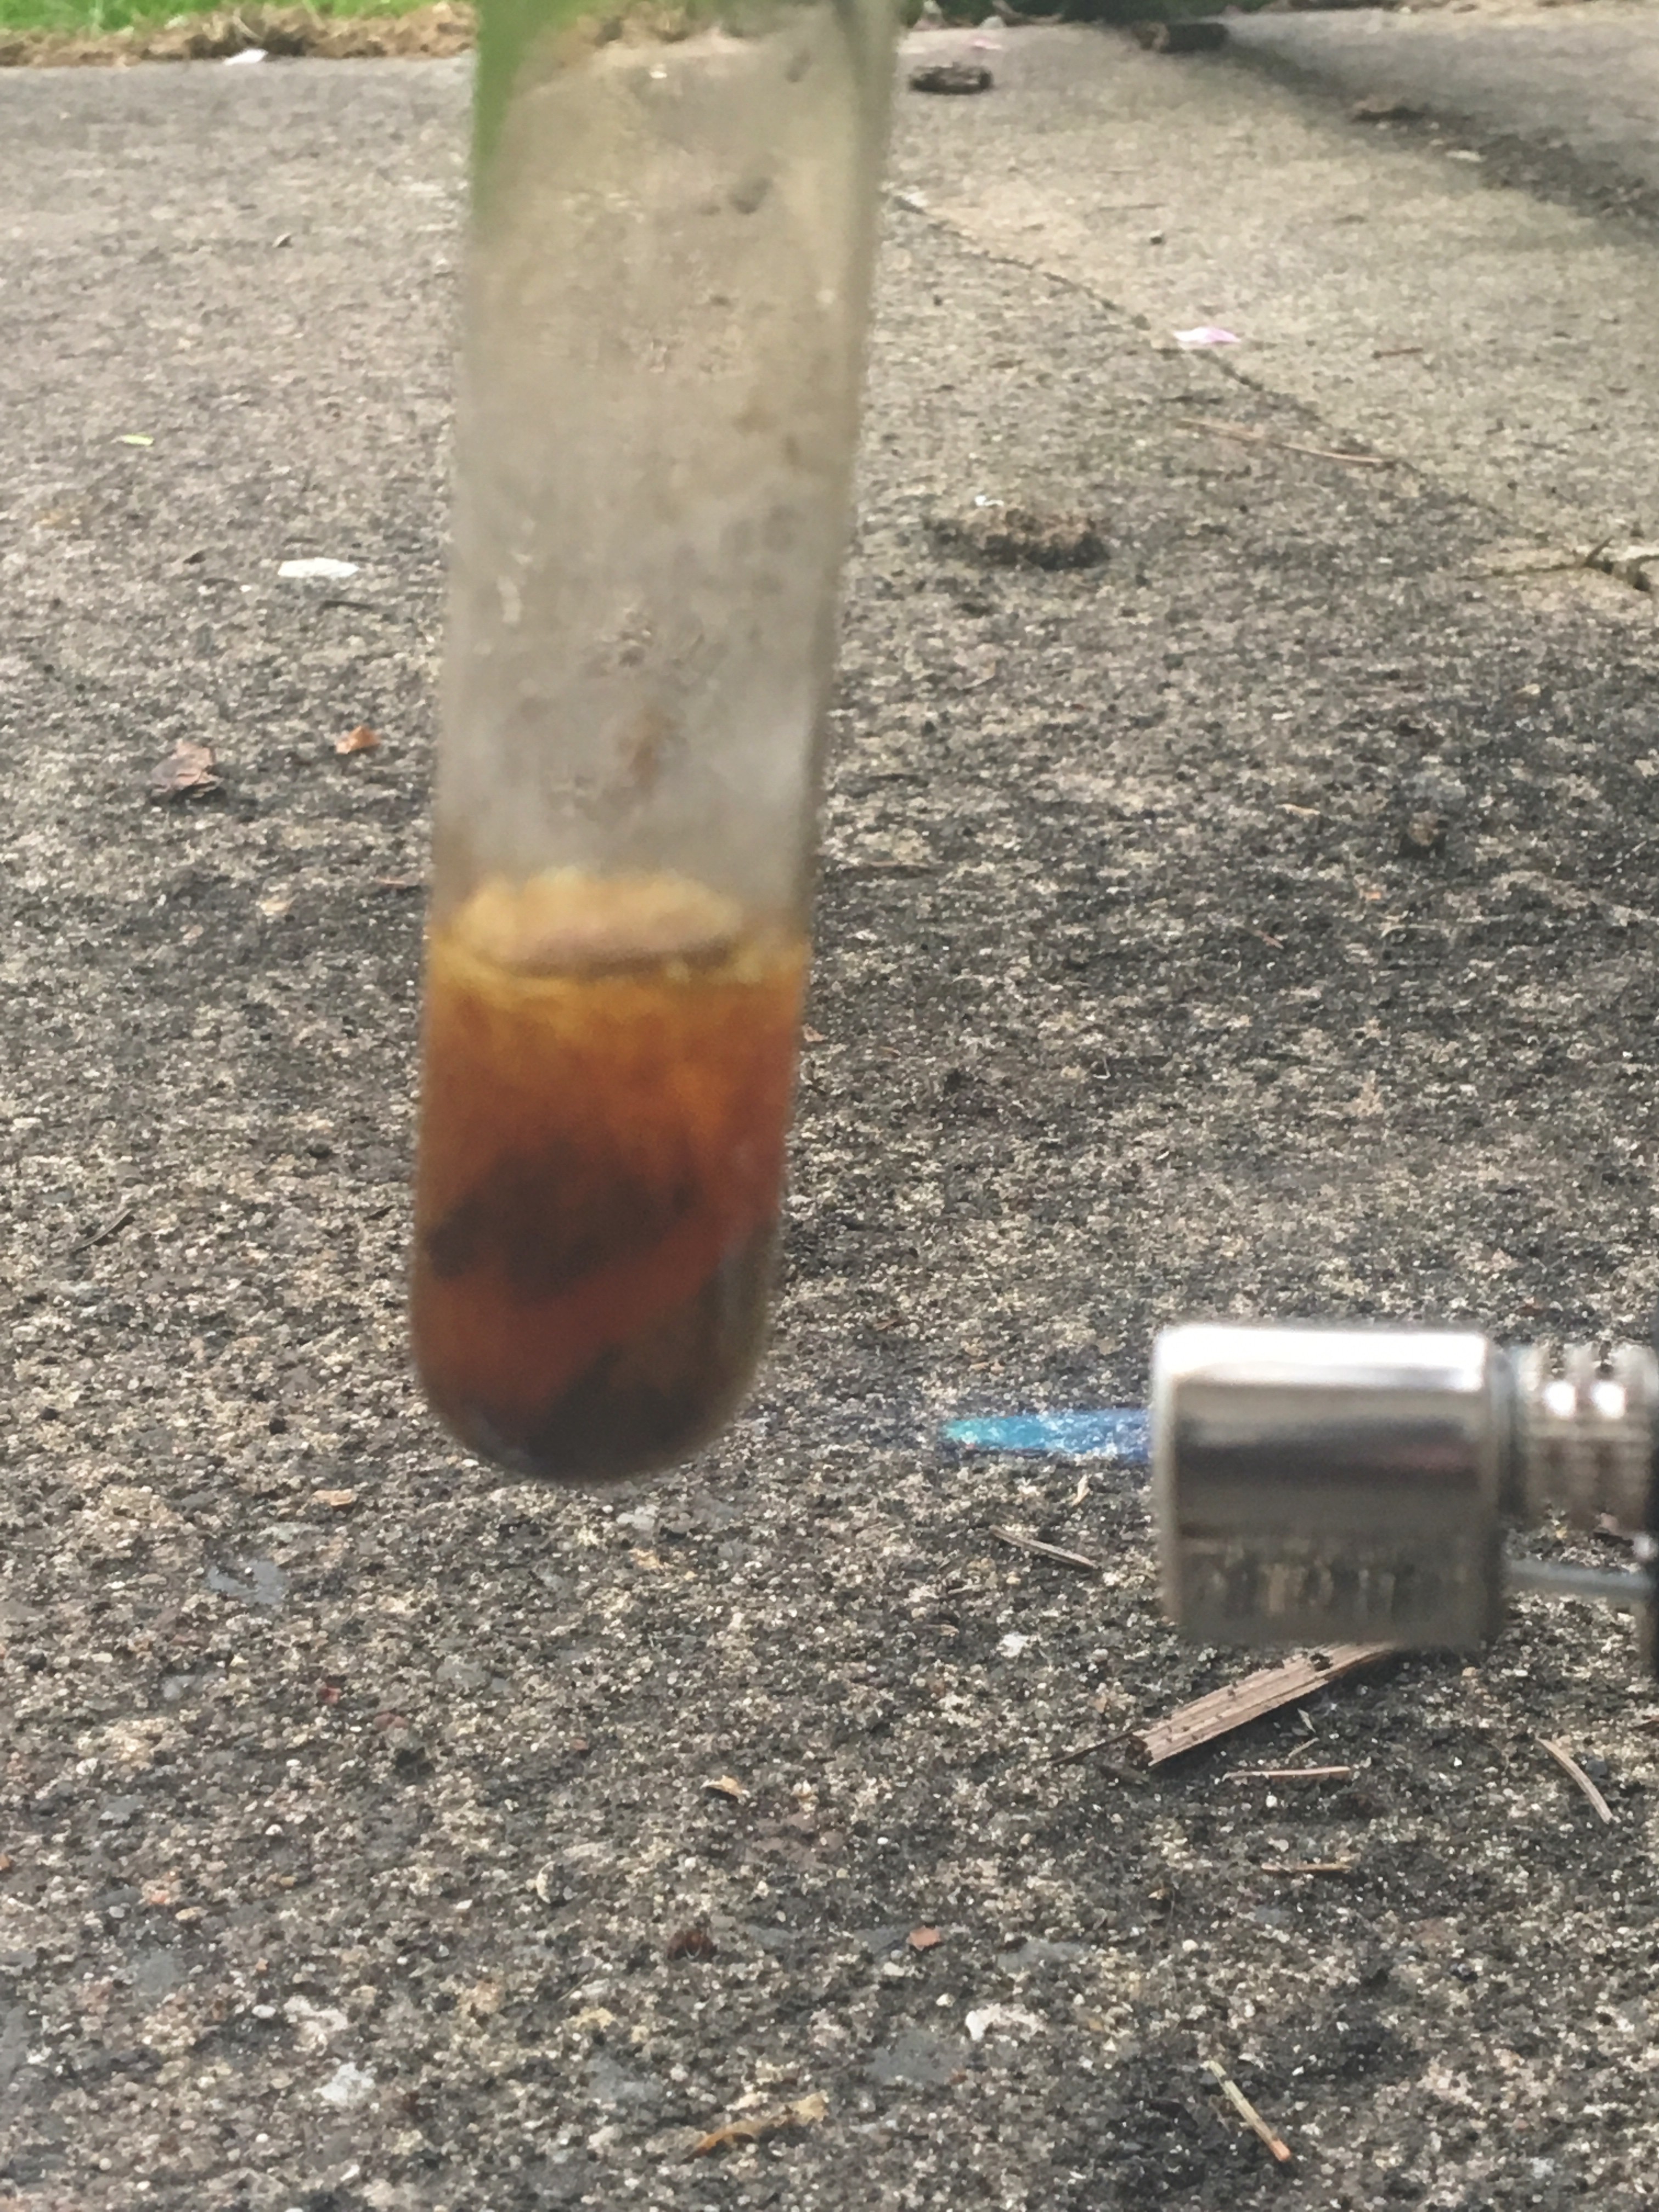
I'll never be a photographer will I?
Here is where things went wrong. I mentioned in a previous log that removing the die from the rosin with acetone was "more difficult than it sounds." With this much larger die than before, i managed to break both the die and my test tube in my prodding to extract it! Maybe next time I'll try pouring the chip and rosin out while it's still hot.
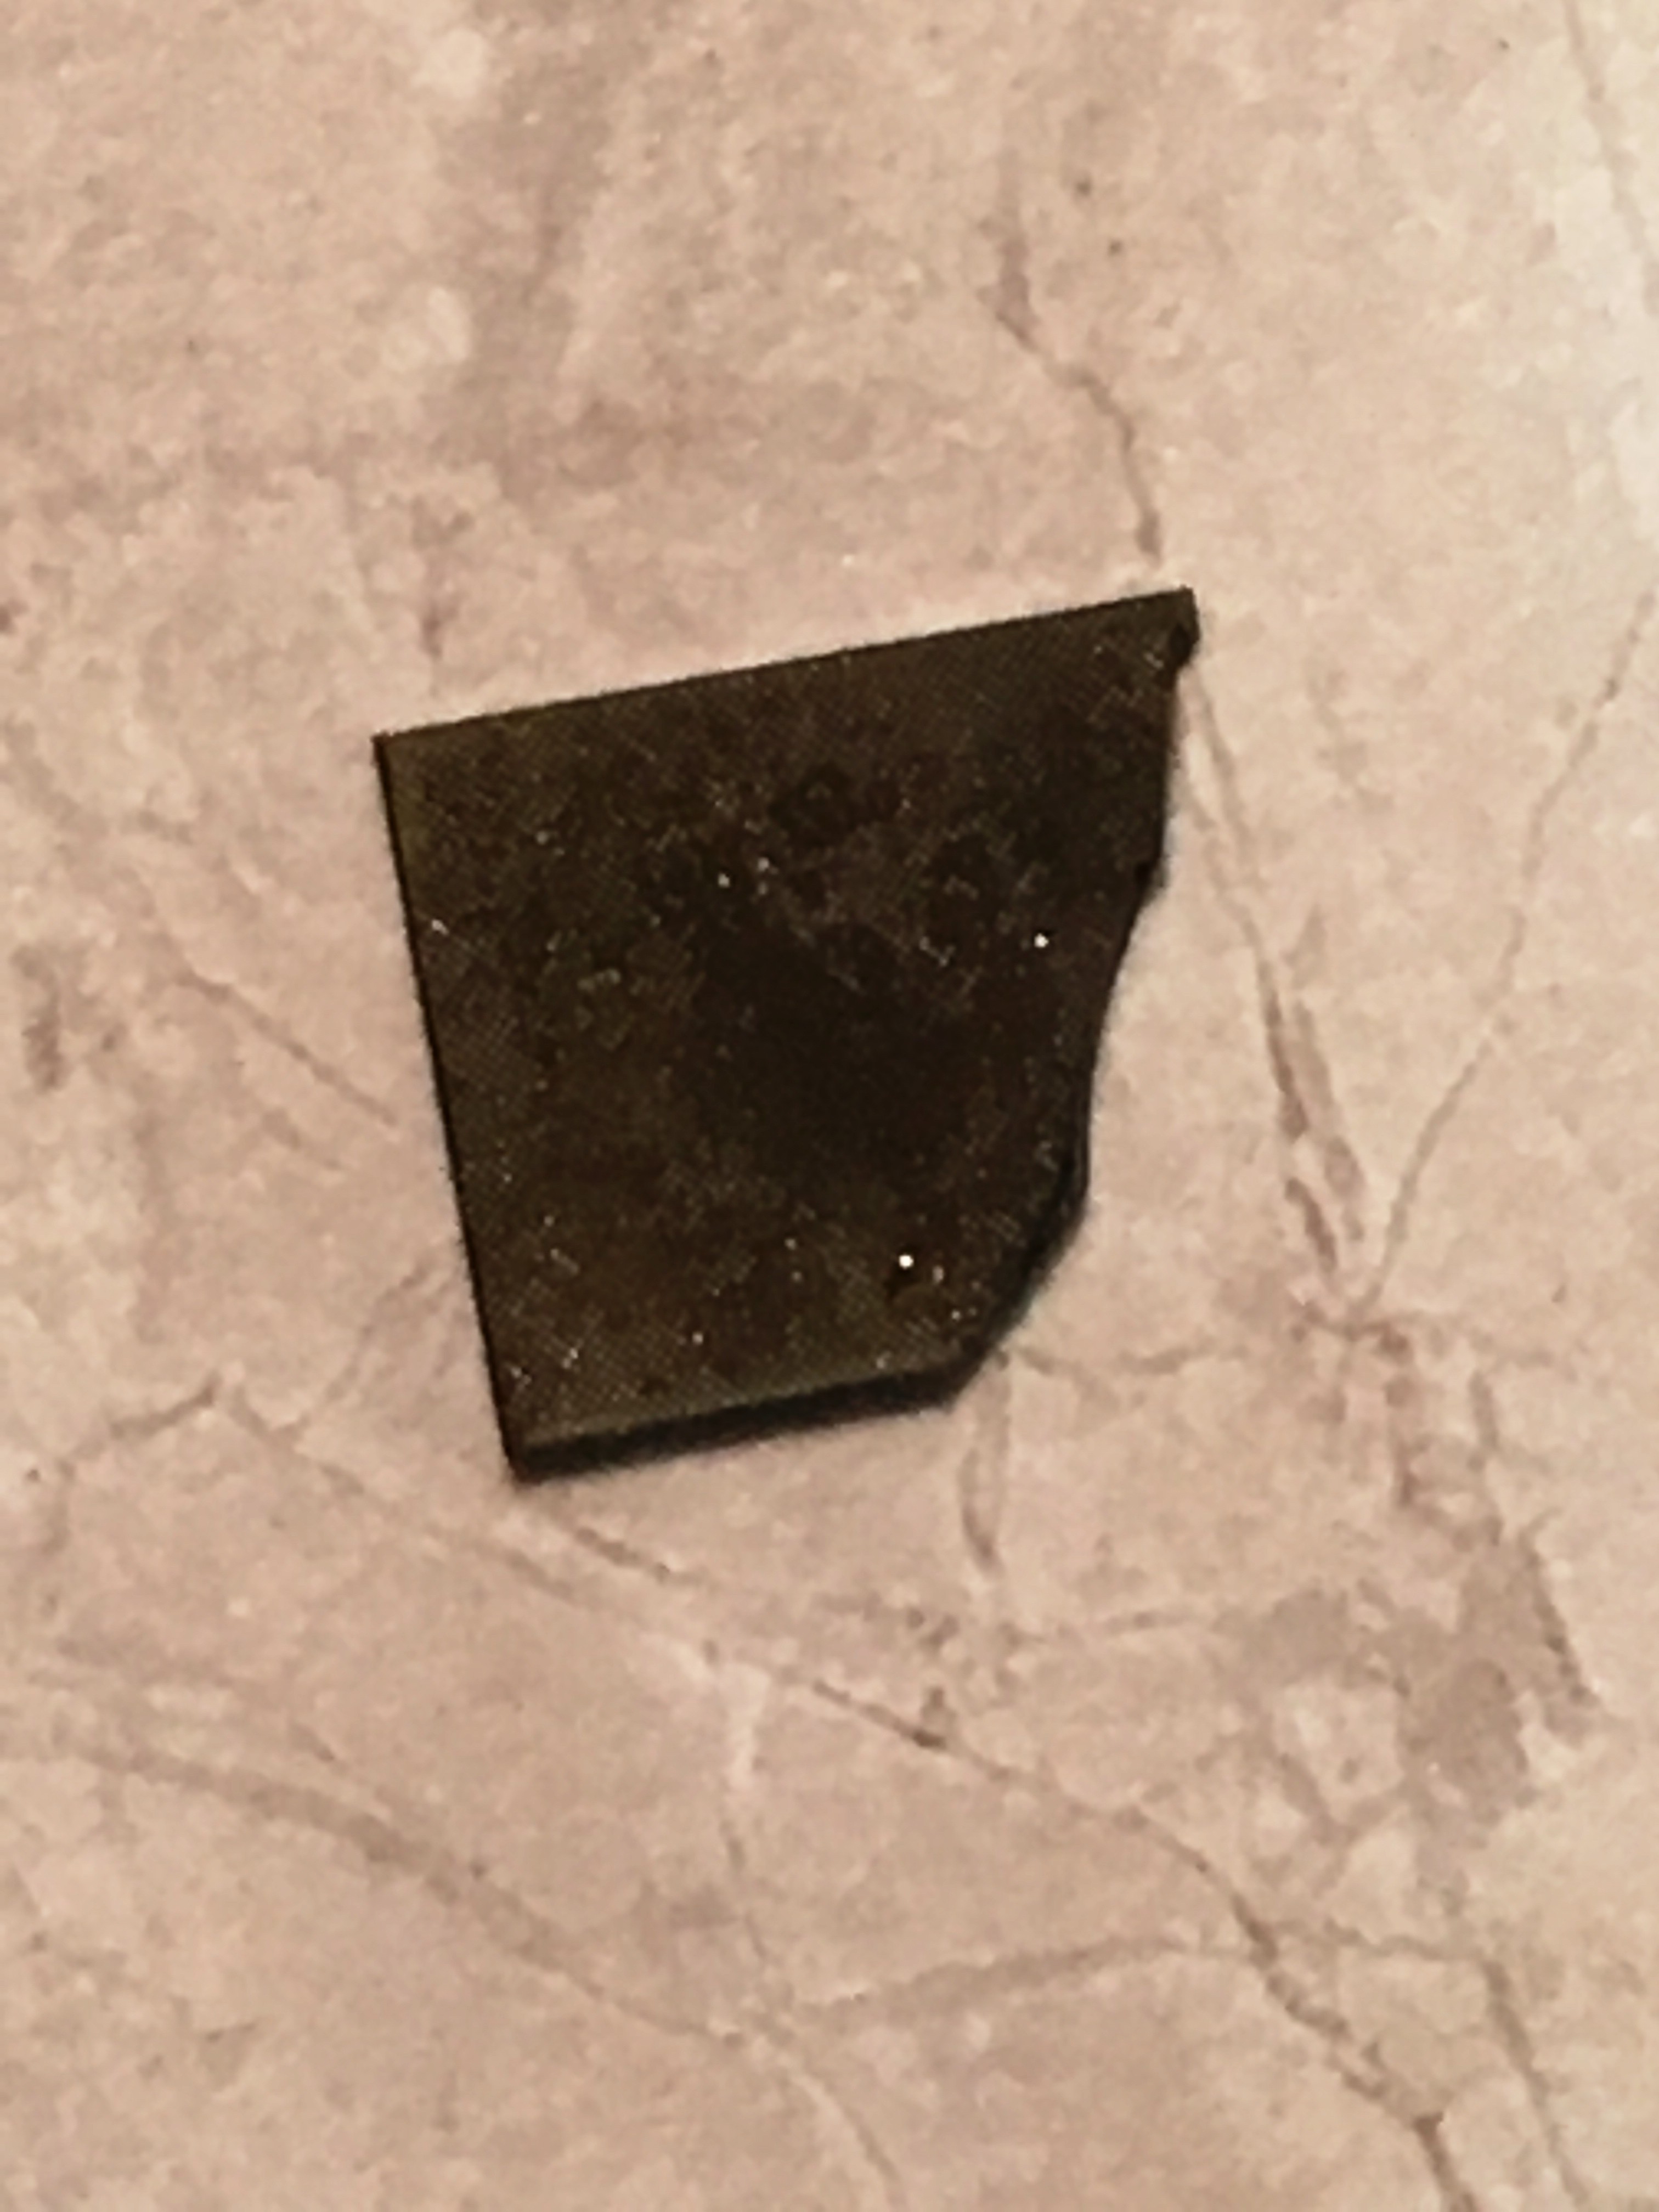
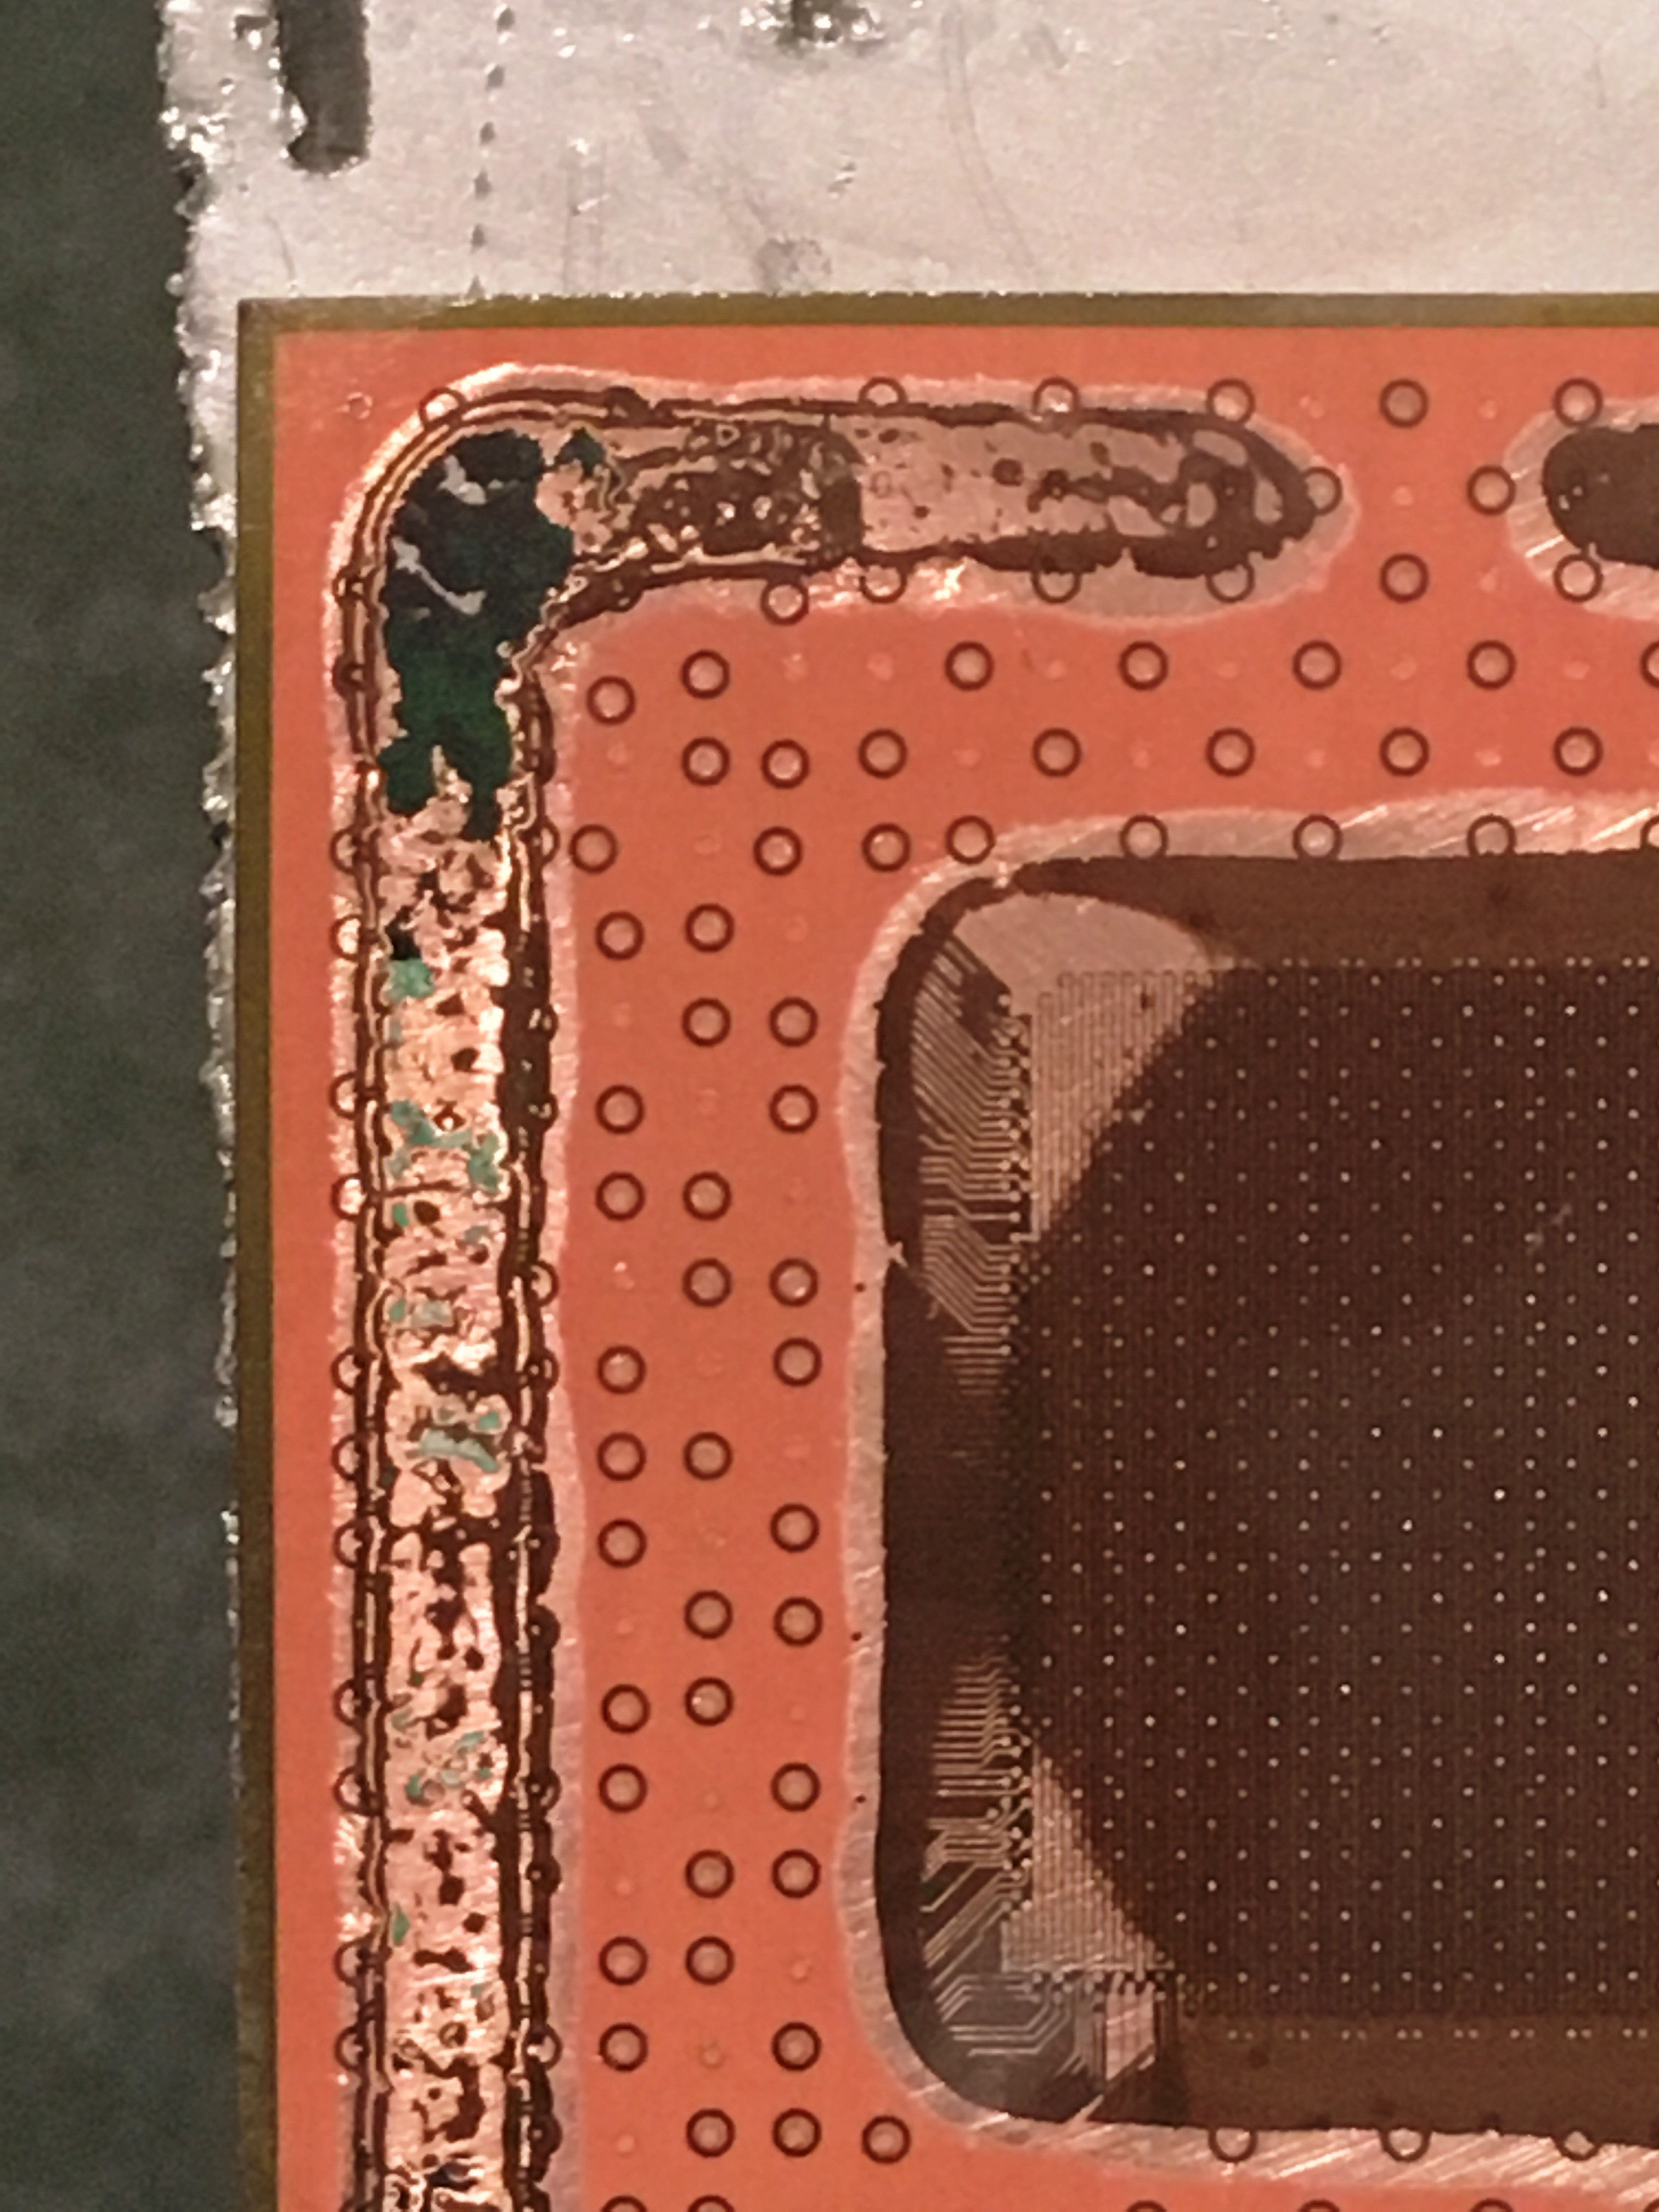
Not all is lost though, I still have most of the die intact. I can even still feel the solder bumps on it that attached the die to the interposer. However the die seems to have a top layer of metallization that makes it difficult to see the circuitry underneath. I don't know if this is just the chips clock, power and ground networks (which are generally on the upper layers of metallization) or if it's one of one of those anti-counterfeiting measures that chip companies use, but I assume it's the former.
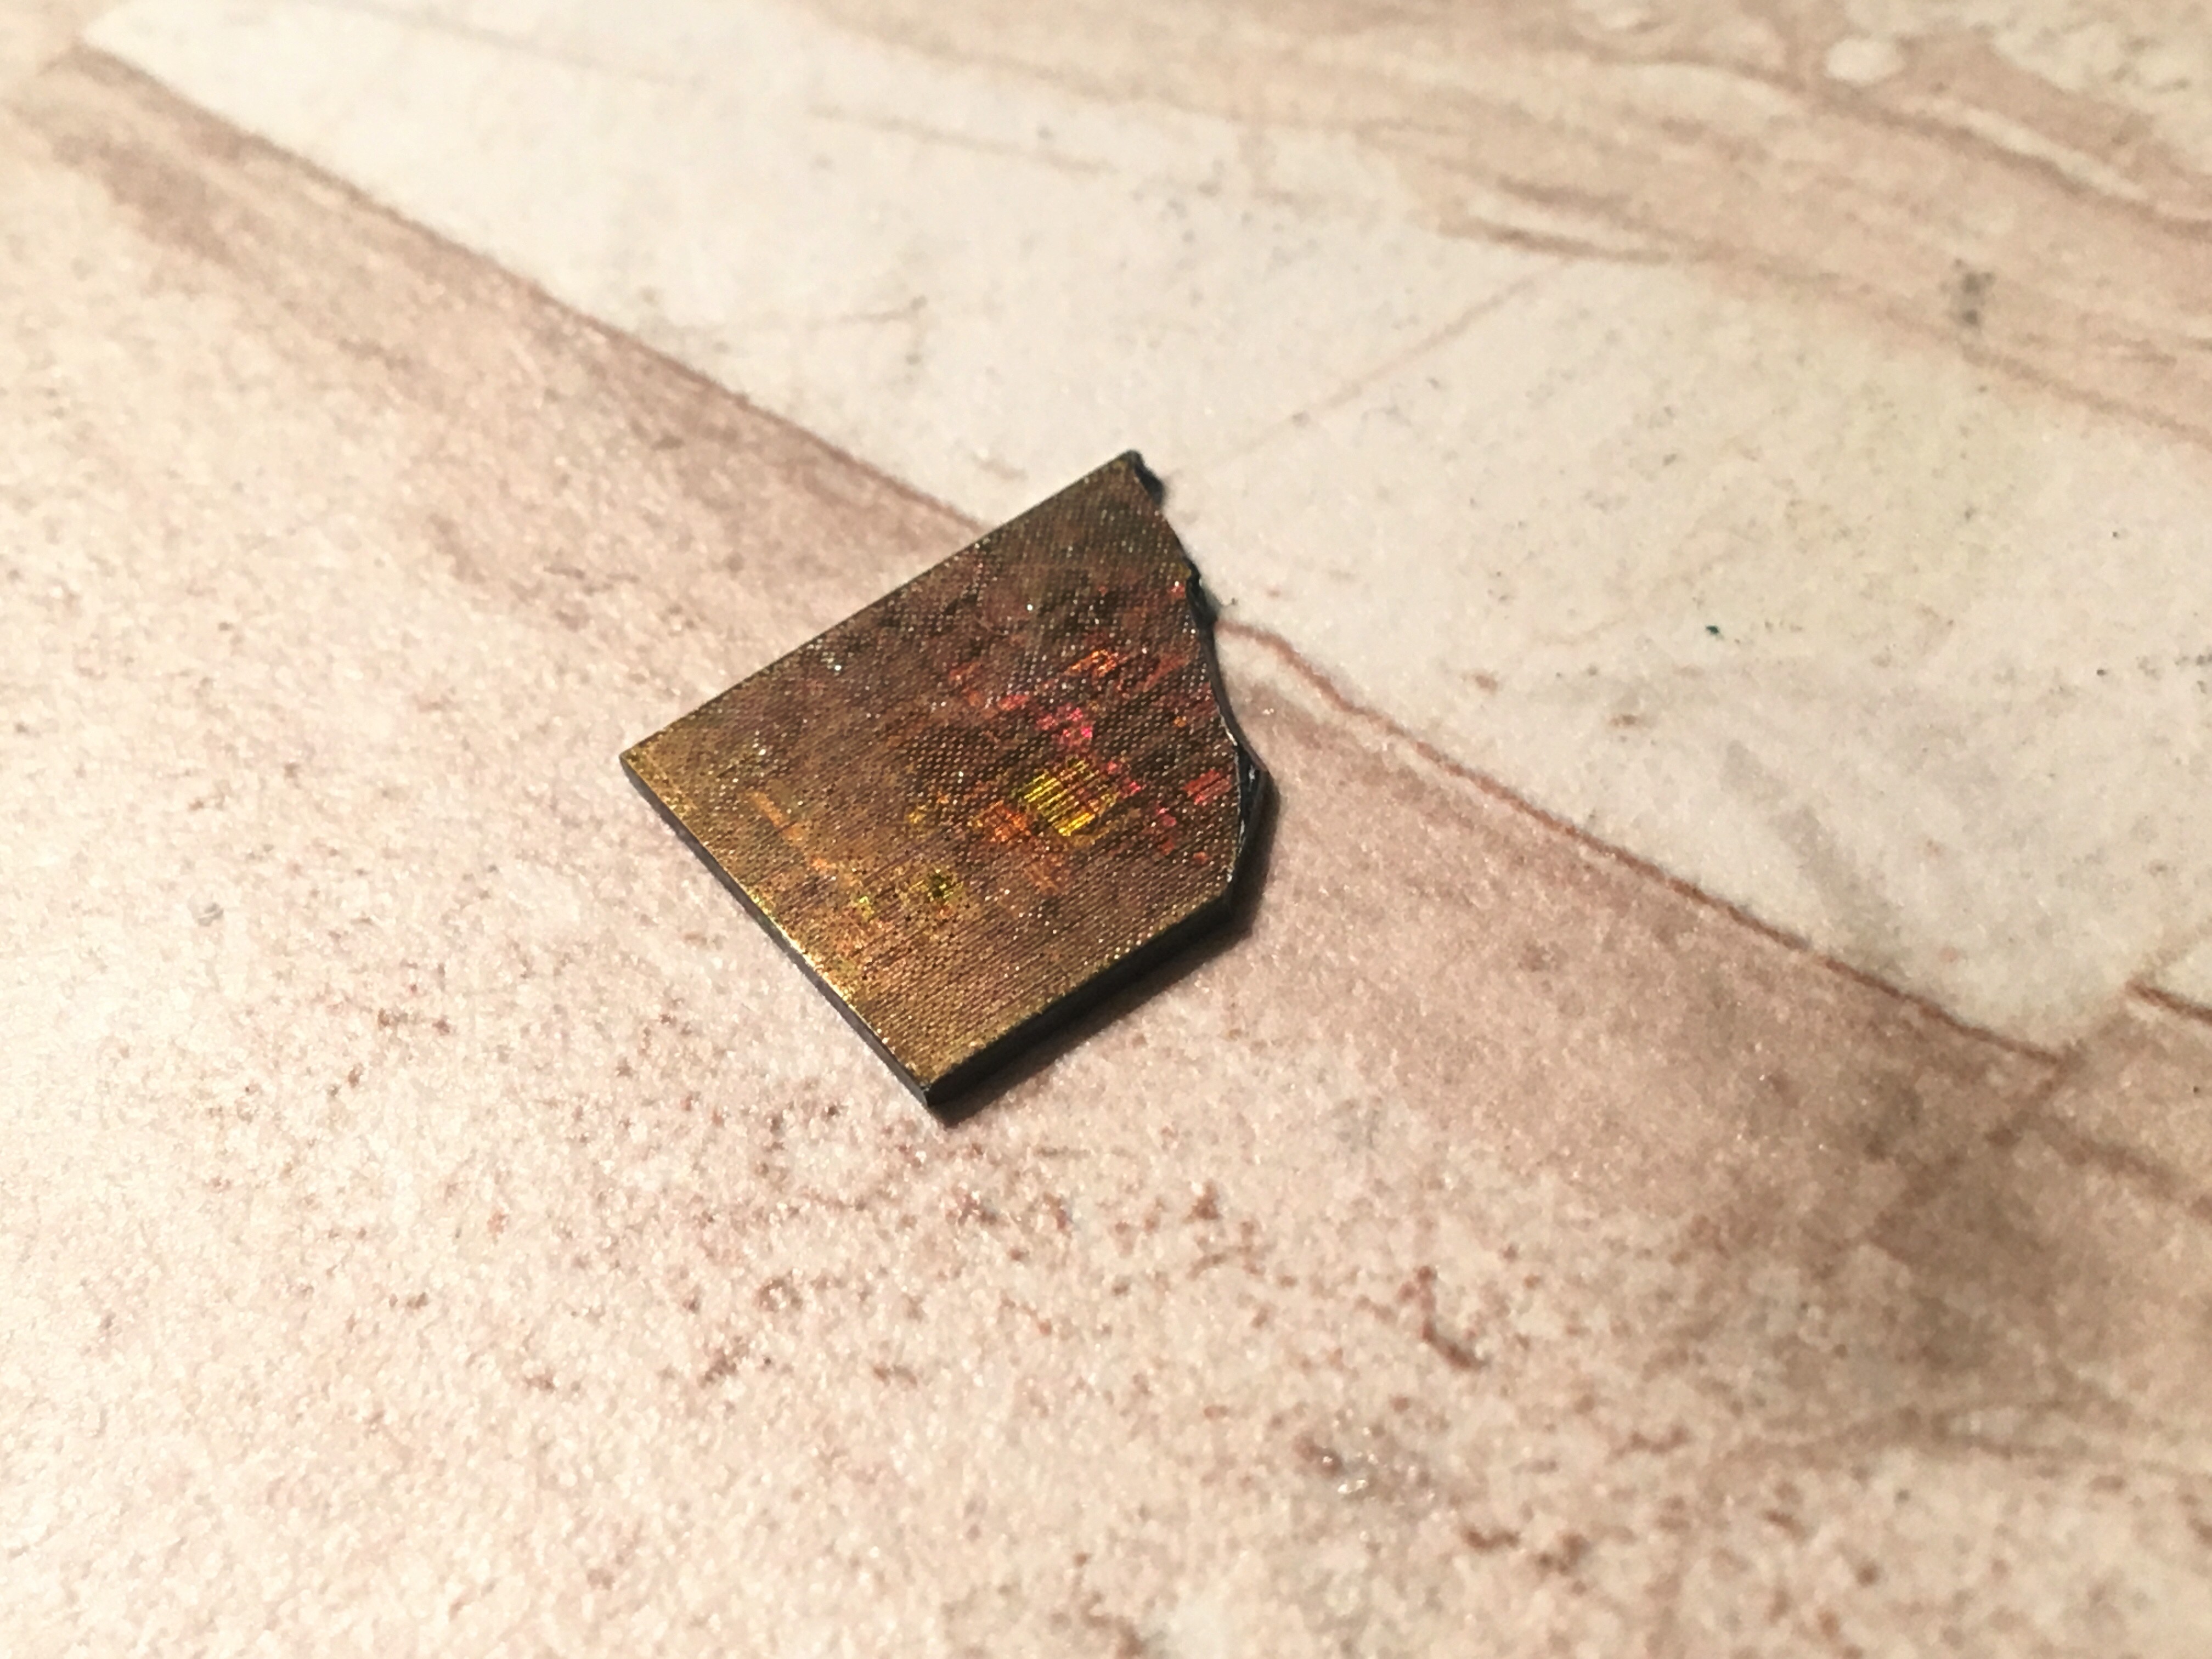
EDIT: I just realized that this top layer of metalization may also be satisfying a "fill" requirement. Each metal layer must contain between a minimum and maximum amount of metal, with large wires having slots cut into them and large spaces having metal fill that has no electrical function. This is because the difference in hardness between the metal and passivation can cause the metal to "dish" during processing.
Still there is some diffraction that seems to be coming from the lower layers.
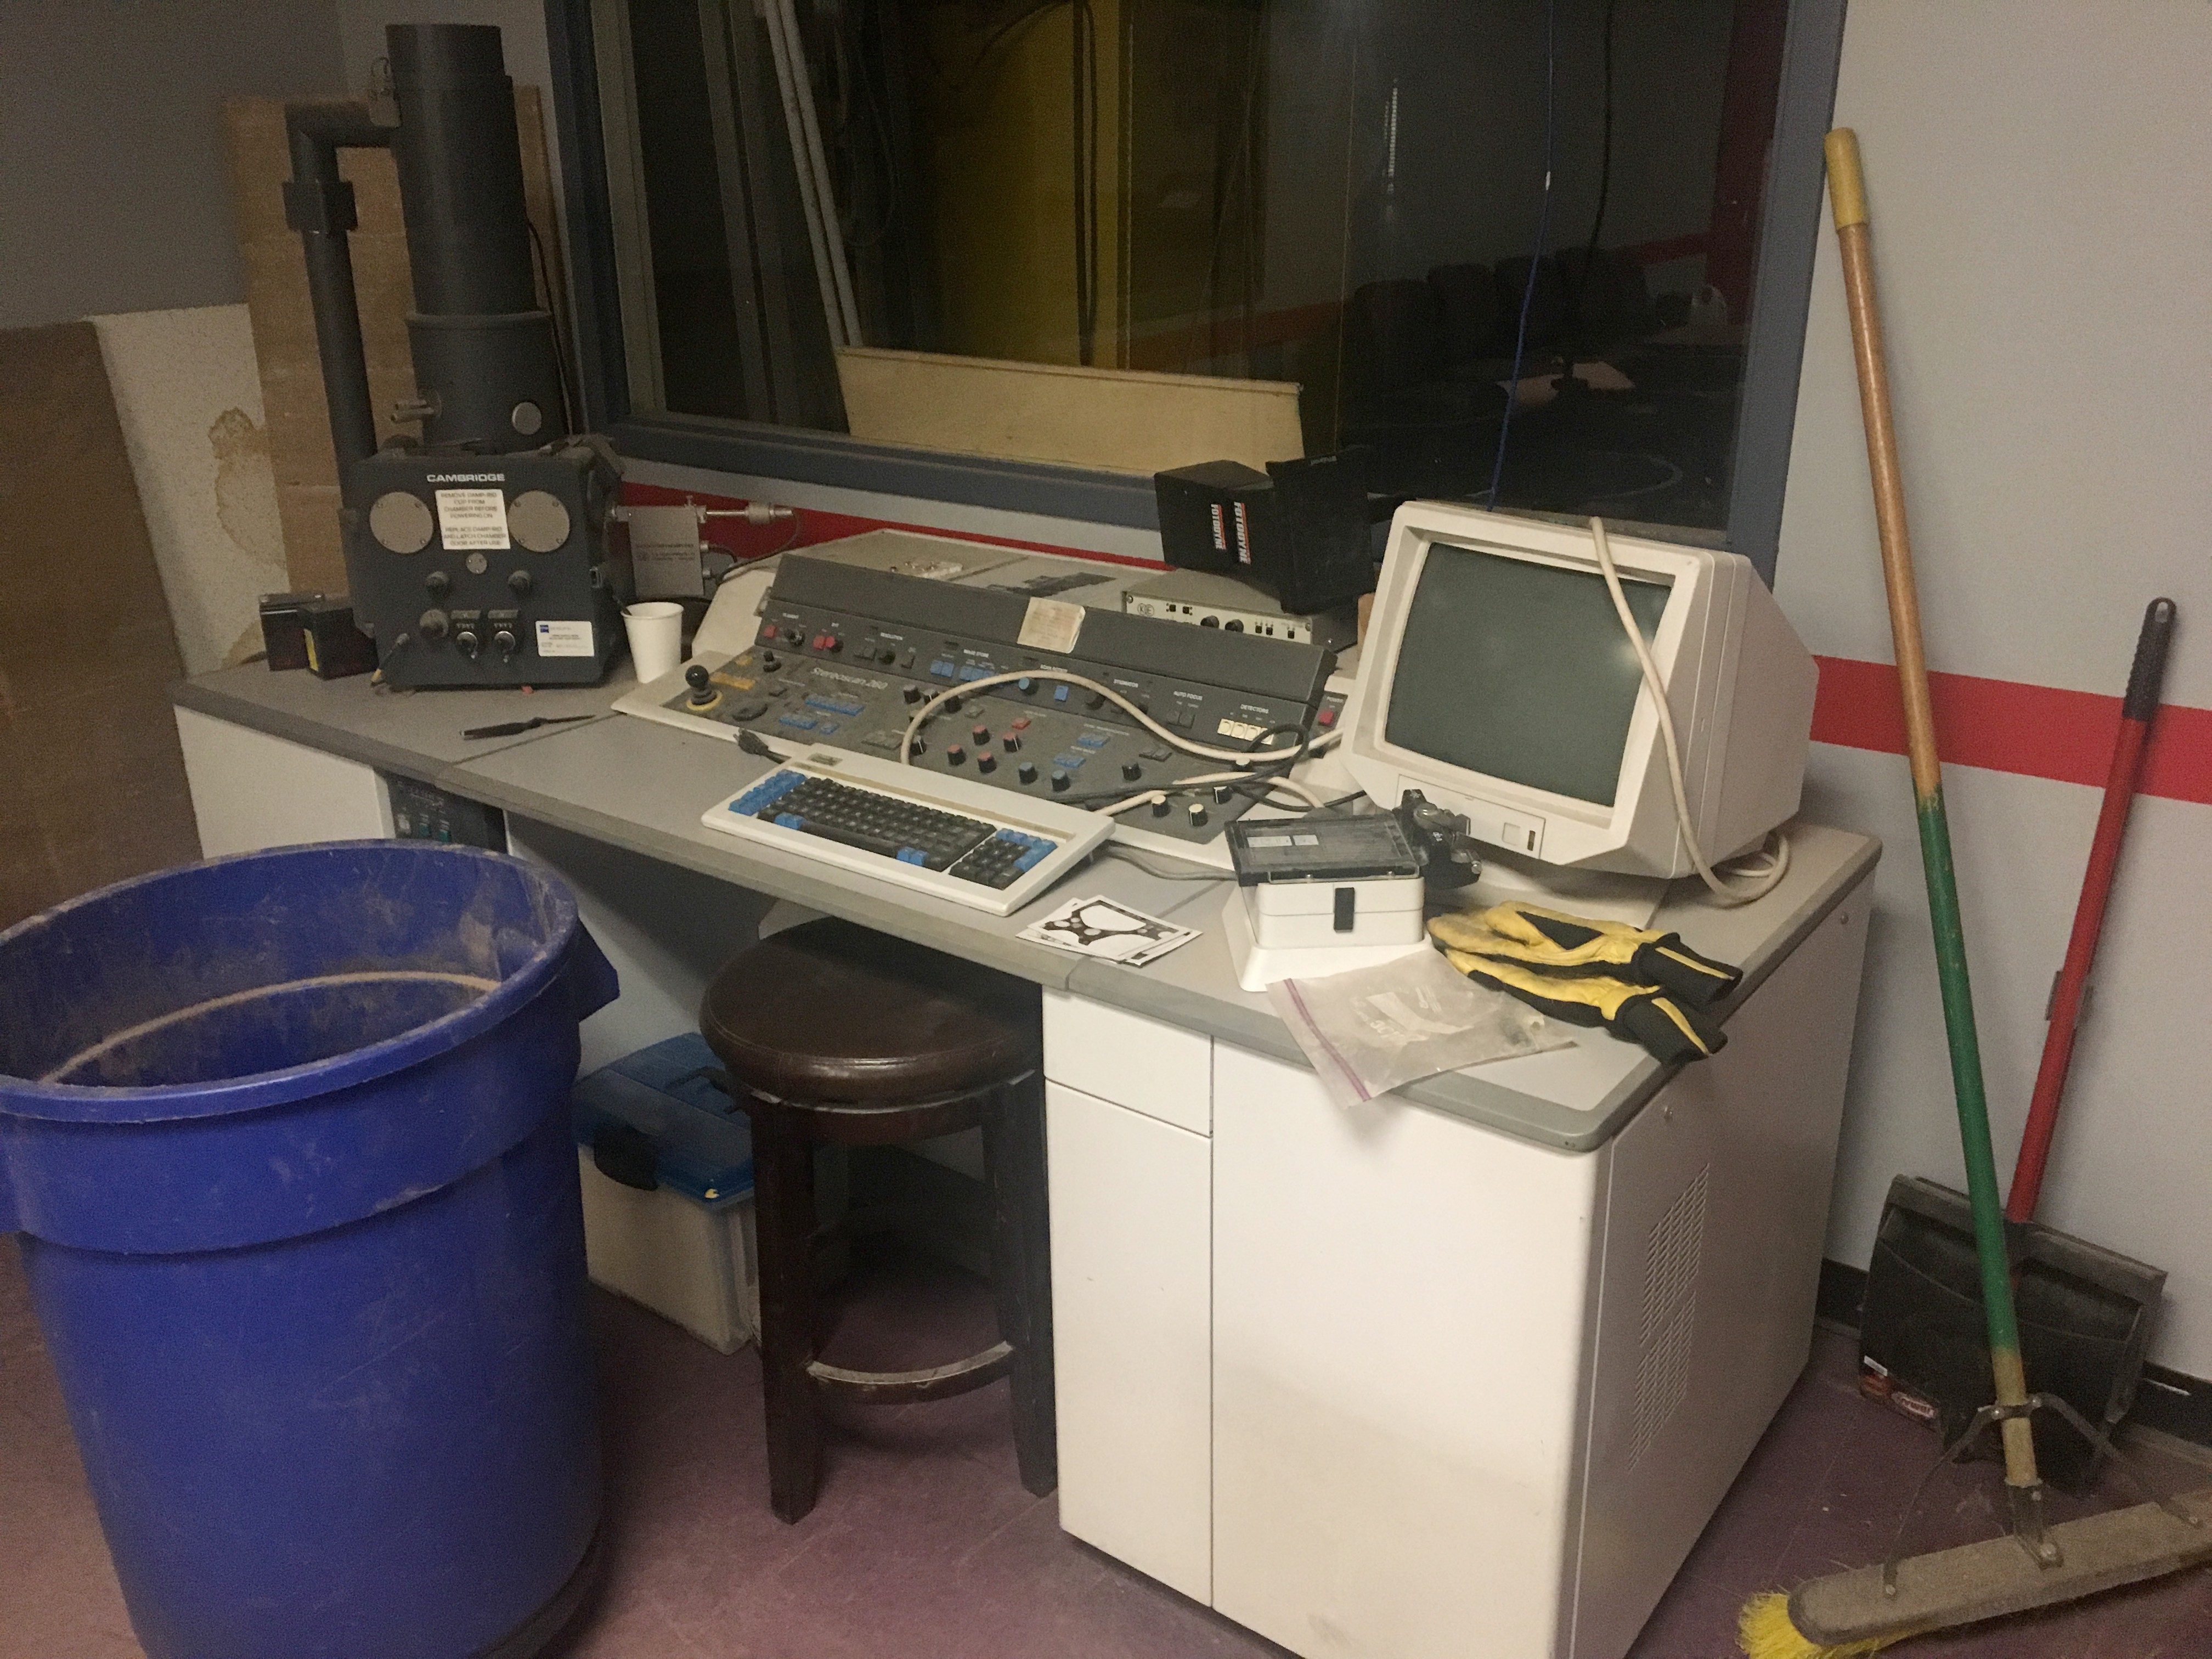
I'm really anxious to get a closer look at it and will post more pictures when I do. If my makerspace ever gets the SEM running again that is.
Discussions
Become a Hackaday.io Member
Create an account to leave a comment. Already have an account? Log In.