 Embedotronics
Software Used:
These are the software we have used for this project:
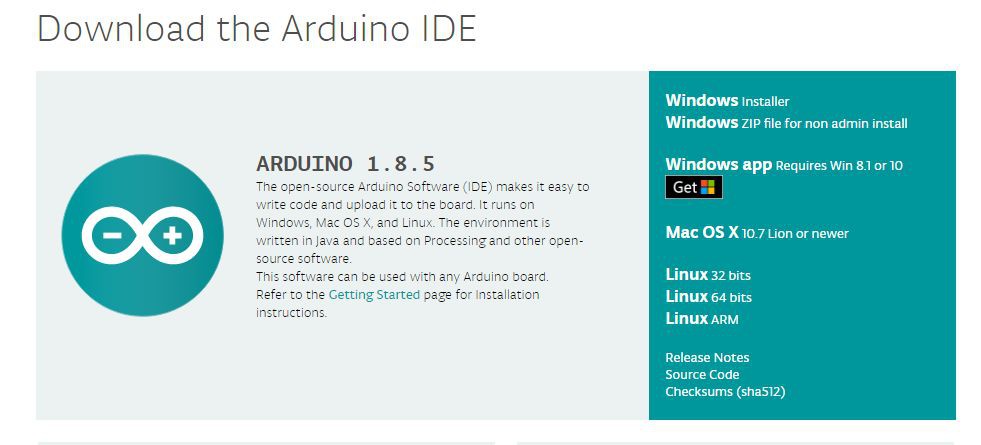
1. Arduino IDE: You can download the latest Arduino IDE from this link: https://www.arduino.cc/en/Main/Software
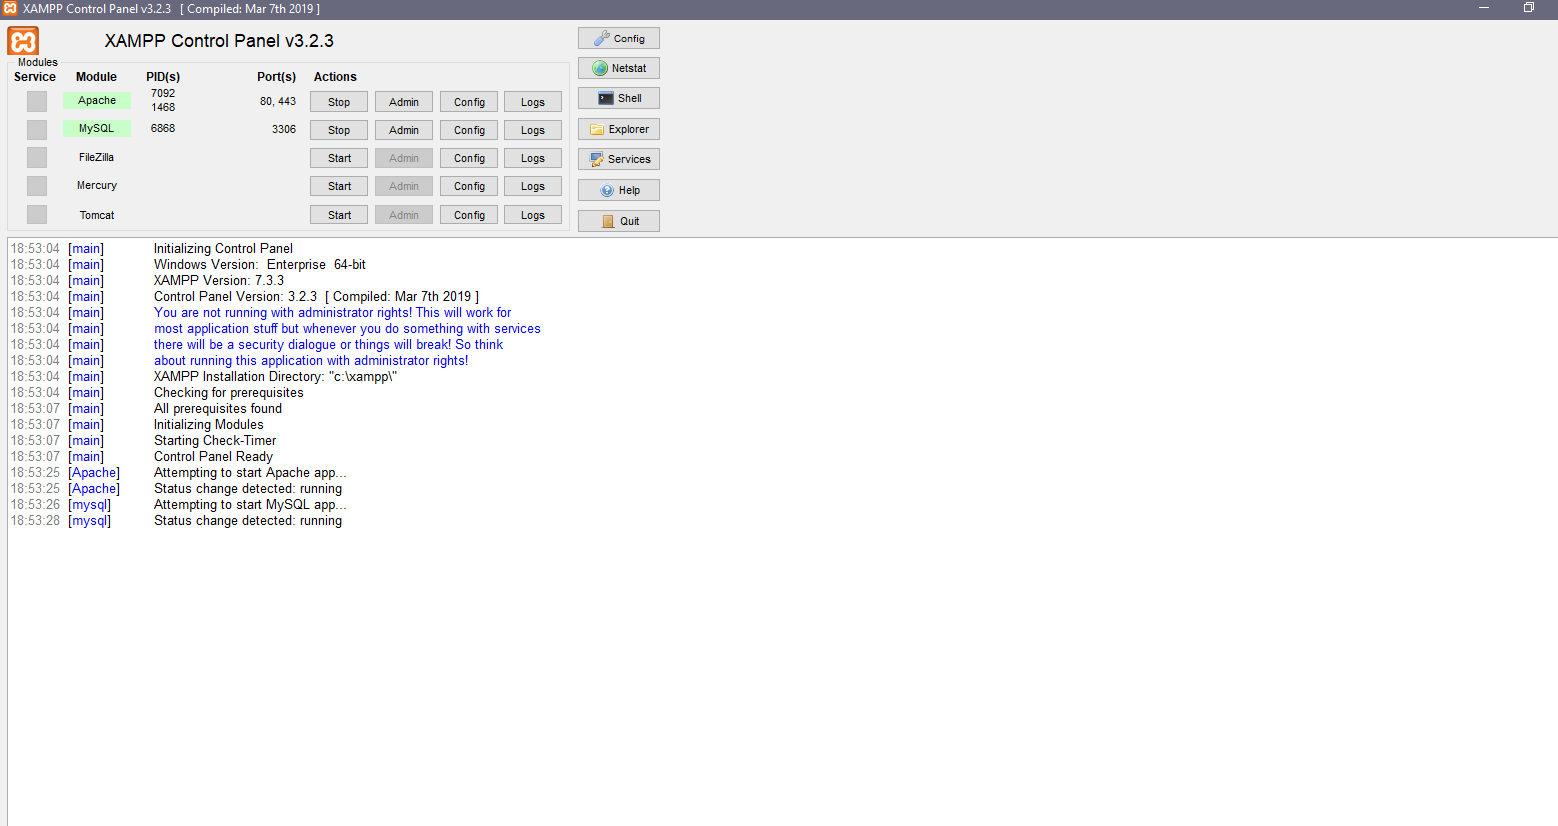
2. Installation of XAMPP server: Here we are using XAMPP server it can be used both in windows and Linux, but my suggestion is that if you are in Ubuntu( Any Linux platform) then go with LAMP. Now since we are in windows so we have preferred XAMPP server. So you can download XAMPP server from this link.
Alternatively here are the steps for LAMP server:
1. Install Apache sudo apt-get install apache2
2. Install MySQL:
sudo apt-get install mysql-server
3. Install PHP:
sudo apt-get install php5 libapache2-mod-php5
4. Restart Server:
sudo /etc/init.d/apache2 restart
5. Check Apache http://localhost/
you will get one apache page by click this above link if you did not get it means something went wrong with your installation
Here we are using PHPMYADMIN that is the web interface of MySQL server so for installing that use command:
sudo apt-get install phpmyadmin
Components Used:
1) Arduino UNO: Arduino/Genuino Uno is a microcontroller board based on the ATmega328P (datasheet). It has 14 digital input/output pins (of which 6 can be used as PWM outputs), 6 analog inputs, a 16 MHz quartz crystal, a USB connection, a power jack, an ICSP header and a reset button.
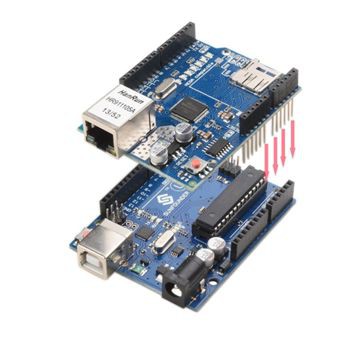
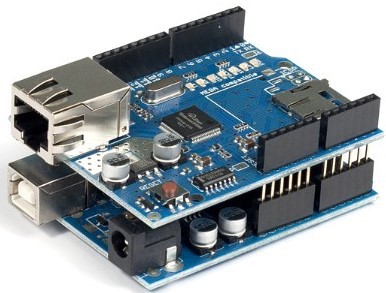
2) Ethernet Shield: The Arduino Ethernet Shield 2 connects your Arduino to the internet in mere minutes. Just plug this module onto your Arduino Board, connect it to your network with an RJ45 cable and follow a few simple steps to start controlling your world through the internet. As always with Arduino, every element of the platform – hardware, software and documentation – is freely available and open-source. This means you can learn exactly how it's made and use its design as the starting point for your own circuits. Hundreds of thousands of Arduino Boards are already fueling people’s creativity all over the world, every day.
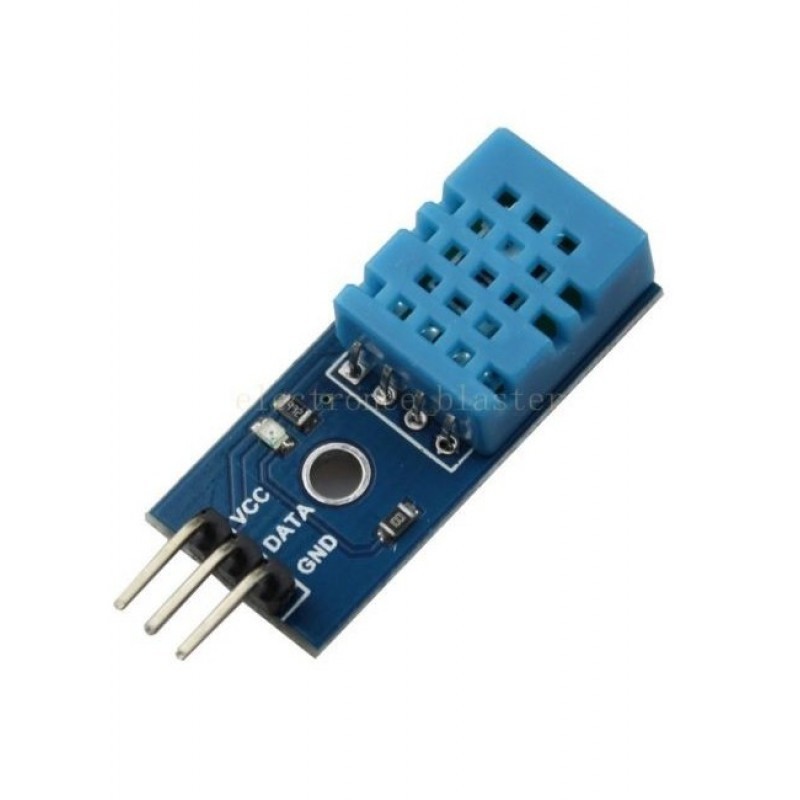
3) DHT11 sensor: This DHT11 Temperature and Humidity Sensor features a calibrated digital signal output with the temperature and humidity sensor capability. It is integrated with a high-performance 8-bit microcontroller. Its technology ensures the high reliability and excellent long-term stability. This sensor includes a resistive element and a sensor for wet NTC temperature measuring devices. It has excellent quality, fast response, anti-interference ability and high performance.
Circuit Diagram:
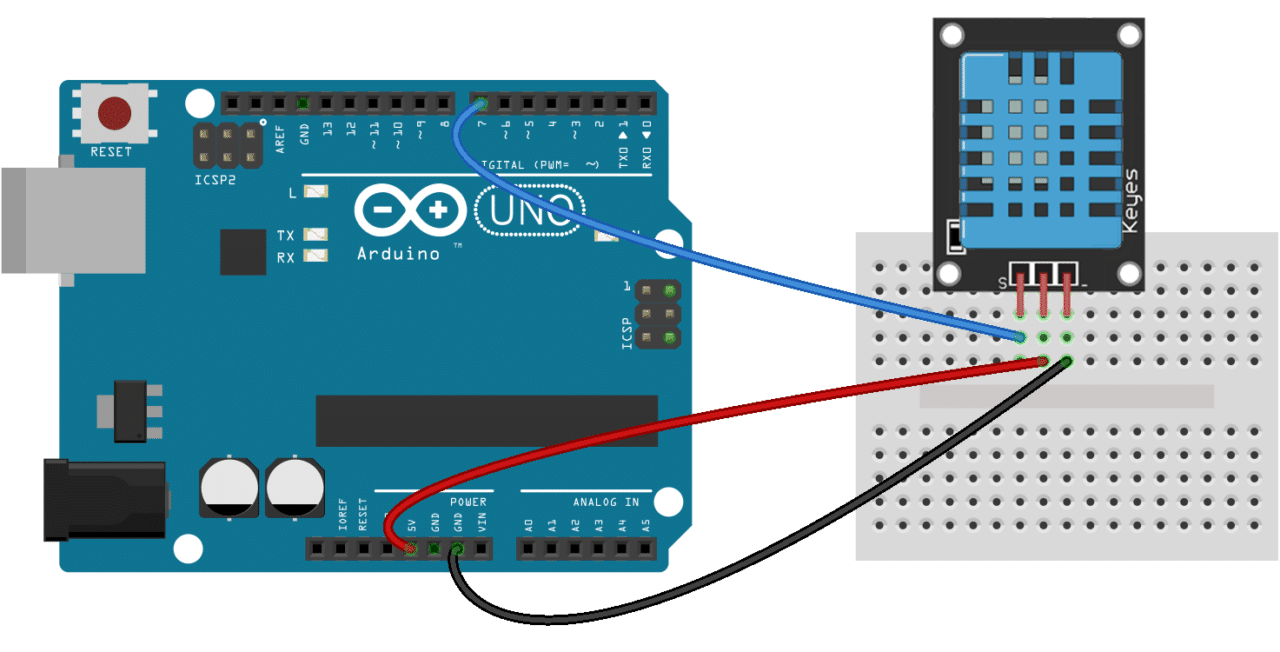
Circuit Diagram of this project is given above.
You need to connect Ethernet shield first as shown in above image then you need to make the DHT11 connection
Code:
You can get the source code of this project from our github page. Here is the github link for that
Video:
The whole Project Description is given in above video
If you have any doubt regarding this project feel free to comment us below.
And if you want to learn more about embedded system you can visit our youtube channel
Please visit and like our Facebook Page for frequent updates.
Thanks & Regards,
Embedotronics Technologies


 Jens Geisler
 Jerry Isdale
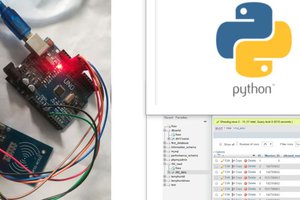
Your Description text is just a little incorrect. It's a MySQL database, not a phpMyAdmin database. You are using PHP mysqli library calls to insert the readings into the MySQL database. phpMyAdmin is simply a web interface to MySQL that makes it easier to administer.