TeamSG
-
Aussie Sawppy - Looking wheely good
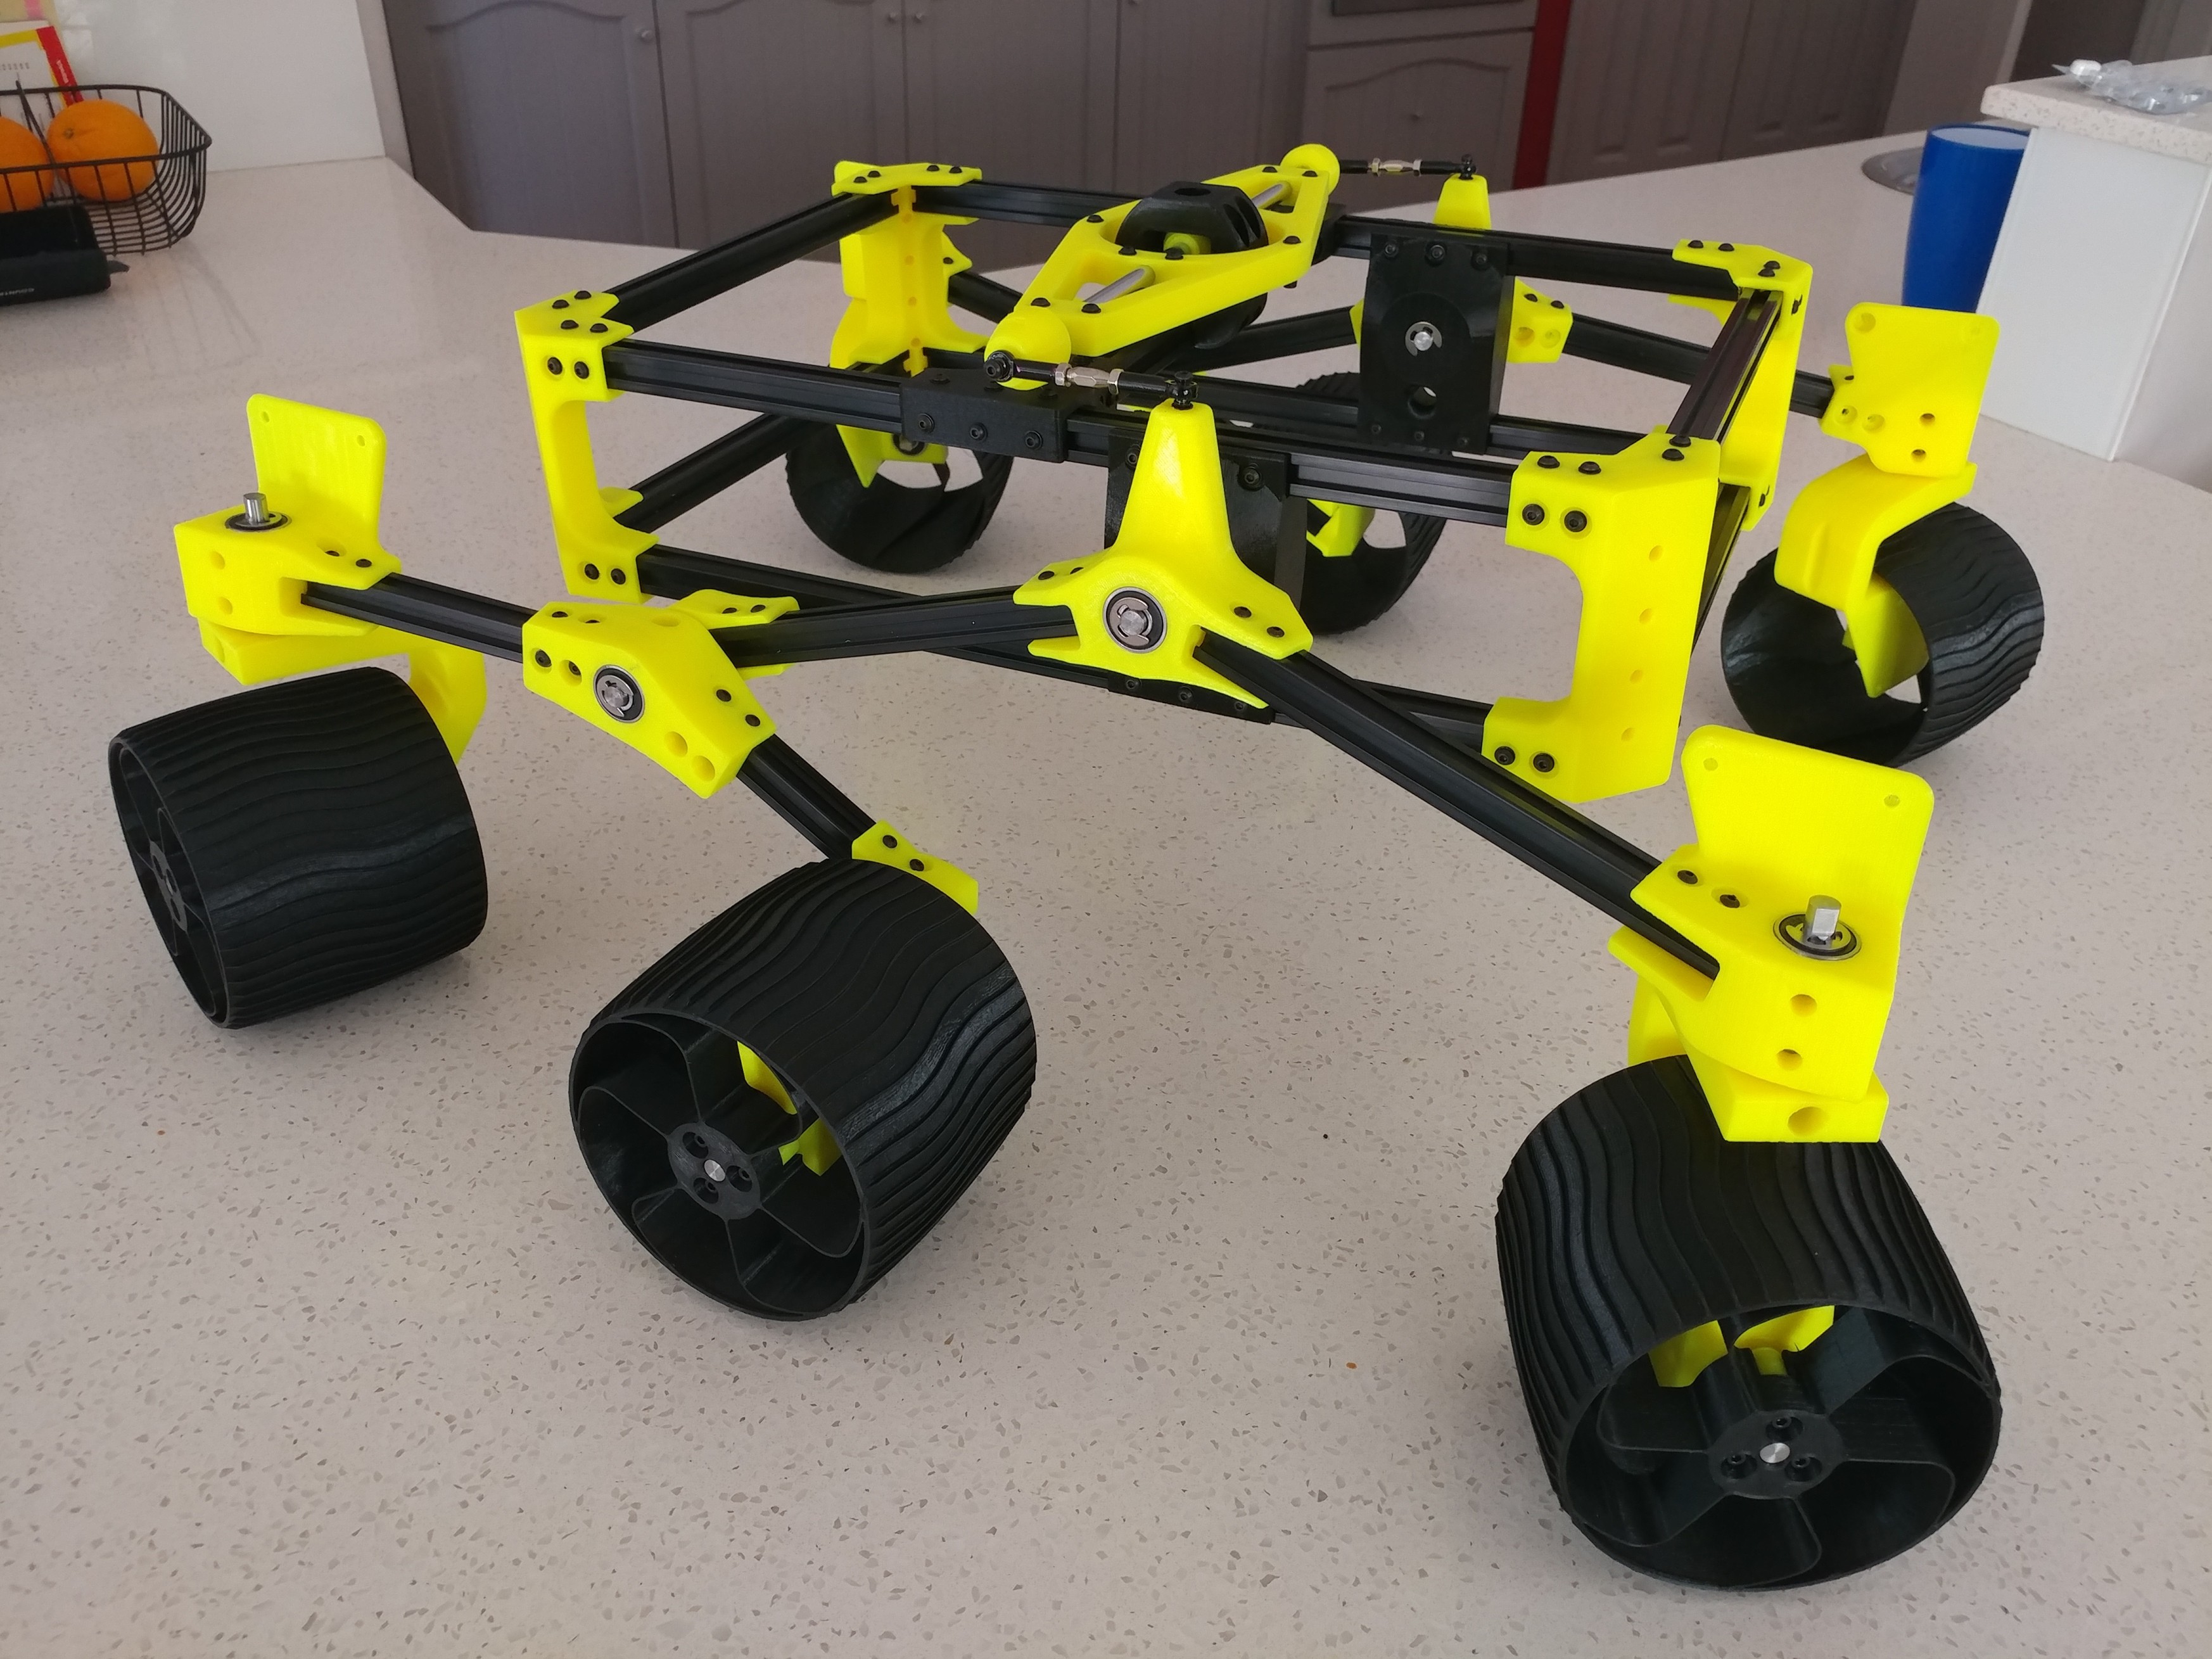
12/03/2019 at 12:28 • 0 commentsSo it has wheels now :)
Minor dramas in the process - I had to get the Dremel out to do some ...err ... free-hand adjustments to the wheel bearing mounts. In a nutshell, I had to shave some plastic out of the bearing recesses so that the back-to-back bearings would sit close enough together to allow the retaining E-clip / circlip to sit in its slot on the axle / shaft.
![]()
Next job is fitting the servos and then to work out the dimensions of the wiring loom.
22 days to Christmas...
-
Aussie Sawppy - Dumb things I did
11/27/2019 at 13:30 • 0 commentsSo I finally have the software sorted and I can "drive" the servos on the kitchen table by logging onto the Pi's network with my smartphone. A eureka moment of sorts!
.
I pause here to thank @Roger for responding with generosity and verbosity to my requests for help in the last few days. Thanks, dude. I dig your style.
.
Anyways, I did some dumb things on the way to this interim destination. I'll briefly lay out my errors below for the possible benefit of someone else having a crack at this project with the same limited exposure / ability as myself.Misdeed #1: Save your edits. I evidently managed to skip this bit a couple of times even with the confirmation messages reminding me to do so.
Misdeed #2: If you are going to copy/paste rather than type text into files / command lines then make sure you select the whole text string / body - don't skip the last few characters.
Misdeed #3: When I edited the config_lewansoul.json file I got the format of the 4th line wrong - I missed the quotes on the path string. This is correct:
"port": "/dev/ttyUSB0",Misdeed #4: Well not so much a misdeed as a tip. If you run in test/develop mode on a laptop / PC then you may get an error message telling you that you do not have permission to access TTYUSB0. The answer is here if you run some variety of Linux: https://sudomod.com/forum/viewtopic.php?t=6075
Misdeed #5: if you don't have the Lewansoul Buslinker board powered up and plugged into the laptop / Pi when you point your browser at the appropriate address then you'll get Internal Server Error 500.
So, having achieved wireless control of benched servos, now I get to complete the mechanical build and get stuck into the electrical build. Noice!
Twenty eight days to Christmas...
-
Aussie Sawppy - Ticking Along
11/10/2019 at 05:25 • 2 commentsHey, ho!
Yeah, been away from here for some time. Other priorities have crashed the rover project to a large extent, although there has been progress.
So, quickly...- Got the threaded inserts finally and put them all in place
- Finished off the core chassis mechanical build with the differential & tie rods
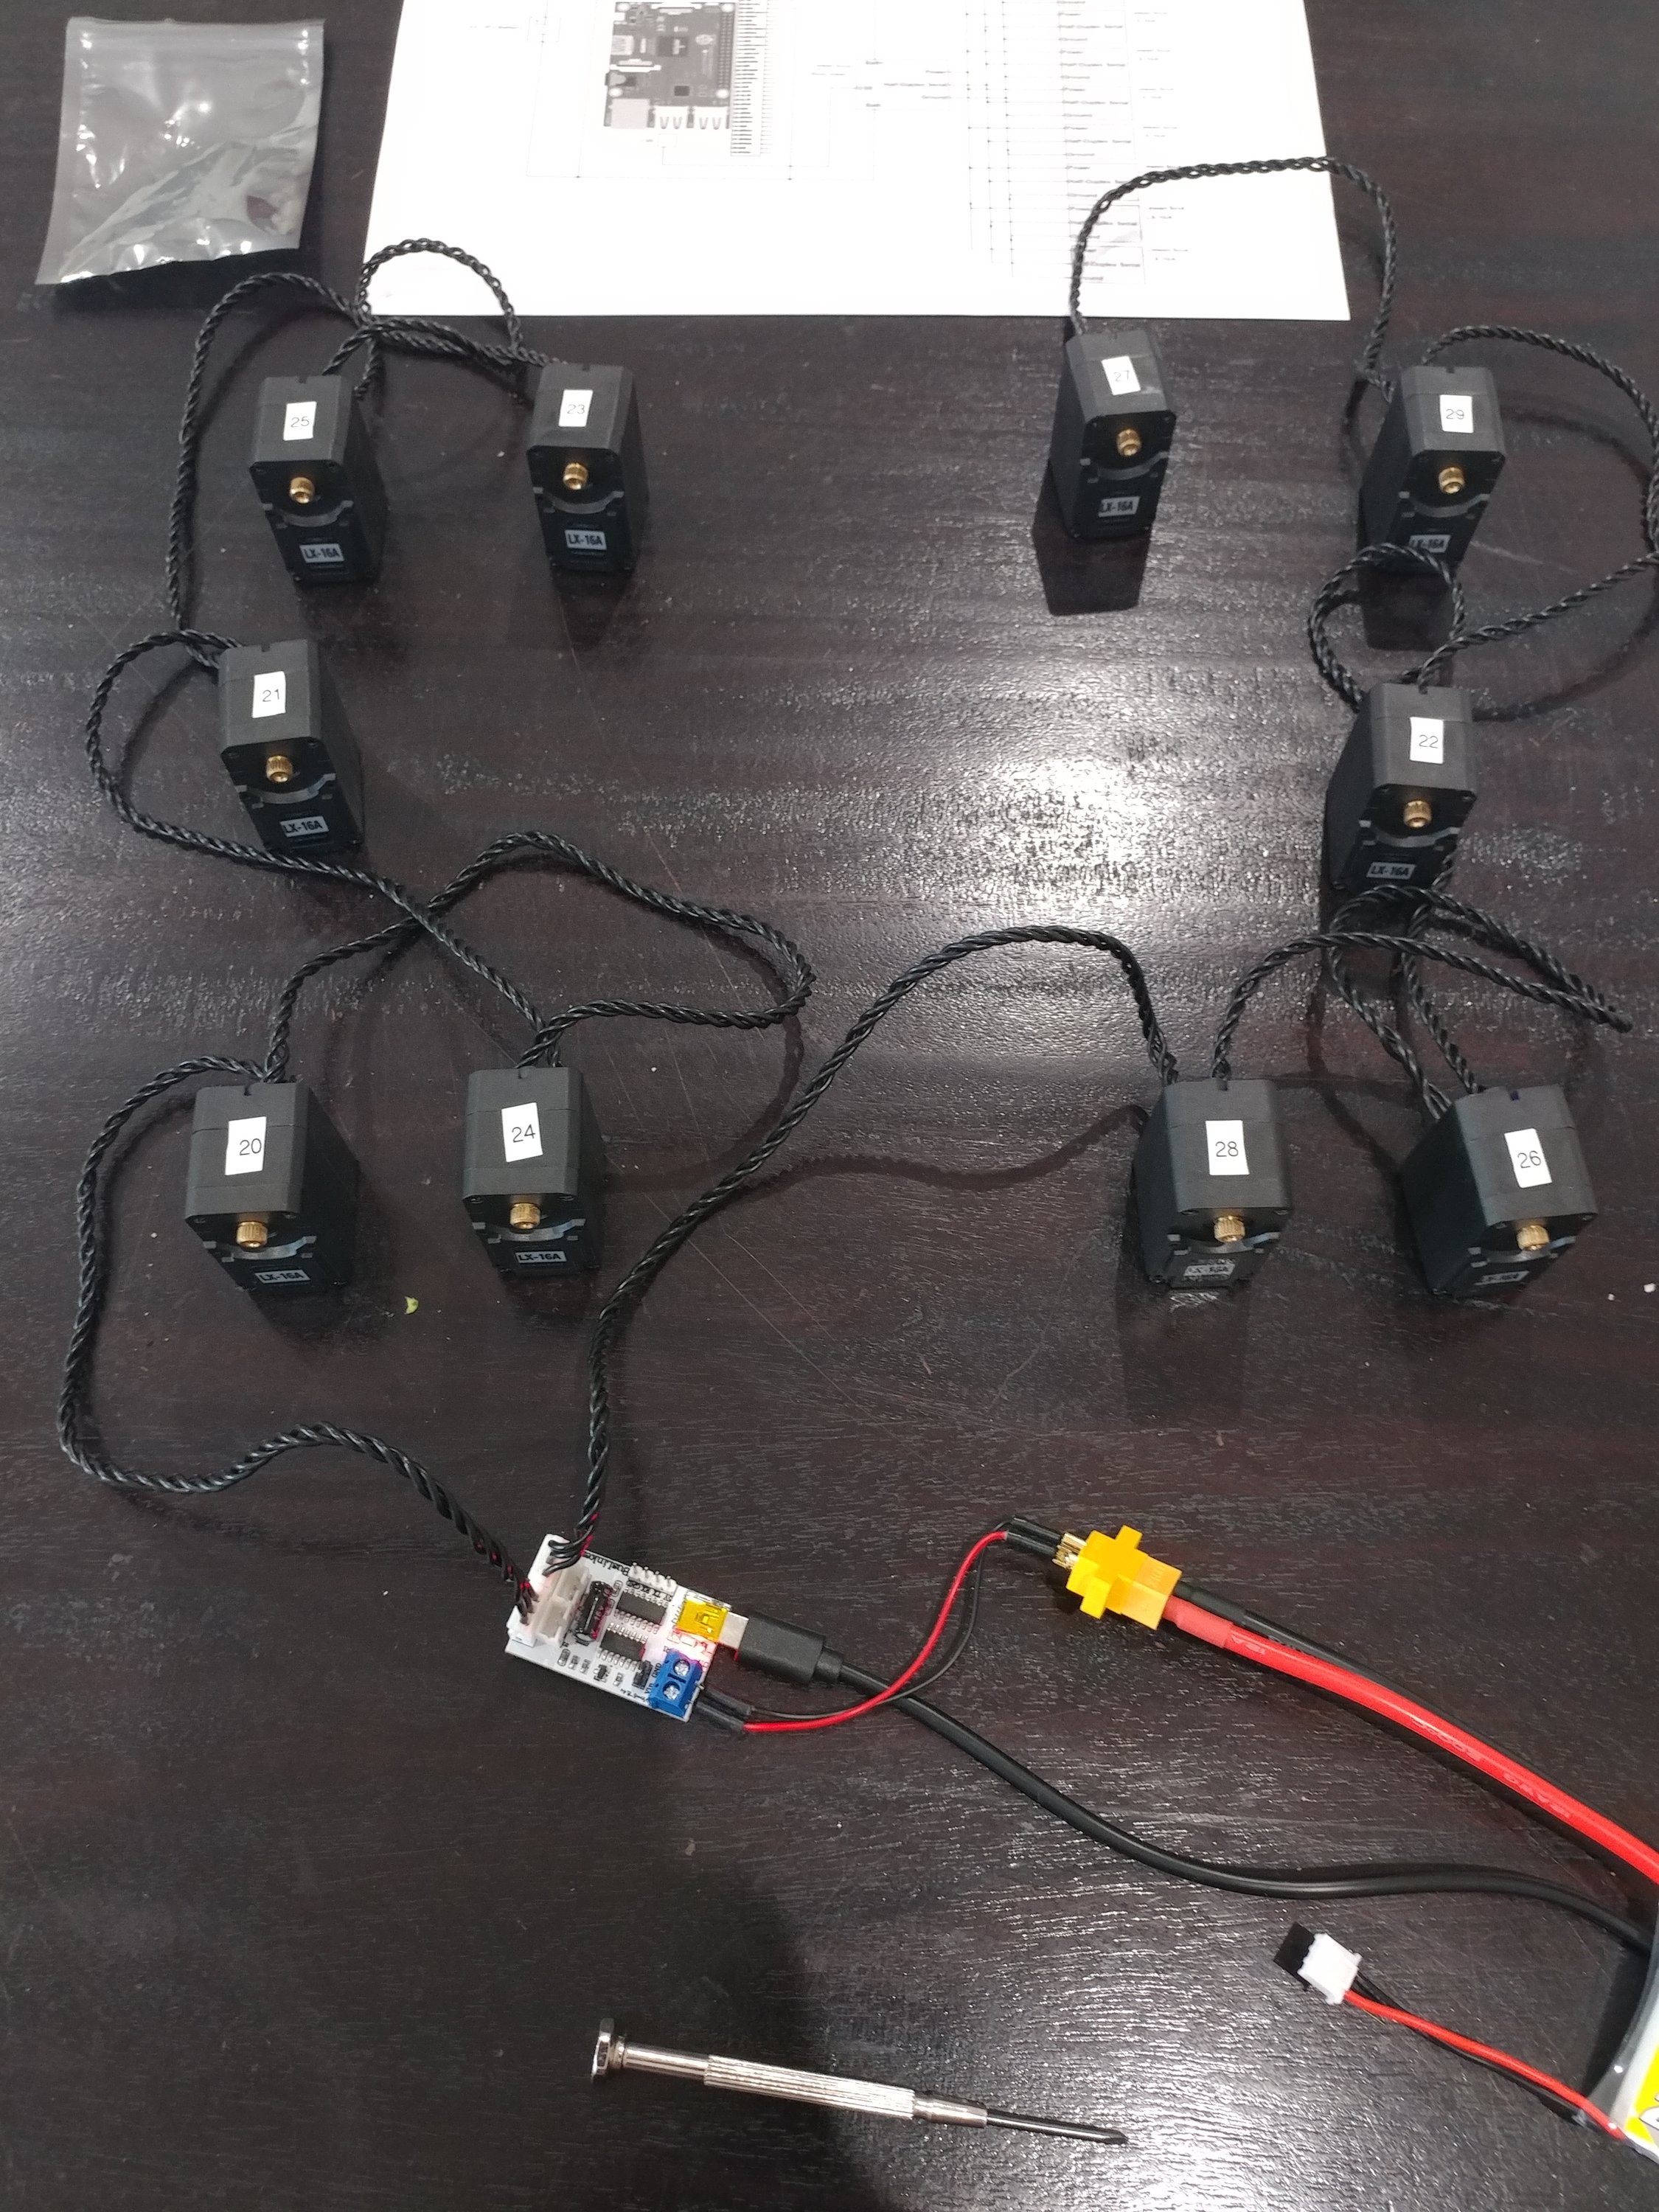
- Assigned the servo IDs - I just matched the standard scheme here for simplicity
- Got the Pi sorted - Sawppy-tuned SGVHAK software loaded, wireless access point enabled
Having achieved all that I figured I'd go for a servo bench test before I go screwing it all together. This is the kitchen table right now.
![]()
And this still picture is a perfectly accurate representation of the action on the bench right at the moment, 'cos it aint working :)
The software seems to be doing it's thing, but the servos aren't responding.
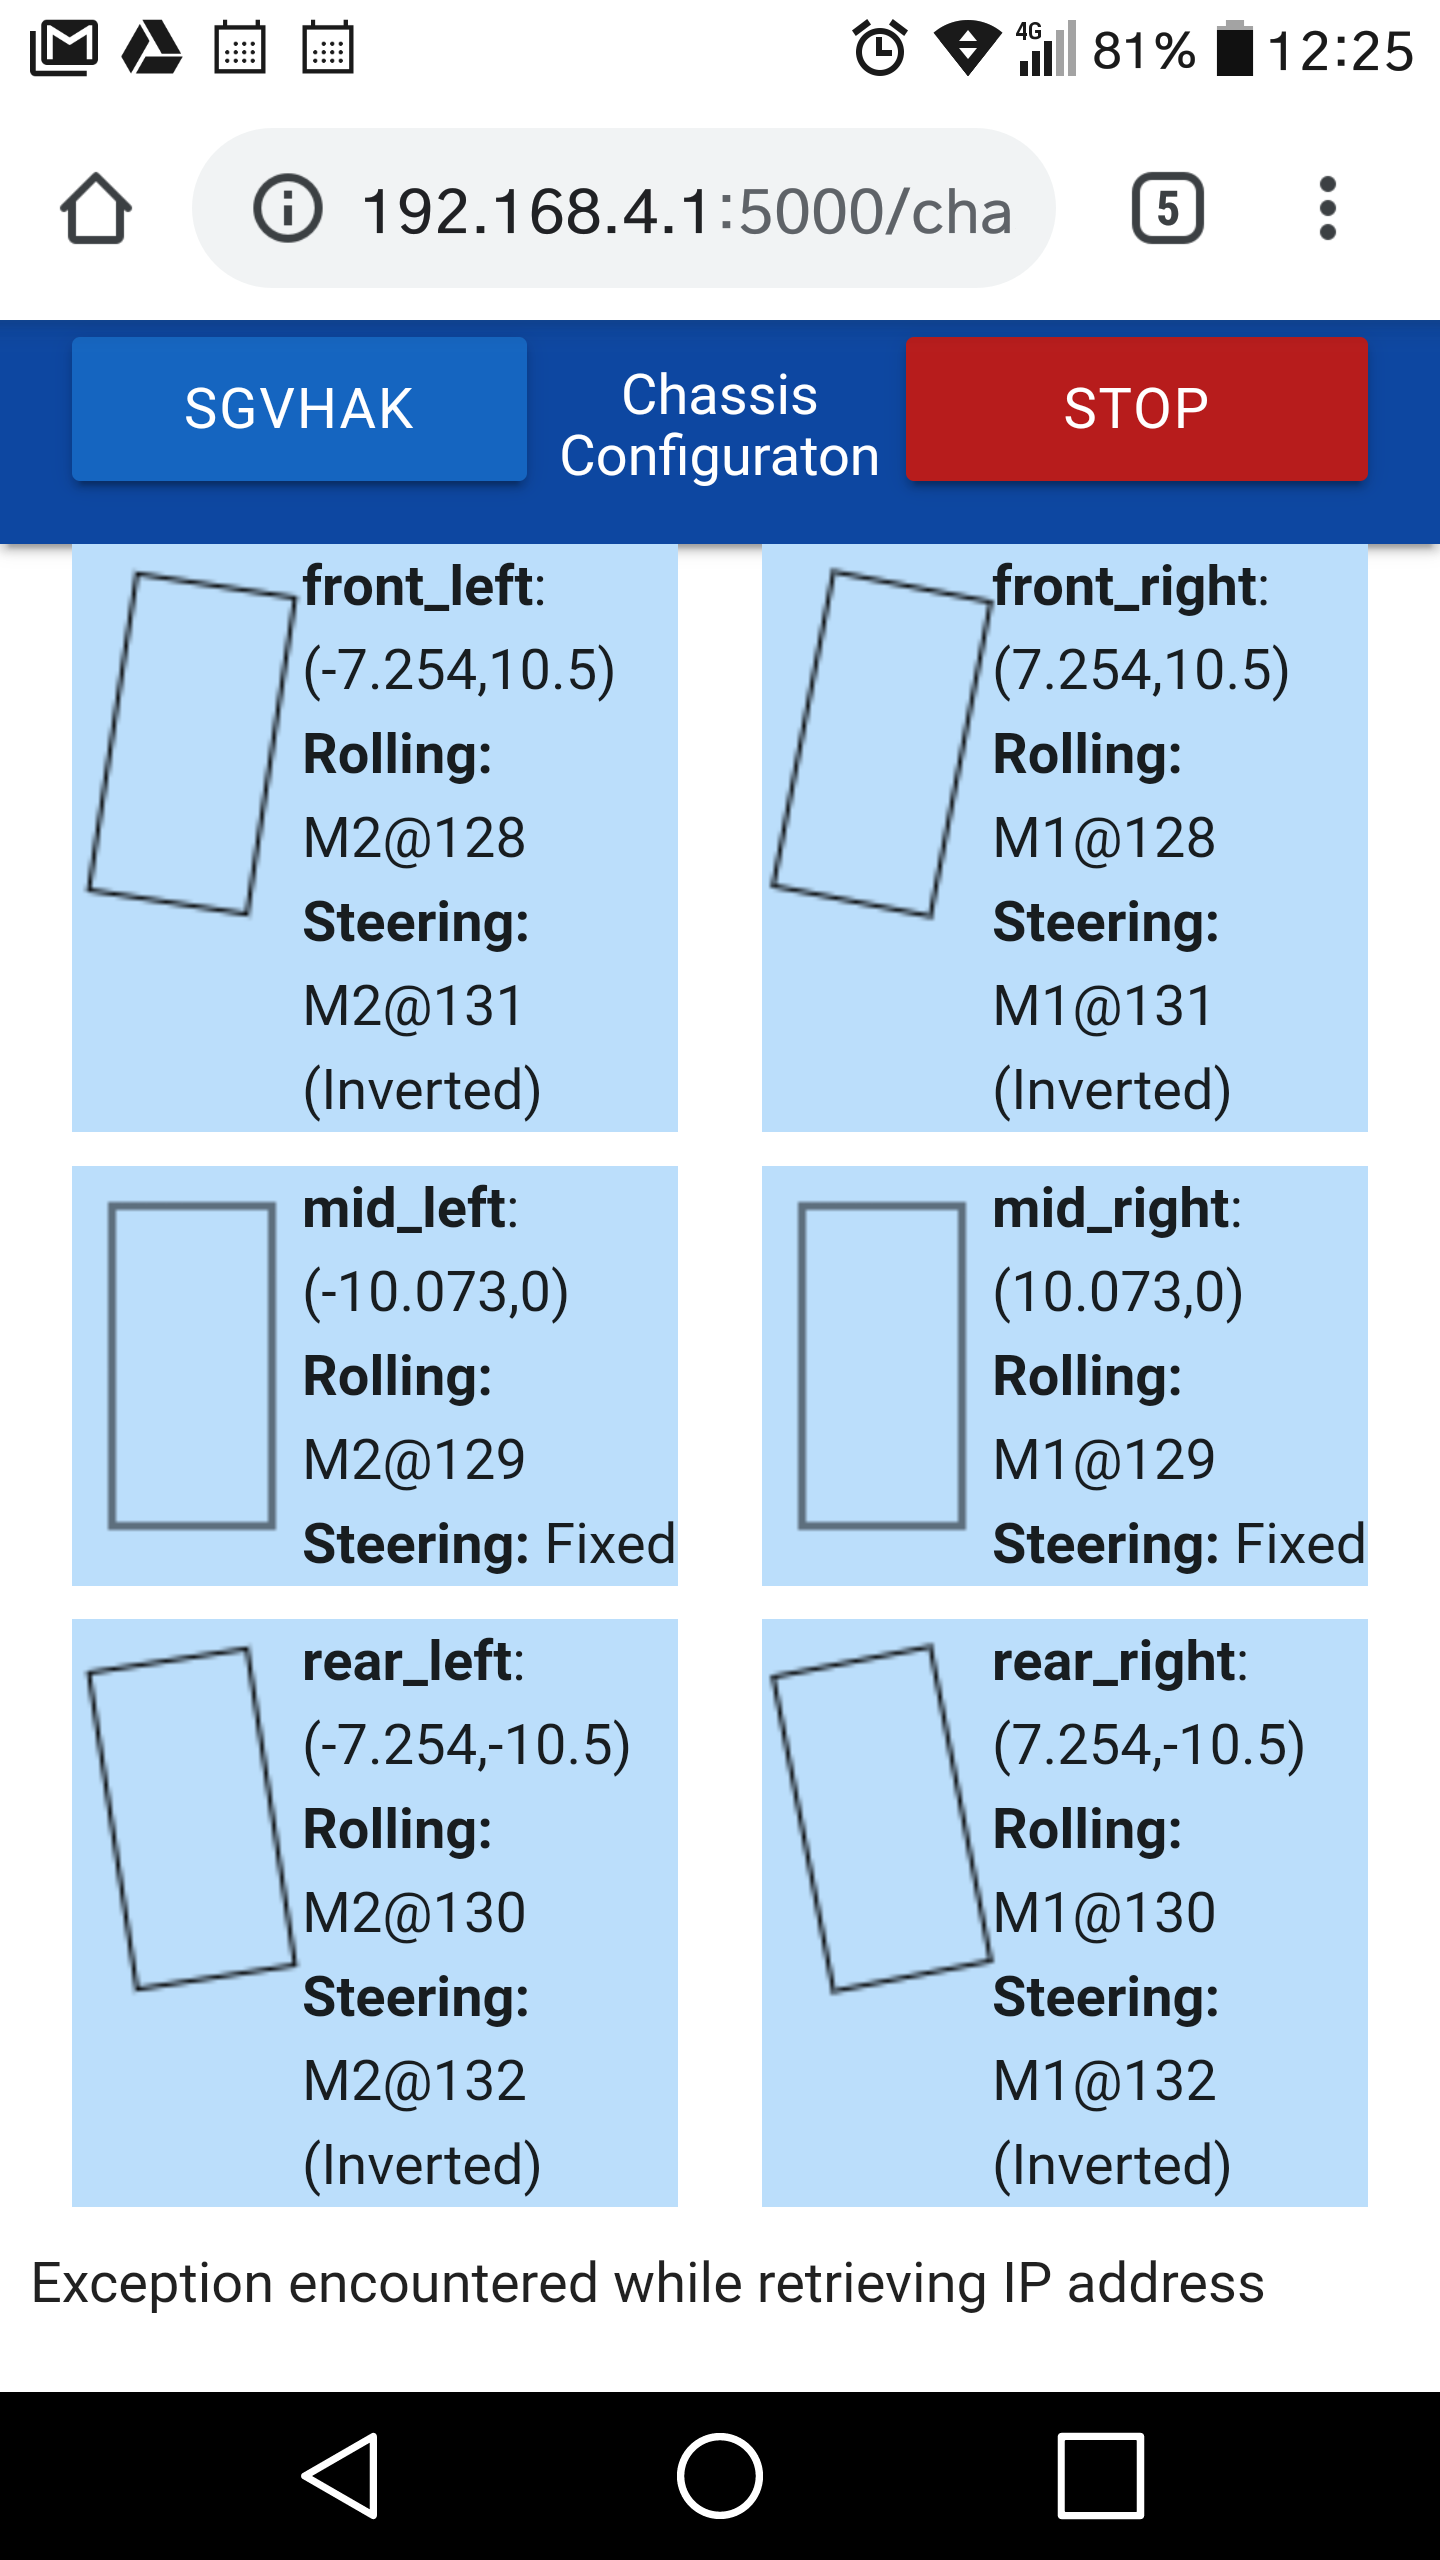
Witness the Chassis Configuration screen after an Angle / Velocity command from the interface.
![]()
I'm thinking that the last line on the screenshot above is the issue. I have no idea what that means though, just at the moment. Gotta work that out when I get a chance.
For me and this kind of stuff, it's a case of trying something and then troubleshooting my way out of failures, learning as I go. I'm not sure it's a terribly efficient way of working - the google rabbit holes you jump down in search of (cascading) answers takes up time & energy. She'll be right though.
Anyways, having come to a frustrating halt here I have other things to do this arvo so I have to pack it up and try again at a later date.
I've always said this is a WWII job ("over by Christmas") and that's still the goal. Less that 50 days to go though now. -
Aussie Sawppy - Shaftage Usage
08/26/2019 at 10:15 • 0 commentsOur laptop chewed it's operating system over the weekend (lubuntu), so that wasted a bunch of time that might have been spent looking at the rover software.
I'm looking at getting the electrical build going now. I originally I figured on sorting out the servos first, but that's probably not priority. Maybe this week.
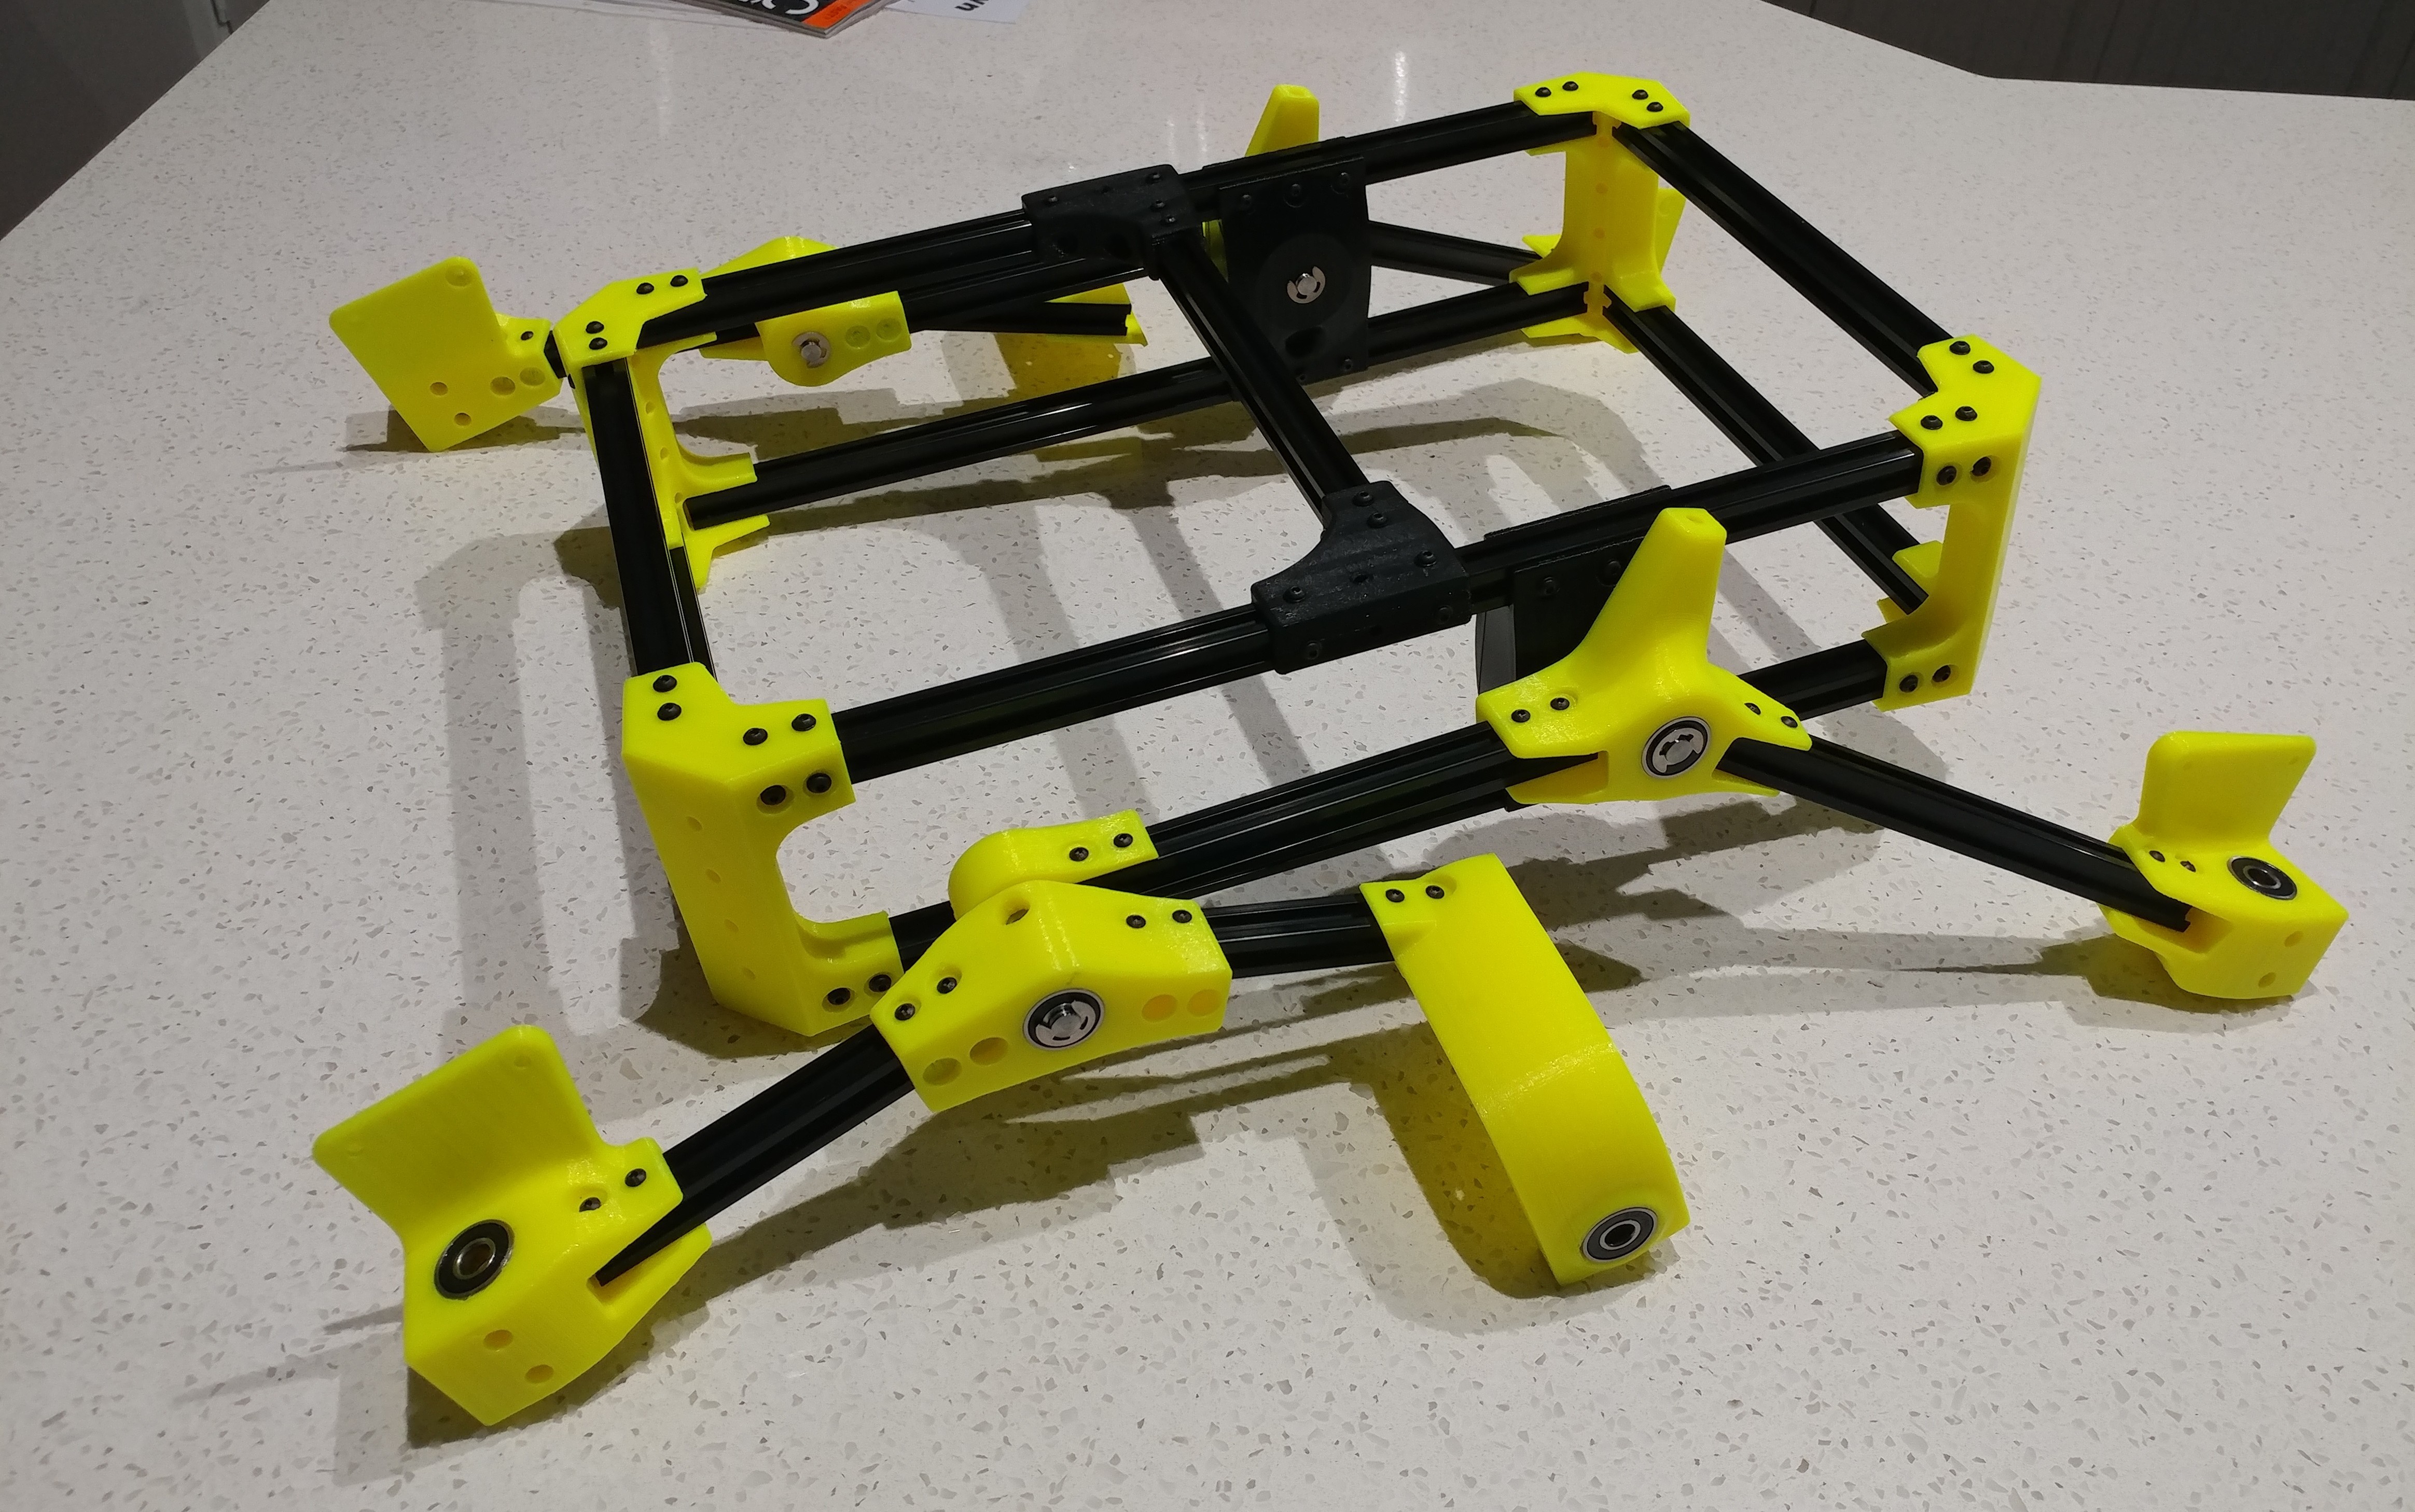
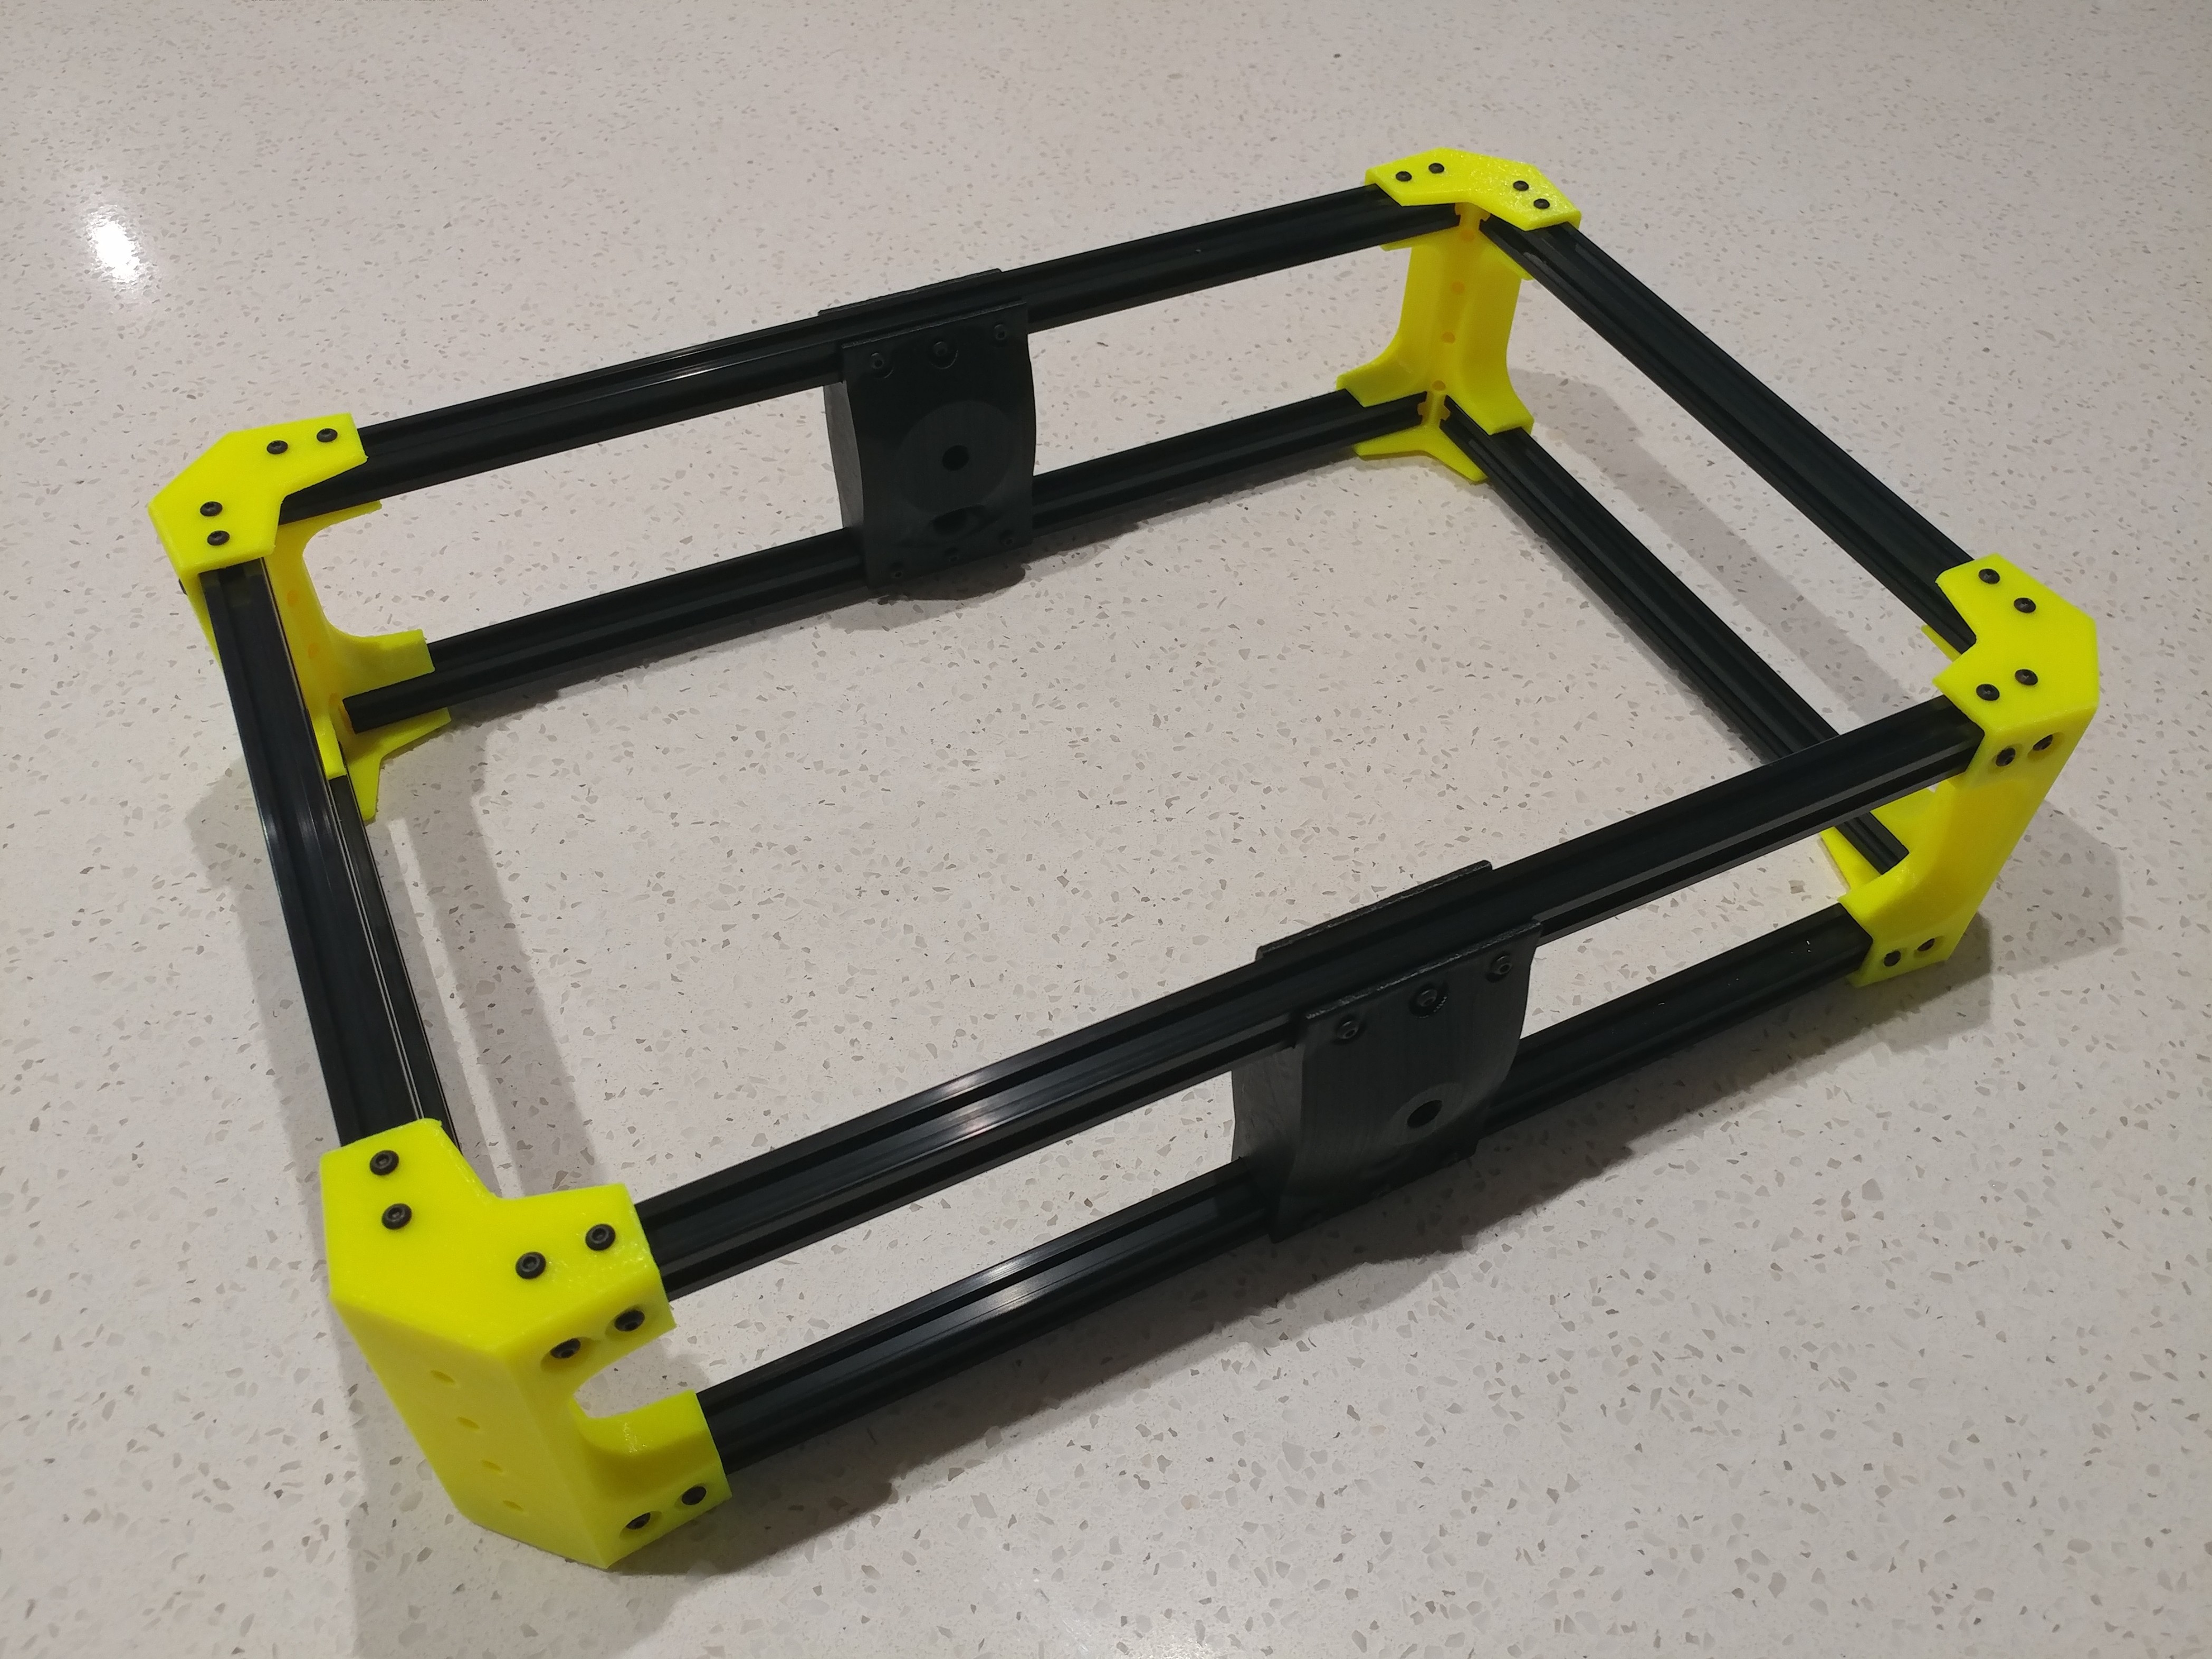
But the big progress was that the newly minted shafts and a mob of bearings were added to the Sawppy frame. So now we have a thing with moving parts - the rocker rocks and the bogie boogies!!
The balance of the mechanical build has now officially stalled for the want of a bag of threaded inserts...
Hello? China??... Hello???
![]()
-
Aussie Sawppy - Shafted
08/19/2019 at 09:35 • 0 comments...yeah, well, as predicted, progress has been slower than I would have liked. BUT, we do have the various shafts for the machine sorted now!
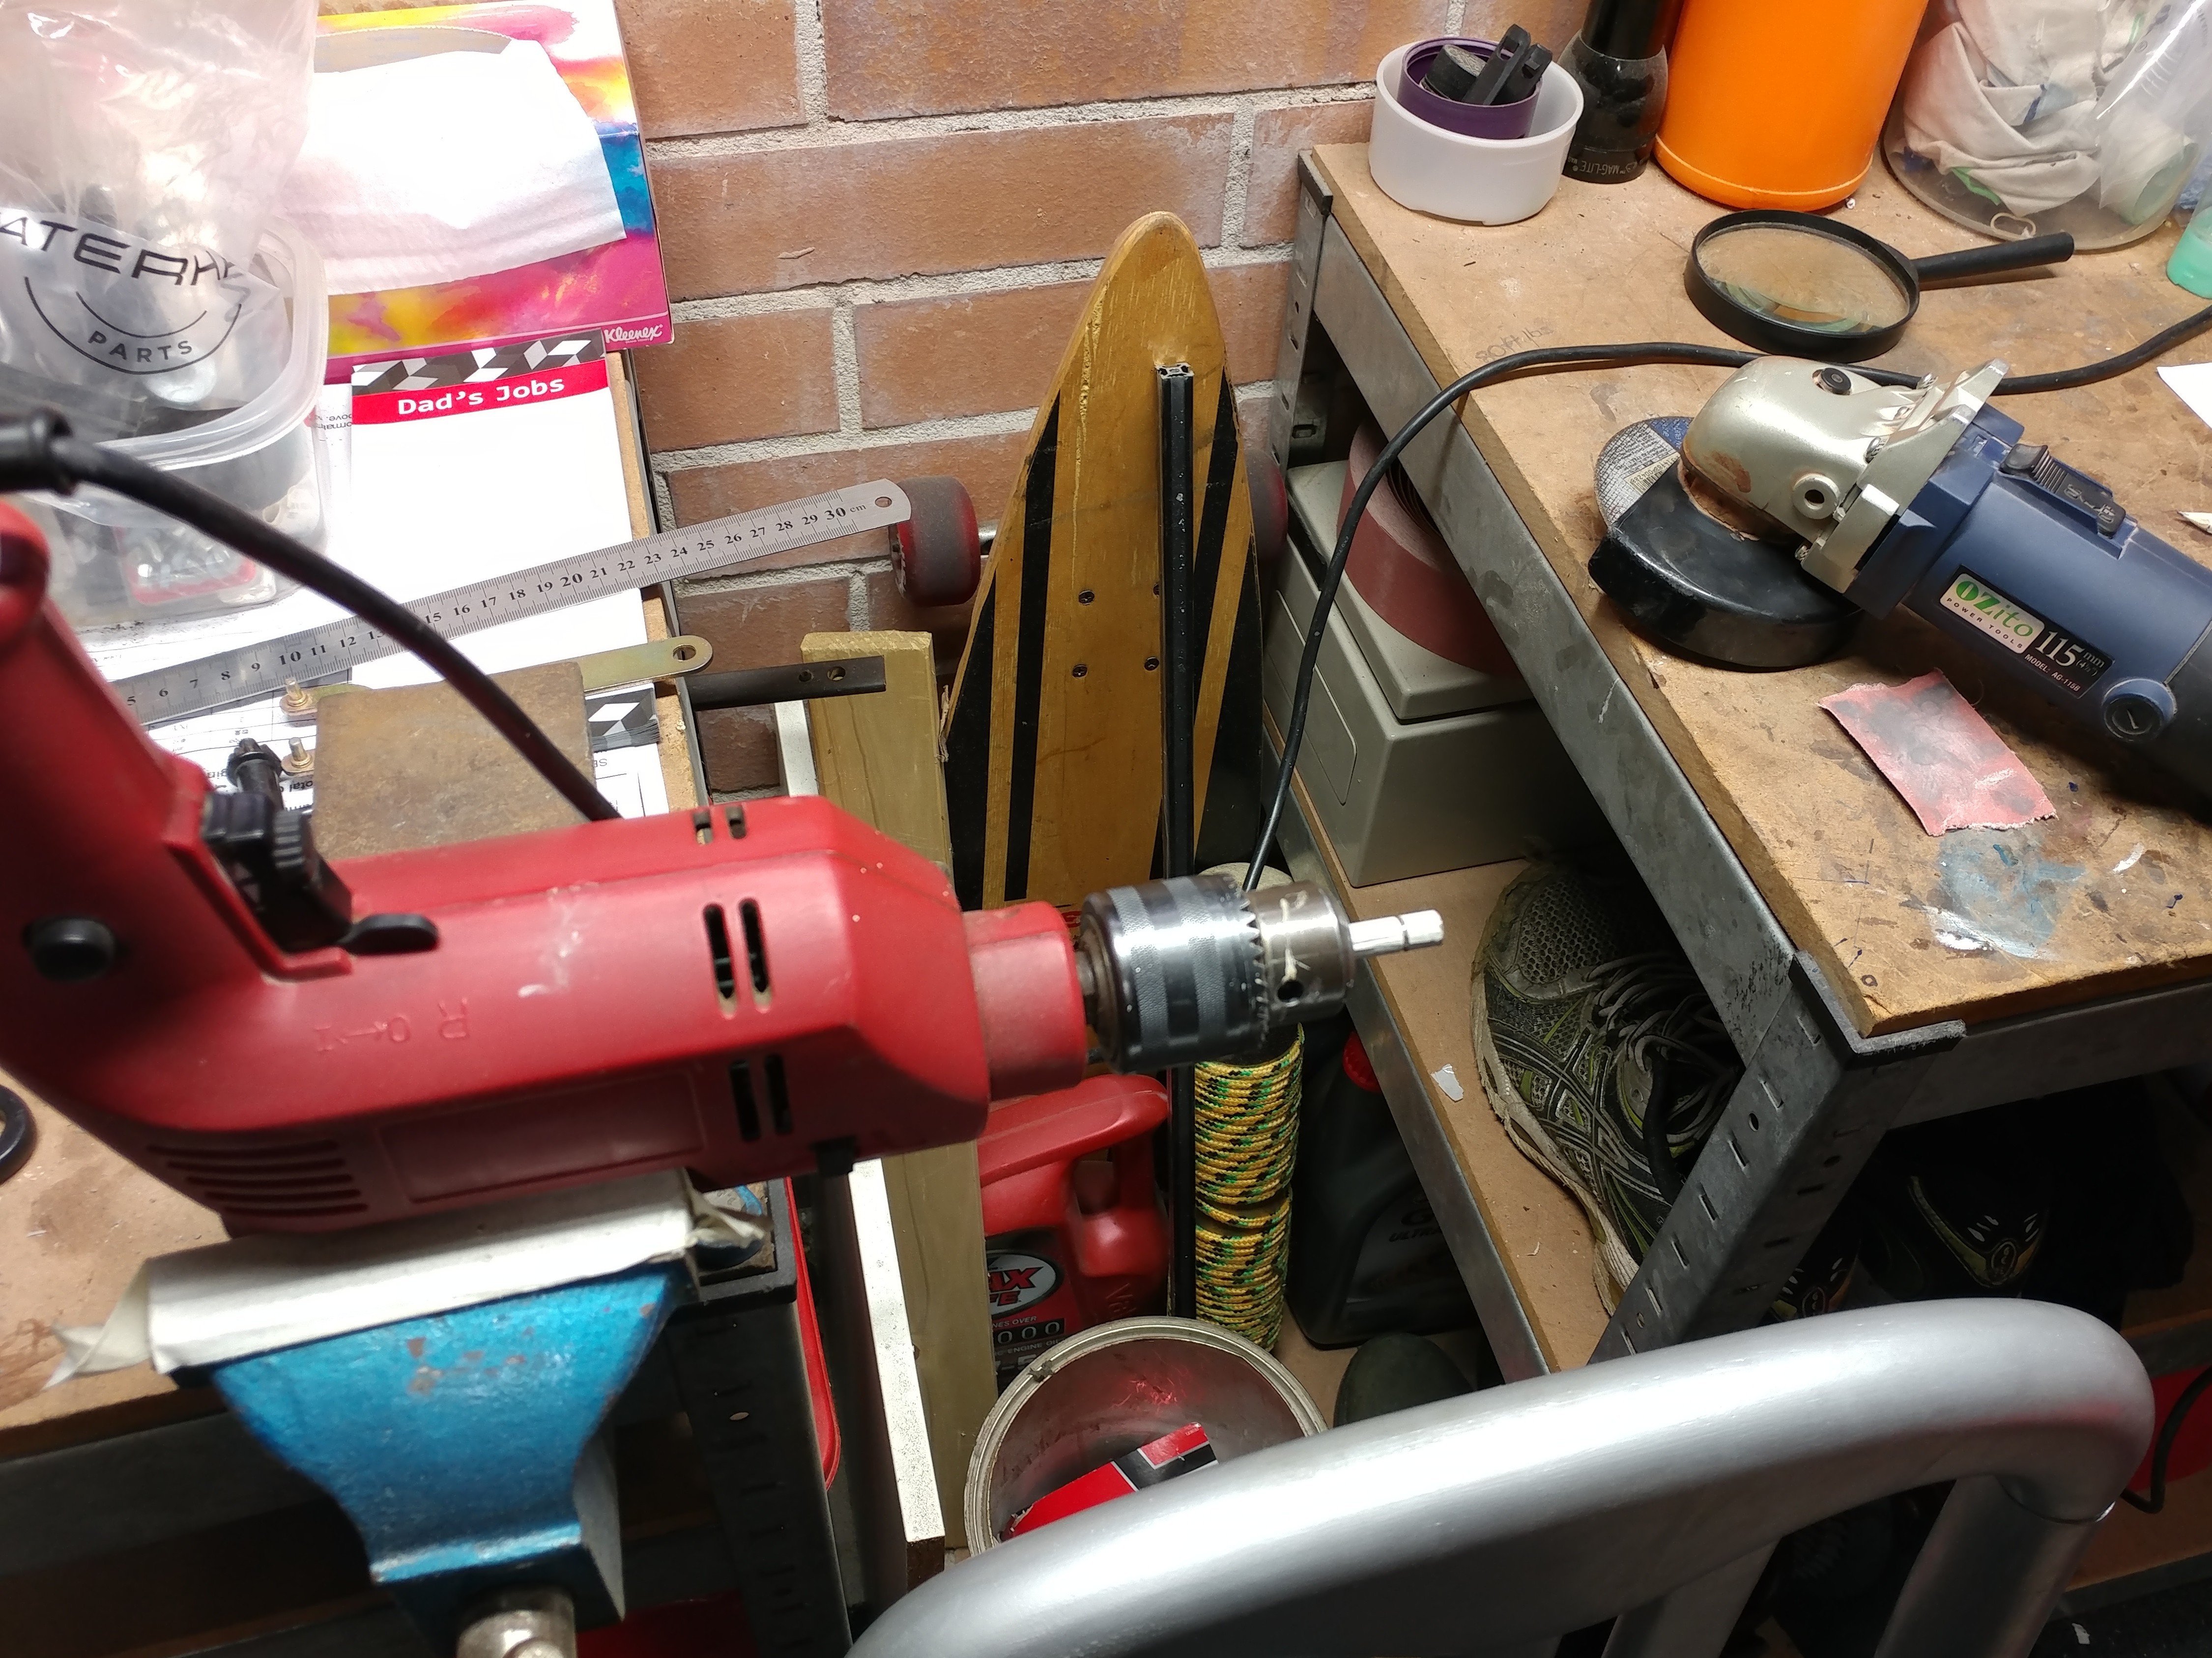
Picture below is my own version of the "lathe" required to cut the shafts to length and to lay down the grooves for the retaining clips. Drill in a vice. Angle grinder with 1mm cutting disc. I tried the Dremel but the geometry was not quite conducive to accurate grooves.
Tip for anyone following - the grooves really don't need to be very deep at all. Shaft OD is 8mm. Retaining clip ID is 7.5mm. So the groove only needs to be 0.25mm deep.
I came close to going too deep on the fist shaft. We bought chromed shafts (not just straight mild steel) and leaned a bit too hard to break through the chrome the first time. Lesson learned - not probs after that.
Very useful thing was the old kitchen chair I used as a tool rest of sorts. Hard to be very accurate when going free hand.
Another problem with chrome shafts is that you can't mark the measurements on the steel very easily - had to wrap a piece of masking tape around the blanks so that I could set out the marks.
![]()
And - big news - we got washers in the mail (!!!) so we can finish most of the mechanical build. Still waiting for the threaded inserts though :(
We have all the electrical / power bits now too, so overall we're pretty much sorted for having all the pieces of the jigsaw sitting ready to go.
Raspberry Pi capability is rising. Been reading, taking notes, watching & mucking about.
Just need time and sufficient intent now :)
-
Aussie Sawppy - Rover Interrupted
07/31/2019 at 12:26 • 0 commentsSo I figured I should publish an update on progress, but progress has been slow over the last couple of weeks:
- Life has intruded and time has been a bit hard to come by
- Still waiting for some critical bits from China - washers and threaded inserts specifically
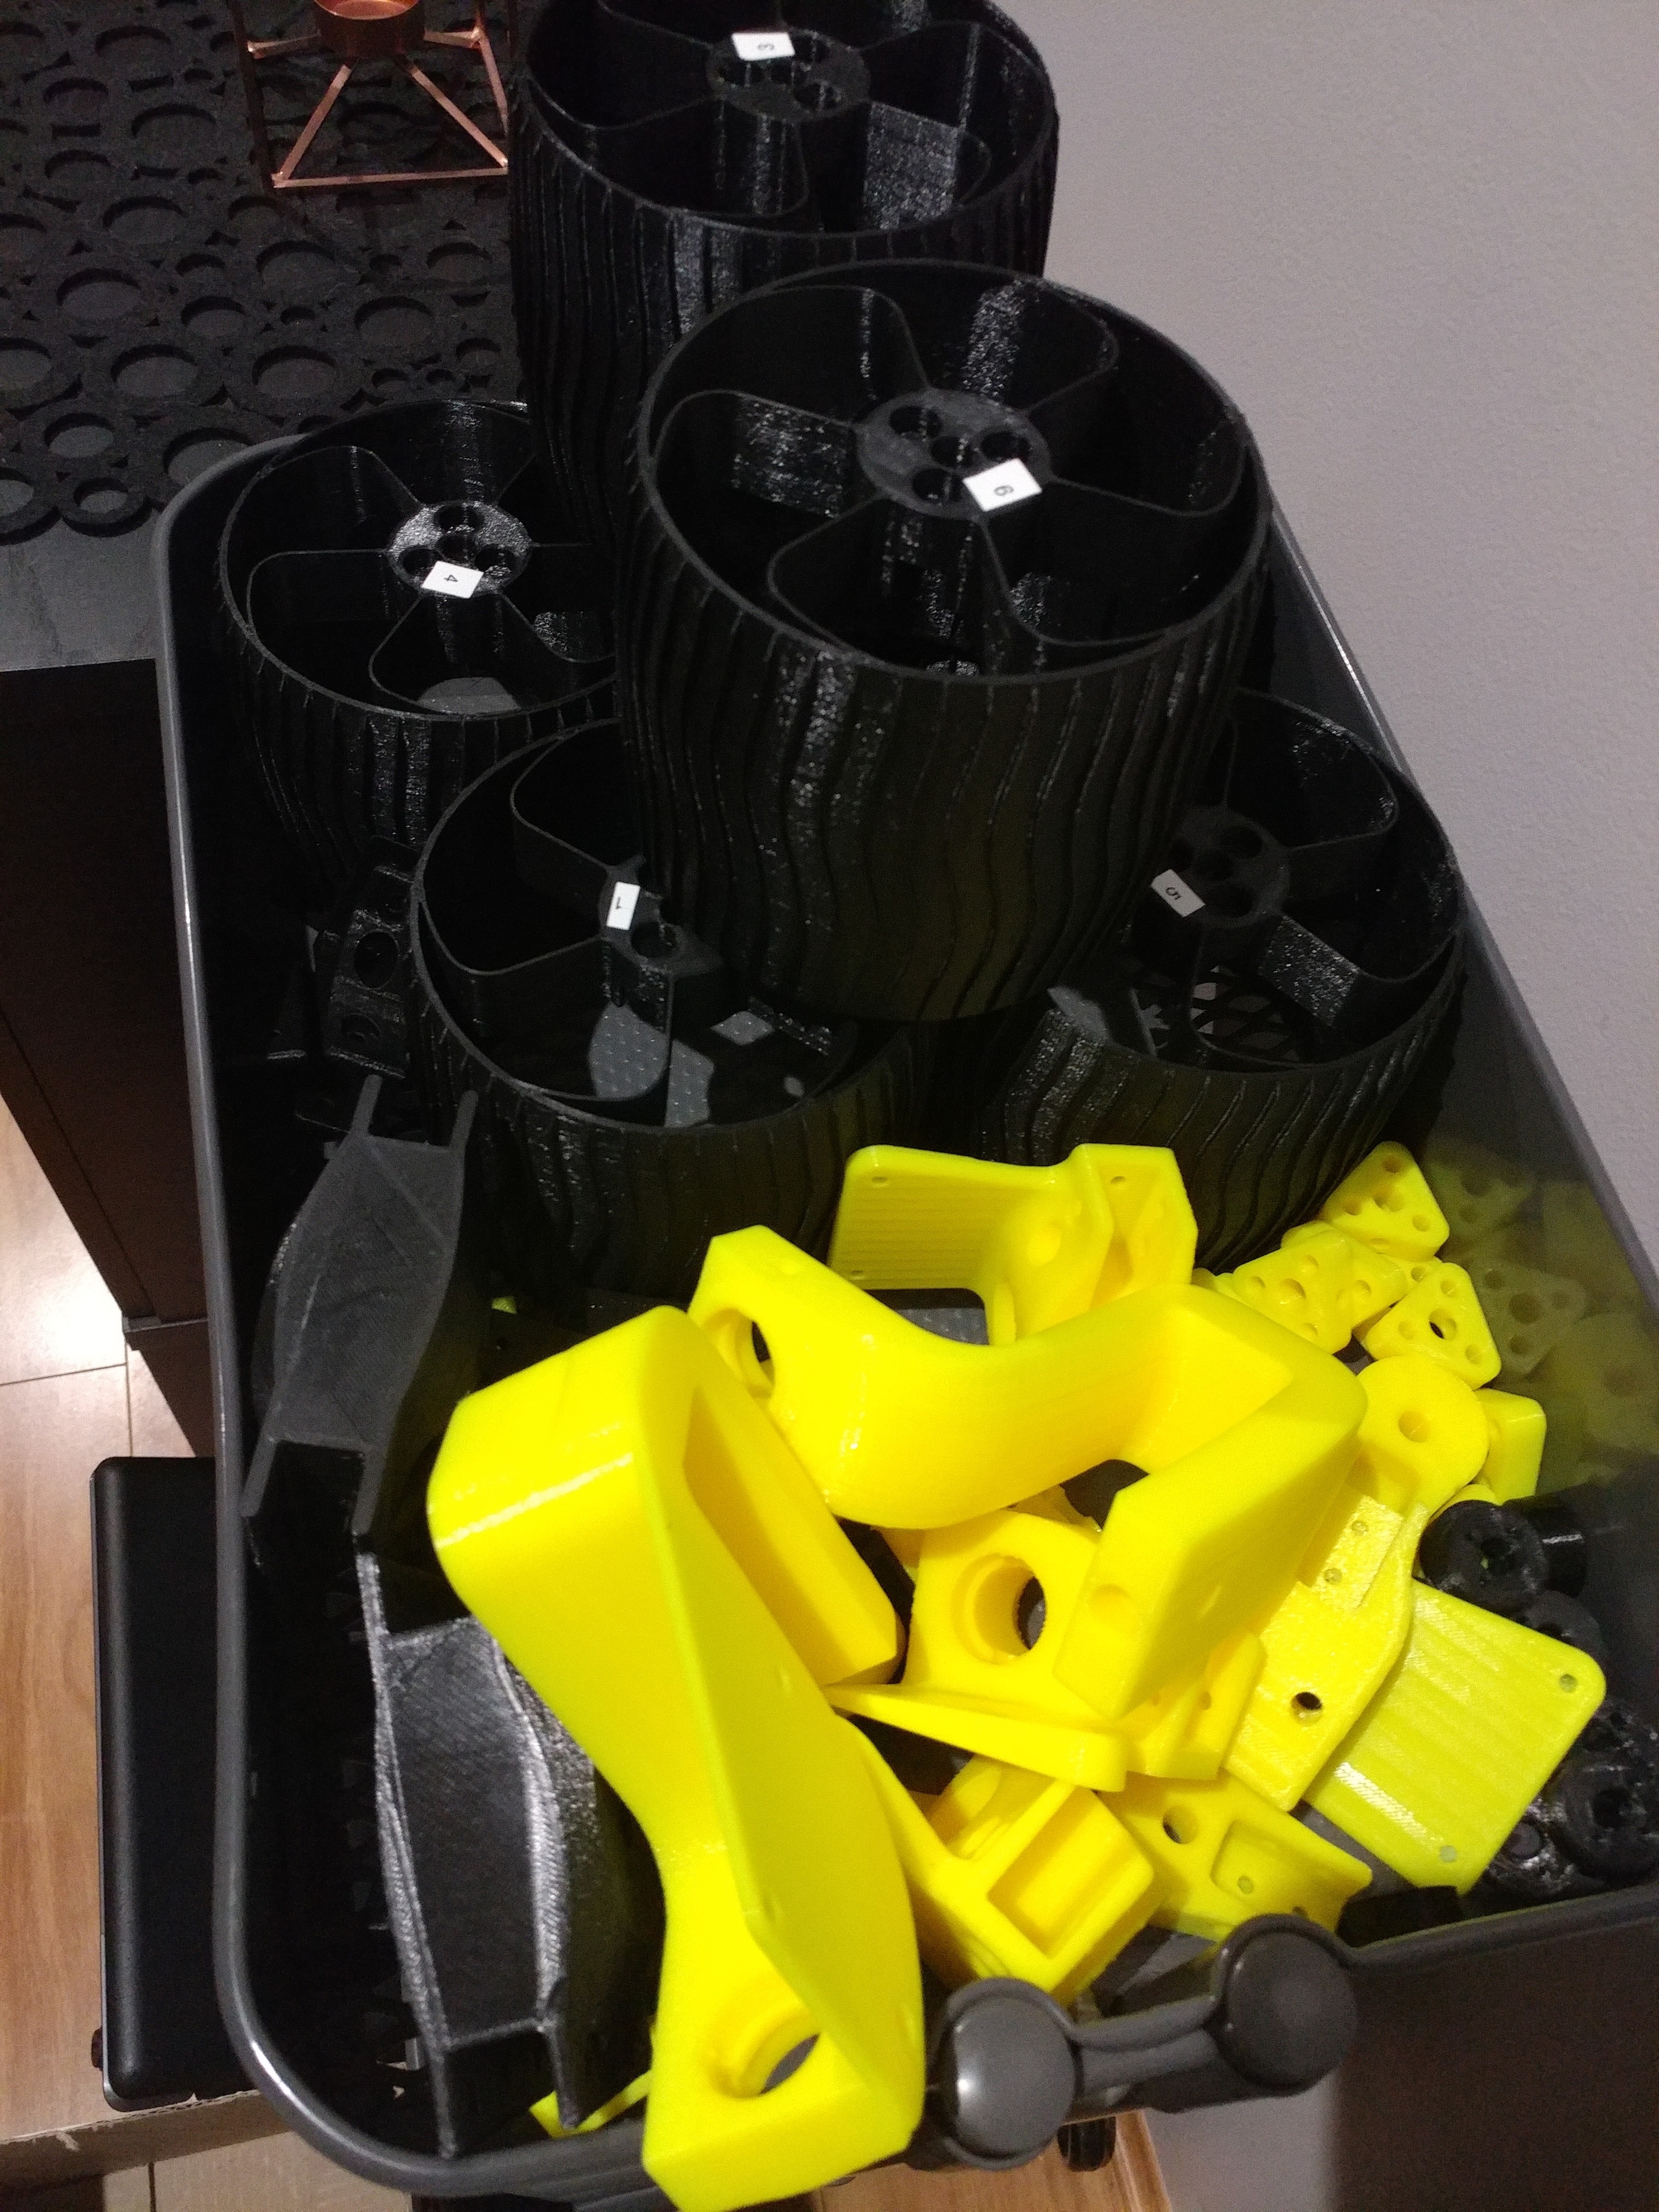
- Finished all the 3D printing - full set of parts done including a few spares
- Most of the electrical / power items have been delivered already
- Ran out of some screws, so had to order more ( I messed up the original order quantity)
And that's about it, right at the moment. The time thing has mostly impacted the Raspberry Pi control system part of the exercise. I have to read, understand and work through the documentation in a solid chunk of time, not piecemeal.
I need to extract the digit over the next little while or winter will be gone and the sun will tend to draw me outside the house. I need to finish the mods and put the dashboard on my car back together before the weather improves, too. More intent required.
I said "...by Christmas" when I started this project.
Hmmm... She'll be right!
-
Aussie Sawppy - Body Test Fit
07/21/2019 at 12:50 • 0 commentsSo, it was wet / windy winter's day here in Perth so we decided to spend a while this arvo putting together some bits and pieces for a bit of visual inspiration.
It's looking somewhat Bumblebee.
"Pimp my Rover" ???
![]()
-
Aussie Sawppy - Progress & Intimidation
07/18/2019 at 11:46 • 5 commentsYeah, so...
- We're still still working through the prints (see pic below)...
- Aluminium extrusions cut to length...
- Most of the first round of orders from AliExpress have arrived...
- Ordered a bunch more things related to powering the beast...
- At some stage, I'll publish a detailed list of everything we purchase...
- Revived an old laptop to run things through with a fresh Lubuntu install (replacing Win XP that replaced full Ubuntu that replaced Win Vista)...
And...
The more I read, the more I'm getting a bit intimidated with the whole control system thing. I have zero problem with the mechanical & electrical build - I'll happy work away at that kind of thing all day, any day. Car-related tinkering is my forte. But the whole software part is well outside my comfort zone.
Early in my life I was into coding / software, but my interests subsequently drifted to mechanical engineering - with "computers" being essential tools but definitely something that specialists dealt with in detail, not me.
So with regards to all things "Pi", I'm rising from a low base. Going in I certainly expected a struggle, but jeez my brain hurts a bit at the moment.
I'm sure I'll work it out one way or another. Plenty of time. No hurry. She'll be right!
![]()
-
Aussie Sawppy - Coupla 3D printing tips
07/06/2019 at 05:27 • 0 commentsSharing to perhaps save someone else some frustration...
Firstly, our Cocoon Create Touch (Wanhao Duplicator i3 Plus) has manual bed levelling, which is fine. A minor hassle, but no big deal.
We've found that using the preheating function on the machine well BEFORE we kick off with a print is a good move. Levelling the bed when it's at temperature is the go.
We've found it gives a more reliable start to the print. Previously, we've had random print fails on the first layer a few of times - extruder too close or too far away. I figure the aluminium build plate bends / twists a bit as it goes from ambient to operating temperature. We're only talking heat-related distortions of 0.1mm to affect things.
Preheating for bed levelling may be common knowledge, but I haven't read that tip anywhere.
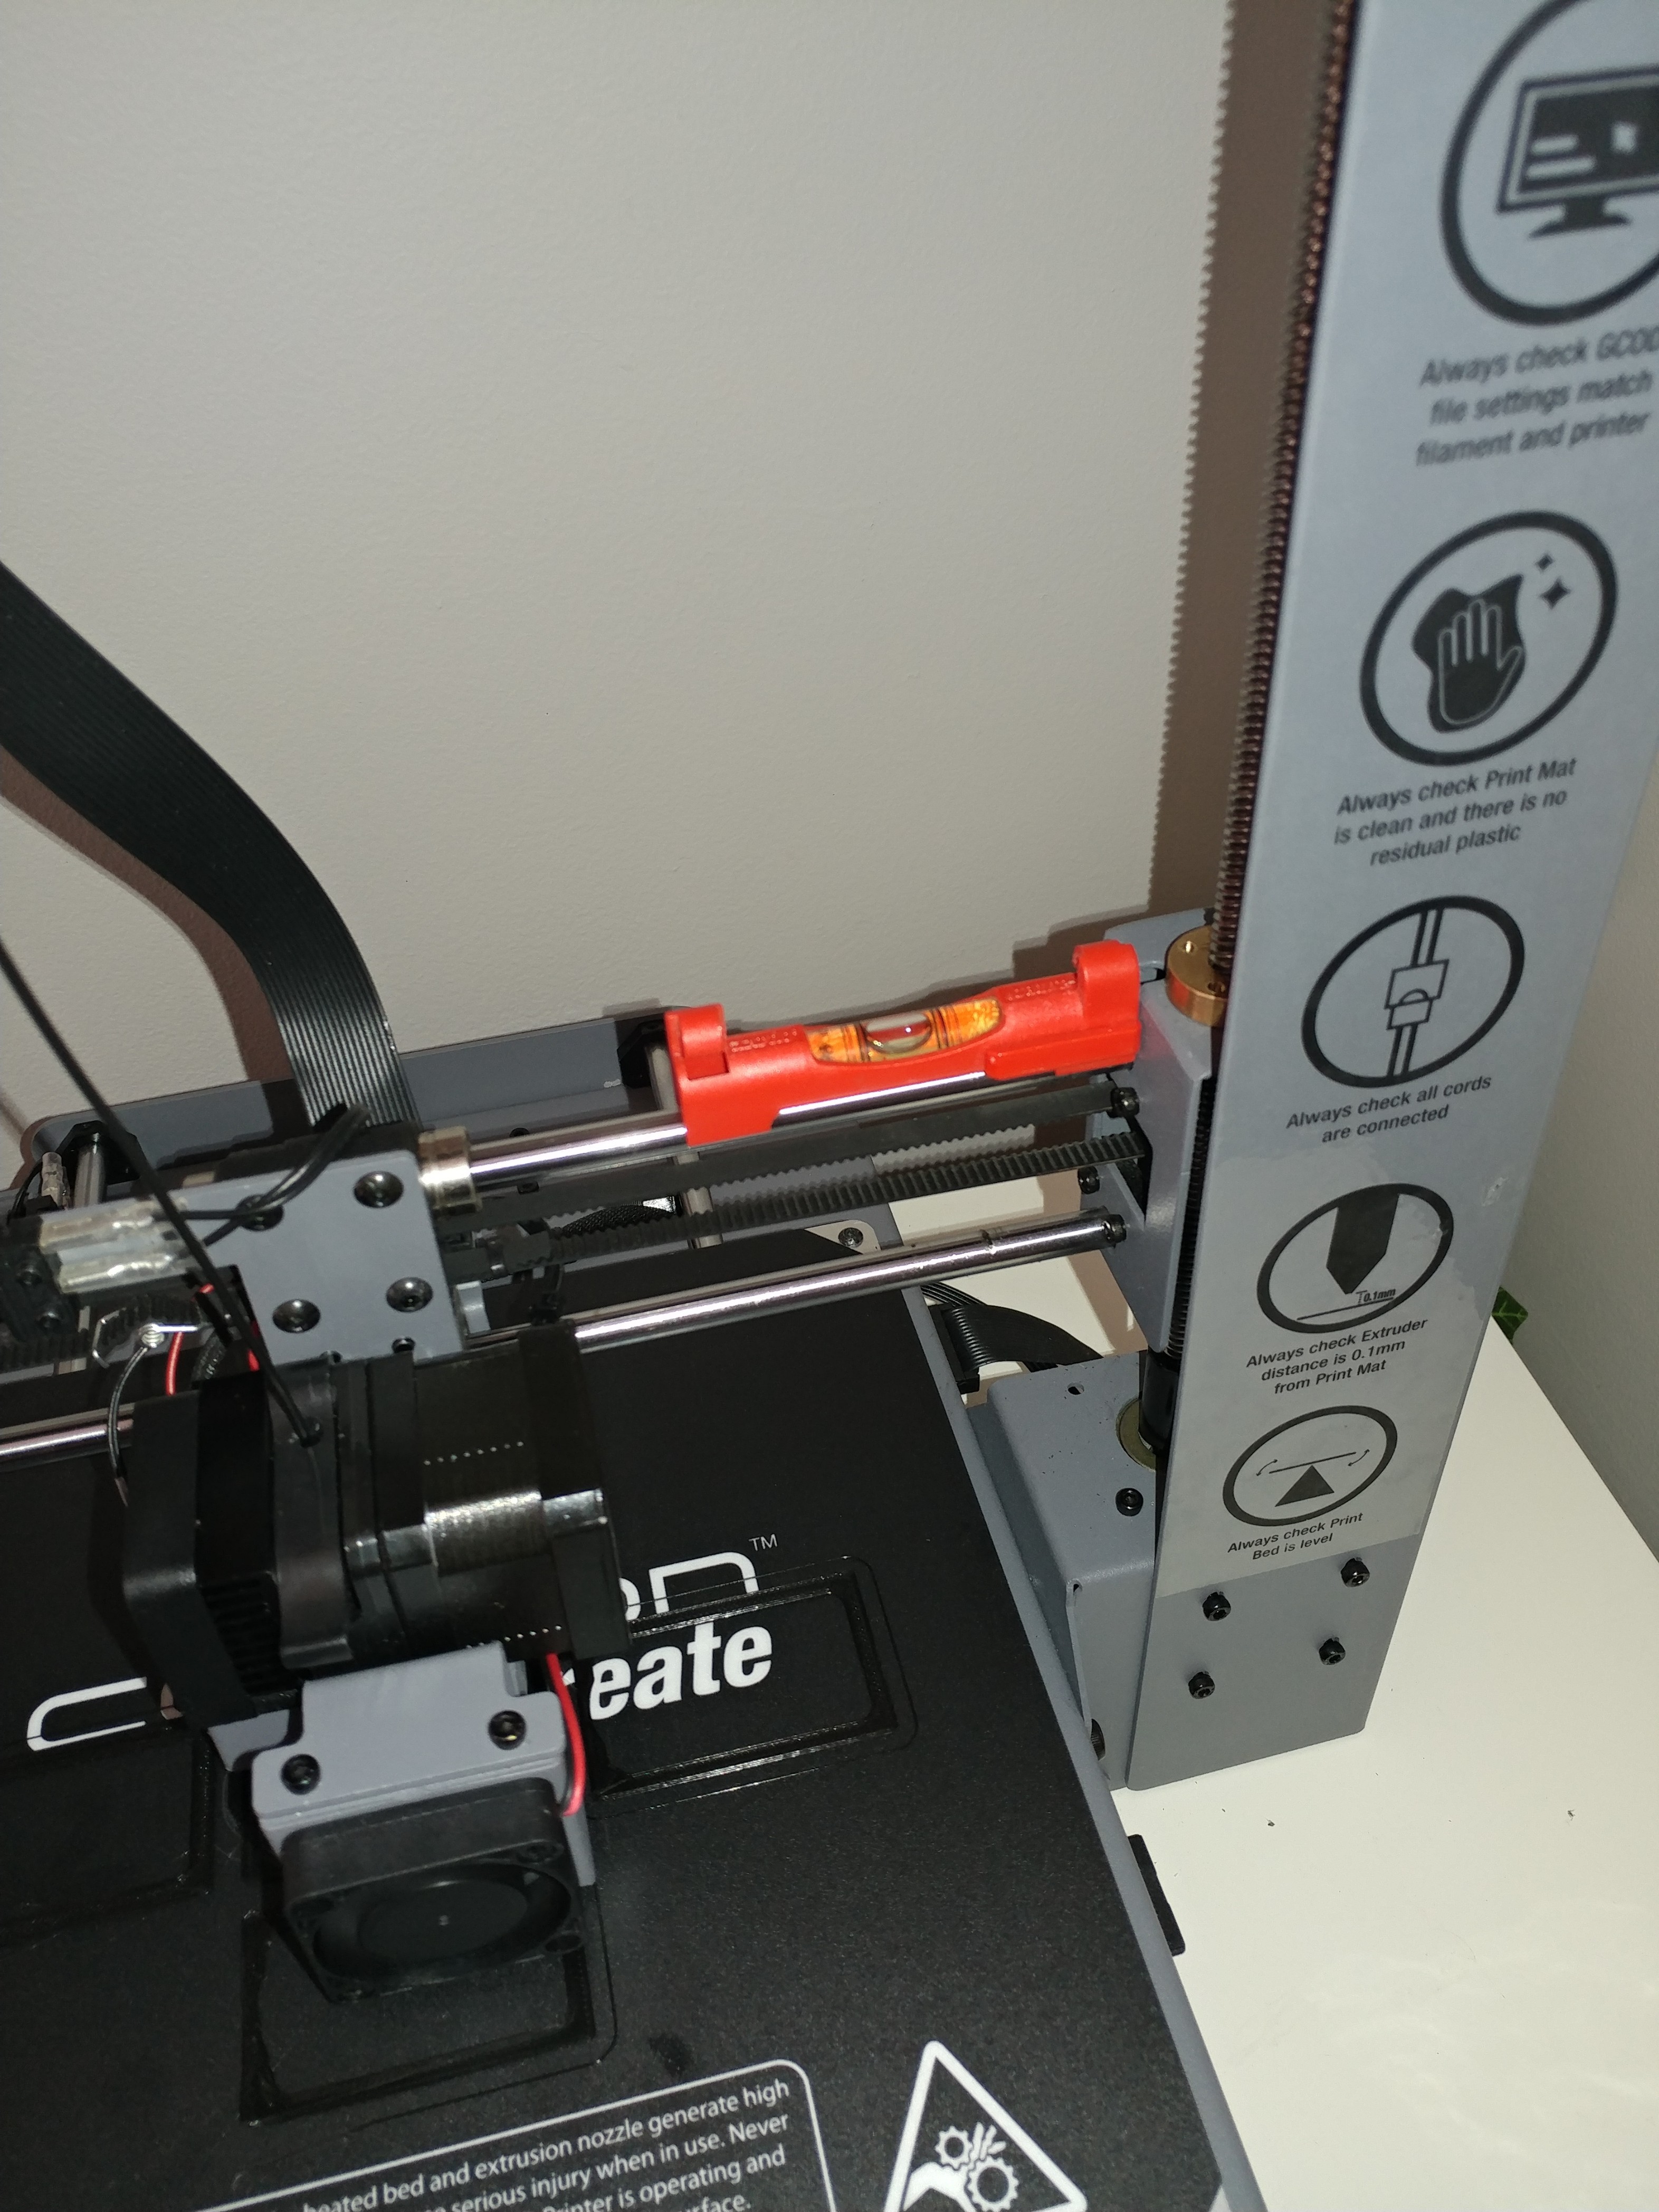
Secondly, this morning we ran out of adjustment on one of the bed levelling nuts - something was amiss somewhere. A bit of investigating and we found that our x-axis gantry was out of level. We're not sure if it has been a gradual change or from a single event. Checking the gantry level was a part of the initial set up of the machine, but of zero interest since. It was a long way out of whack.
A quick check with a brickies string bubble level from the shed sorted it. We'll add that to the tool kit.
![]()
-
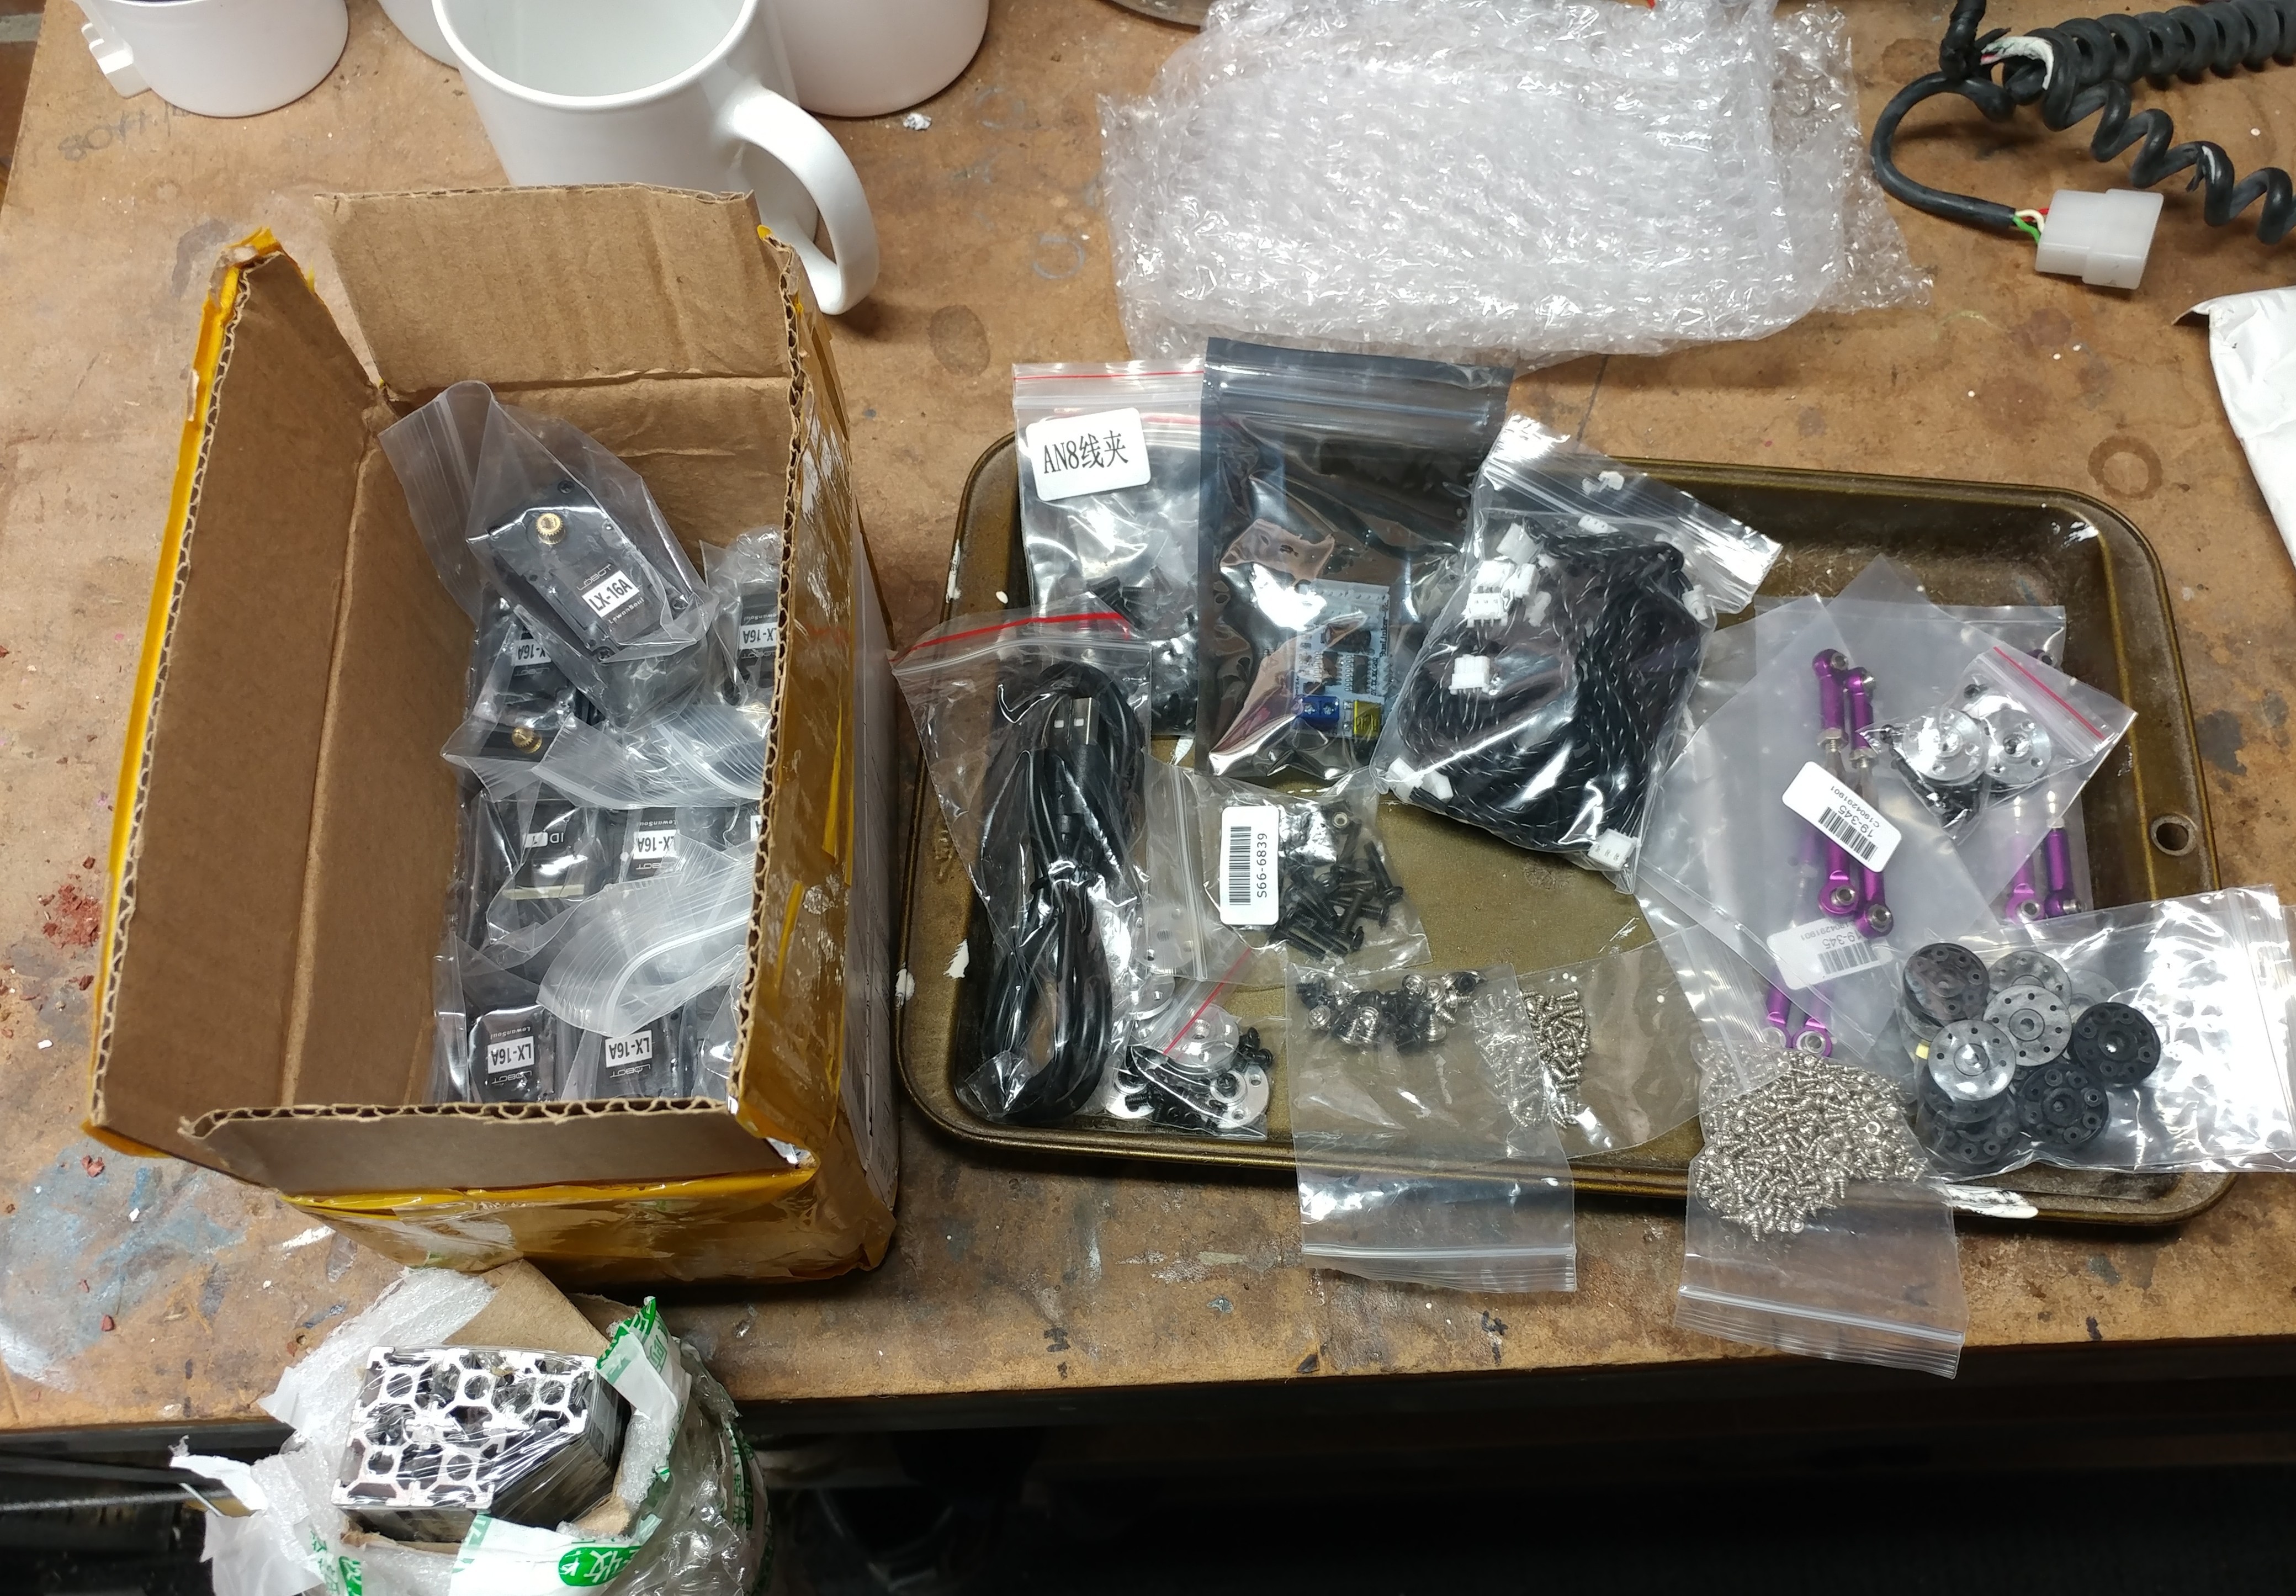
Aussie Sawppy - Deliveries
06/24/2019 at 11:41 • 0 commentsIt's not quite Xmas in July but the packages keep arriving :)
![]()