 Adam Taylor
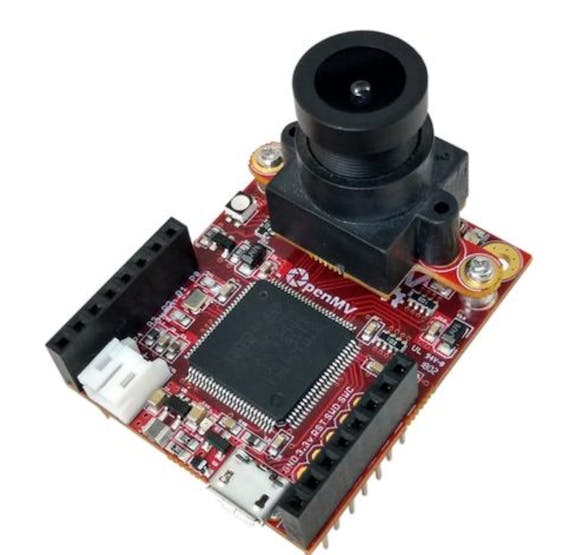
What Is the OpenMV Camera
The OpenMV camera is a low cost machine vision camera which is developed using Python. Thanks to this architecture of the OpenMV Camera we can therefore offload some of the image processing to the camera. Meaning the image frames received by our Ultra96 already have faces identified, eyes tracked or Sobel filtering, it all depends on how we set up the OpenMV Camera.
As the OpenMV camera has been designed to be extensible it provides 10 external IO which can be used to drive external sensors. These 10 are able to support a range of interfaces from UART to SPI, I2C and PWM. Of course the PWM is very useful for driving servos.
On very useful feature of the OpenMV camera is its LEDs mine (OpenMV M7) provides a tri-colour LED which can be used to output Red, Green, Blue and a separate IR LED. As the sensor is IR sensitive this can be useful for low light performance.
OpenMV Camera
How Does the OpenMV Camera Work
OpenMV Cam uses micro python to control the imager and output frames over the USB link. Micro python is intended for use on micro controllers and is based on Python 3.4. To use the OpenMV camera we need to first generate a micro python script which configures the camera for the given algorithm we wish to implement. We then execute this script by uploading and running it over the USB link.
This means we need some OpenMV APIs and libraries on a host machine to communicate with the OpenMV Camera.
To develop the script we want to be able to ensure it works, which is where the OpenMV IDE comes into its own, this allows us to develop and test the script which we later use in our Ultra96 application.
We can develop this script using either a Windows, MAC or Linux desktop.
Creating the OpenMV Script using the OpenMV IDE
To get started with the OpenMV IDE we frist need to download and install it. Once it is installed the next step is to connect our OpenMV camera to it using the USB link and then running a script on it.
To get started we can run the example hello world provided, which configures the camera to outputs standard RGB image at QVGA resolution. On the right hand side of the IDE you will be able to see the images output from the camera.
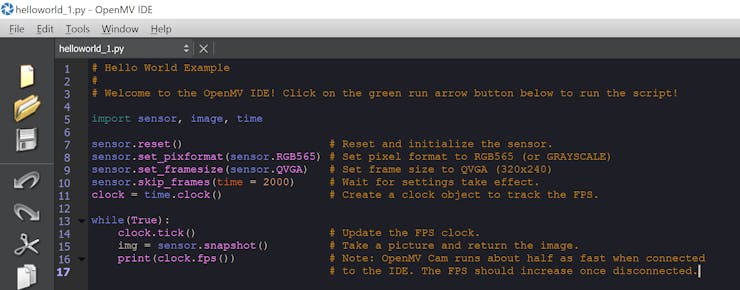
hello world
We can use this IDE to develop scripts for the OpenMV camera such as the one below which detects and identifies circles in the captured image.
Note the frame rate is lower when the camera is connected to the IDE.
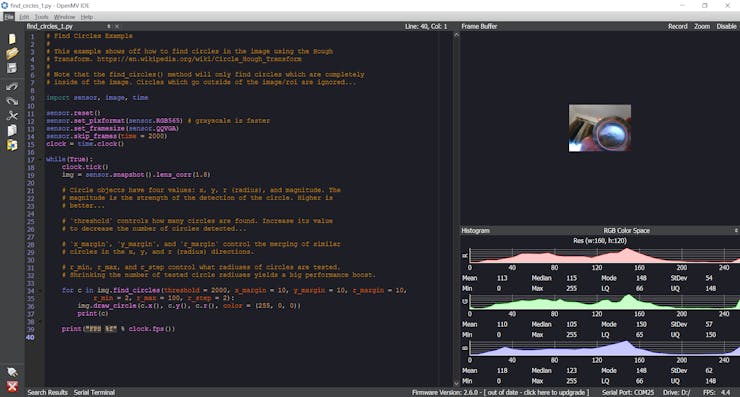
Circle detection Script
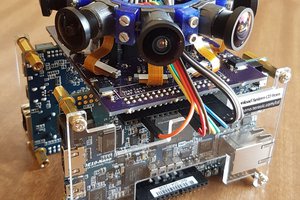
We can use the scripts developed here in our Ultra96 PYNQ implementation let's take a look at how we set up the Ultra96 and PYNQ
Setting Up the Ultra96 PYNQ Image
The first thing we need to do if we have not already done it, is to download and create a PYNQ SD Card so we can run the PYNQ framework on the Ultra96.
As we want to use the Xilinx image processing overlay we should download the Ultra96 PYNQ v2.3 image from here
Once you have this image creating a SD Card is very simple, extract the ISO image from the compressed file and write it to a SD Card. To write the ISO image to the SD Card we need a program such a etcher or win32 disk imager.
With a SD Card available we can then boot the Ultra96 and connect to the PYNQ framework using either
- Use a USB Ethernet connection over the MicroUSB (upstream USB connection).
- Connect via WiFi.
- Use the Ultra96 as a single-board computer and connect a monitor, keyboard and mouse.
For this project I used the USB Ethernet connection.
The next thing to do is to ensure we have the necessary overlays to be able to accelerate image processing functions into the programmable logic. To to this we need to install the PYNQ computer vision overlay.
Downloading the Image Processing Overlay
Installing this overlay is very straight forward. Open a browser window and connect to the web address of 192.168.3.1 (USB Ethernet address). This will open a log in page to the Jupyter notebooks, the password is Xilinx

Jupyter...
Read more »
 G.Vignesh
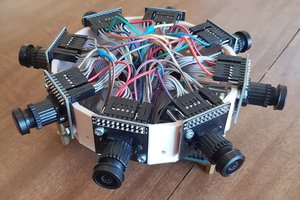
 DaxMoonJuice