 Moritz v. Sivers
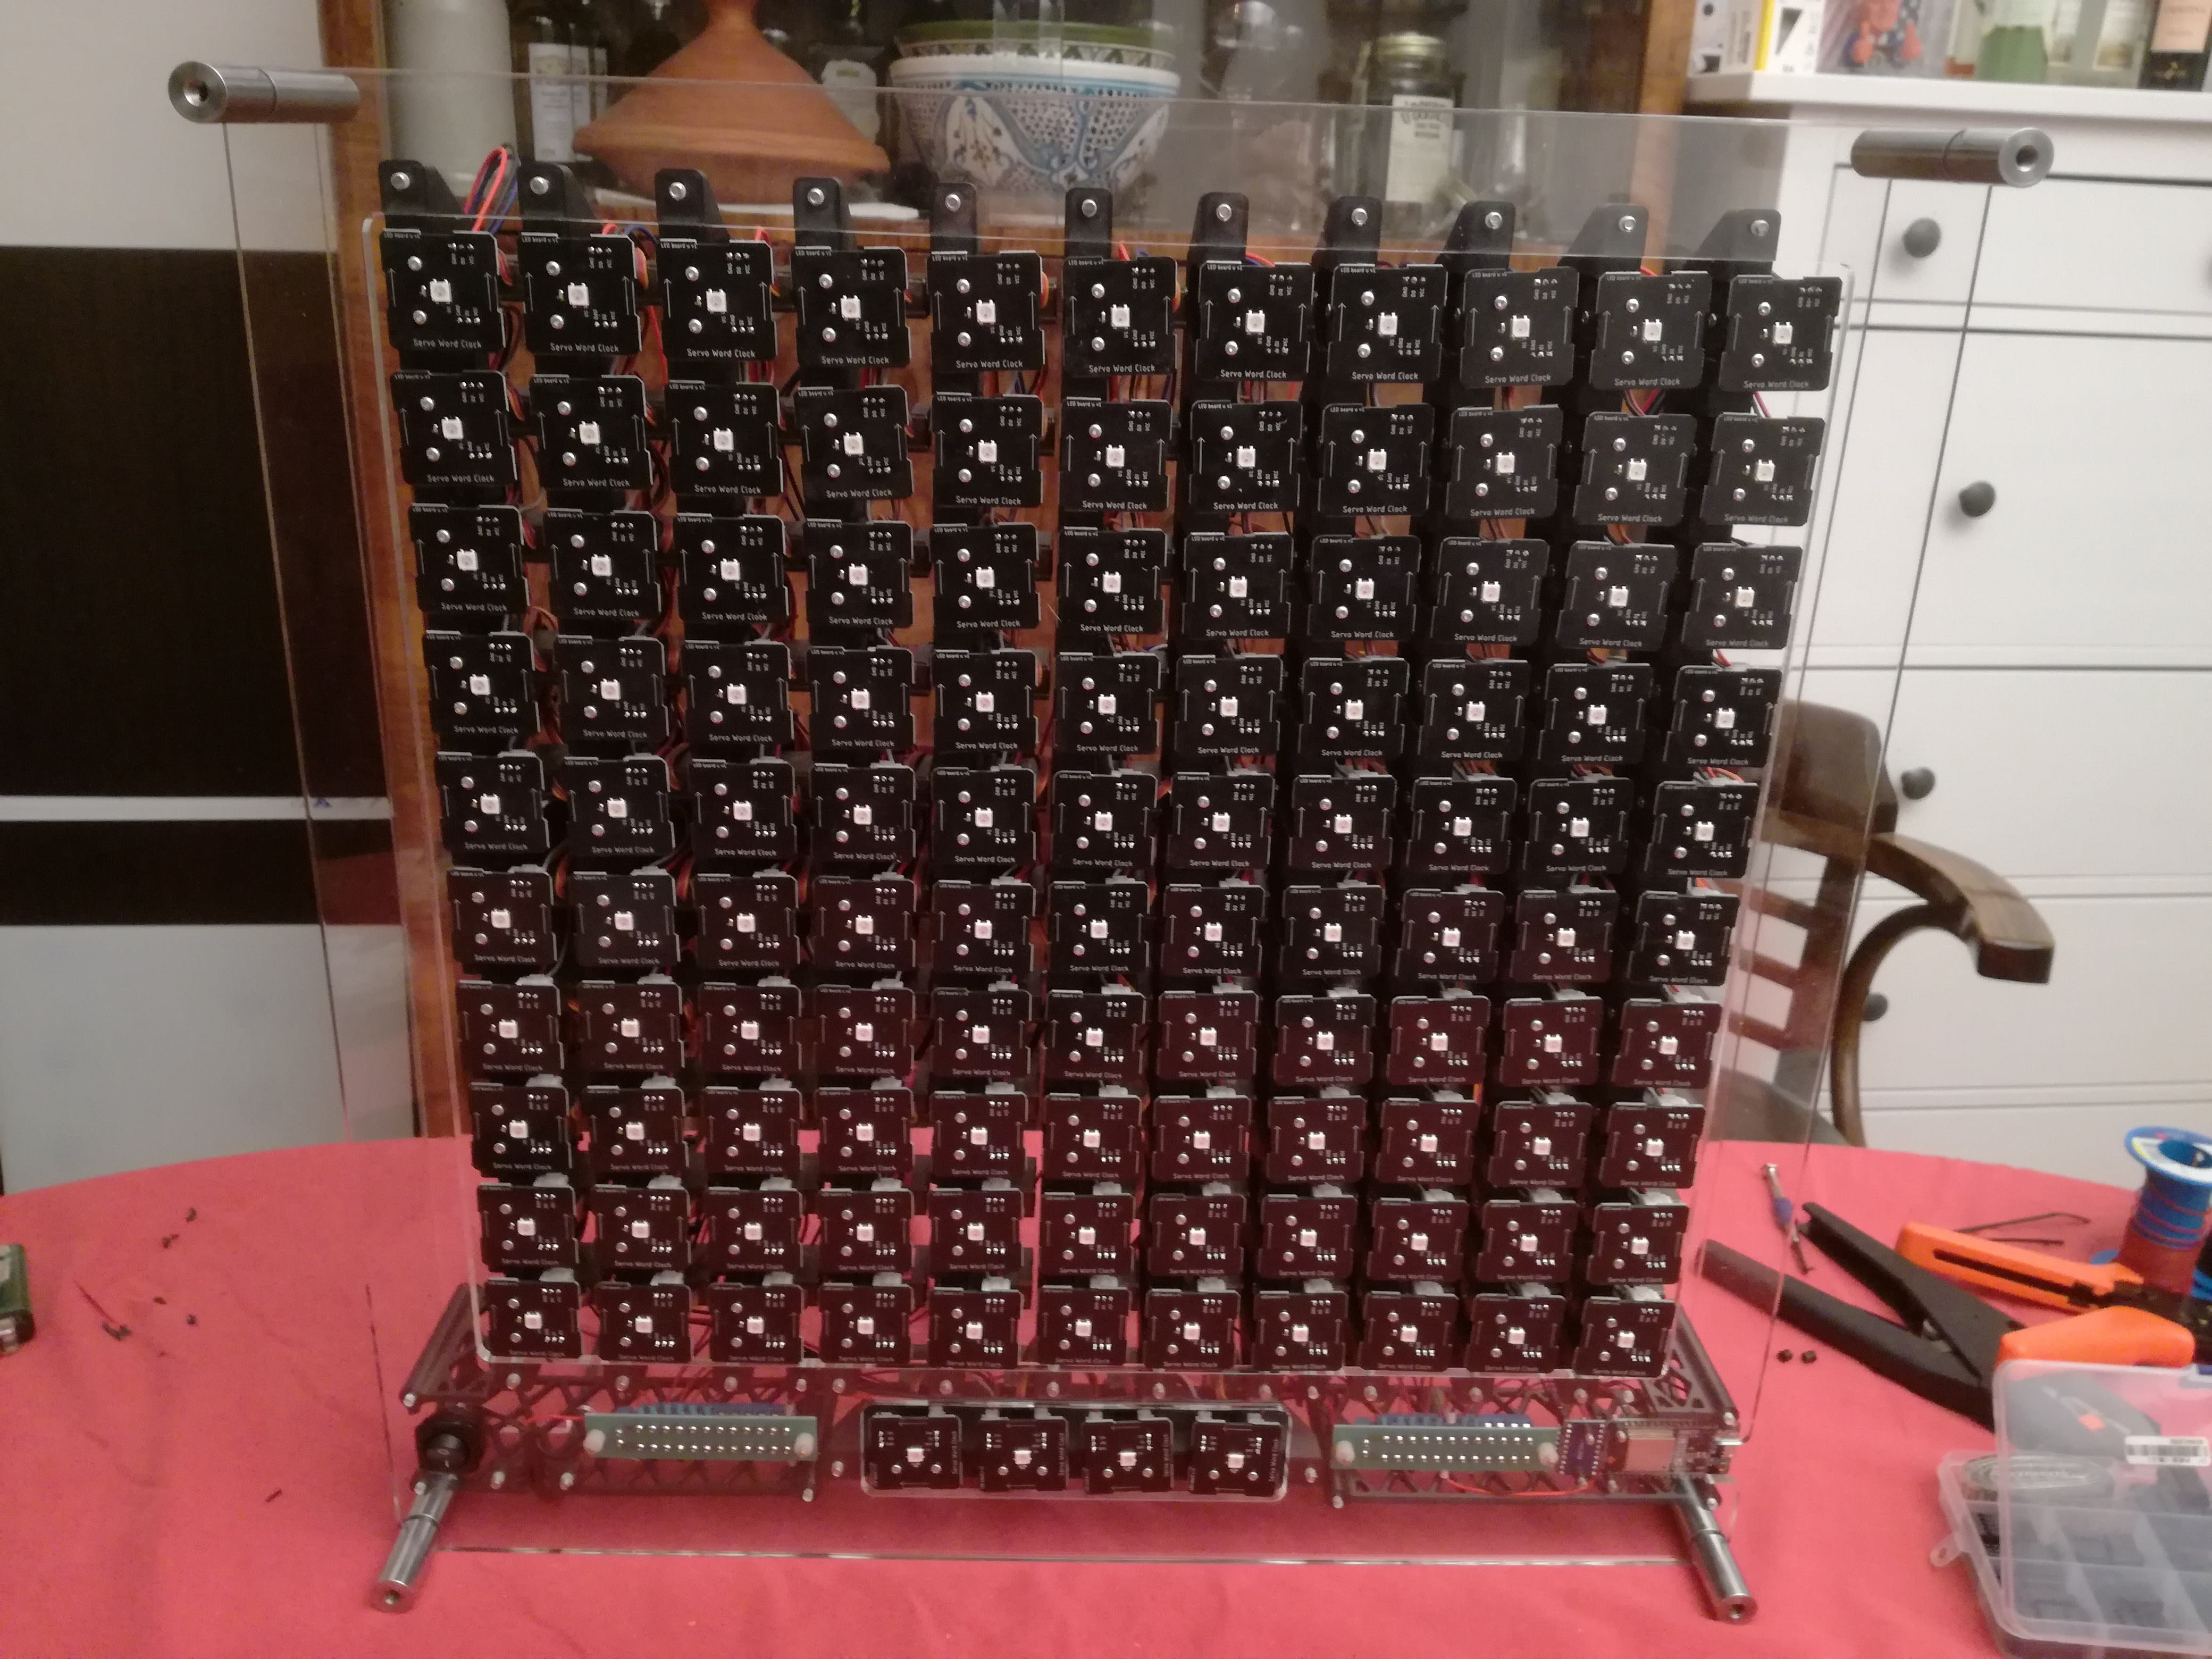
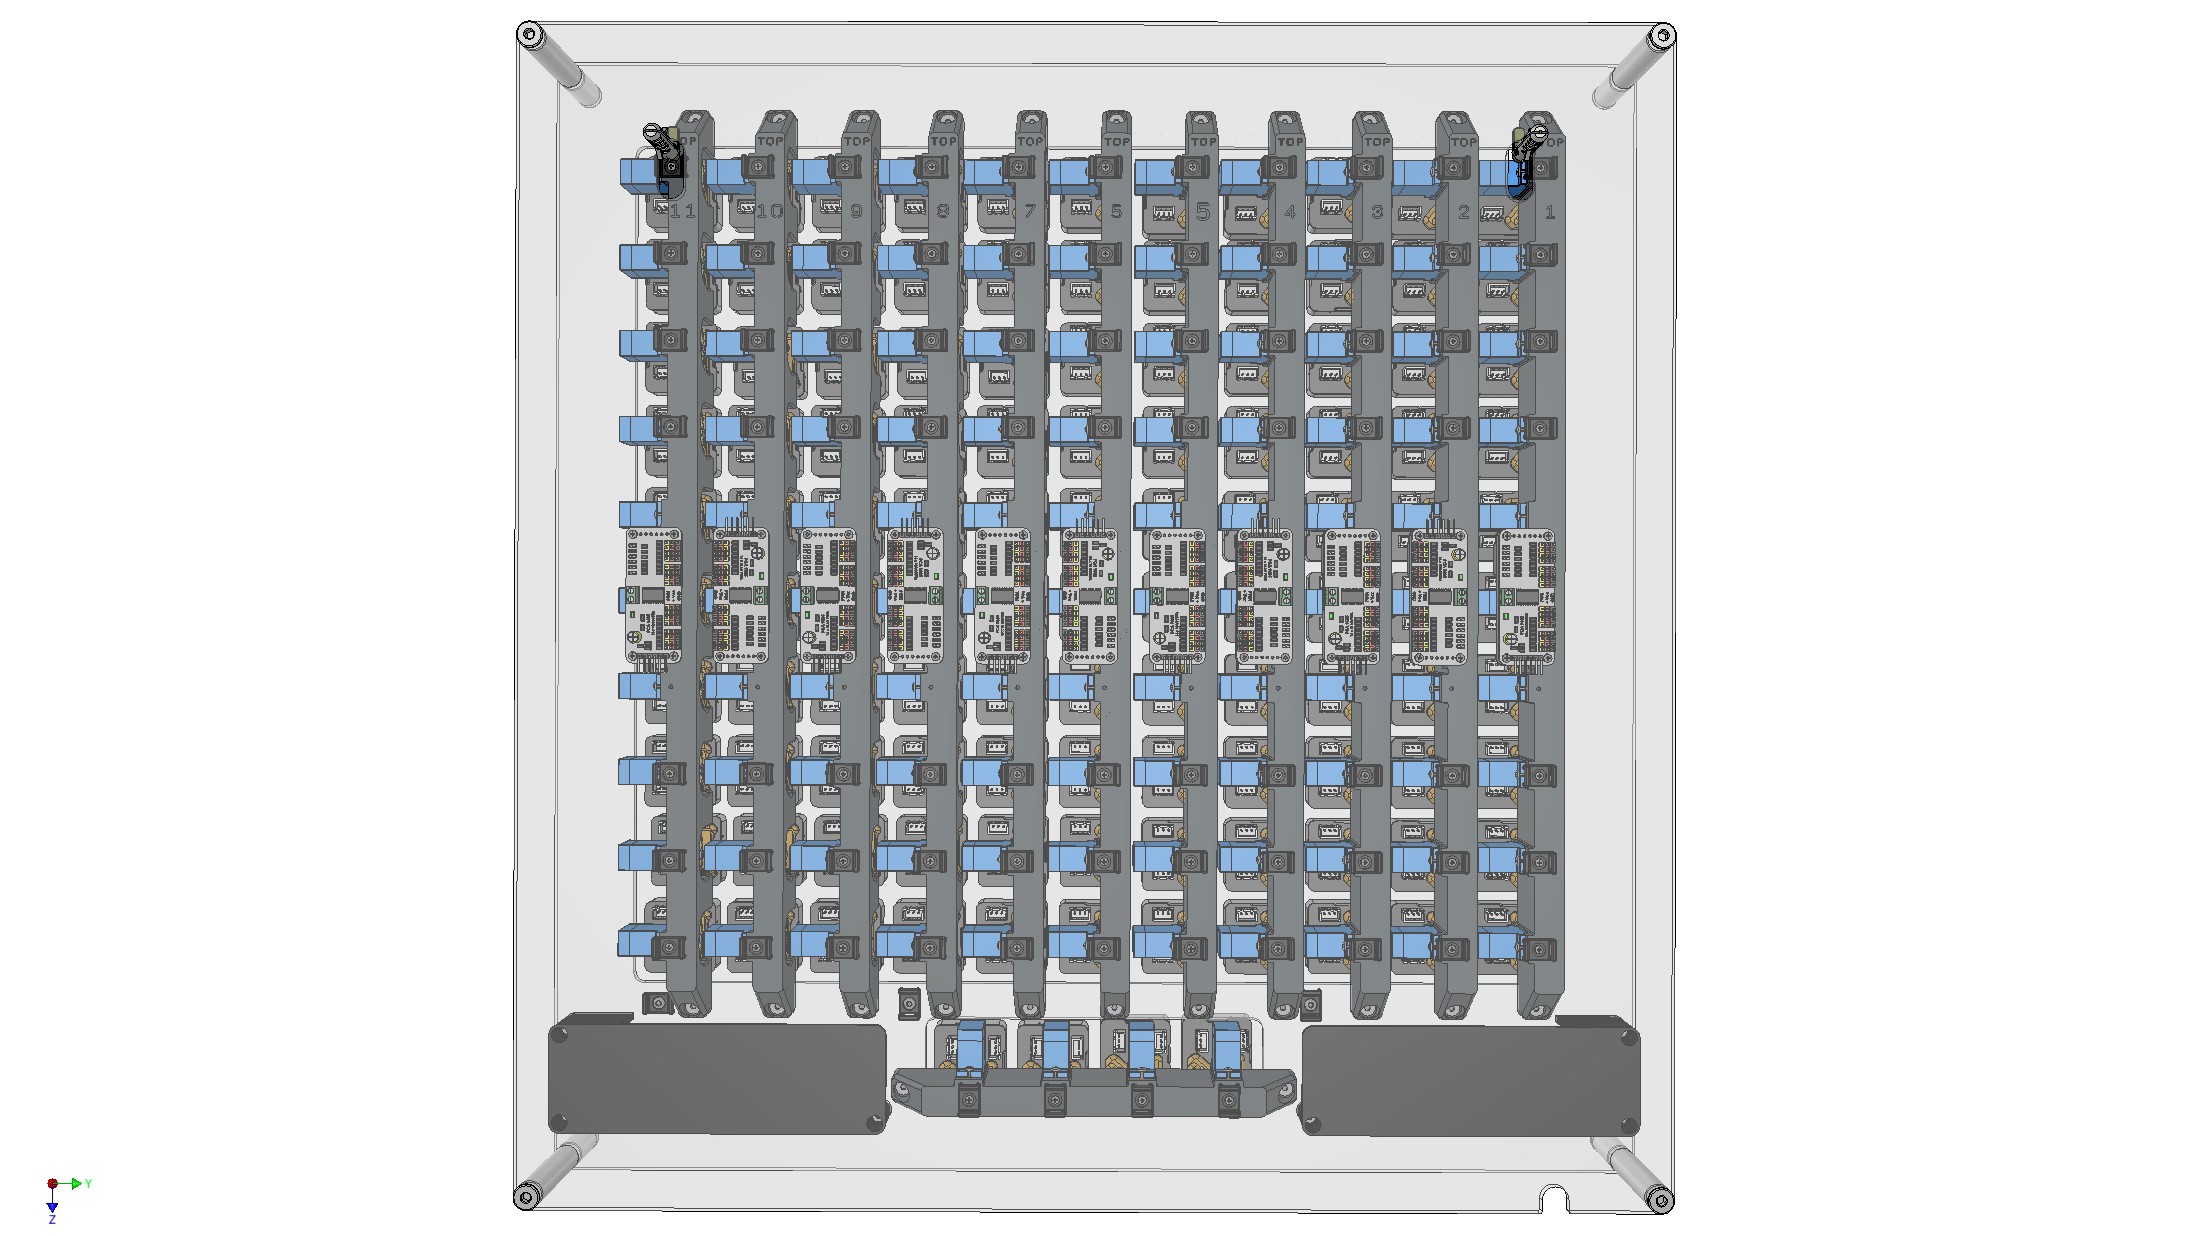
Compared to version 1 we succeeded in making the following improvements
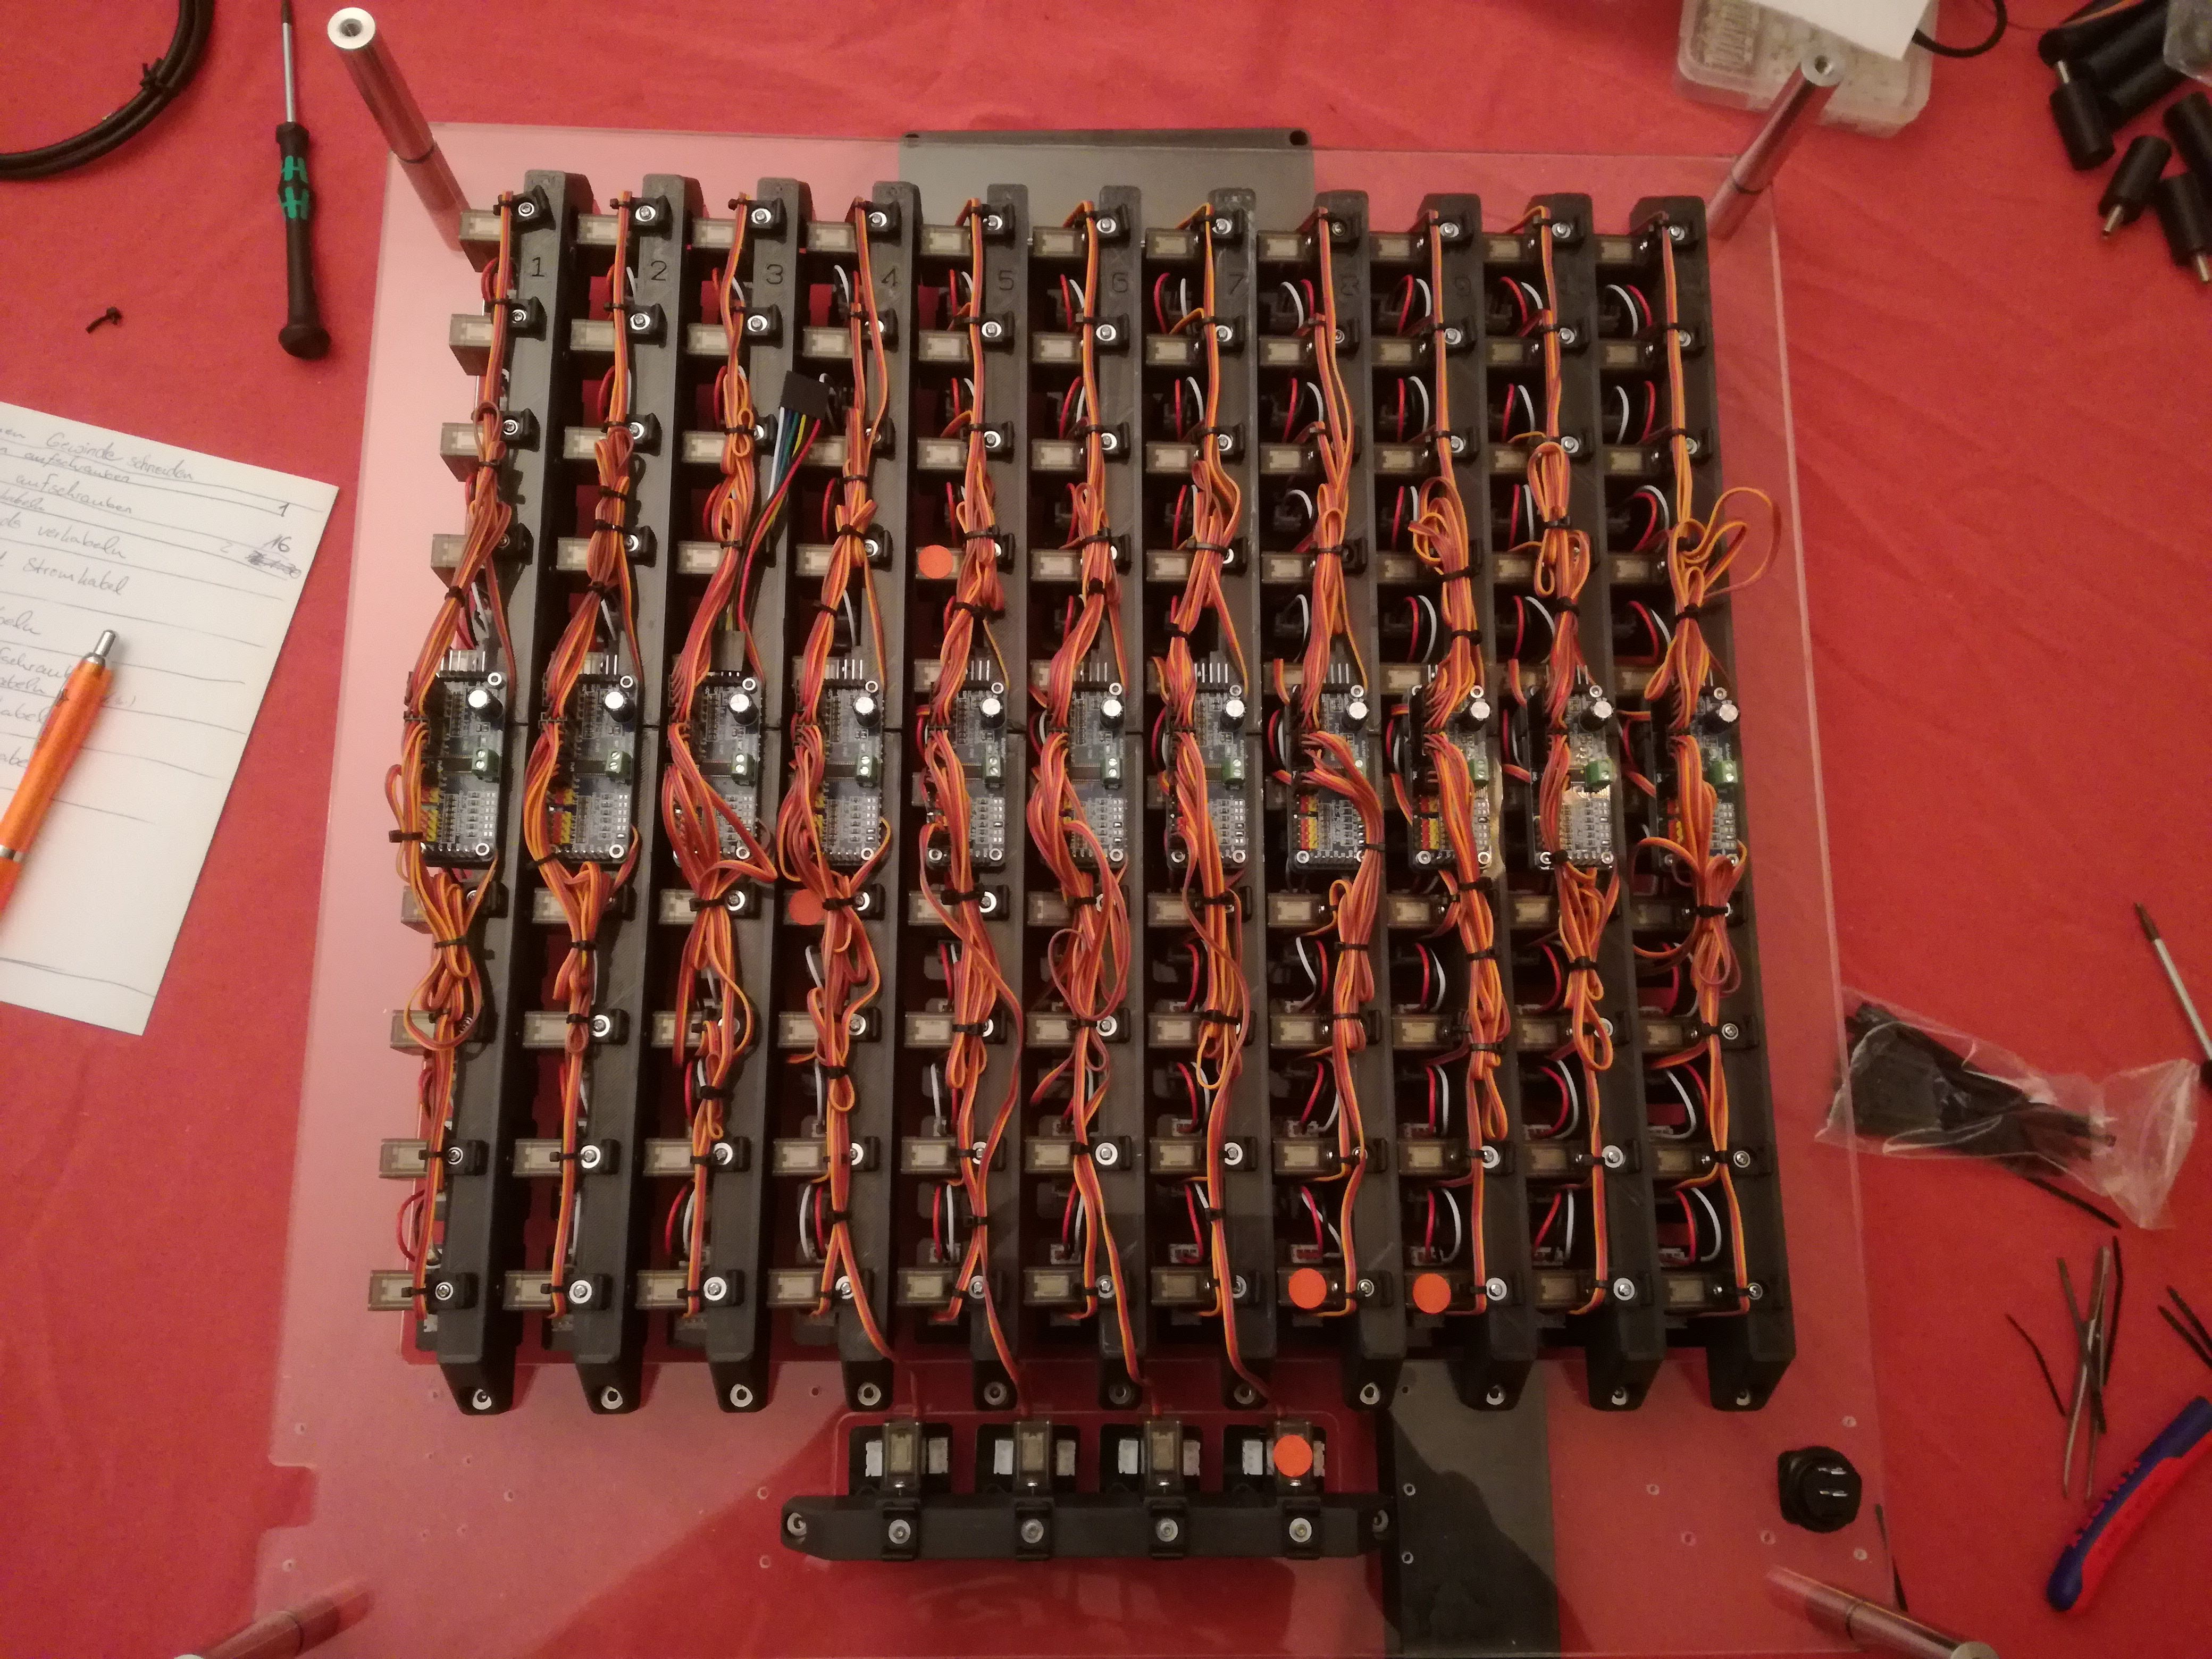
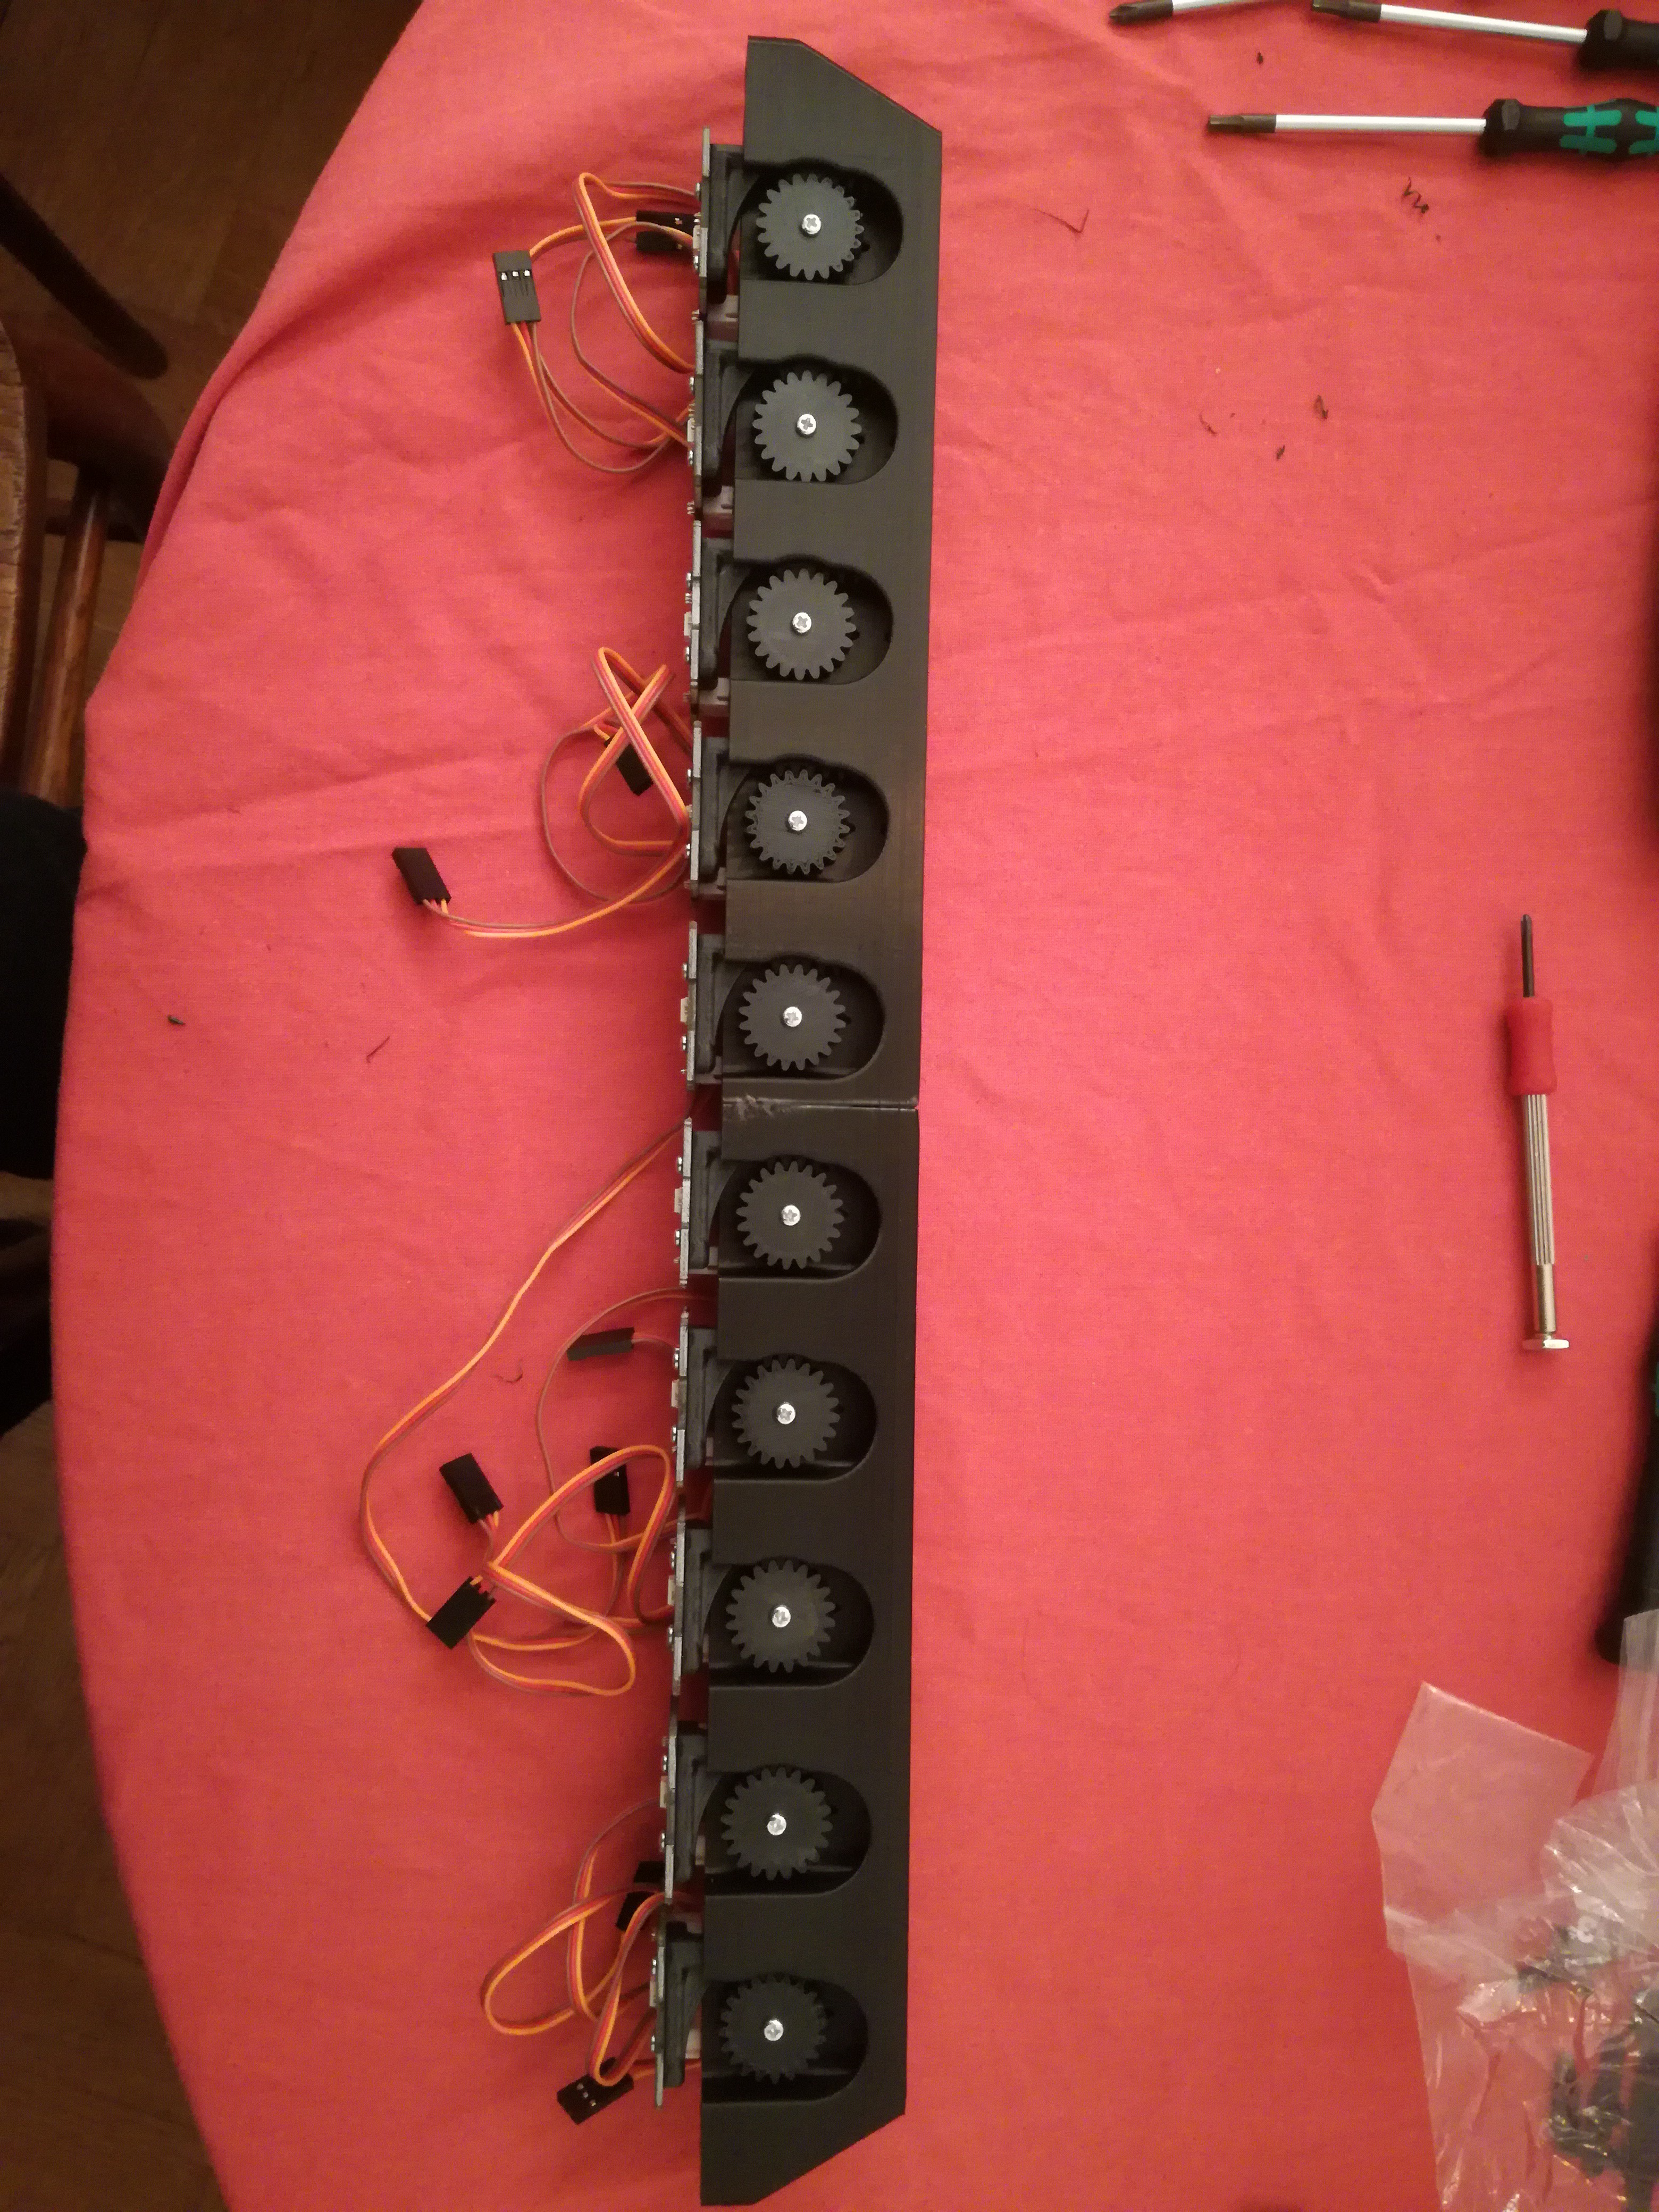
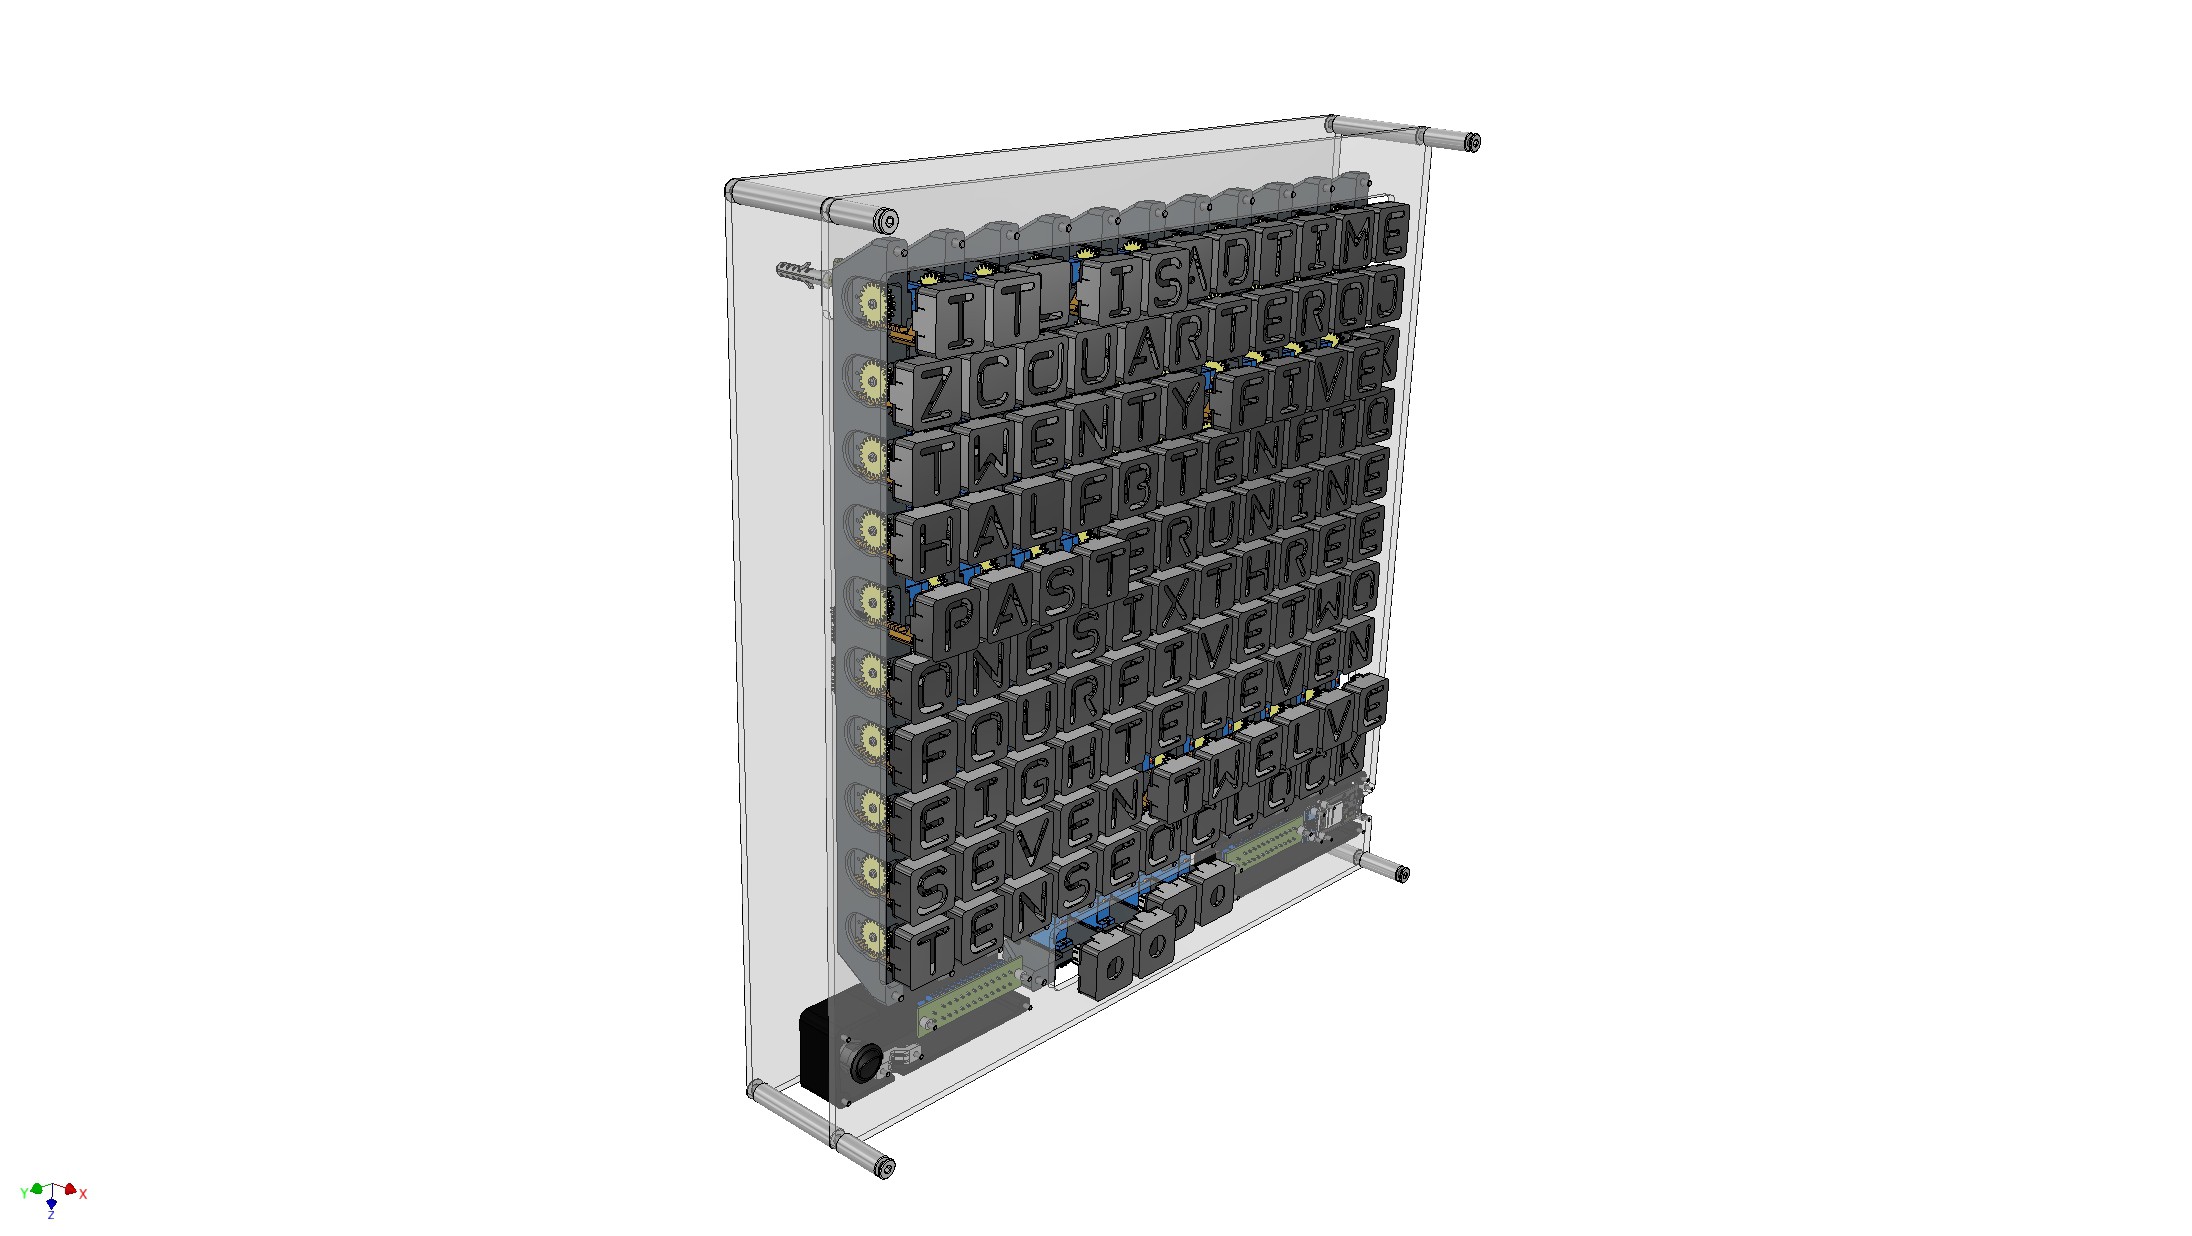
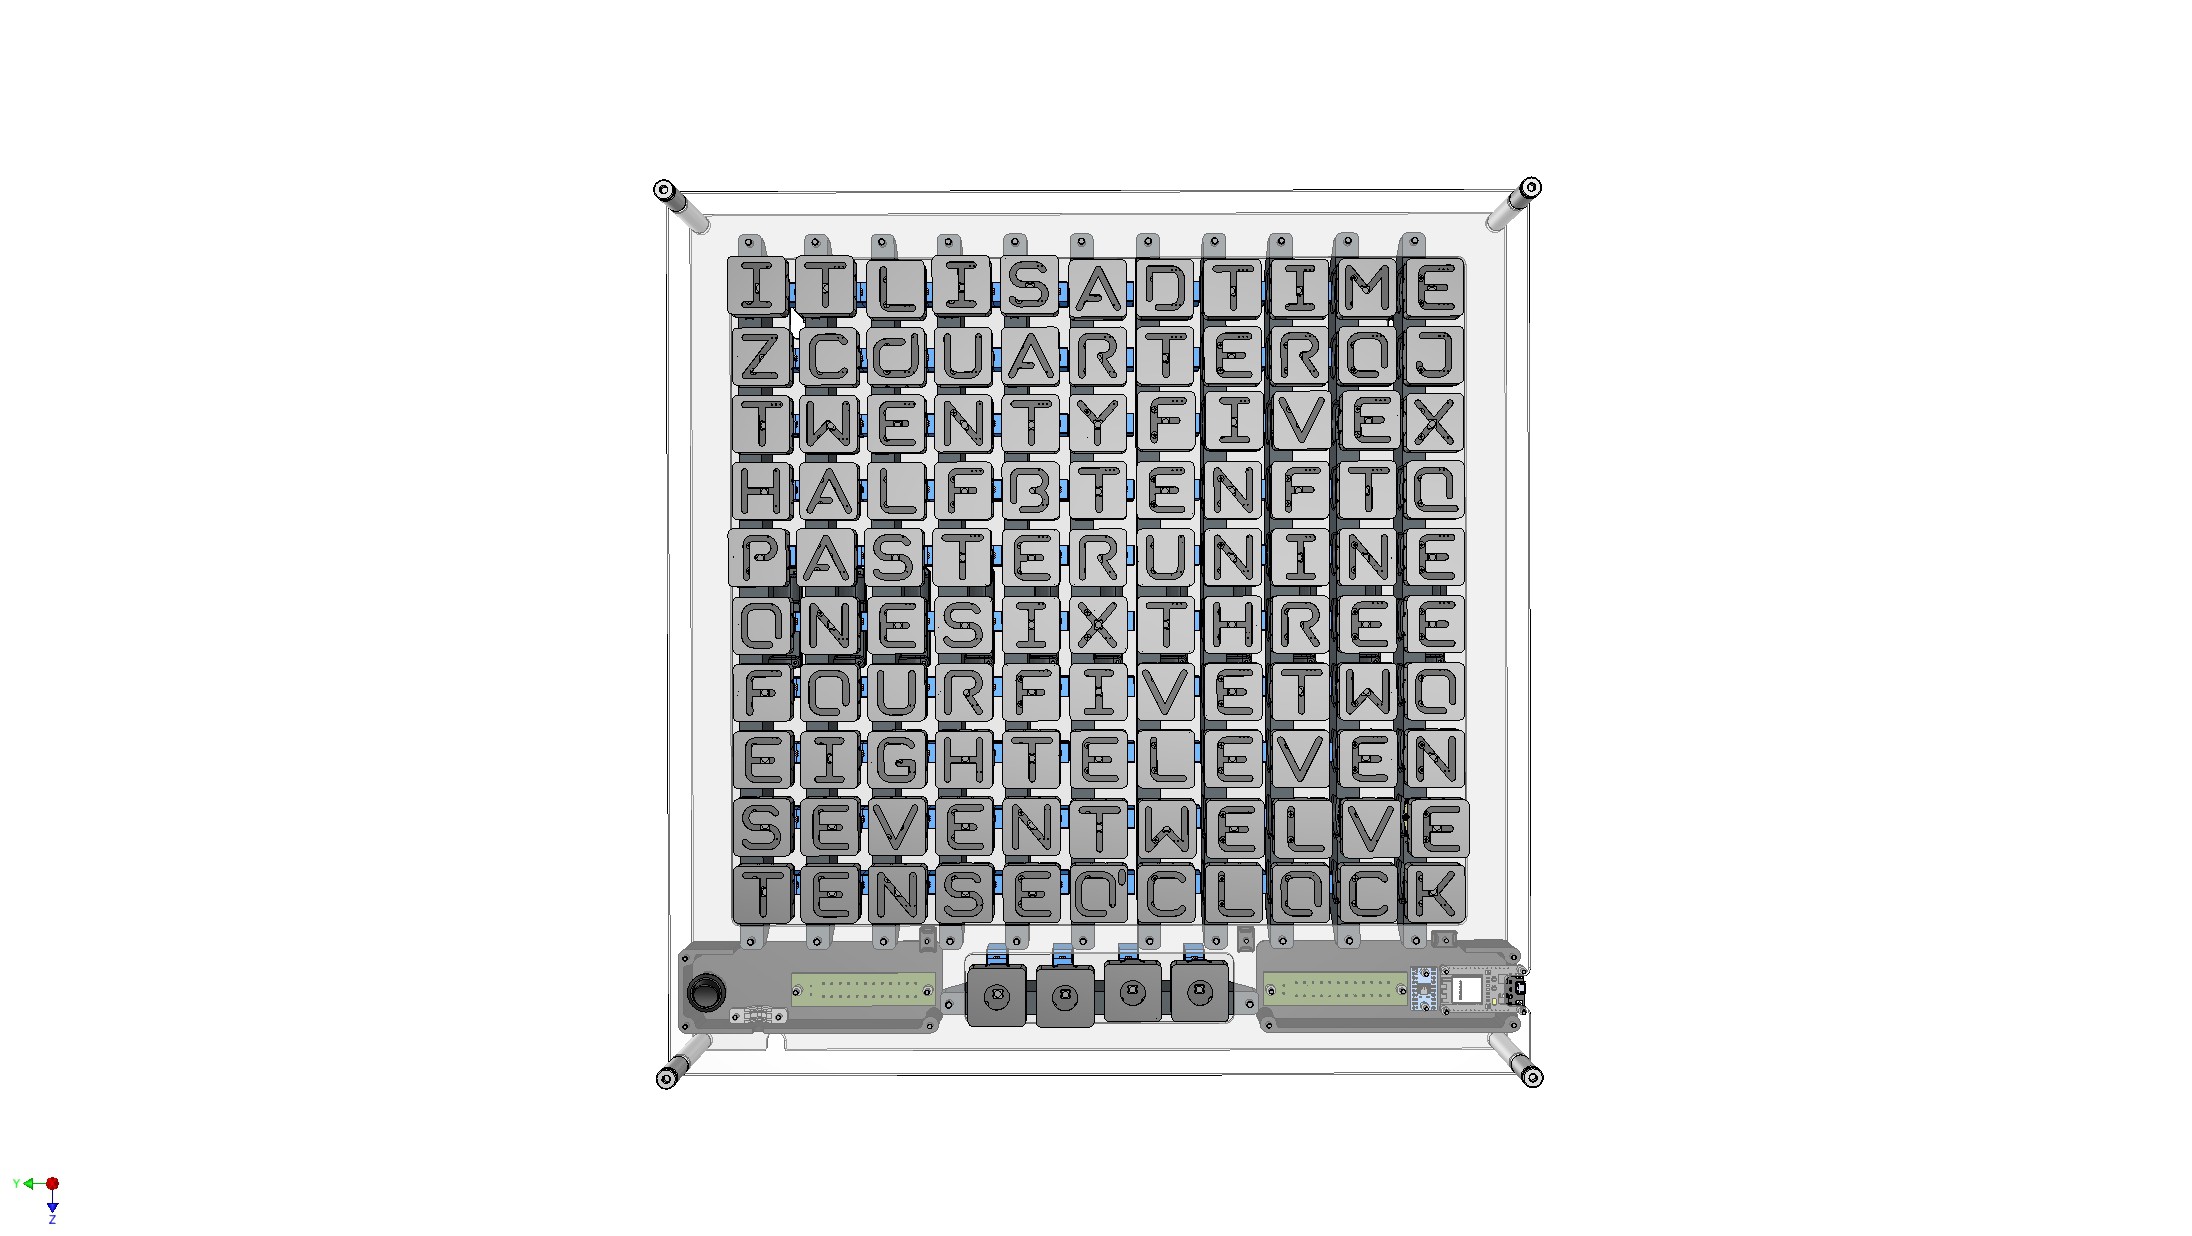
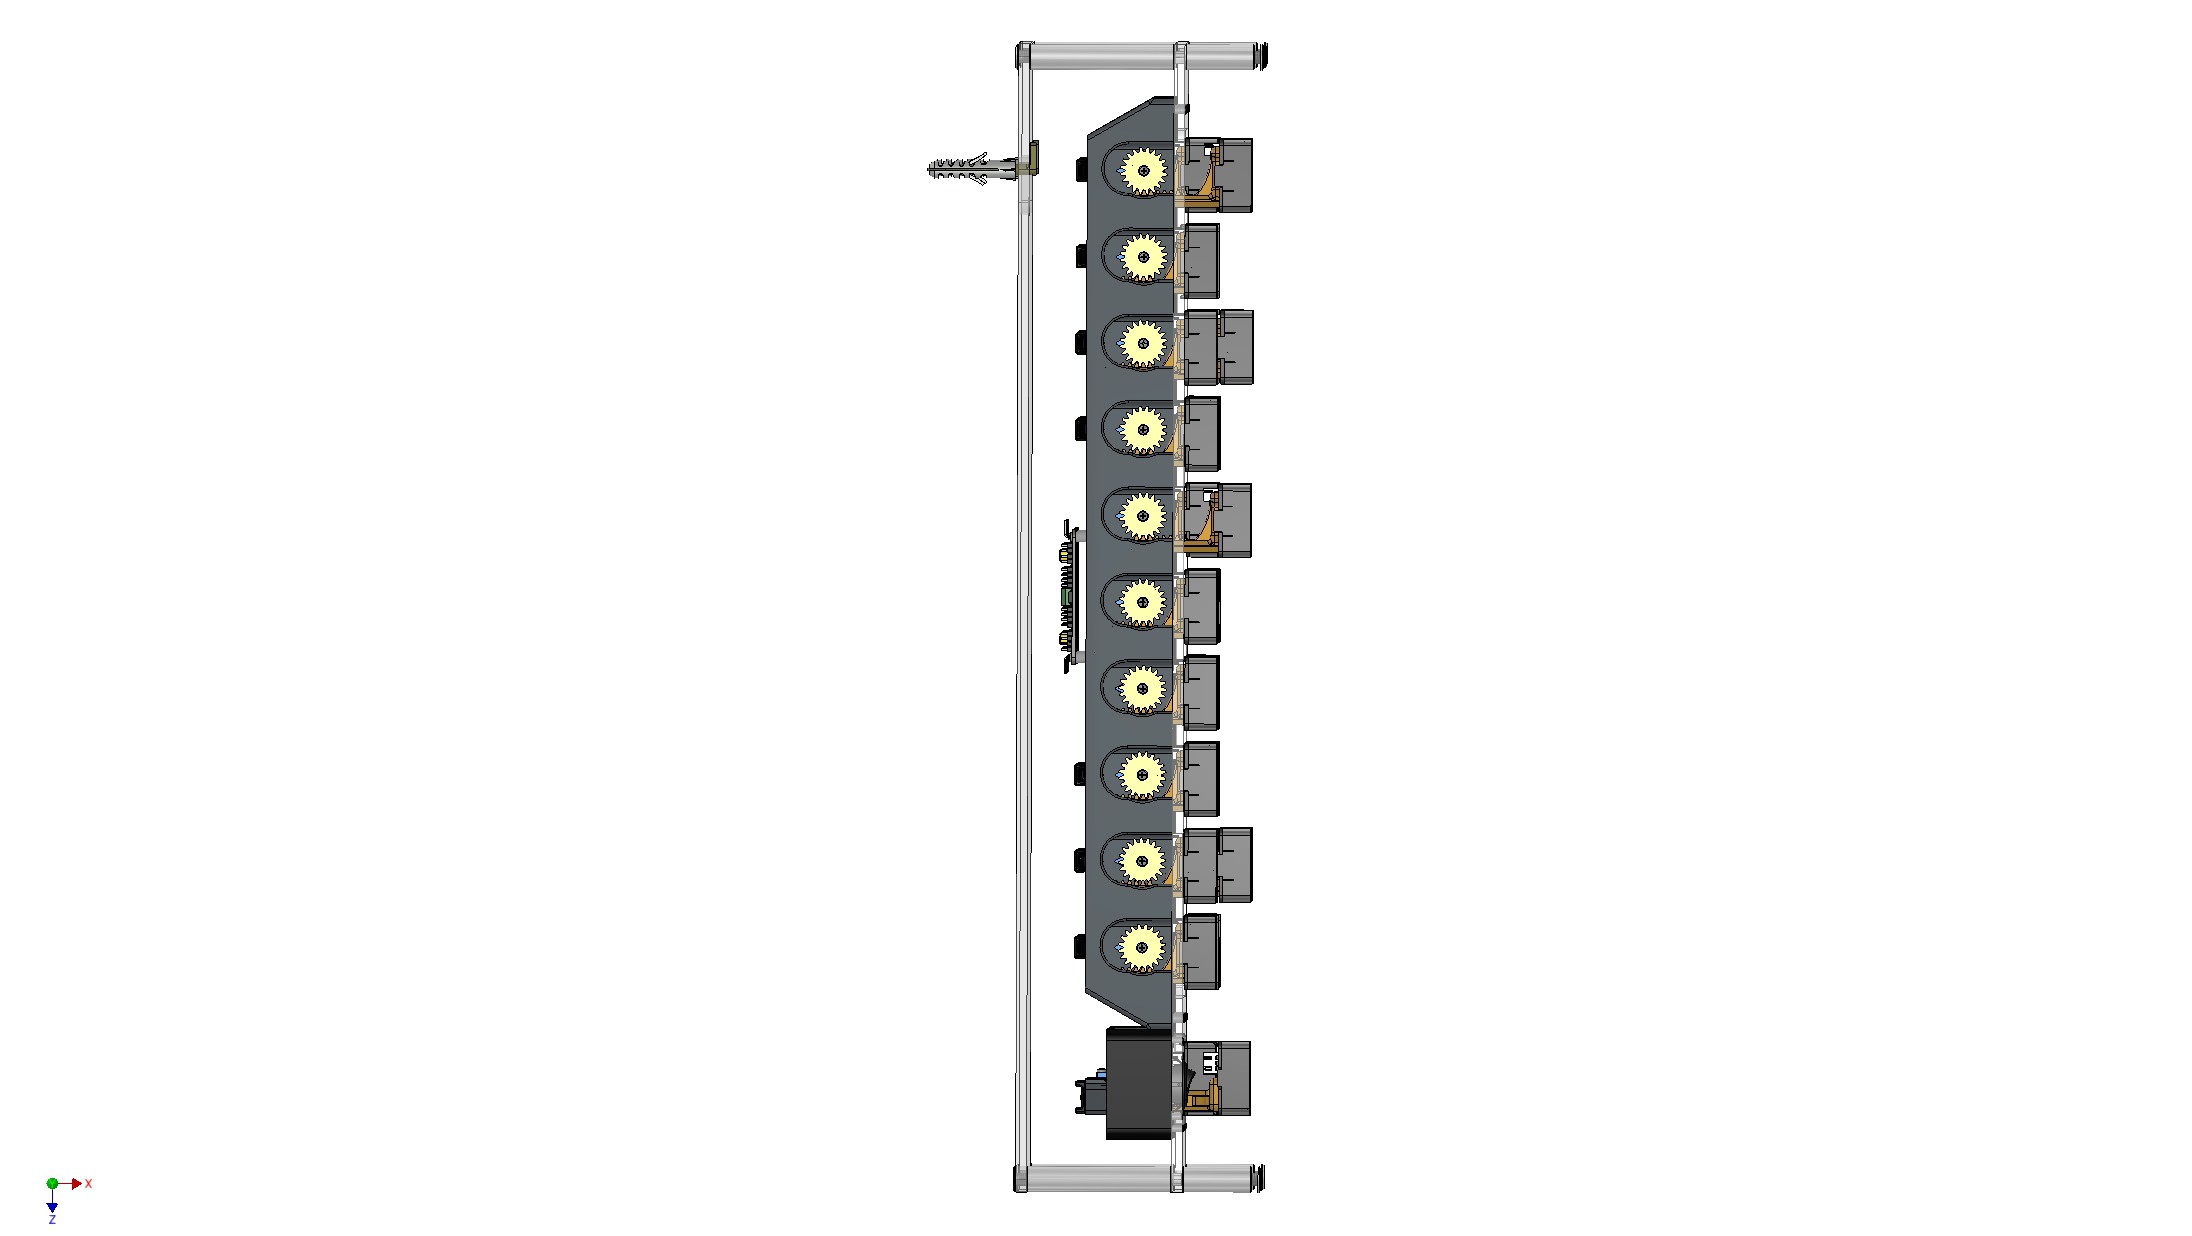
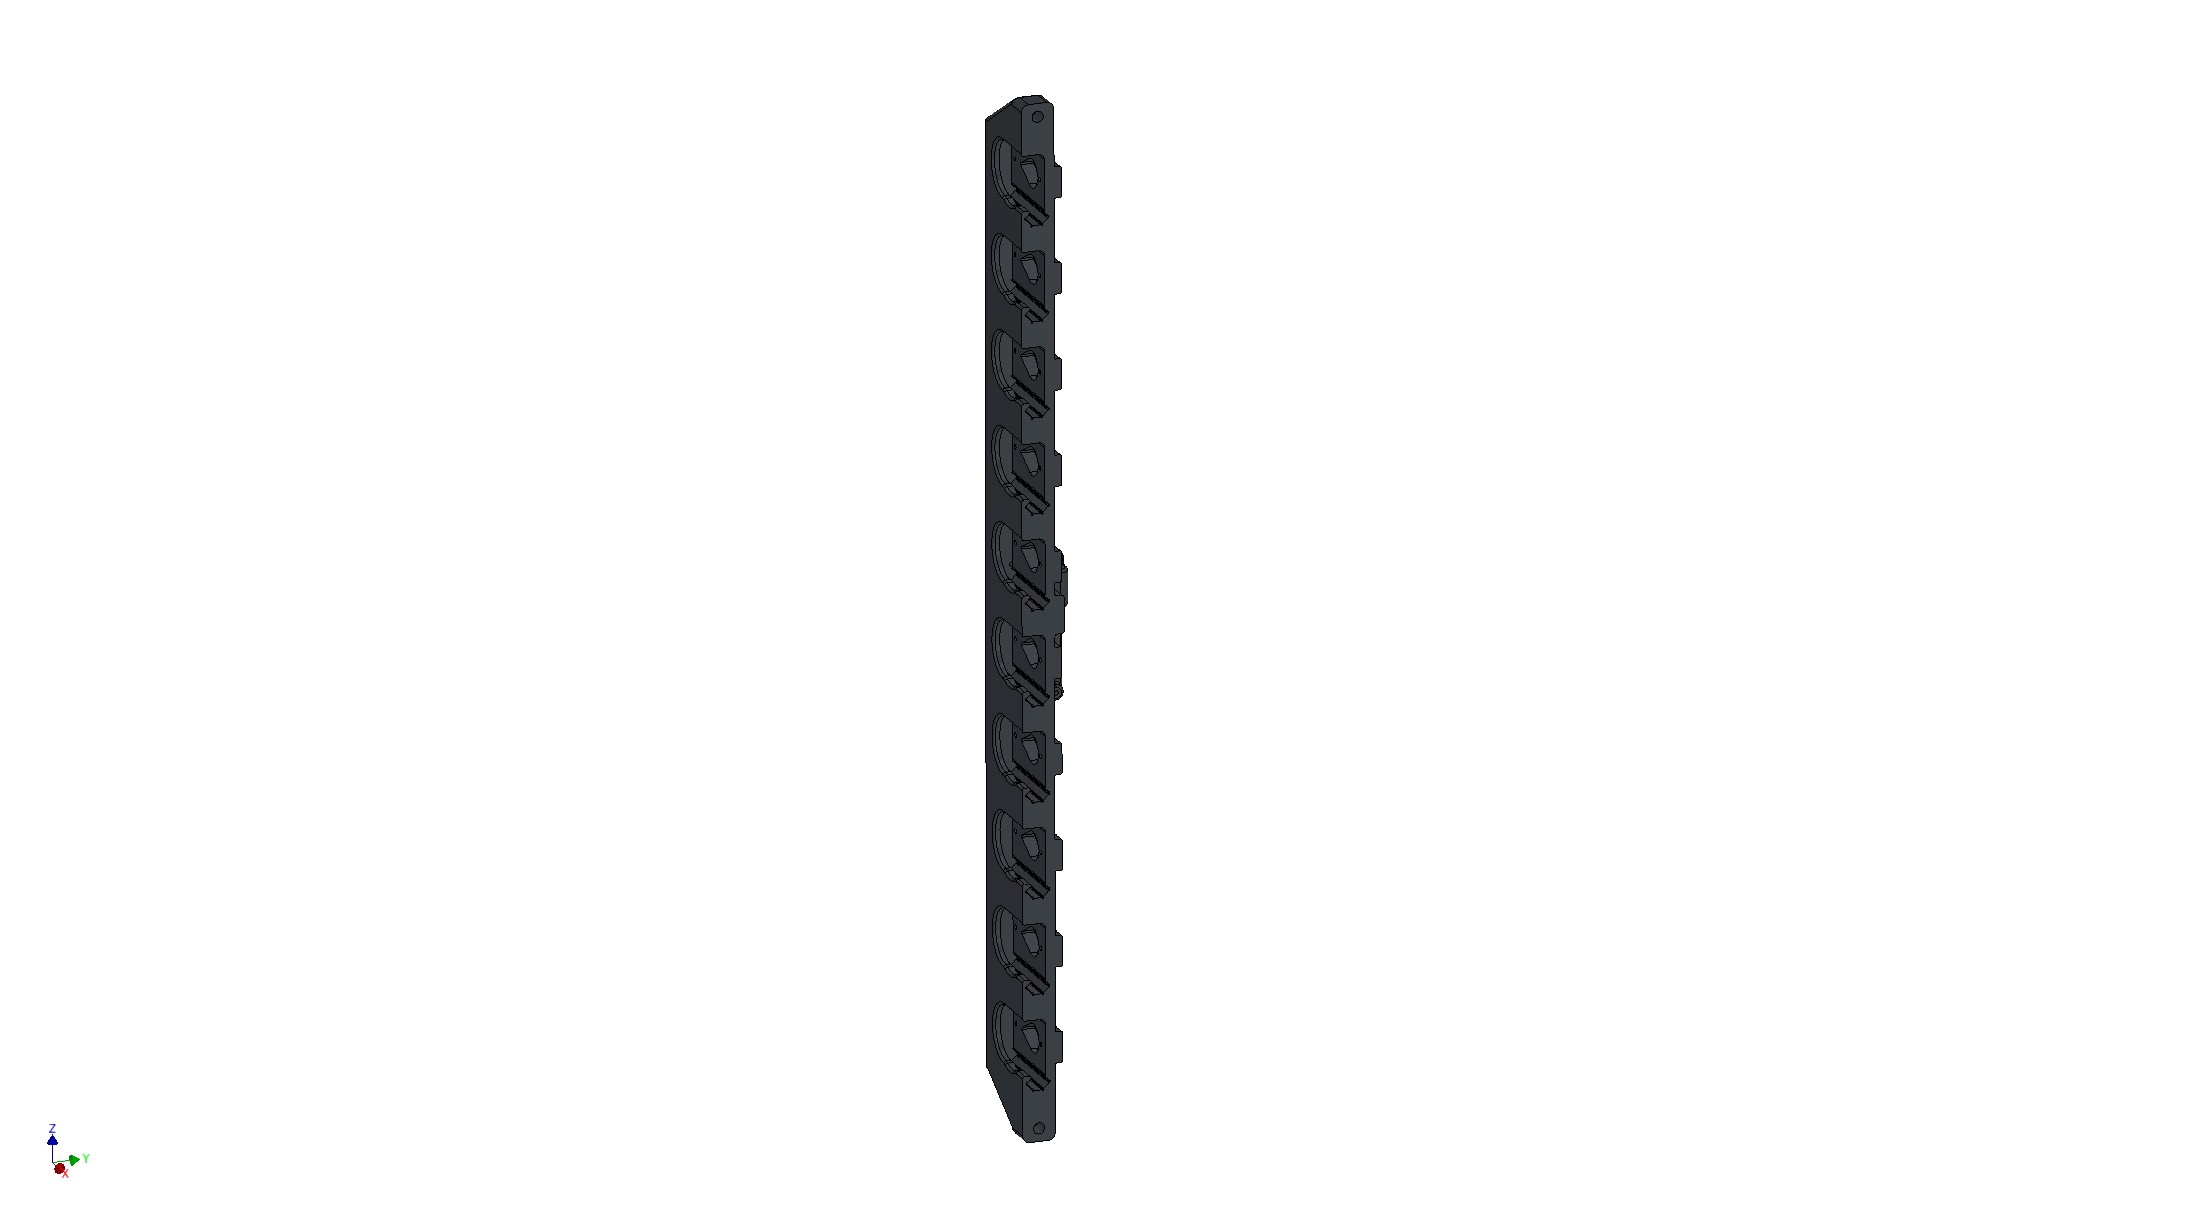
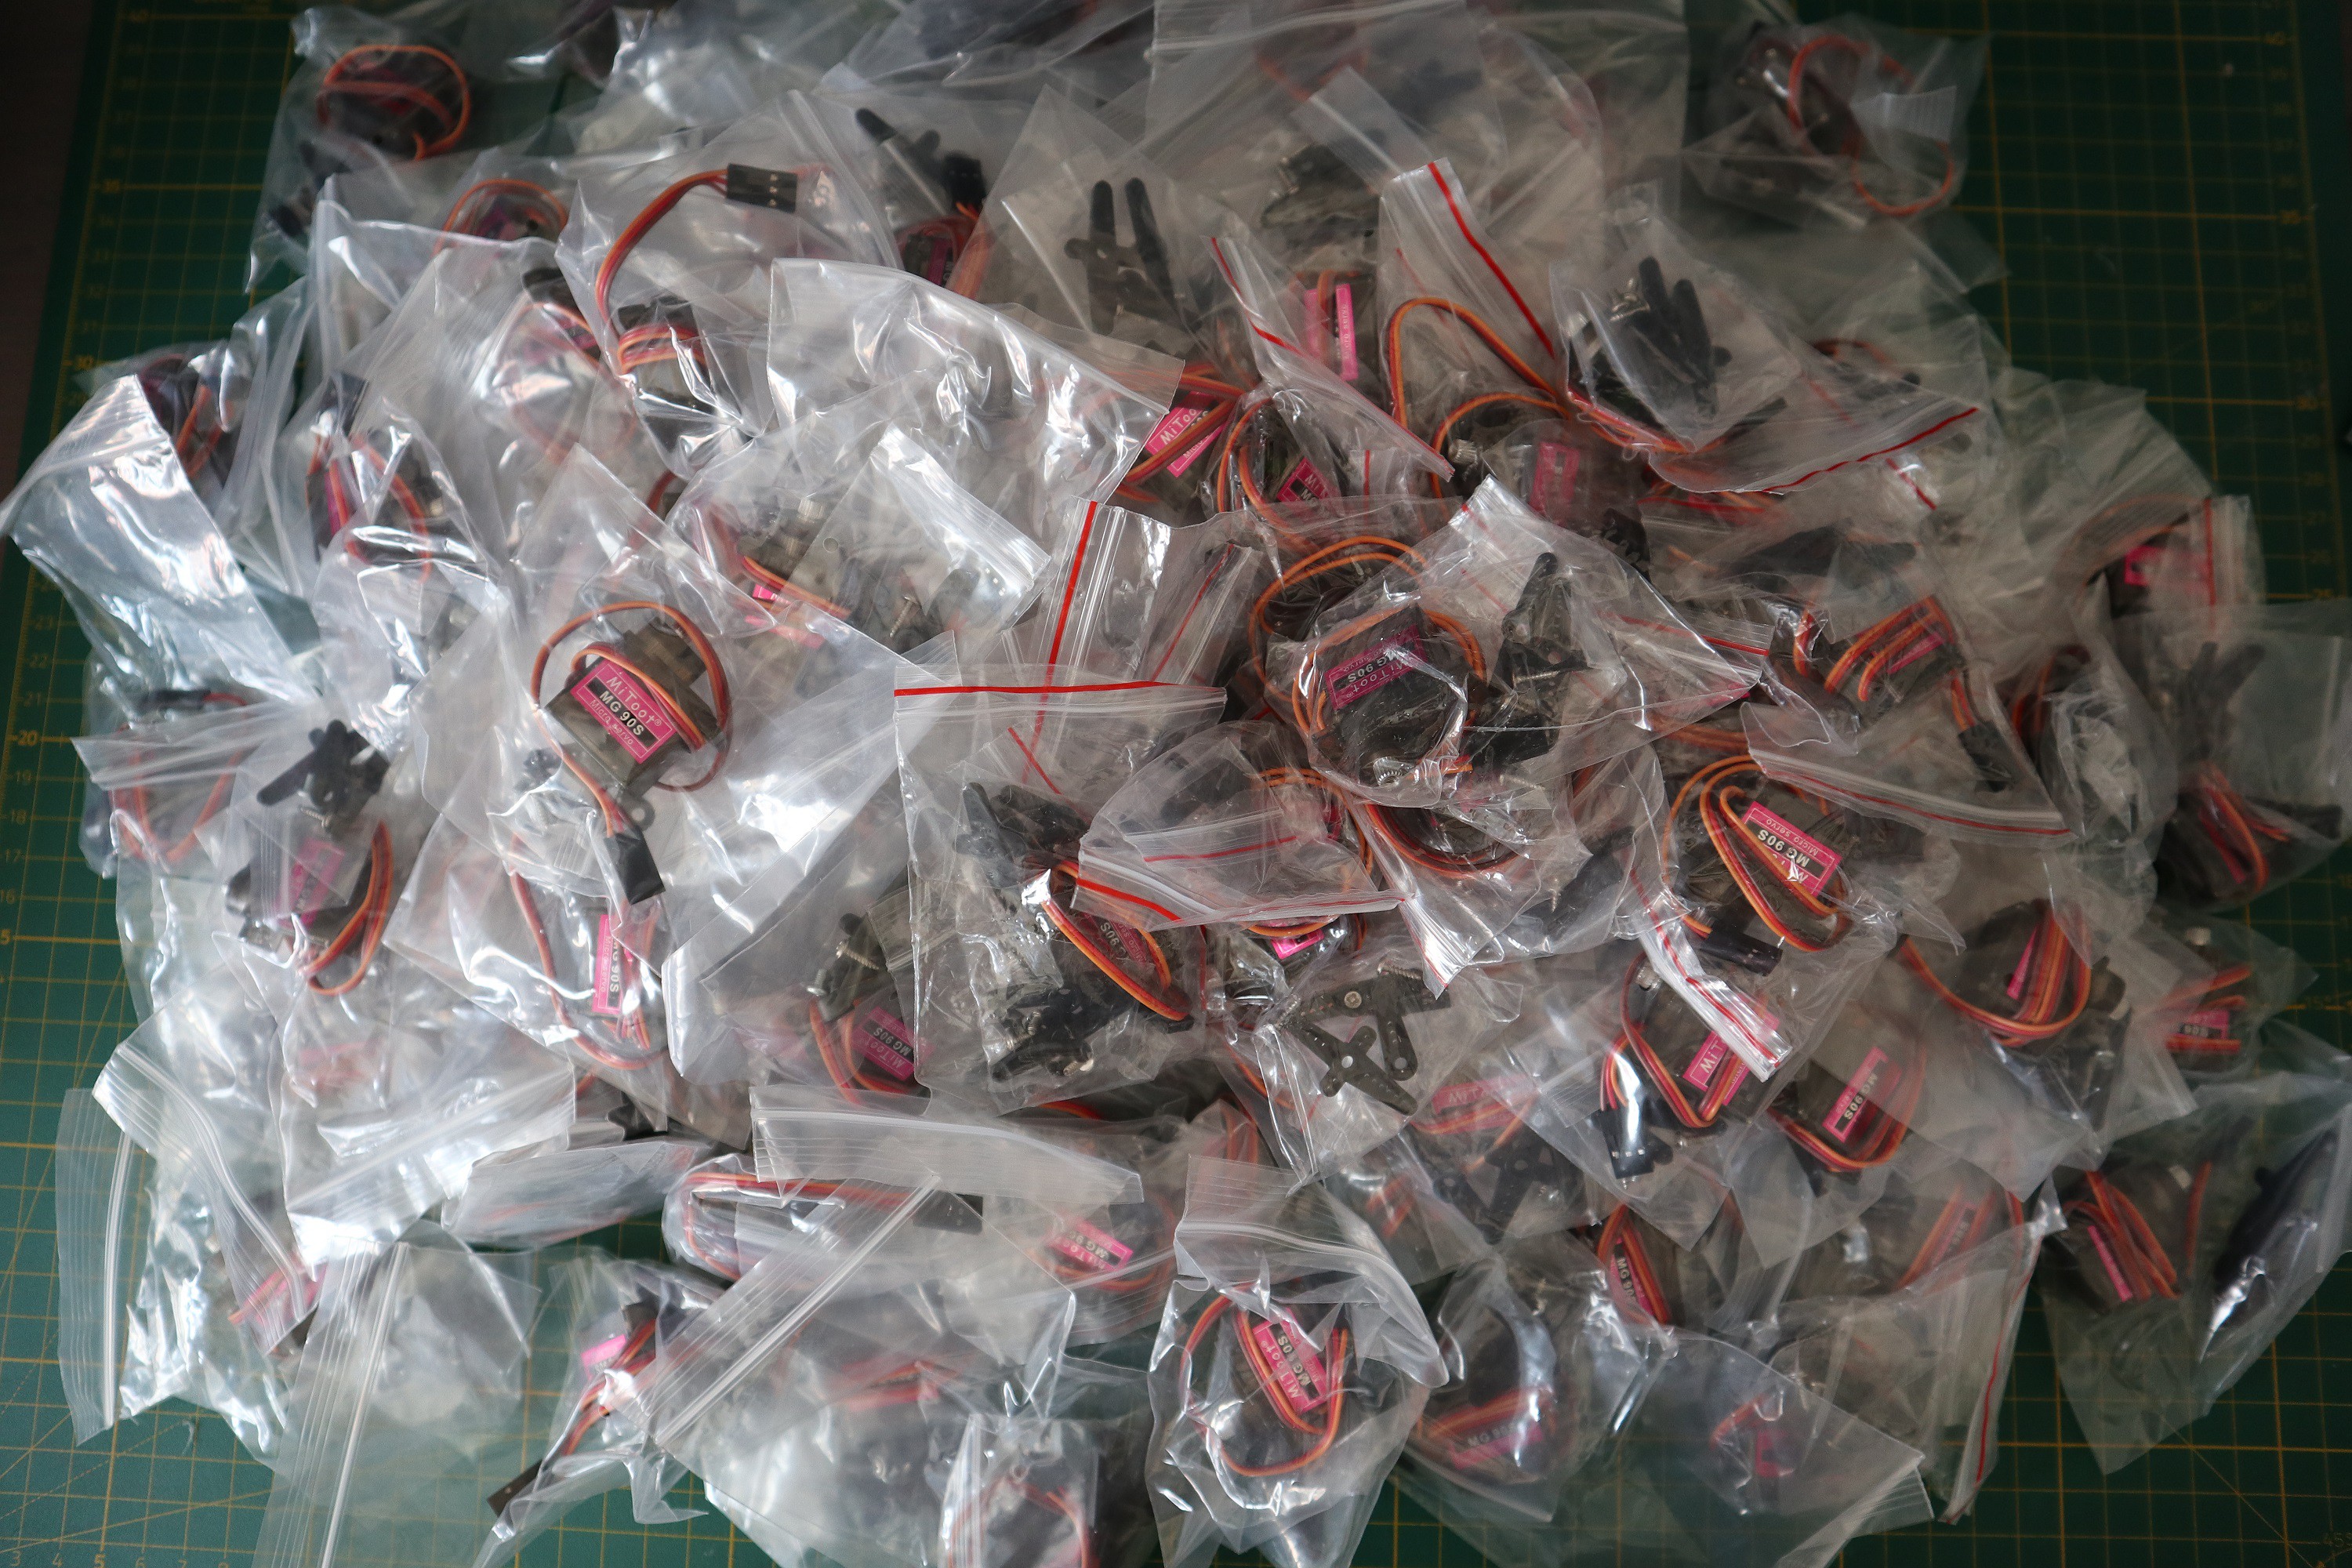
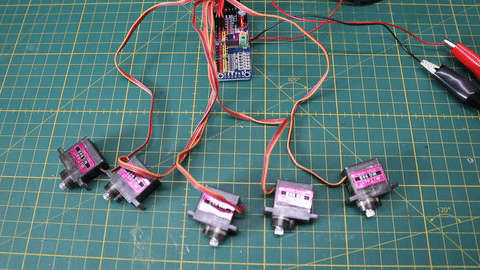
- reduction of 3D-printed components from ~800pcs to ~320pcs
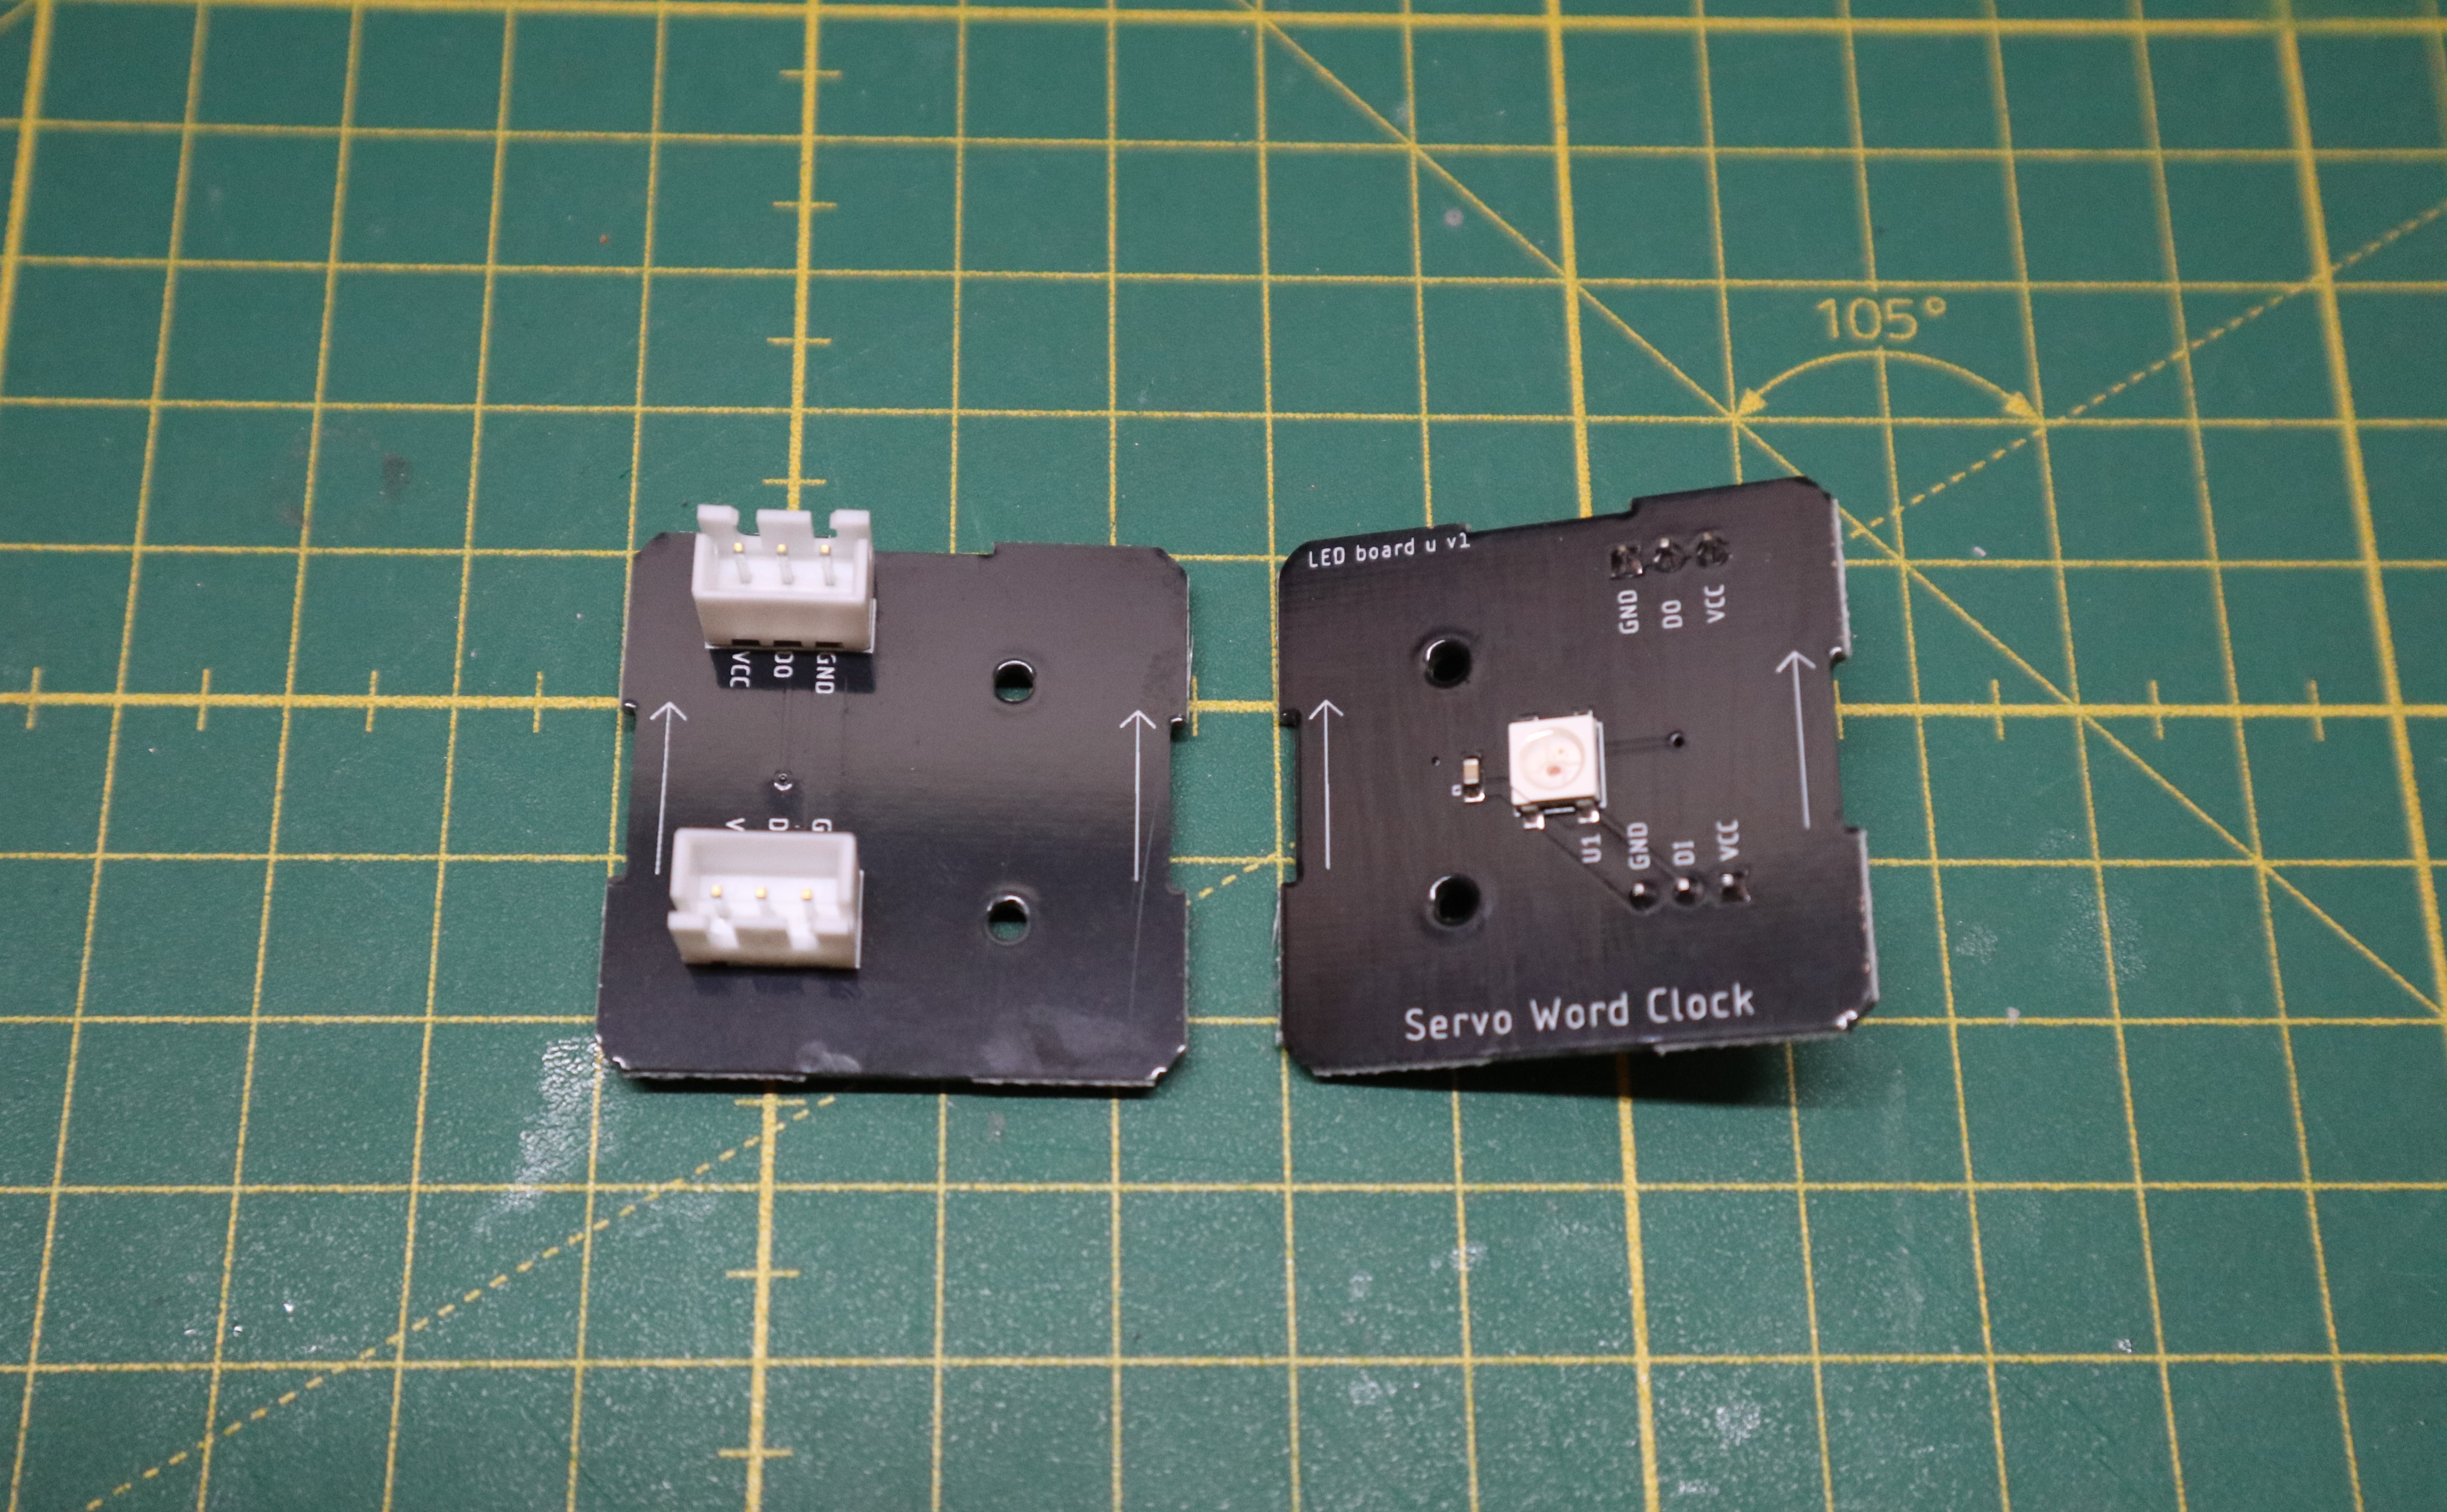
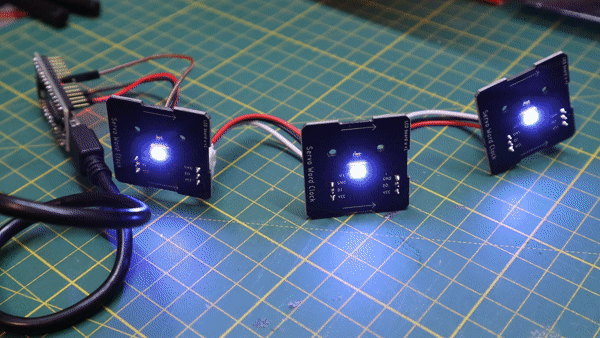
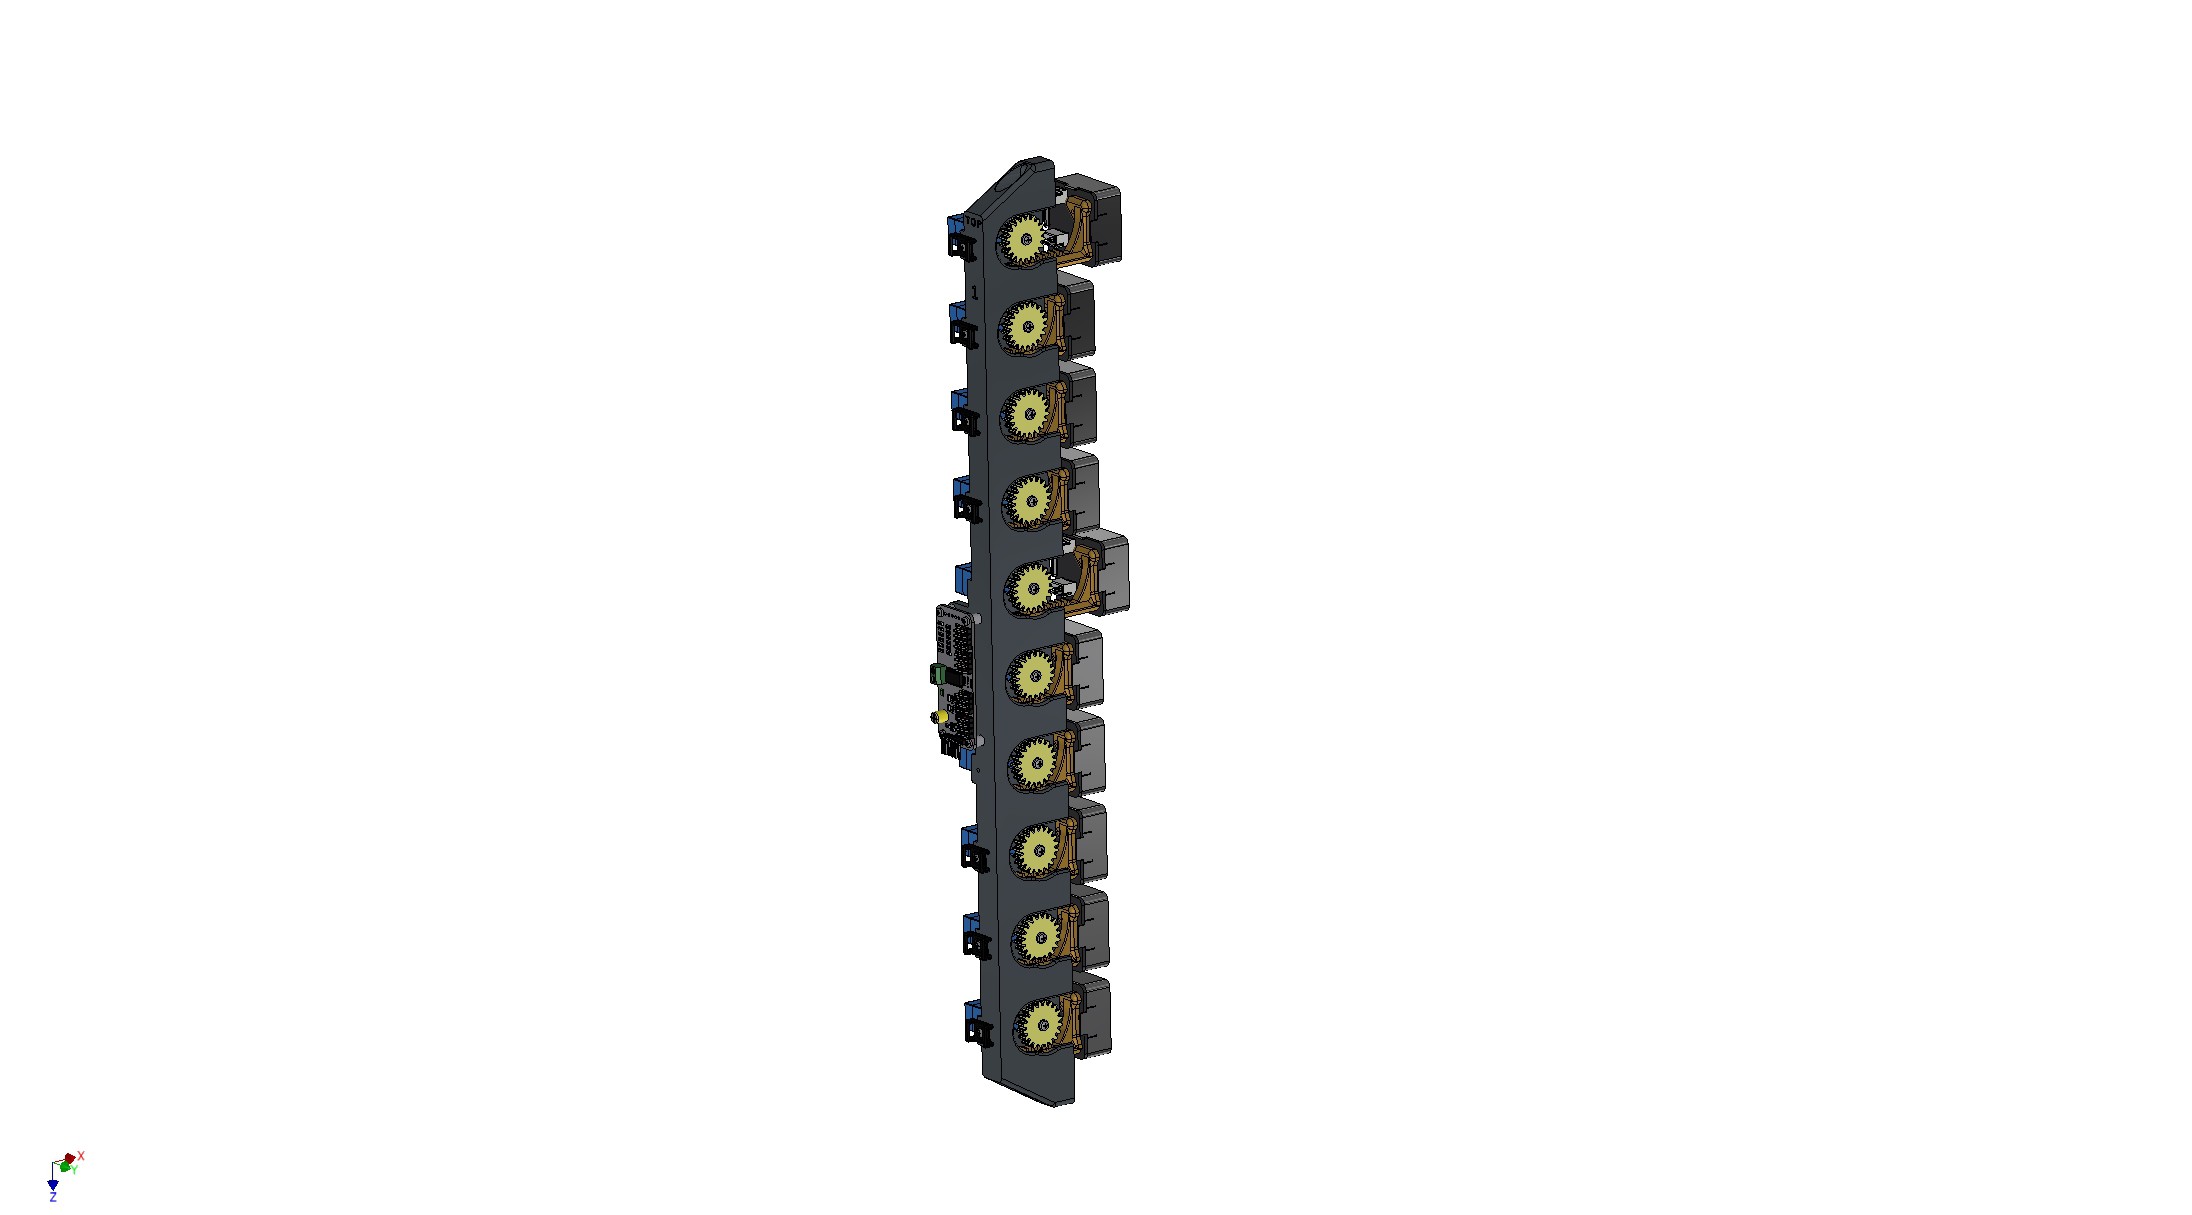
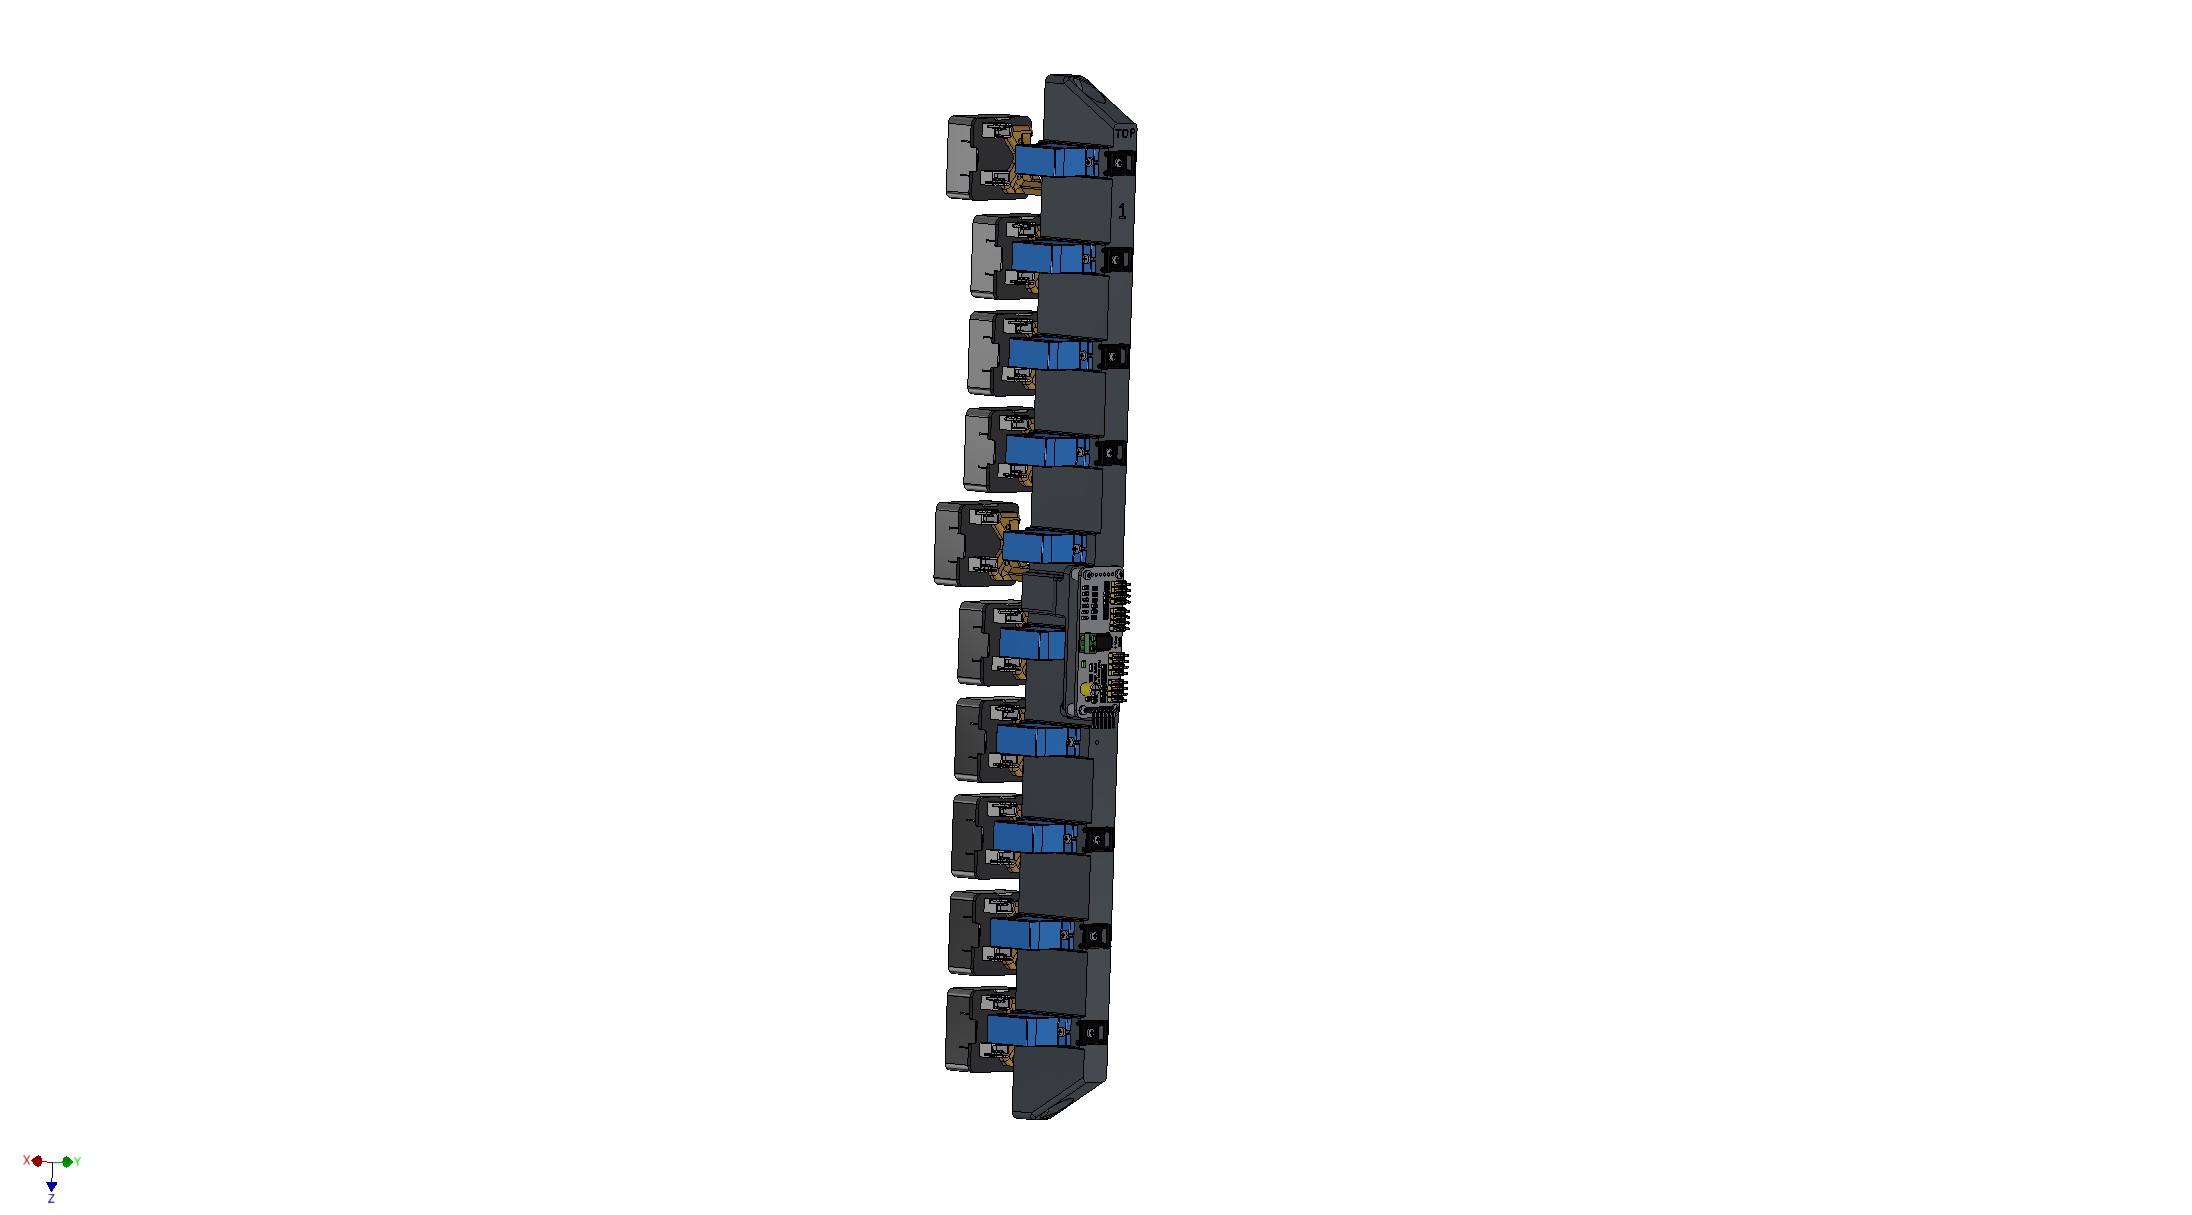
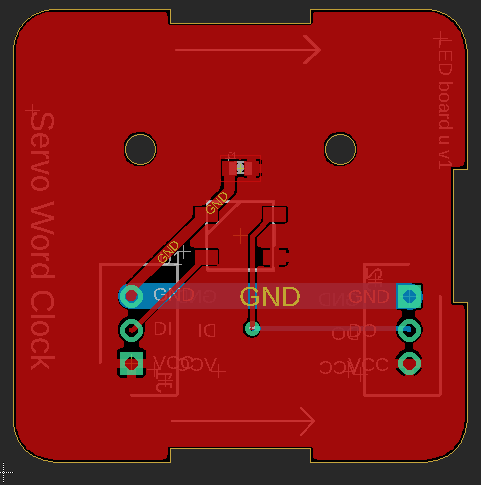
- custom PCBA for LEDs (no cutting and gluing of WS2812B strips)
- custom cables for LED connections with JST connectors (no preparation and soldering of wires)
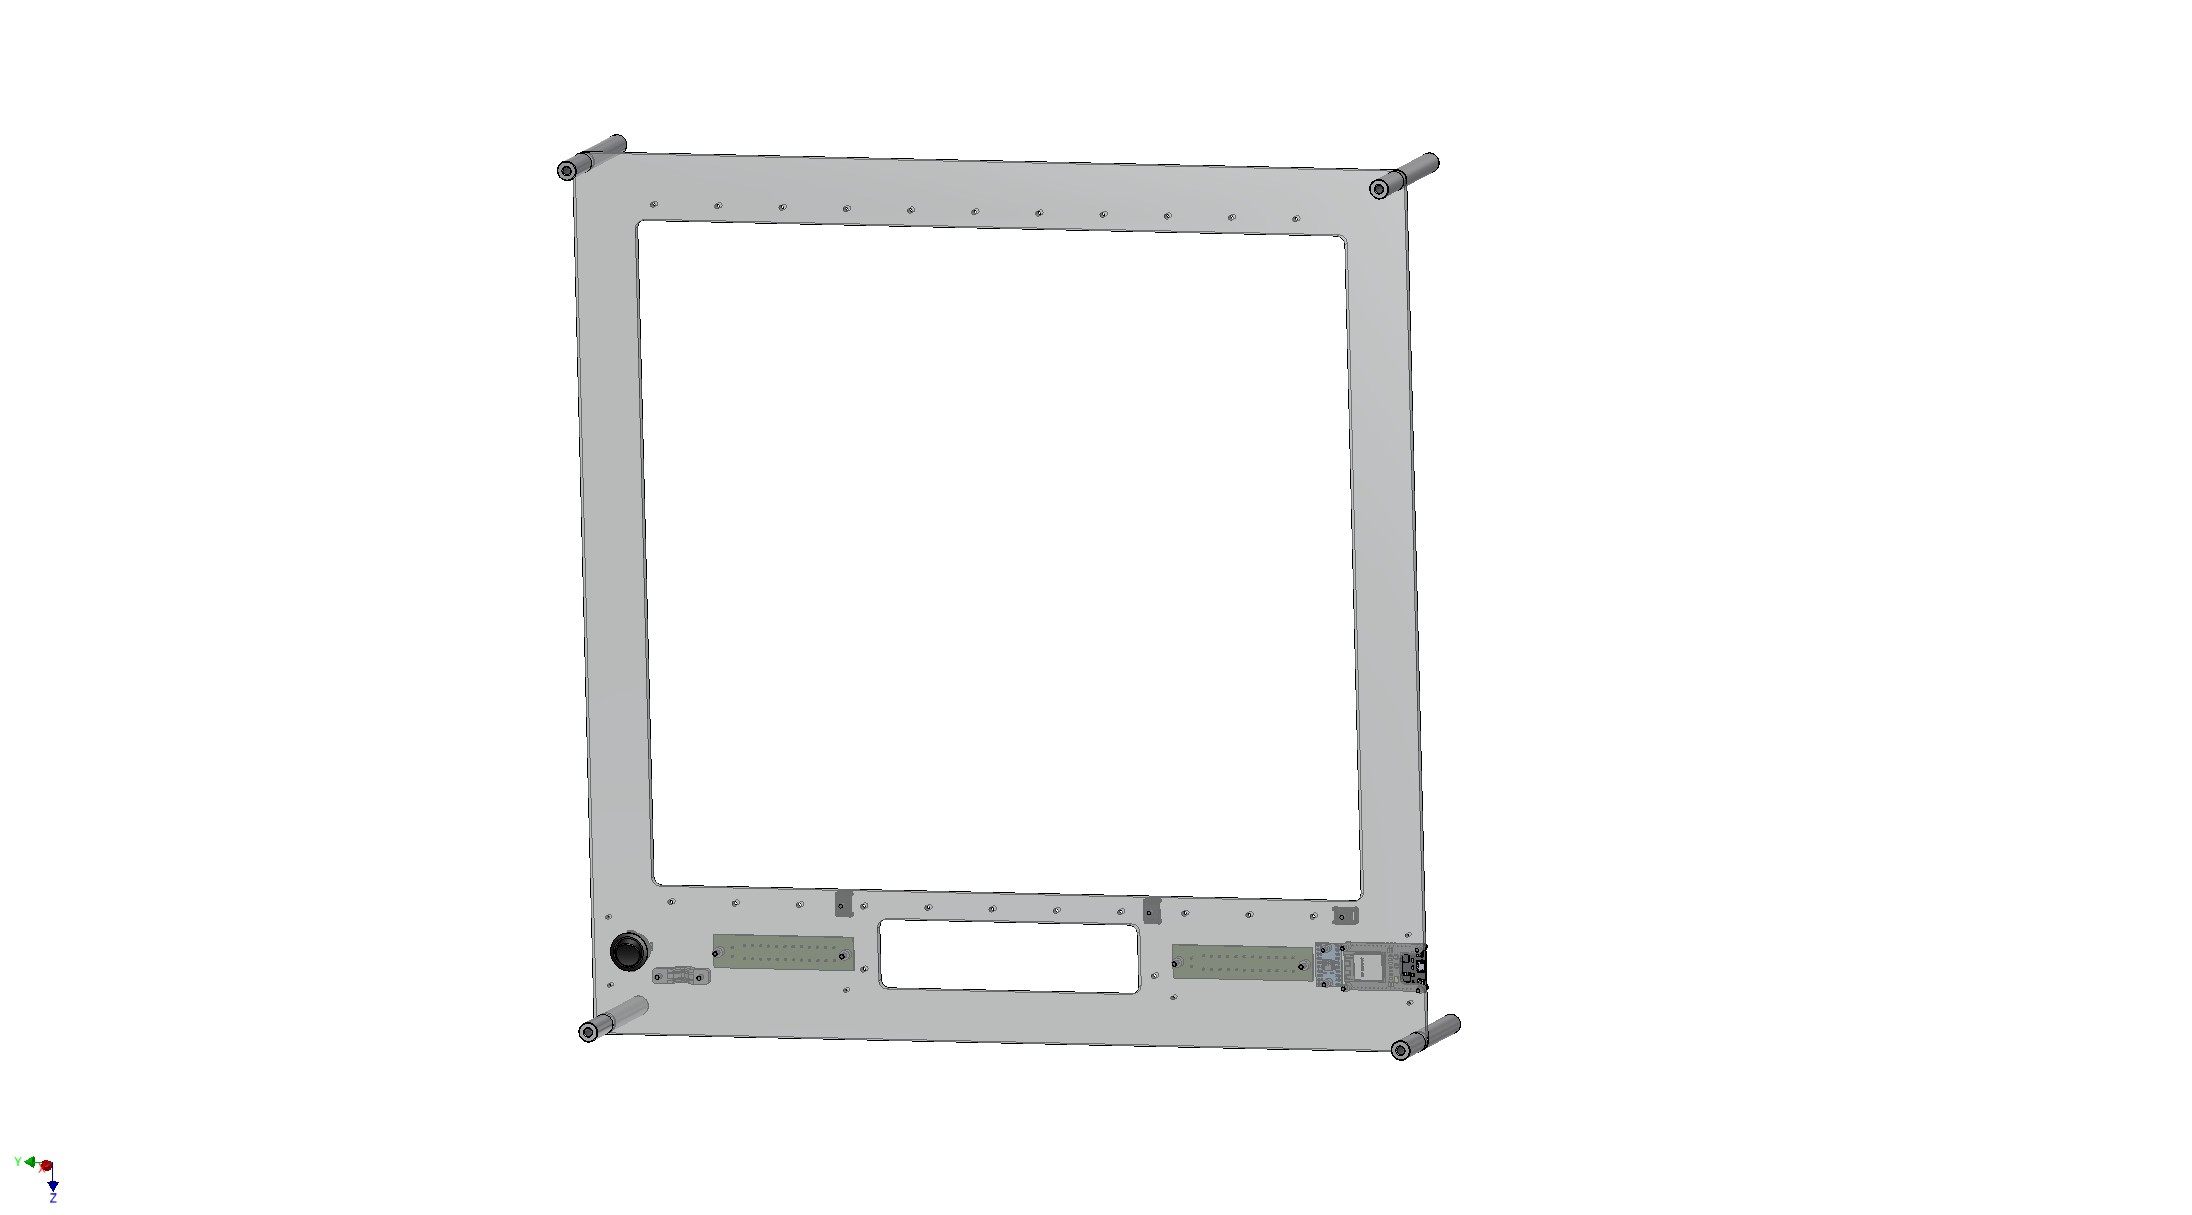
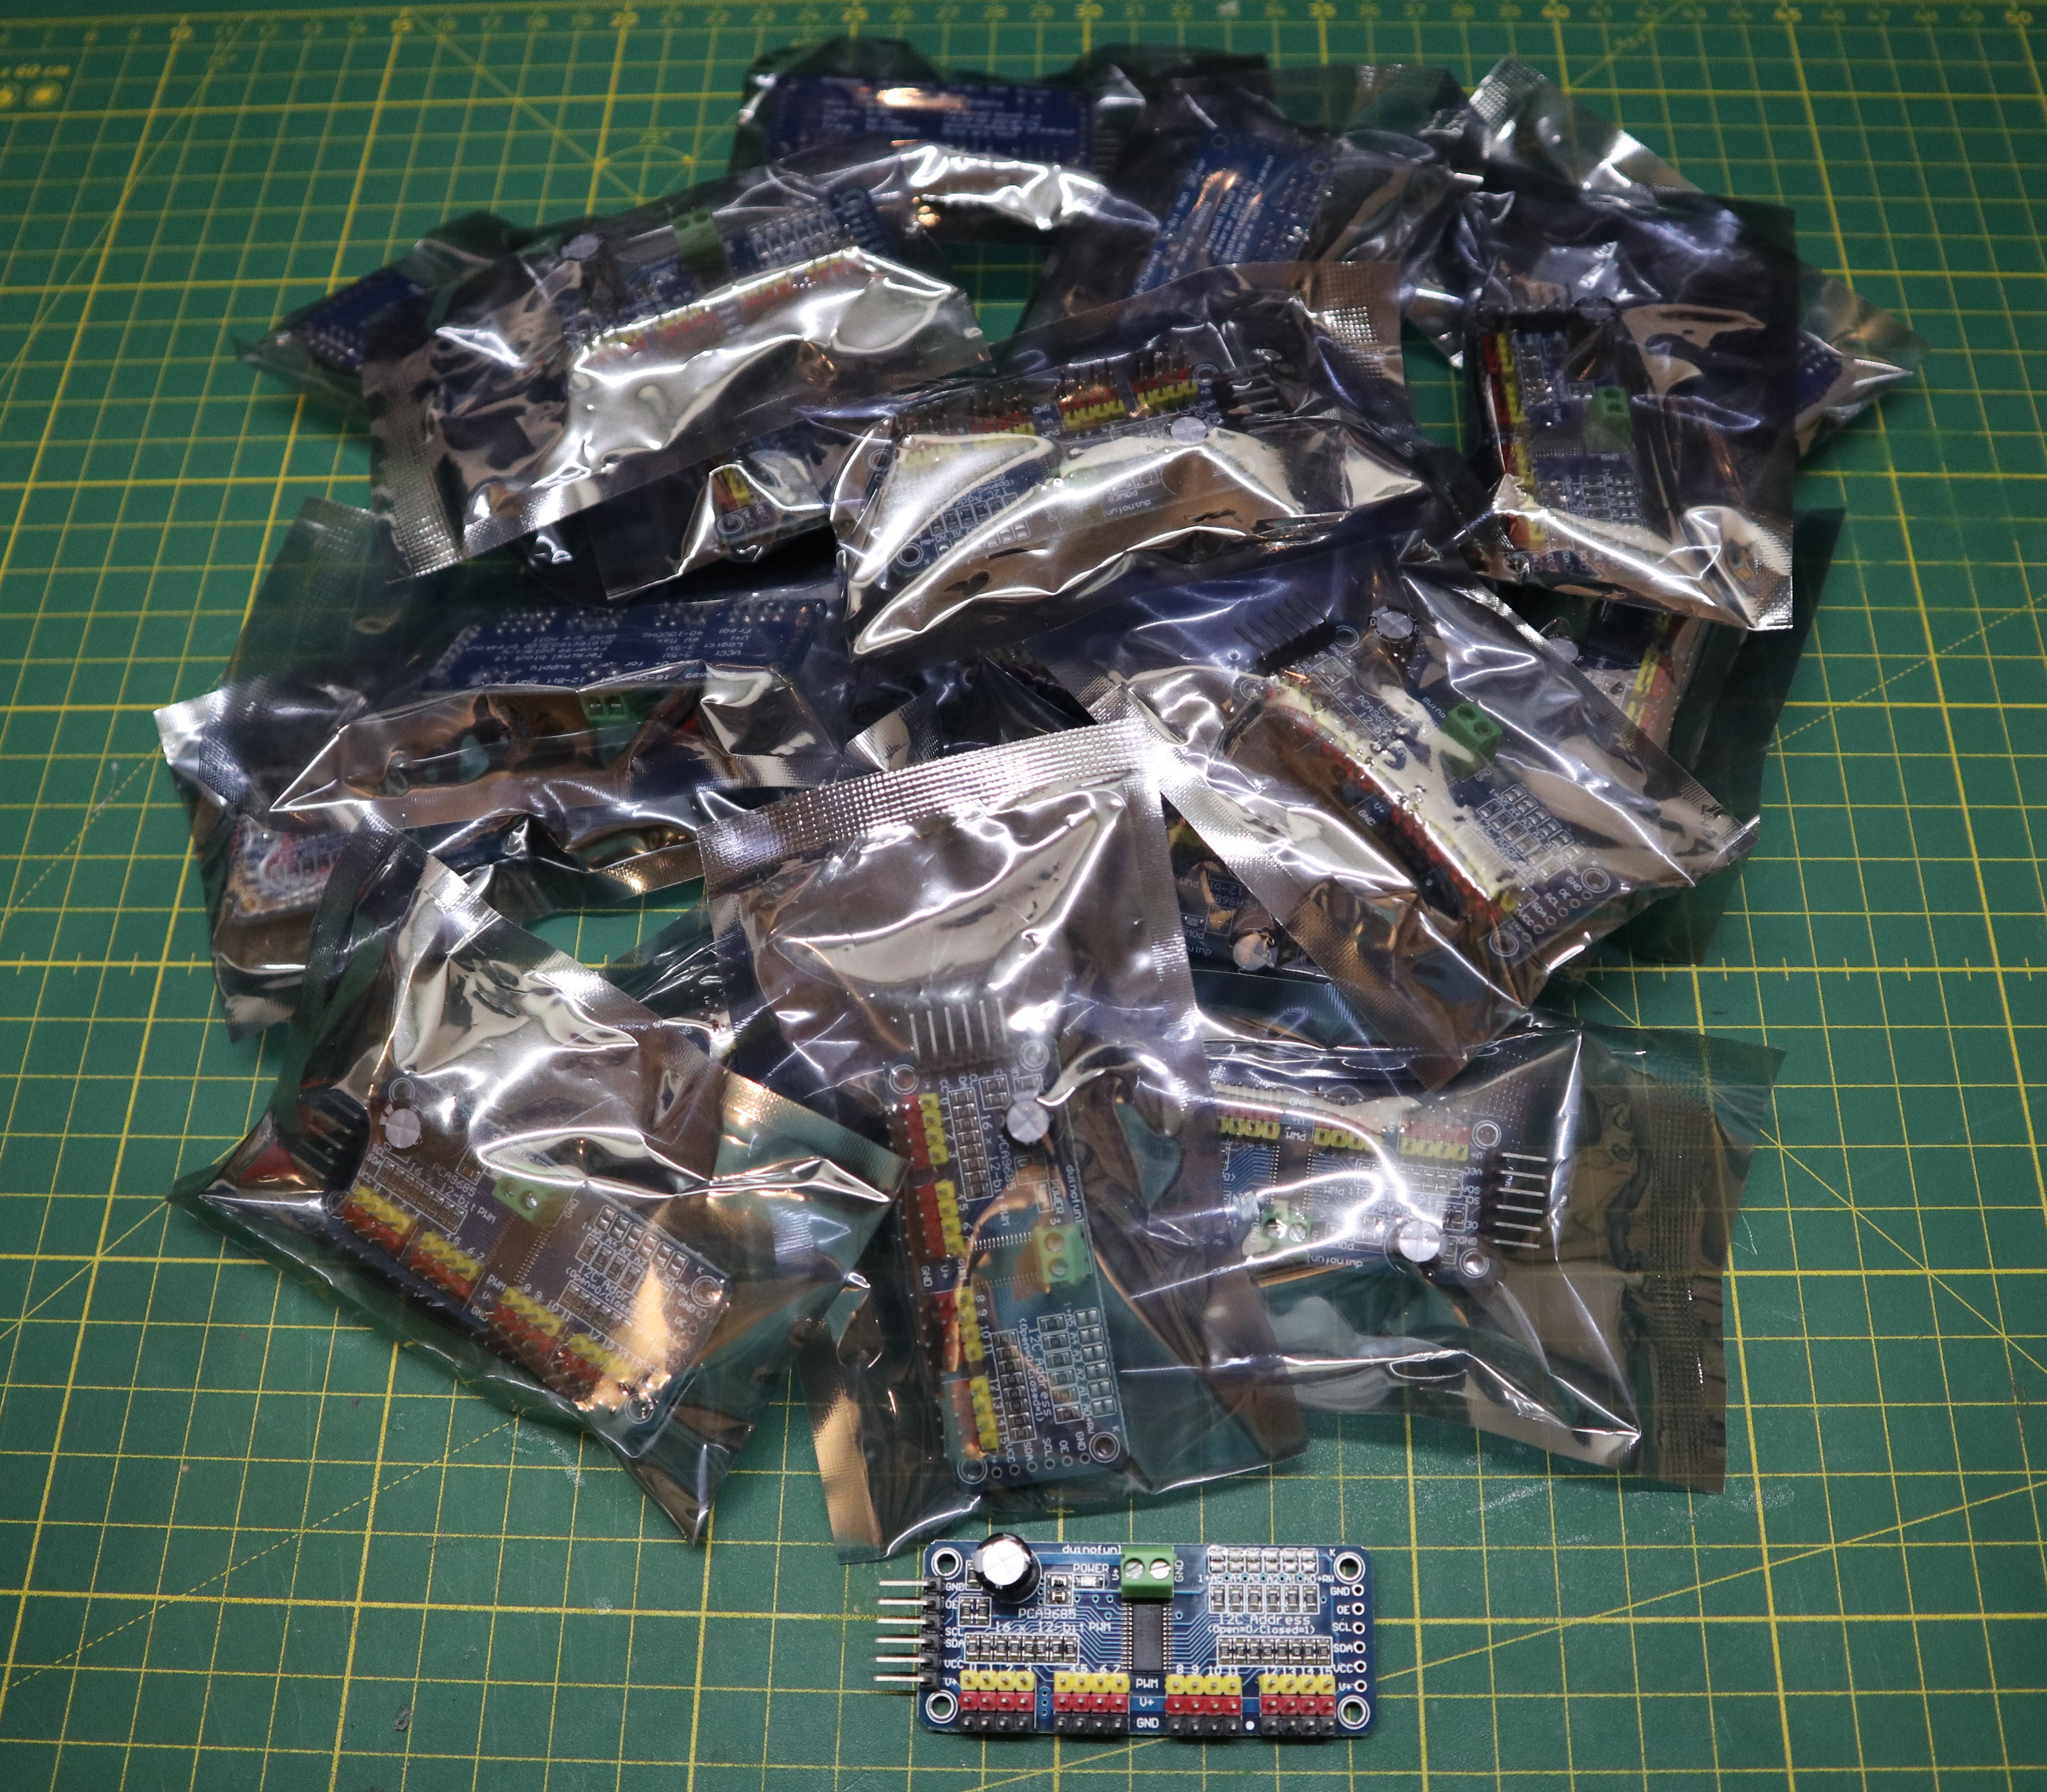
- custom PCB for main electronics
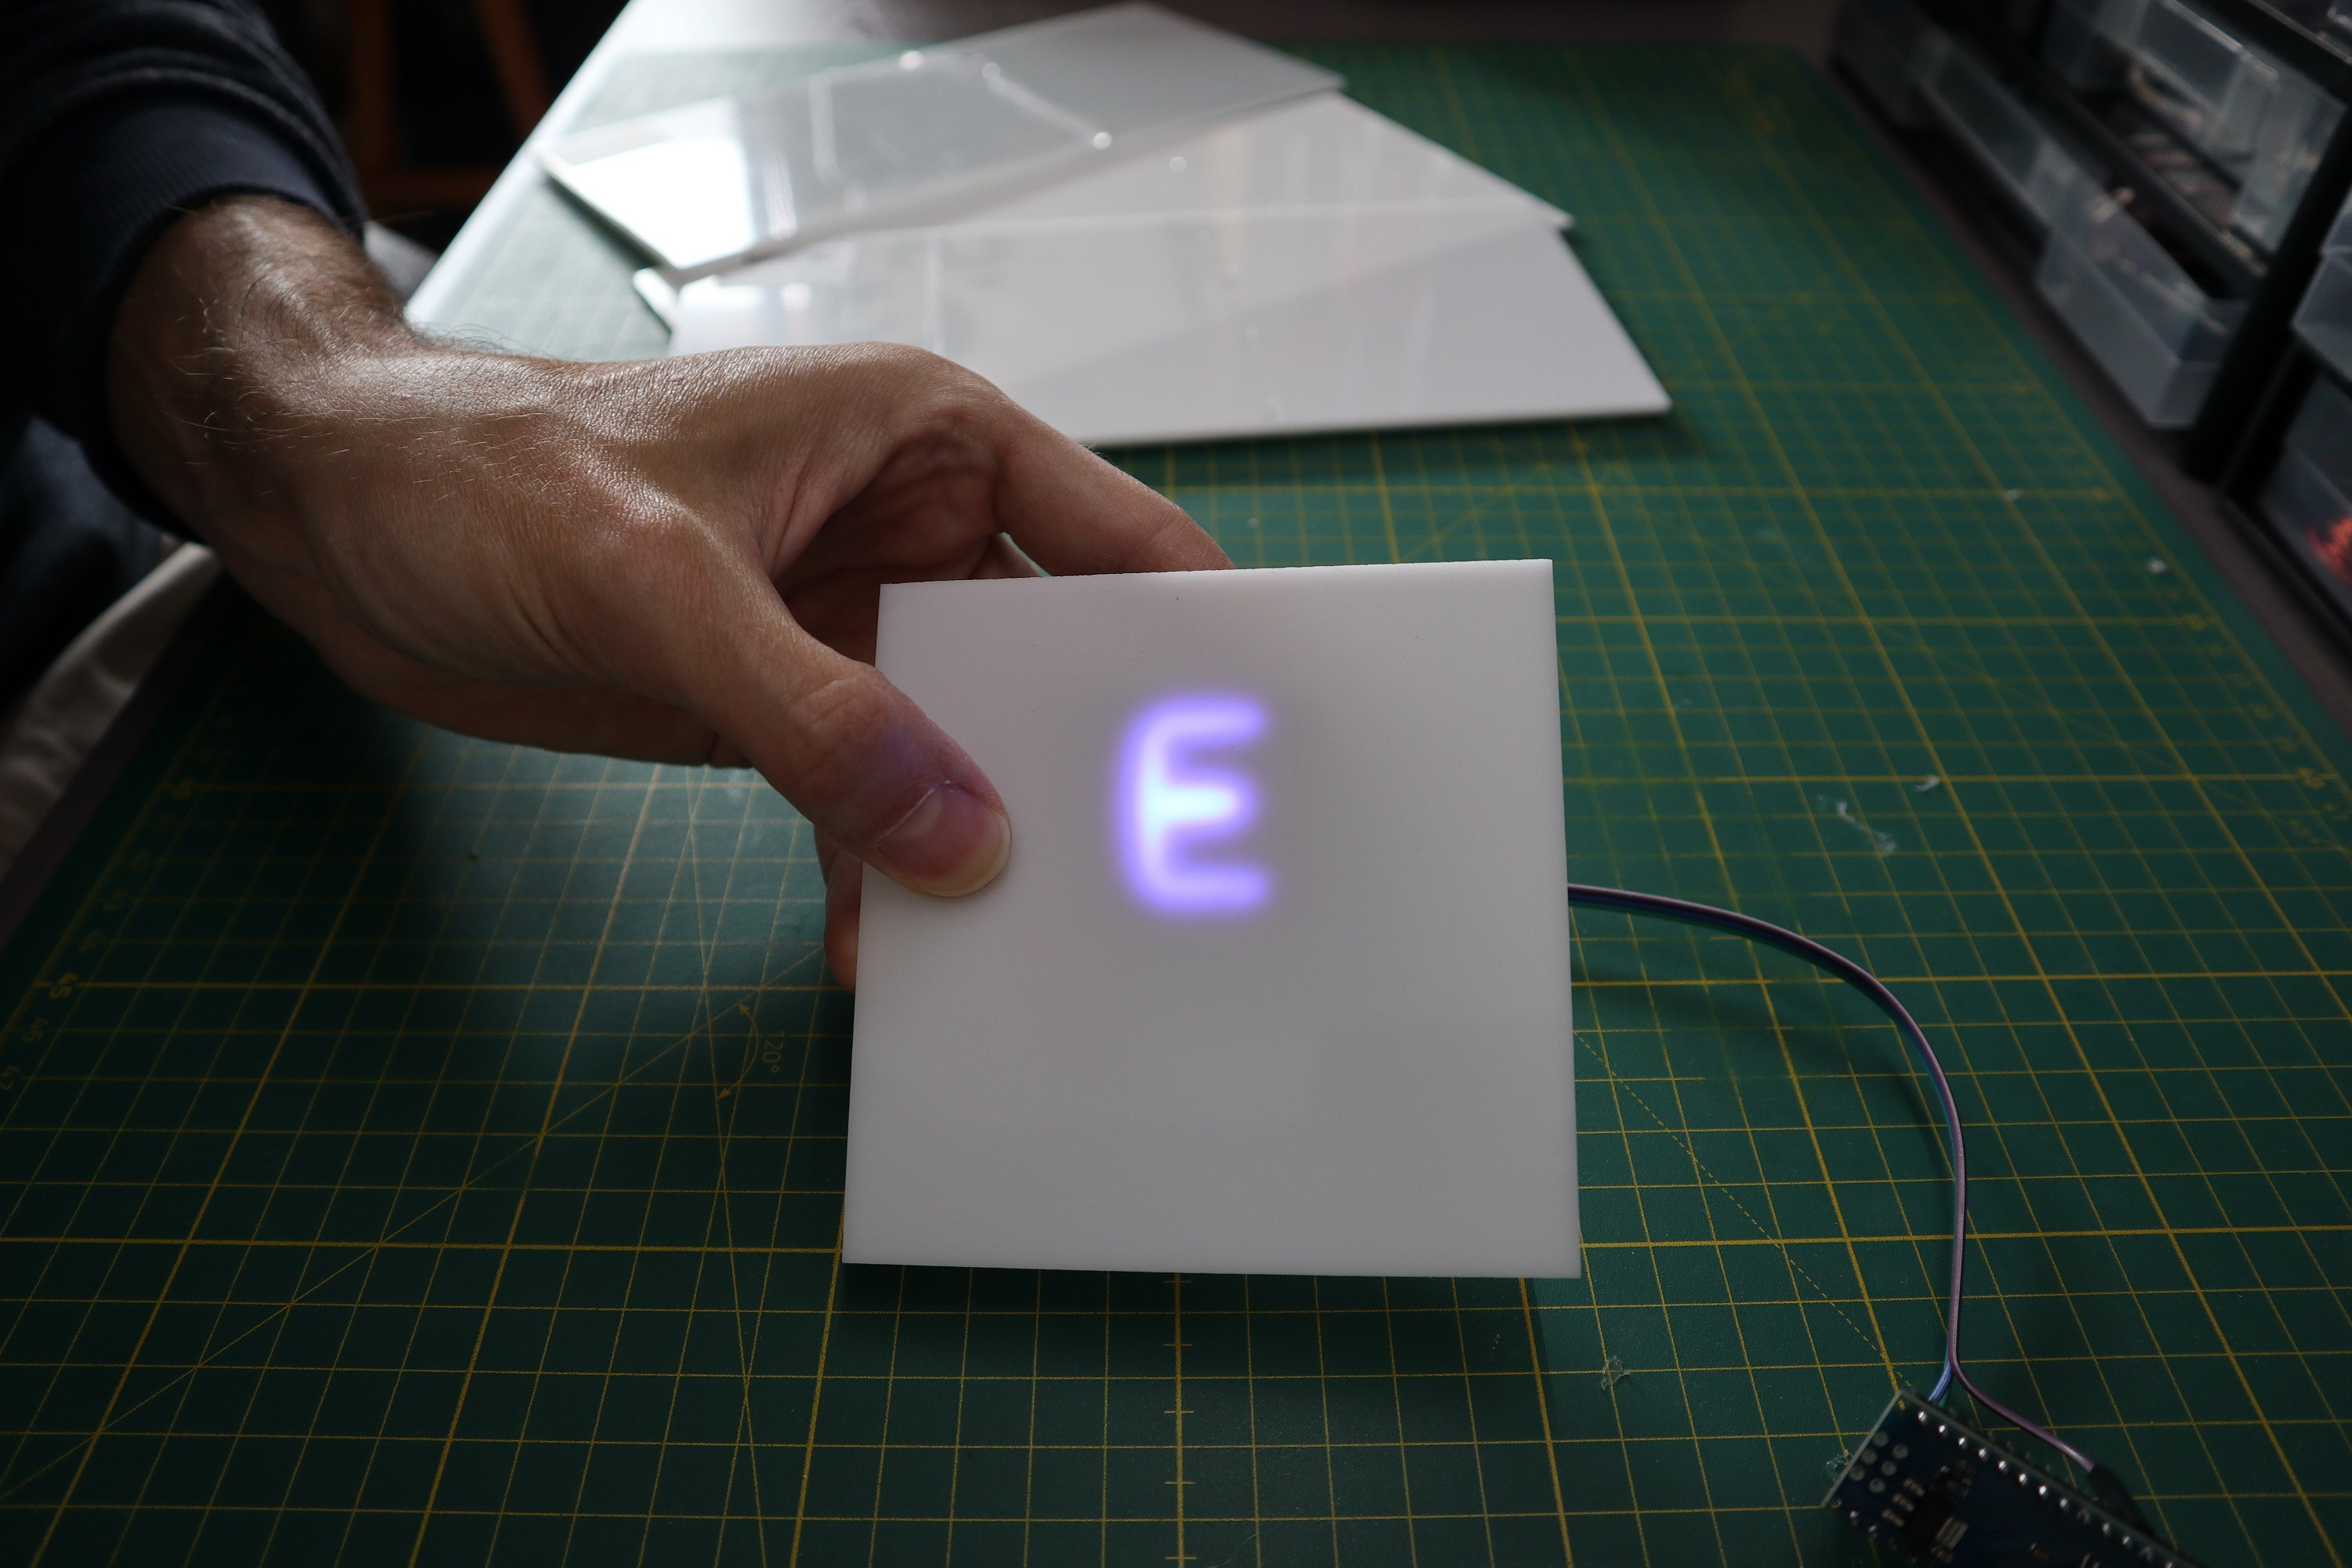
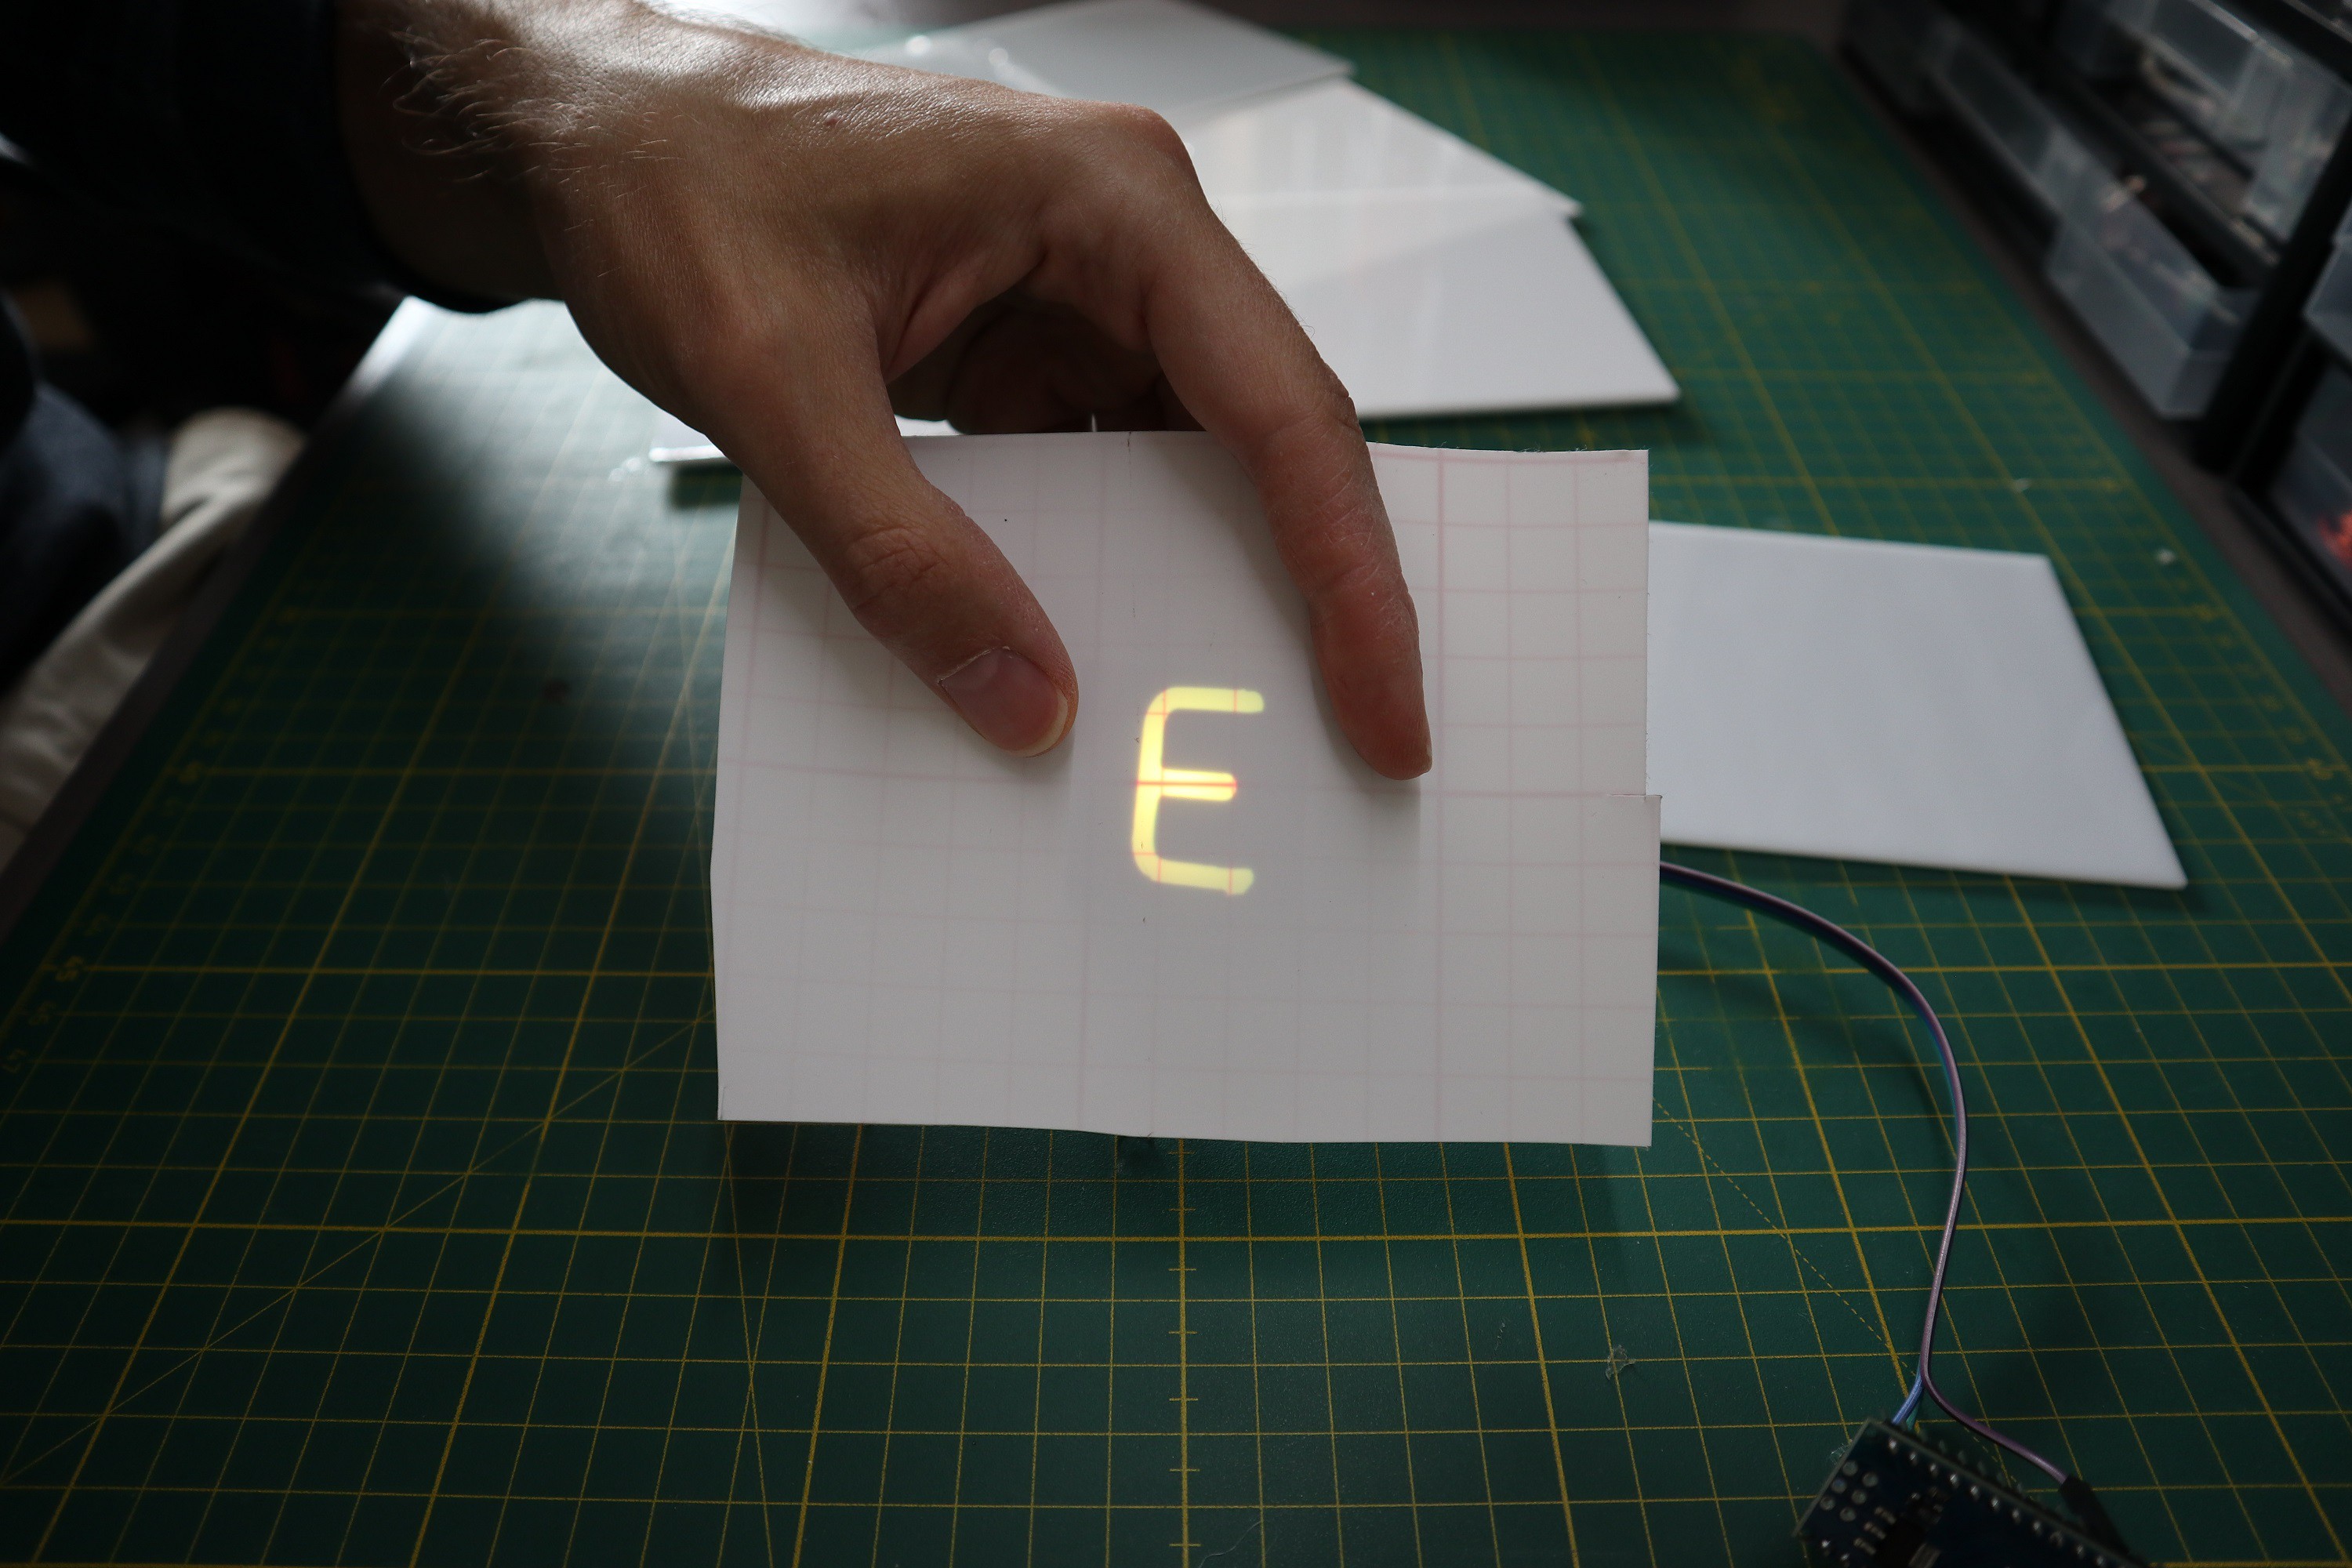
- improved alignment of letters
- greatly improved cable management
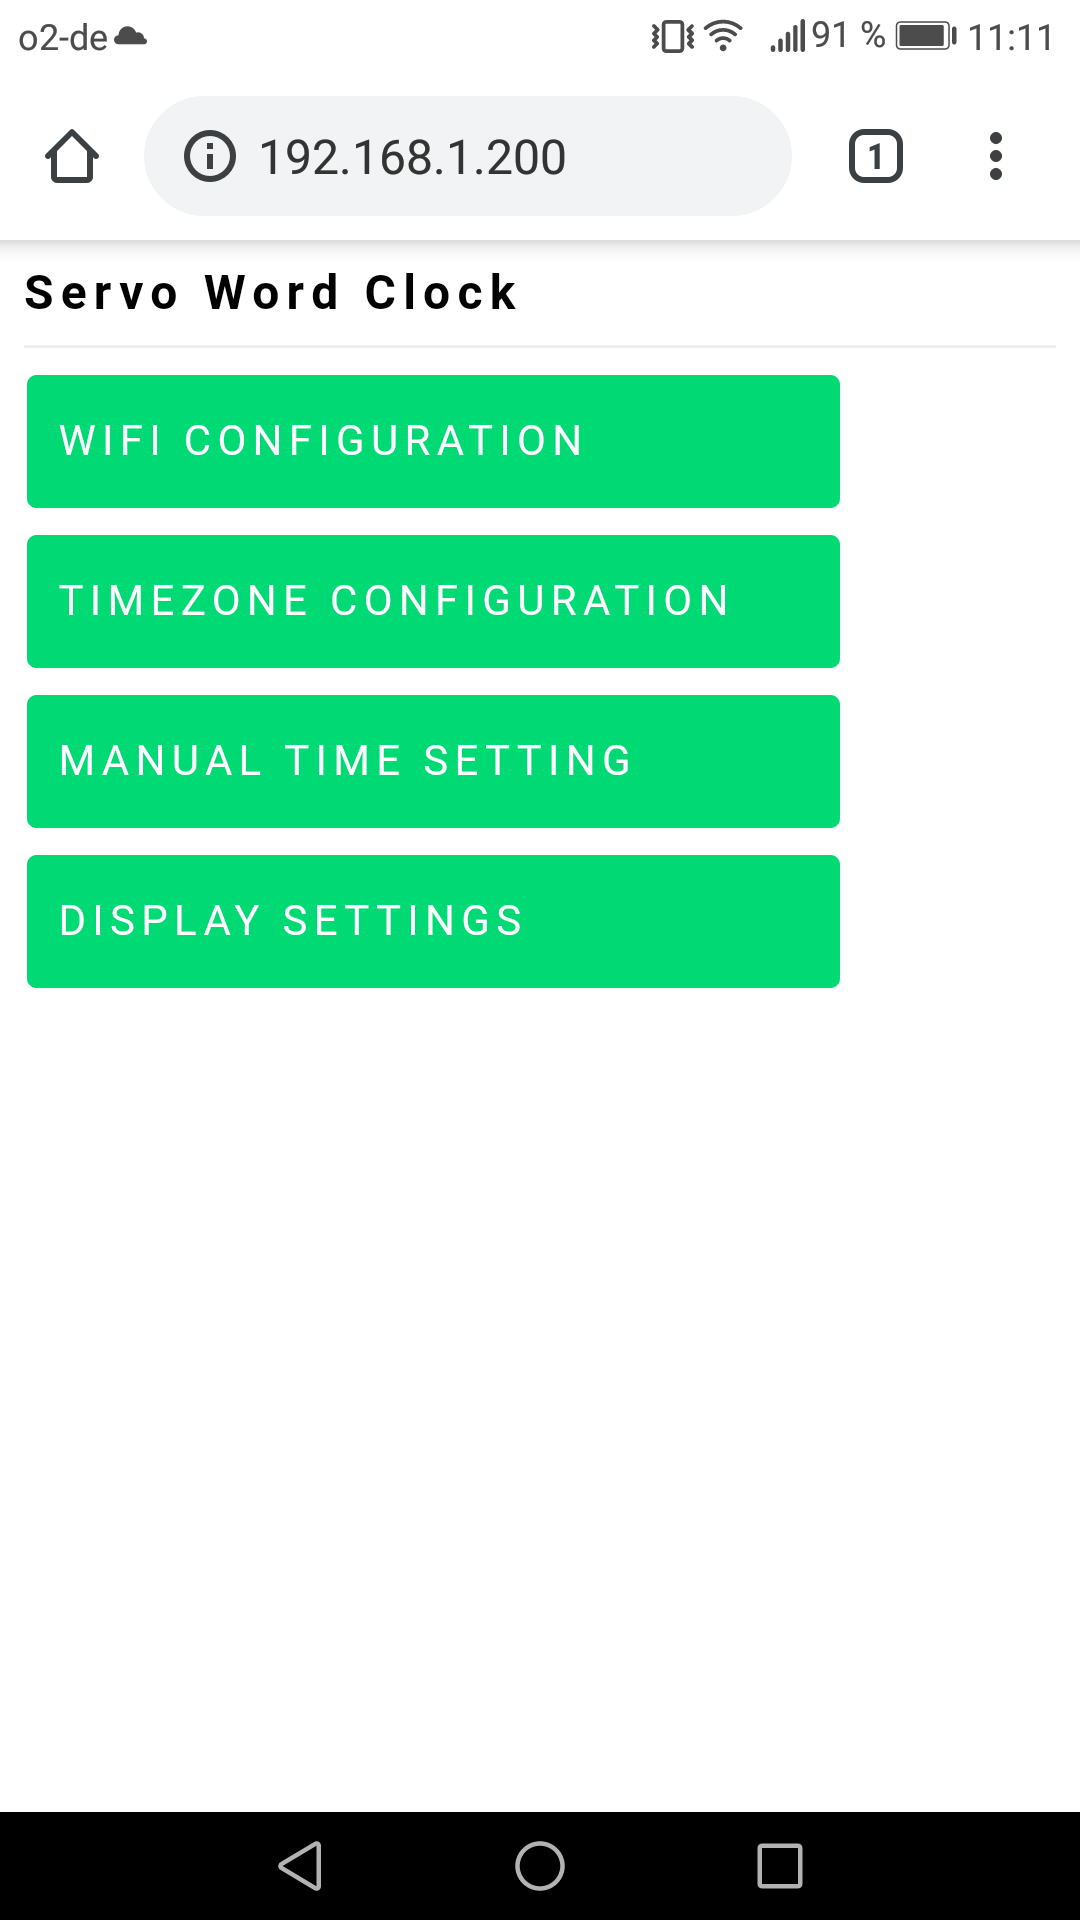
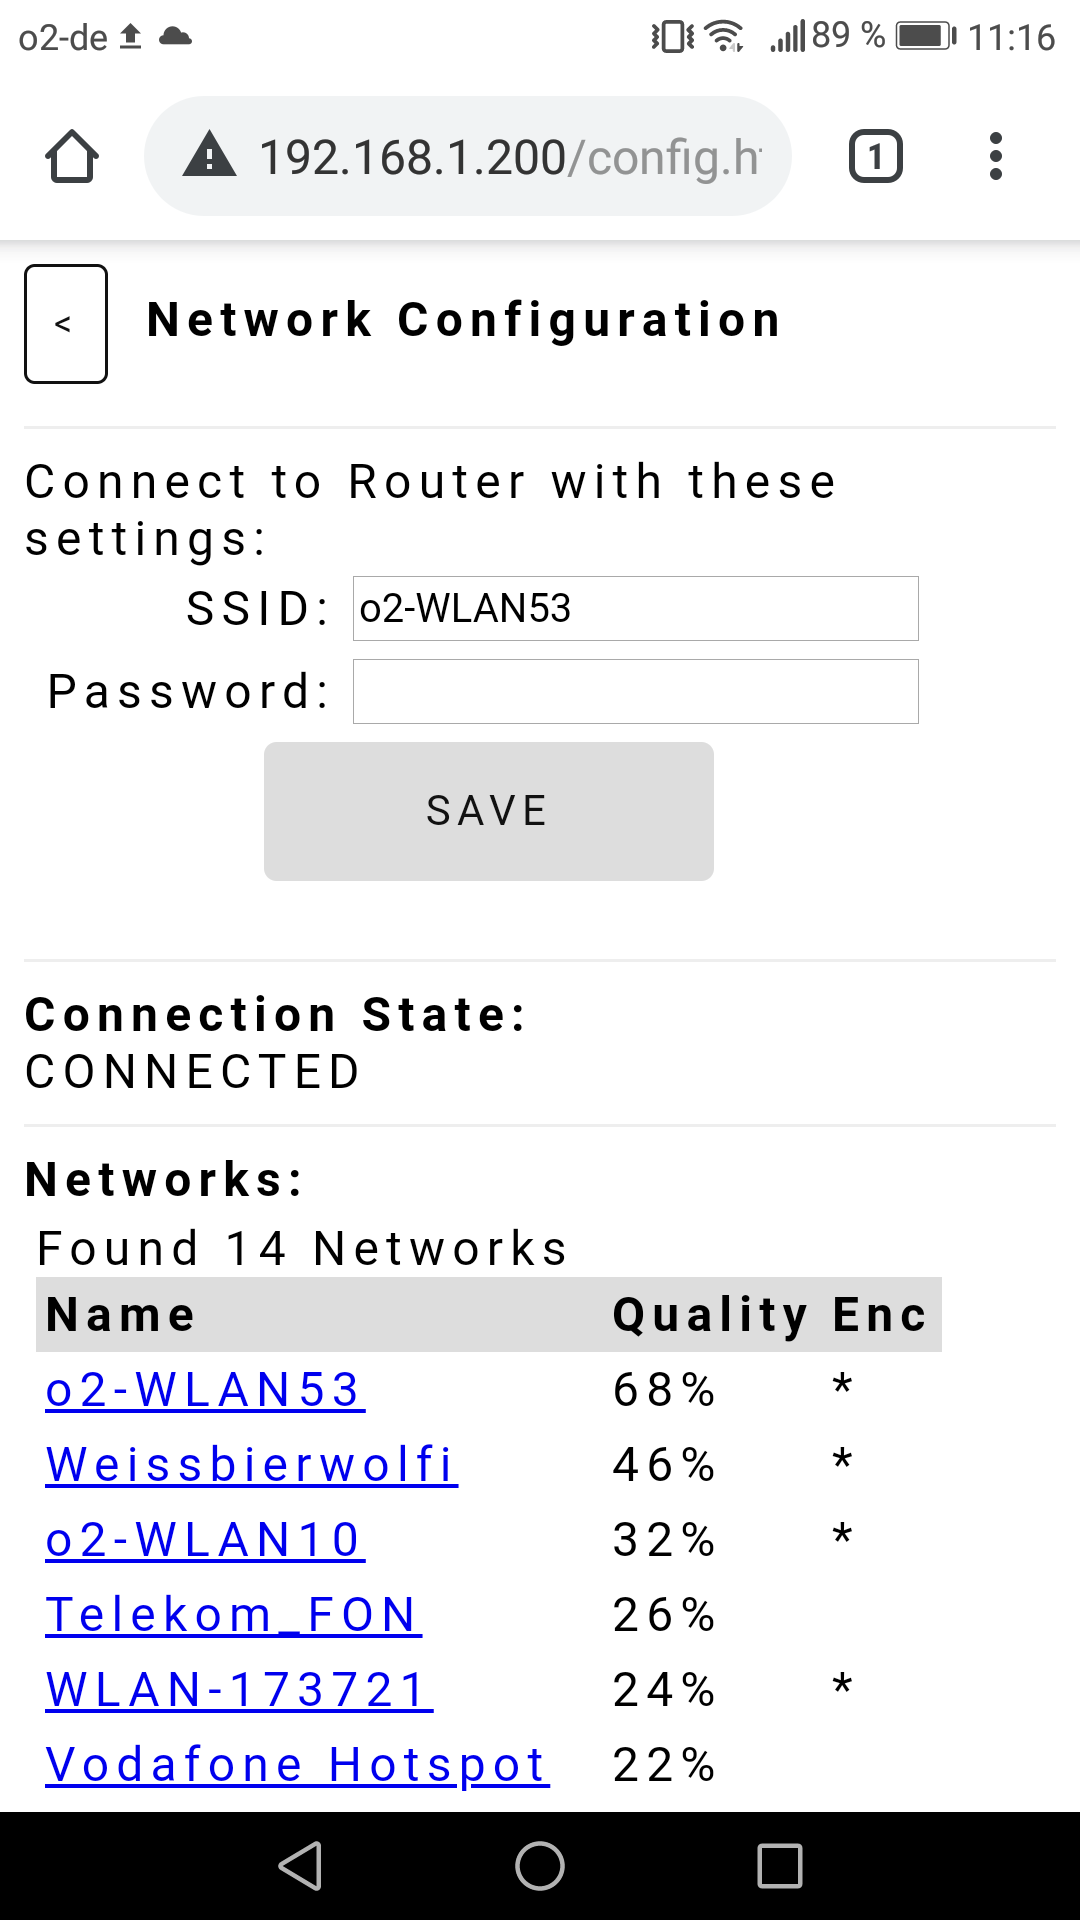
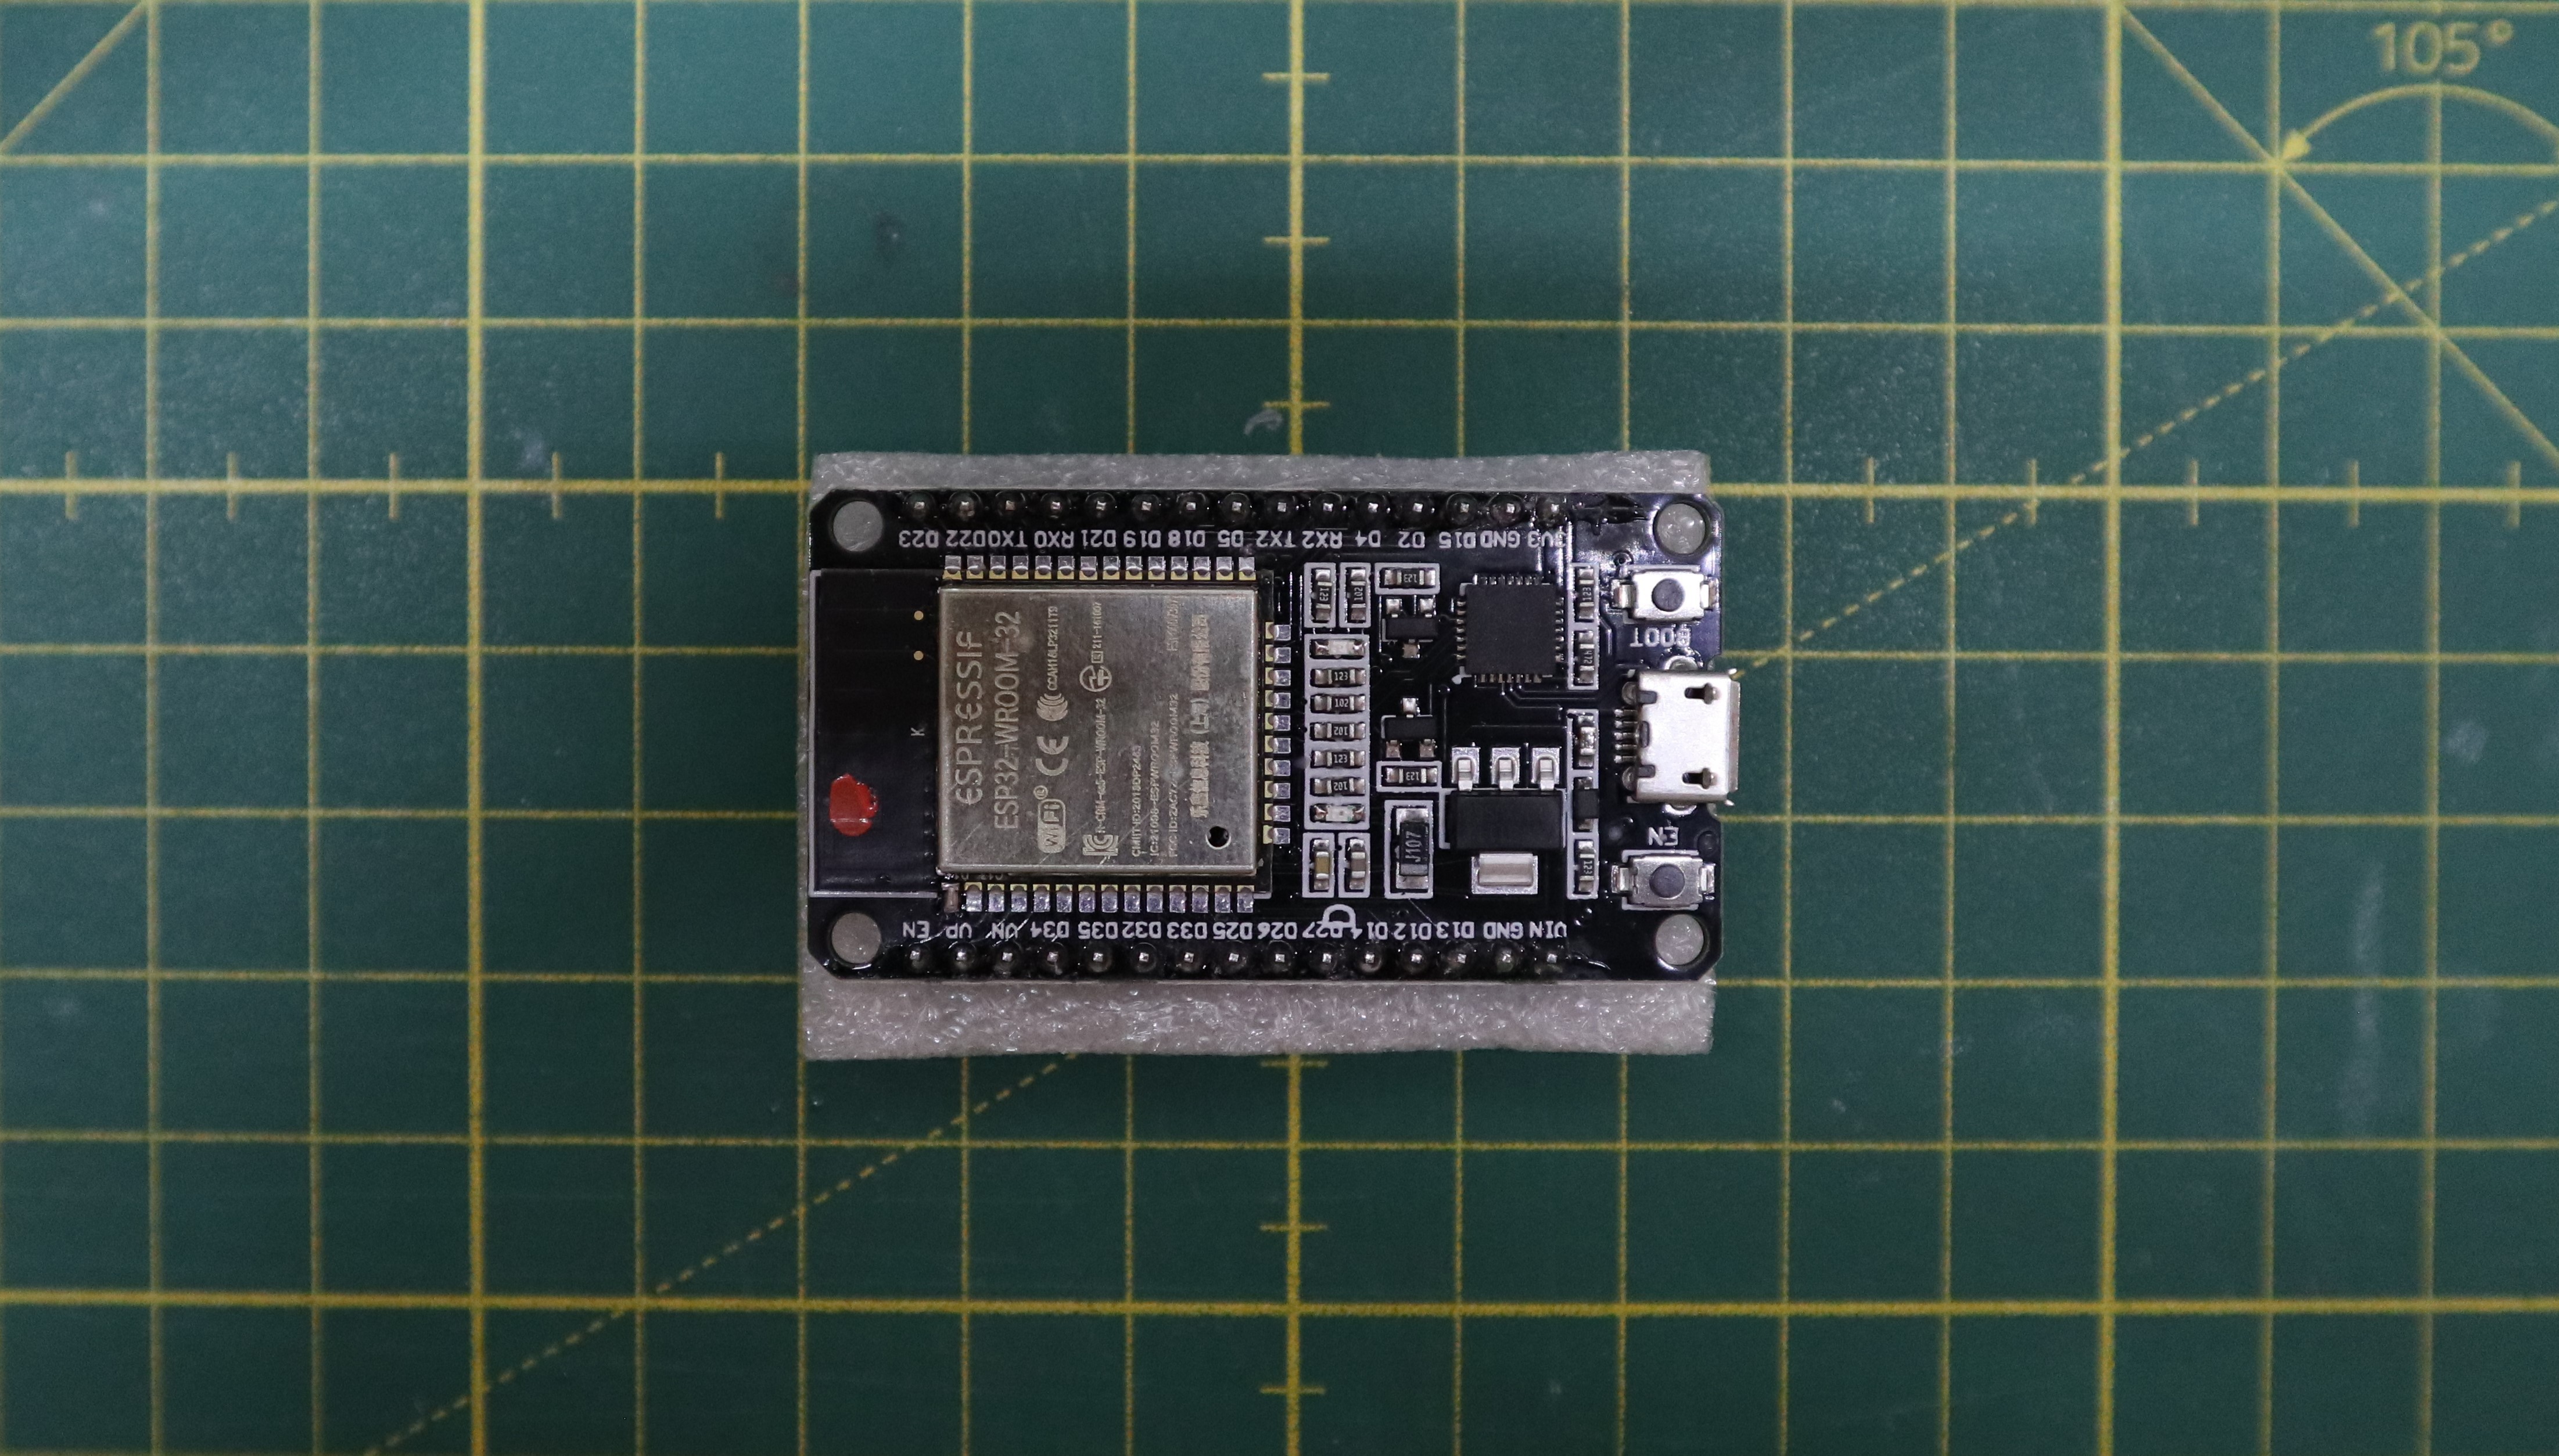
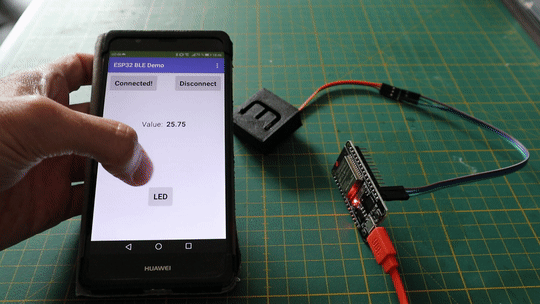
- WiFi connectivity
- time updated via NTP server
- control clock functions via web app (time setting, LED colors, brightness, transition effects, sleep mode, ...)
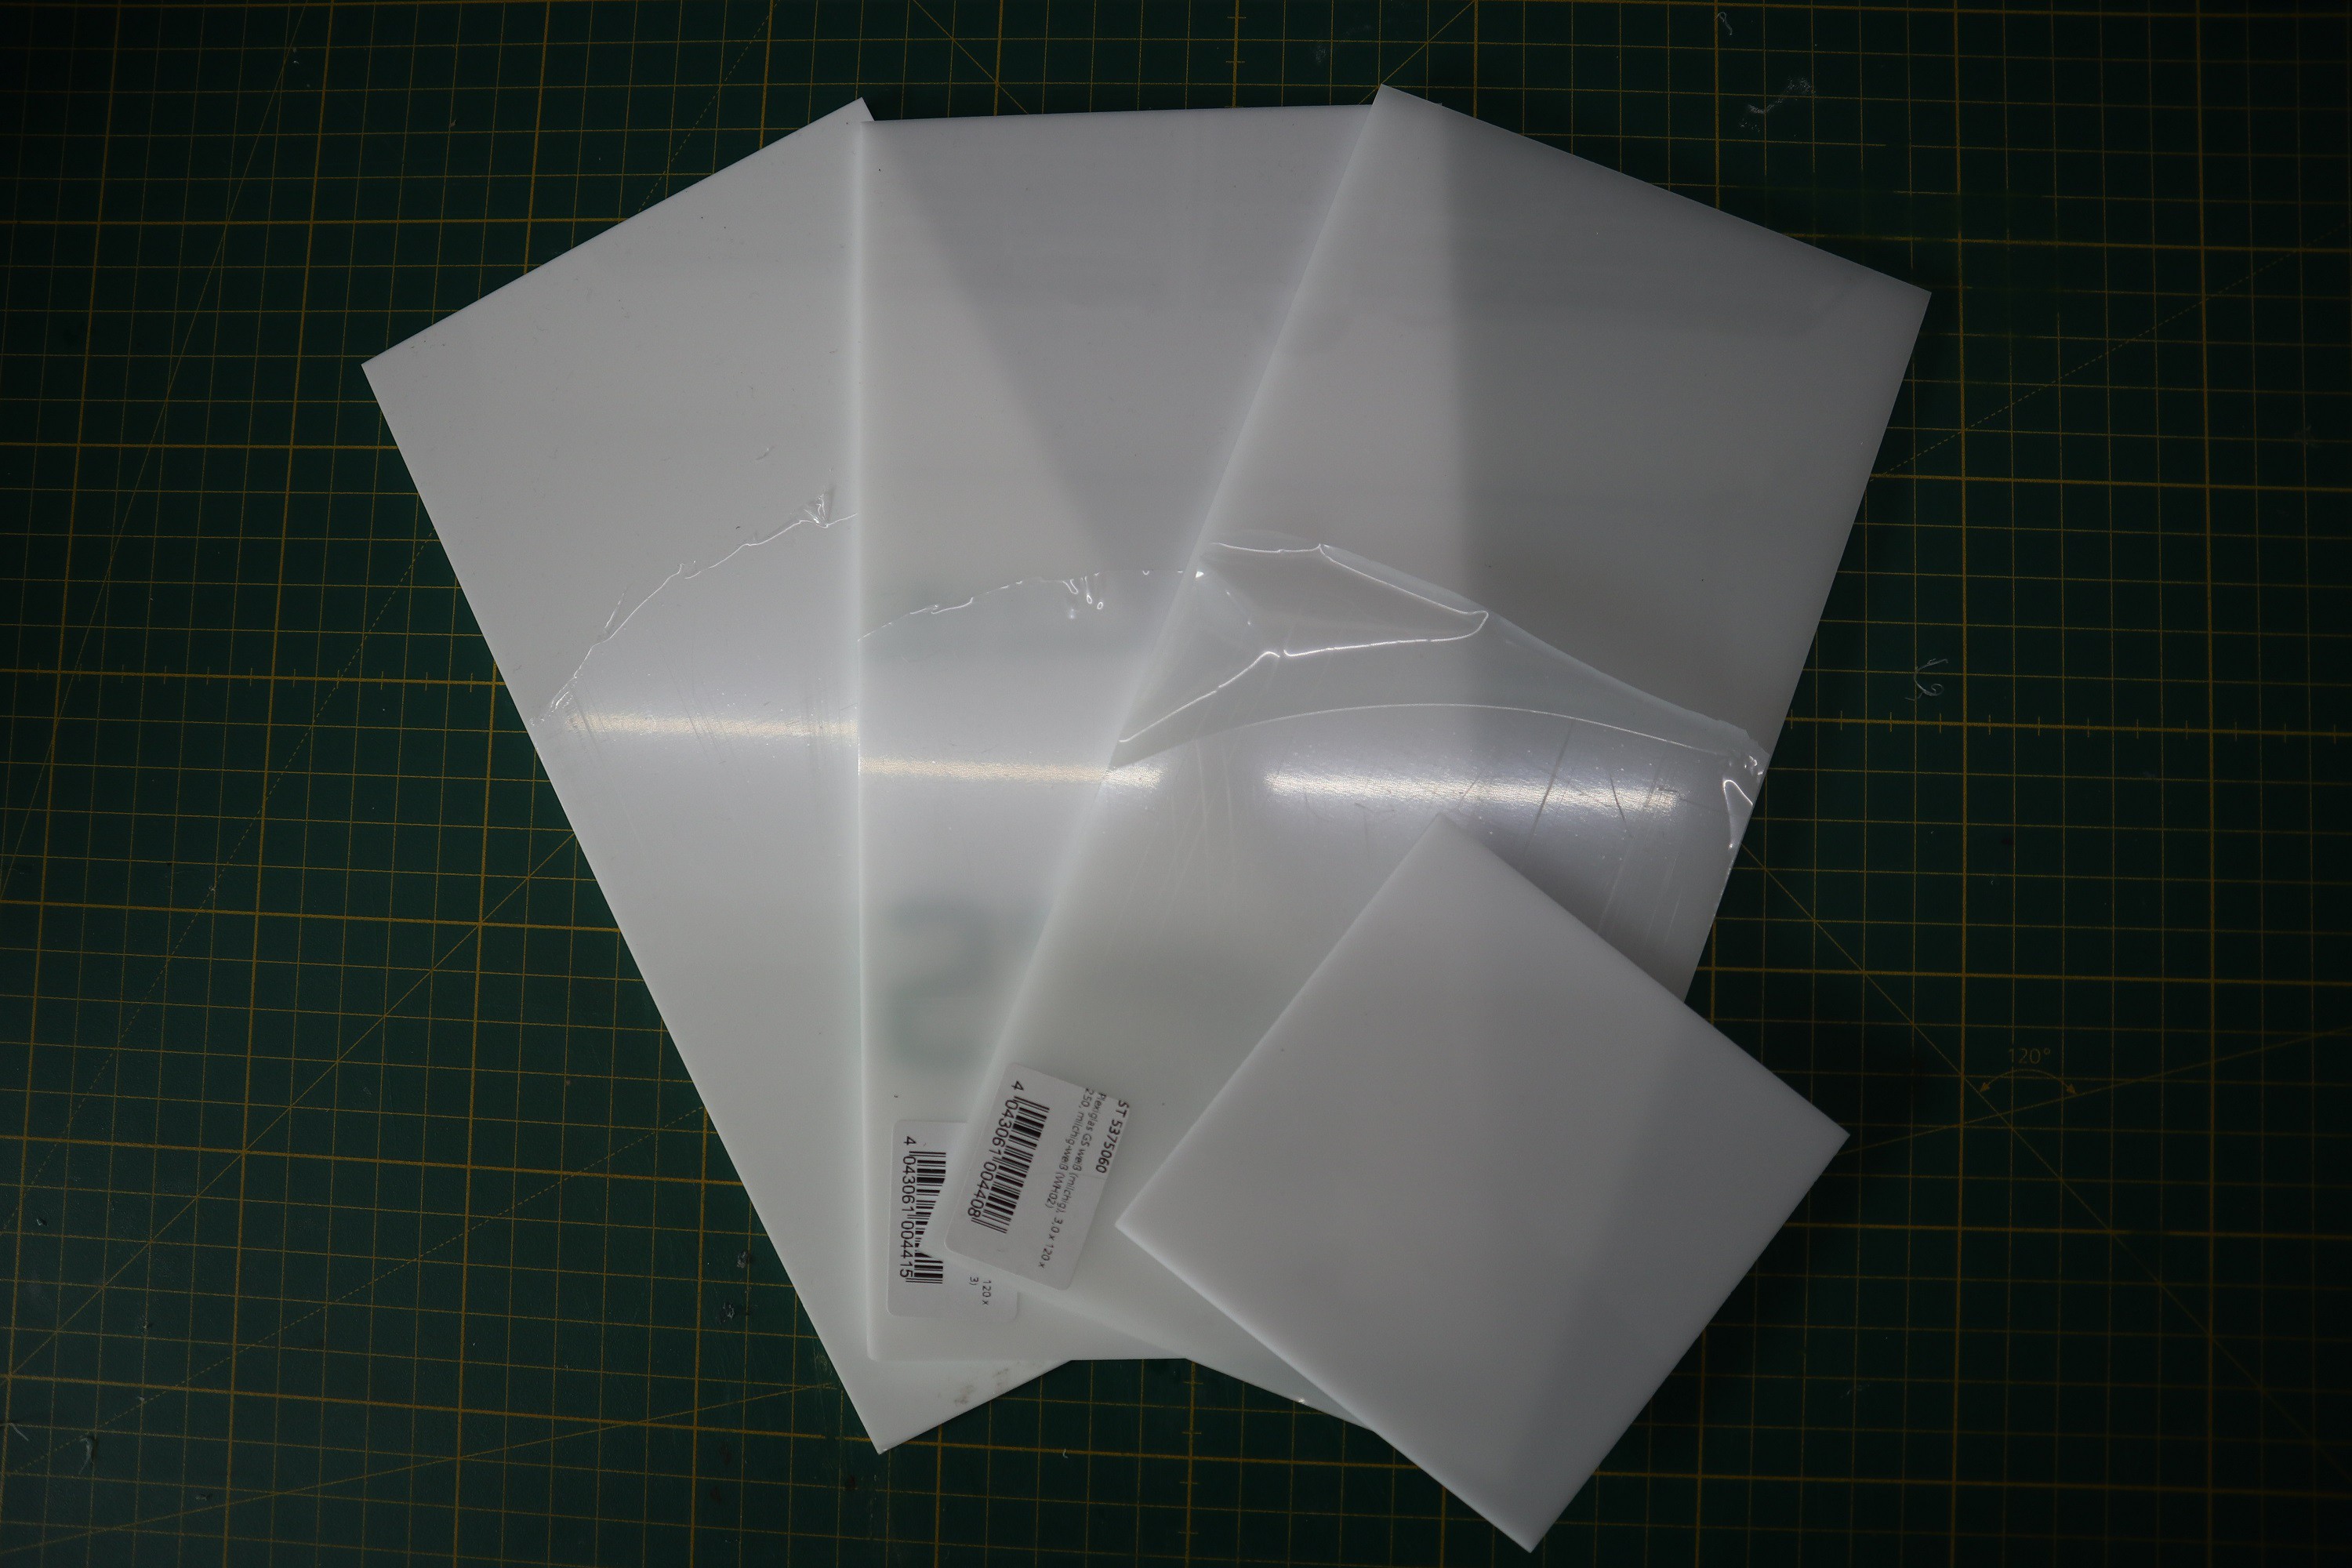
- minimalistic design based on laser cut acrylic
- quieter servos due to reduction of travel speed


 Andrew Cooney
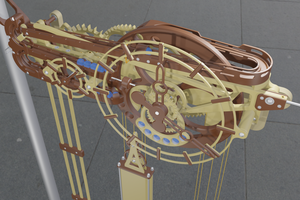

 alcor6502
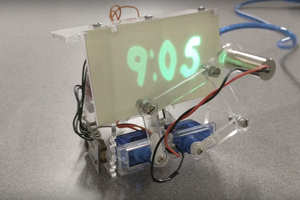
 TuckerShannon
That is some seriously awesome design! I loved the v1, but this is on another level. Congratulations :)