 N. Christopher Perry
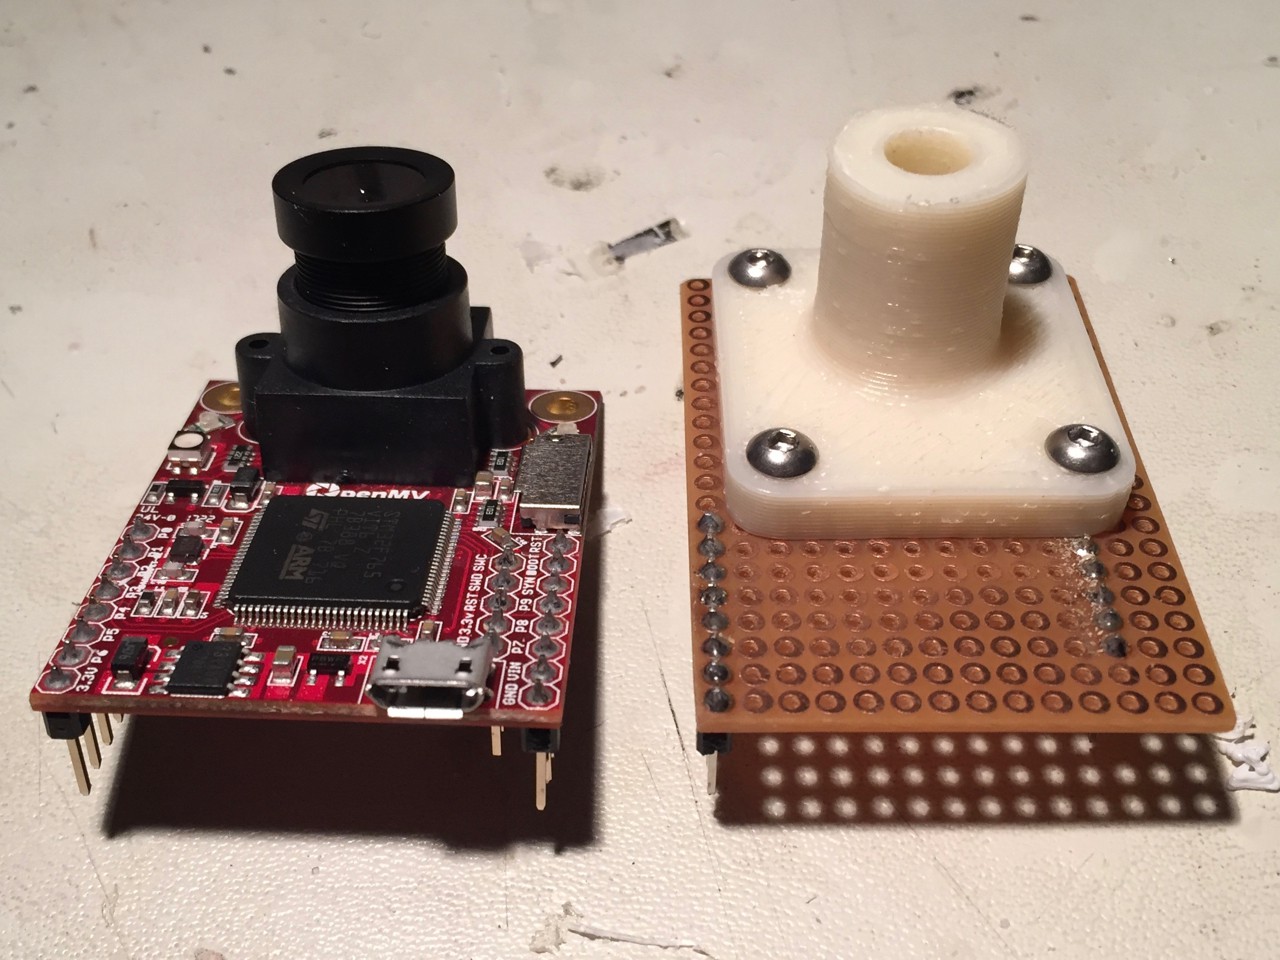
I’d started playing around with a OpenMV M7 board for a different and much larger project, but was looking for something a little smaller to get started with. The idea occurred to me that, if the eyes could move in 2 dimensions, I could use the M7 to find faces and have the eyes track them. This would make a pumpkin with eyes even more freaky!
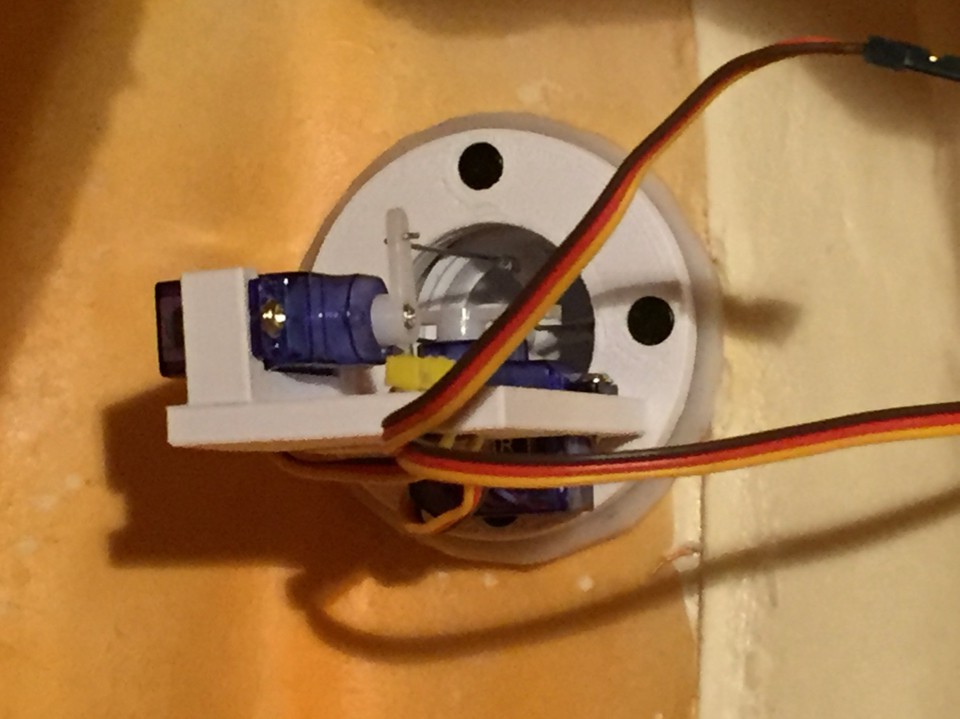
I did some image searches for a simple 2D eye pointing mechanism and this is what I settled on: https://www.thingiverse.com/thing:1152248
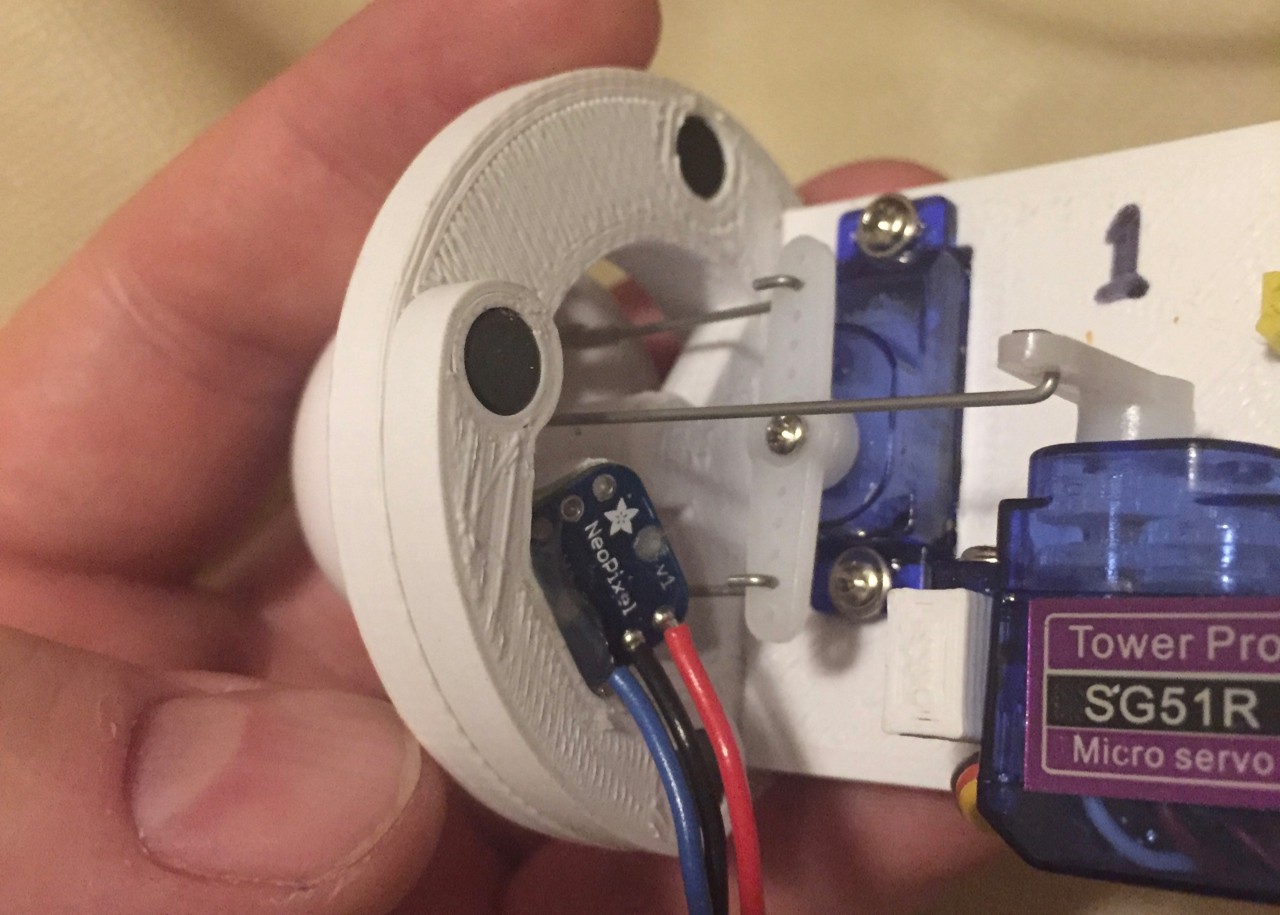
I oped to use wire for the links and substituted shrink tubing for the printed flex couplings, stripped out every thing for the second eye, and made the whole mechanism more compact:
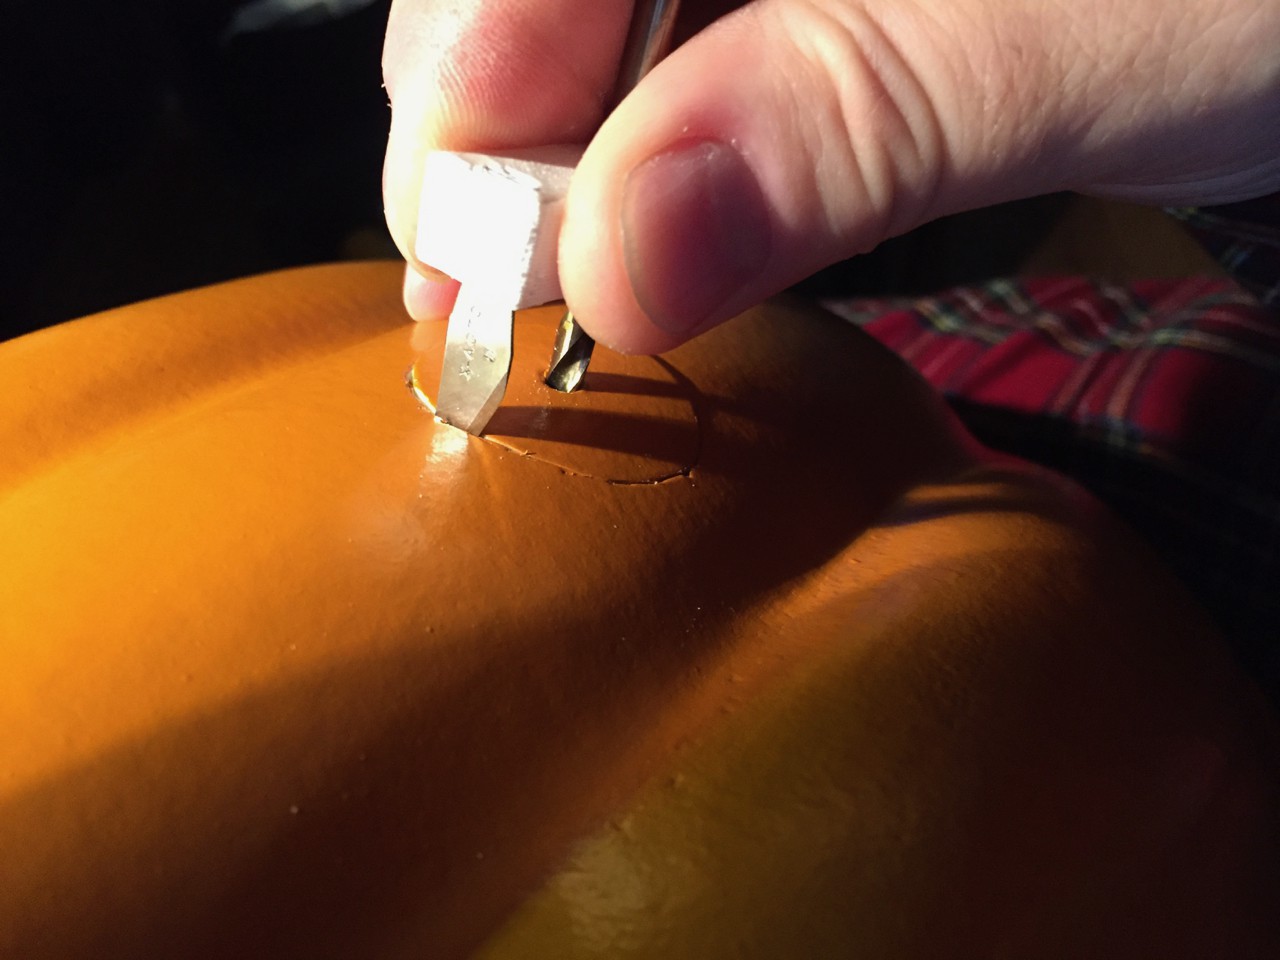
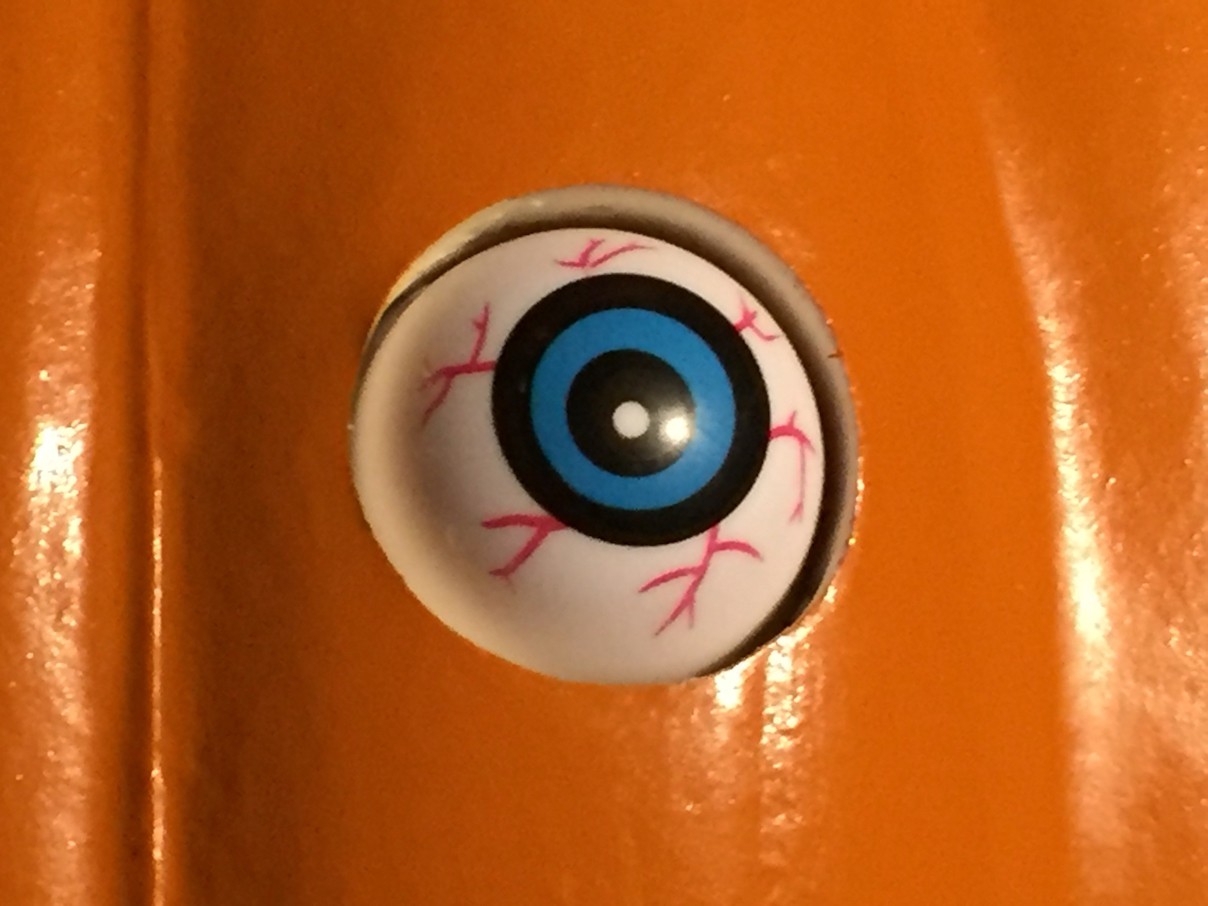
I decided to reuse the eye balls I purchased for the first year’s attempt (Hobby Lobby Plastic Eyeballs), so I printed up a chuck to hold them on my Taig lathe to cut the backs off of them.

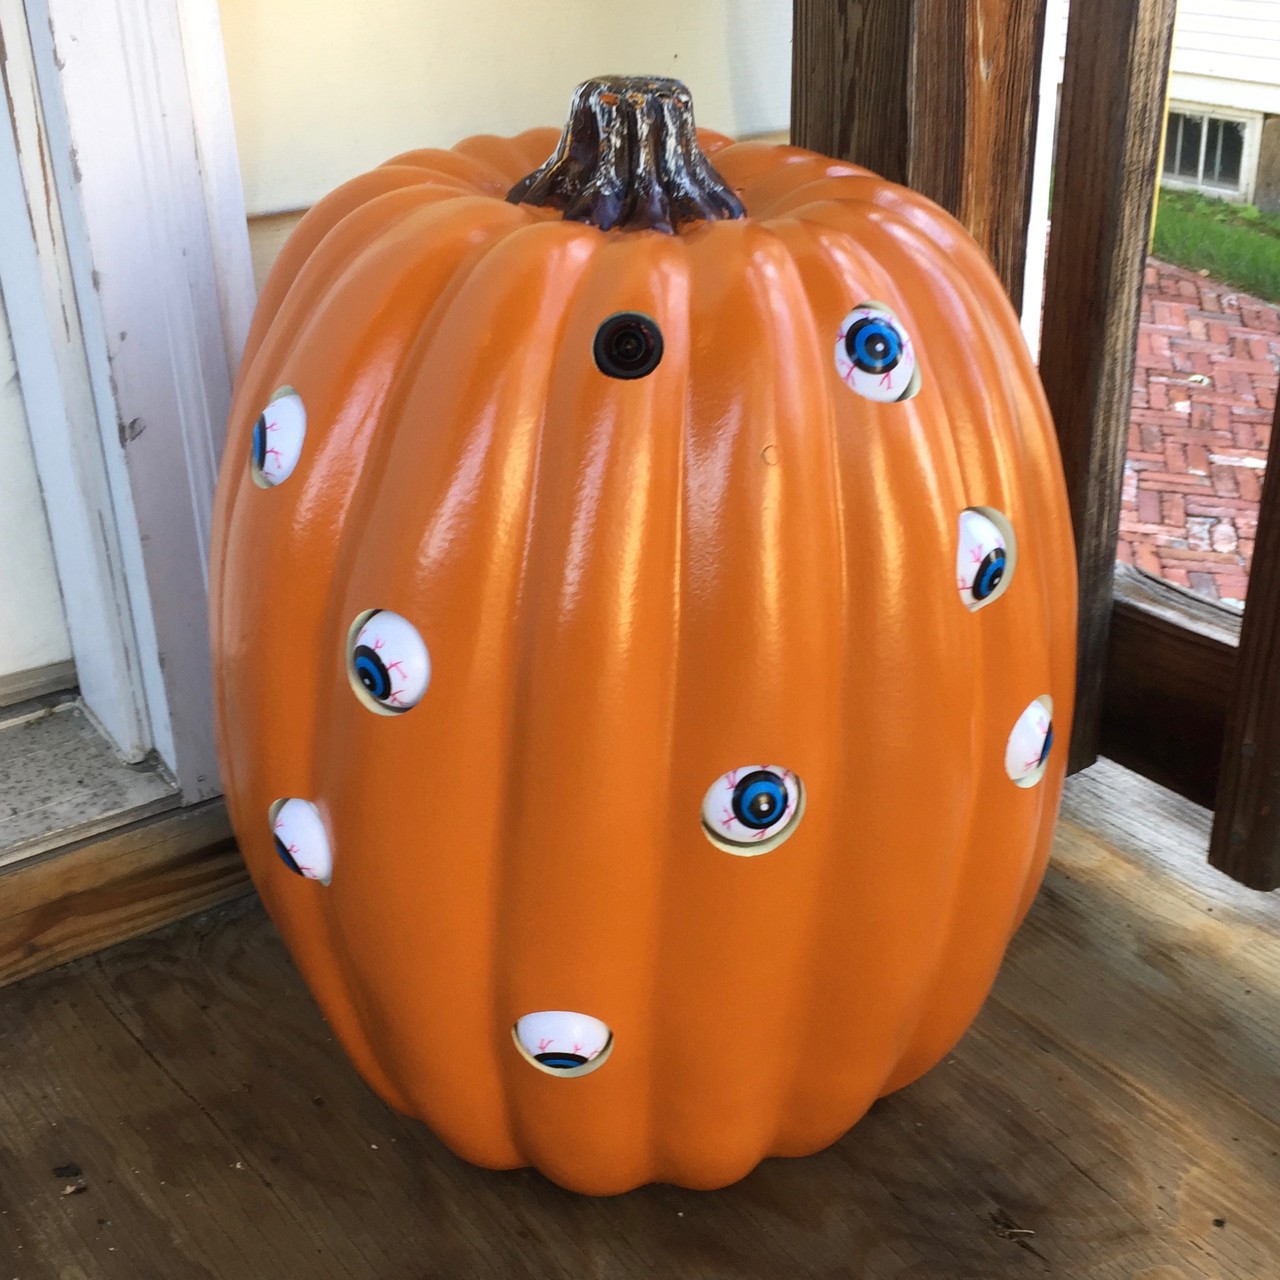
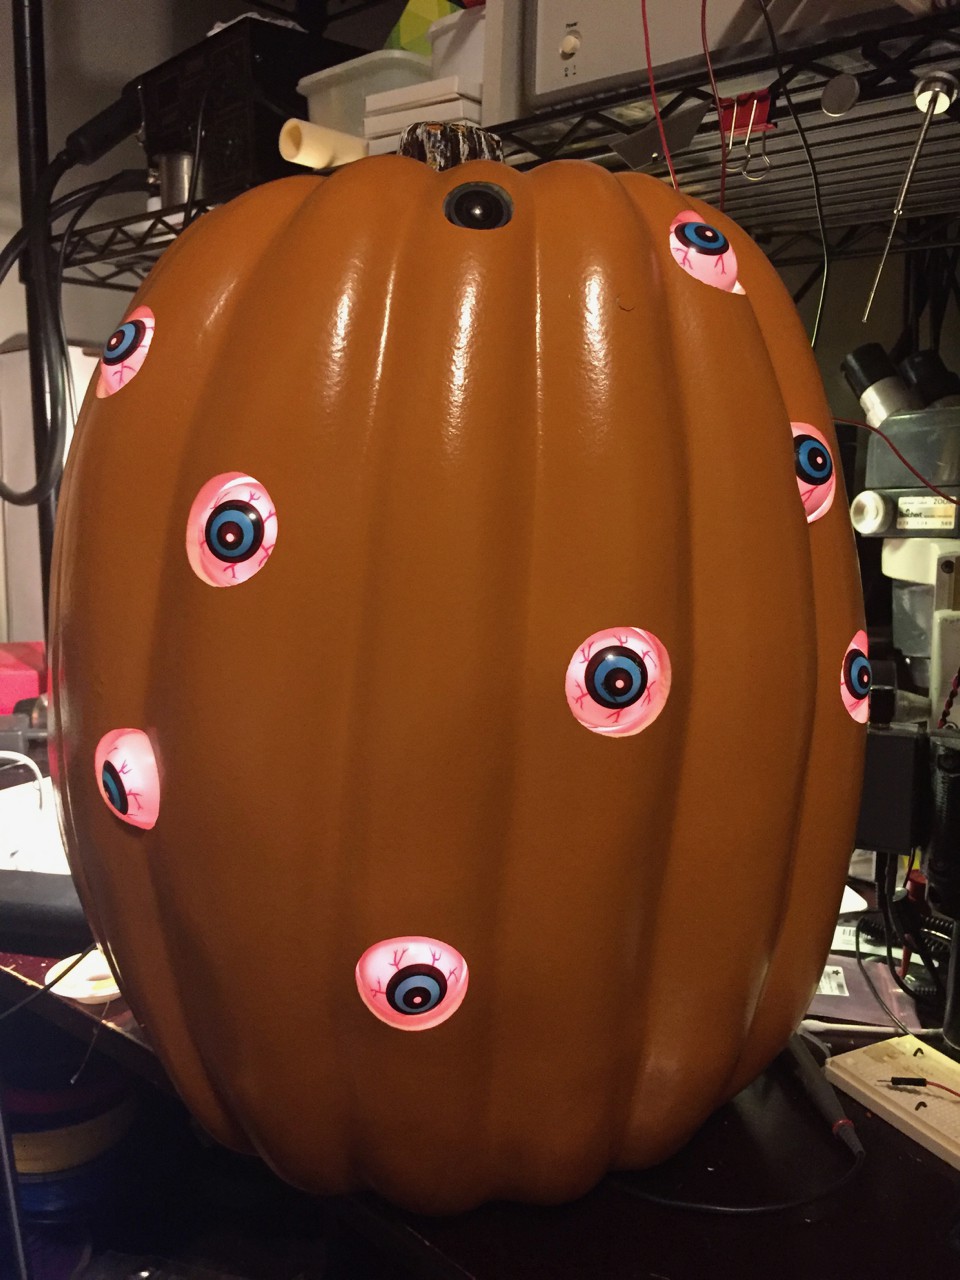
My wife suggested I buy a plastic pumpkin rather than using a real pumpkin, for ease of attaching things and so we could use it annually. I found a decent one at Hobby Lobby (Orange Craft Pumpkin - Extra Large), and while it wasn’t cheap it turned out to be a very good choice. It is made of a fairly stiff foam, ~8 mm - 10 mm thick. I used some Shapelock (Polycaprolactone) to make a workable mounting interface for each eye assembly and the PCBs, which would generally stick to the pumpkin interior. These were molded using 3D printed molds coated with mold release. In cases where the Shapelock didn’t stick, cleaning with lacquer thinner and some contact cement fixed the problem. Magnets embedded in the Shapelock and eye assembly mounting ring allow for a secure eye mount and easy removal of the eyes for repair.

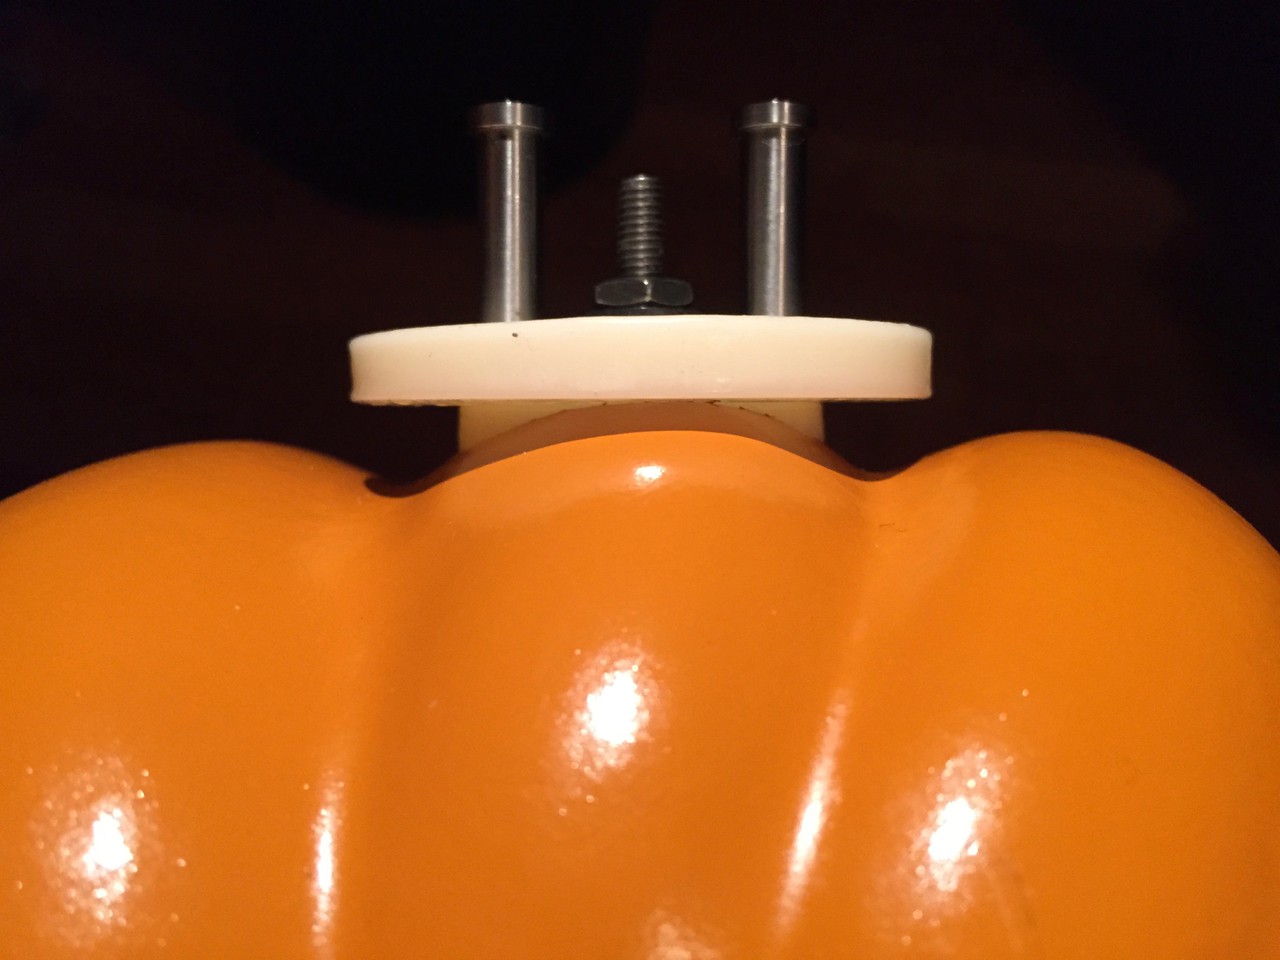
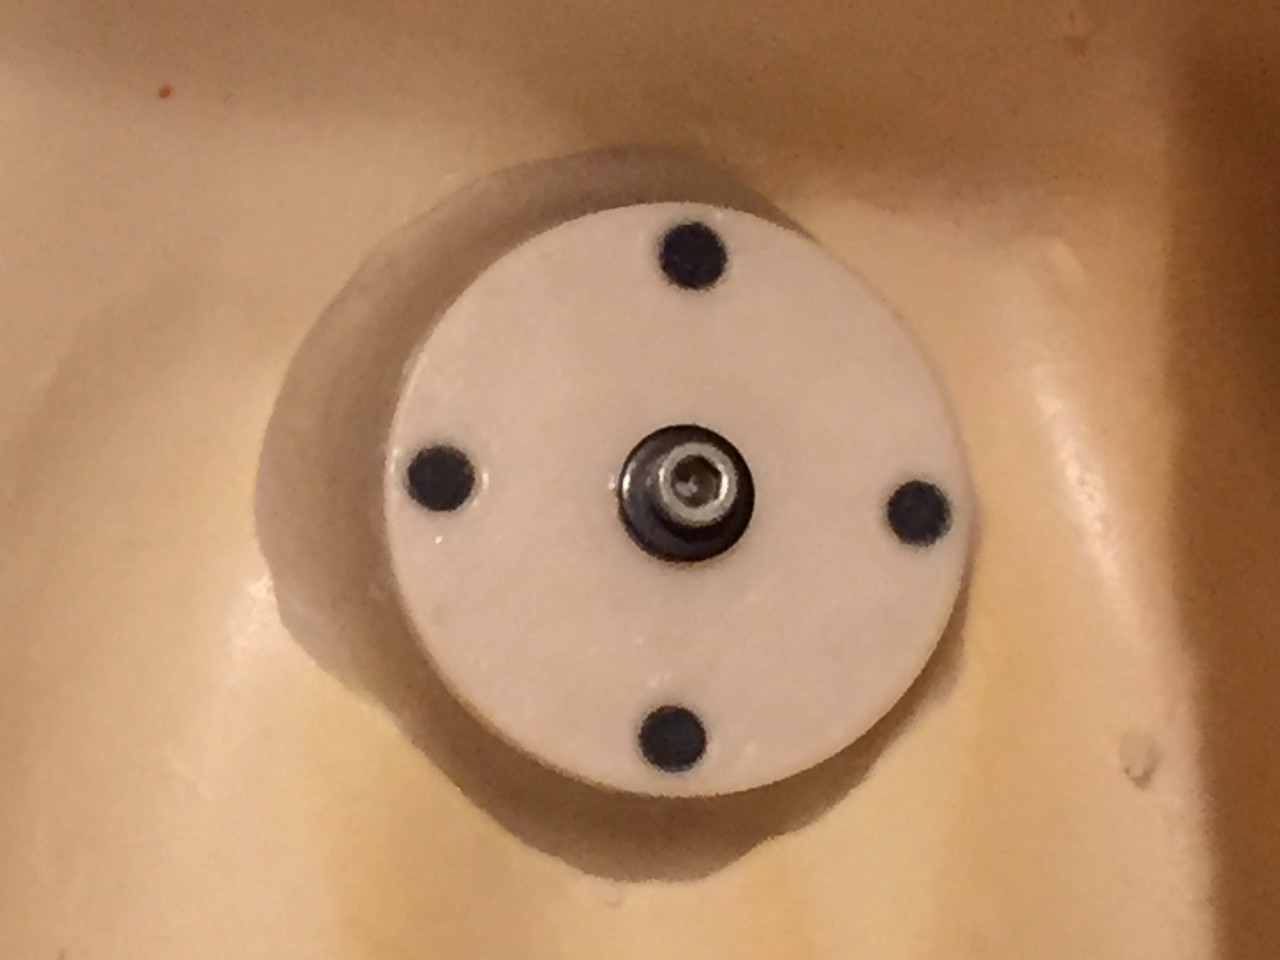

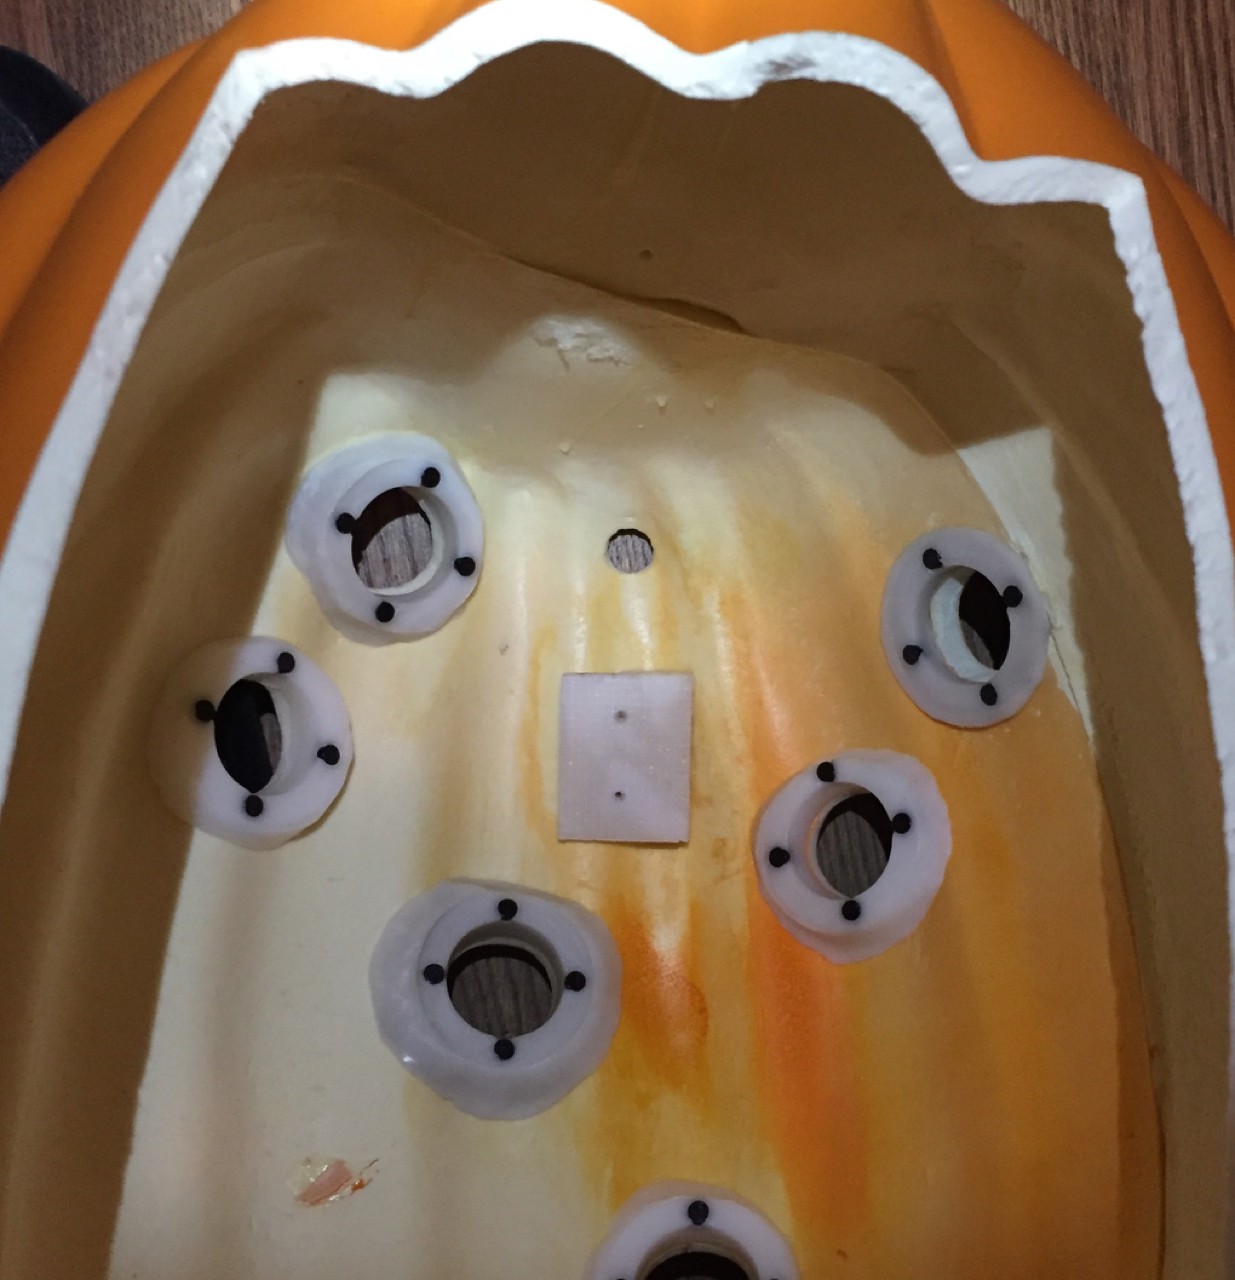
One key detail was to make sure all the mounts were oriented so the elevation axis (the axis an up/down motion rotates around) of camera and eyes are as level as possible, hence the stainless steel pins in the eye mount molds being aligned with where the magnets line up. This orientation makes the math for calculating where to point each eye quite a bit simpler (one less coordinate rotation to screw up).
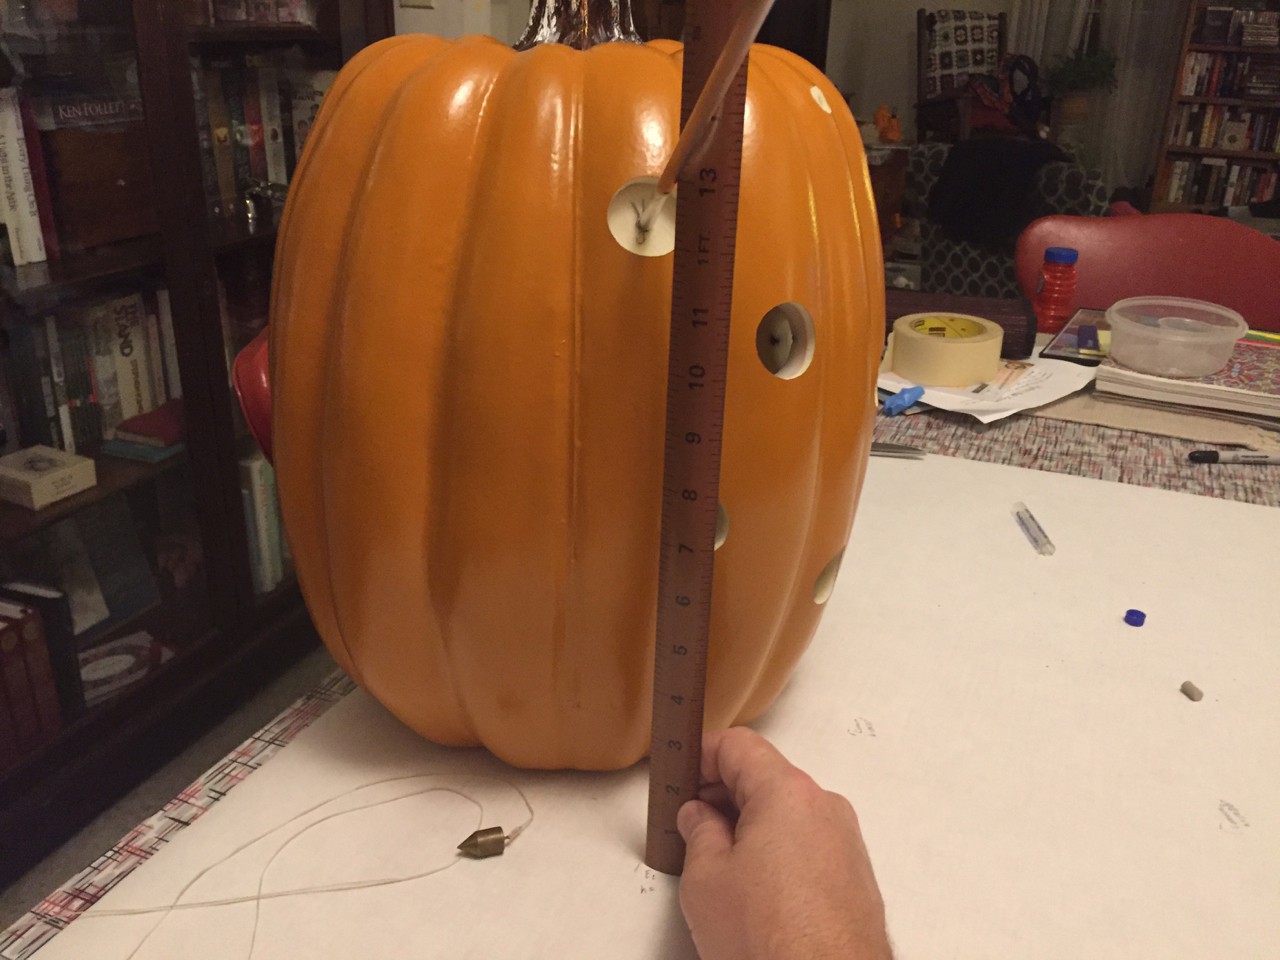
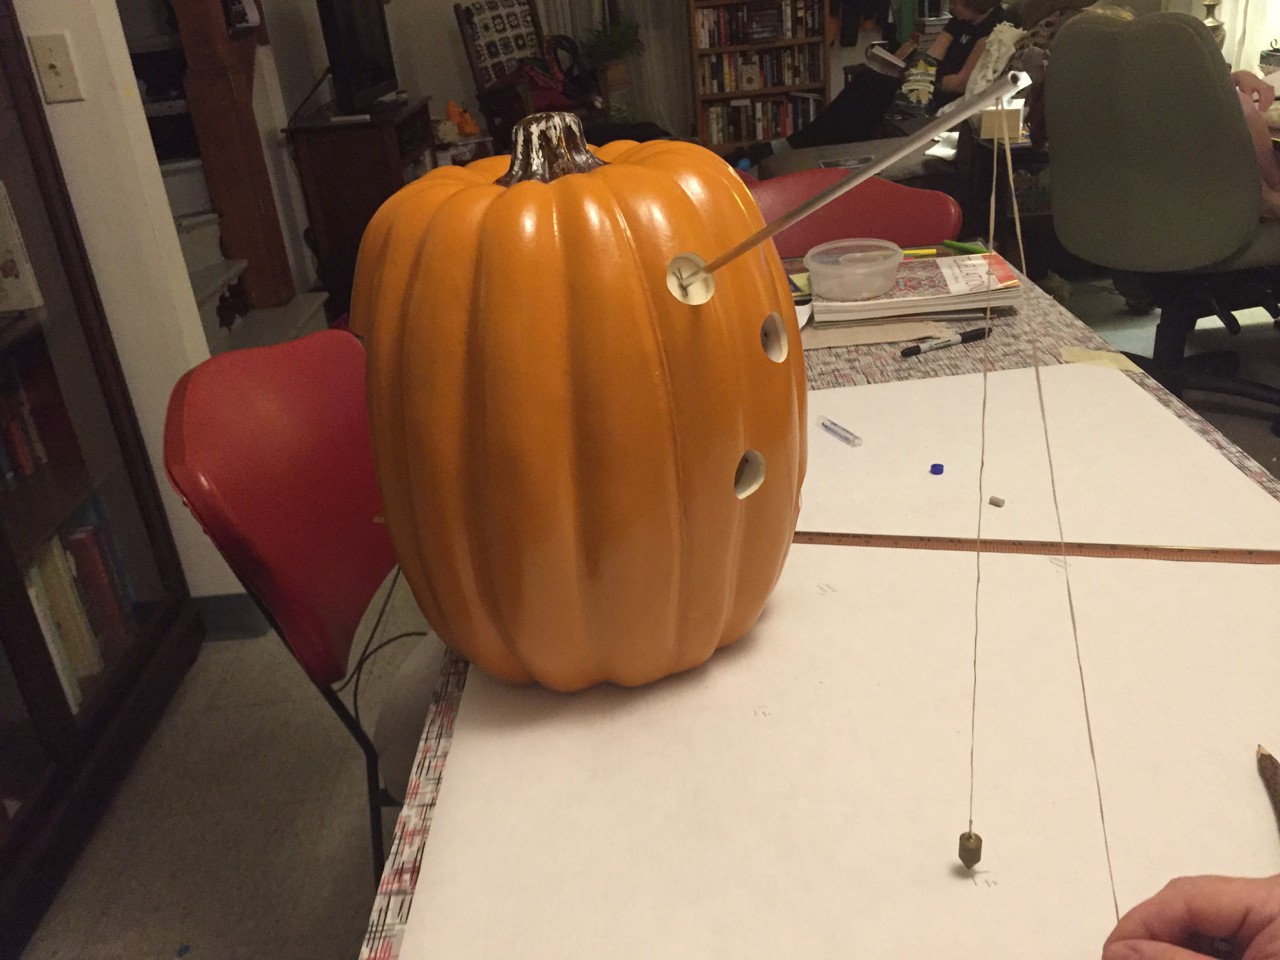
Once all the mounts were in place, I needed to measure the linear and angular offsets between the eyes and the camera. To do this I build a variety of tools to help: A proxy for the camera, plugs that mated to the eye mounts, a tube that would fit into each to make angle / height measurements with marks a known distance from the eye / camera lens center. I used a plumb bob to mark out coordinates of points on the tube, projected to a surface at the bottom of the pumpkin, while mounted in each eye / camera lens center.
After that, I measured the height of each of these location marks. Finally, I measured where each of the marks were relative to each other on the paper I marked up. With these measurements I had enough information to calculate exactly where each eye is, relative to the camera, and how each points in traverse and elevation relative to a global coordinate frame.
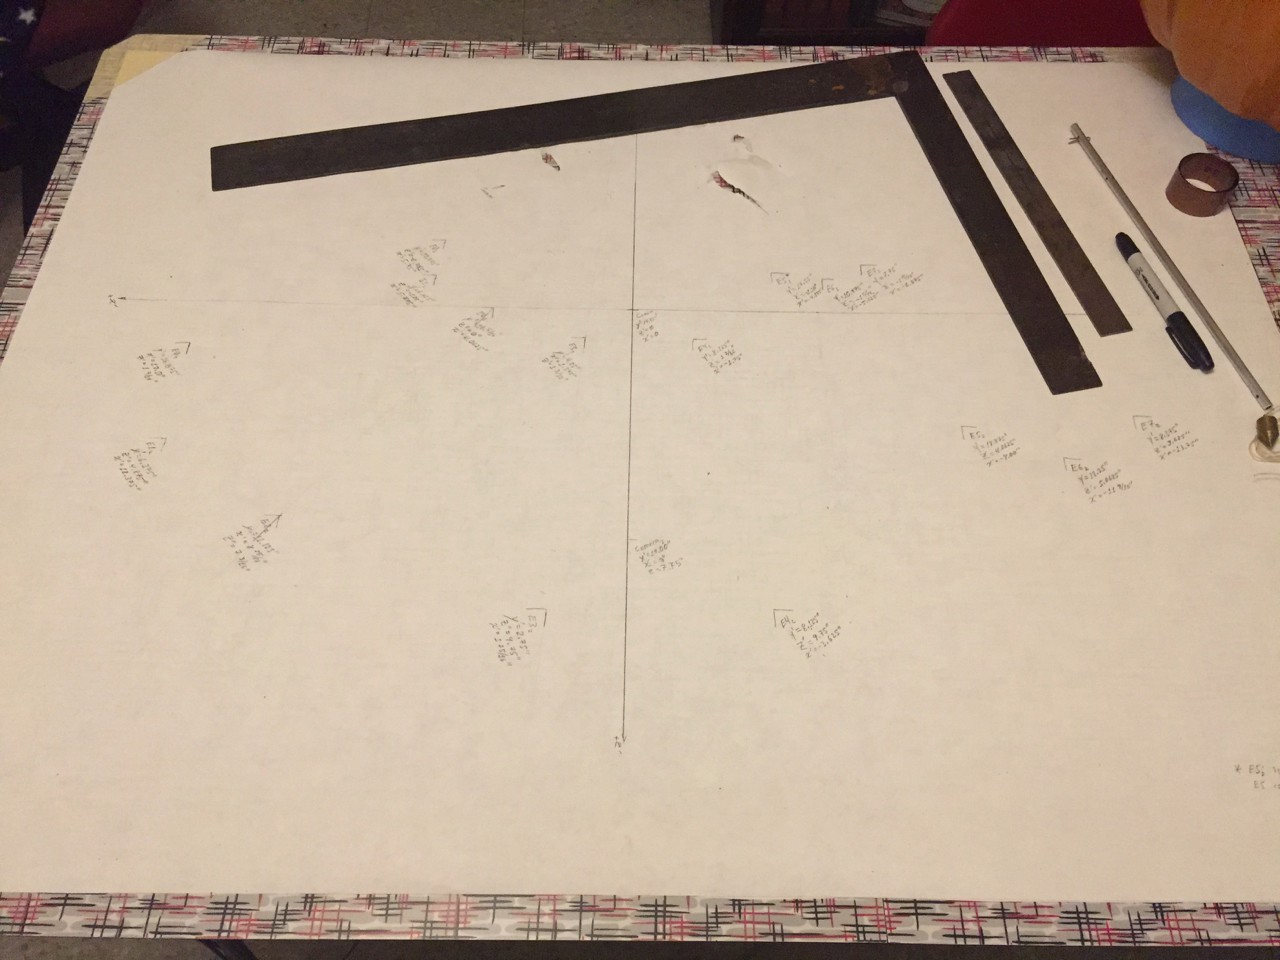
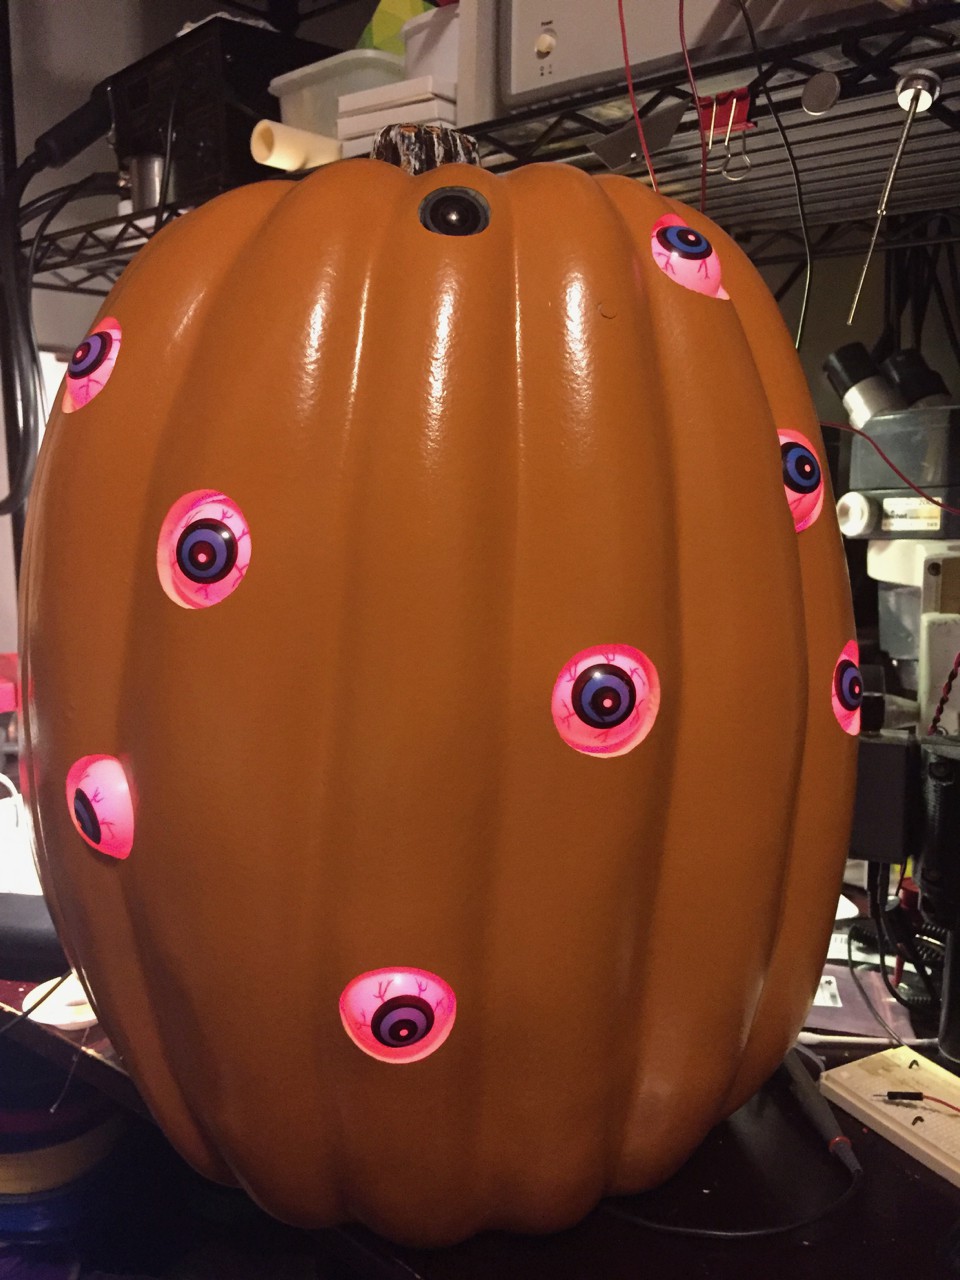
I loaded all the coordinates into CAD to calculate the angle / offsets between the eyes and camera. The rest was just programming up some vector math to calculate the traverse / elevation angles to get the eyes to point at the ‘victim’. All the eyes will try to look at the detected face, even if they can’t quite point directly at it, which looks genuinely creepy. When the OpenMV doesn’t detect a face, the eyes wander about just like Blake’s version, which adds to the effect too.
One last detail I needed for night time use was to remove the IR filter from the Ultra Wide Angle Lens (purchased from the OpenMV store) installed on the camera. Then I set up a IR flashlight to illuminate the front of the house so the reflected light would show faces effectively without ruining the ambiance of my...
Read more »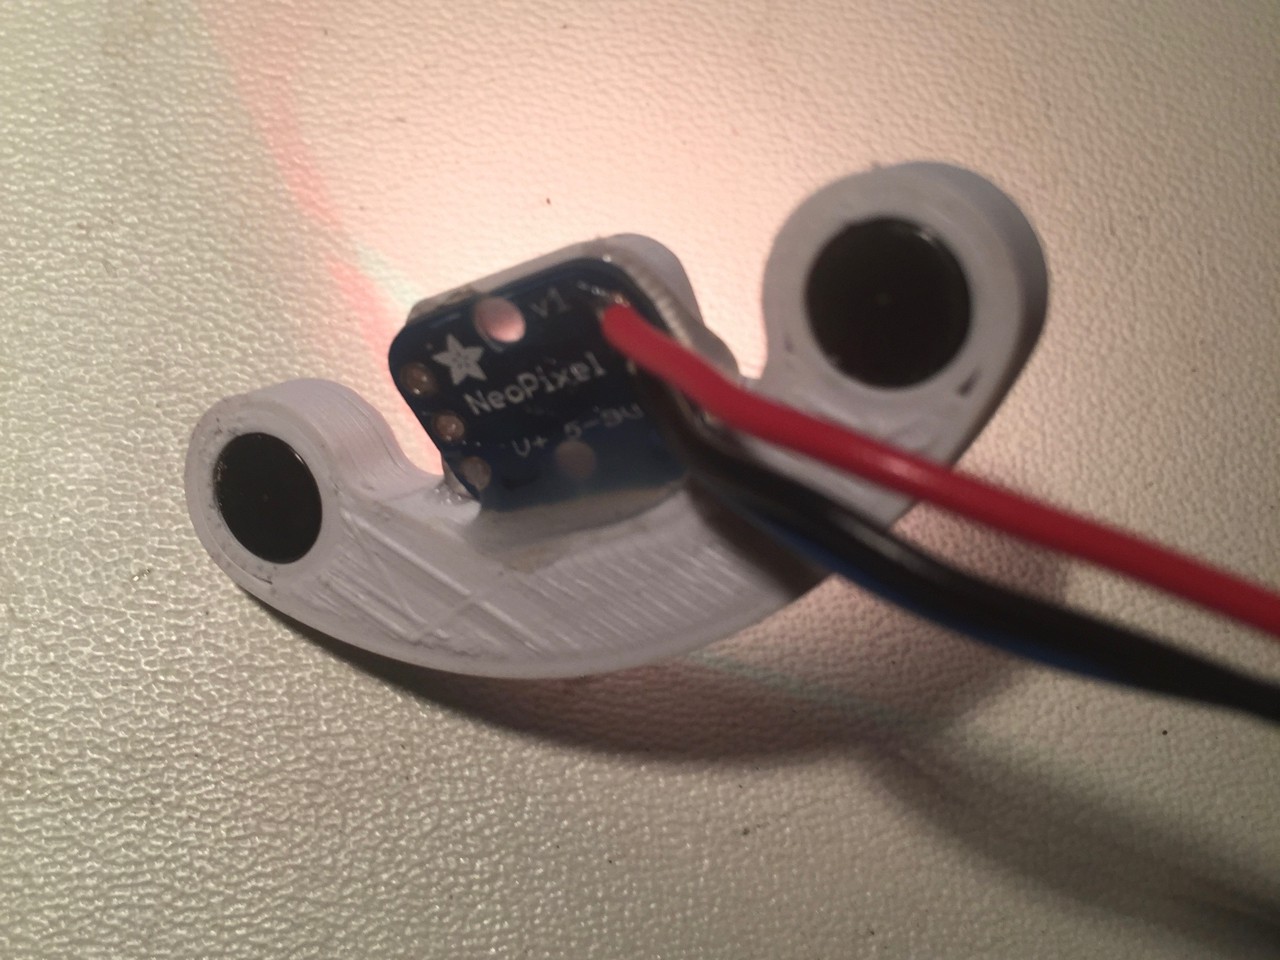


 Tom Meehan
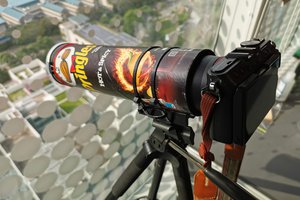
 Timescale
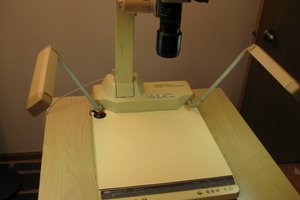
 Quinn
Quinn
The backlights make this so satisfying! I also wonder about the sound of it in operation. Hopefully the pumpkin muffles it just enough so anyone nearby has their attention drawn but can't quite figure out what they're hearing. Love it :-D