 Fuji Pebri
The board are designed for the following feature :
- ESP32 WROVER, Dual core processor with Integrated 4MB Flash + 4MB PSRAM
- Integrated WIFI and Bluetooth 4 BLE
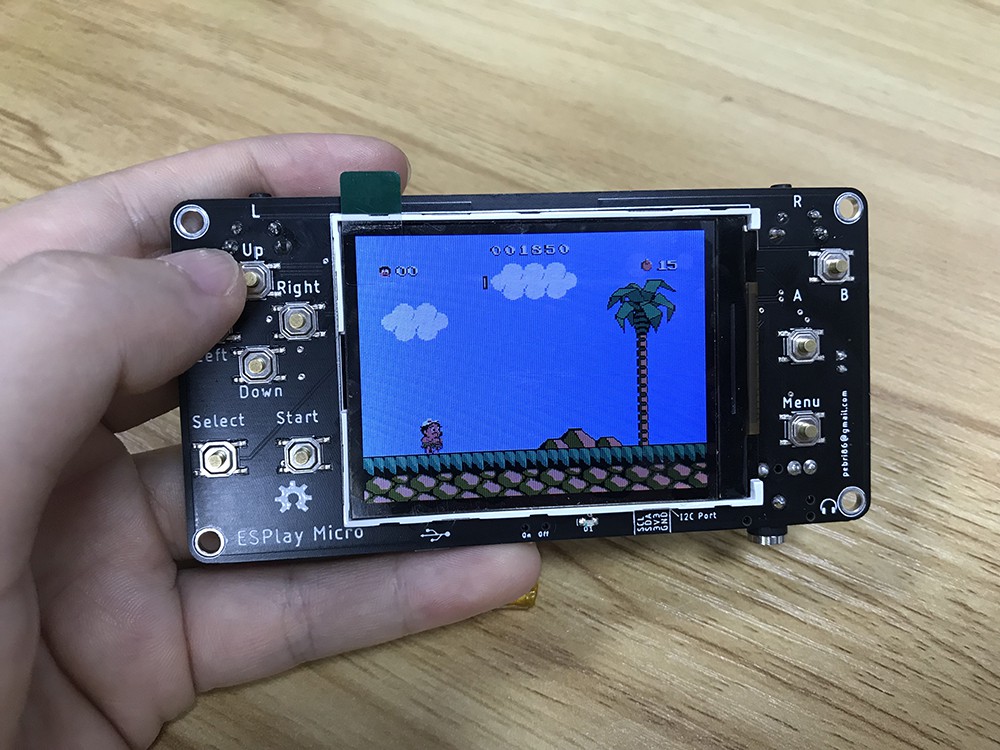
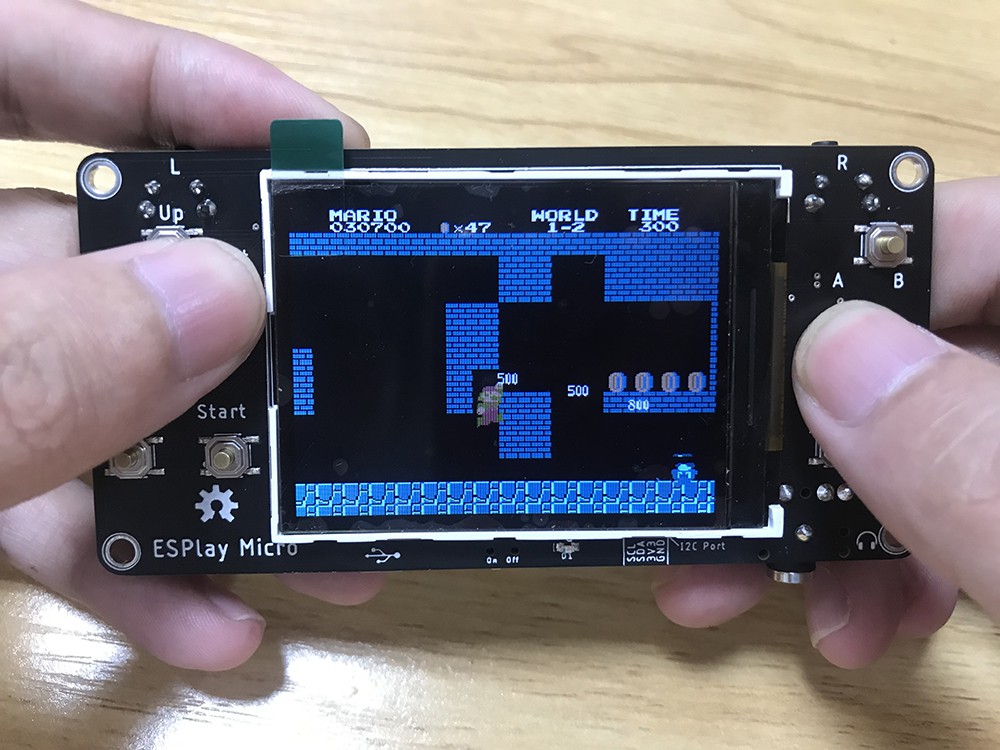
- 2,4" ILI9341 TFT Panel
- More button (expanded via PCF8574 I2C GPIO)
- Micro SD slot connected to SDMMC Host in 1 Line Mode for save GPIO pin
- Integrated I2S DAC via UDA1334A
- Integrated USB to Serial for programming and debugging using CH340C
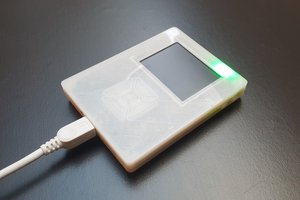
- Built-in TP4056 Li-Po charger
- I2C port for expandable function
- 3,5mm Headphone jack
- Smaller Size, PCB only 100 x 50 mm.
And planned ability to run LVGL UI both of C and Micropython ( lv_micropython)


 bram
bram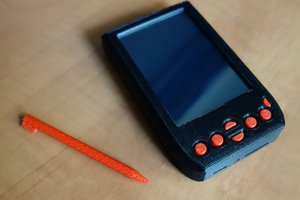
 brtnst
 Anderson Antunes
 Fabien-Chouteau
Salam kenal mas Febri.
Allow me to introduce myself, my name is Fachrul from Tangerang. Thank you for sharing this very interesting and challenging project. I attempted to assemble the PCB and Esplay Micro components myself based on the datasheet and Eagle files you shared. The process turned out to be quite a lengthy struggle, as many components were not readily available in the Indonesian market. However, with a lot of effort and patience, I managed to assemble it.
I had difficulty finding a 10K ohm 0805 SMD resistor with a 1/4-watt rating, so I replaced it with an 0805 SMD 10K resistor rated at 1/8 watt. I also replaced the ESP32 Wrover I with a Wrover E.
The most significant issue I encountered is that the LCD display seems to be dark, and the image is barely visible.
Is the issue related to the LCD backlight problem and is it connected to the component changes I made? The measurement of the current going into the LCD backlight pin shows a reading of as small as 832 millivolts. Is this normal?, considering that as far as I know, the current going into the backlight pin is usually between 3-5 volts? Thank you very much in advance.