 Bernhard "HotKey" Slawik
The goal of this project is to create a set of hardware and software tools to "hack" the 1000/2000/4000 and 6000 series of VTech 8-bit learning computers ("PreComputer").
Current status:
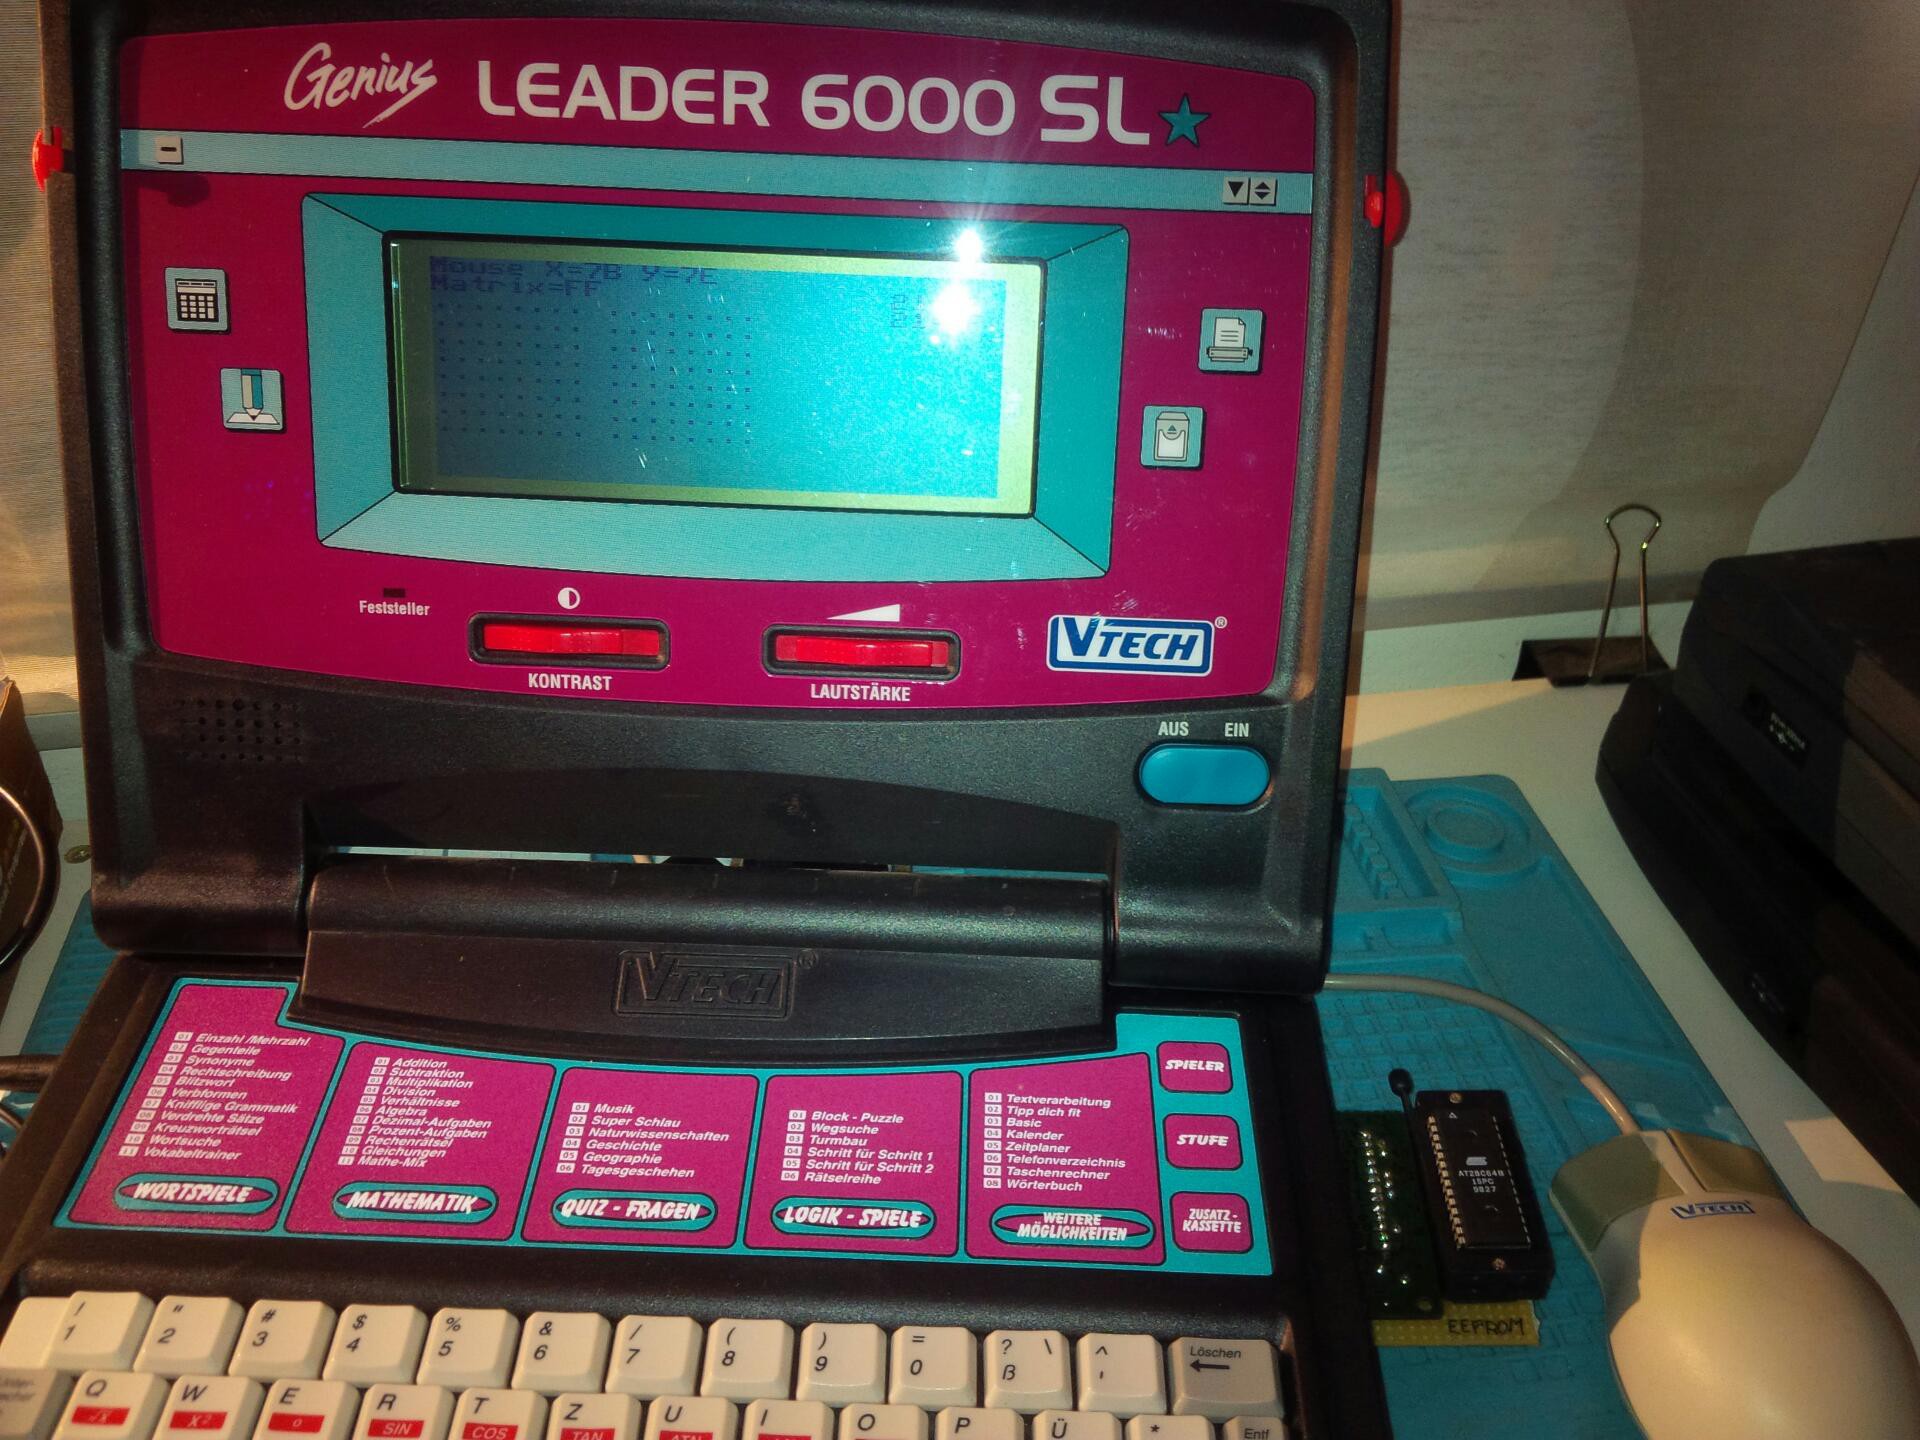
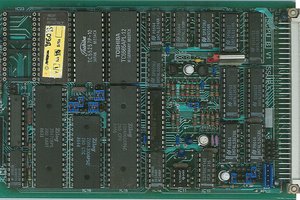
- The hardware is well understood: Z80 CPU, HD44780 LCD controller, keyboard matrix, printer port, bank switching, sound, LED, ROM, RAM and cartridge port.
- The firmware has been reverse engineered to a degree that allows writing custom system ROMs, as well as compiling ROM images that are recognized as cartridges and run by unmodified systems.
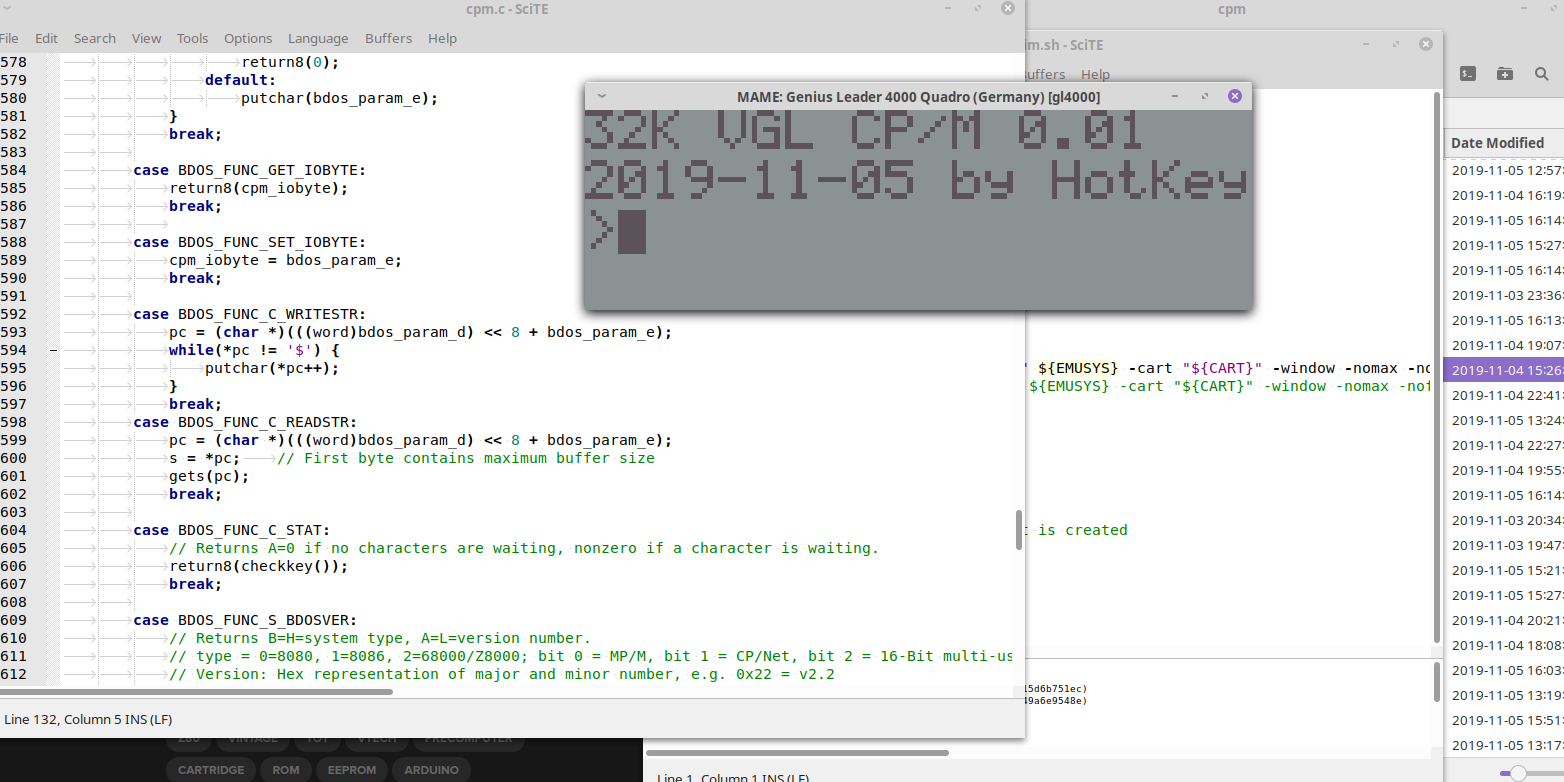
- Software can be compiled using SDCC and emulated using MAME.
- The printer port can be retrofitted to systems that don't natively have one.
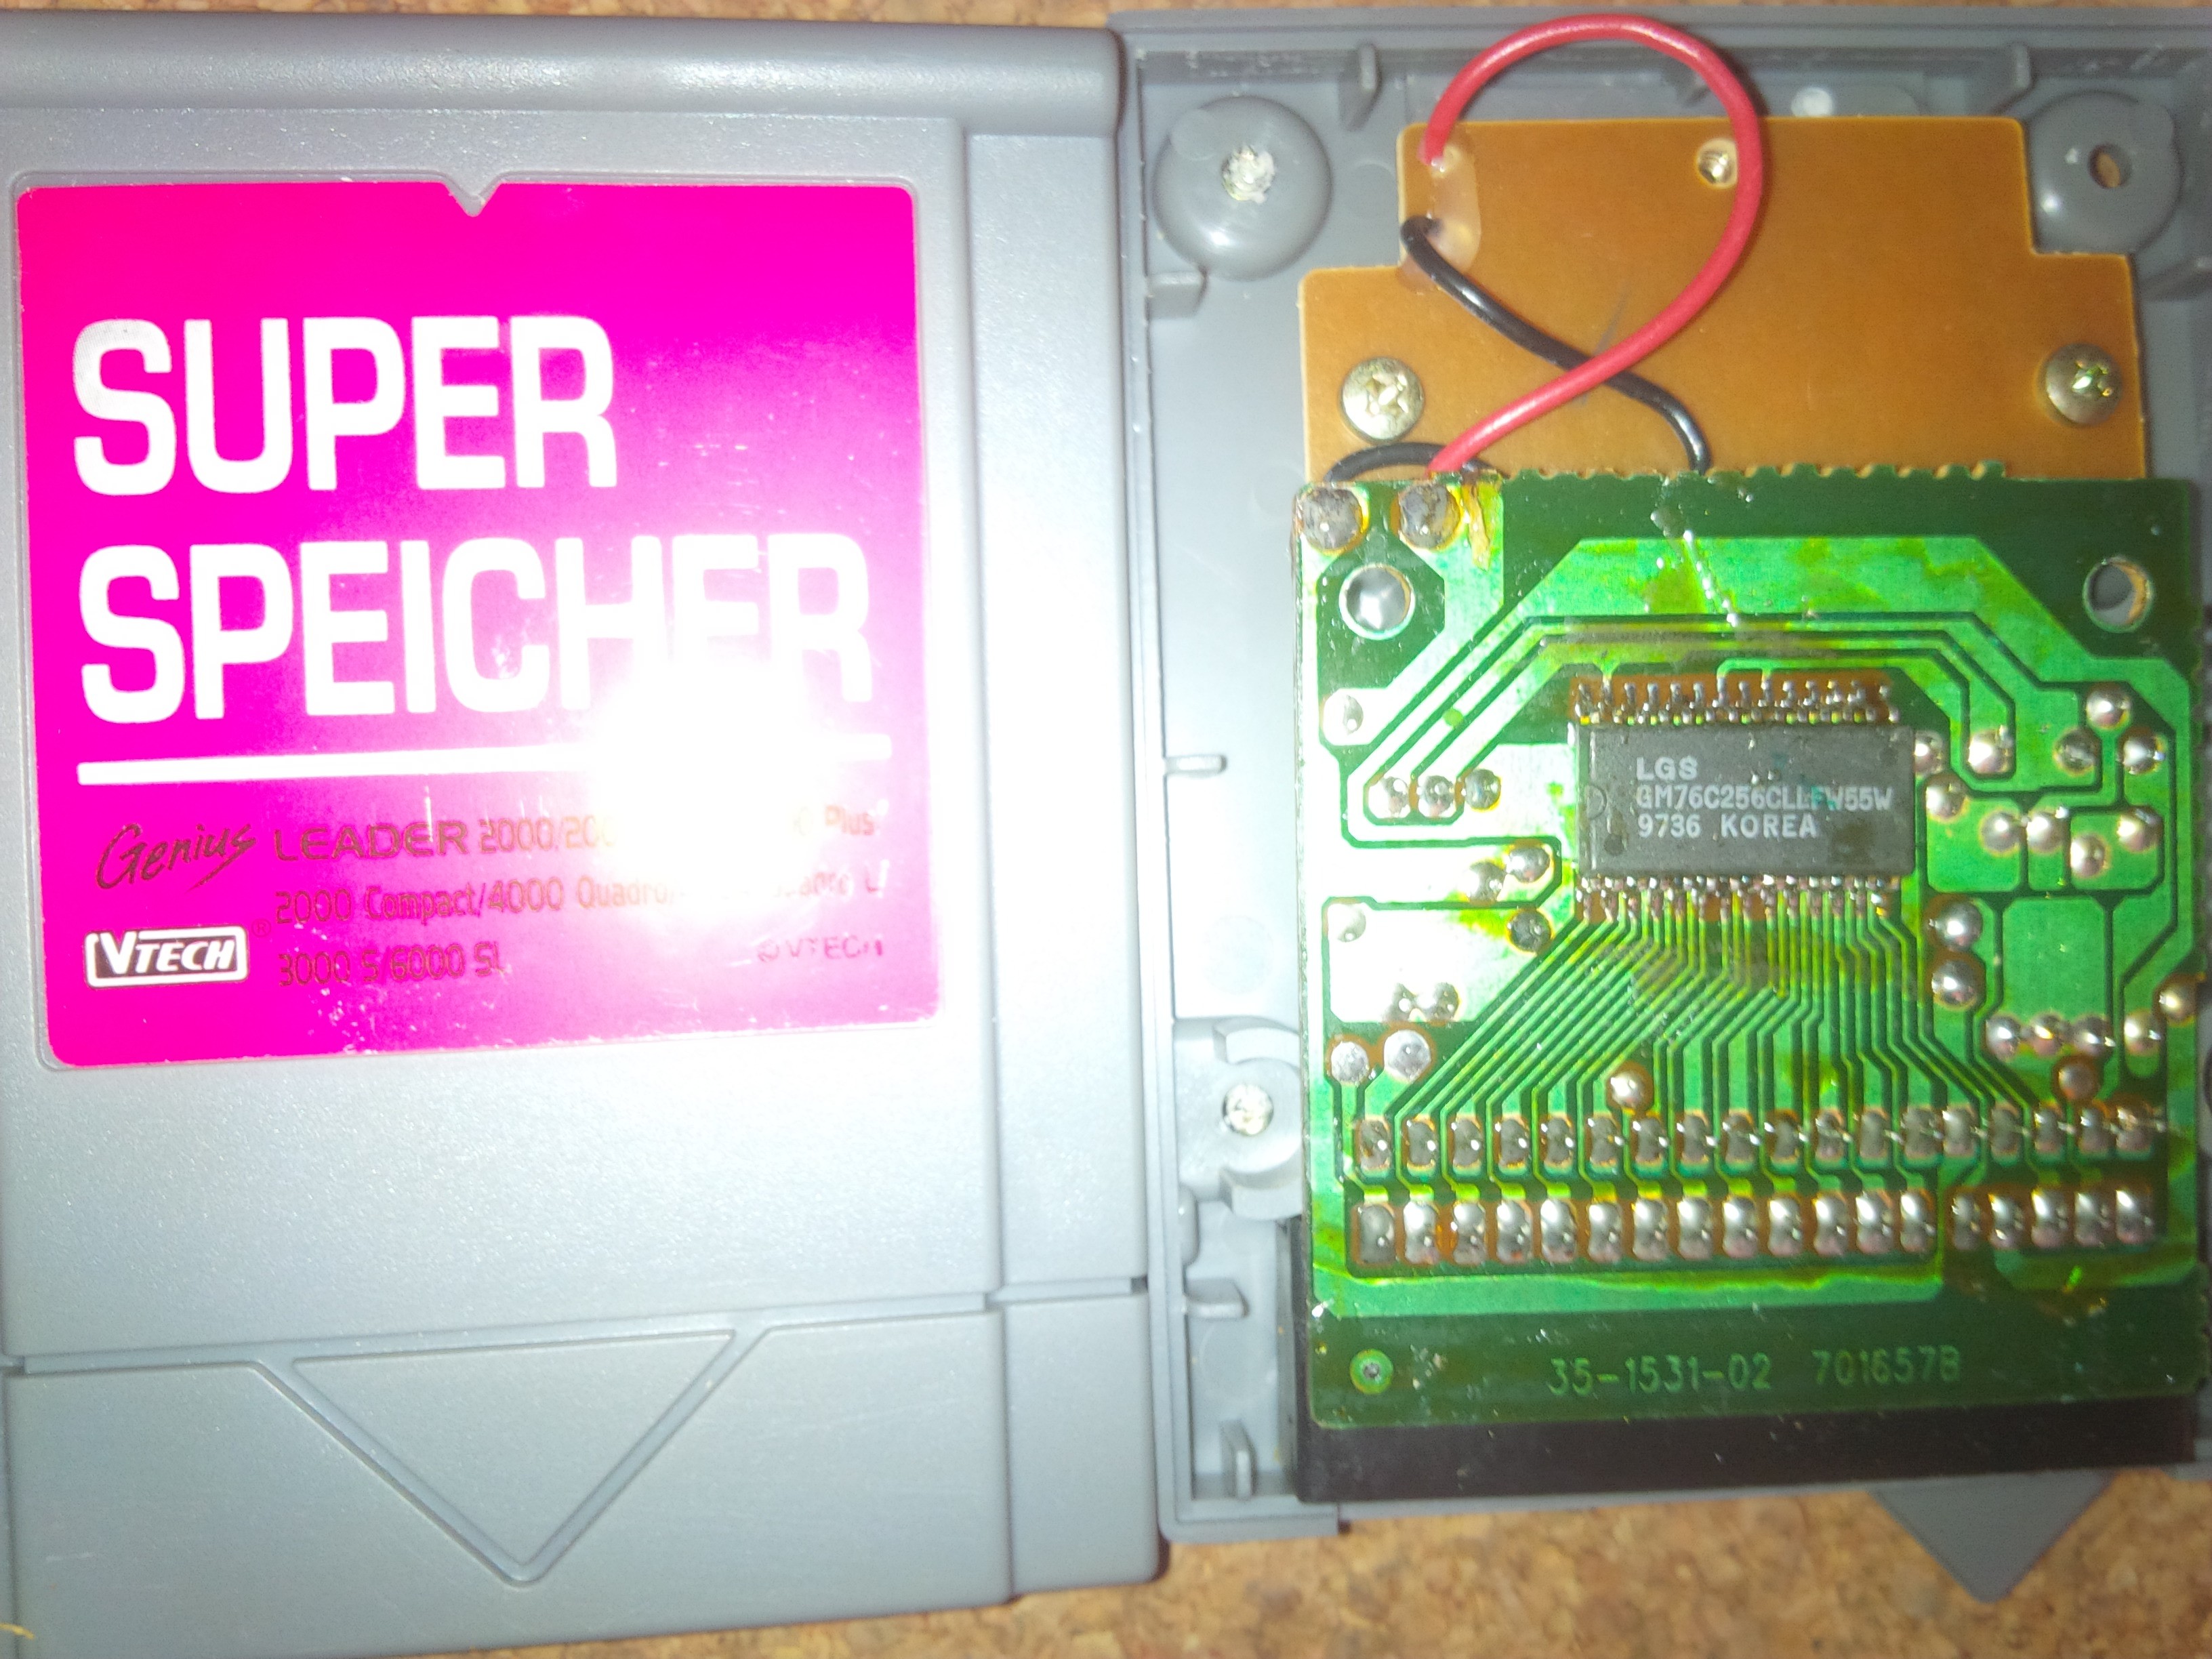
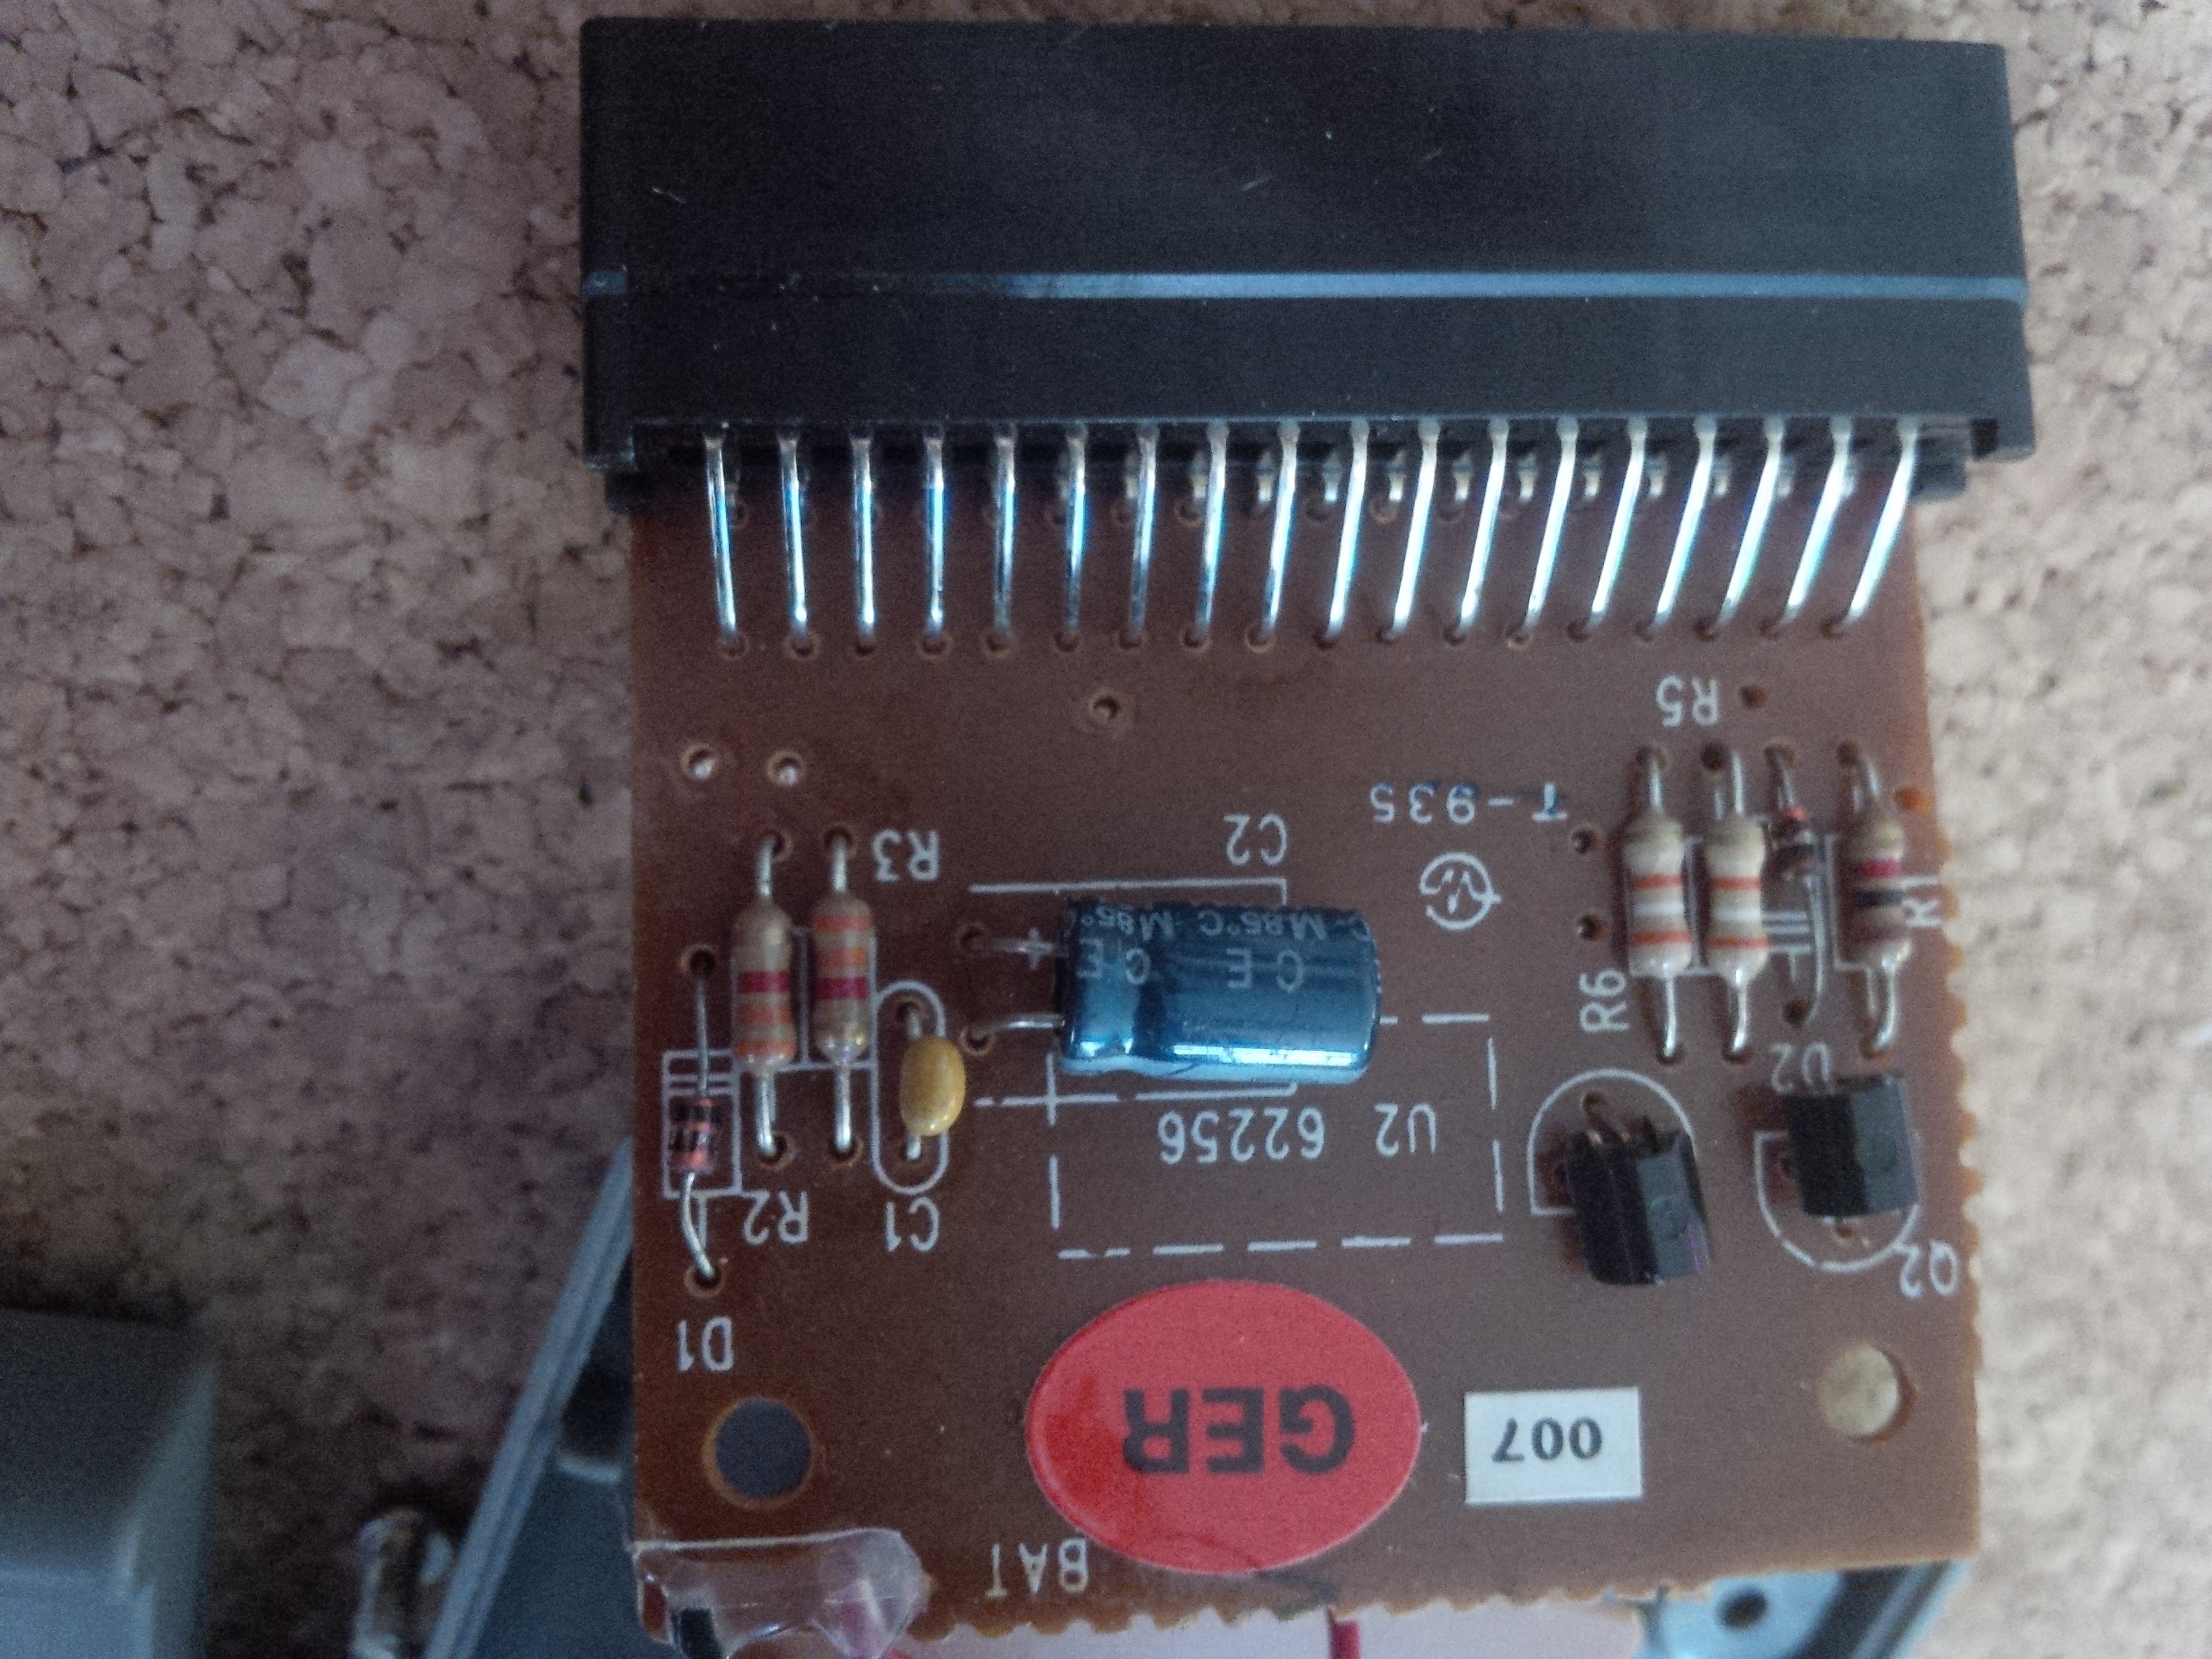
- Cartridge PCBs have been designed to allow using (E)EPROMs and memory mapped I/O.
- By using "bit banging", the printer port can be used as a 9600 baud serial port without any hardware modifications.
- Using a small hardware modification (soldering wires to ChipSelect pins) it is even possible to run a proof-of-concept CP/M system!
- A dedicated VGLDK (VTech Genius LEADER Development Kit) is currently being developed, to provide a low barrier for developing own programs for the system.


 Keith
Keith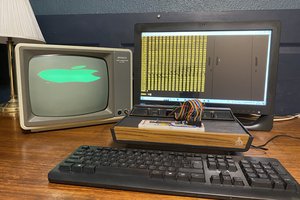
 Johannes le Roux
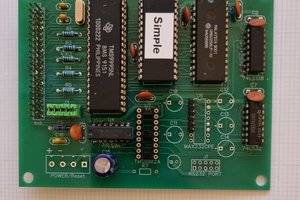
 Jim Jagielski
I've just got a PreComputer Prestige (in addition to my PreComputer 1000)
Wanted to do a proper teardown but it's "child-proofed" by gluing many components to the case so I couldn't even see what's on the board. Do you have any information on CPU/RAM/ROM parameters for PreComputer Prestige
It looks like it's significantly more advanced than 1000 (graphical display, voice support, many applications, more advanced BASIC, printer port), I wonder what hardware they used and how to make a "jailbreak" cartridge that would allow to use it as a more general purpose computer with access to memory, etc.