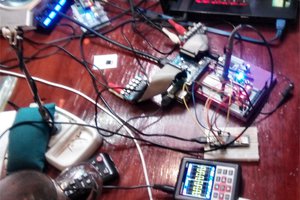
I started with a Raspberry Pi 2B, and a small USB microphone. I tried using the Jasper project to make the unit voice controlled but soon realized that the speech recognition doesn't work very well in a noisy car when the music is playing. I also found out that the on-board audio jack uses PWM so the audio quality is just miserable.
The next version is what I'm working with now. It's a Raspberry Pi 2B with a Plugable USB audio adapter and a Kookye 3.5" touchscreen with a case. The audio adapter isn't audiophile quality, but it meets my price requirements and it's decent enough quality where my wife won't notice the difference in her Dodge Caravan. The touchscreen is pretty low quality. If I do this project again, I would consider spending a little more money on a better touchscreen.
The touchscreen I got doesn't have normal drivers from what I can tell. Instead, they give you a disk image to flash to the Pi. I opted for the Raspbian Jessie image. From what I can tell, the drivers make it so the touchscreen is treated as a mouse instead of a touchscreen. Kind of annoying, but not that big of a deal for me.
 Patrick
 Matt
Matt
 RodolpheH
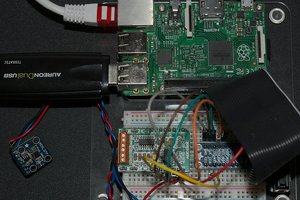
 Jeremy