 Simon Trendel
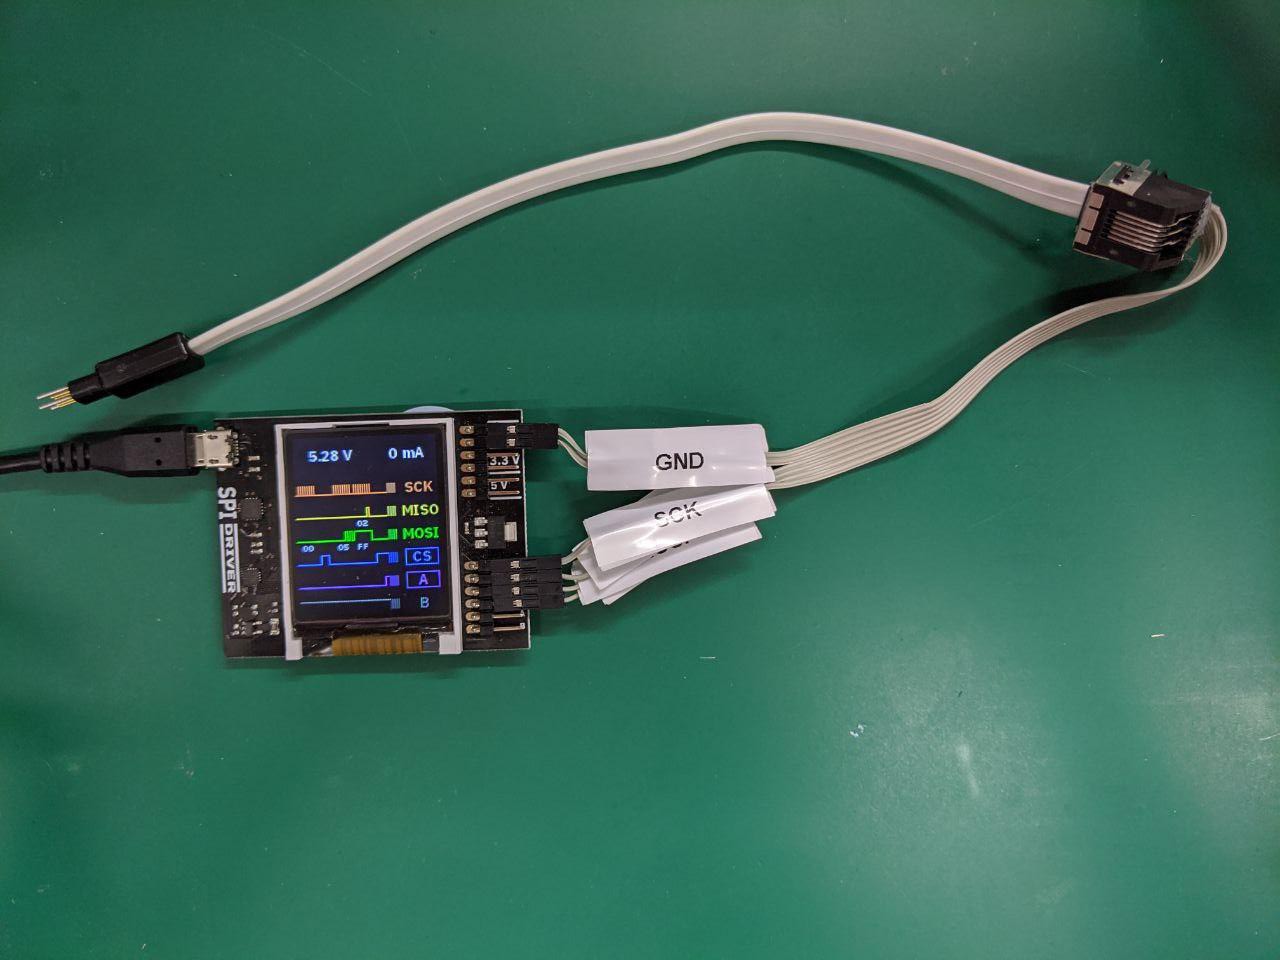
In order to flash a motor board you will need the SPIdriver, a TC2030-MCP-NL tag-connect cable and some means to connect that to the SPIdriver. We soldered cables to a modem plug and connected that to the SPIdriver using Dupont connections.
Next you will of course need to clone the repo:
git clone --recursive https://github.com/Roboy/iceboard
The cd into the iceboard folder and execute:
./software/spidriver/python/samples/TinyFPGA_BX_SPIDriver_flash.py -w software/TinyFPGA-Bootloader/boards/TinyFPGA_BX/fw.bin
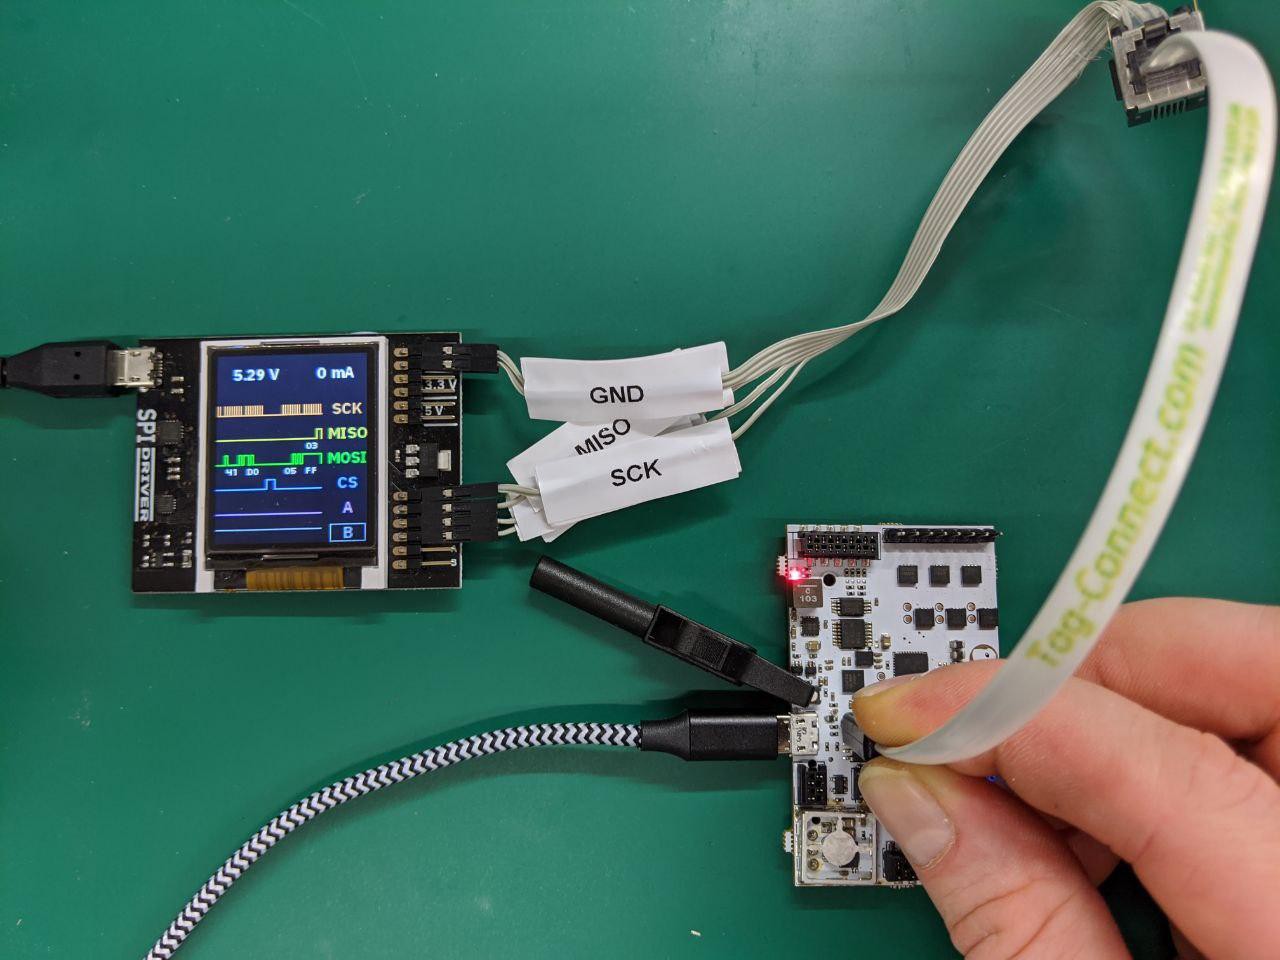
The script checks for a match of the flash JEDEC id, so it will just idle until you connect the board. In order to connect the board you need to press and hold the reset button. We use a clamp to do that more comfortably but you can also just press it while flashing.
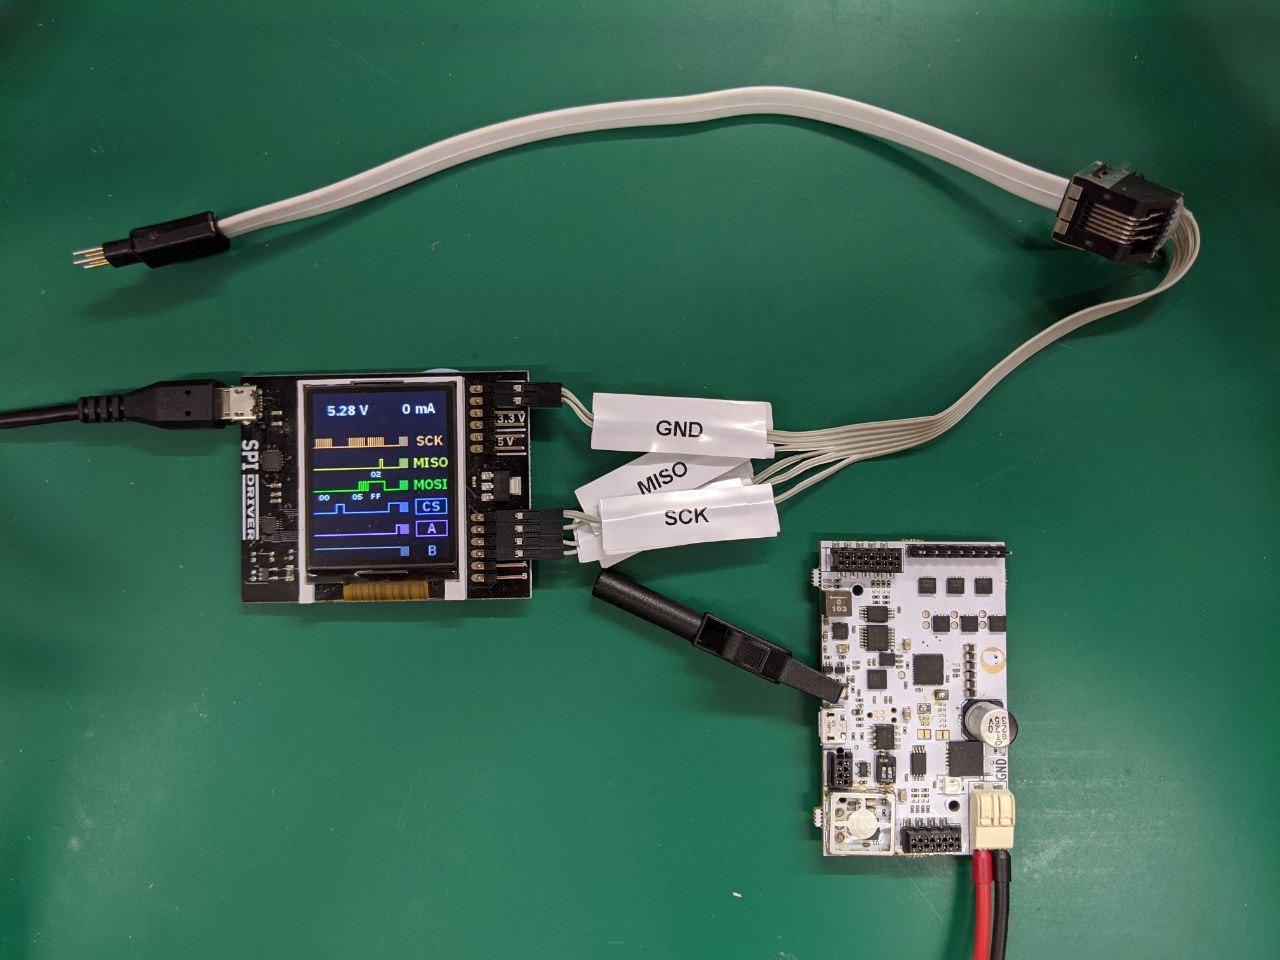
Then with the reset button pressed connect the tag-connect cable next to the flash on the board and connect your micro USB cable.
Your terminal should print something like this:
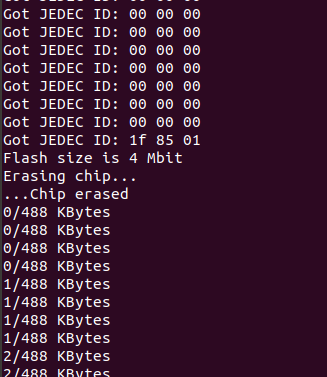
And you should see the bootloader being written into the flash in around 30 seconds. When this has finished you can release the reset button. The bootloader image should be immediately loaded and you should see the red user led pulsing every second.
If you connected the micro USB cable to your pc you should see something like this when you run dmesg:

Which shows the fpga serial2spi flash bridge that Luke Valenty implemented. We used his bootloader.v and augmented it with our gate pins being driven low. This is crucial because we are using the independent mode of the drv8323 chip giving us full control over the mosfet gates and we have to make sure all gates are deactivated as soon as possible when we power the board on.
Next we need to write the security pages of our fresh SPI flash. This is necessary to make the flash writeable with tinyprog, the python programmer of the Tinyfpga-BX board. The security pages need to contain meta-data, specifically the following:
{"boardmeta":{"name":"TinyFPGA BX","fpga":"ice40lp8k-cm81","hver":"1.0.0","uuid":"c47268cd-32d9-402f-8900-e5d10262dad2"}}
{"bootmeta":{"bootloader":"TinyFPGA USB Bootloader","bver":"1.0.1","update":"https://tinyfpga.com/update/tinyfpga-bx","addrmap":{"bootloader":"0x000a0-0x28000","userimage":"0x28000-0x50000","userdata":"0x50000-0x100000"}}}
To do this first you need to make sure you have the newest tinyprog version:
tinyprog 1.0.24.dev114+g97f6353 (tinyprog-1.0.23-114-g97f6353)
If you don't then go to software/TinyFPGA-Bootloader/programmer and run:
sudo python setup.py install
Once you have the correct tinyprog version installed you can write the security pages by executing the following commands:
tinyprog --security software/TinyFPGA-Bootloader/programmer/tinyprog/page0.bin -a 1
tinyprog --security software/TinyFPGA-Bootloader/programmer/tinyprog/page1.bin -a 2


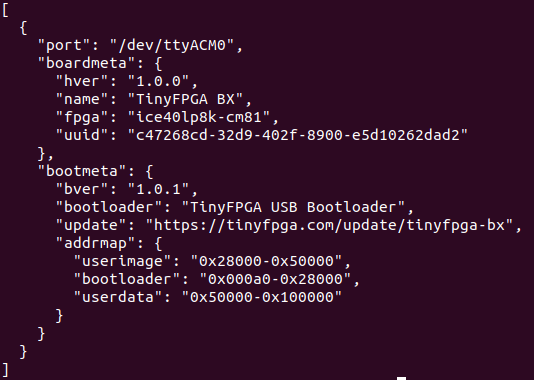
To verify the meta data was written correctly you can try reading it with tinyprog:
tinyprog -m
Now the board is compatible with tinyprog and we can use it to flash our user program at ease. If you have a new iceboard we recommend you install our testPins image first by running the following command:
tinyprog -p software/testPins/template_Implmnt/sbt/outputs/bitmap/TinyFPGA_B_bitmap.bin
You should see something like this:

The testPins image checks all relevant fpga pins for short circuits and the neopixel will turn red if something is wrong. If everything seems fine, the neopixel will turn green. In the following video I shorten the hall sensor pins to ground using a jumper cable which is indicated immediately by the neopixel turning red:
If the neopixel is red the full functionality of the iceboard cannot be expected and most likely the fpga is not soldered correctly.
Now, at last we can load the real deal, the motor control image:
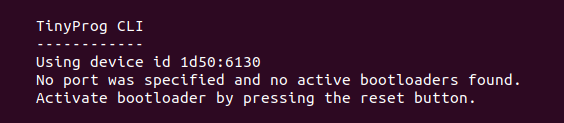
tinyprog -p software/motorBoard_v0.1/template_Implmnt/sbt/outputs/bitmap/TinyFPGA_B_bitmap.binBTW: if you cannot load the image and your terminal shows something like the following, try hitting that reset button or power cycle the board, such that the user led is pulsing with 1Hz:
If you don't care about the details or you want to flash many boards, we provided a script that performs all the above steps. You can run it by cd'ing to the software folder and executing:
./fleshy_freshy.bash
Once the bootloader is flashed, release the reset button, then select proceed in the script.
In a following log we will document all the amazing features of rev0.7
Discussions
Become a Hackaday.io Member
Create an account to leave a comment. Already have an account? Log In.