 Natalia
Abraham bought this model kit in Japan 2 years ago in ドン・キホーテ thrift shop. It's been stored ever since and recently found that on Sep 7 and 8 a modelling contest is being held in Guadalajara so I am trying to finish this on time.
The kit is a Billy doll house kit you can also acquire it on amazon US it will ship to Mexico too or can also get it on ebay.
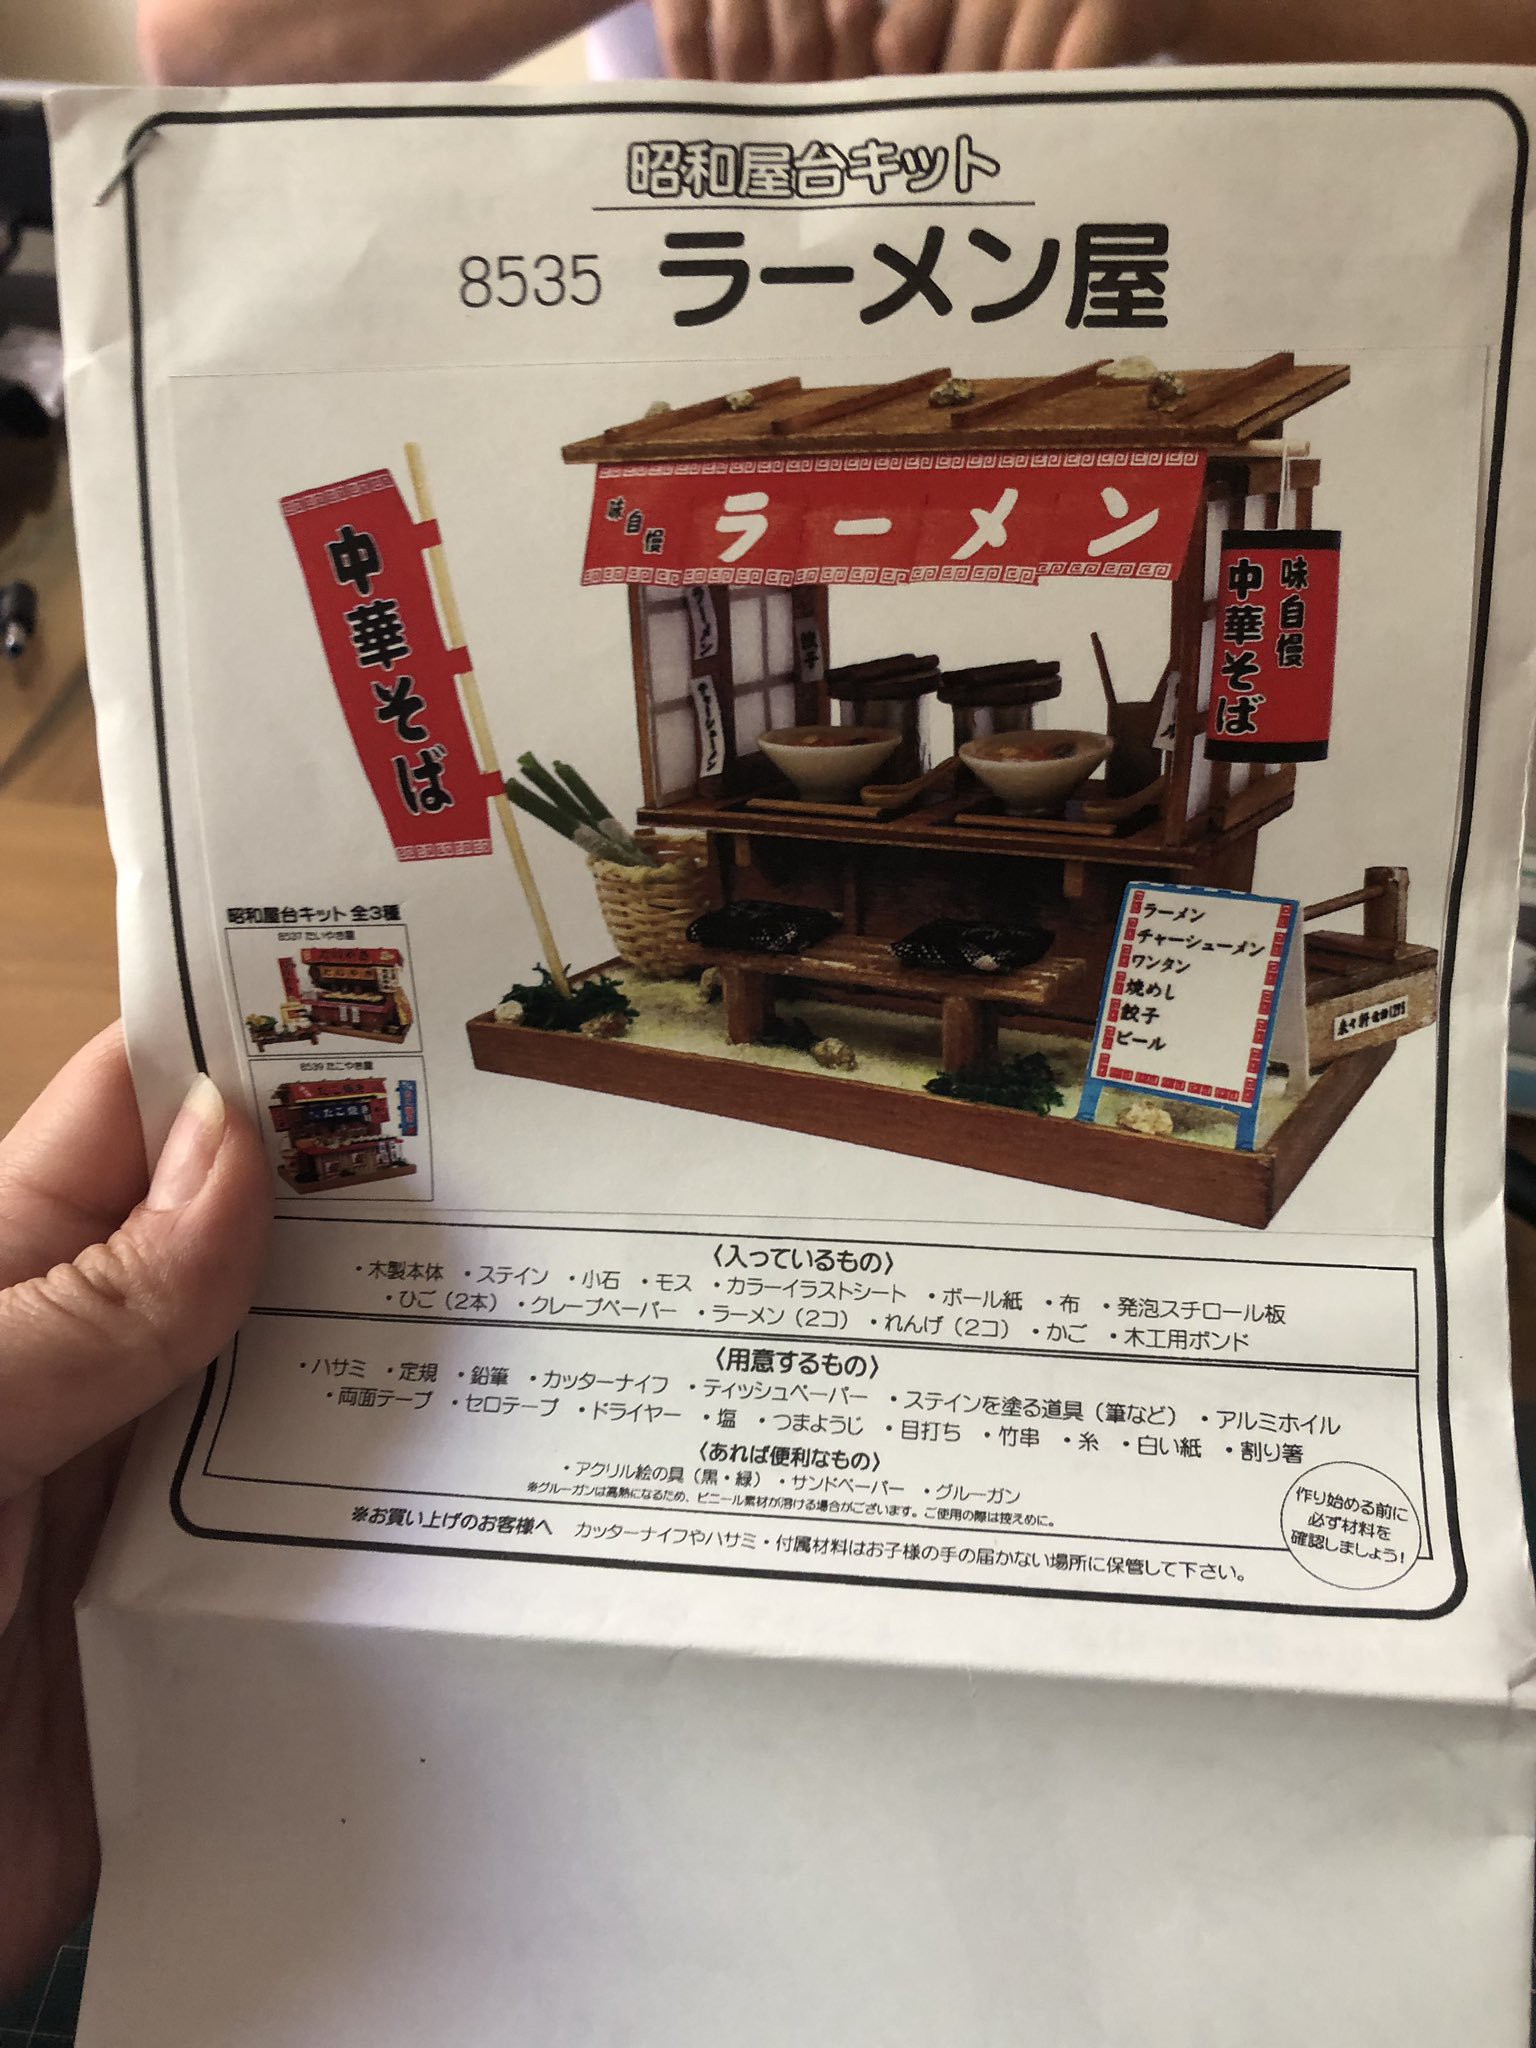
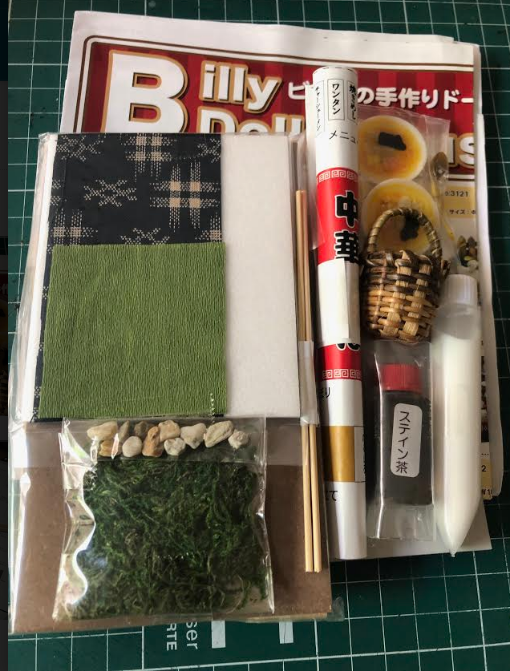
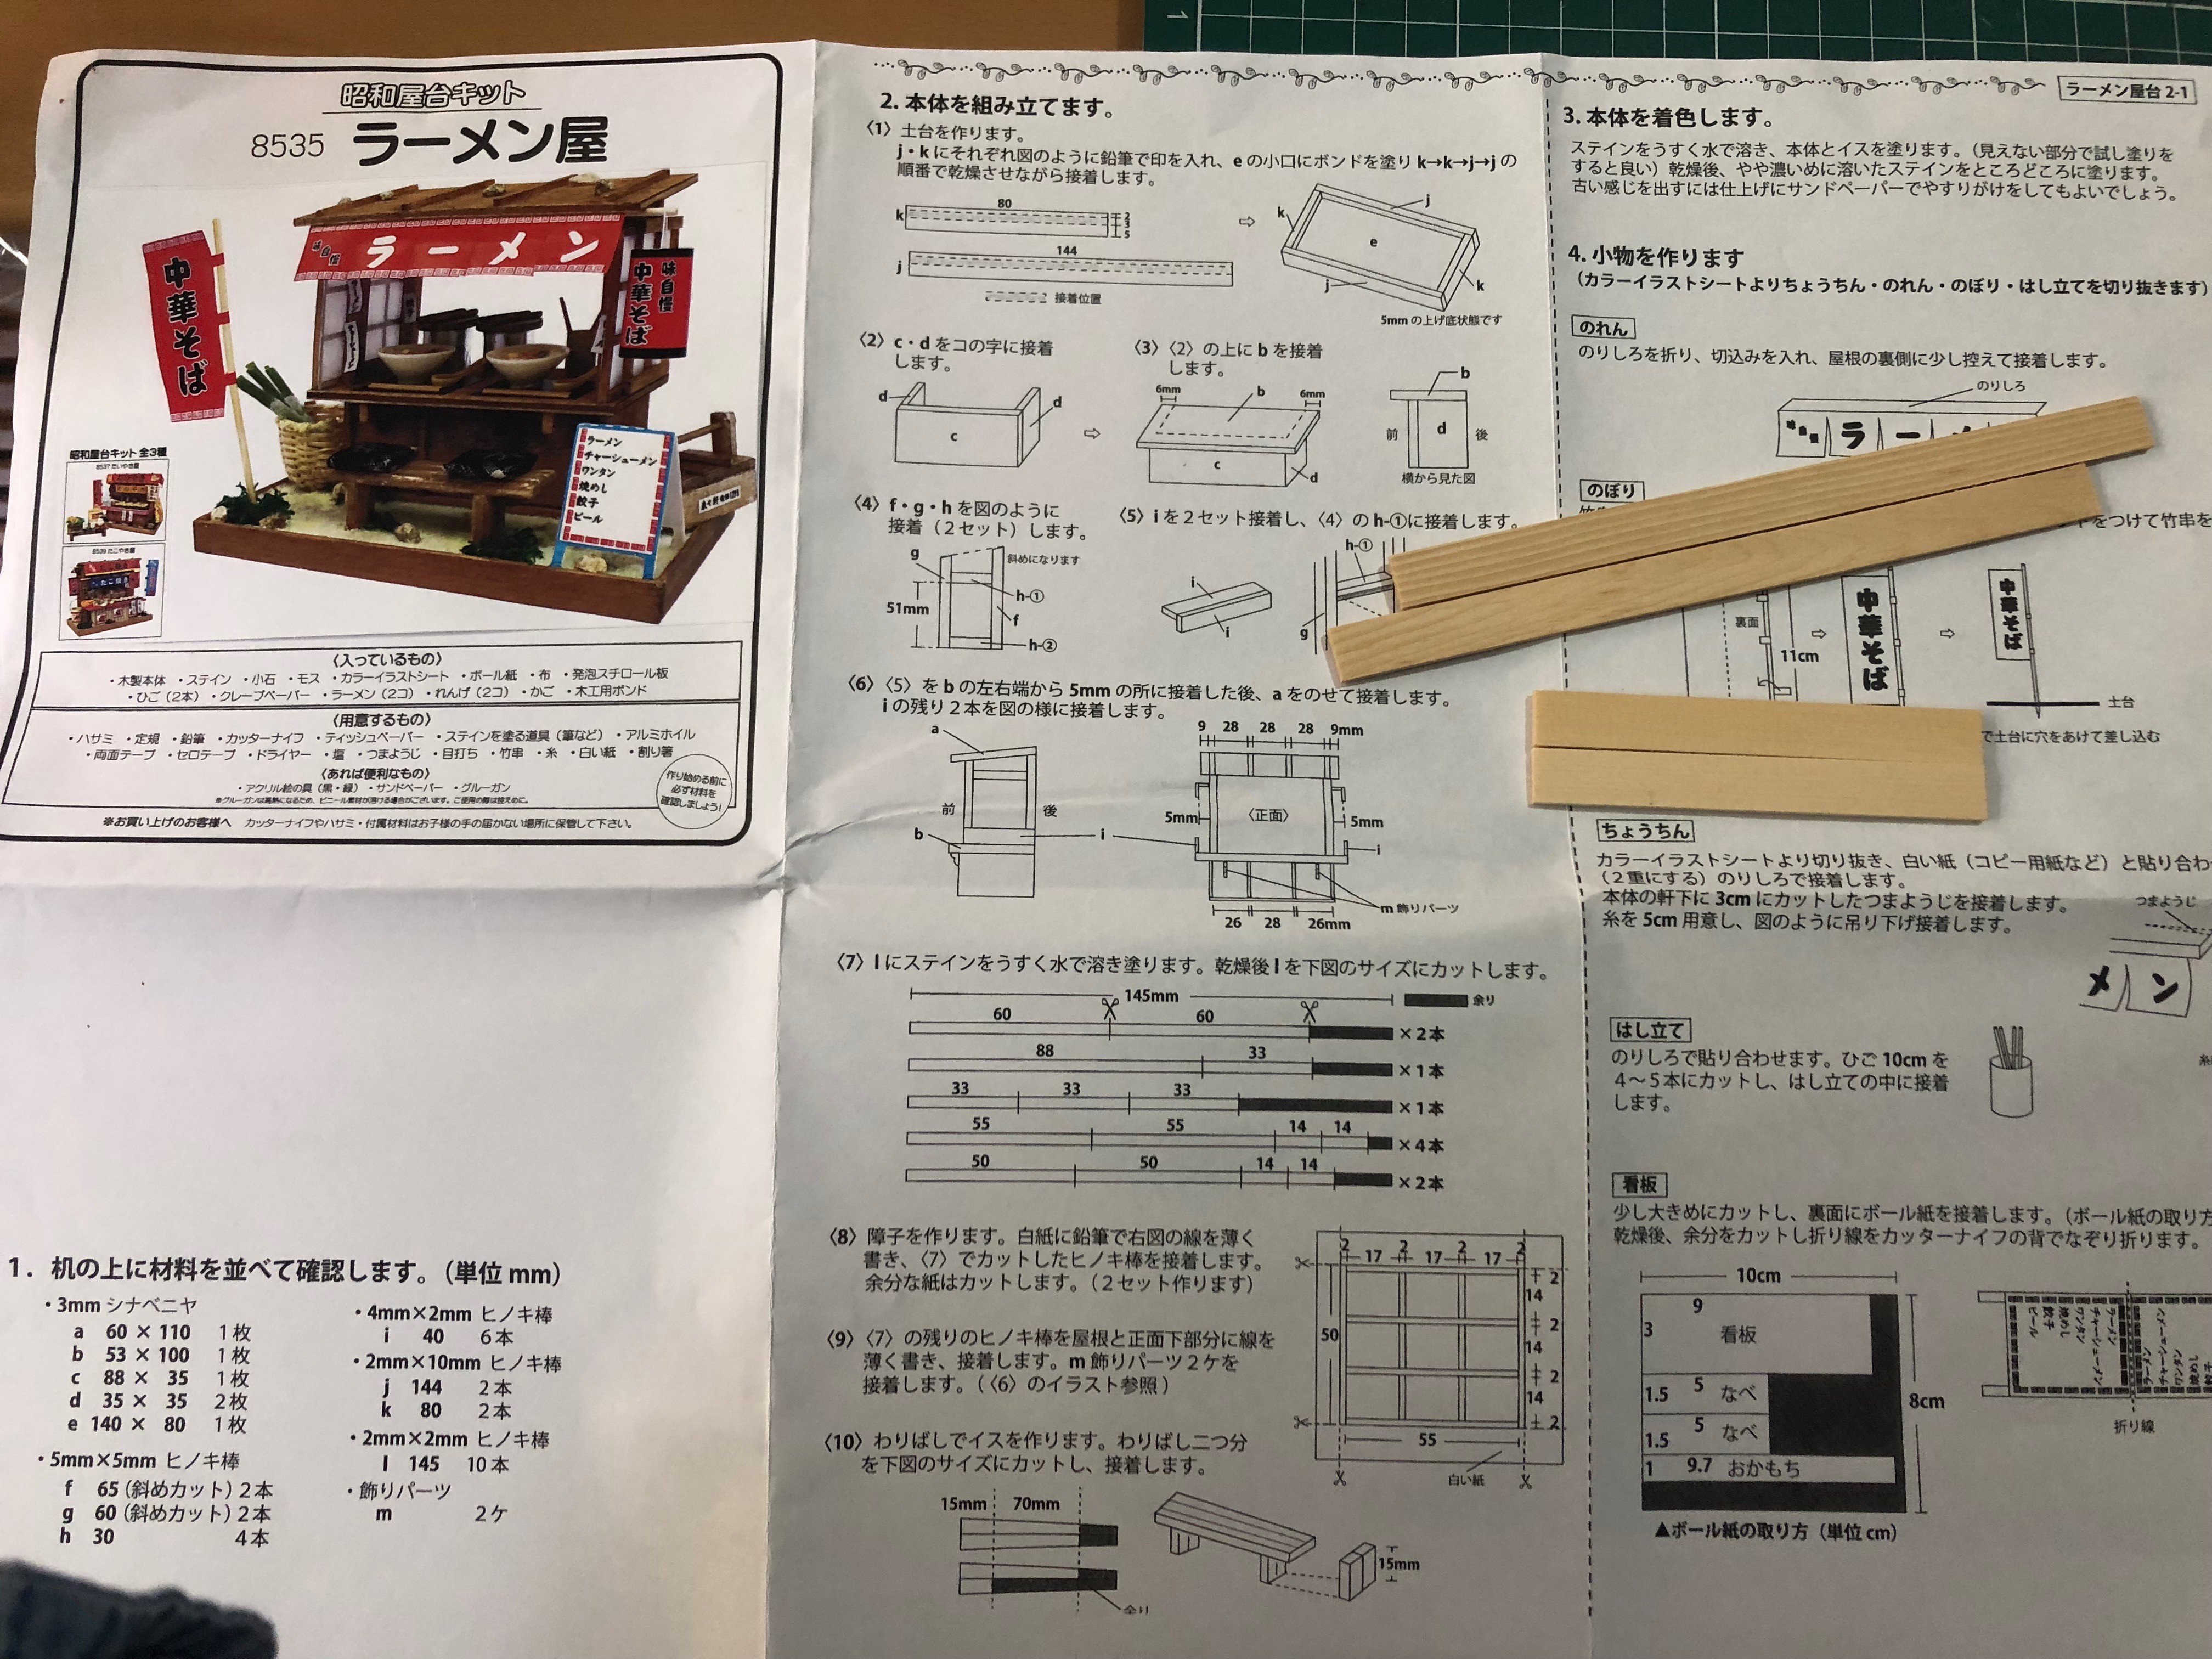
The instructions are on Japanese but they have good visual aids and kit comes with everything you need: wood pieces, plastic, carton, tint, glue, etc, etc.
This is my first attempt trying to assemble a kit and I don't know a thing about modelling/dioramas. Additionally, I am clumsy with scissors, glue, painting, etc.
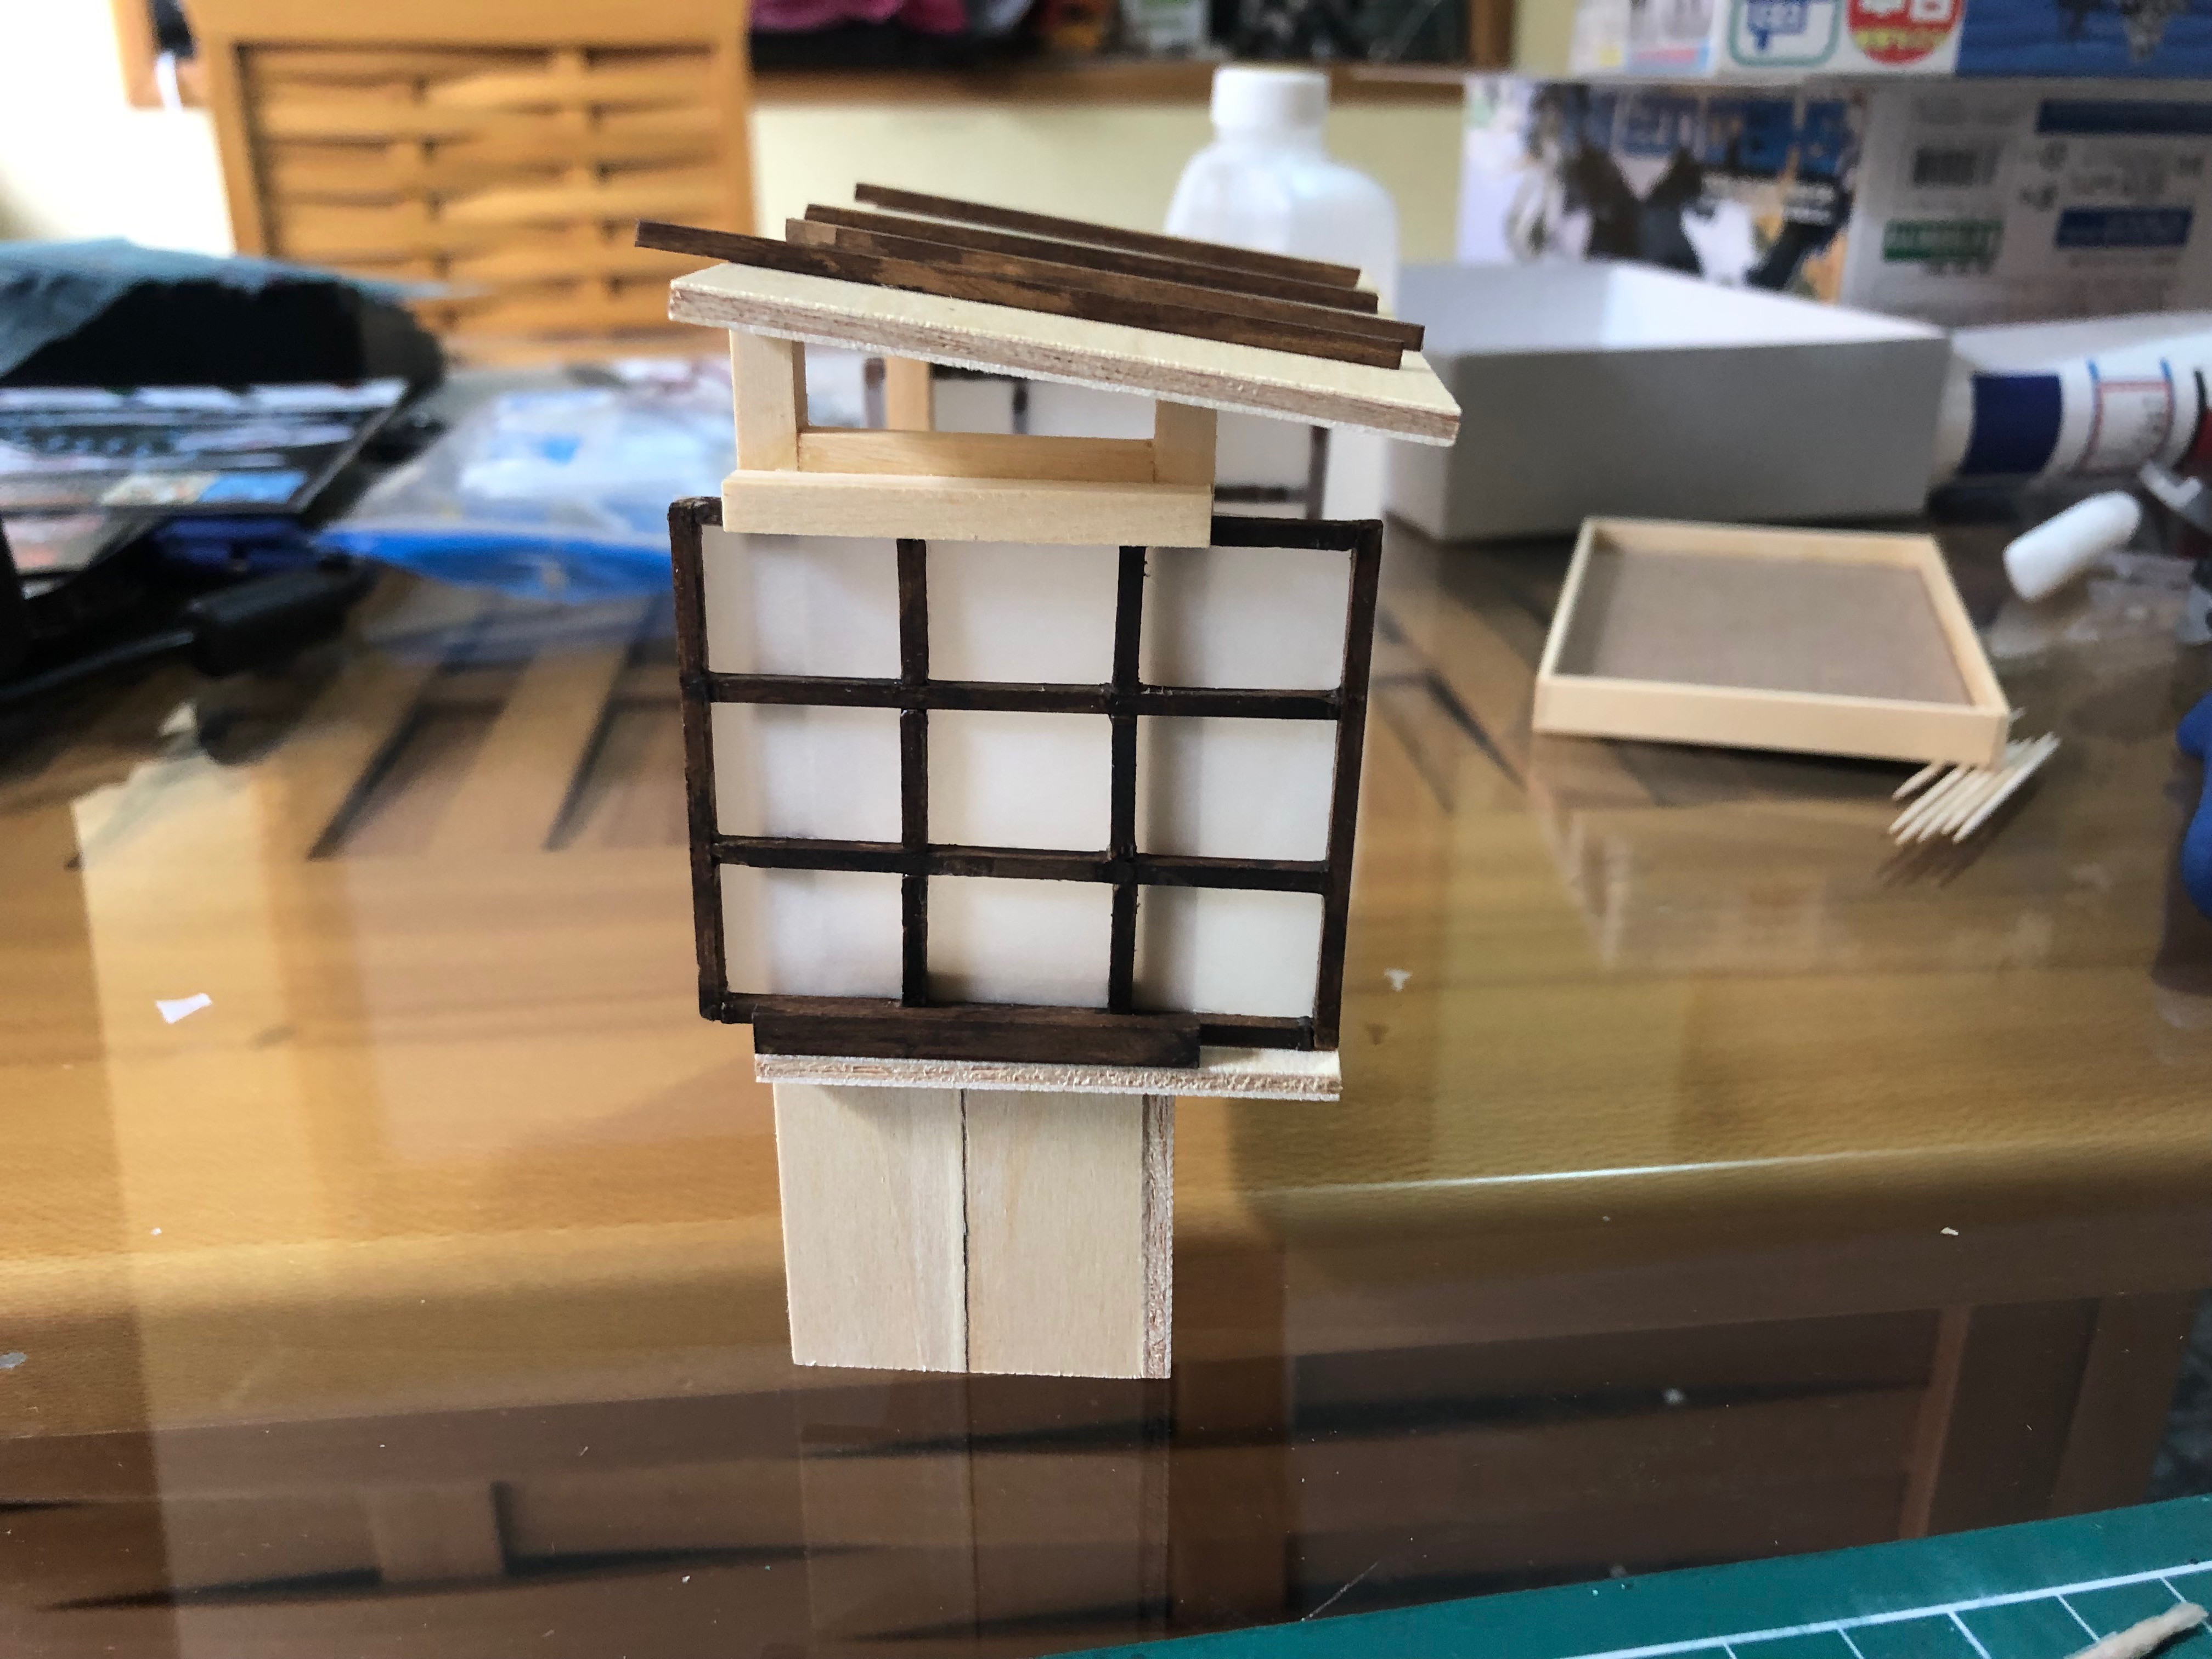
I had to re do the windows 4-5 times because they didn't fit on the rails because the base and the rails were tilted.
I was stuck figuring out how to do the bench because none of the listed pieces matched the illustration, thank you google translate! I had to use chopsticks, we order a lot of sushi so we had plenty of them.
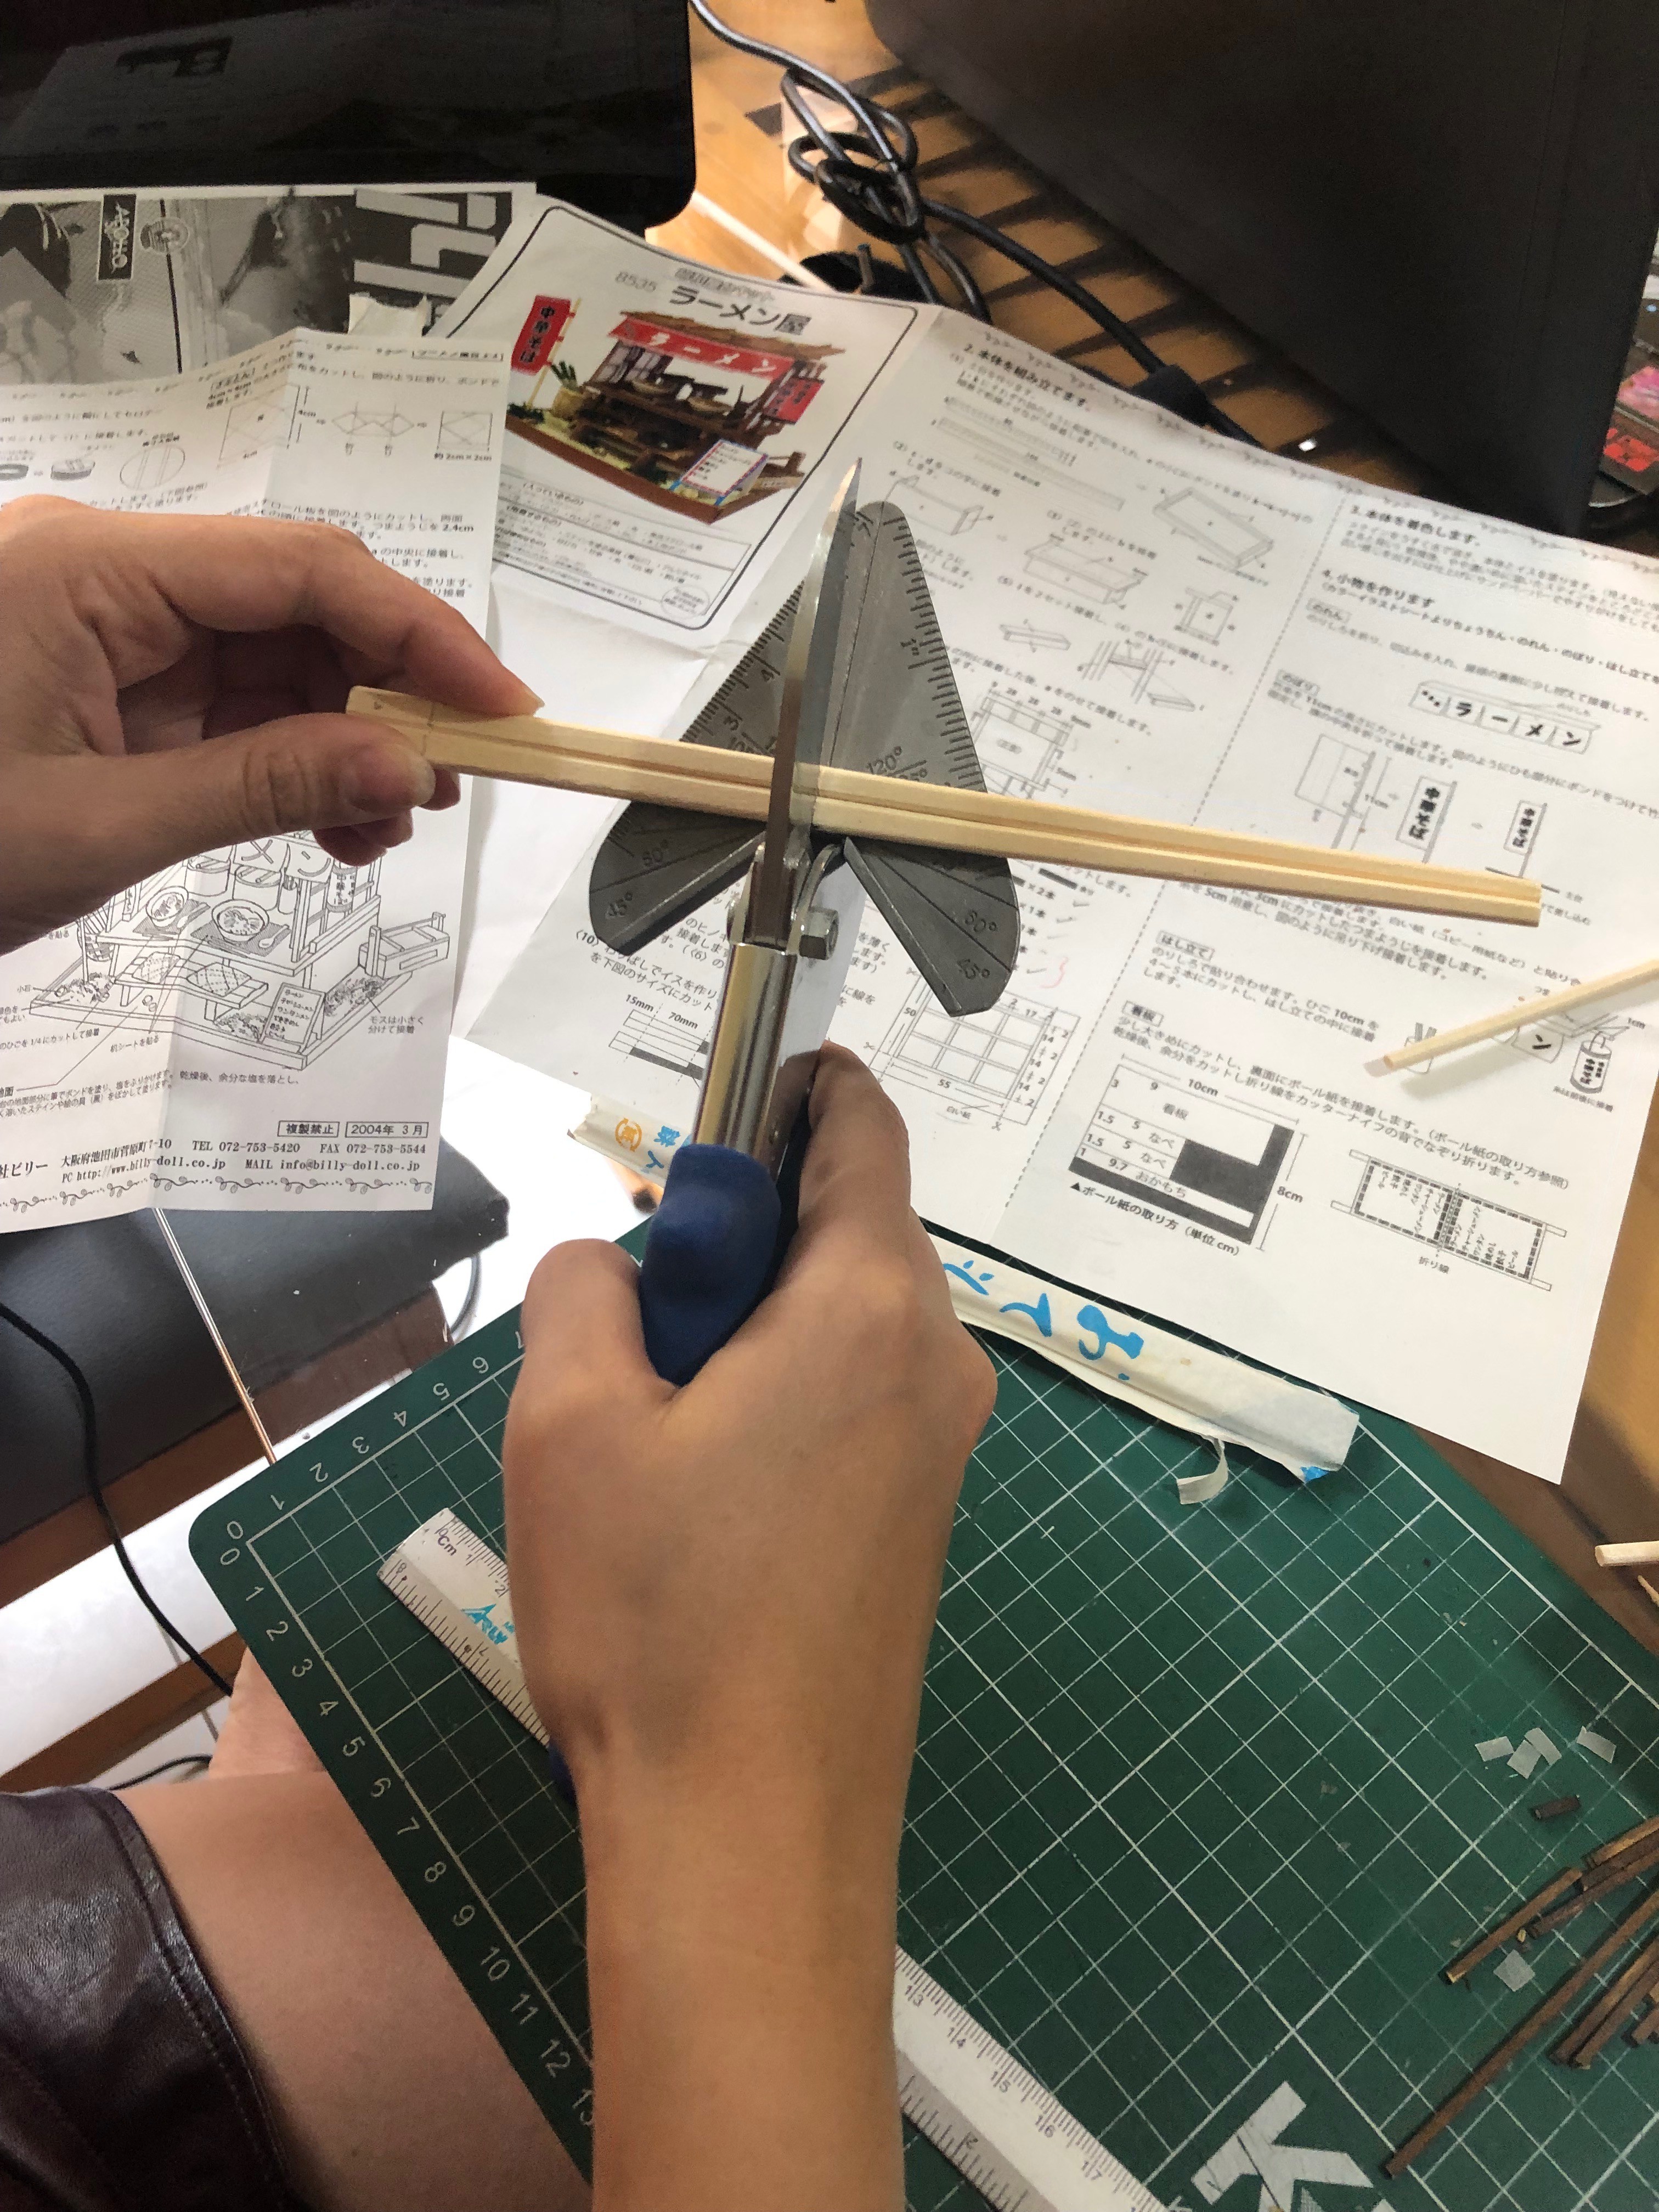
Fortunately Abraham has amazing tools (he is INDEED a hobbyist) so cutting wood pieces with this weird cutter made my life easier.
The kit includes a small bottle of tint which according to instructions, I had to dilute with water, but I used too much glue and the tint won't stick so I have to sand it.
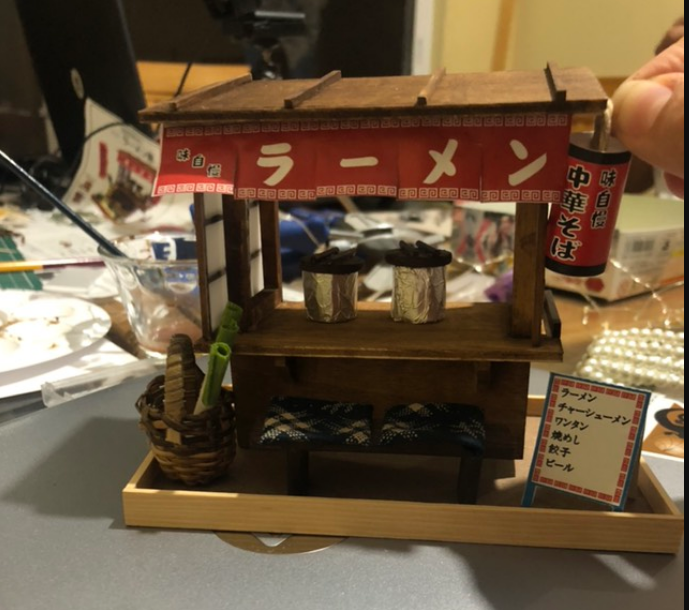
This is how it looks so far. The bench looks tilted! Instructions depicted using toothpicks as chopsticks cut 2 in halves and placed them in that small container (cute!).
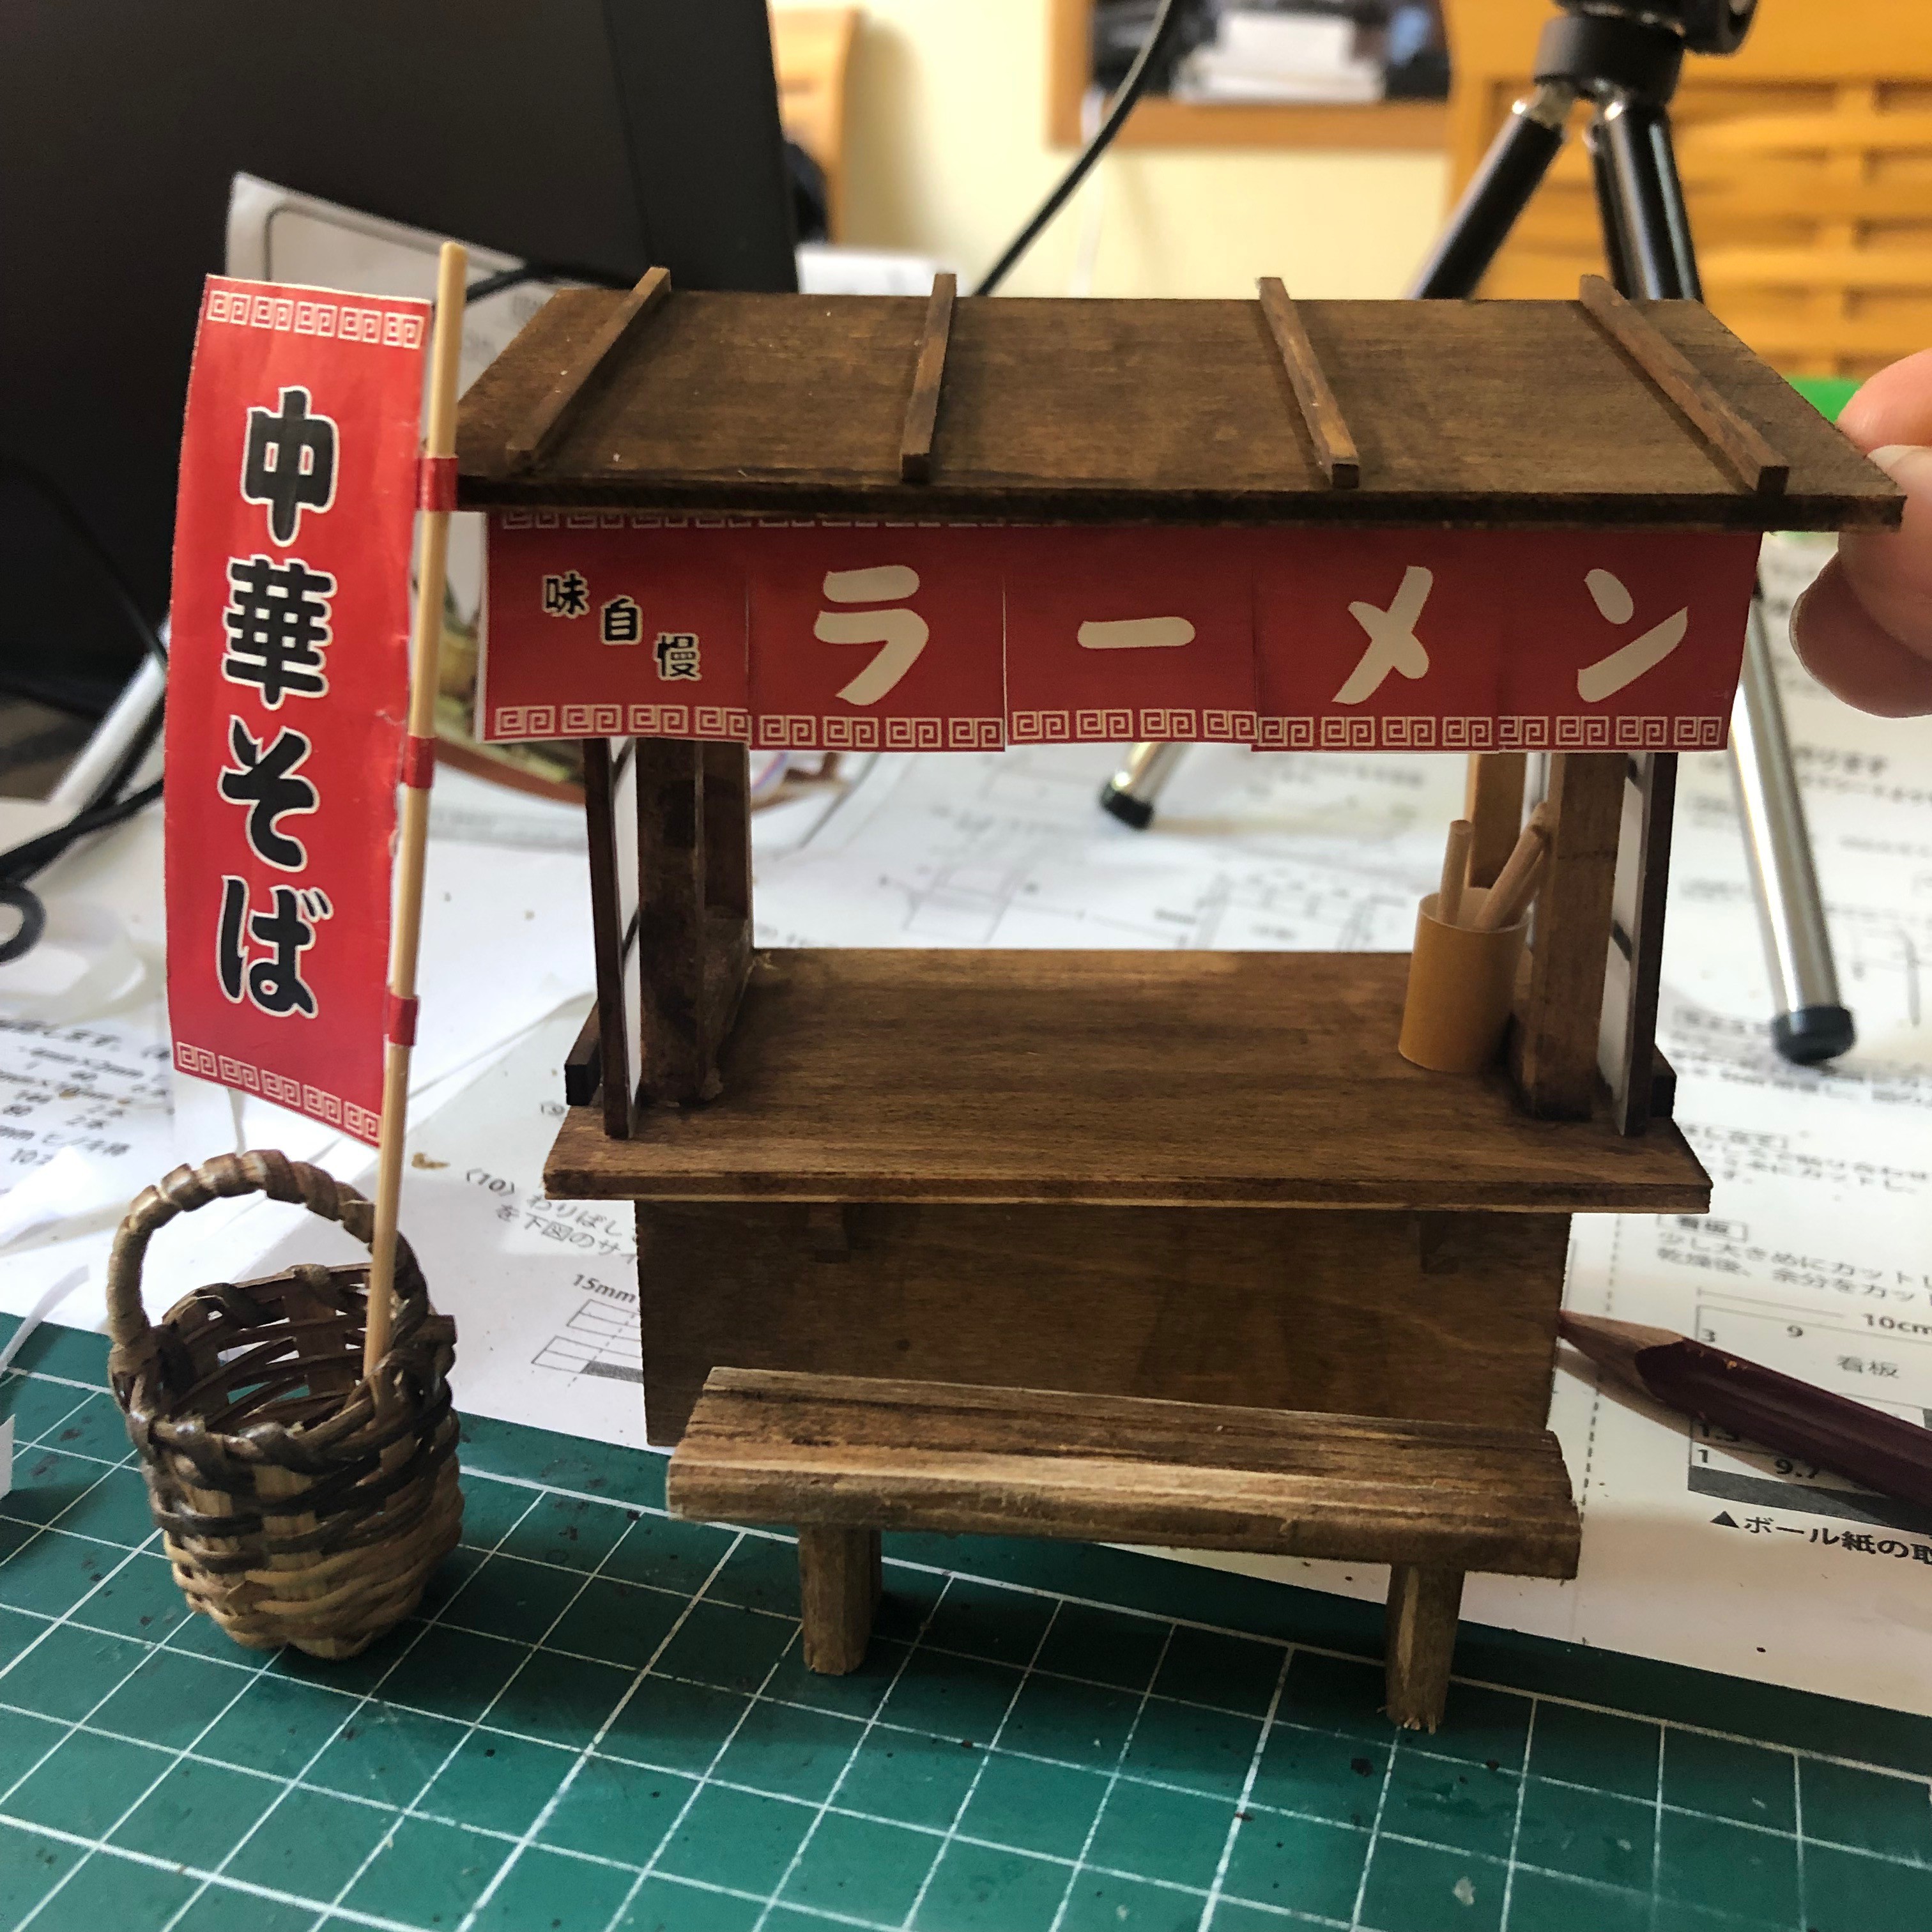
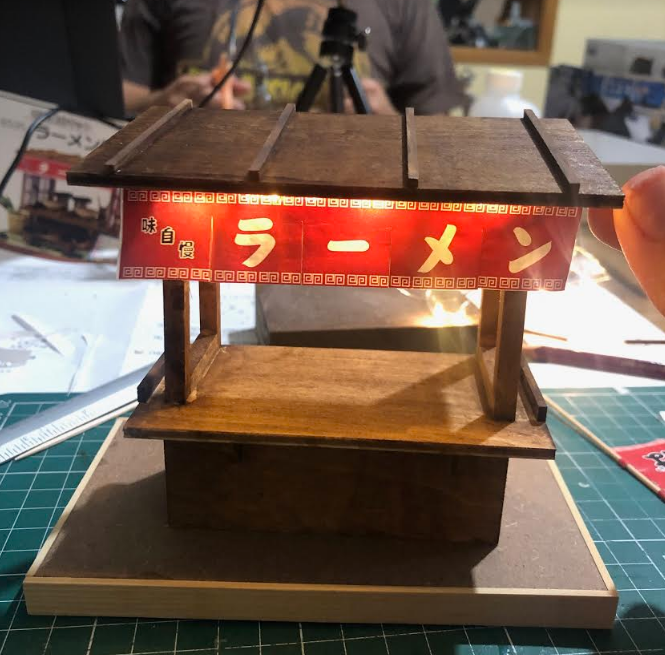
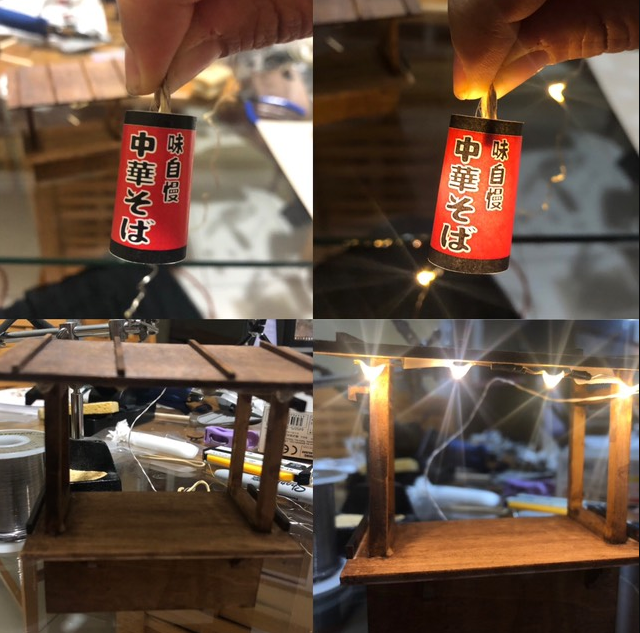
I am planning to add LEDs I bought fairy lights on a local store but I need to make the wiring shorter because I want them to be behind the banner this is sort of how it will look:
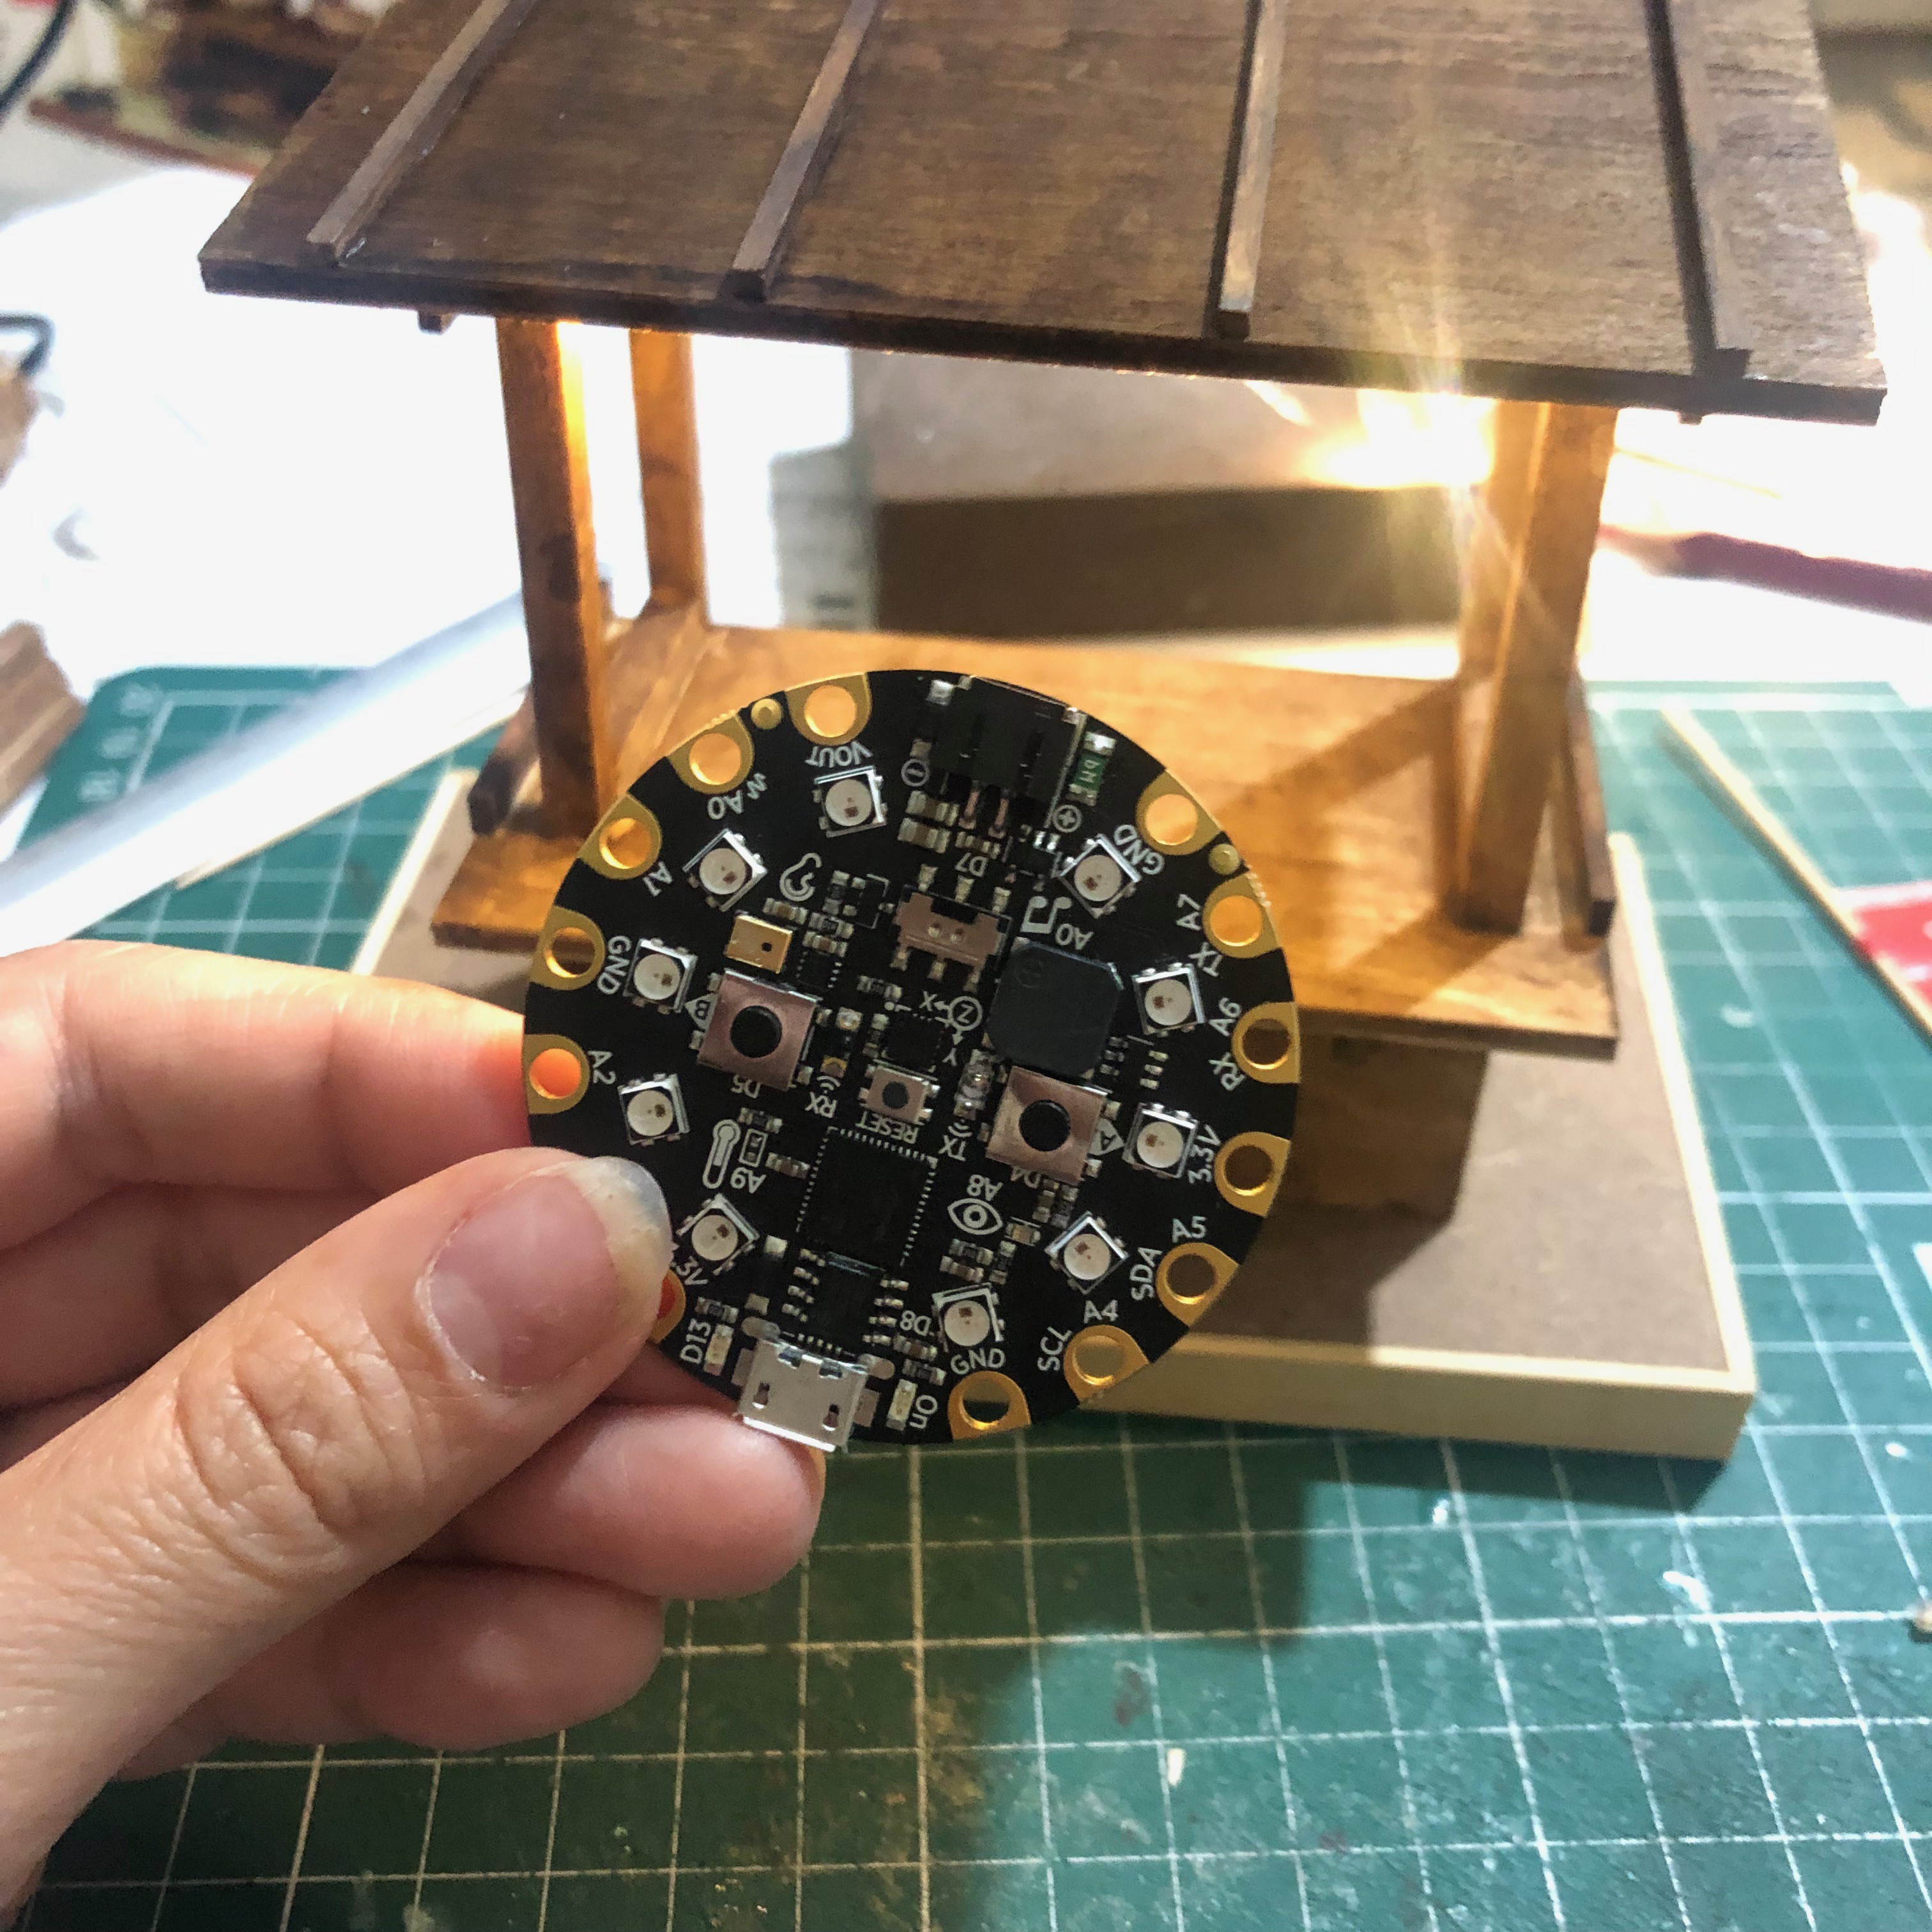
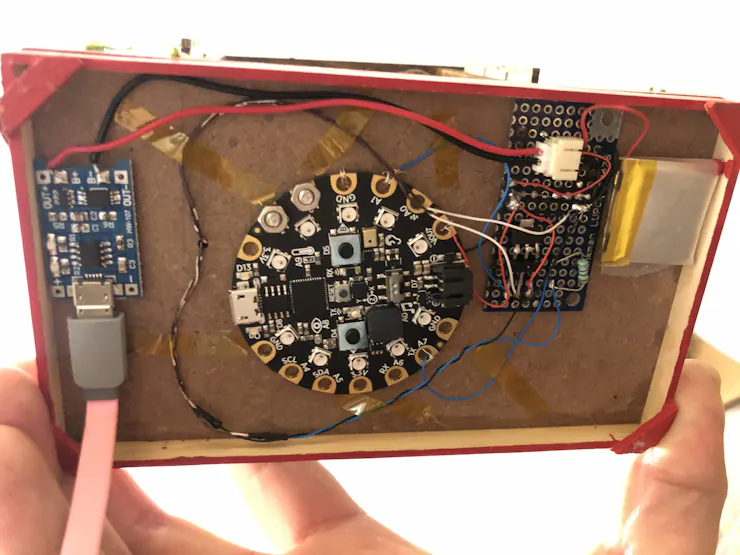
And using circuit playground express to add some music/sound effects. I have smaller boards available but this one already has a speaker and libraries are available to play wav files. And it fits perfectly on bottom.
Update:
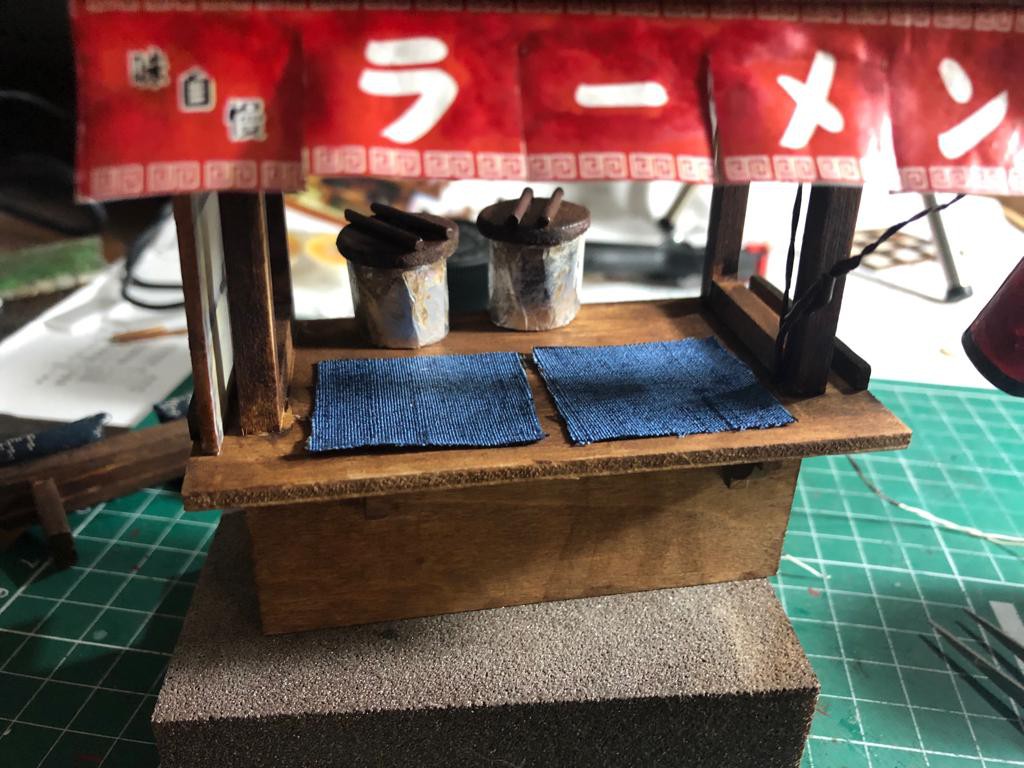
The kit has some styrofoam to make a small box but even after sanding the tint wouldn't stick, so I decided to use Taimya XF-68 NATO brown and XF-52 Flat earth to paint box and nabe lids. Speaking of nabe, I need to wrap them again with smaller pieces of aluminium foil because it got too wrinkled.
The cushions don't have any stuffing, according to instructions you just have to fold the pieces of fabric, but I am considering in adding some cotton but not too much.
3 negis are placed inside a basket, you have to use tissue paper which I didn't have at the moment so I used toilet paper instead (lol).
I cut the fairy lights to make 4 LEDs fit behind de ramen banner. I will have a different circuit controlling the paper lamp.
FINAL UPDATE:
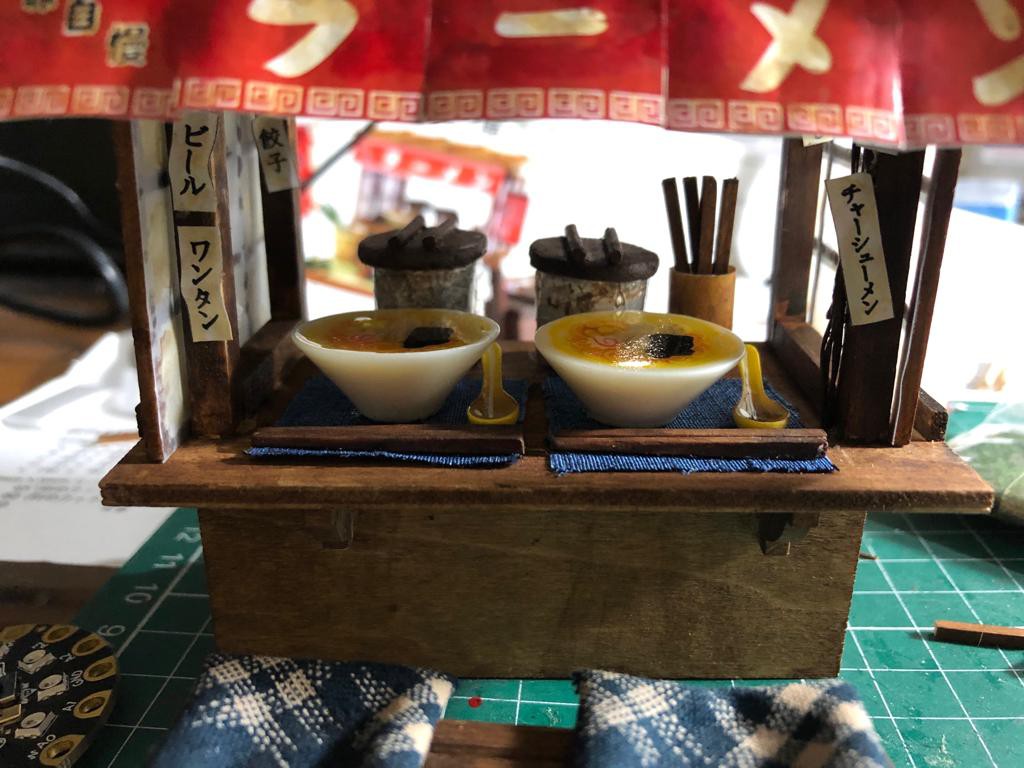
Had some cute fabric I bought in Japan and used for the placemats instead of the little pieces of paper.
The kit has cute items like the ramen bowls and spoons ^^ the chopsticks are left overs of other pieces of wood used to make the windows. Notice at this point all the stains in the banner, nabe and menu I wanted to give it an old-fashioned ramen shop look with grease hehe.
Back to CPX I used the following tutorials to play wav files and use touch pins.
- How to run circuitpython on CPX
- Installing MU Editor
- How to play wave files in CPX
- How to process your audio files with Audacity
This is the audio tests:
いらっしゃいませー!(Irasshaimase!) Is a greeting used at almost every retail establishment in Japan.
I used a piece of stripboard to place a P-CH transistor and control the banner lights with CPX, I wanted to have an independent circuit for the lamp, so I just connected to a different pin in CPX and added a 220Ohm resistor, a rechargeable battery and the TP4056 charging module.
Testing the circuit
Not the greatest assembly, but also used screws and bolts to attach the CPX.
Added a piece of fabric to cover...
Read more »
 Breno Juliano "Dot"
 Quinn
Quinn
 Tom Anderson
 Quinn Silverleaf