 Cadmium
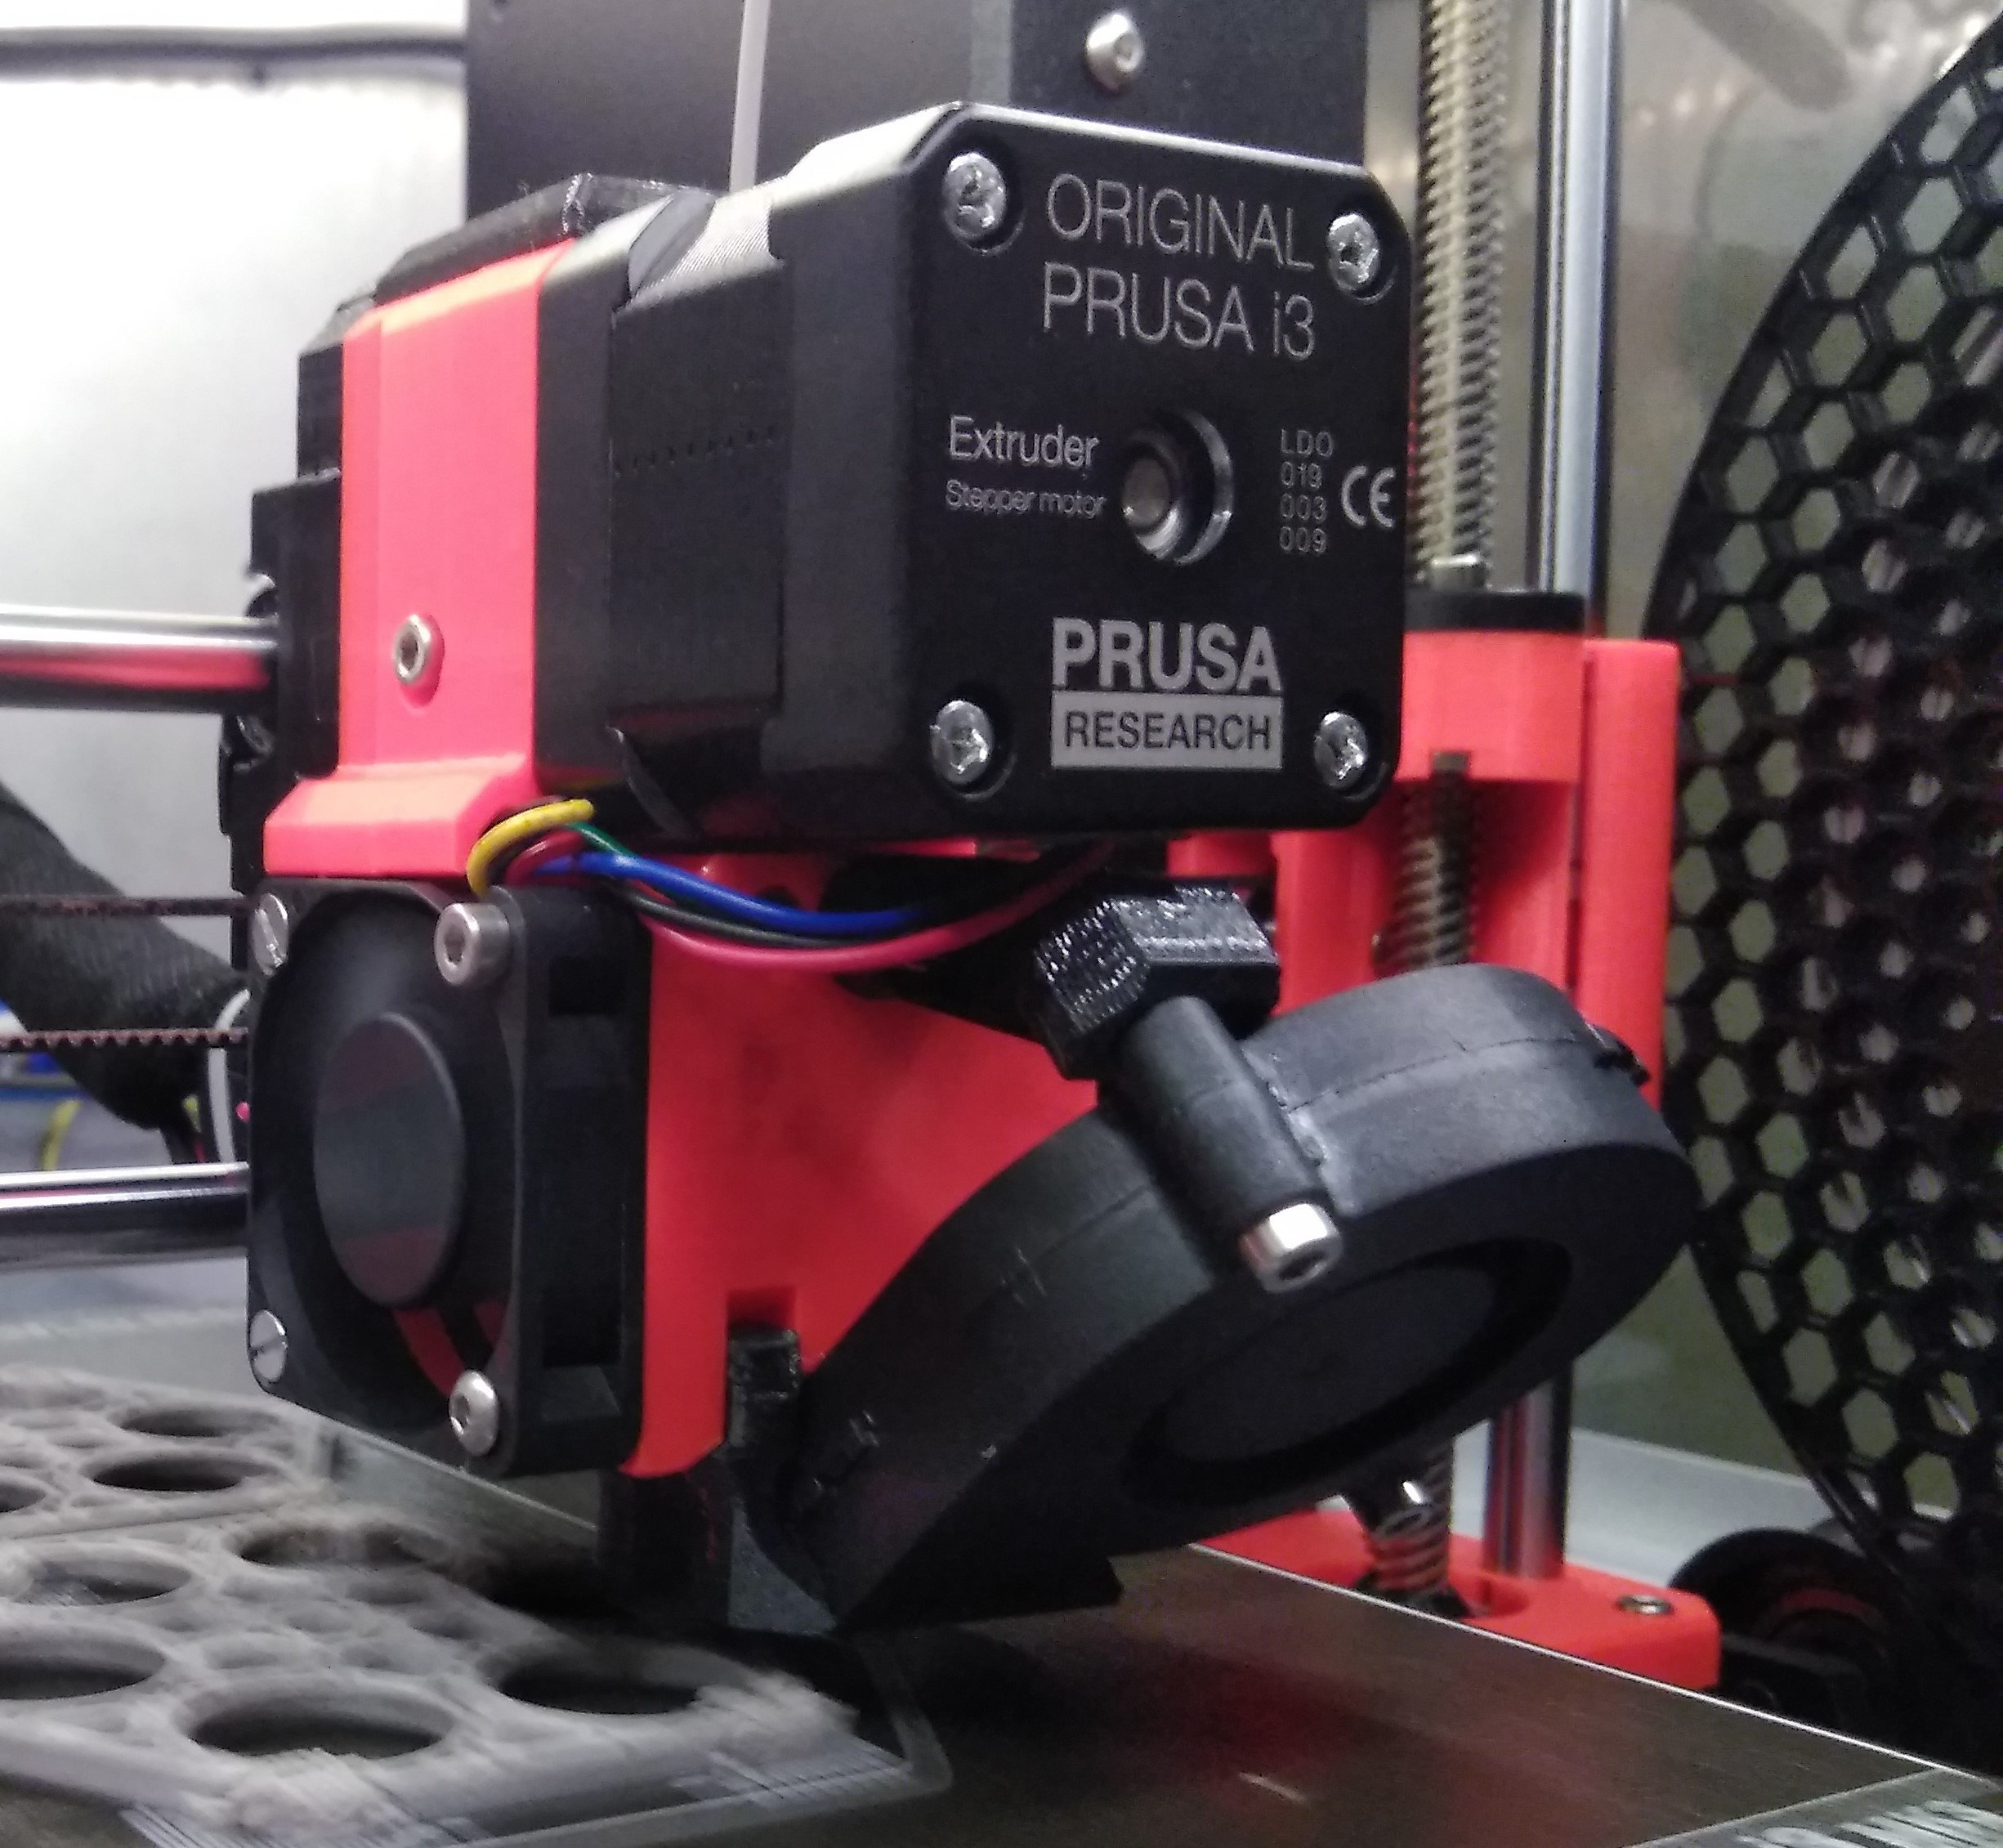
On the homepage of Slice Engineering [0], the manufacturer of the Mosquito hotend, I followed a link to a modified extruder for the Prusa i3 MK3S [1].
I had a quick look at it, but decided to improve my designing skills by creating a new extruder.
In order to use the stock firmware from Prusa and to keep as much stock parts as possible, I had to consider some geometric constraints:
- Pattern of the mounting holes
- Keeping the position of the nozzle (X-,Y- and Z-coordinates relative to the carriage)
- Position of the P.I.N.D.A. Probe relative to the nozzle-tip
- Mounting holes for the hotend fan
- Max. overall dimensions of the extruder
As a base for the new extruder I used the model provided by Prusa [2].
First I removed the lower half of the model, placed the Mosquito hotend and rebuild the lower half around the hotend.
Mounting the hotend
The hotend is held in place by a form-fitting cavity, so there is no need for a mounting bracket or something like that. Most of the required pressure is applied in the upper part of the heatsink, so I am not afraid to deform the U-shaped heatsink accidentally.
Air ducts
The air duct contains guides for the airflow. The guide in the inlet should guide a part of the airflow directly to the little heatsink on the heatbrake. To prevent the deforming or melting of the extruder, there is another guide in the outlet. It should guide a small amout of air to the plastic part of the extruder which is very close to the heating block.
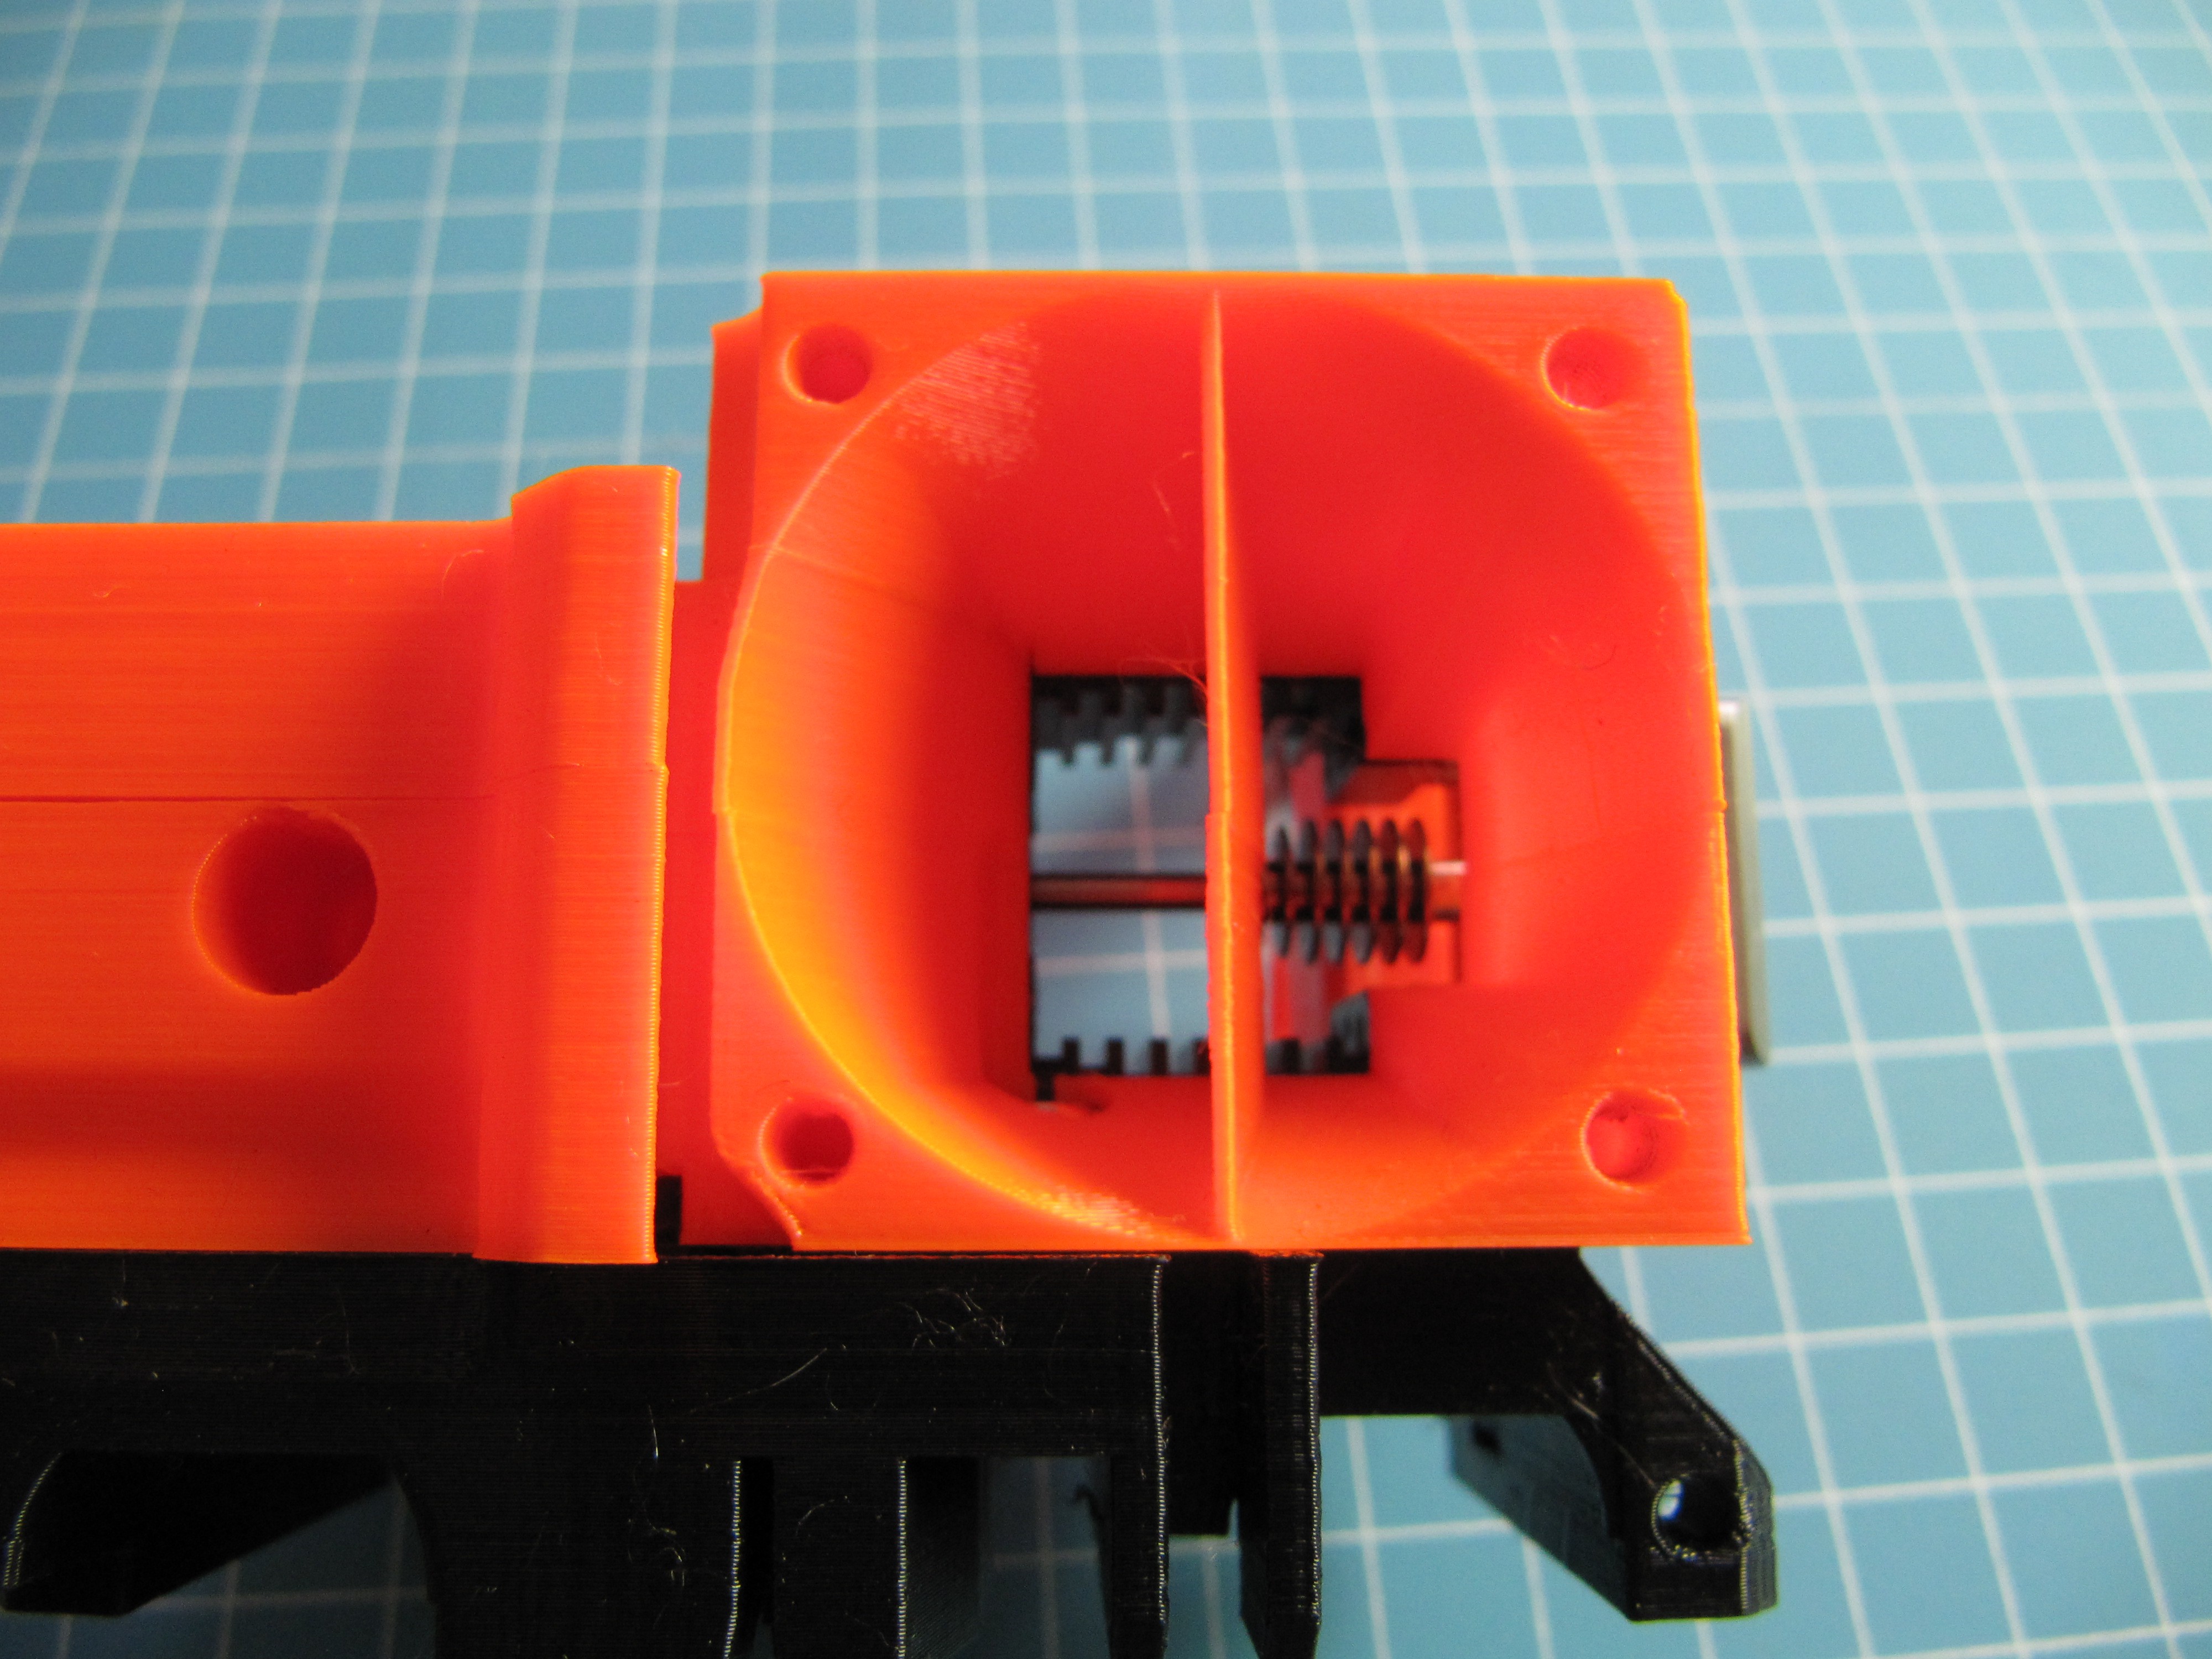
I am not an expert in CFD-simulation. If you have any idea how to improve the duct, do not hesitate to contact me.
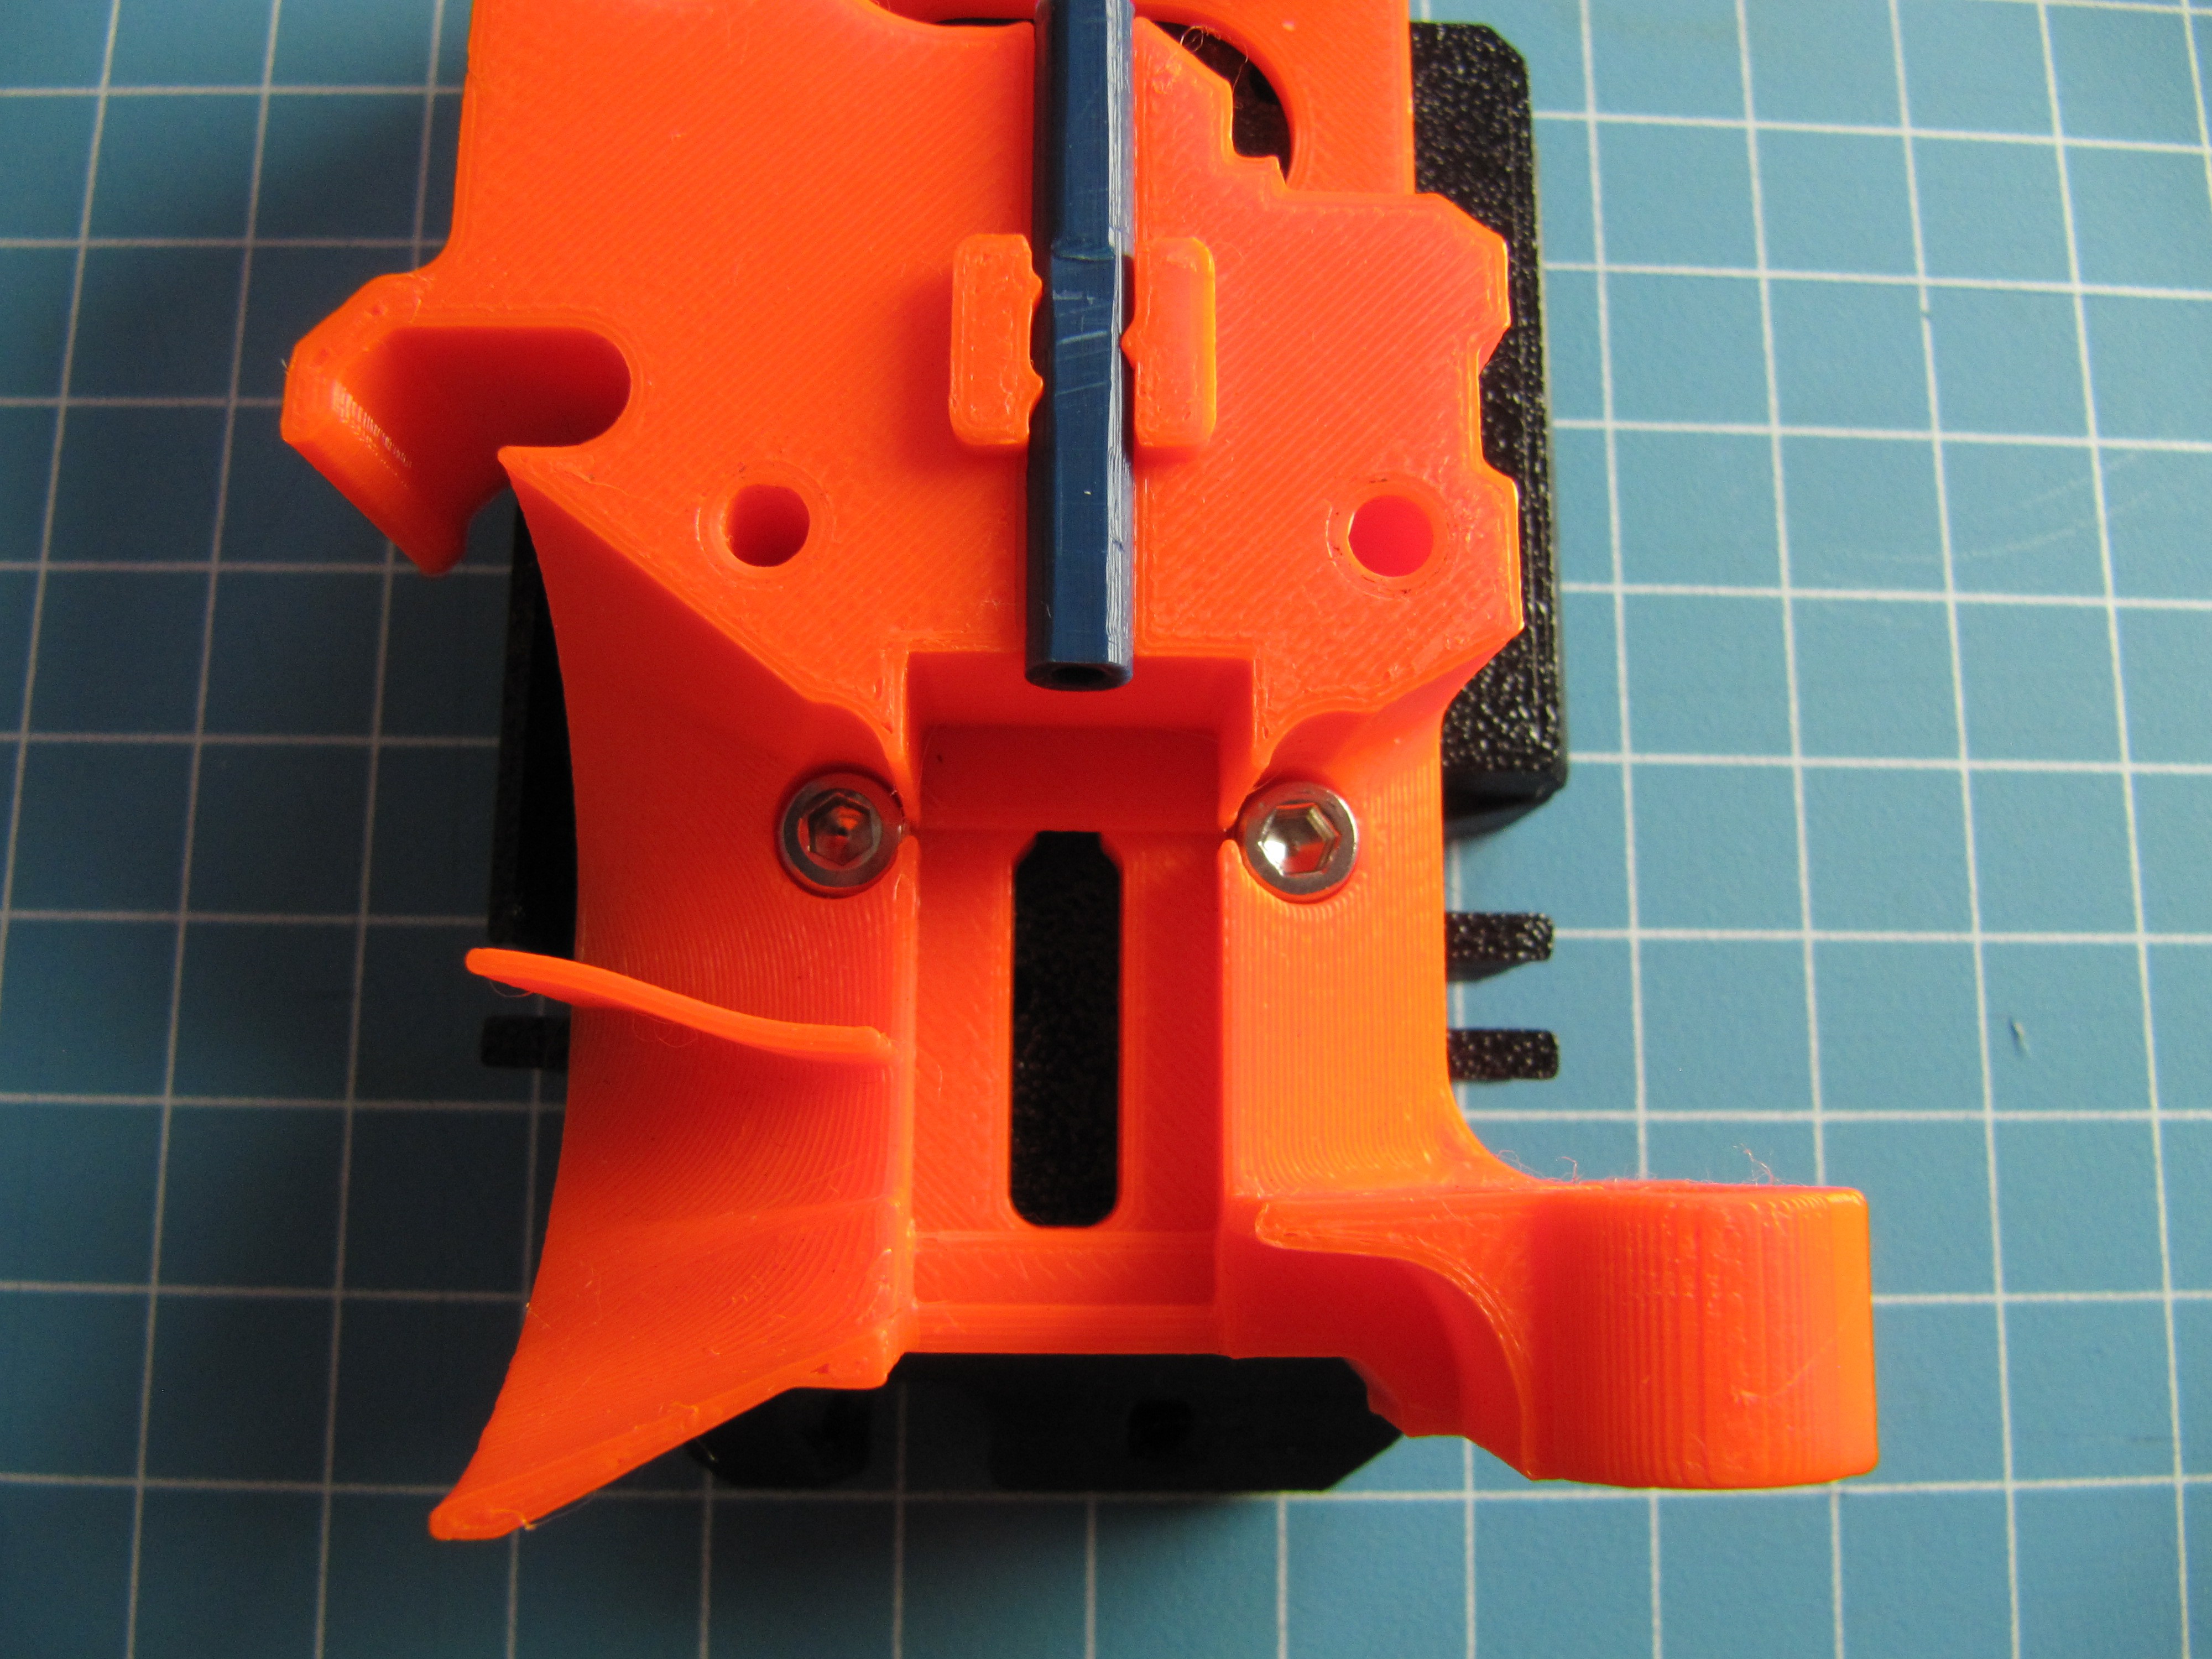
Filament guide
To guide the filament into the hotend I used PTFE tubing. The tubing is held in place by three little "teeth".
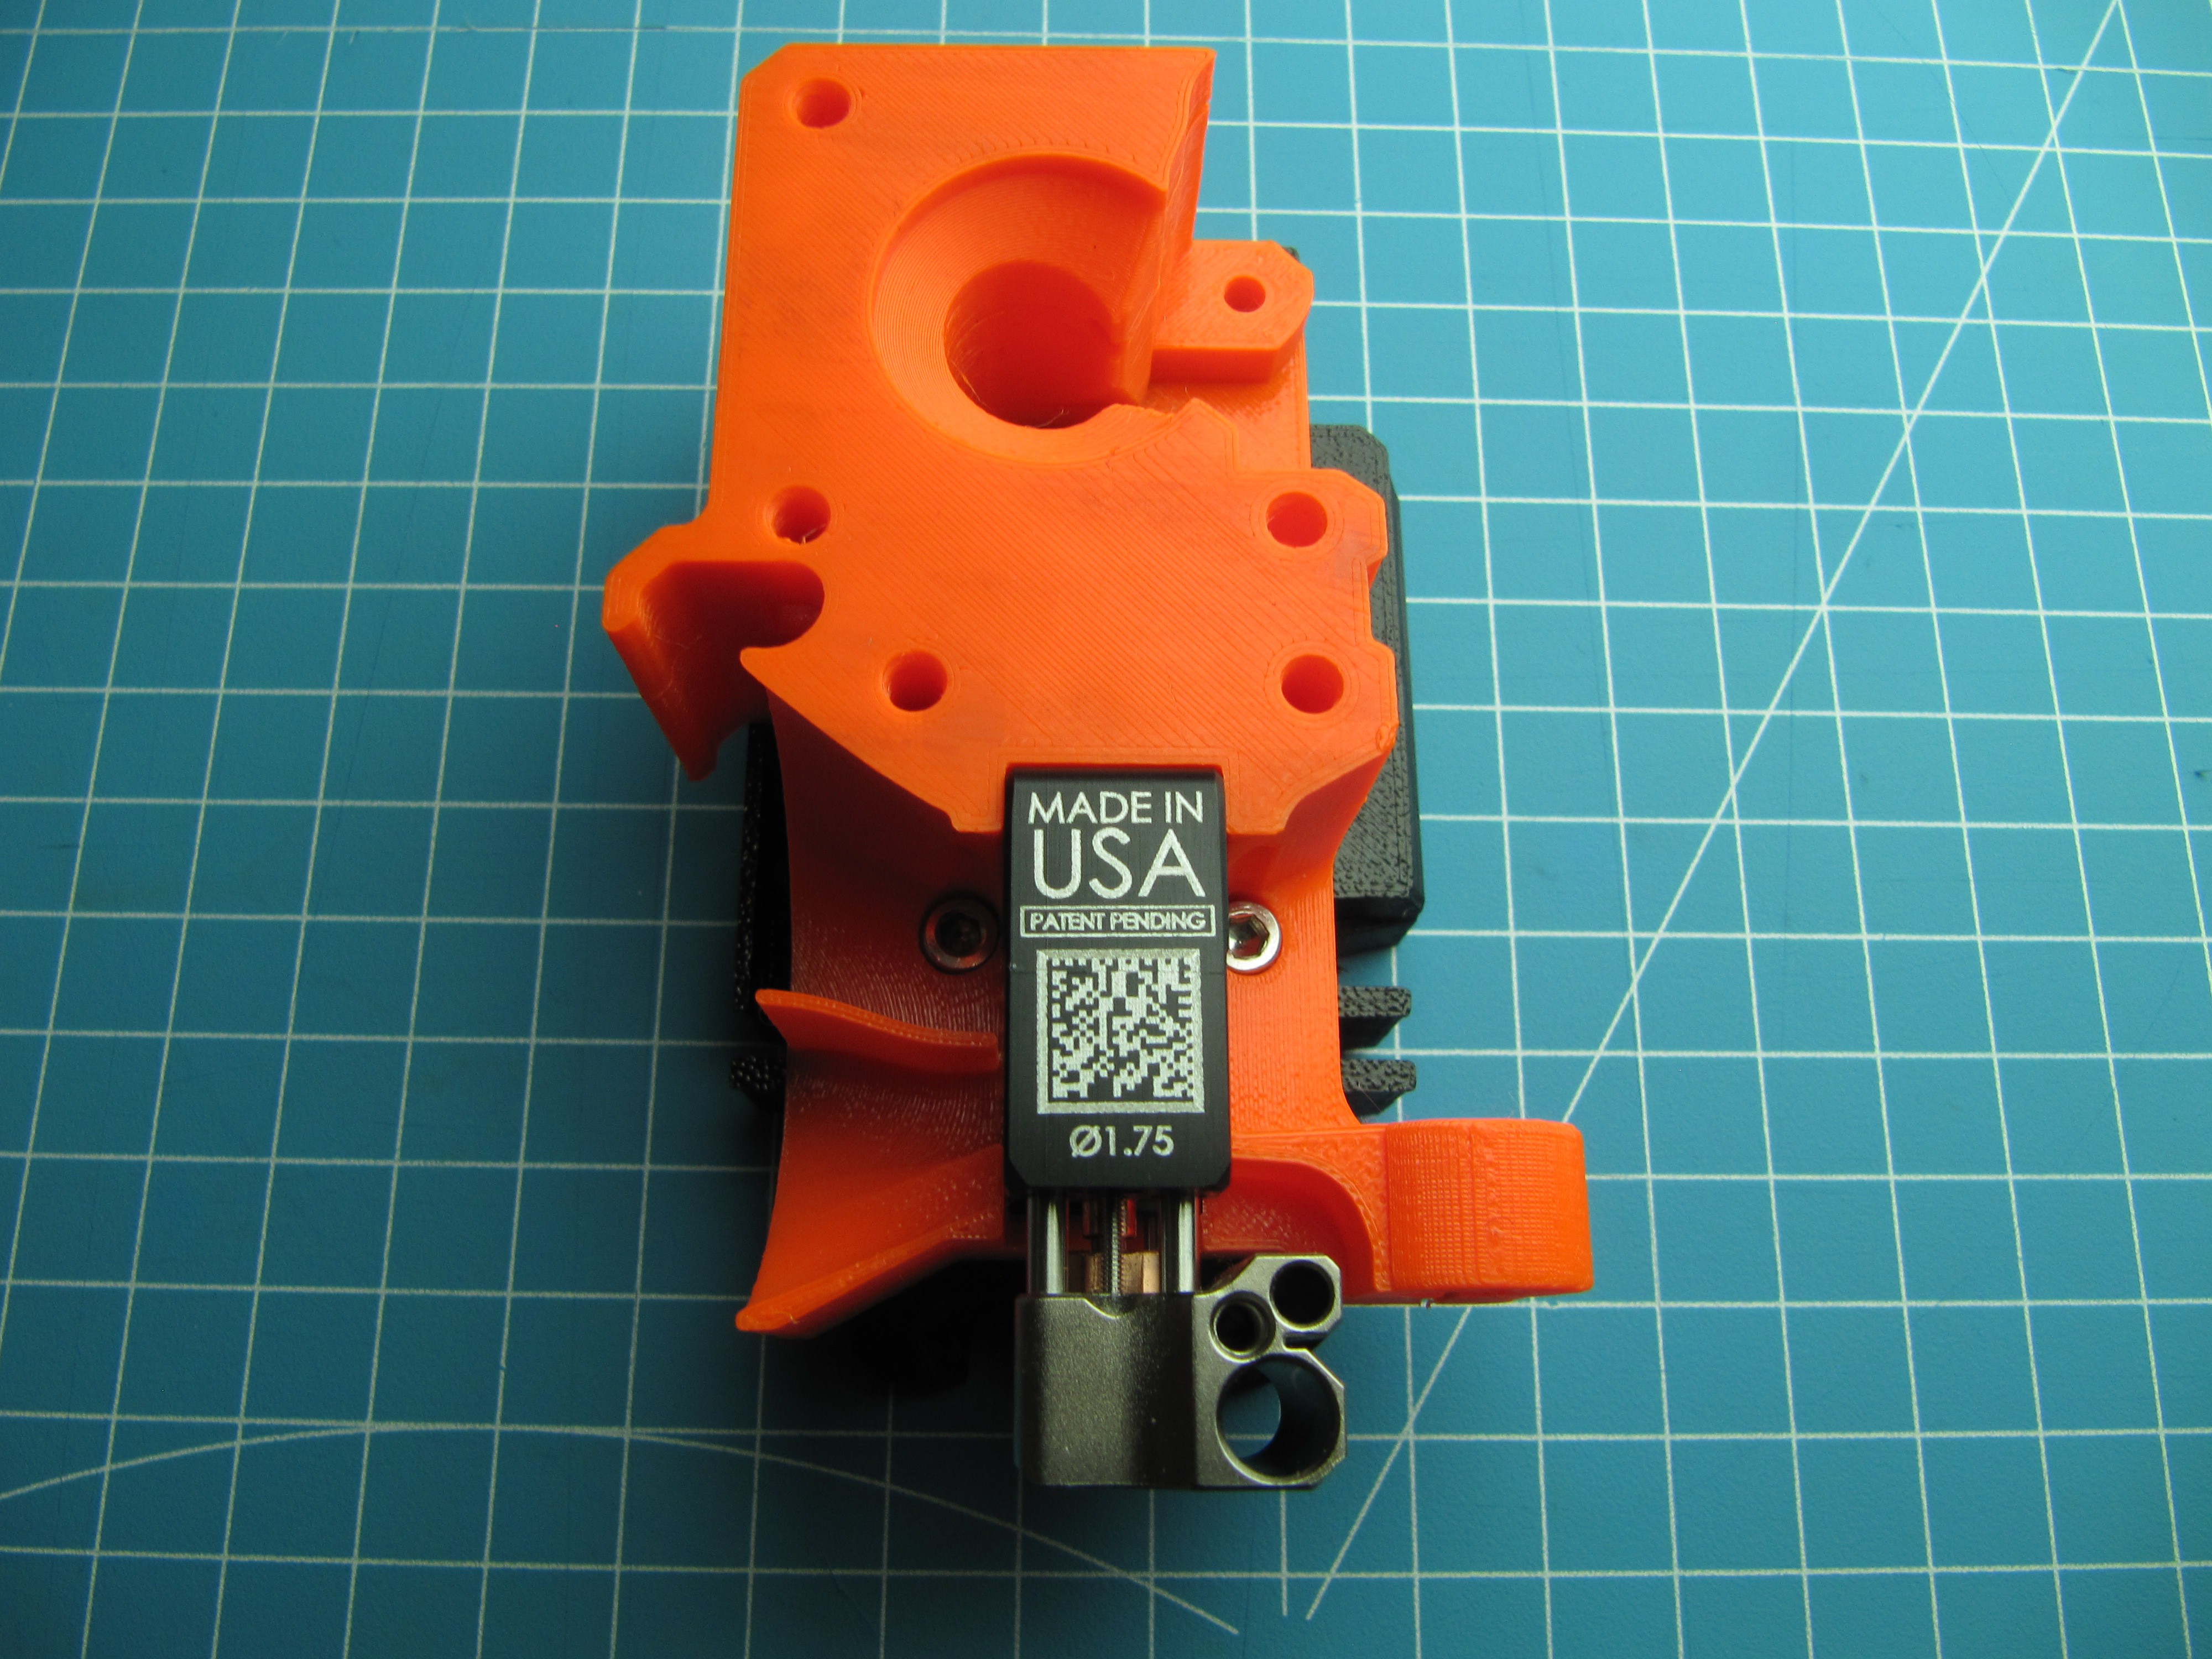
Optional temperature sensing
At the rear of the extruder you can attach a temperature sensor to the heatsink of the hotend. I added this feature to check the function of the air-cooling. On the picture you can see some white rubber foam which is used to press a type-K thermocouple to the surface of the heatsink. This is not suitable for precise measurements, but it will indicate if your extruder is going to melt.

Links
[0] https://www.sliceengineering.com/
[1] https://www.thingiverse.com/thing:3515782
[2] https://github.com/prusa3d/Original-Prusa-i3/tree/MK3S/Printed-Parts/


 any advice about home automation? whats a good way to start with it?

 Bill Gertz
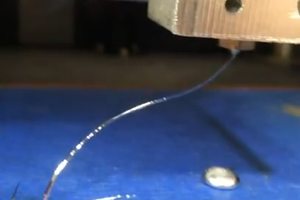
 Michael Perrone
 Supercell
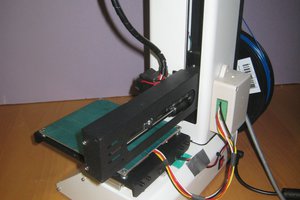
Edited the step files and created NF-Crazy compatible version. Thank you again! Here is my post about it (in Hungarian). Also the models and source files can be downloaded from here: https://www.youmagine.com/designs/prusa-i3-mk3s-mellow-nf-crazy-mosquito-hotend-adapter-mod
I built it and works.