 ServError
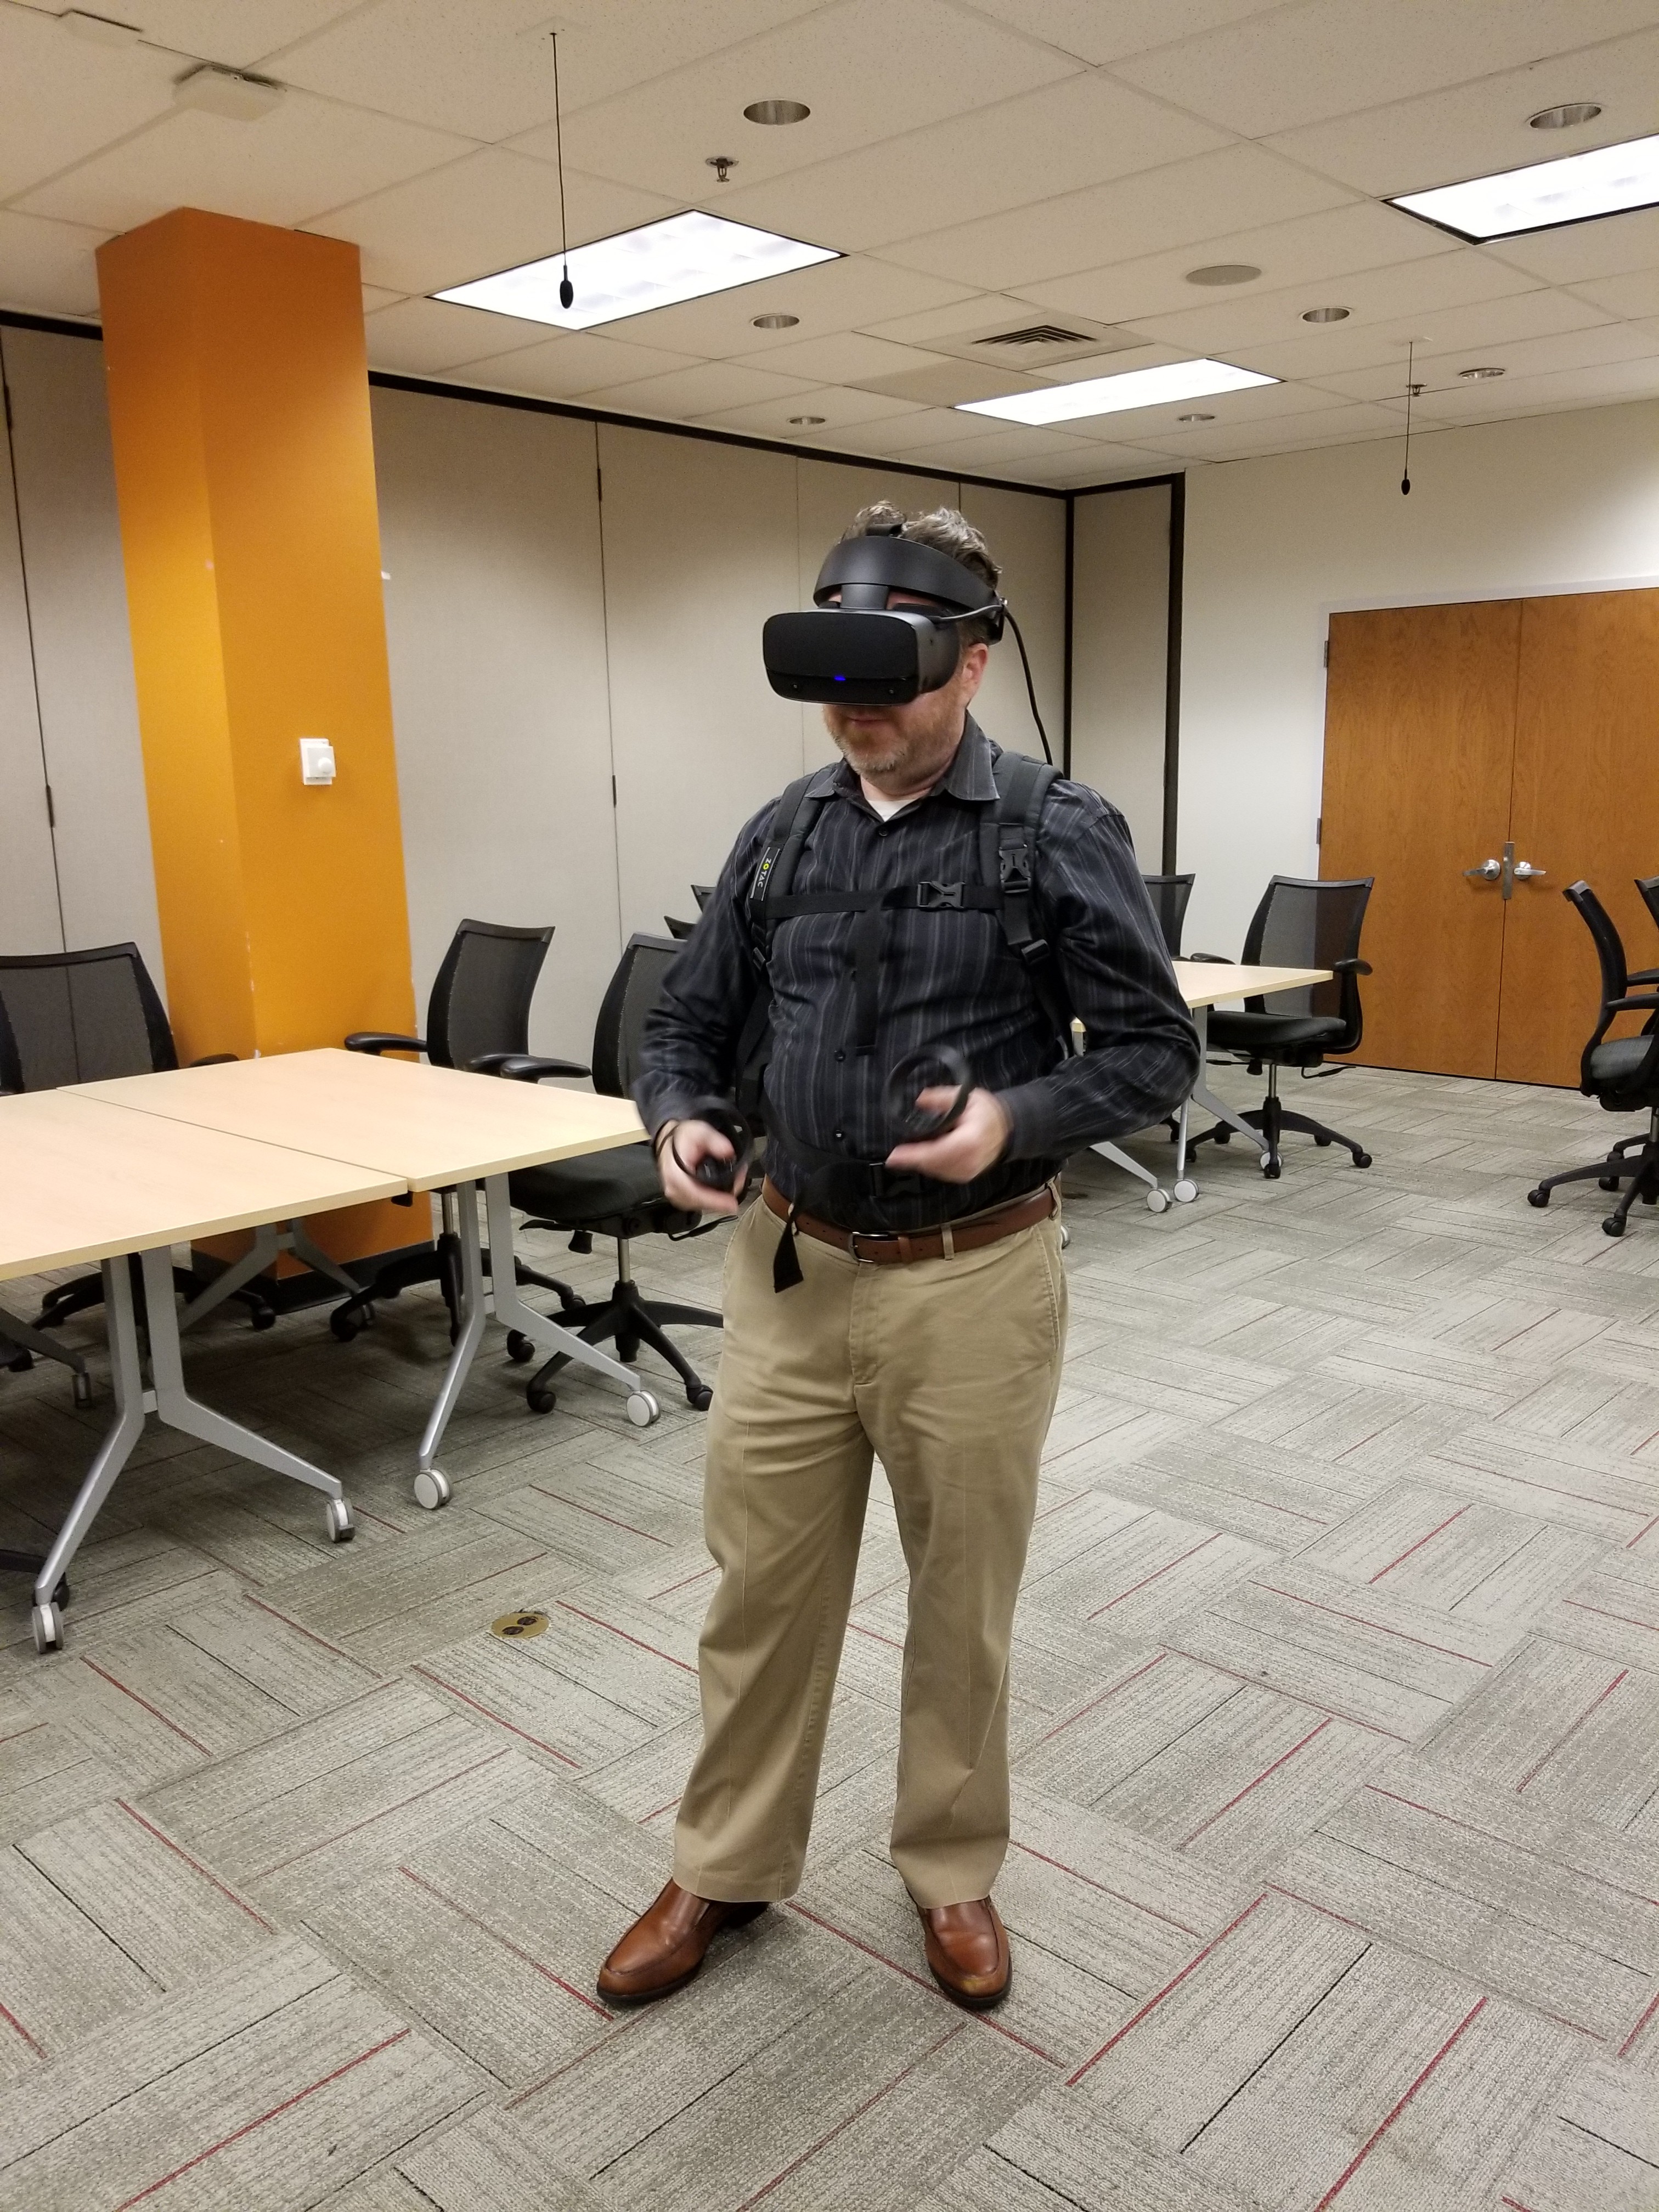
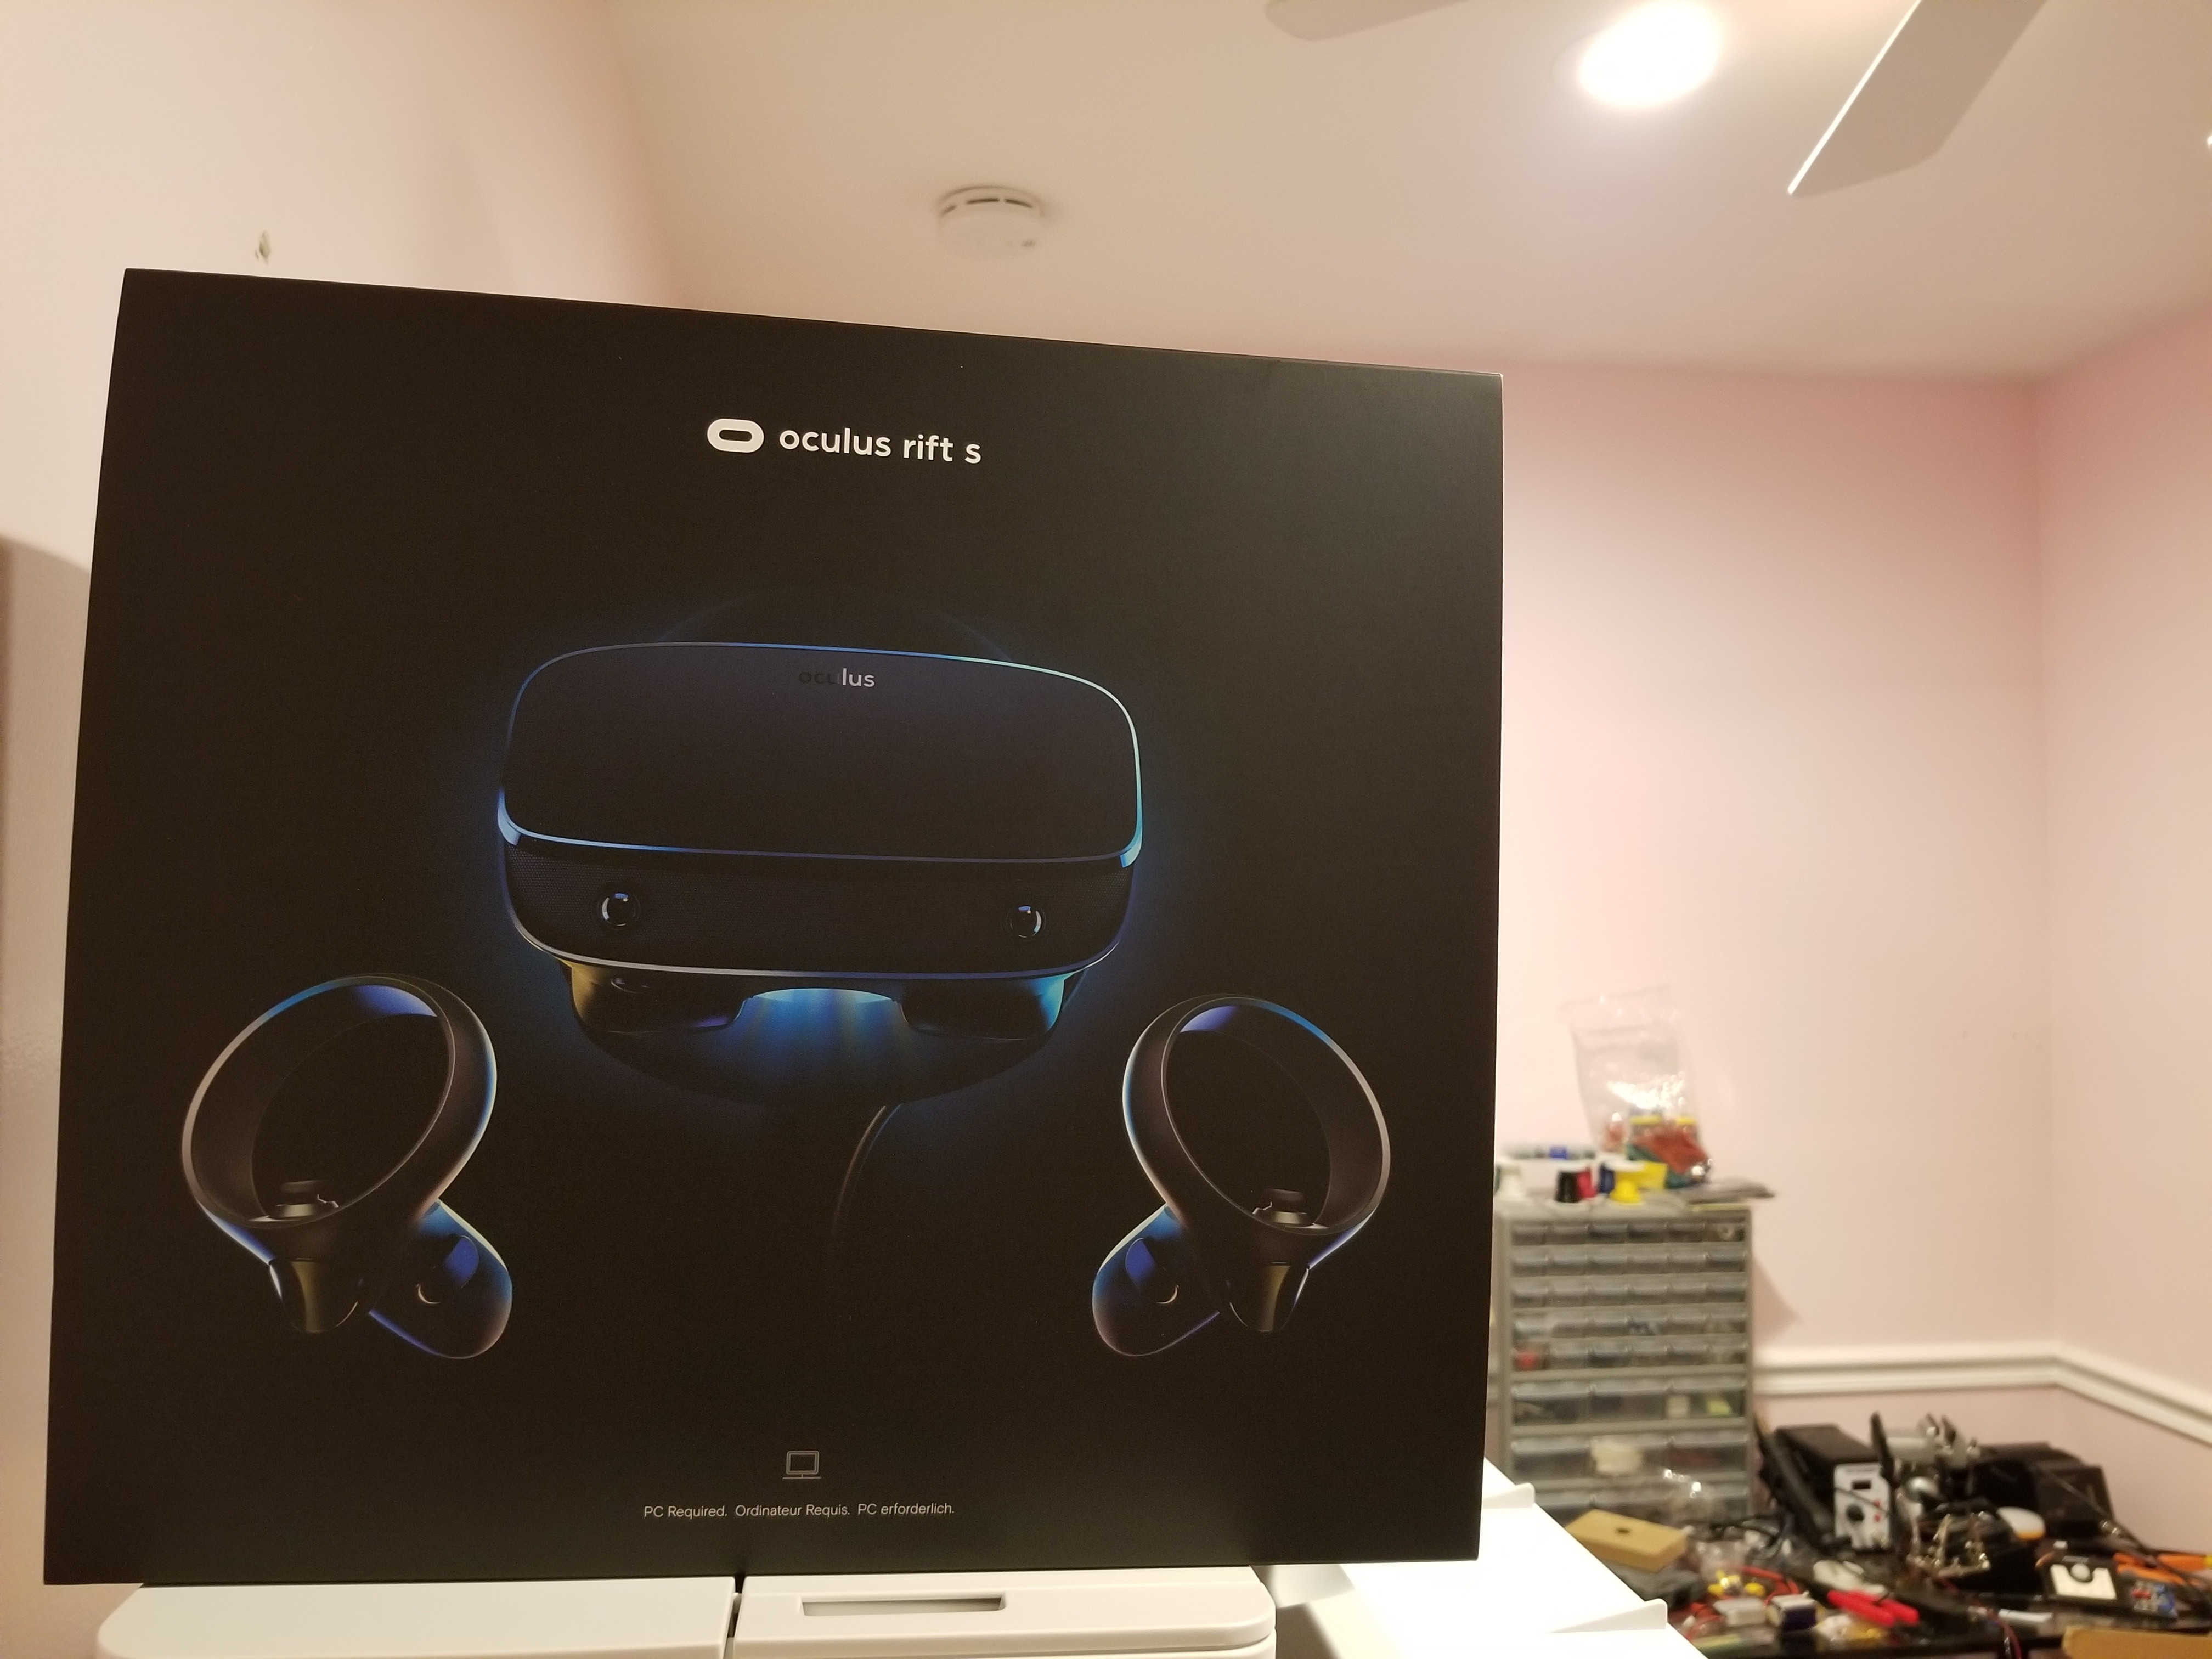
This project was birthed by the announcement of reliable mass market inside out headsets (sorry WMR). It serves less as a how-to and more as a build log, detailing some of the issues I ran into and eventual success.
0%
0%
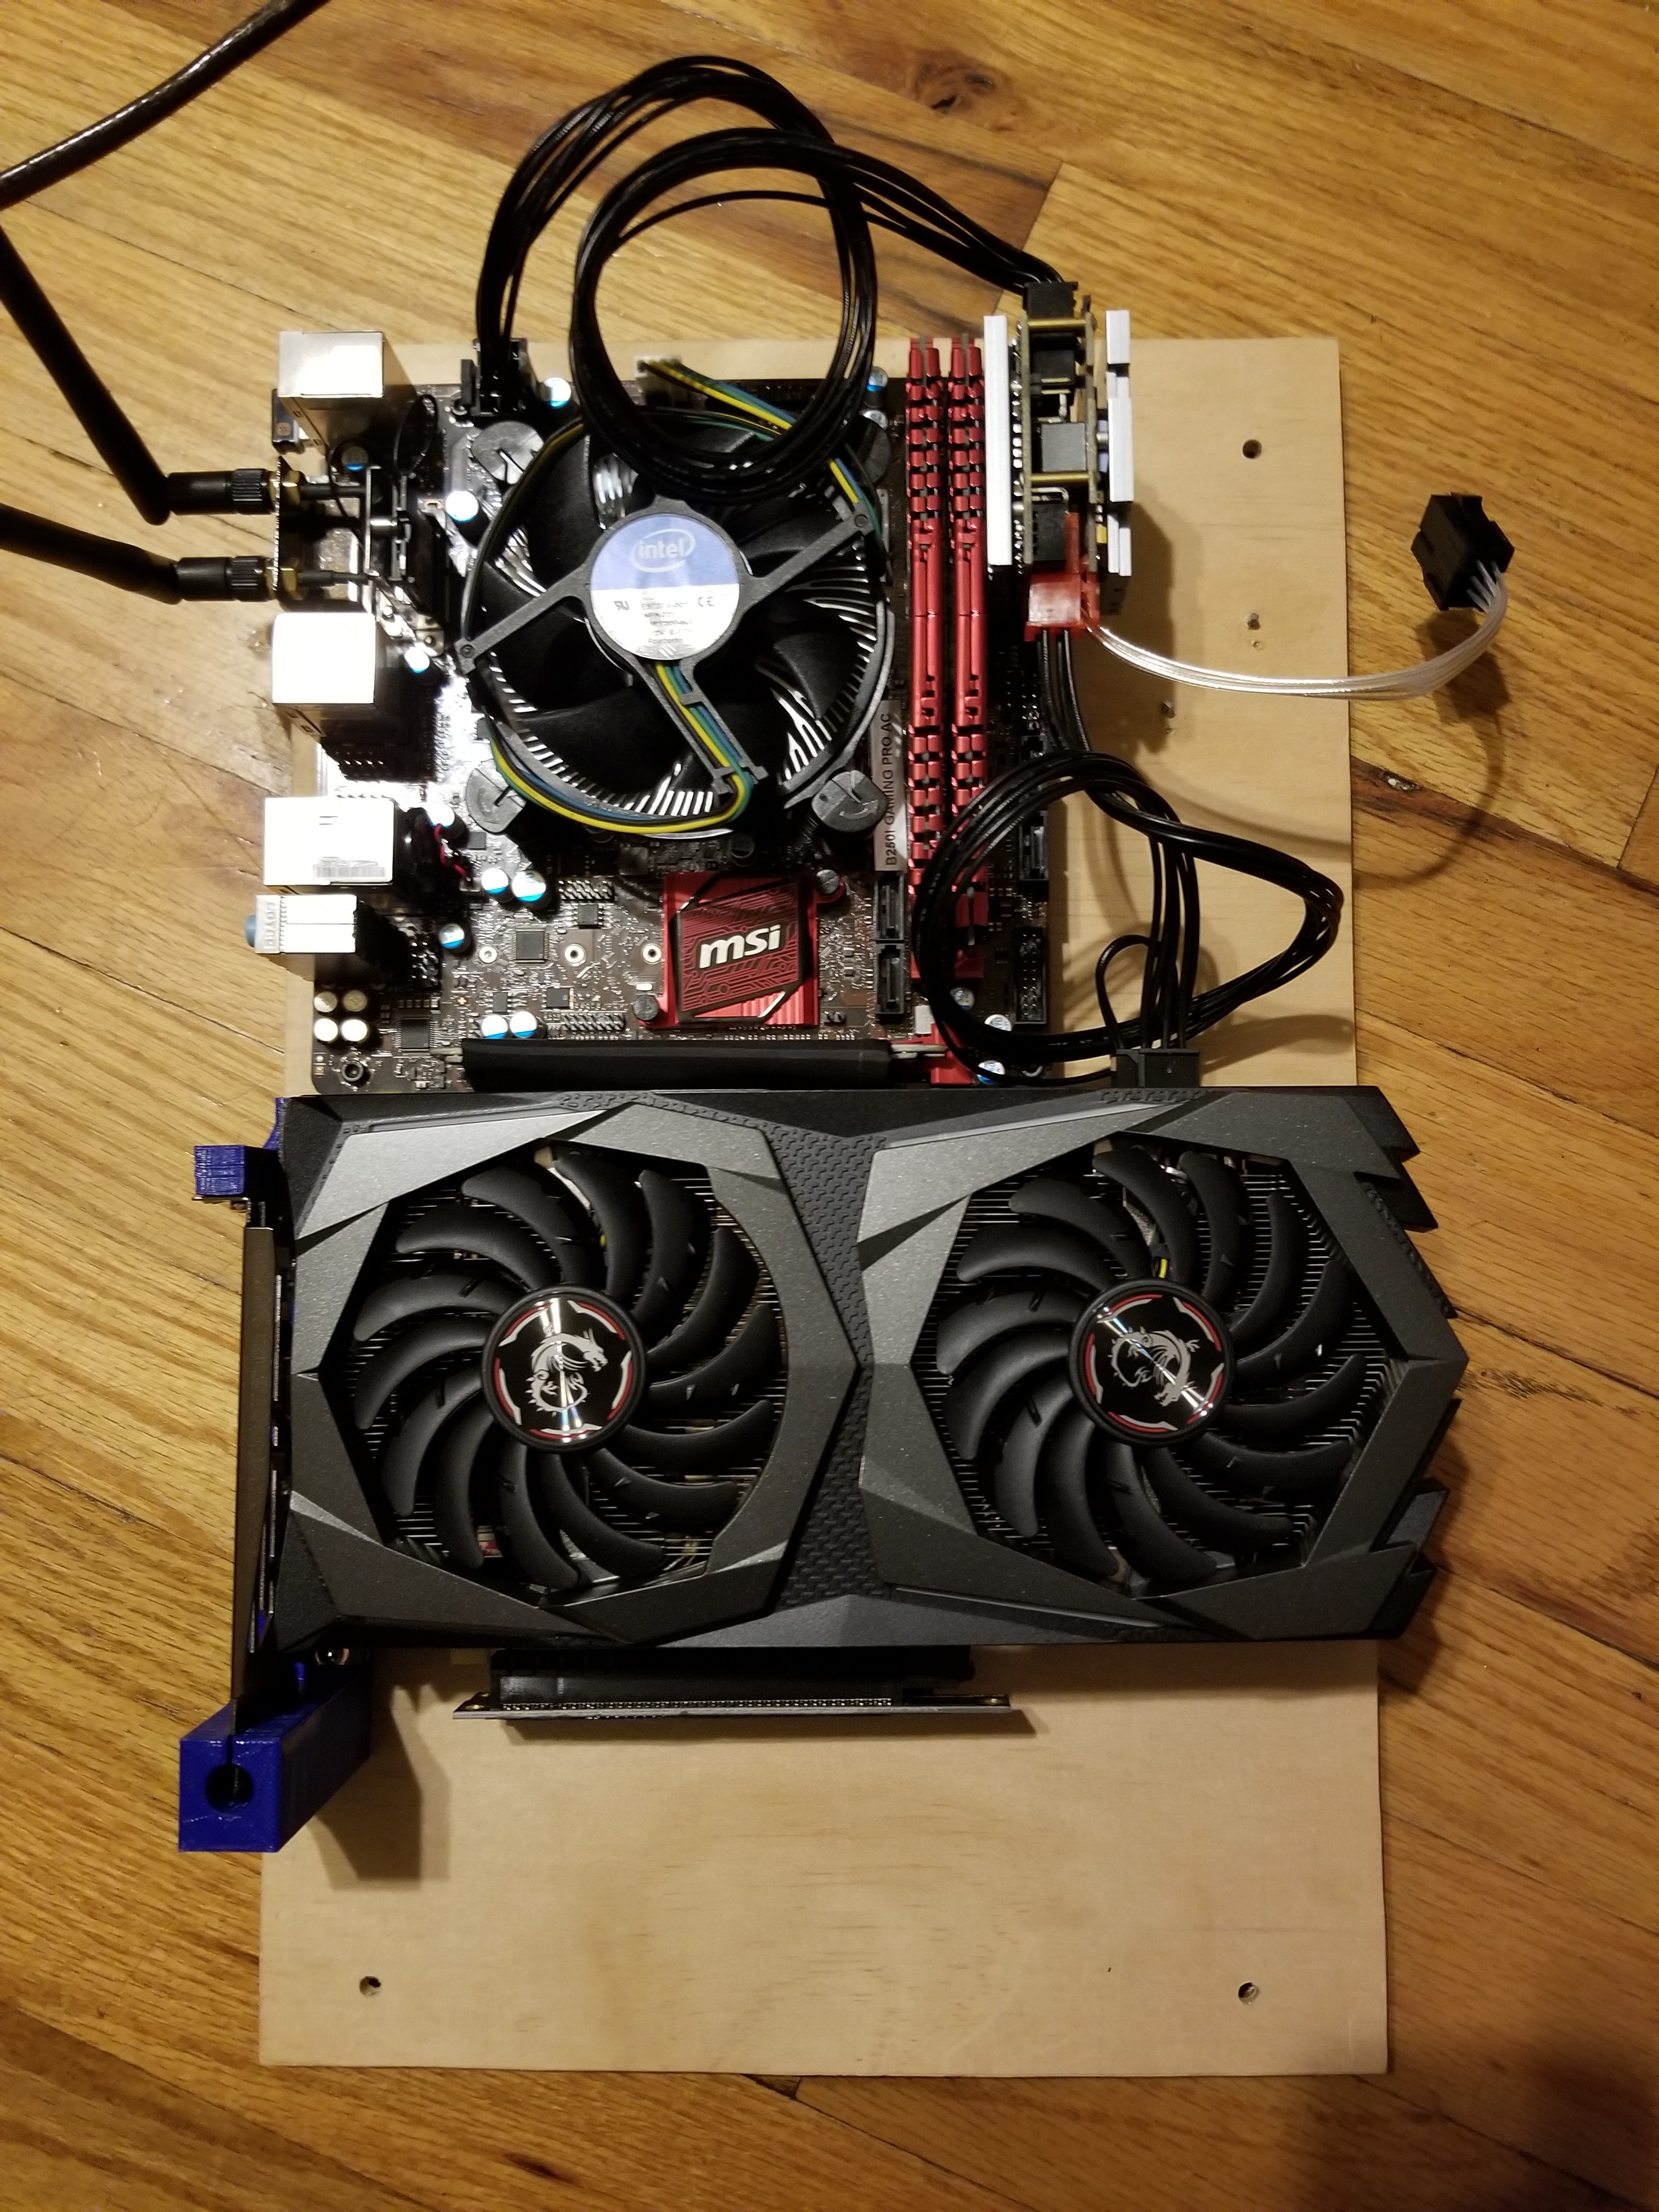
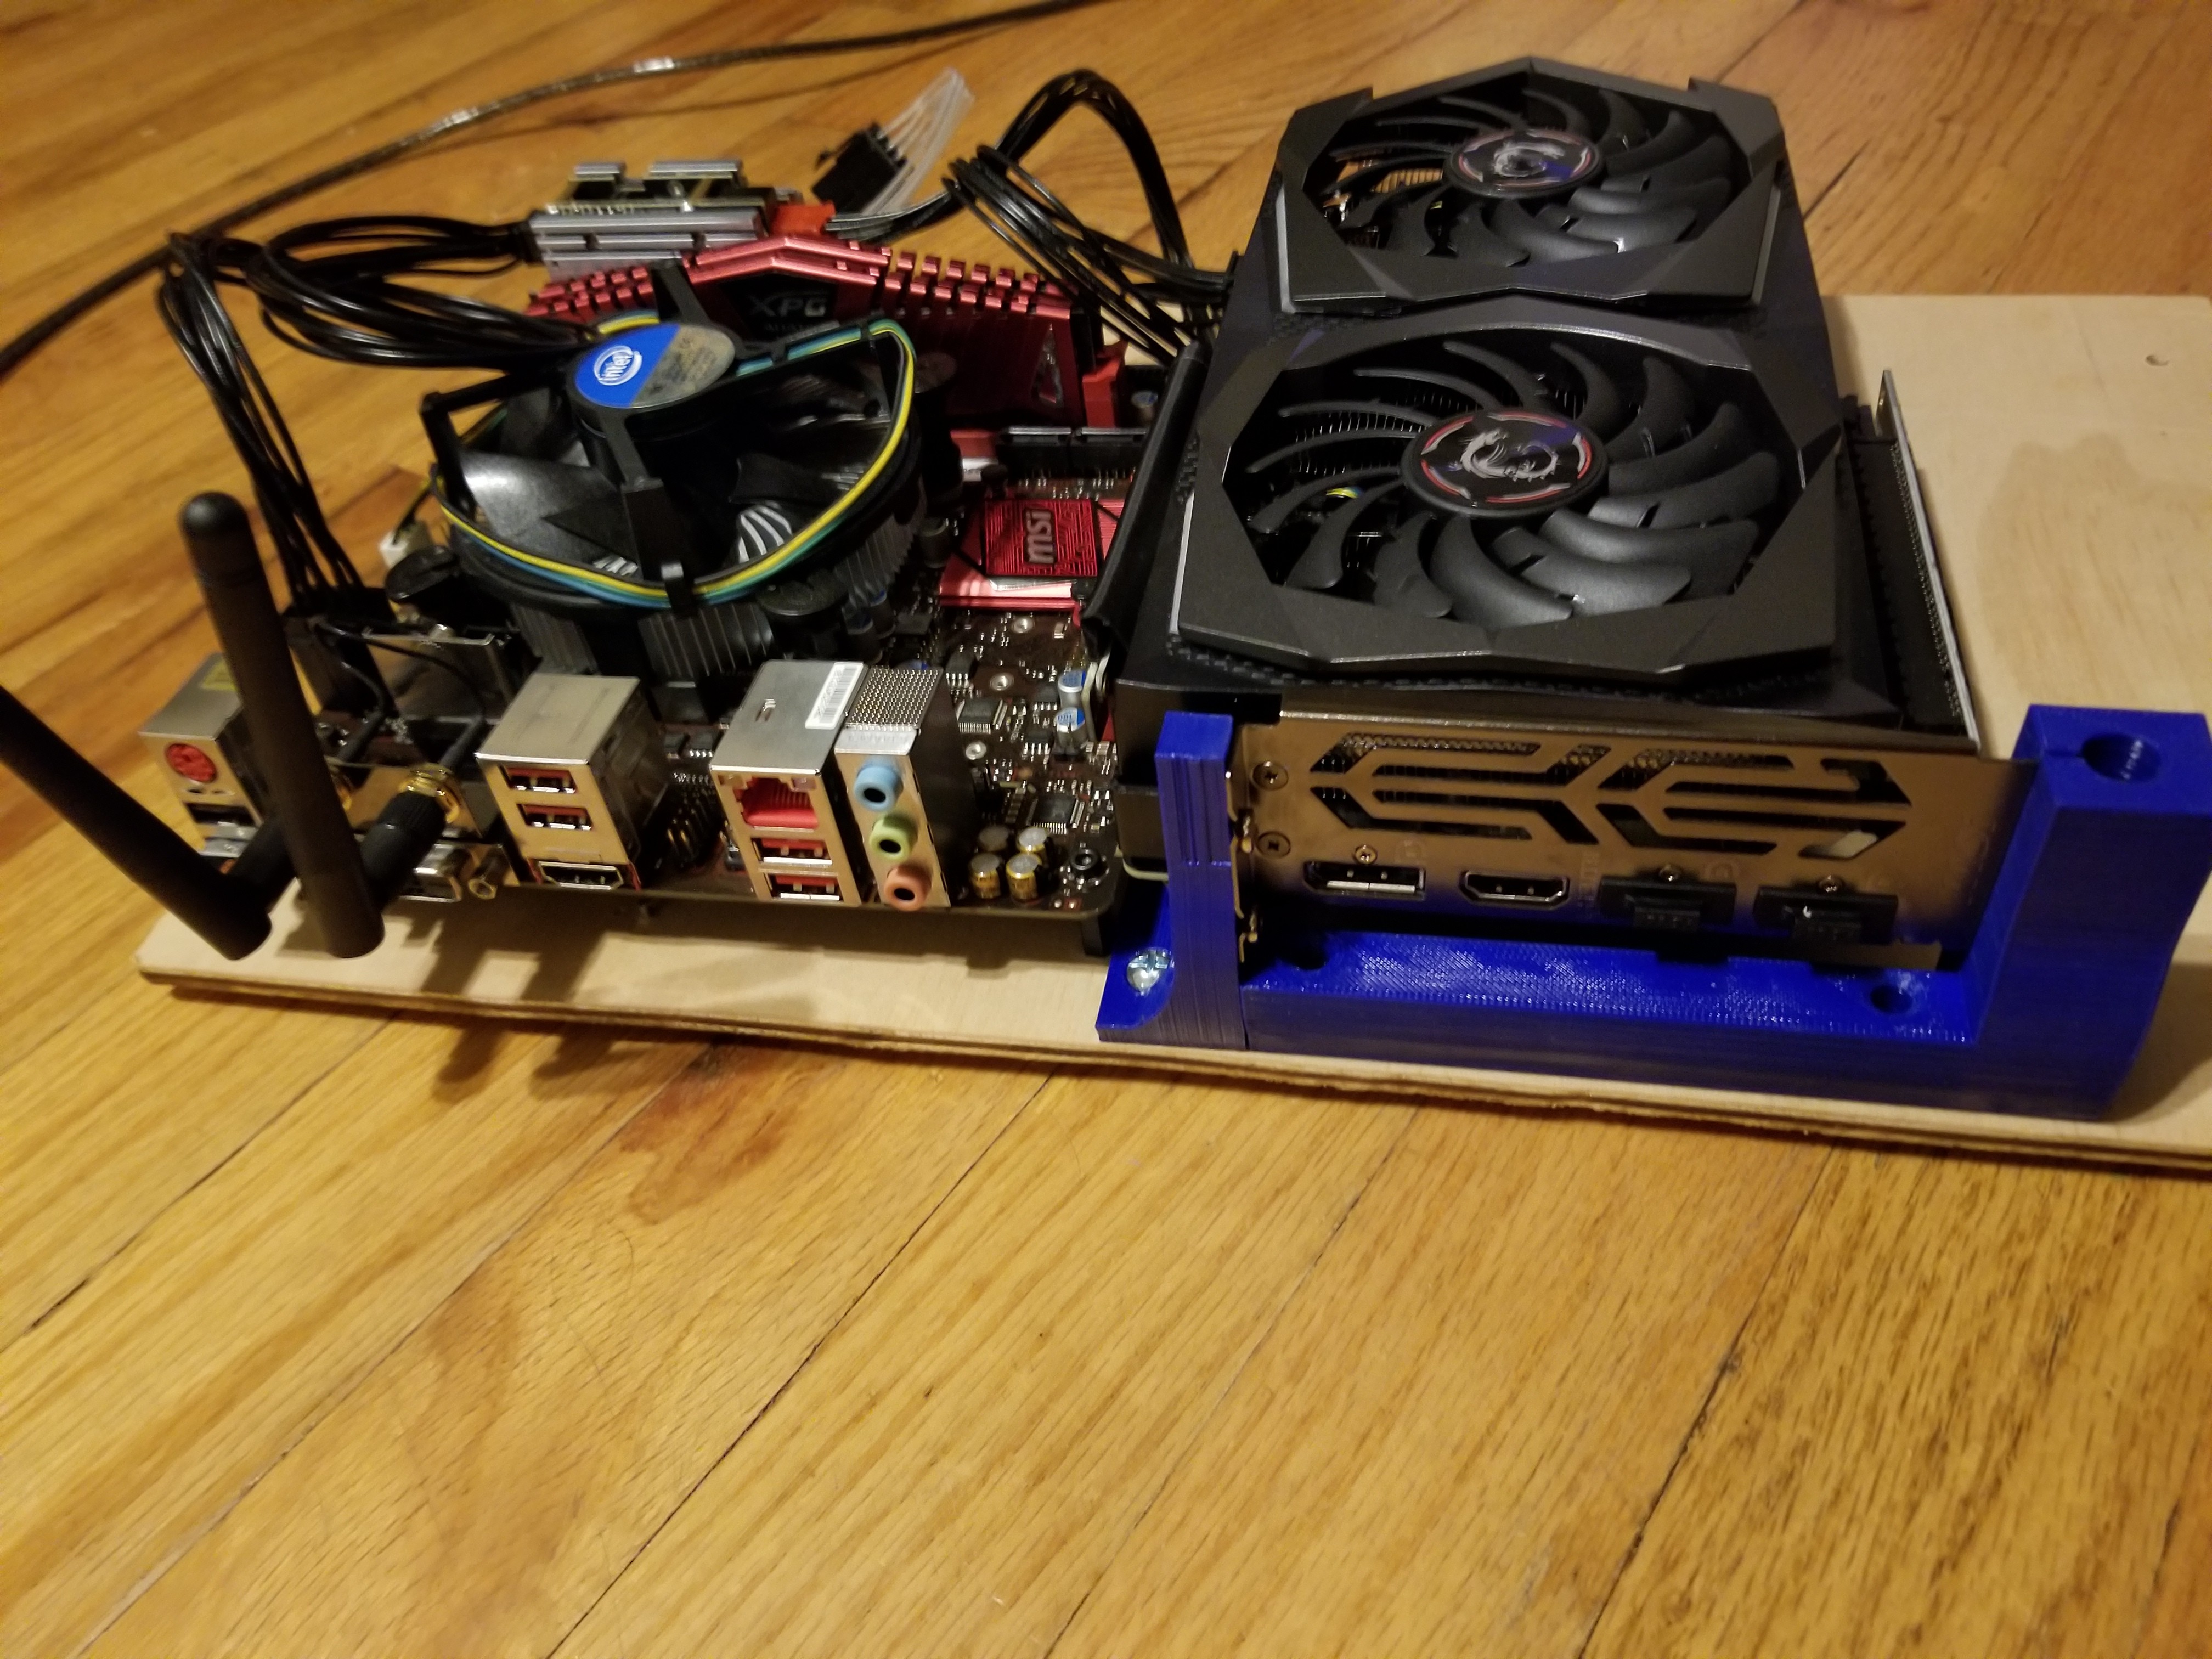
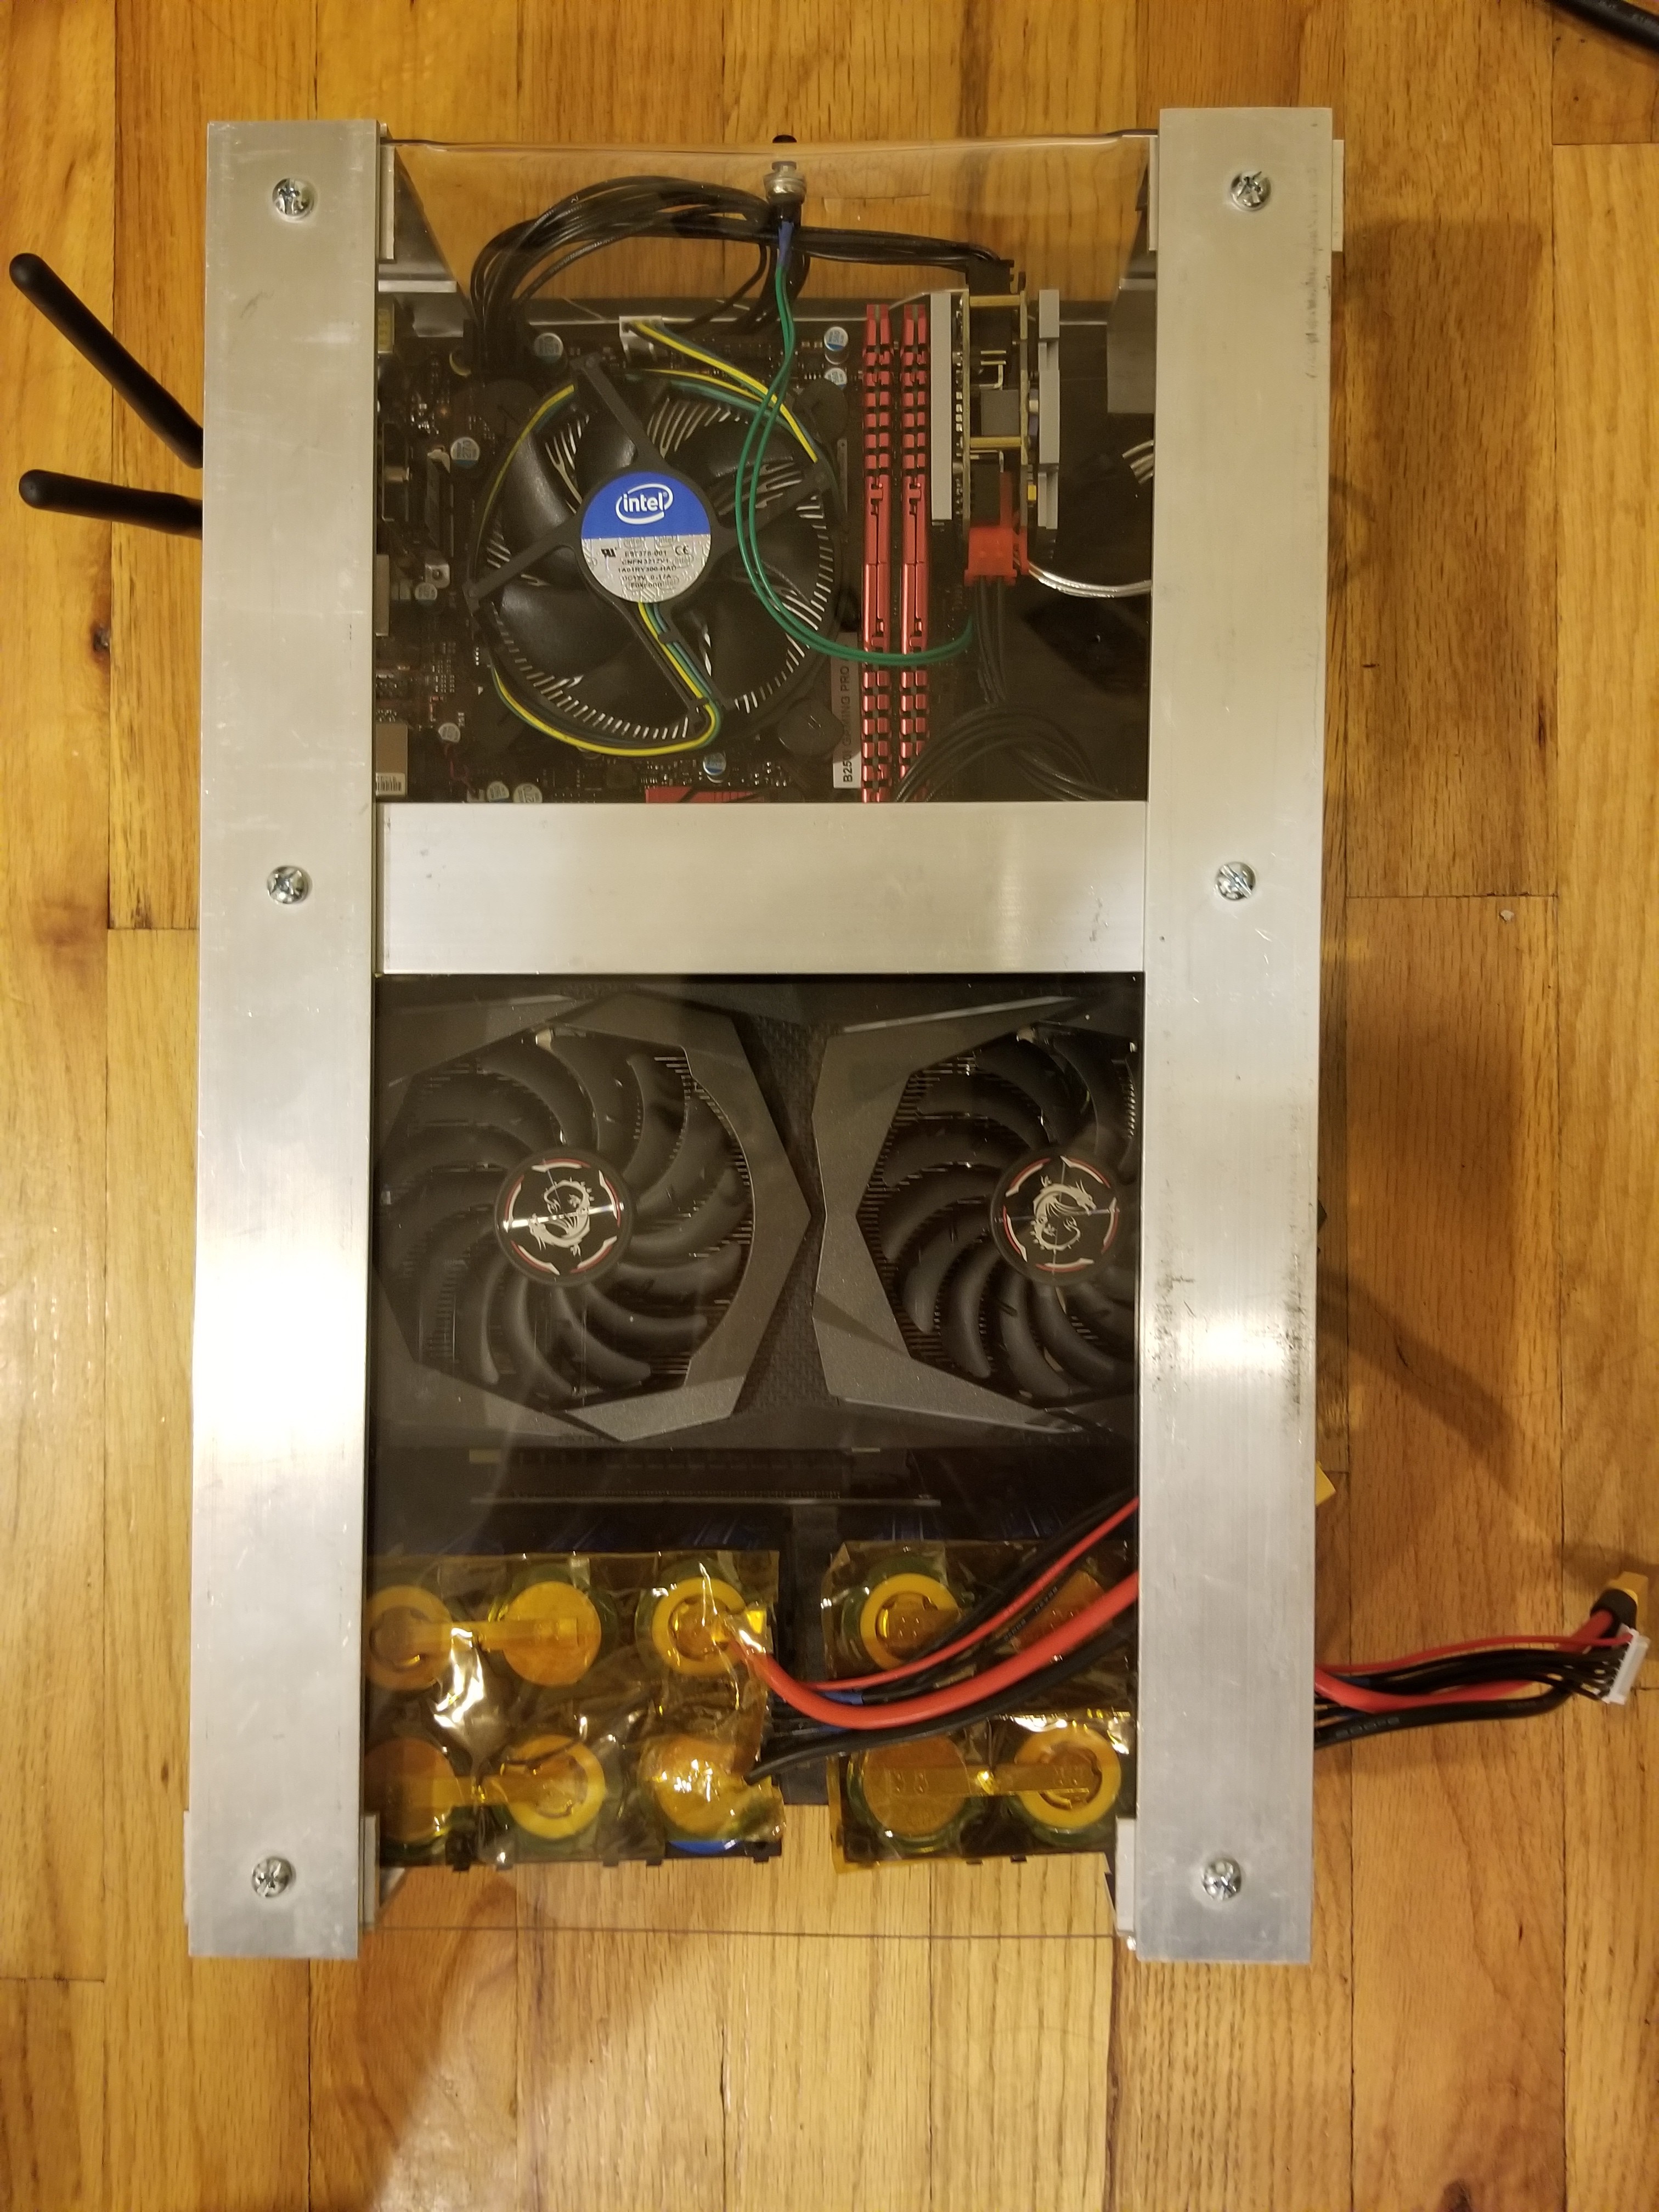
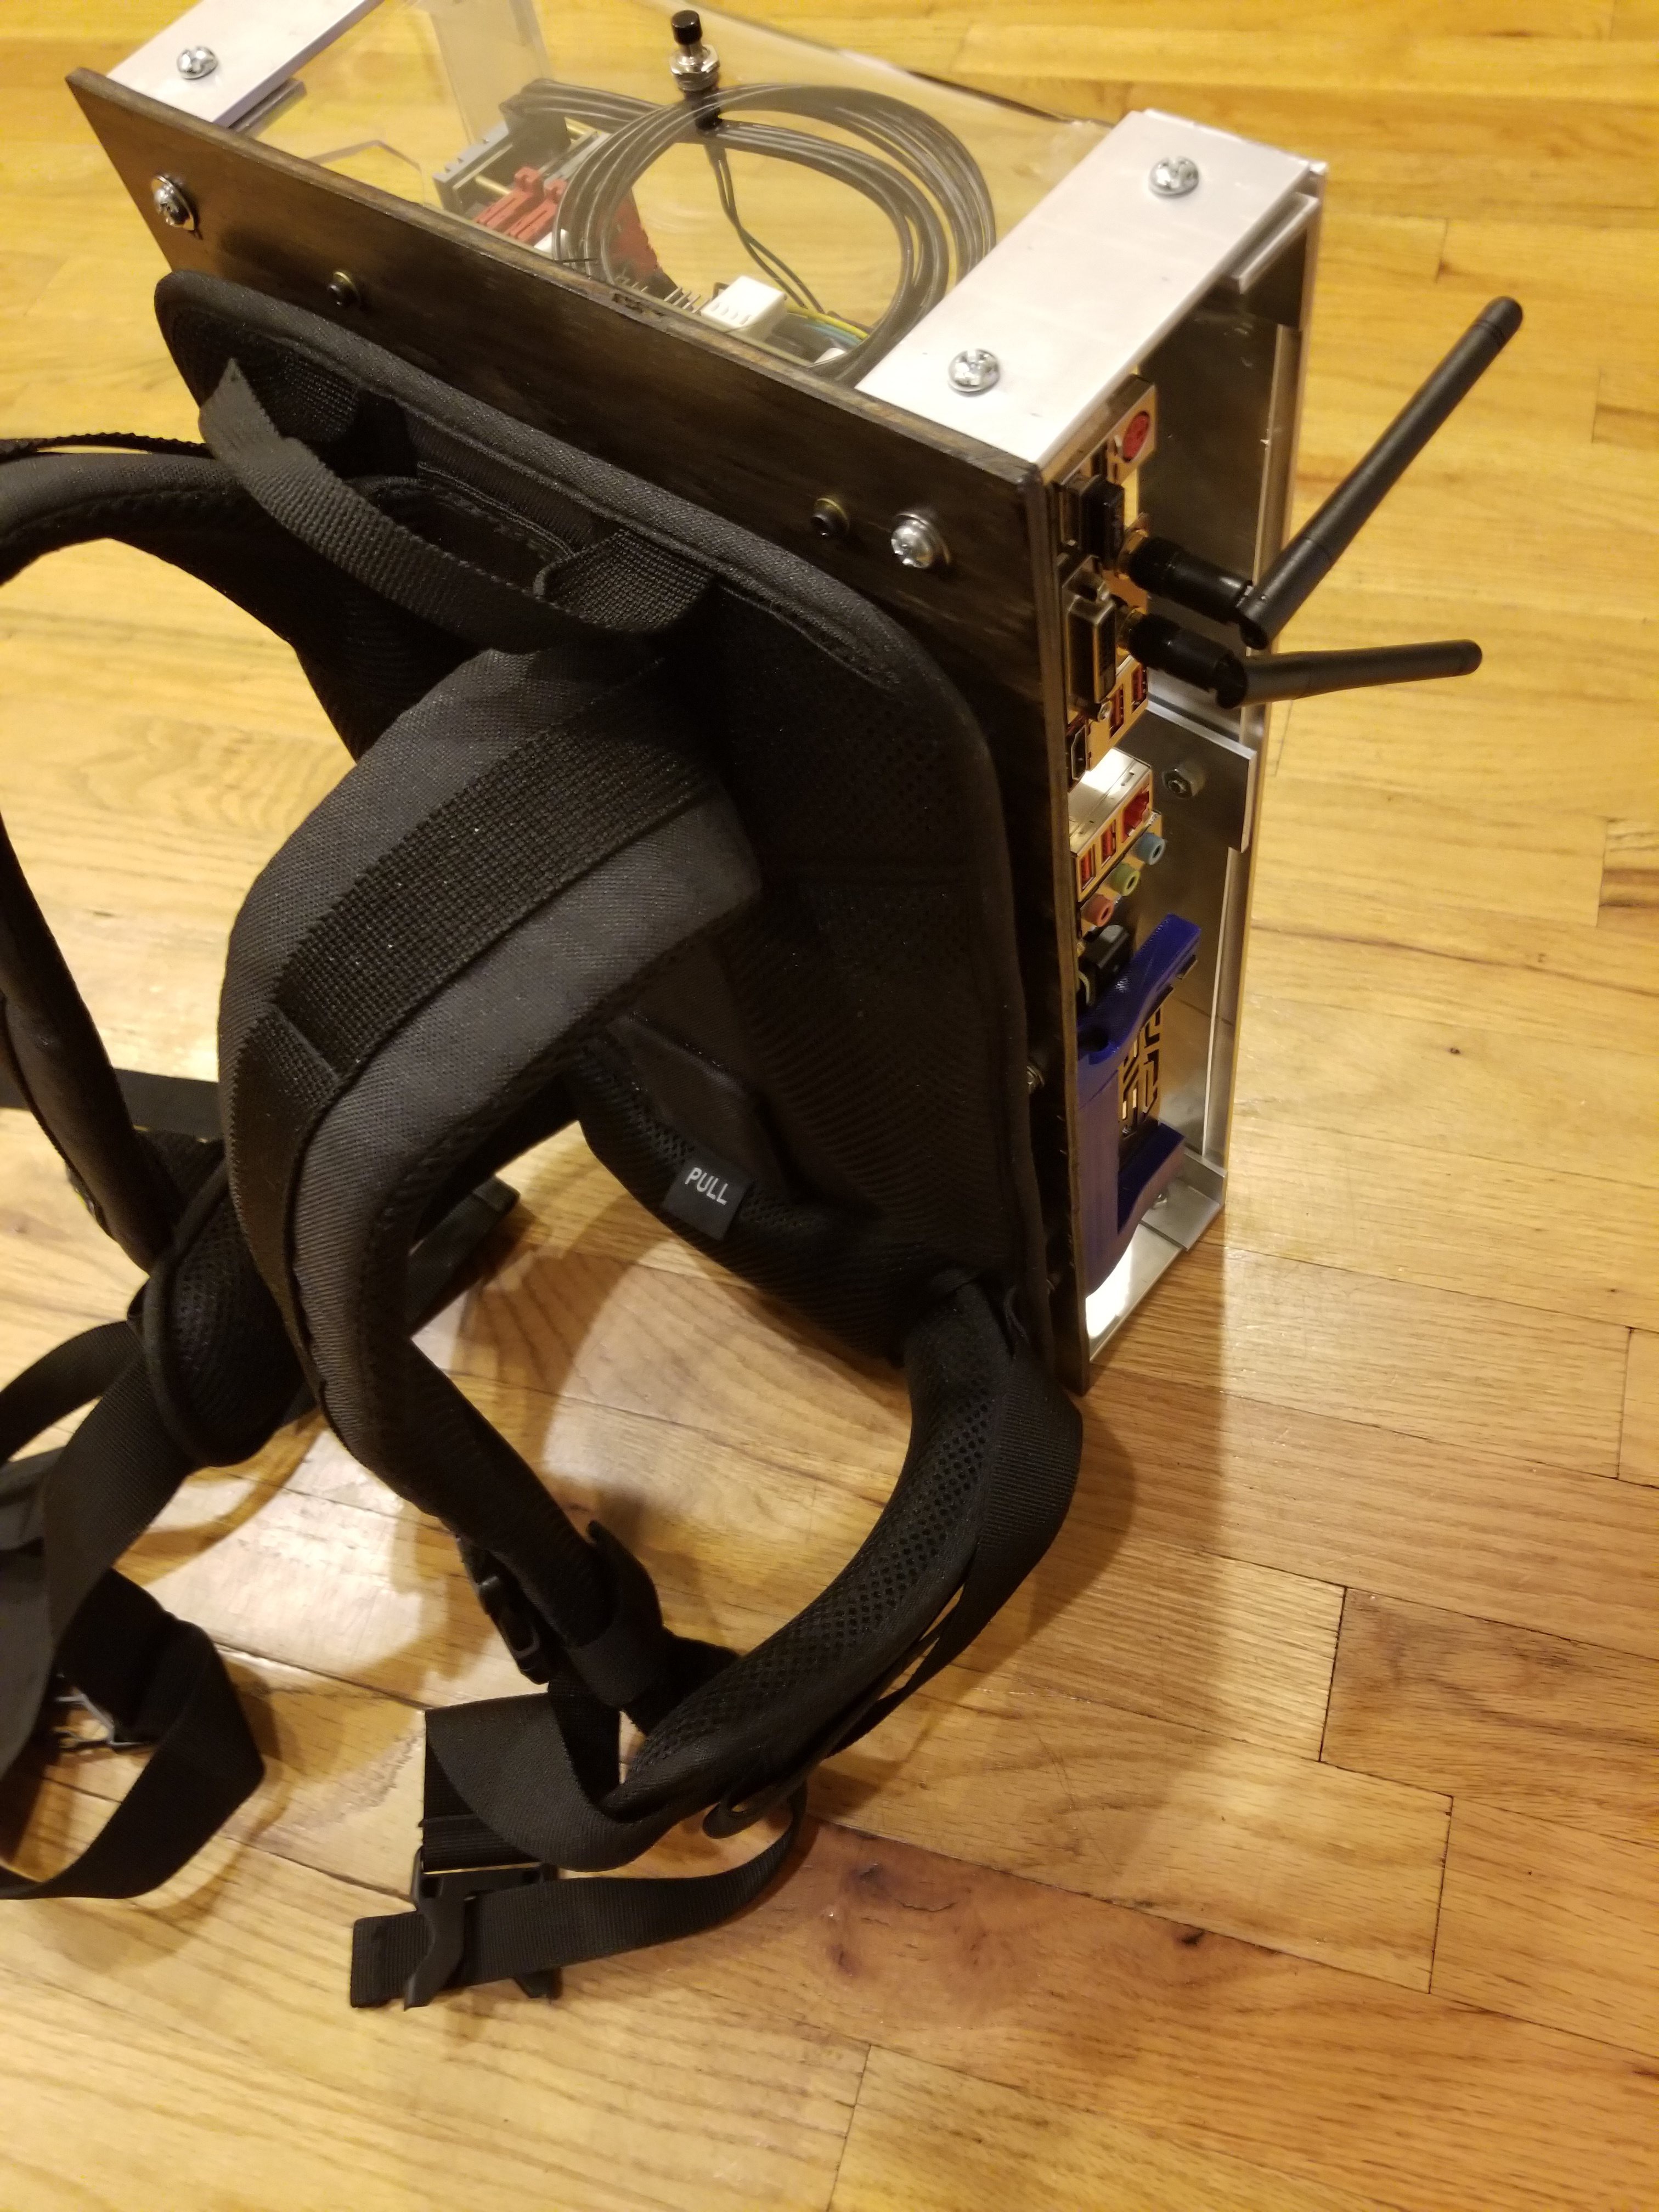
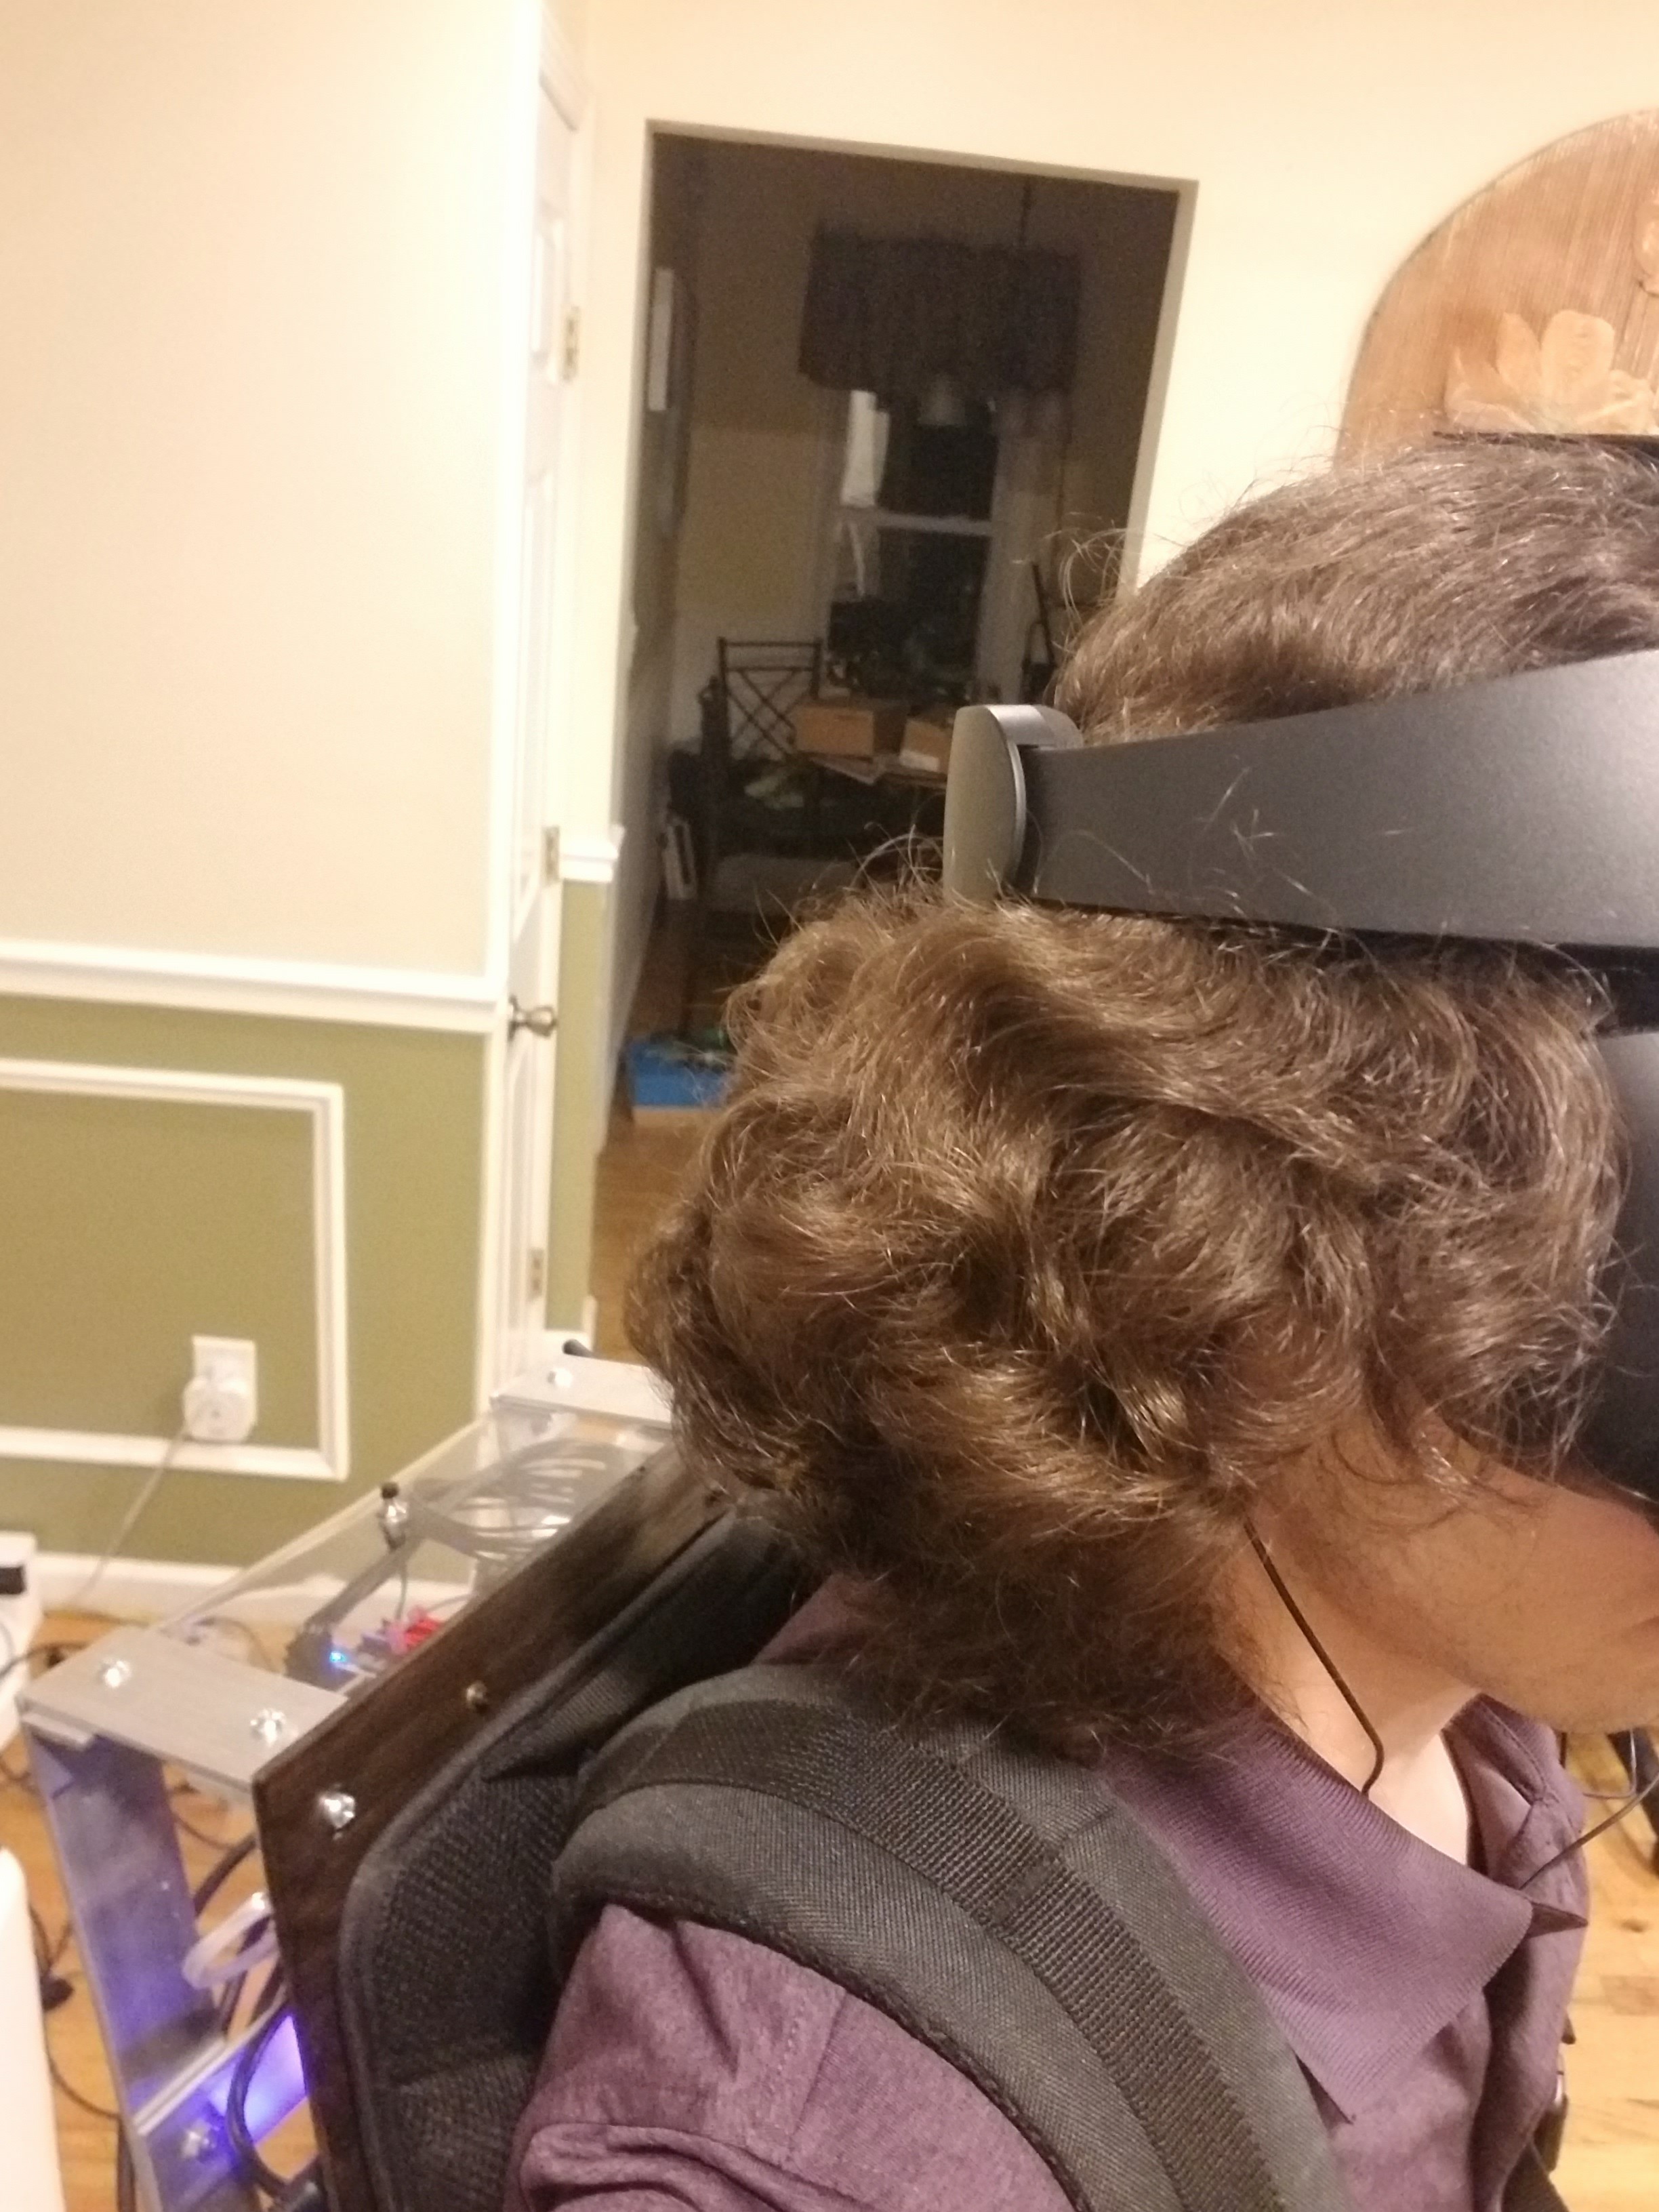
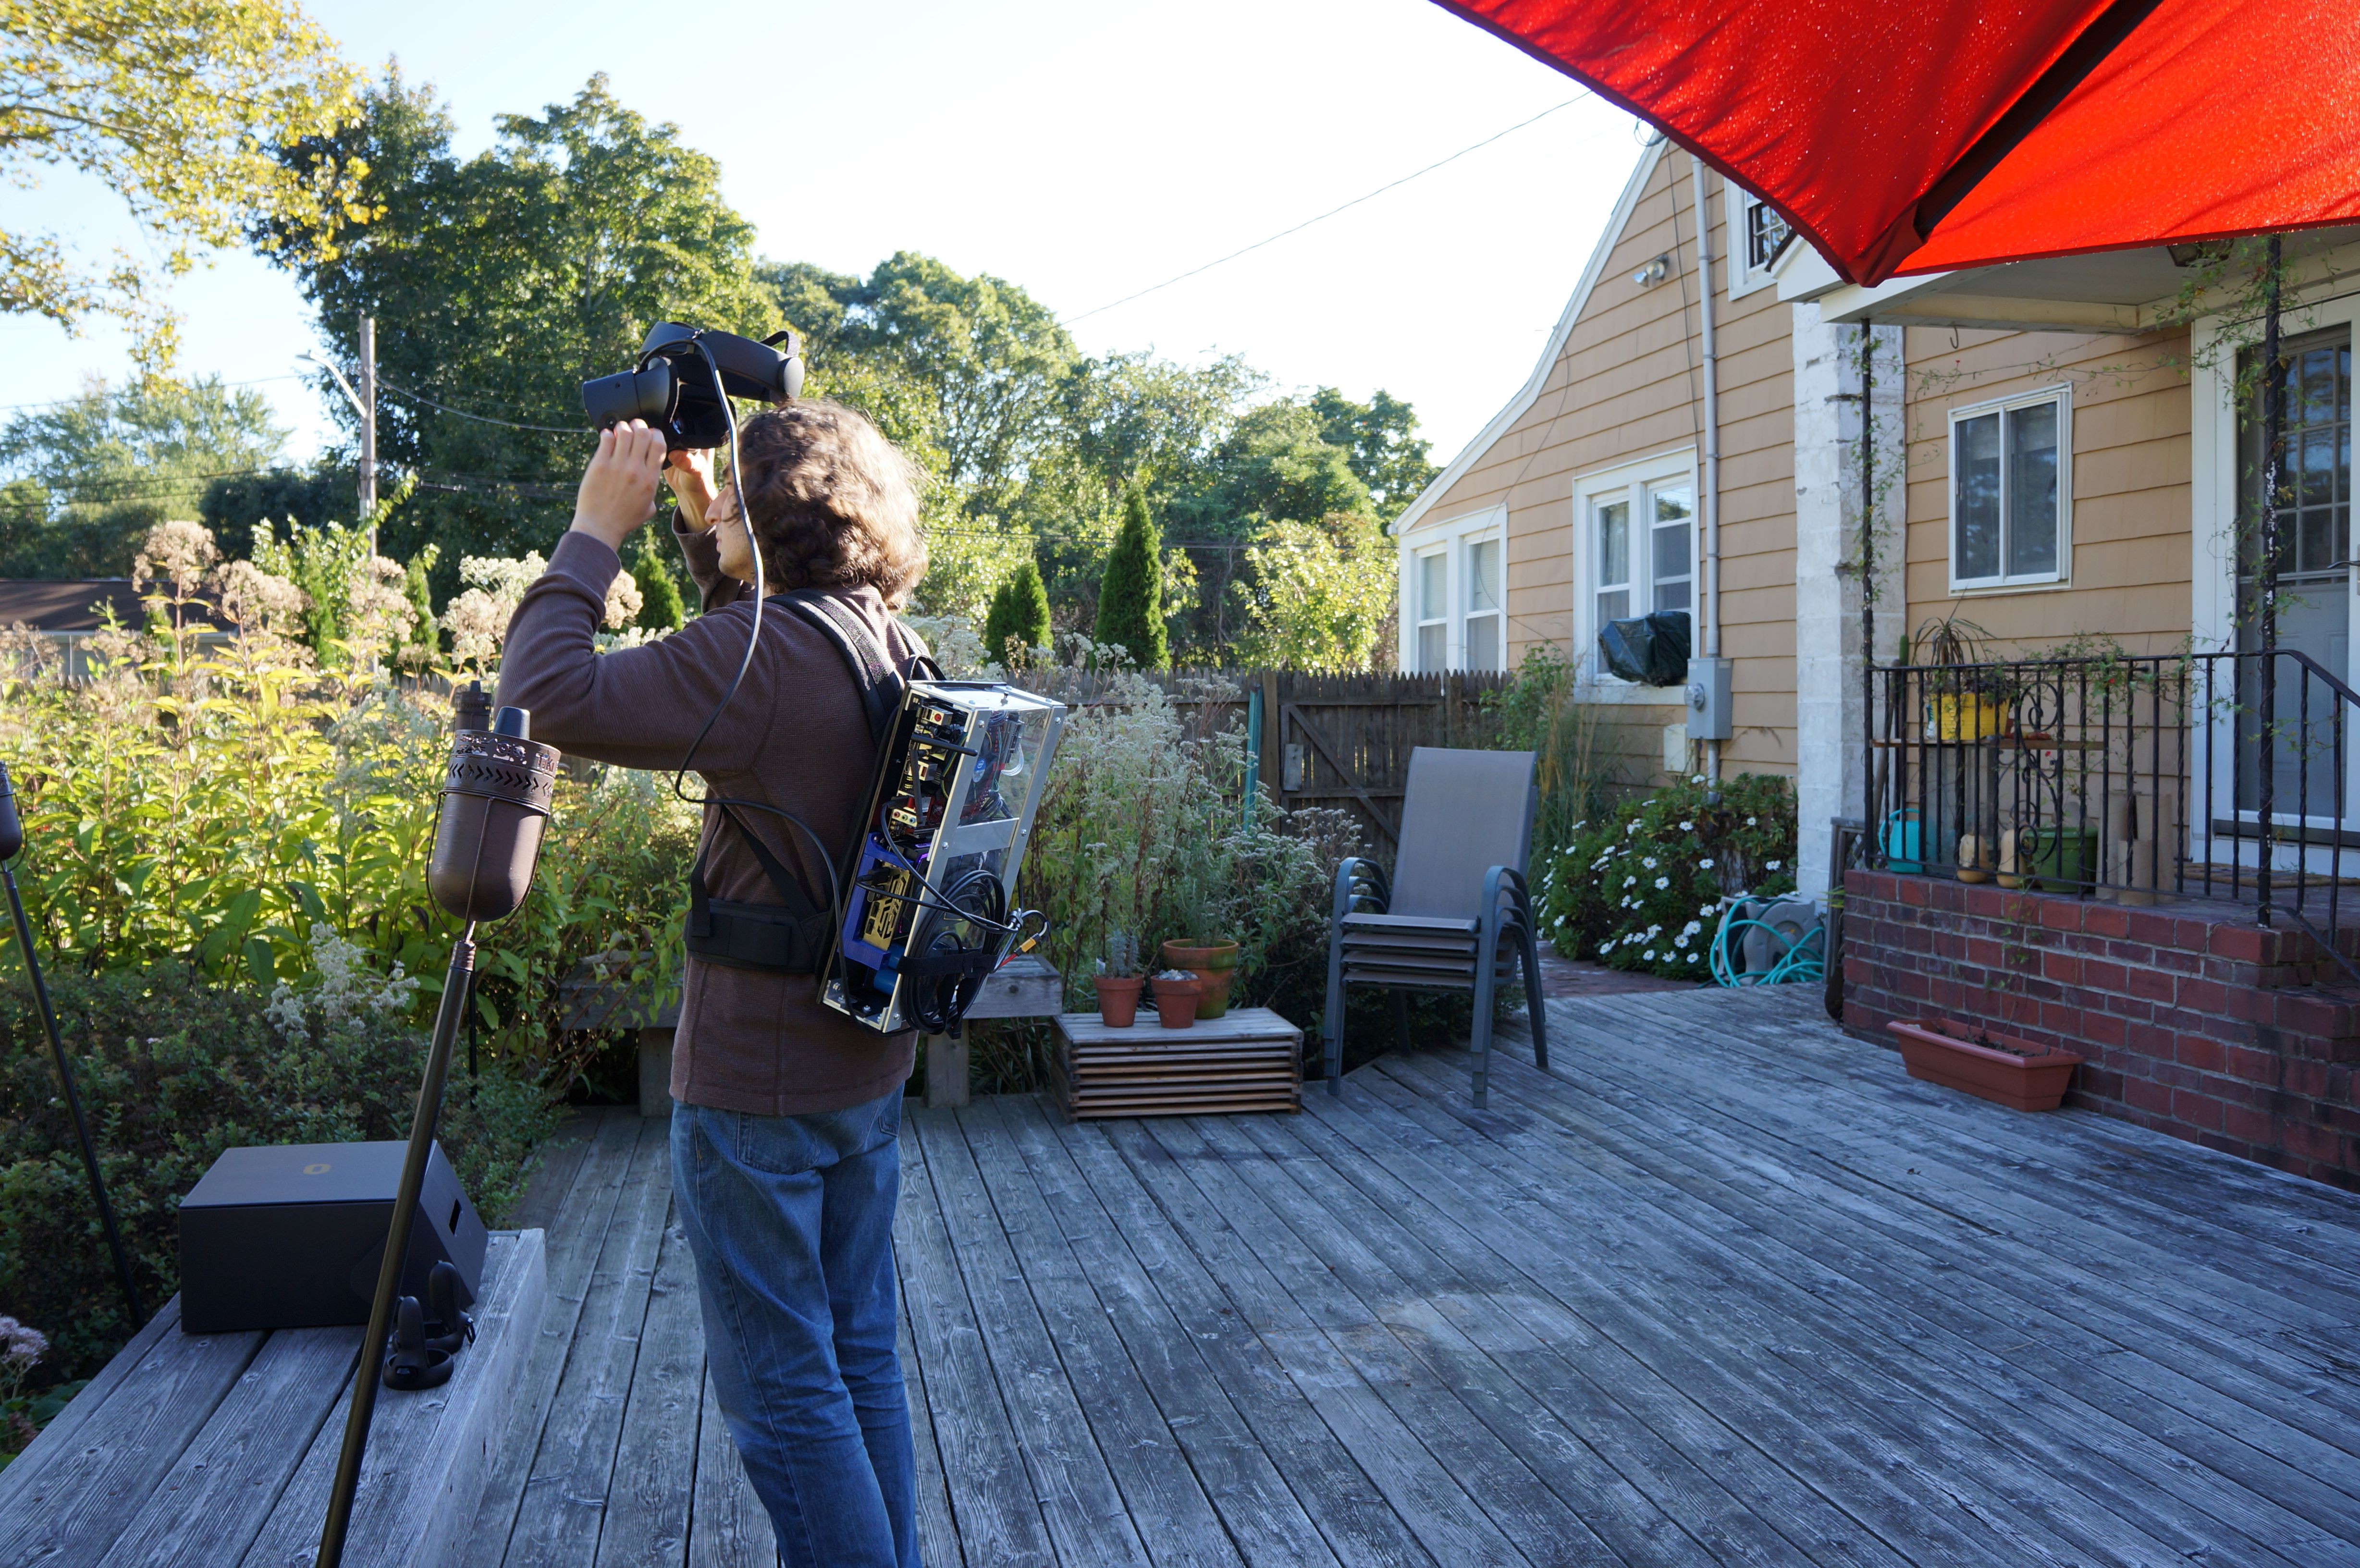
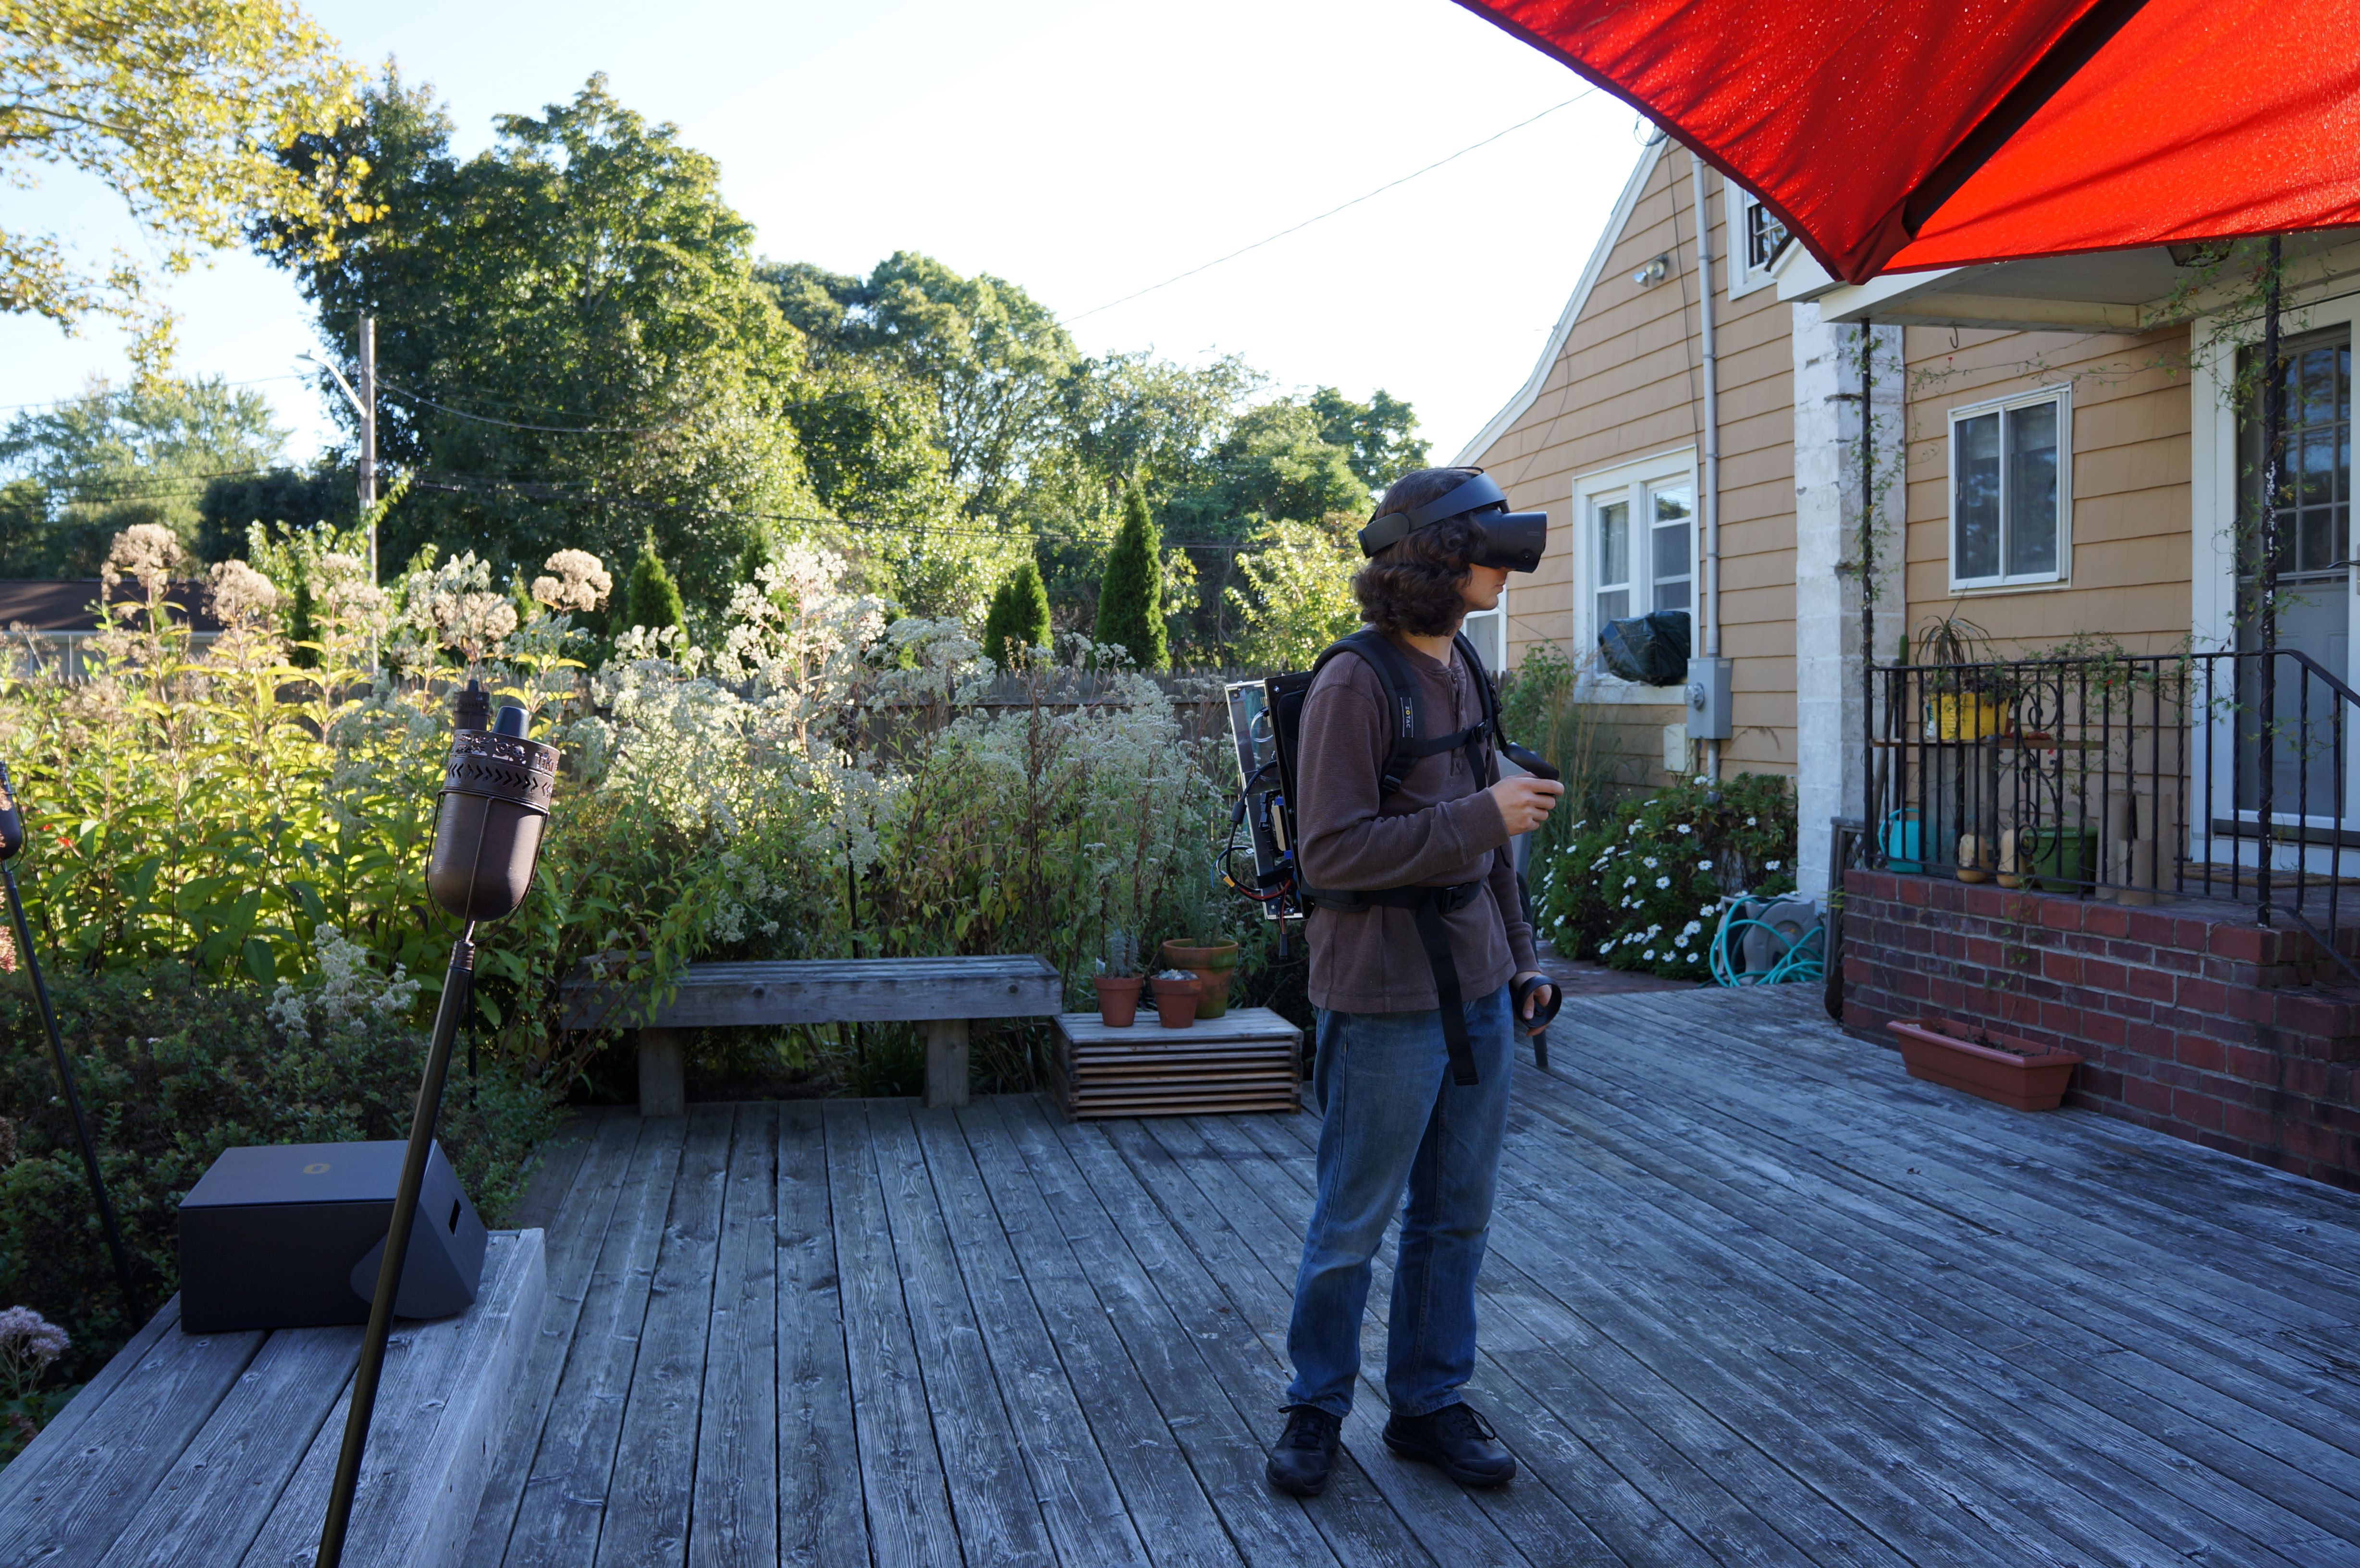
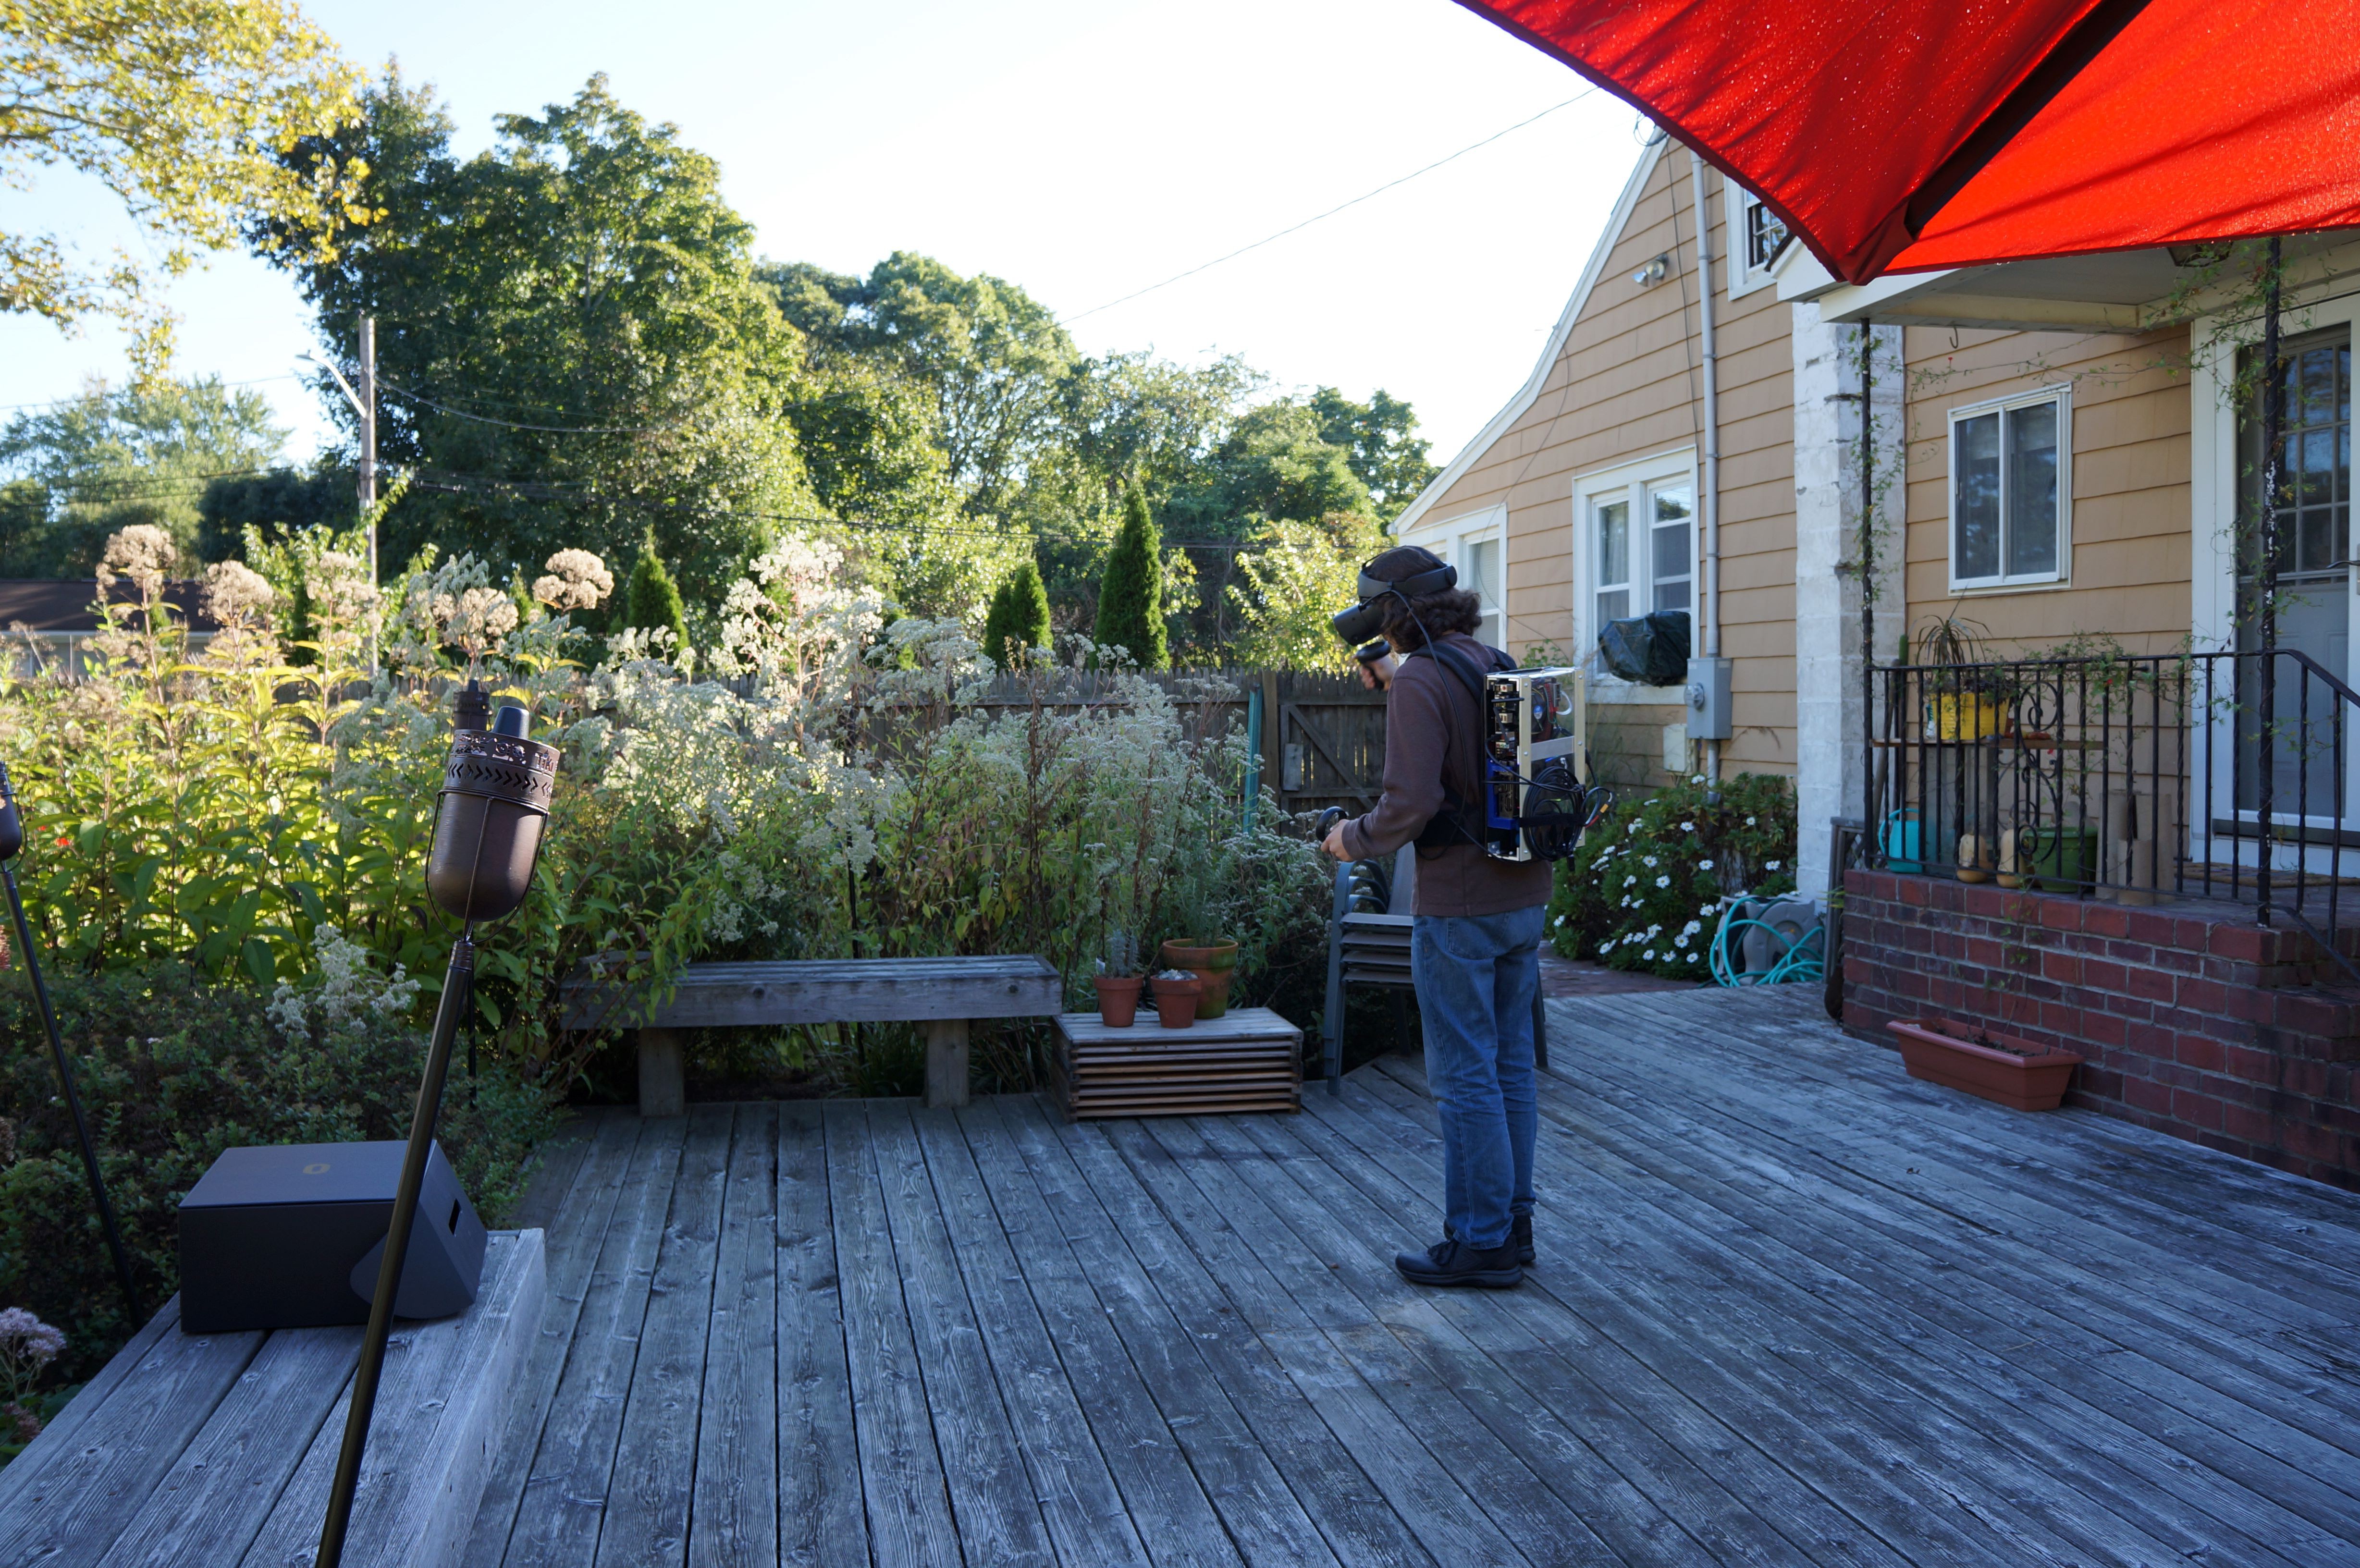
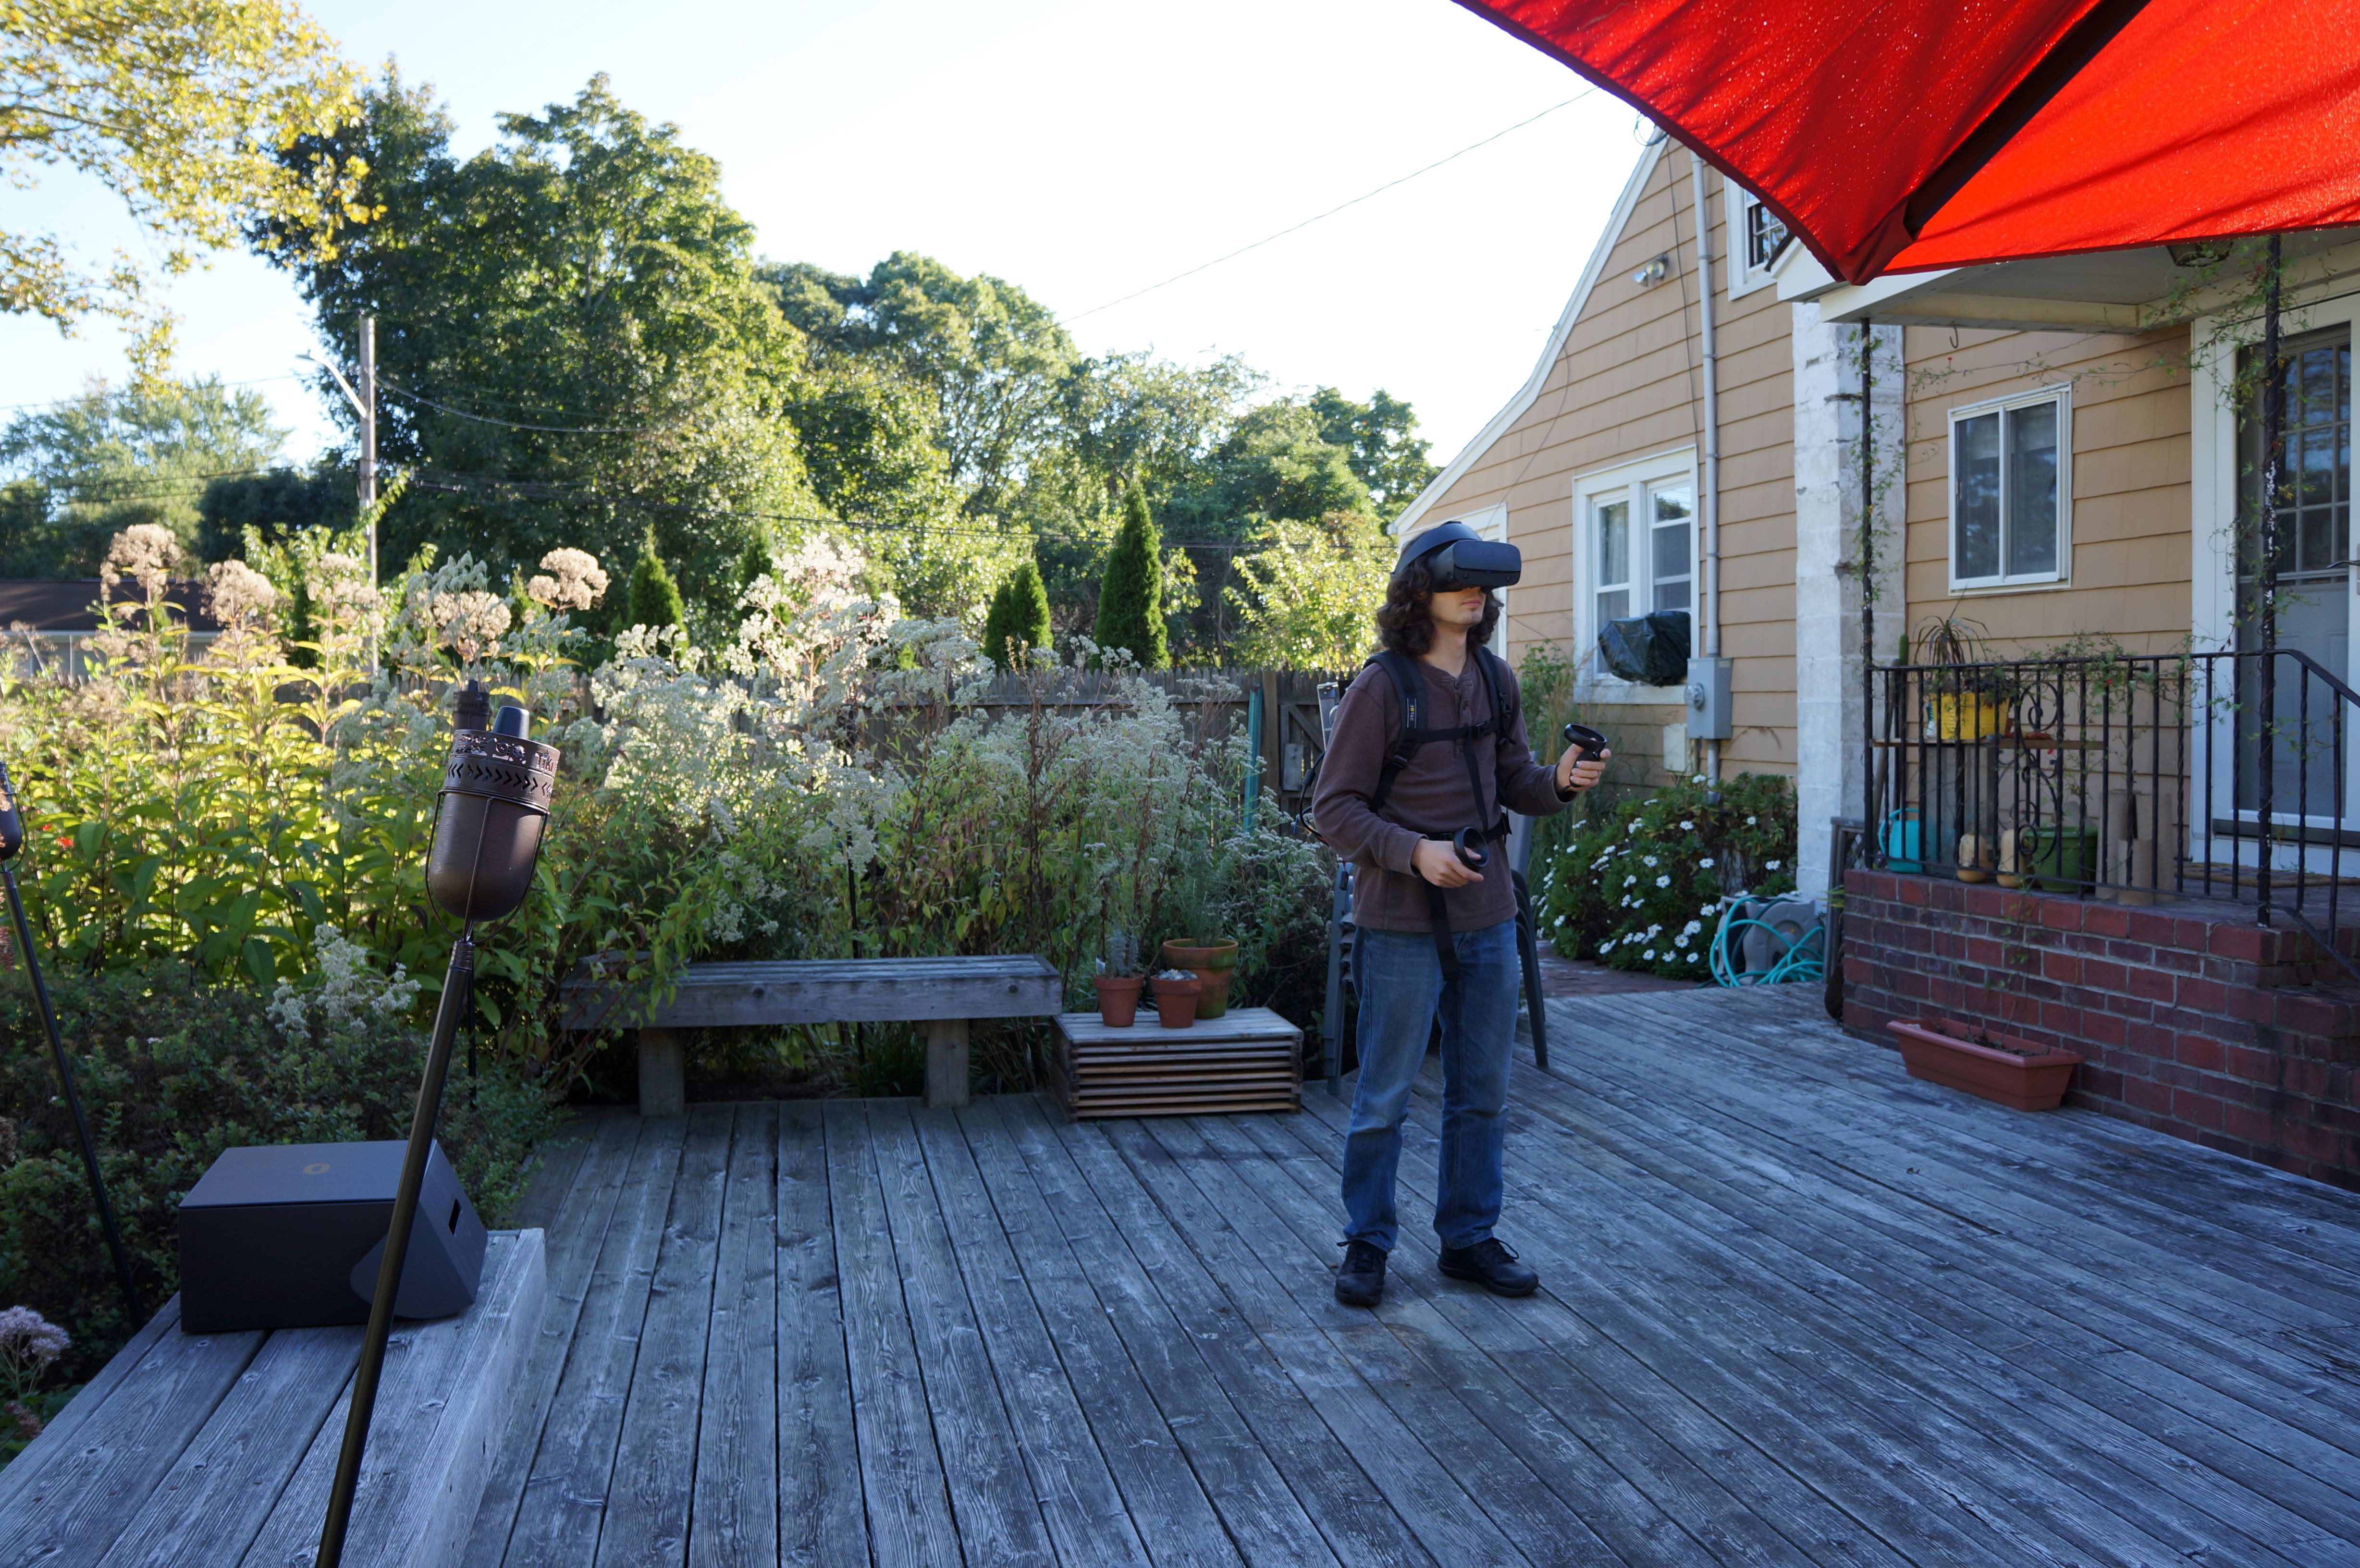
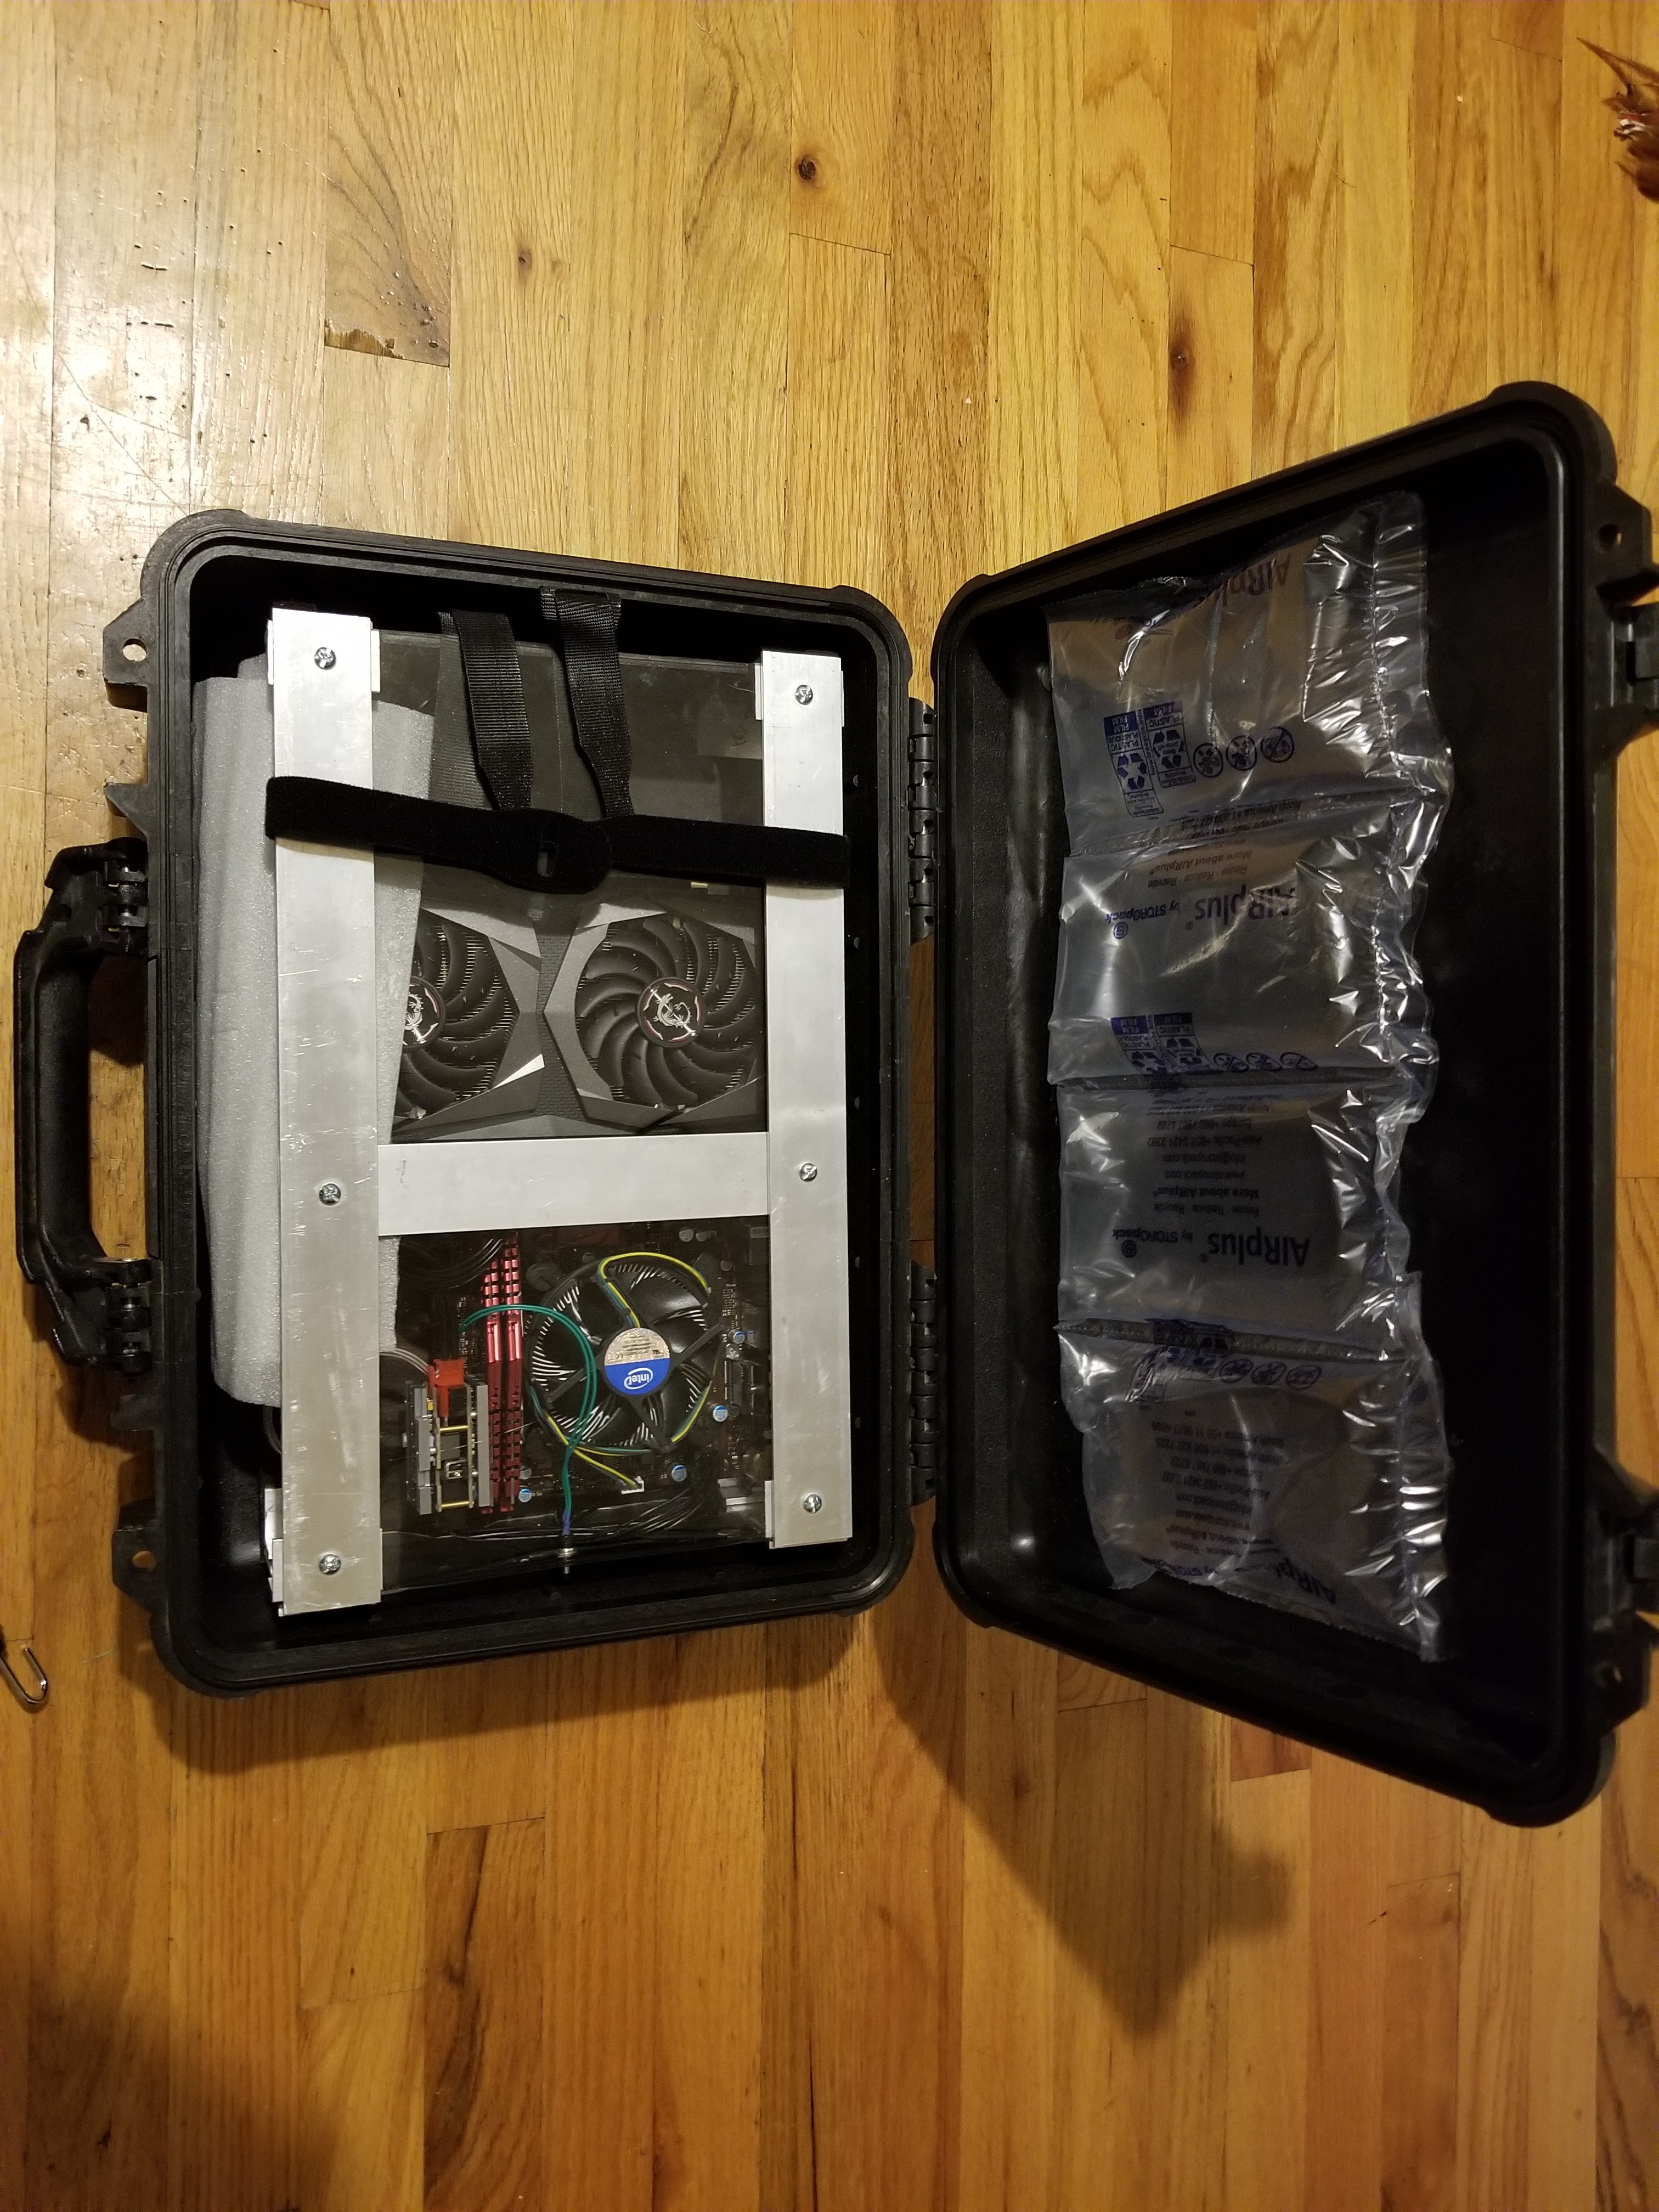
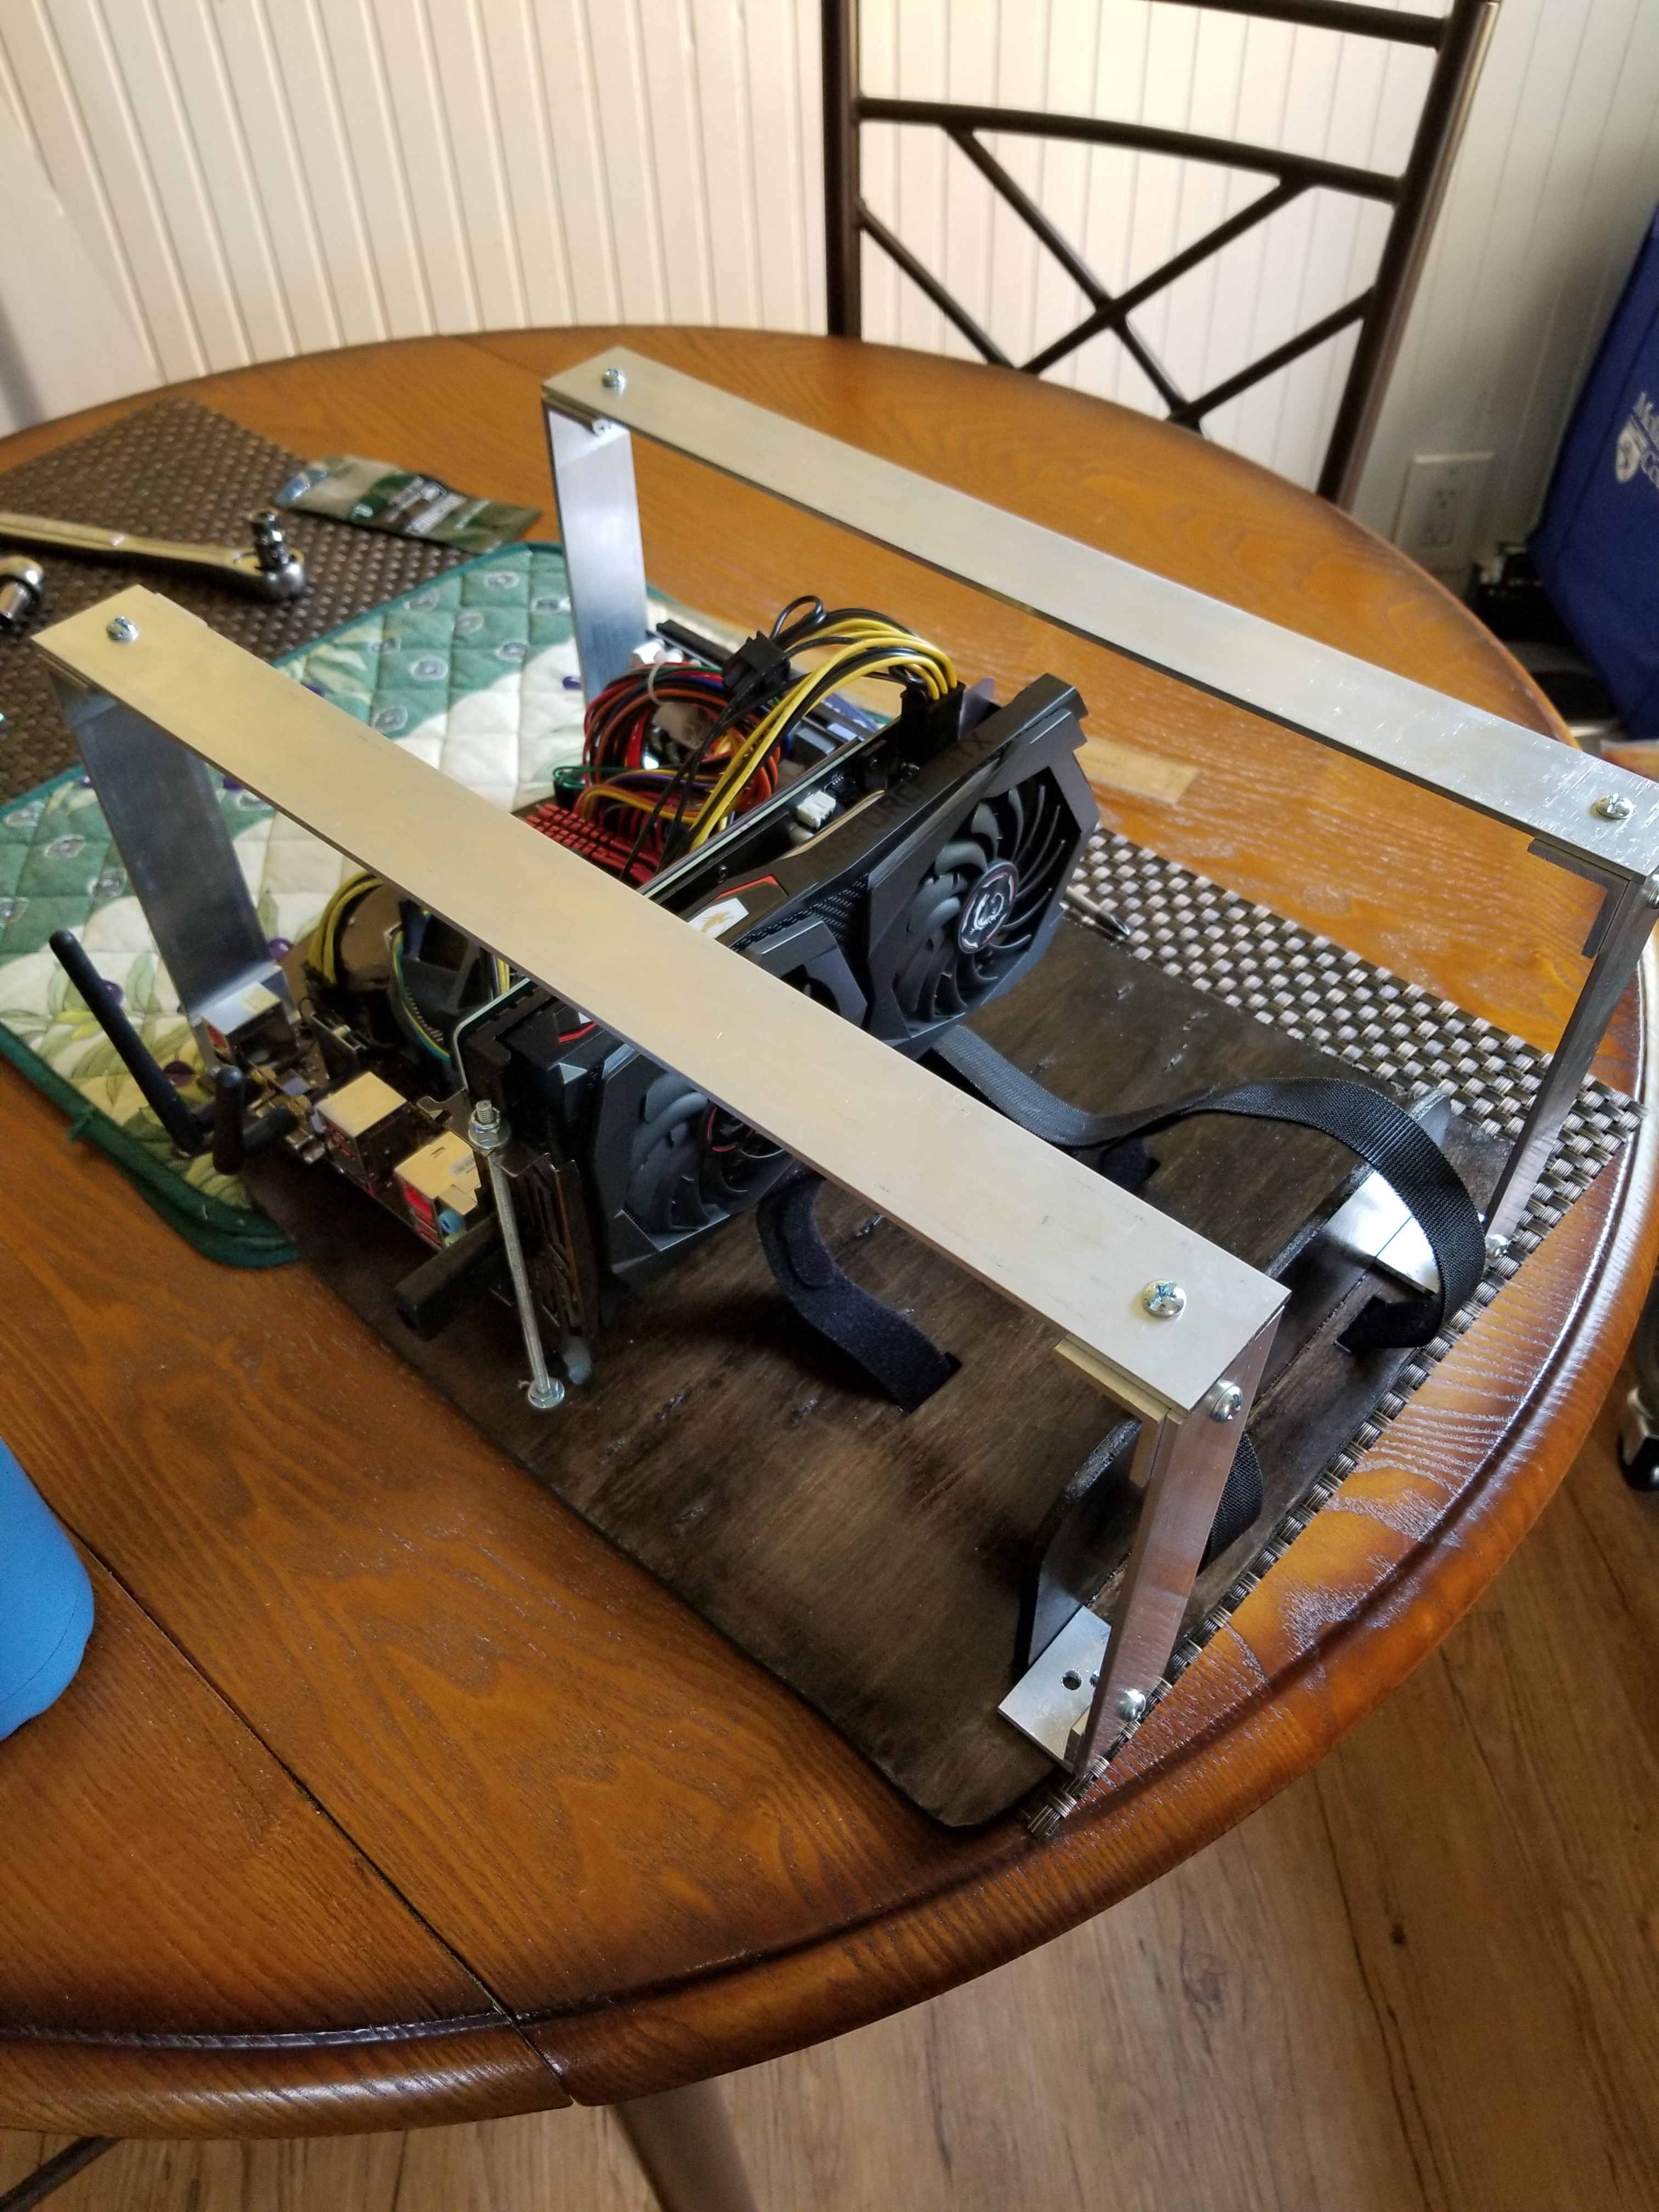
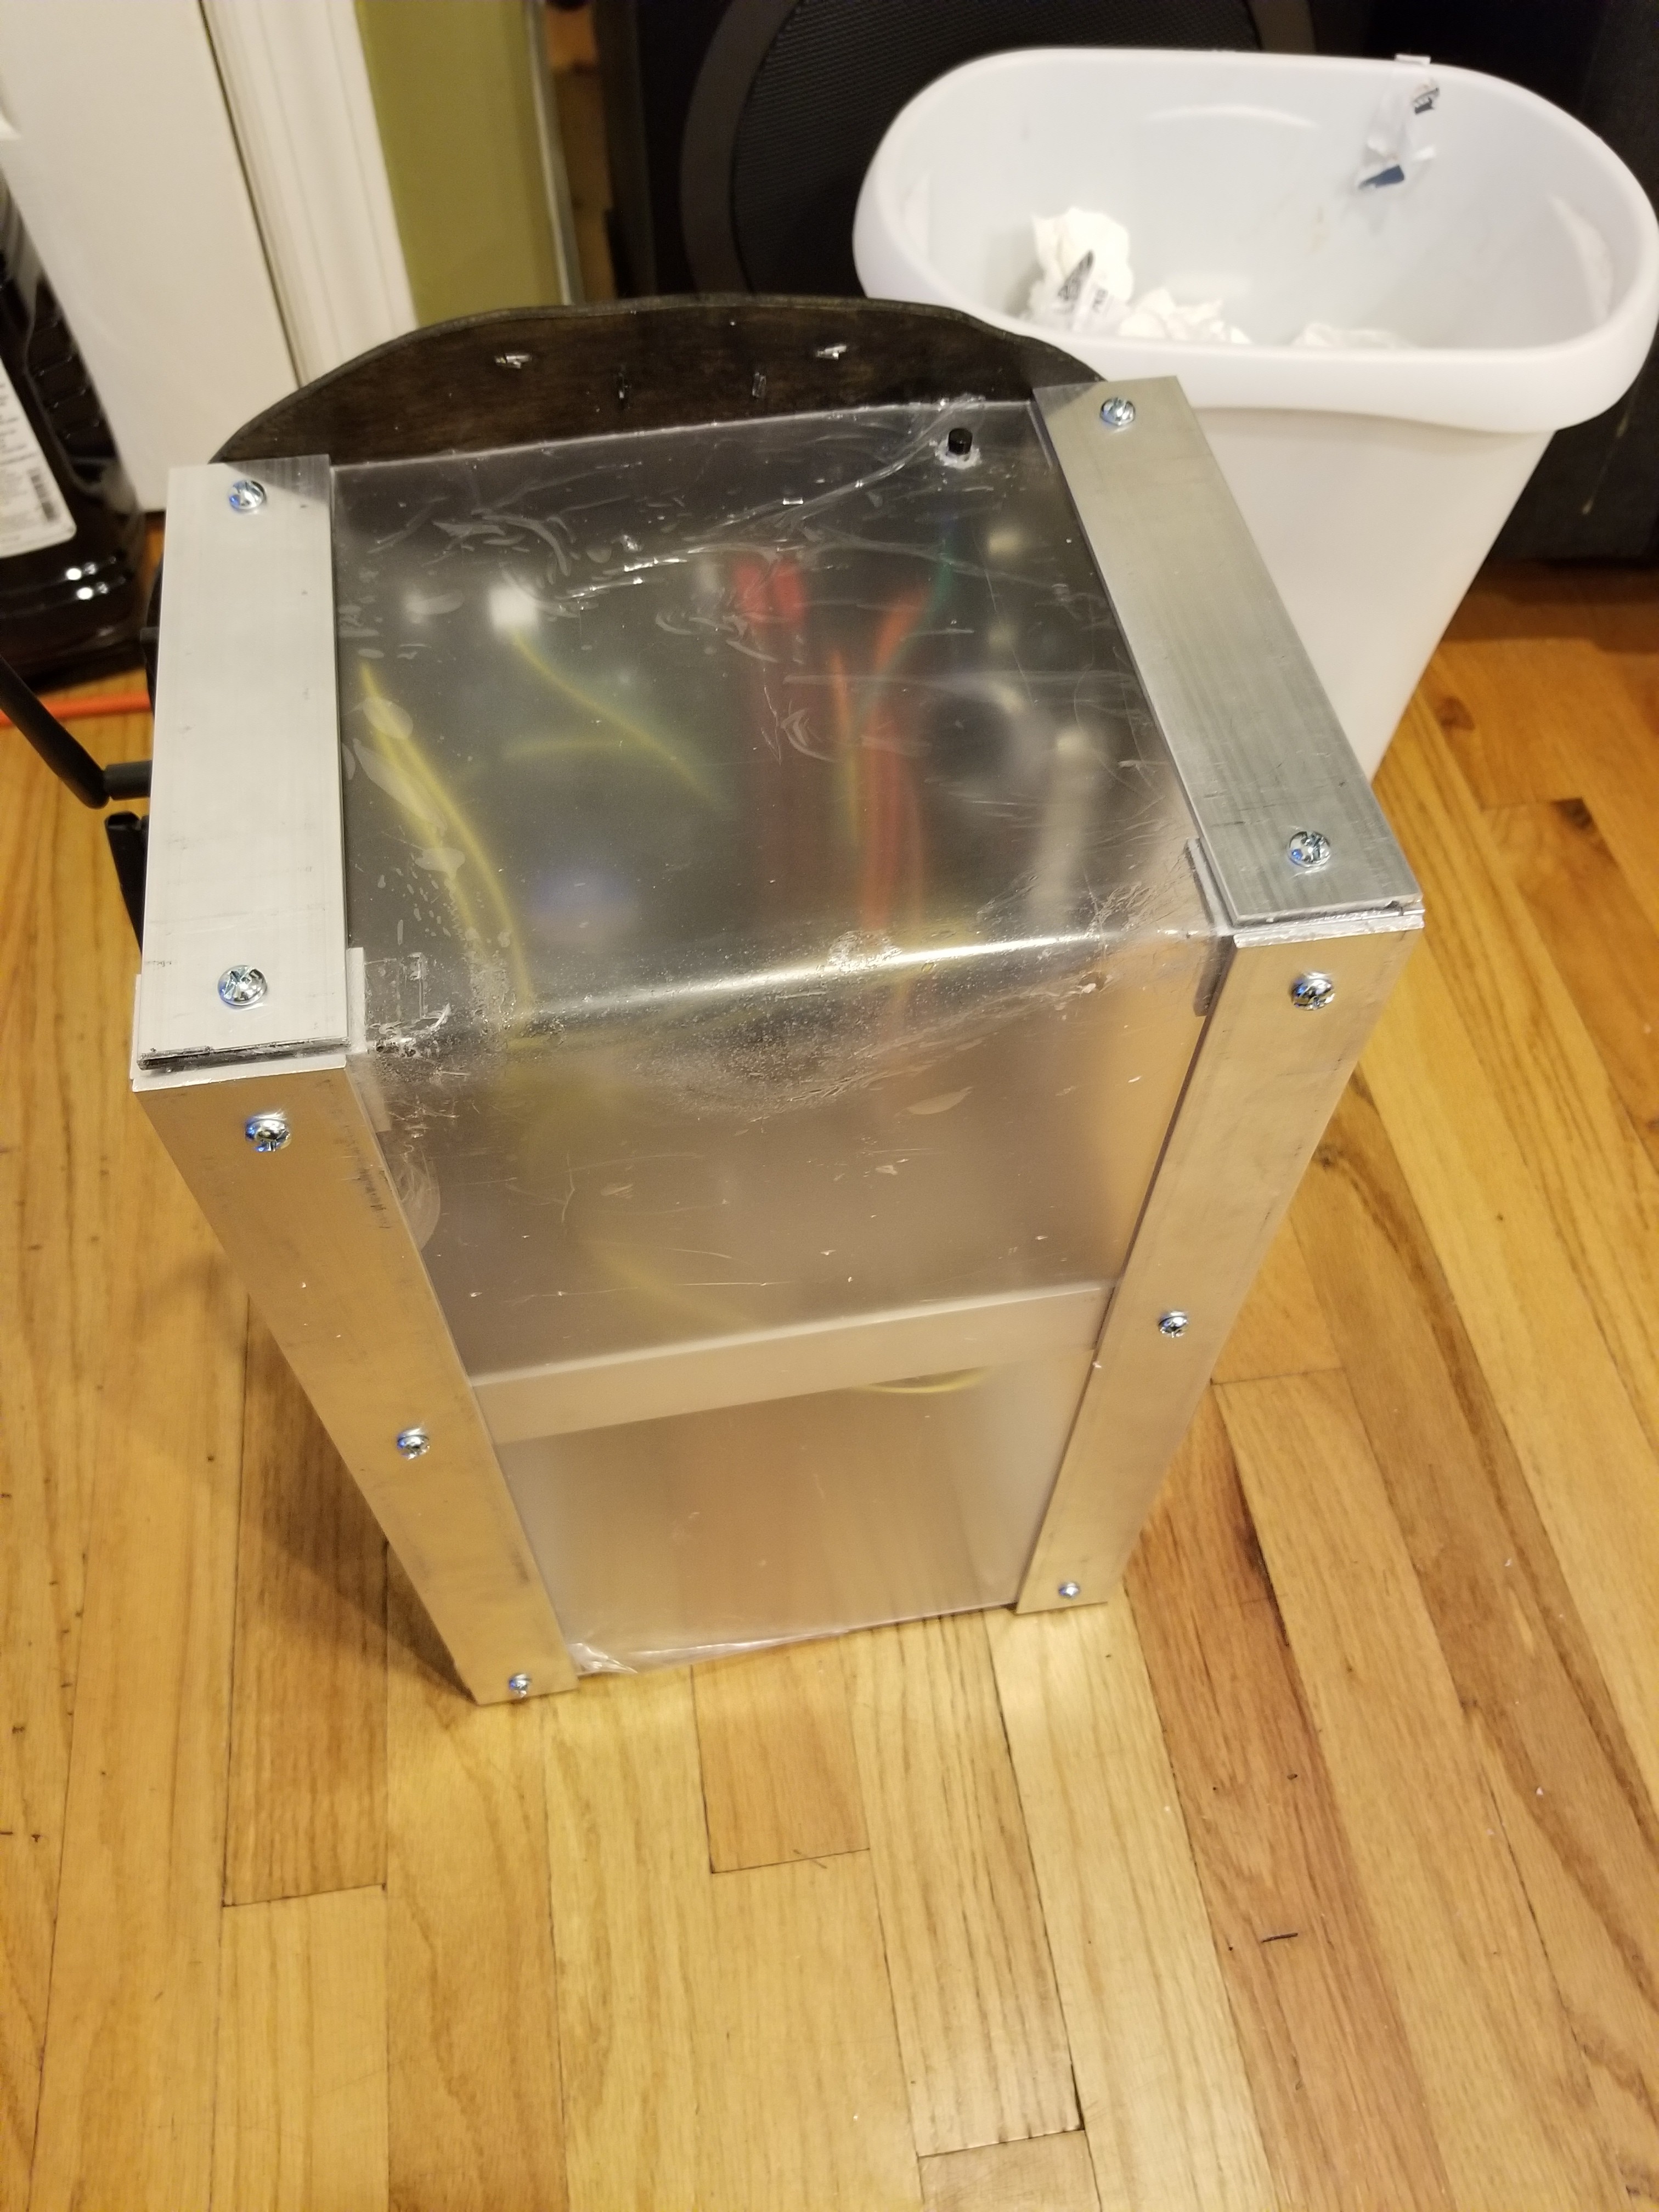
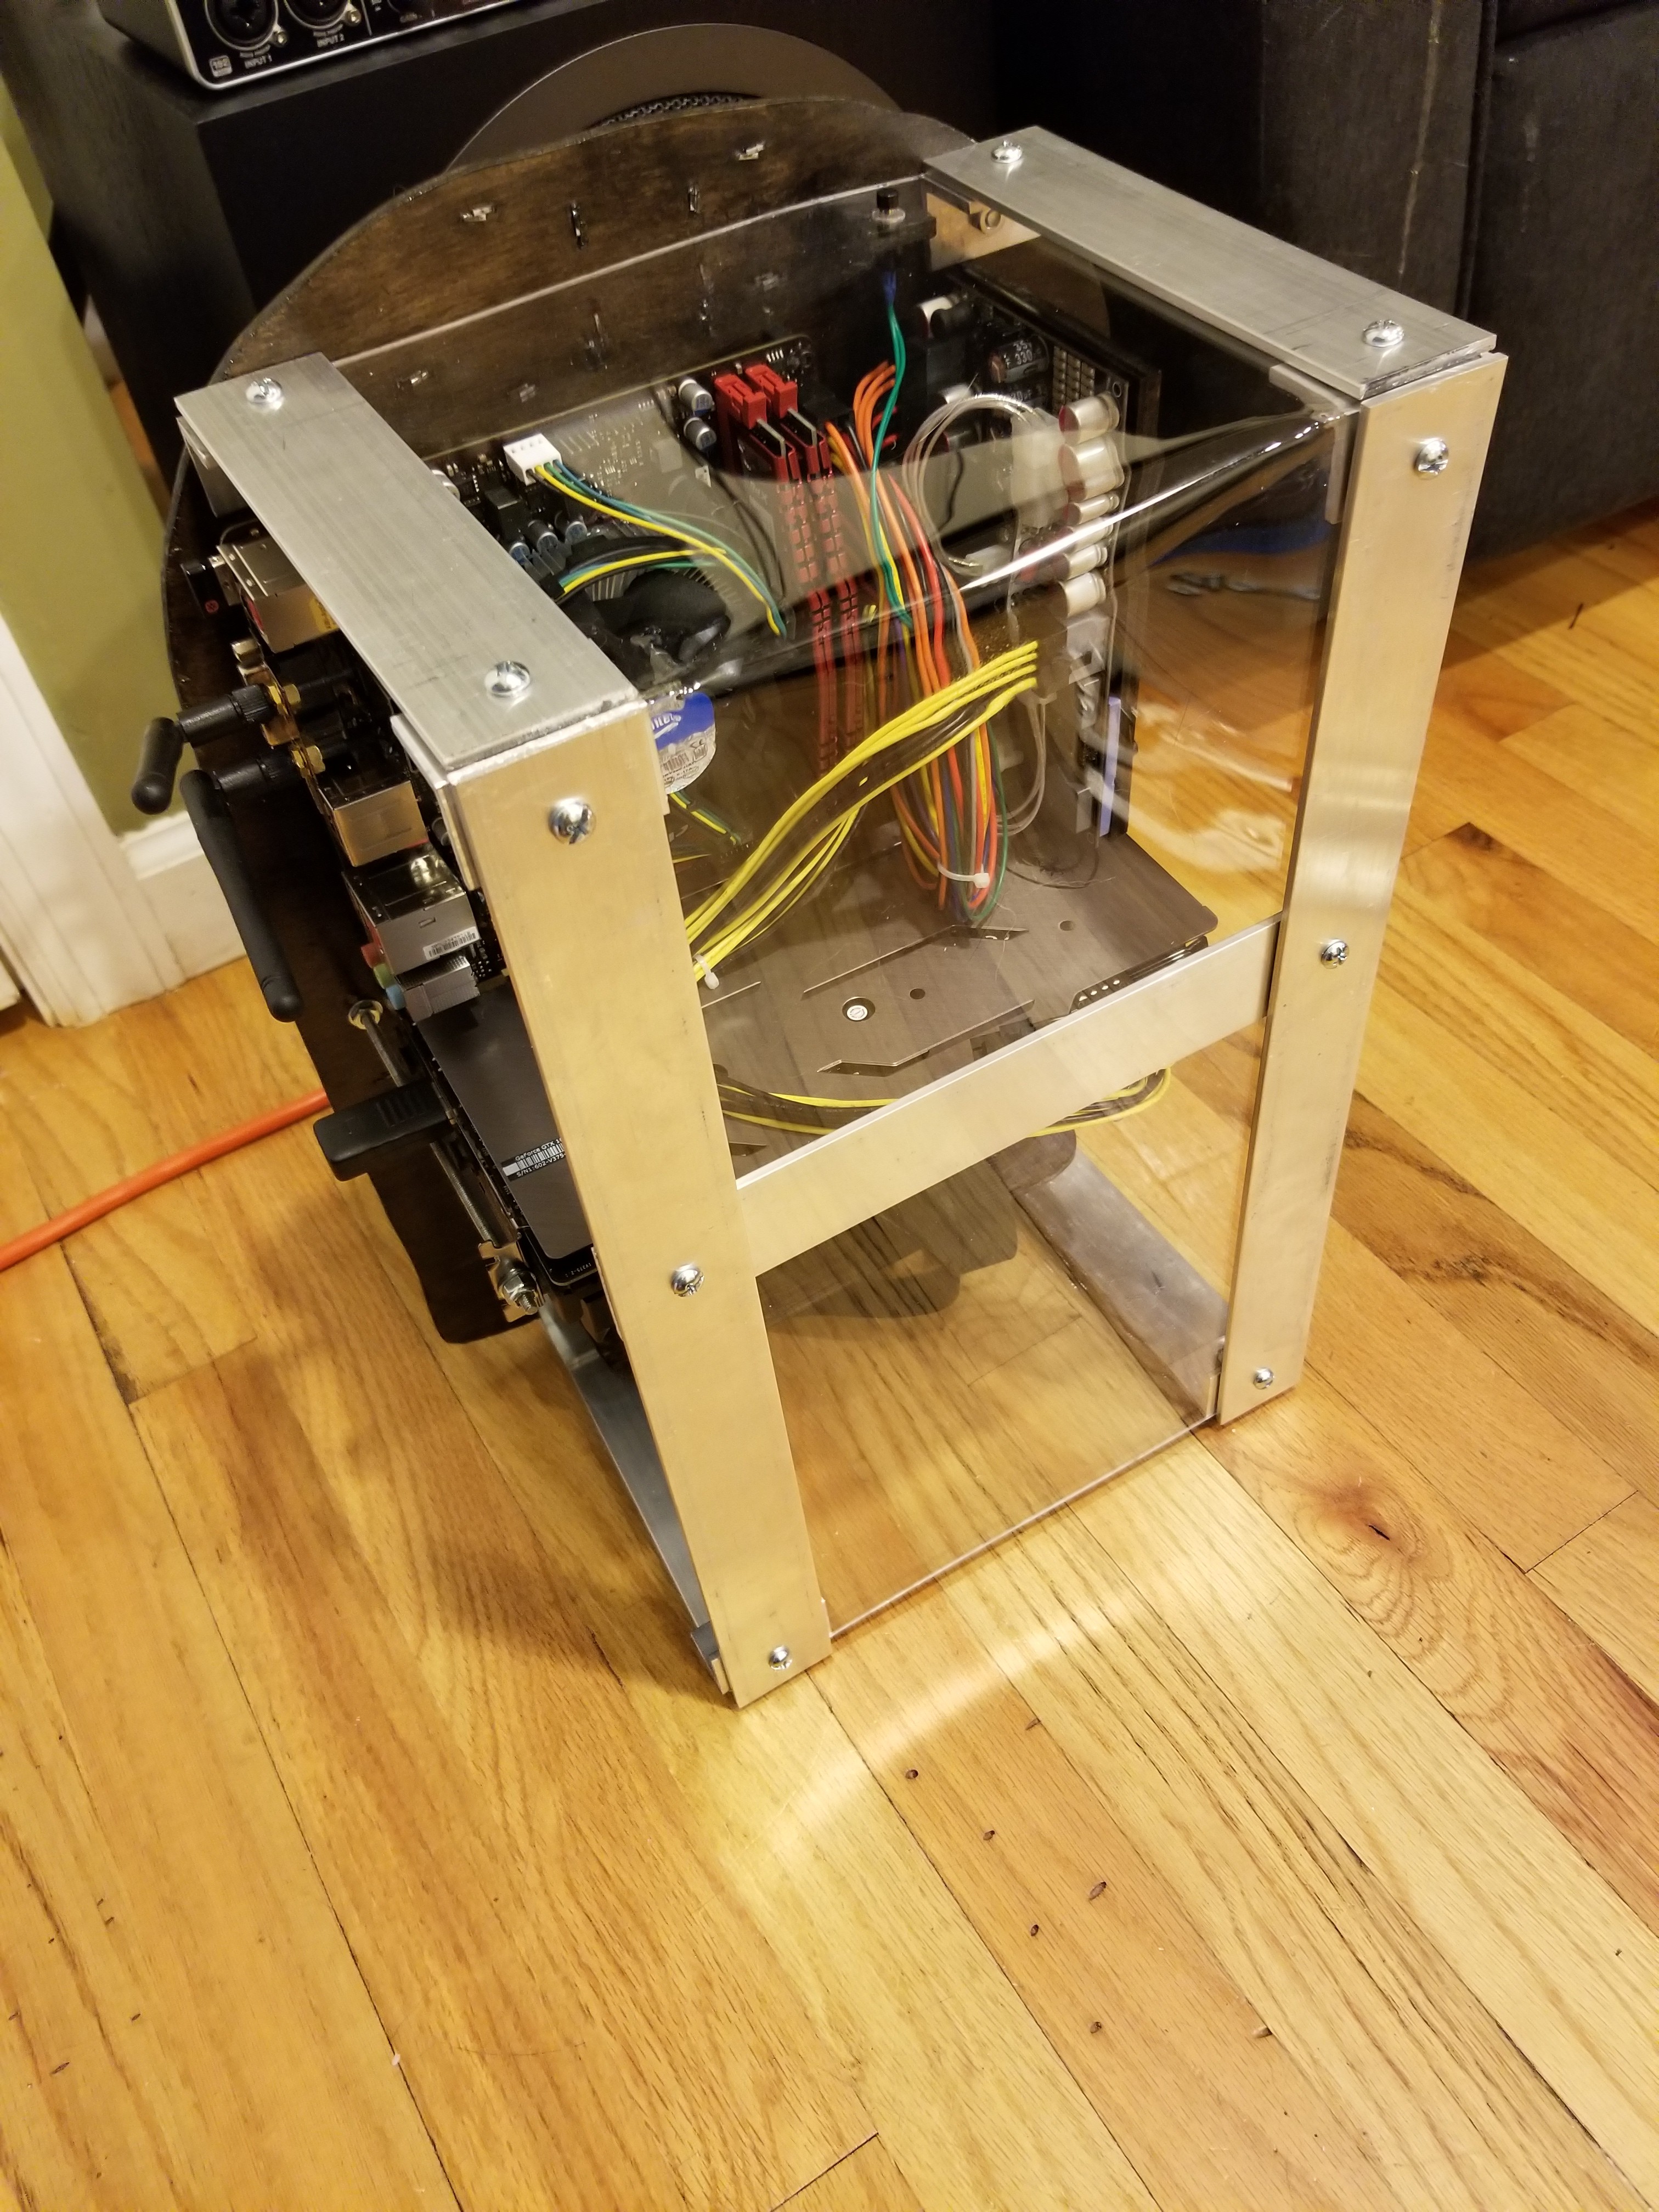
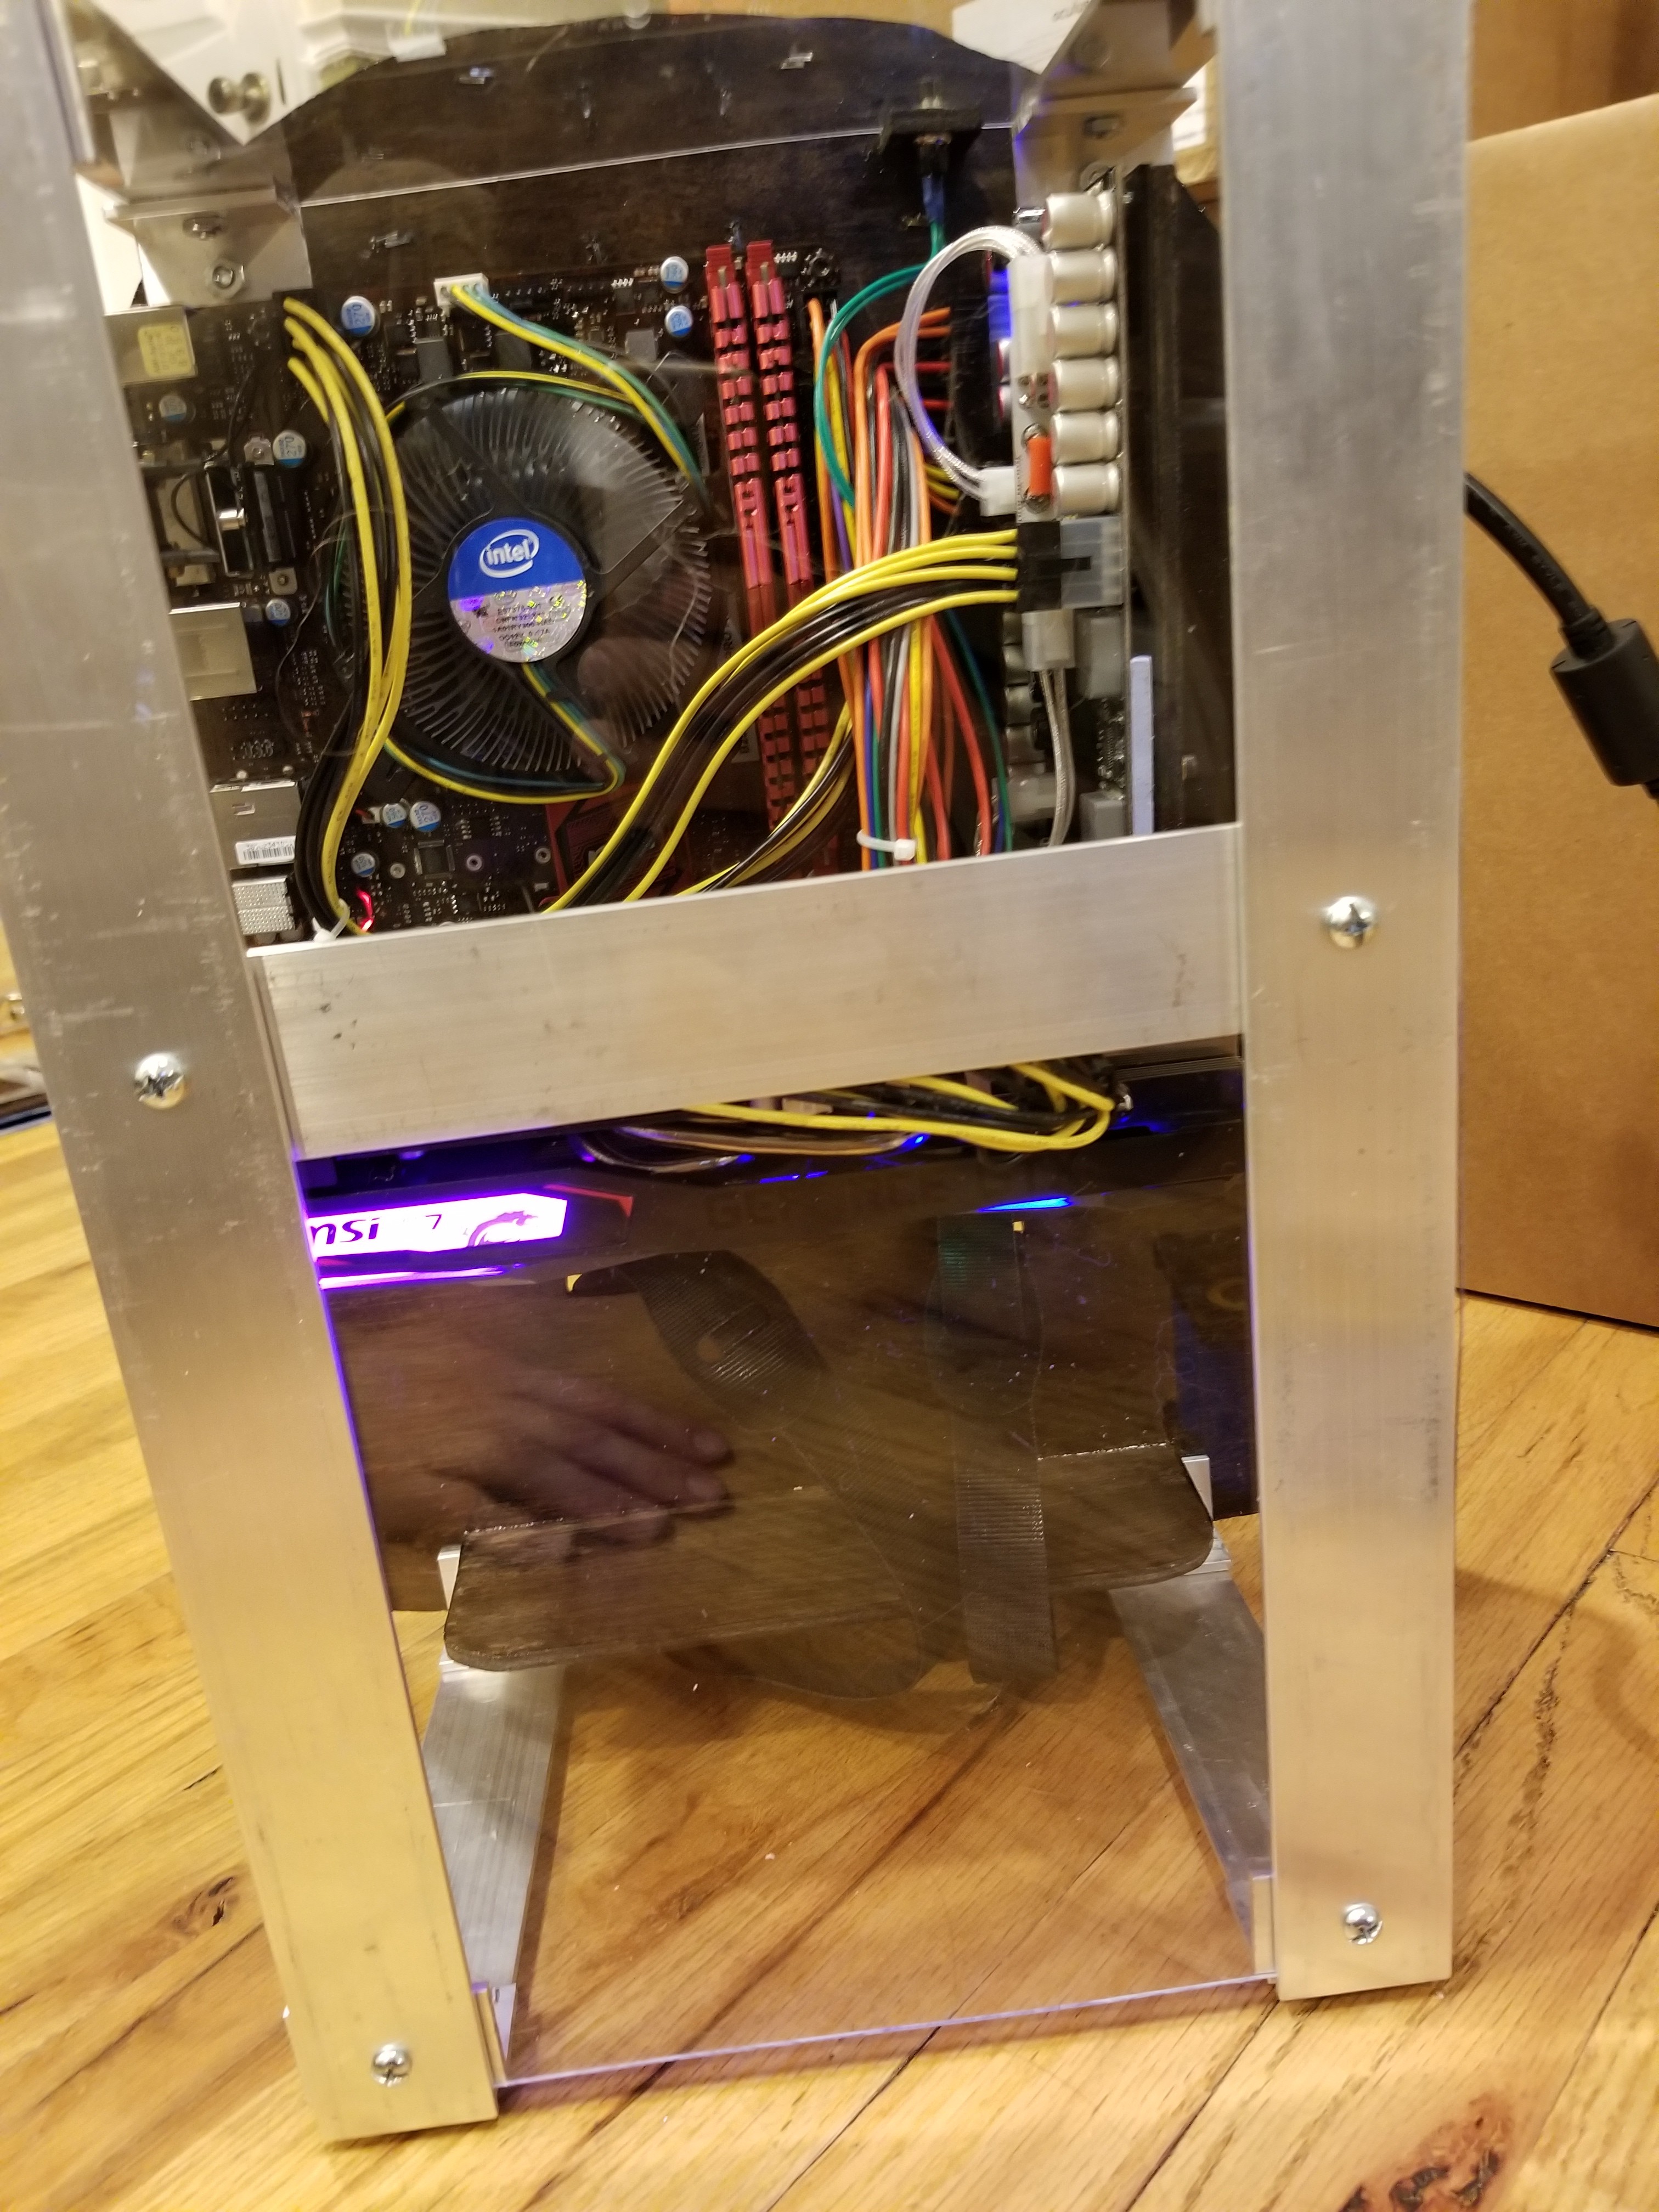
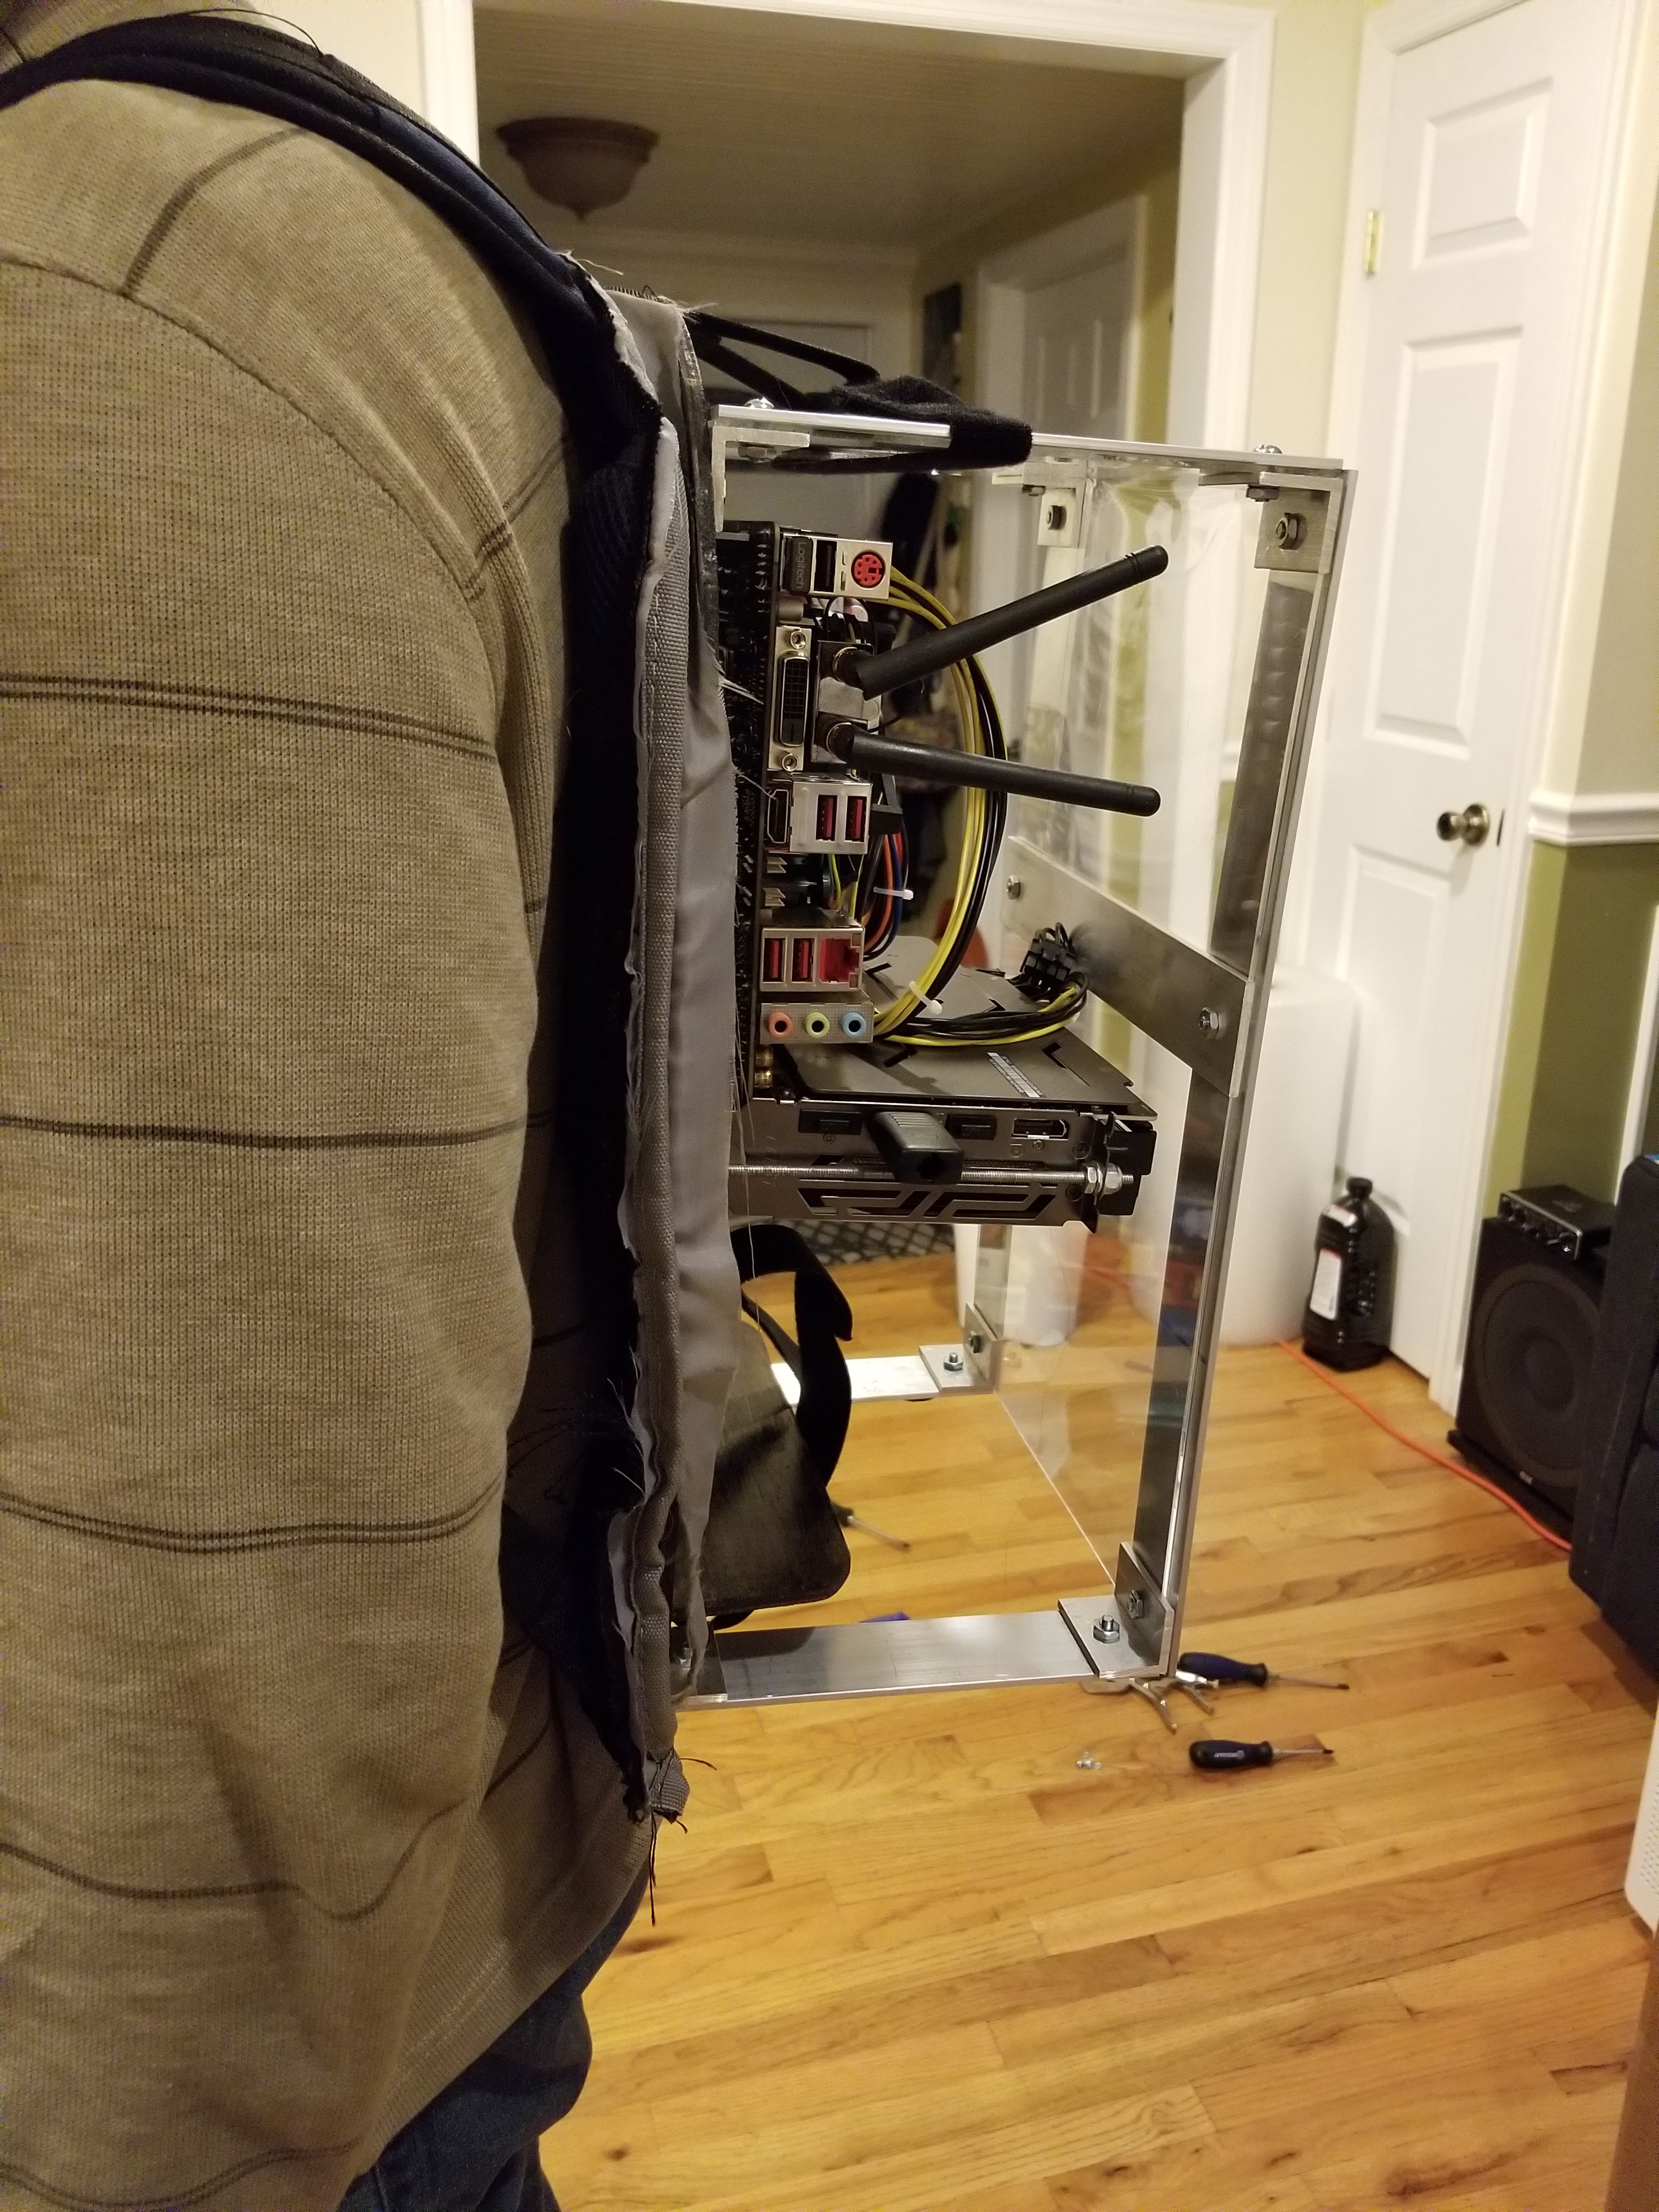
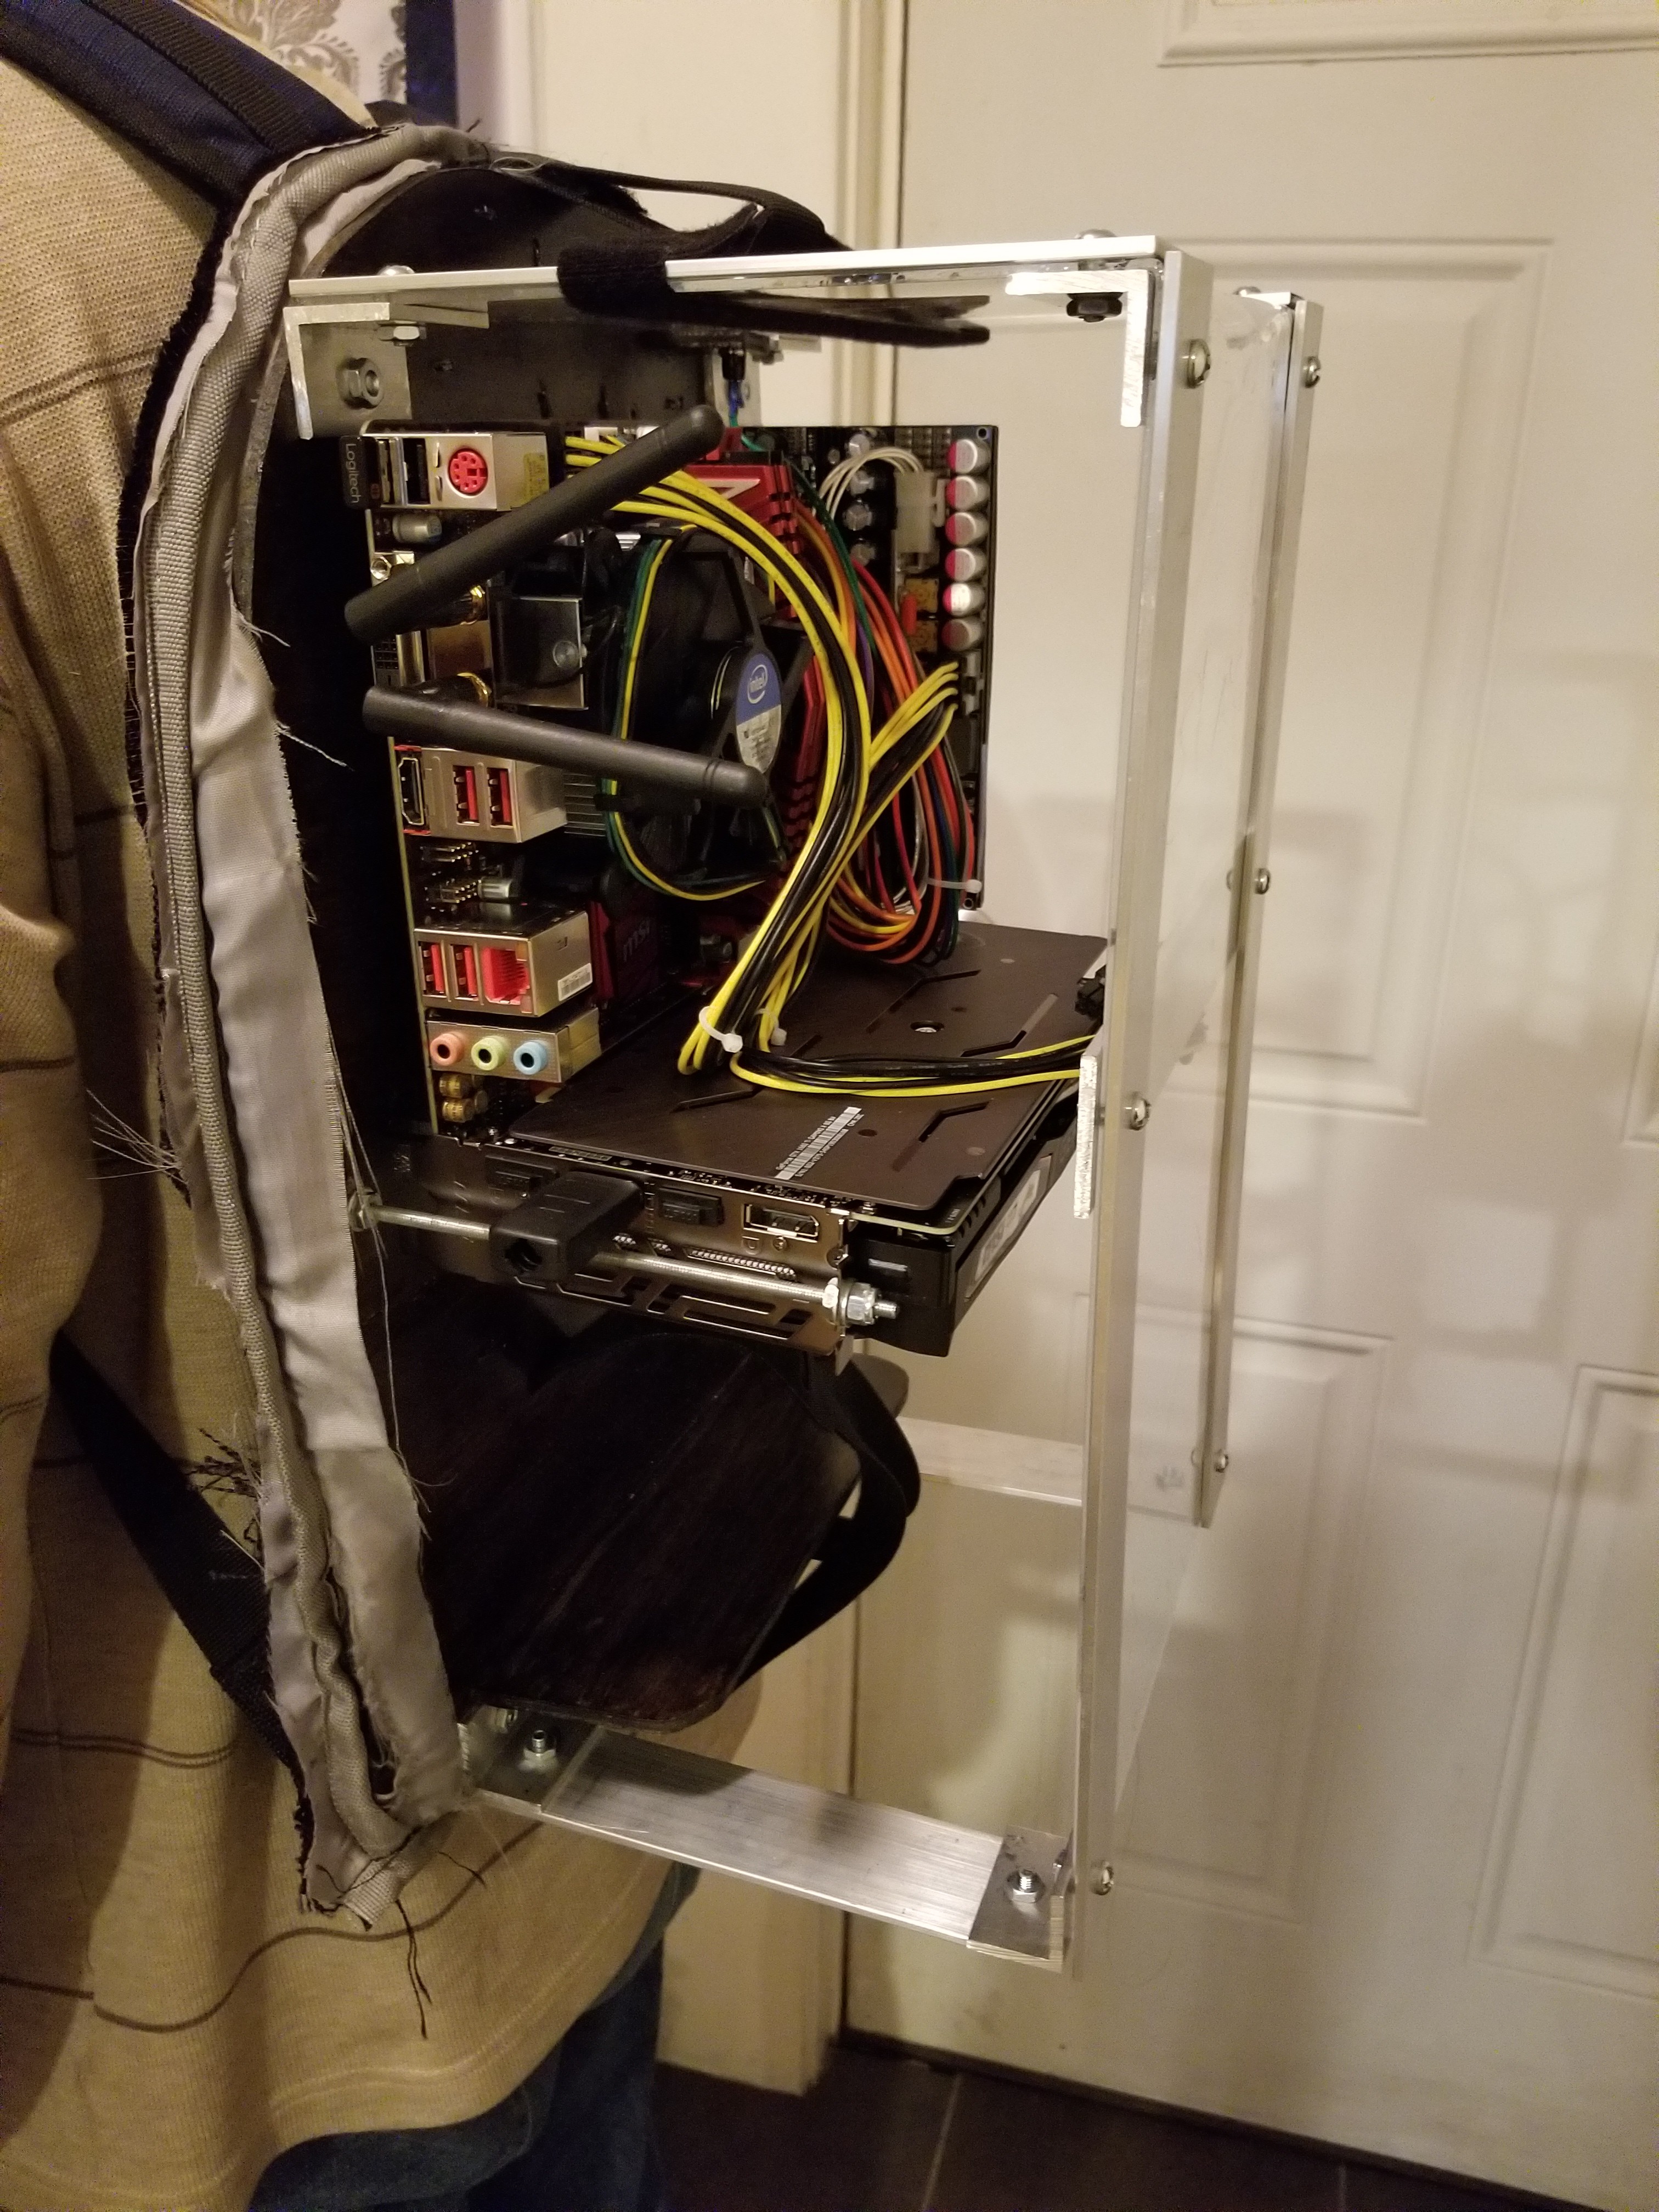
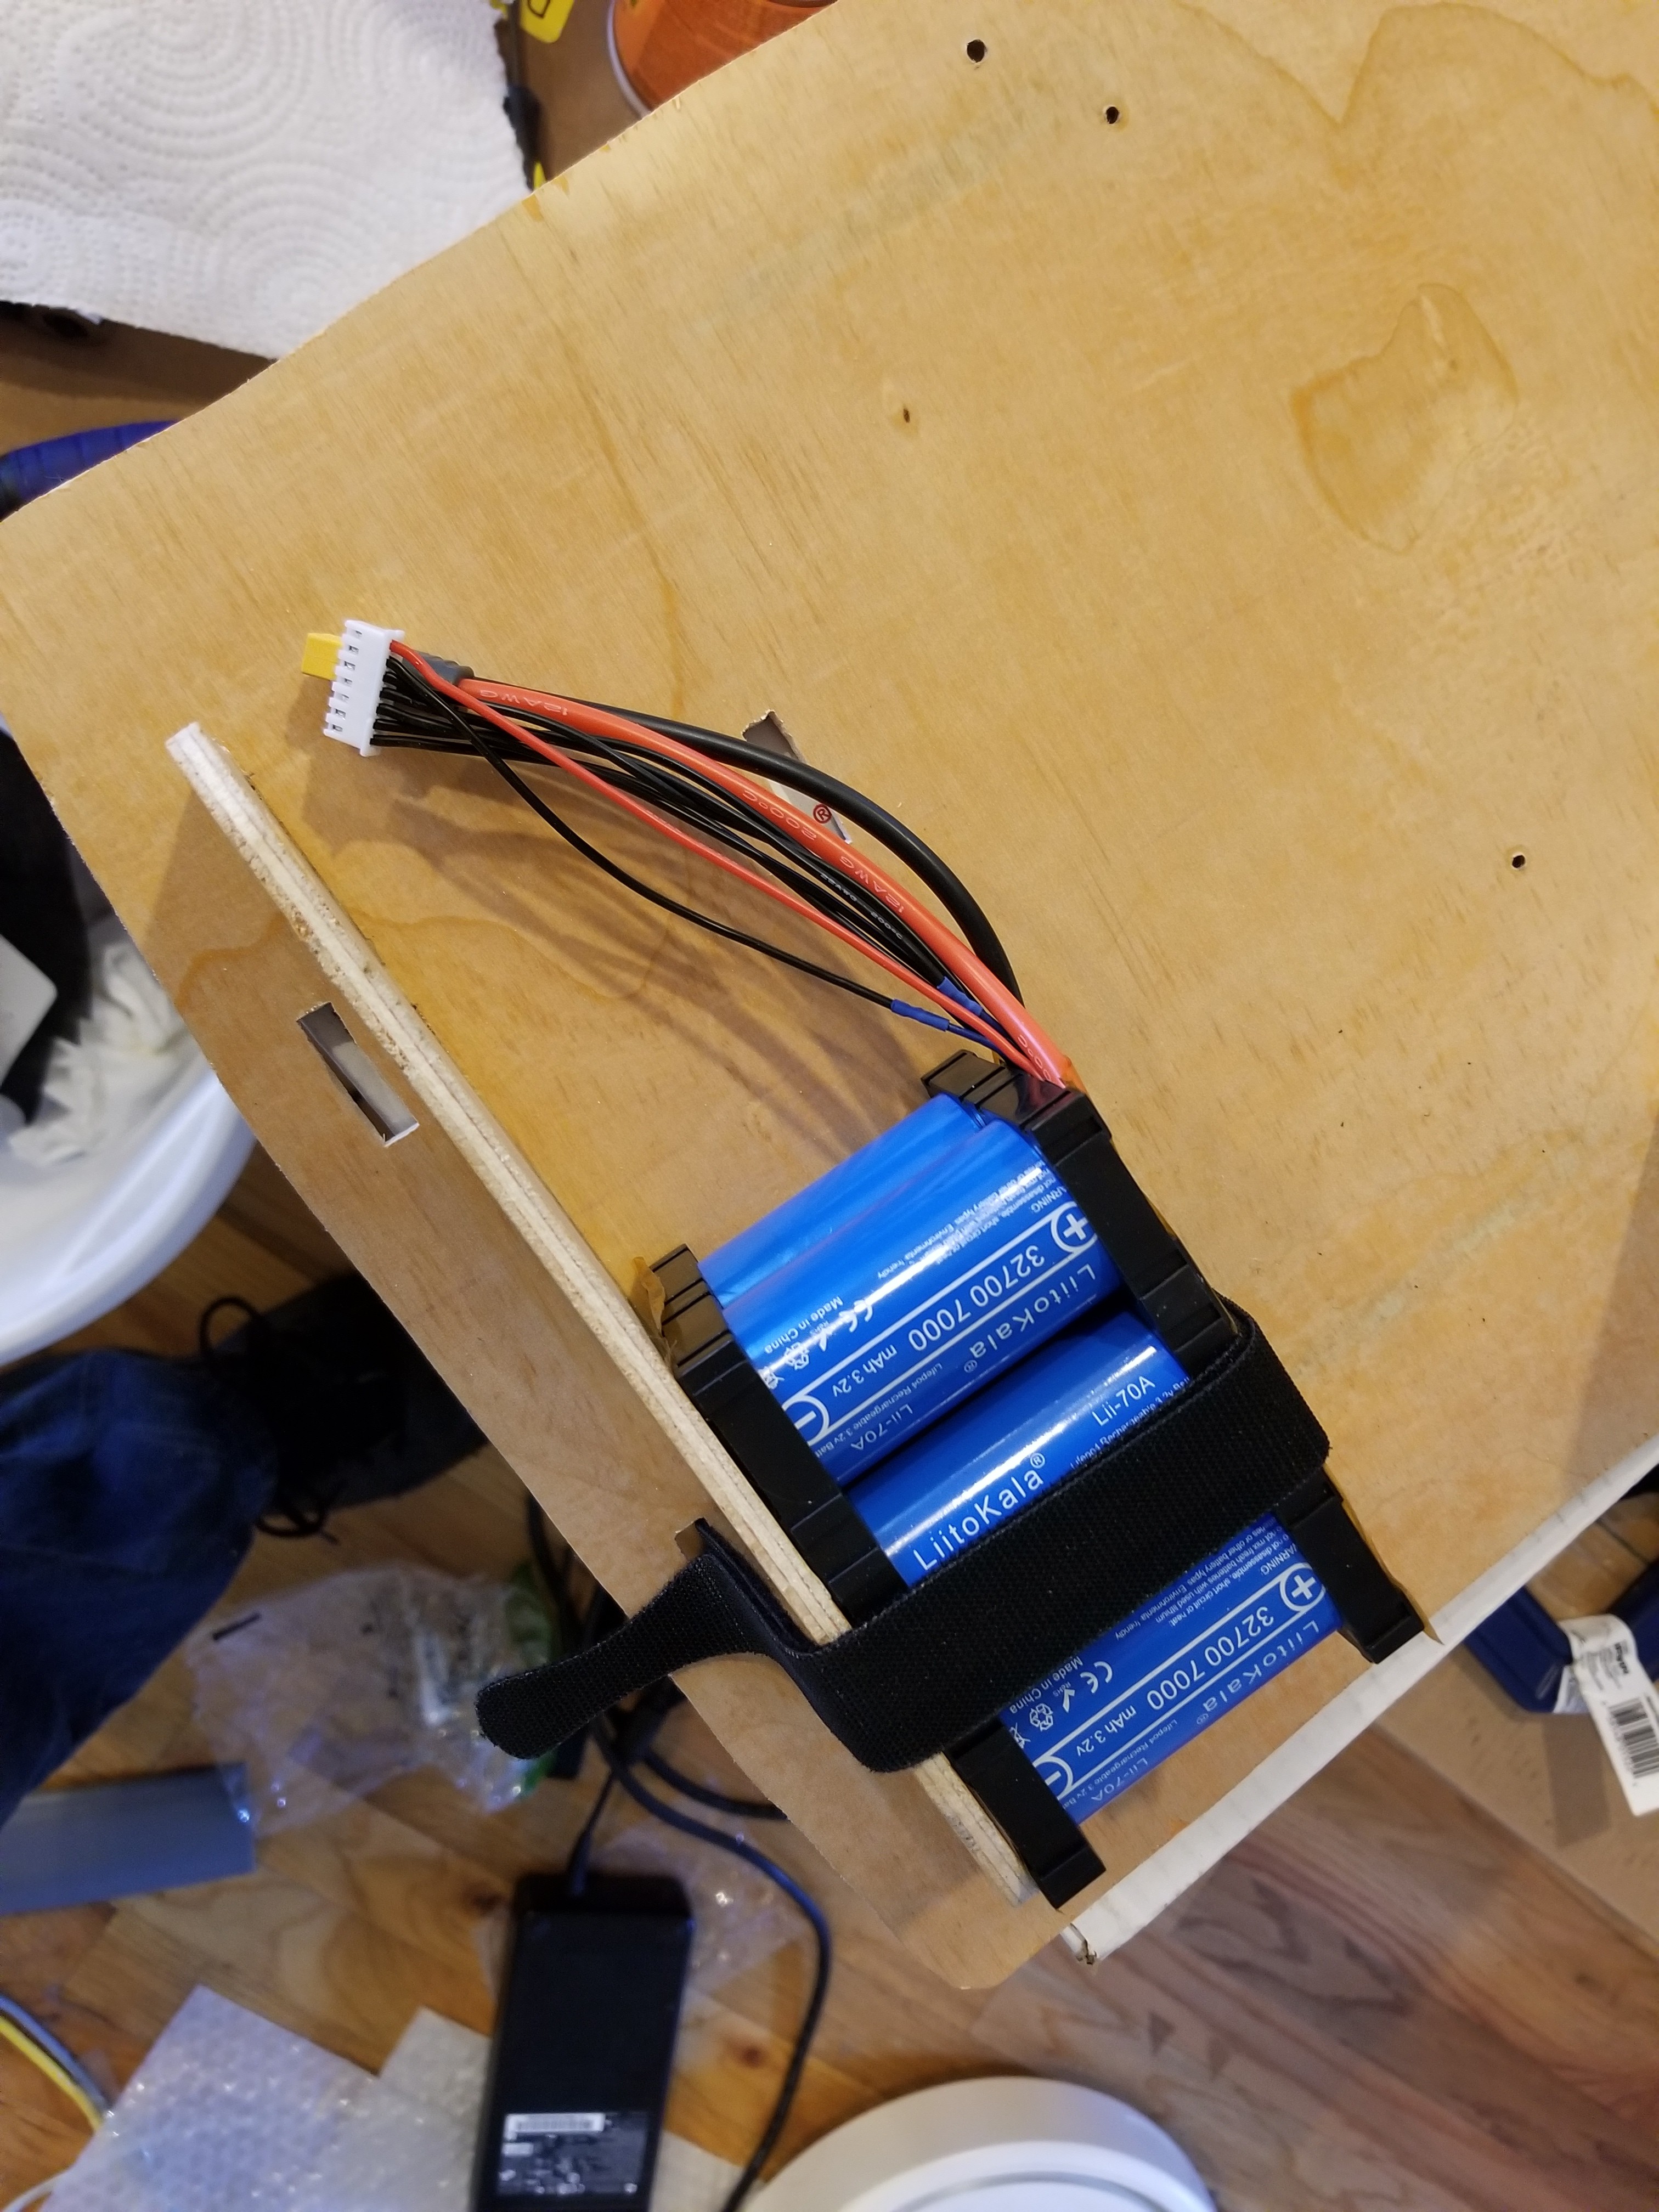
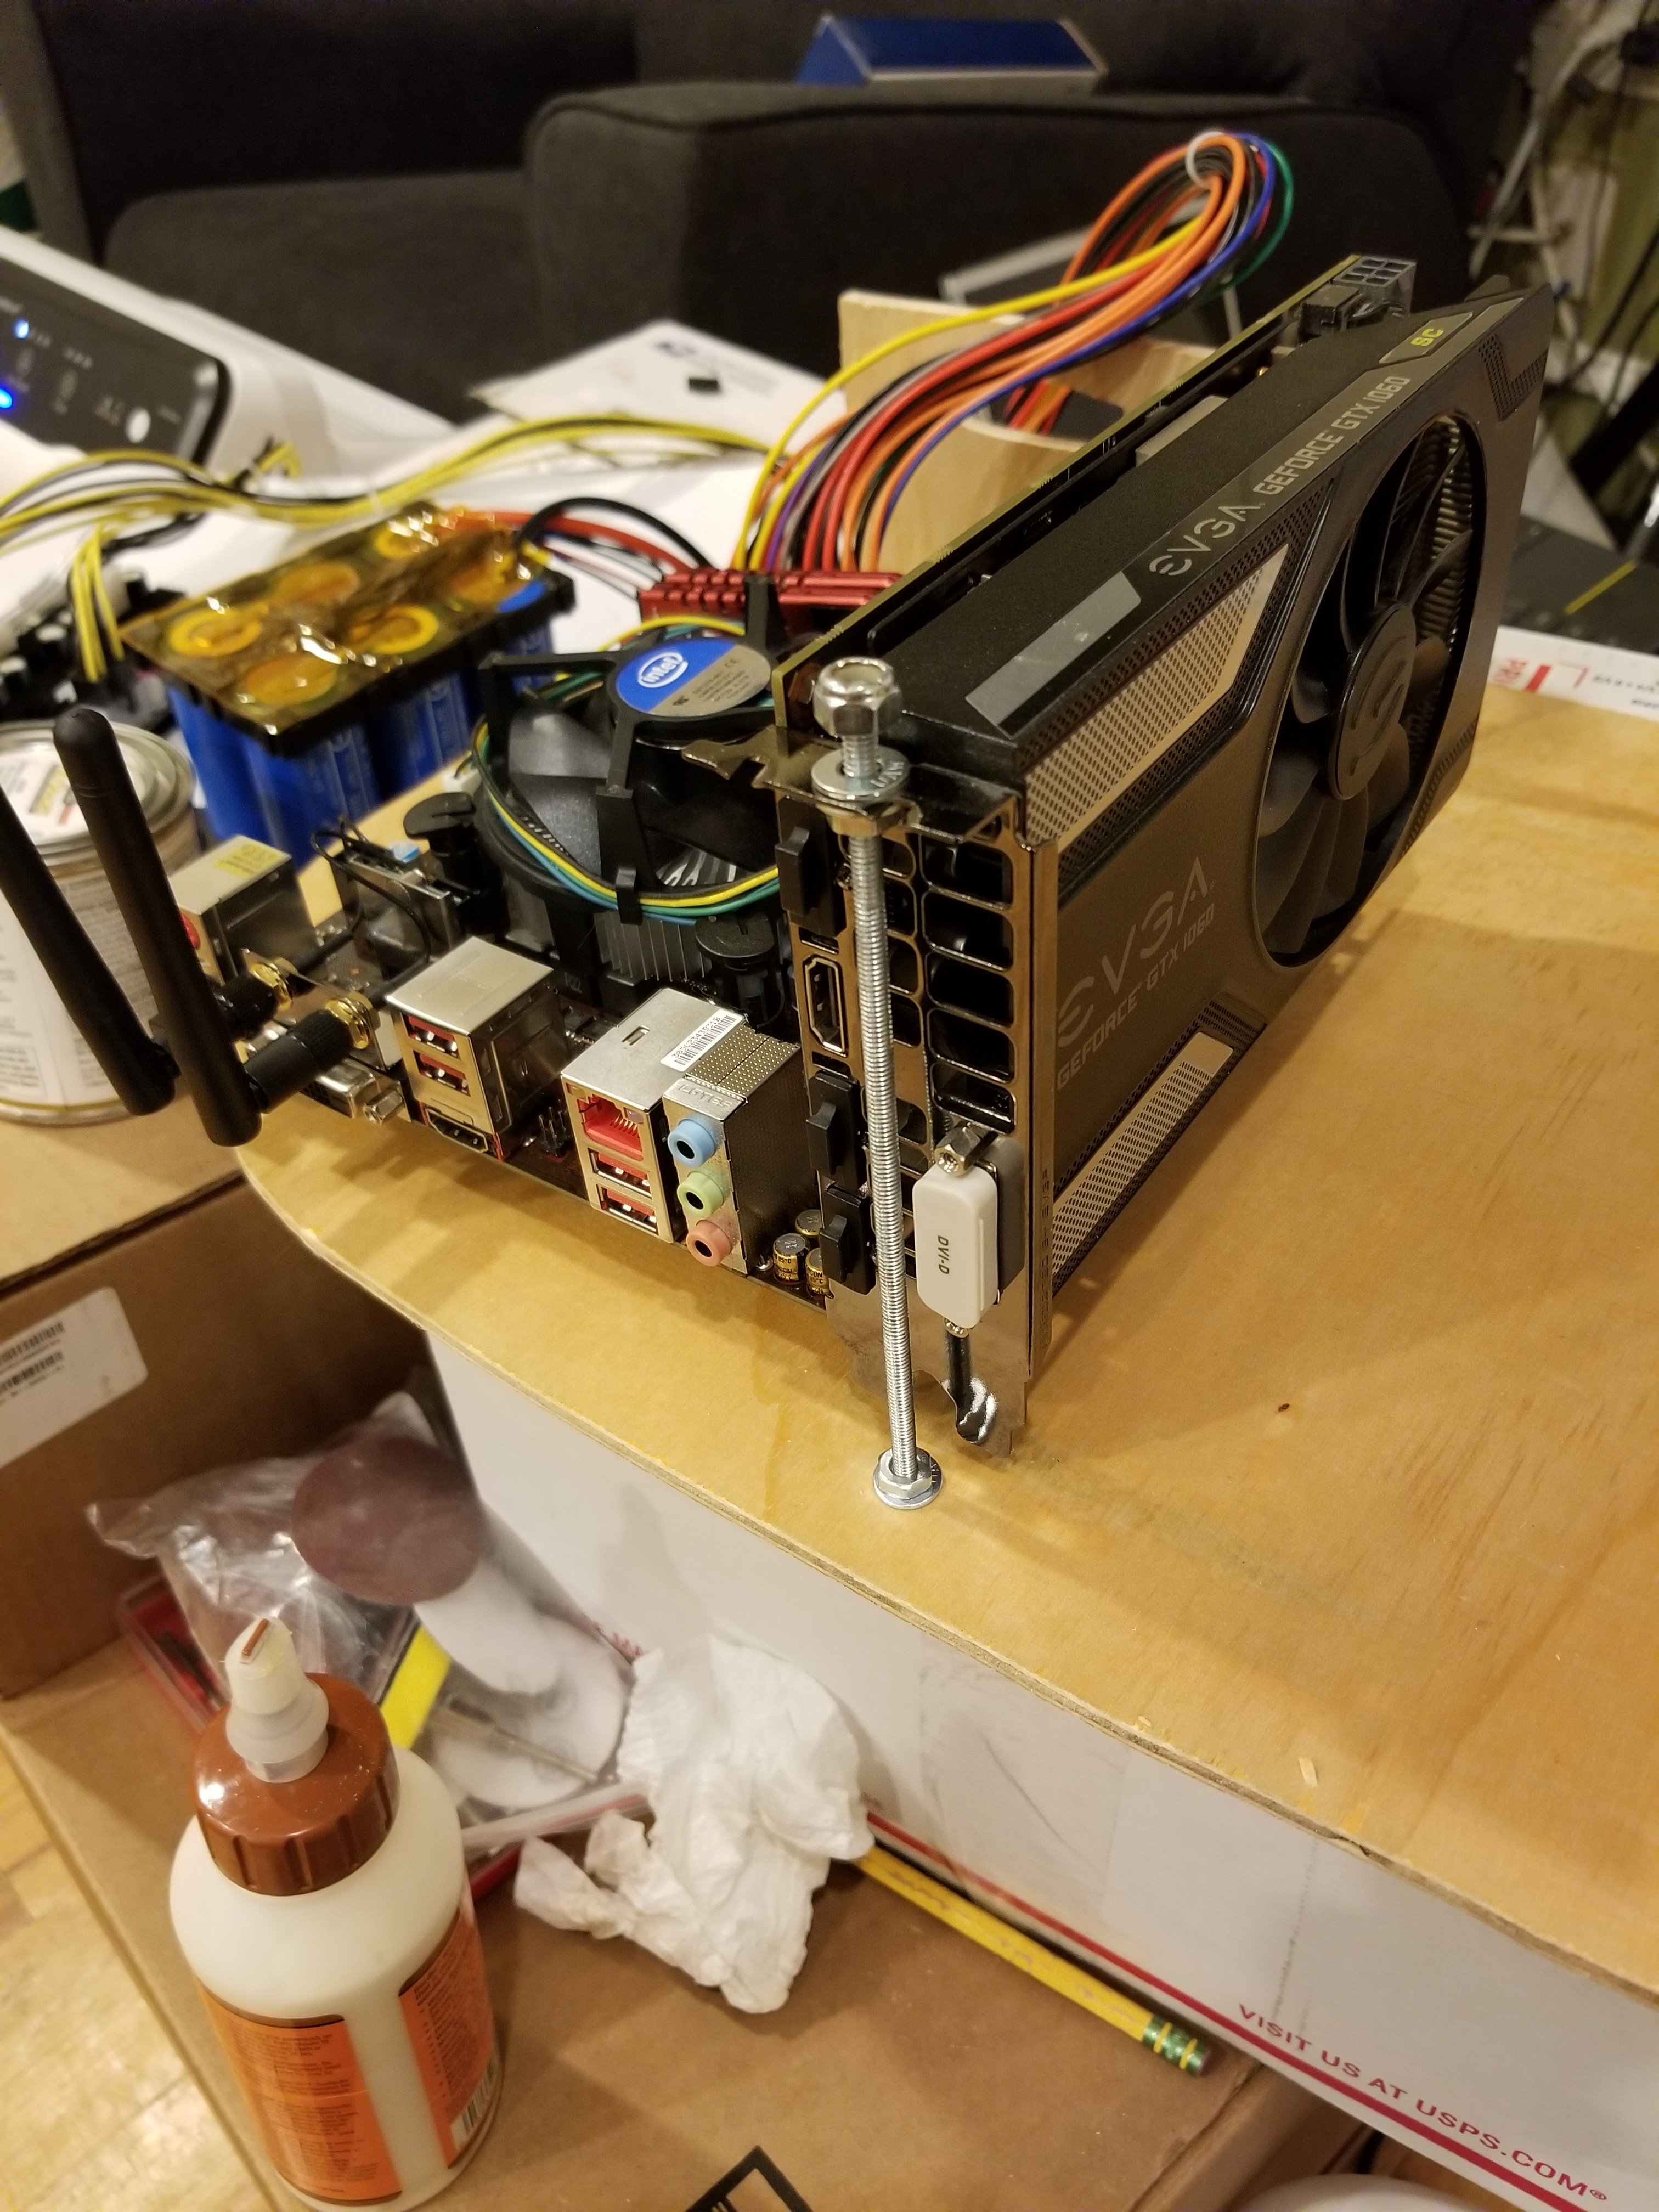
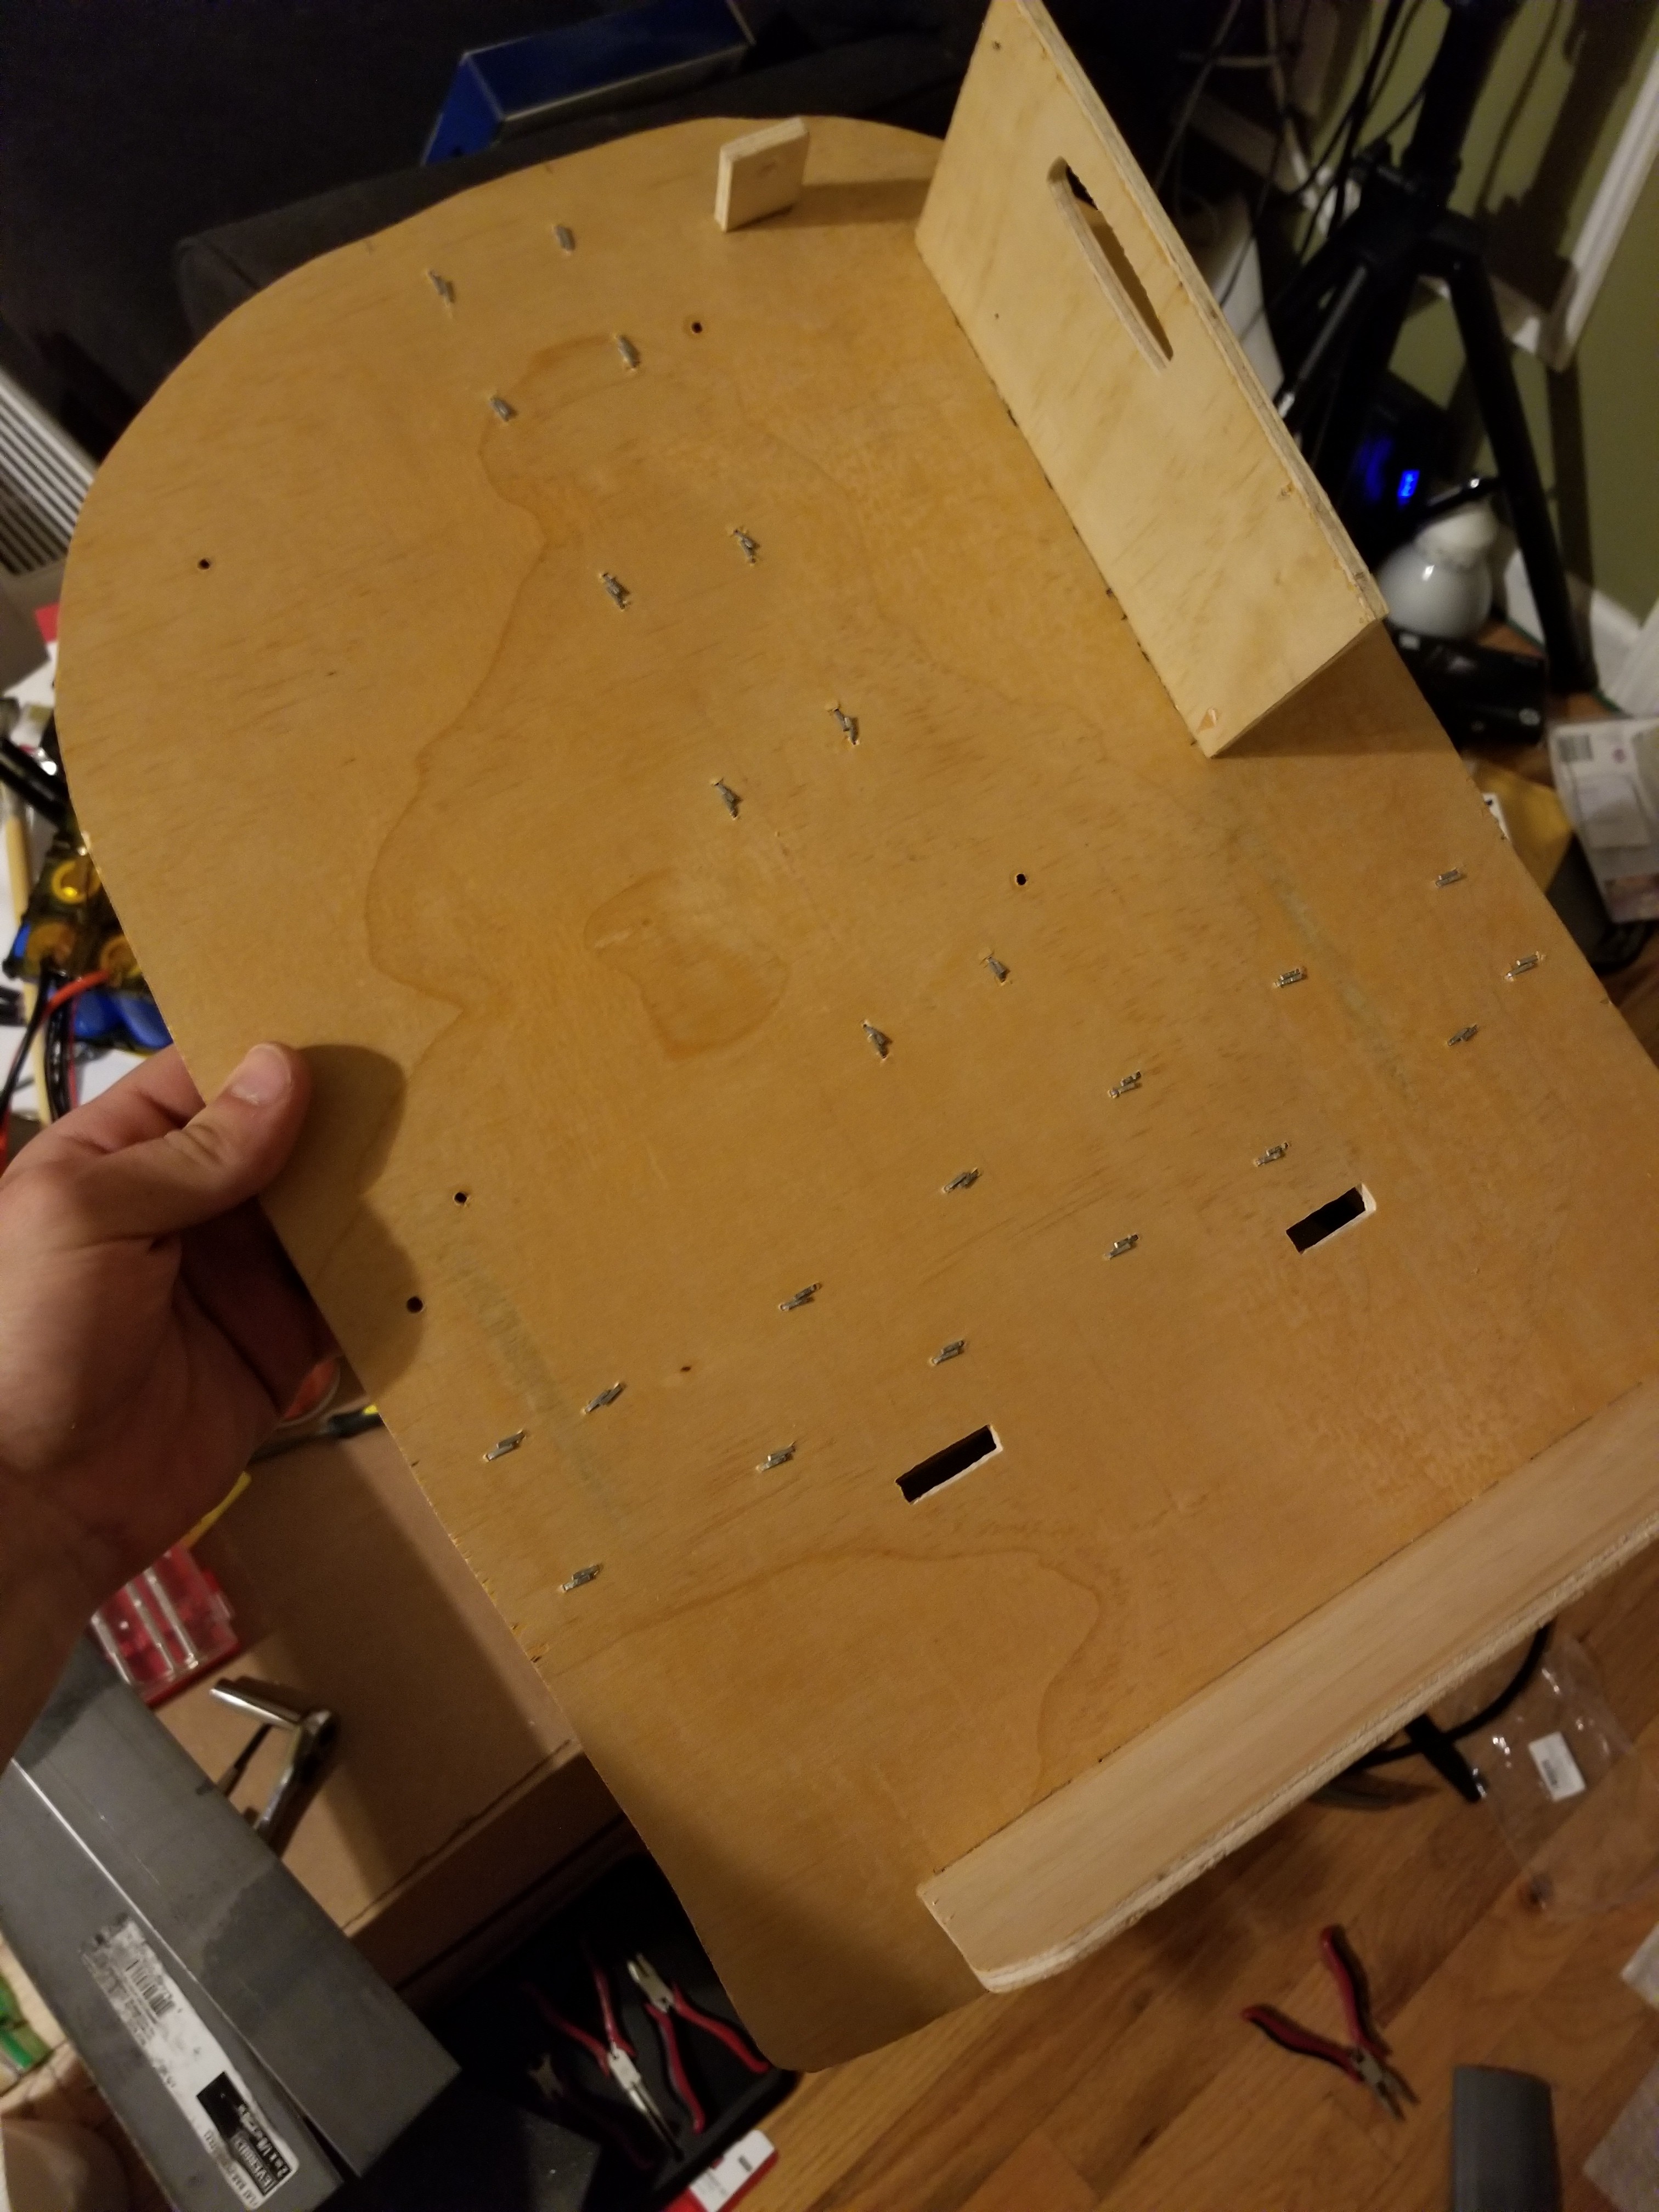
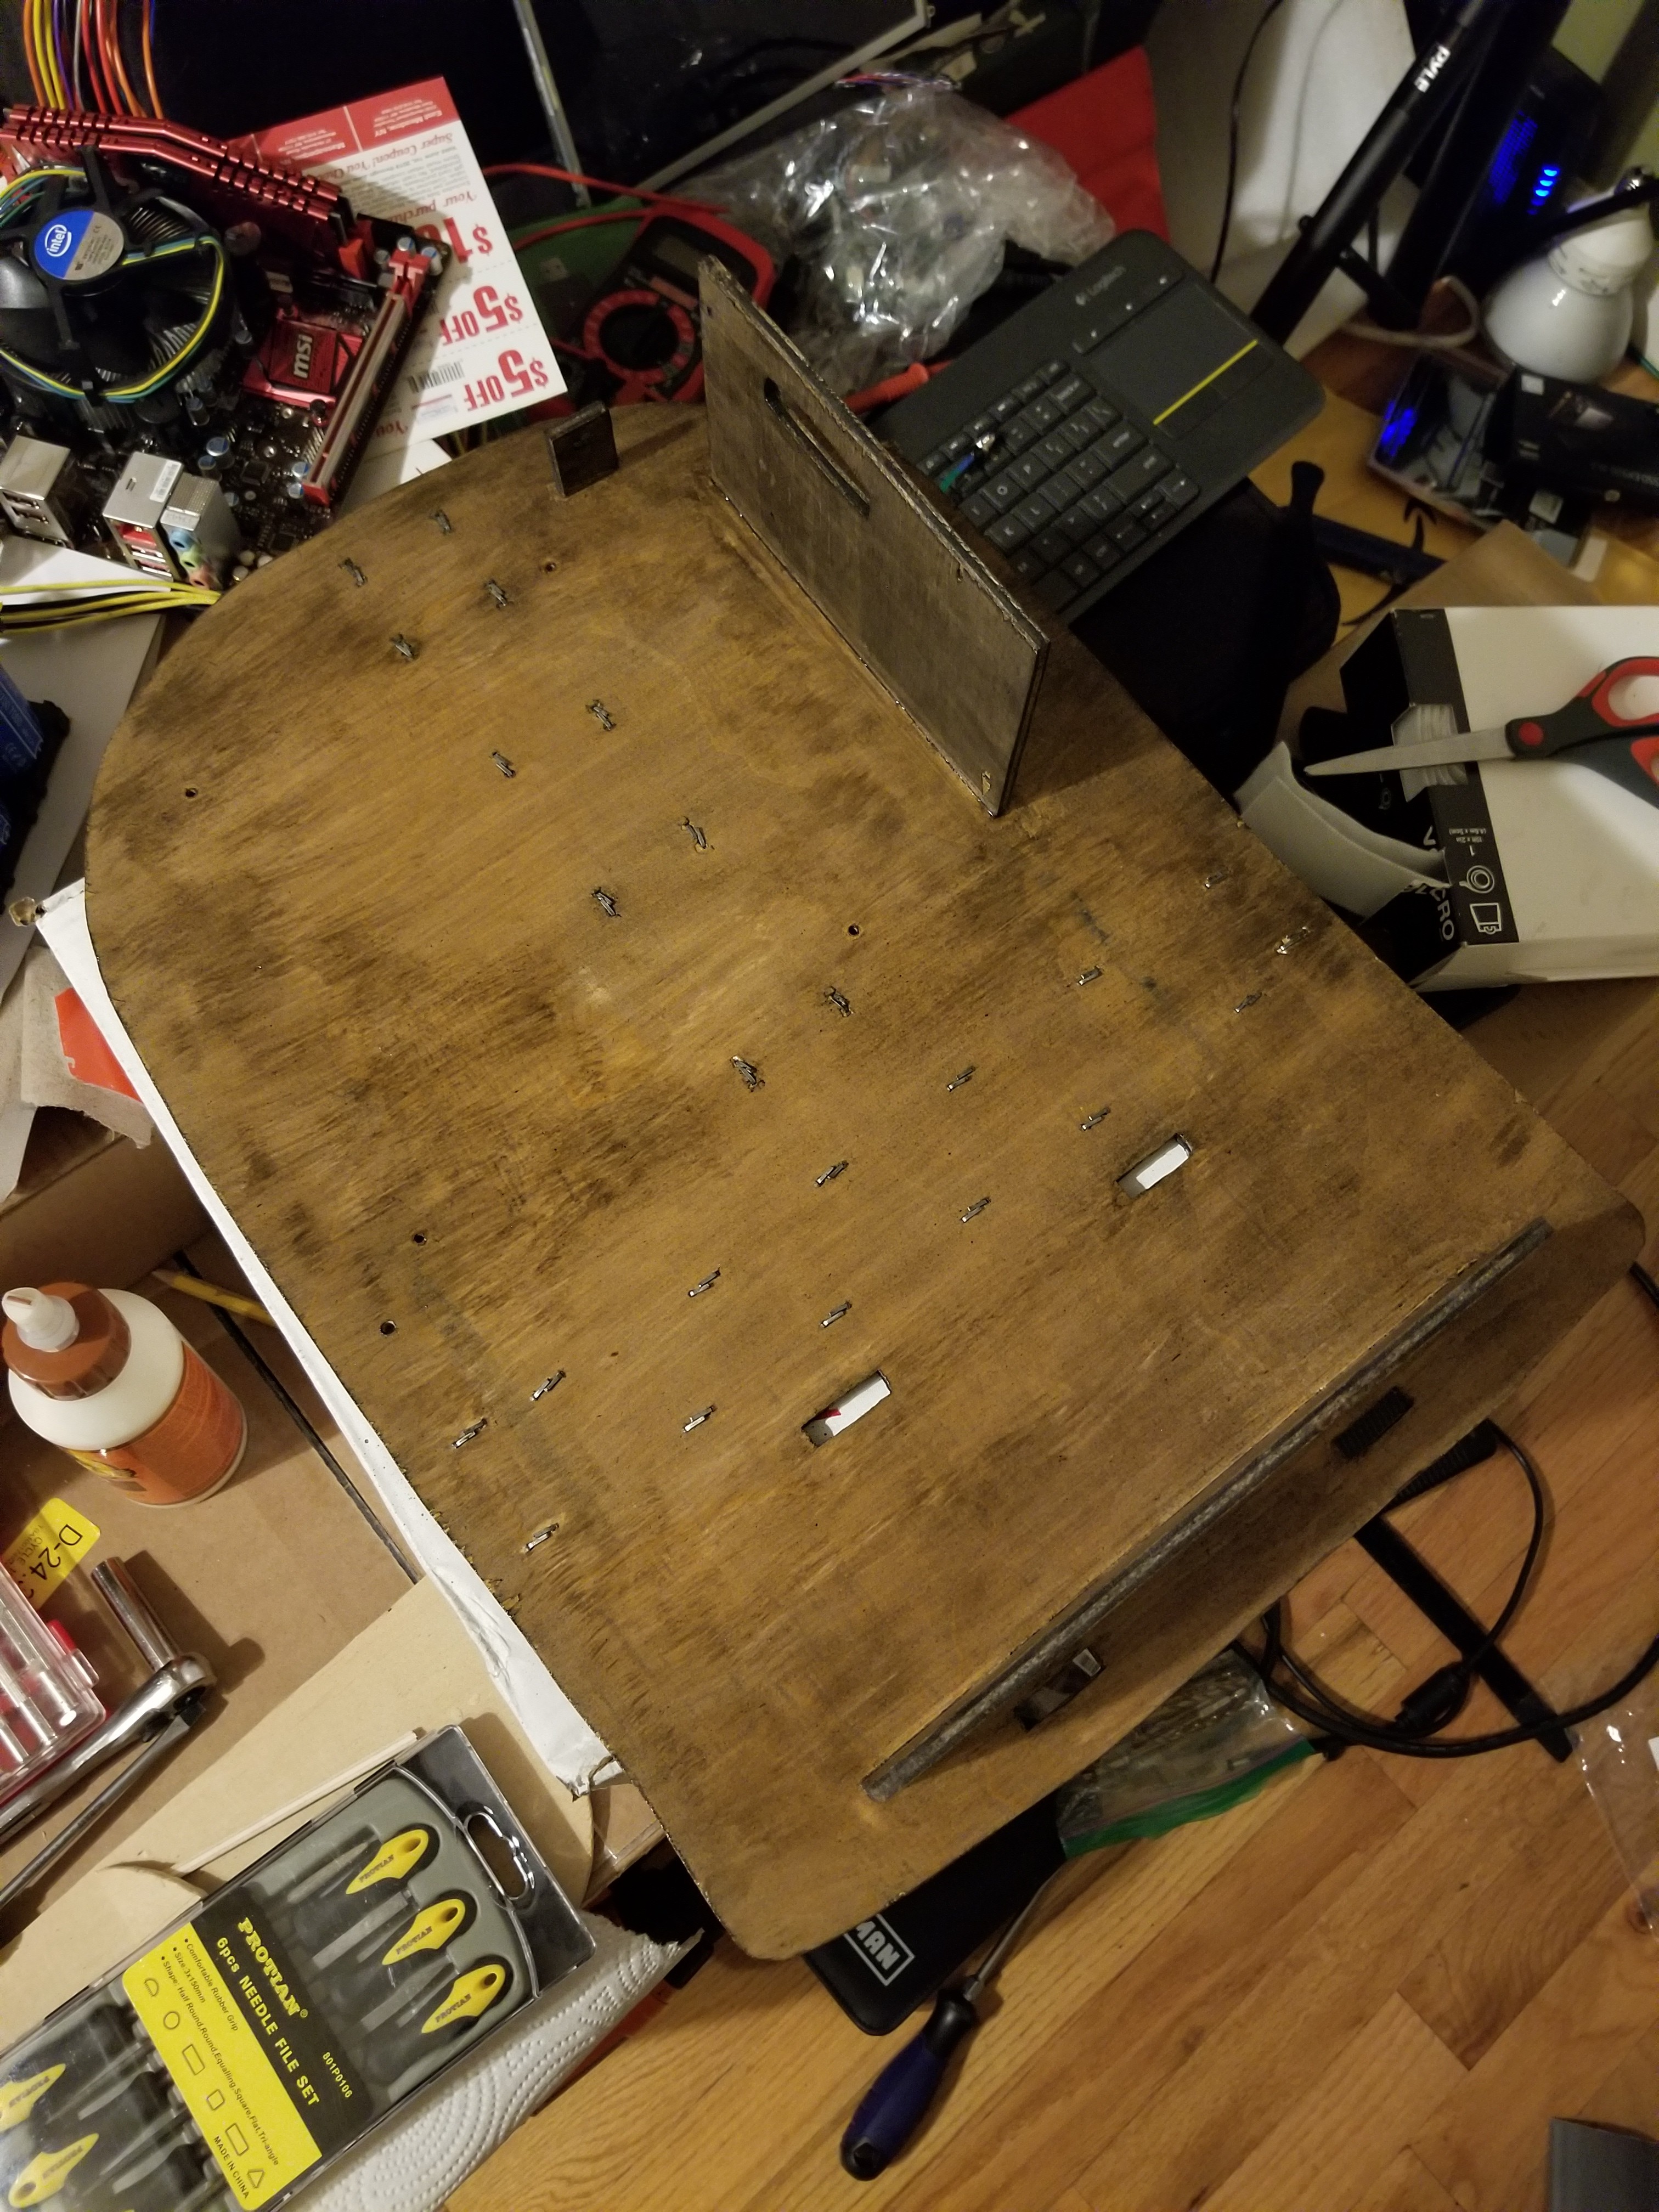
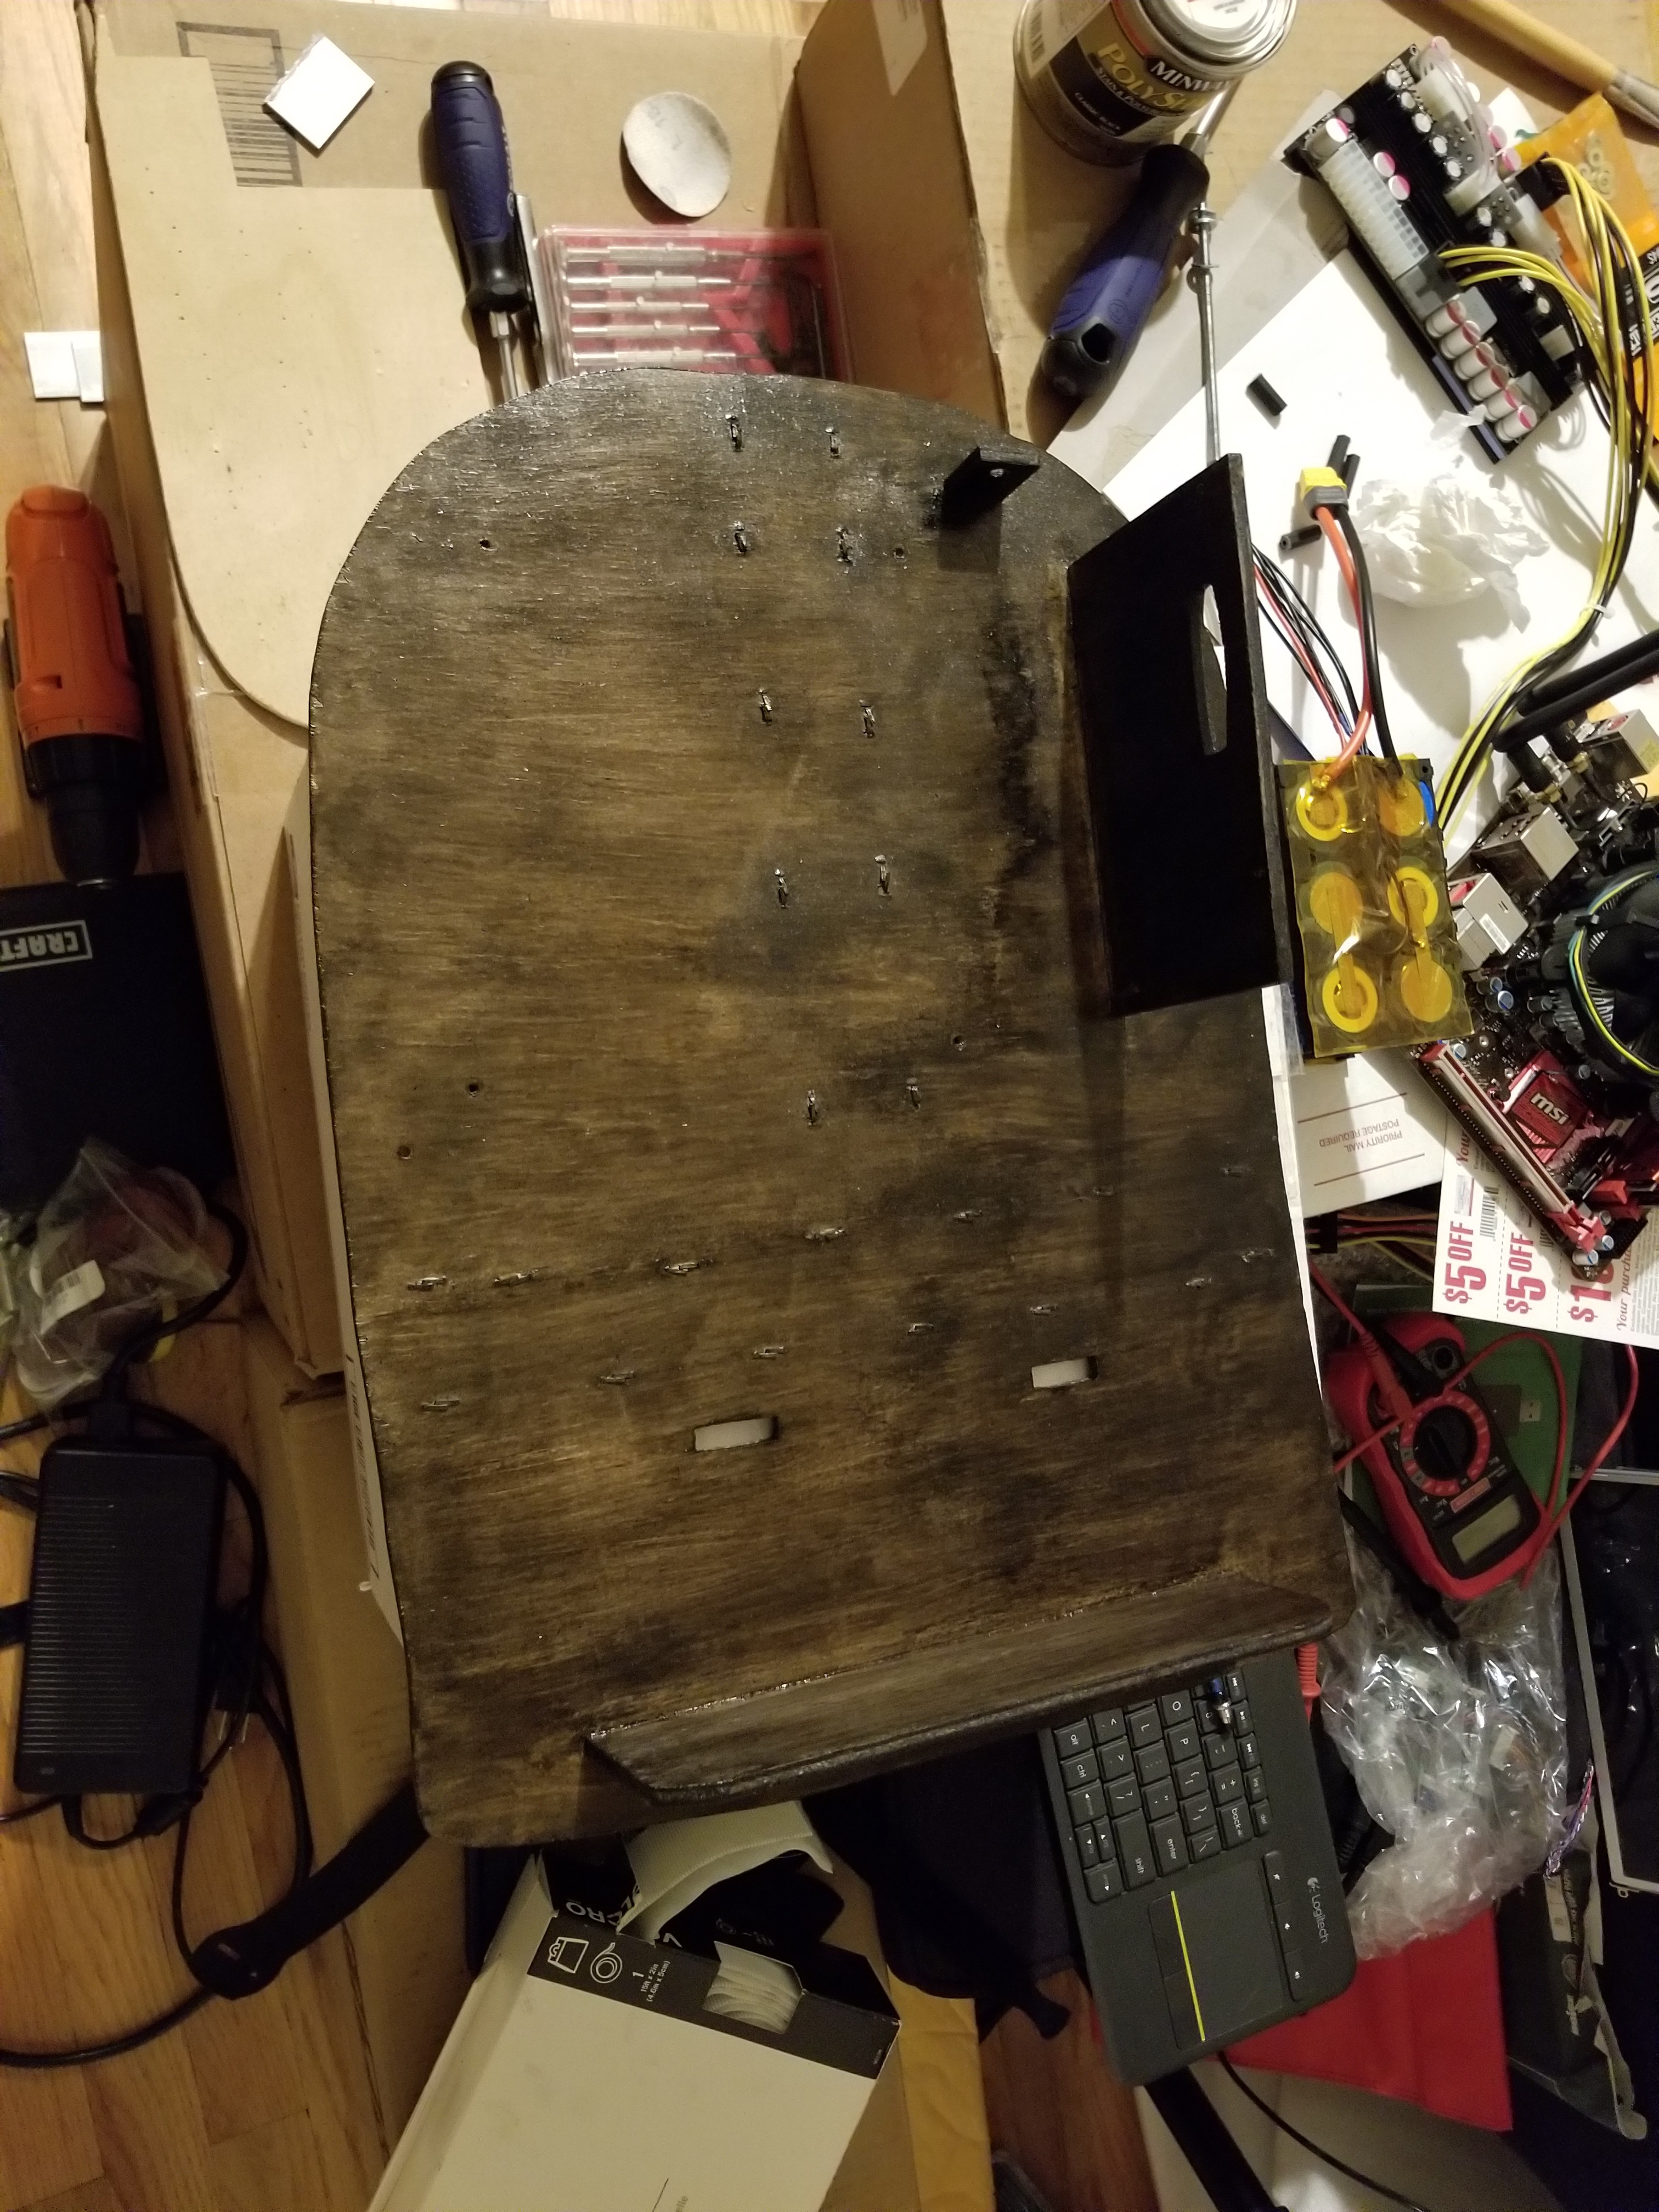
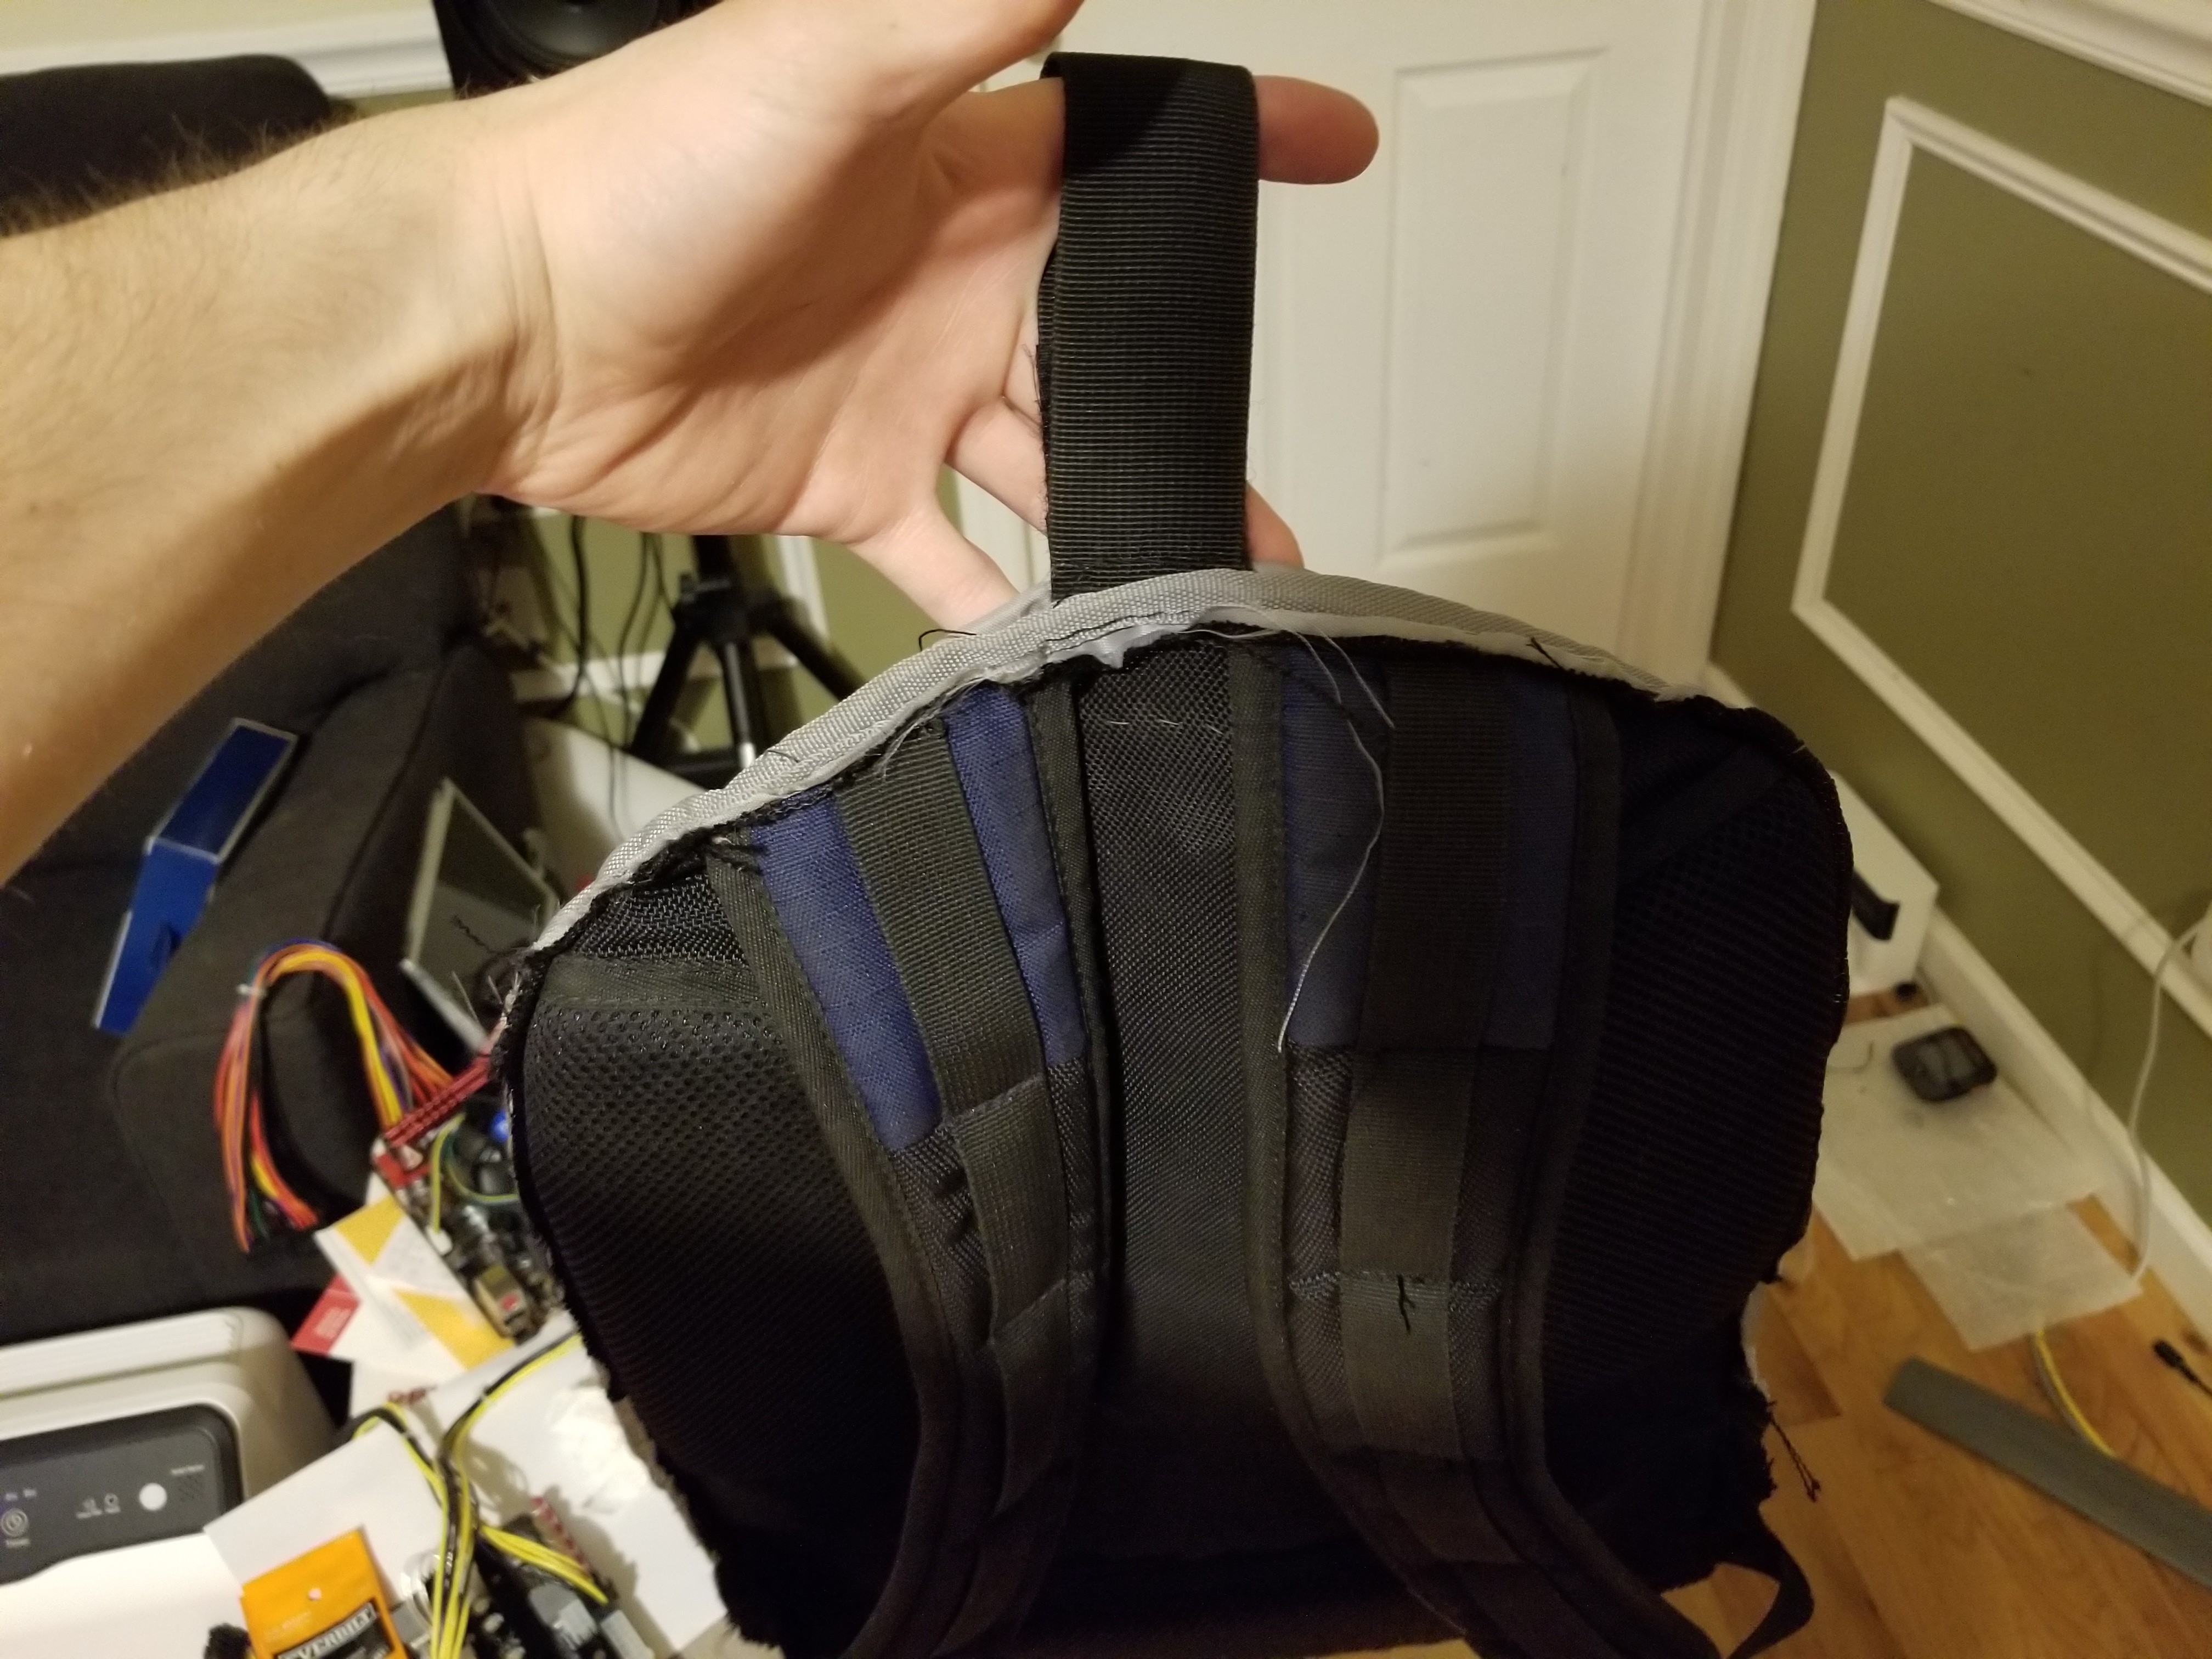
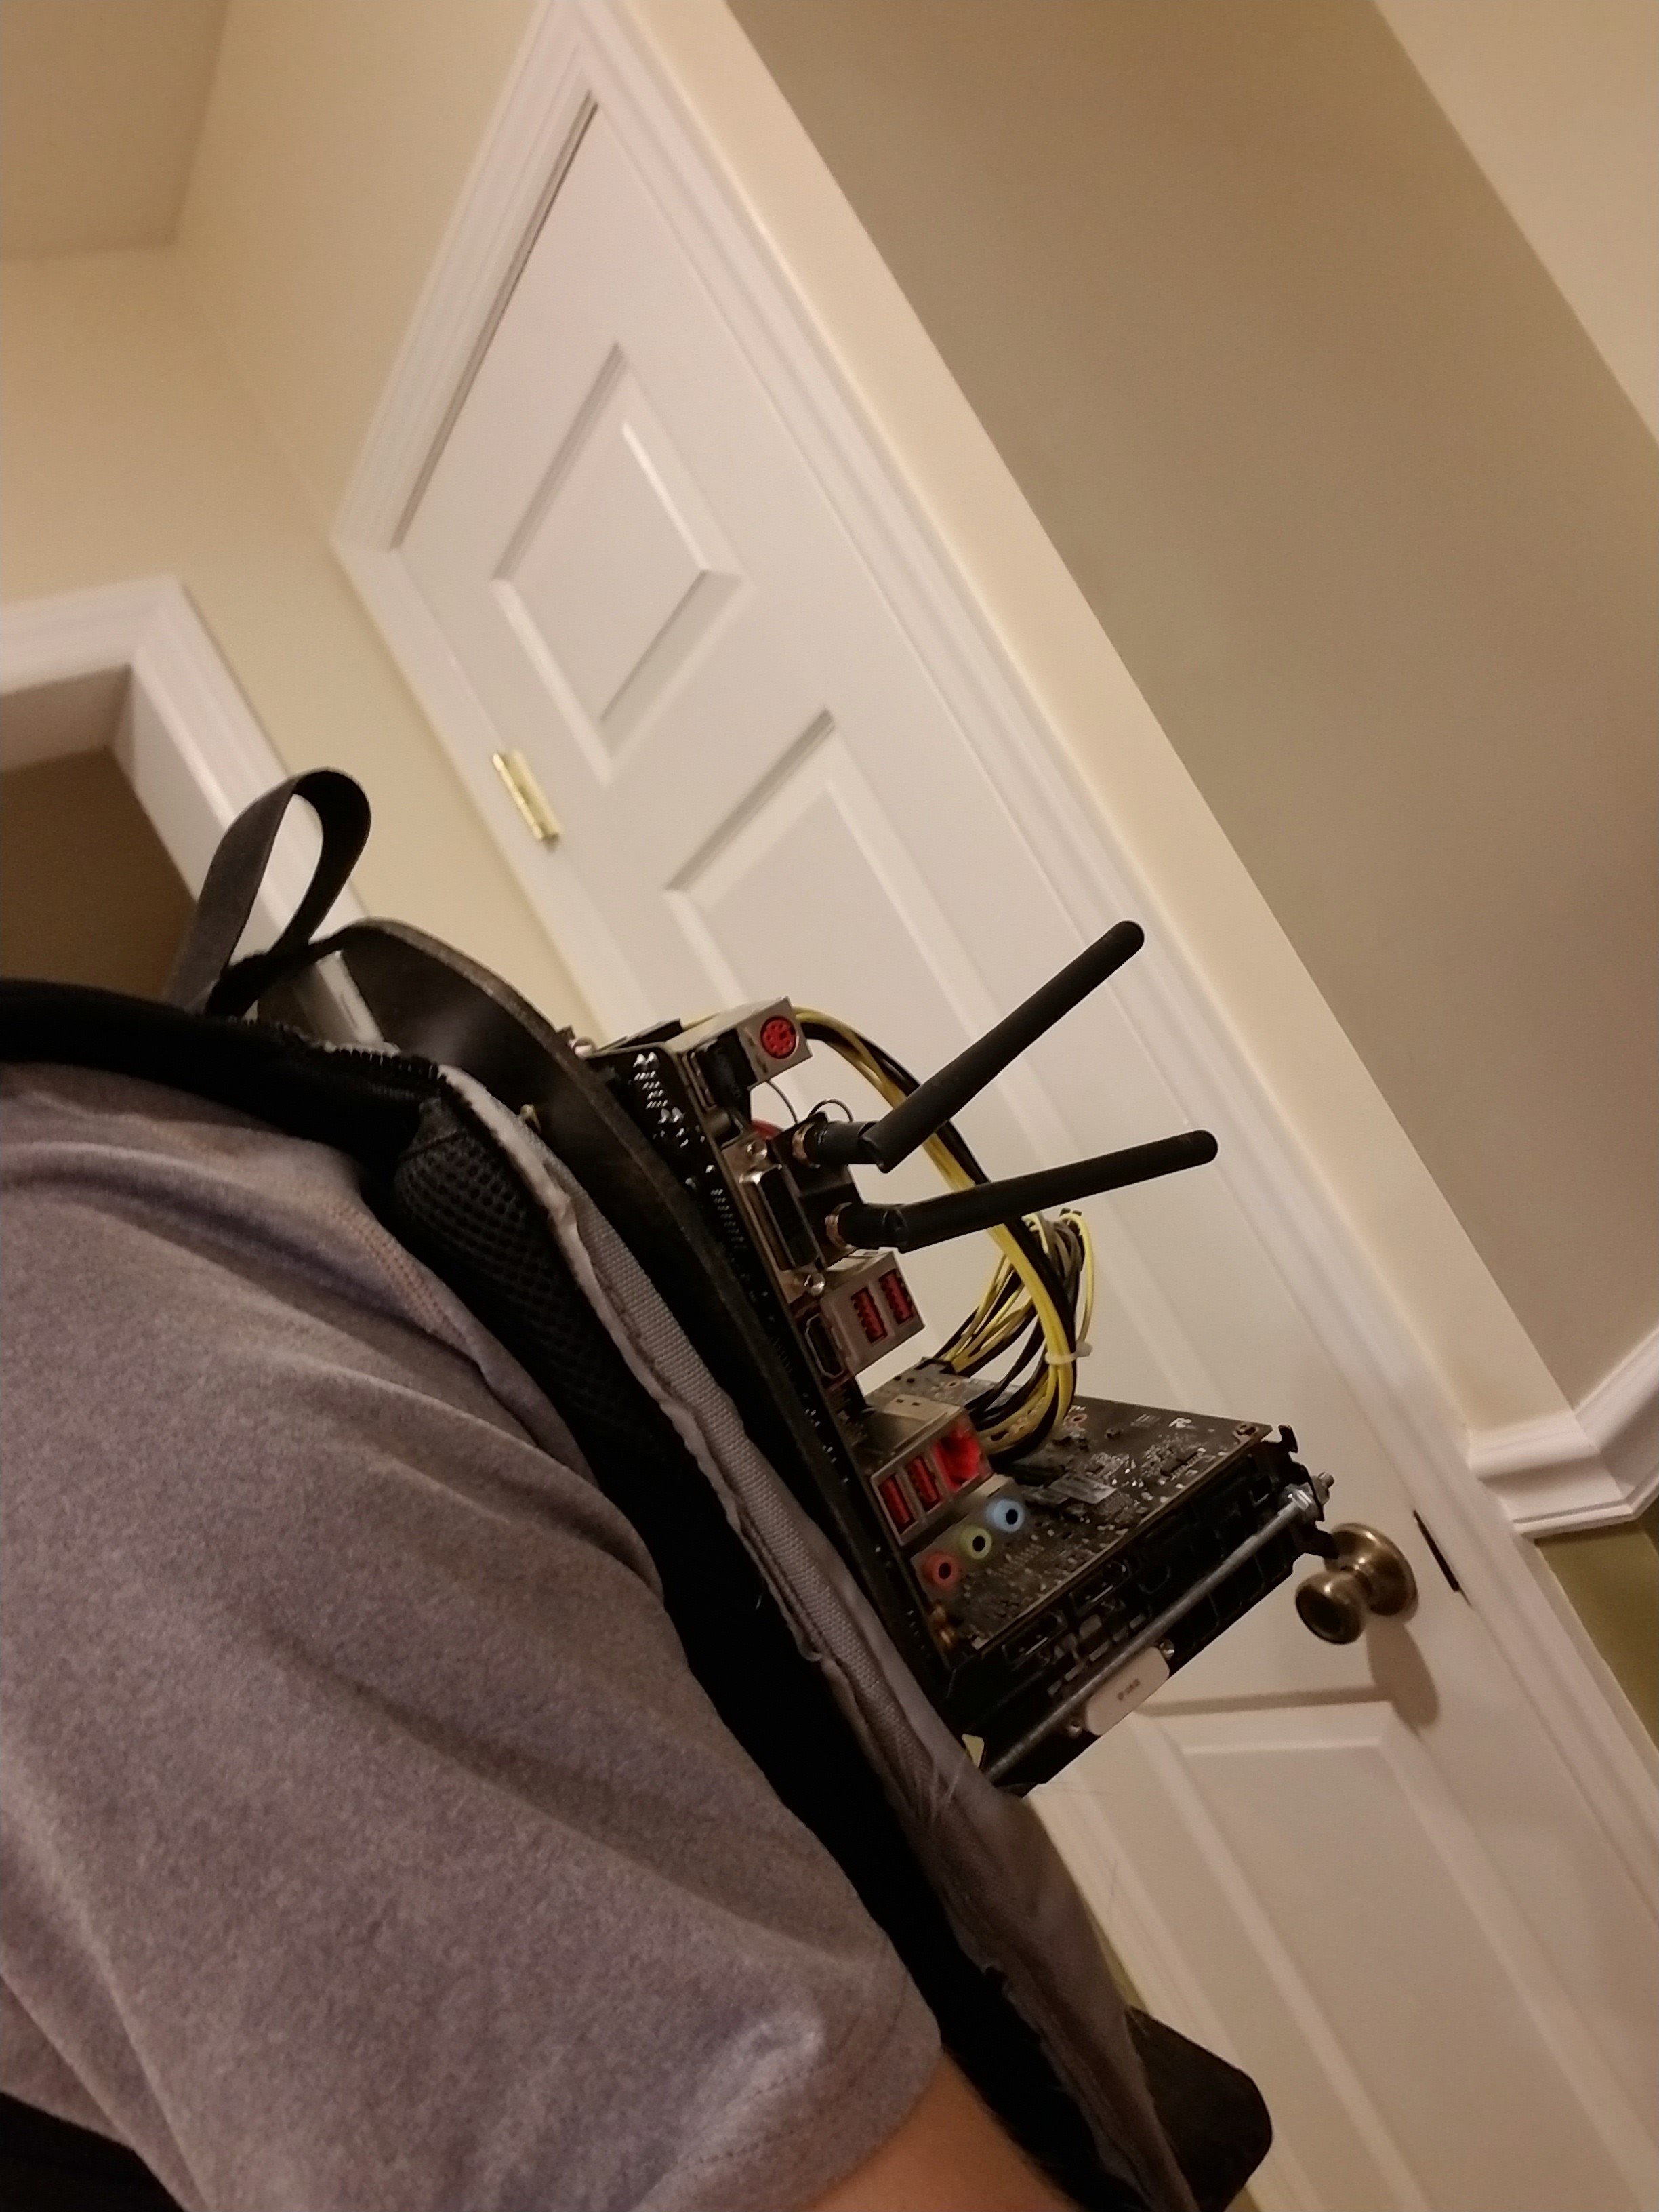
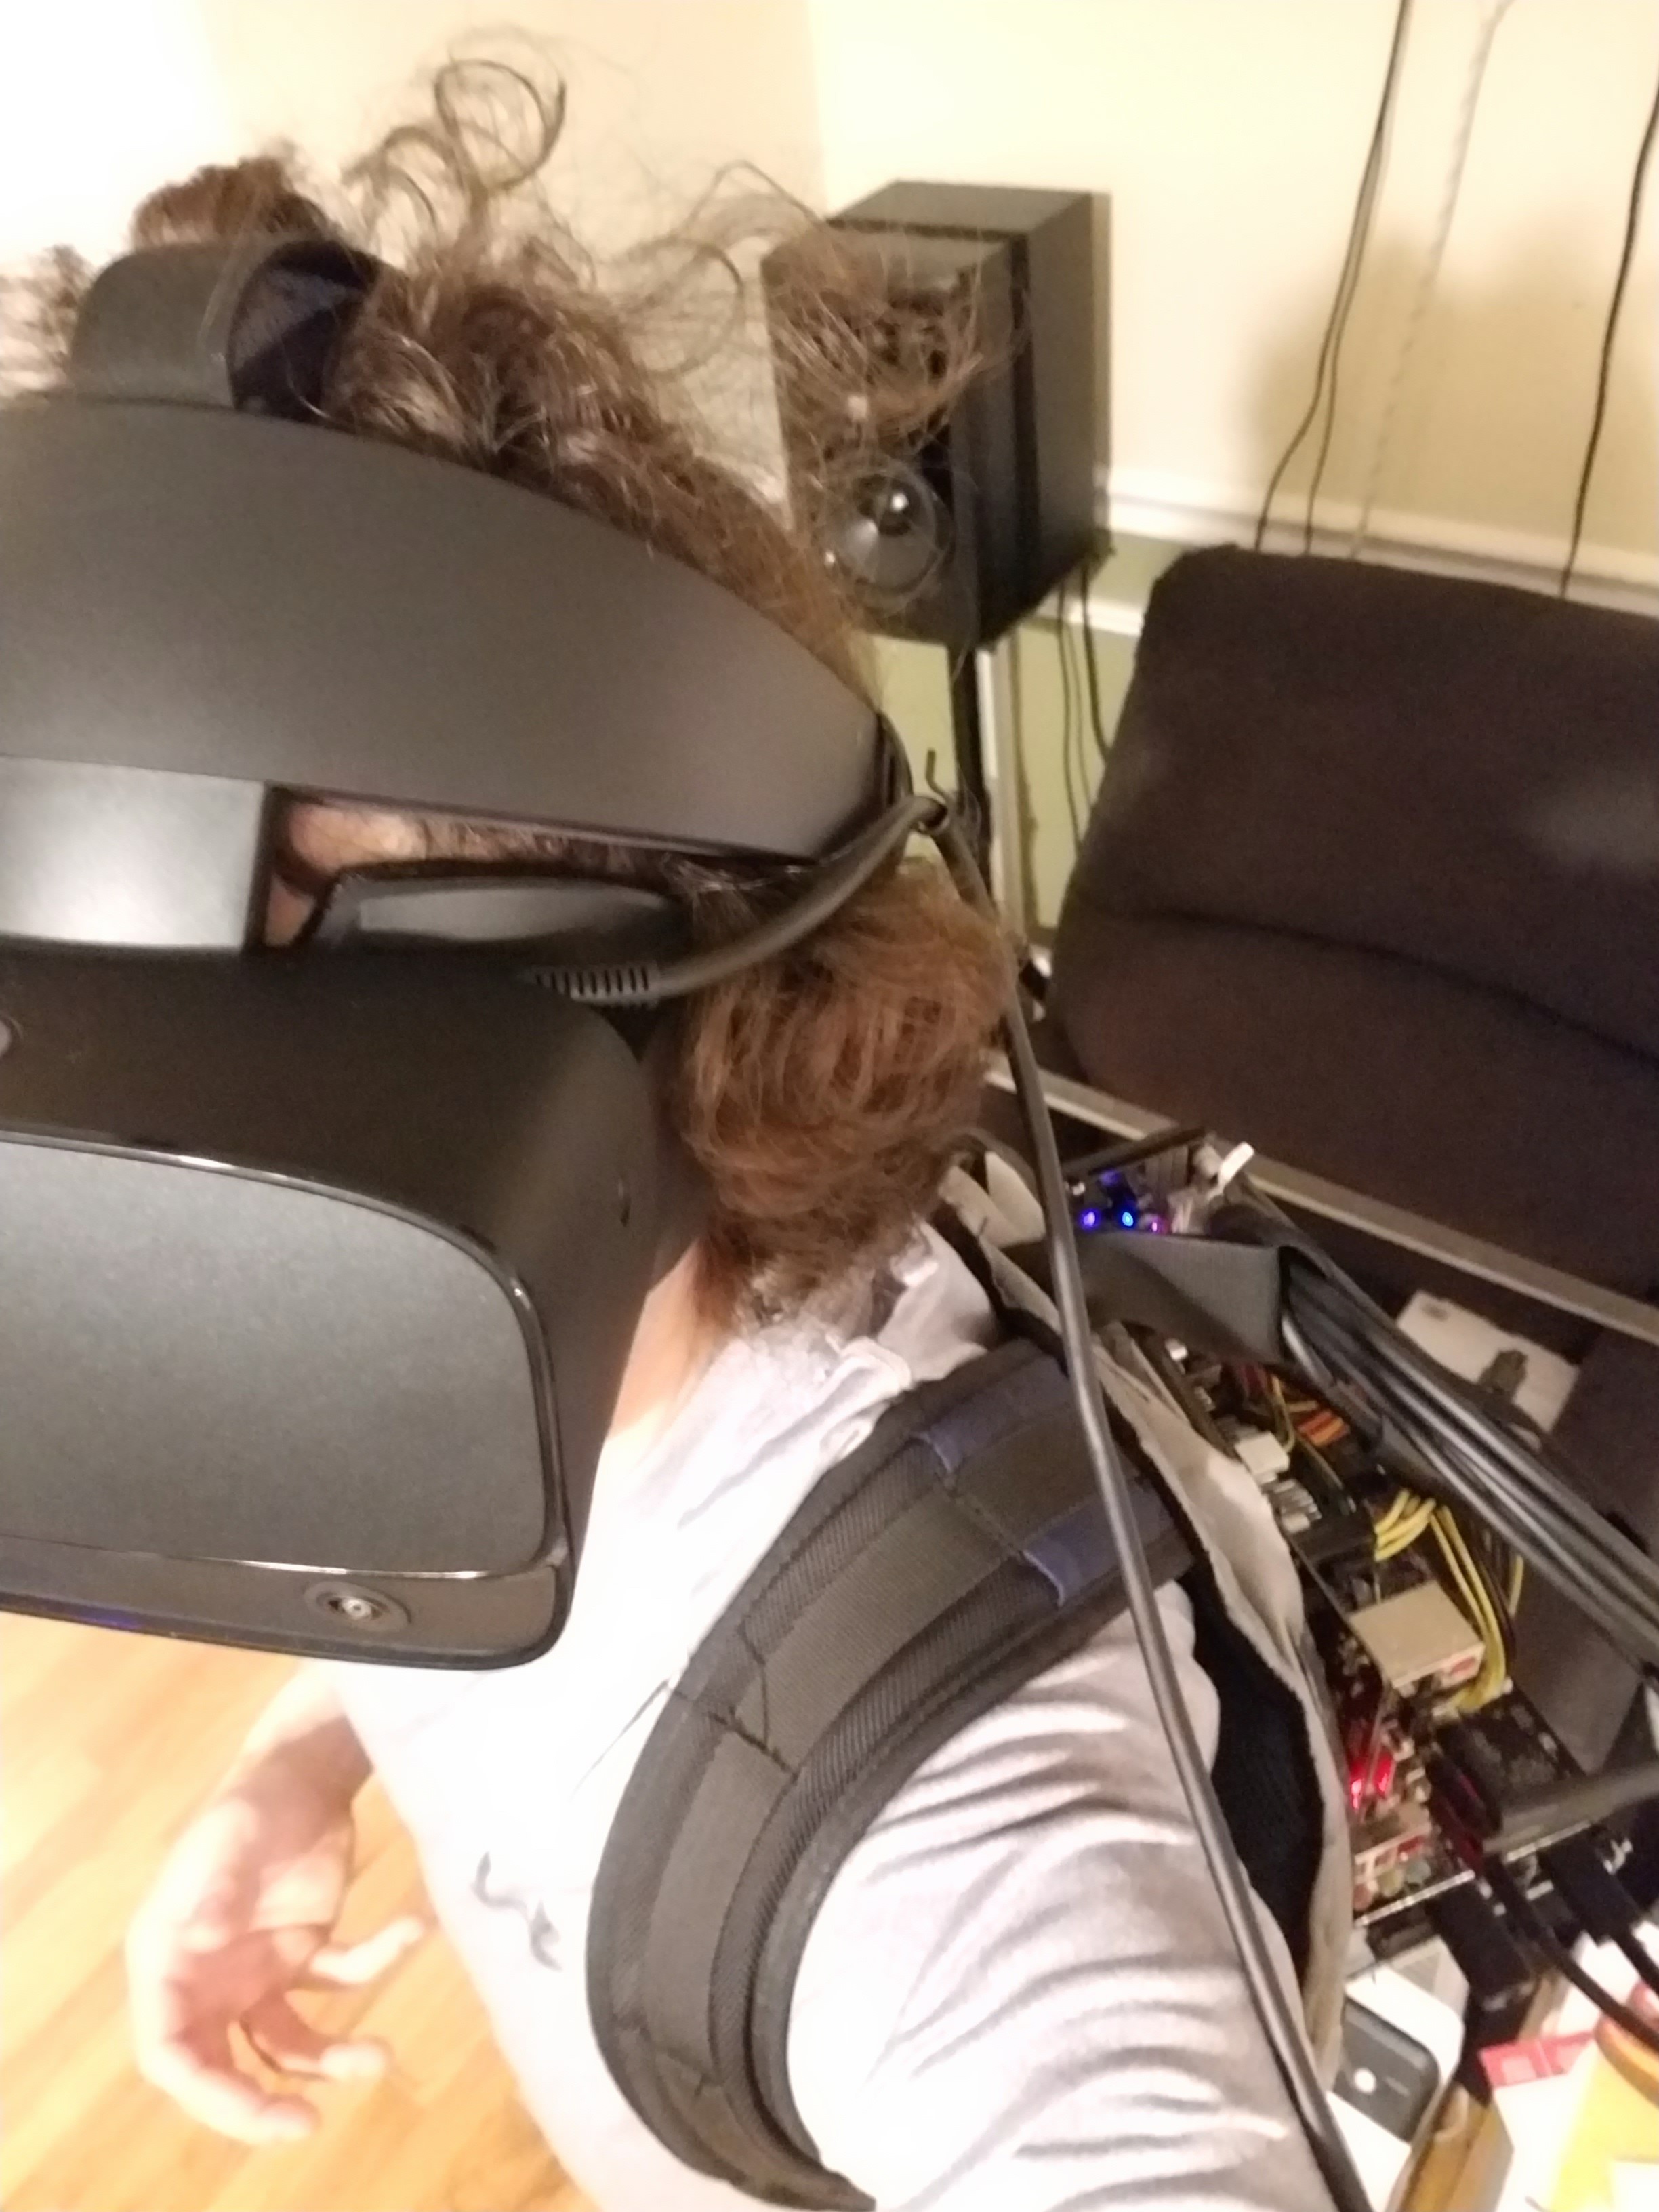
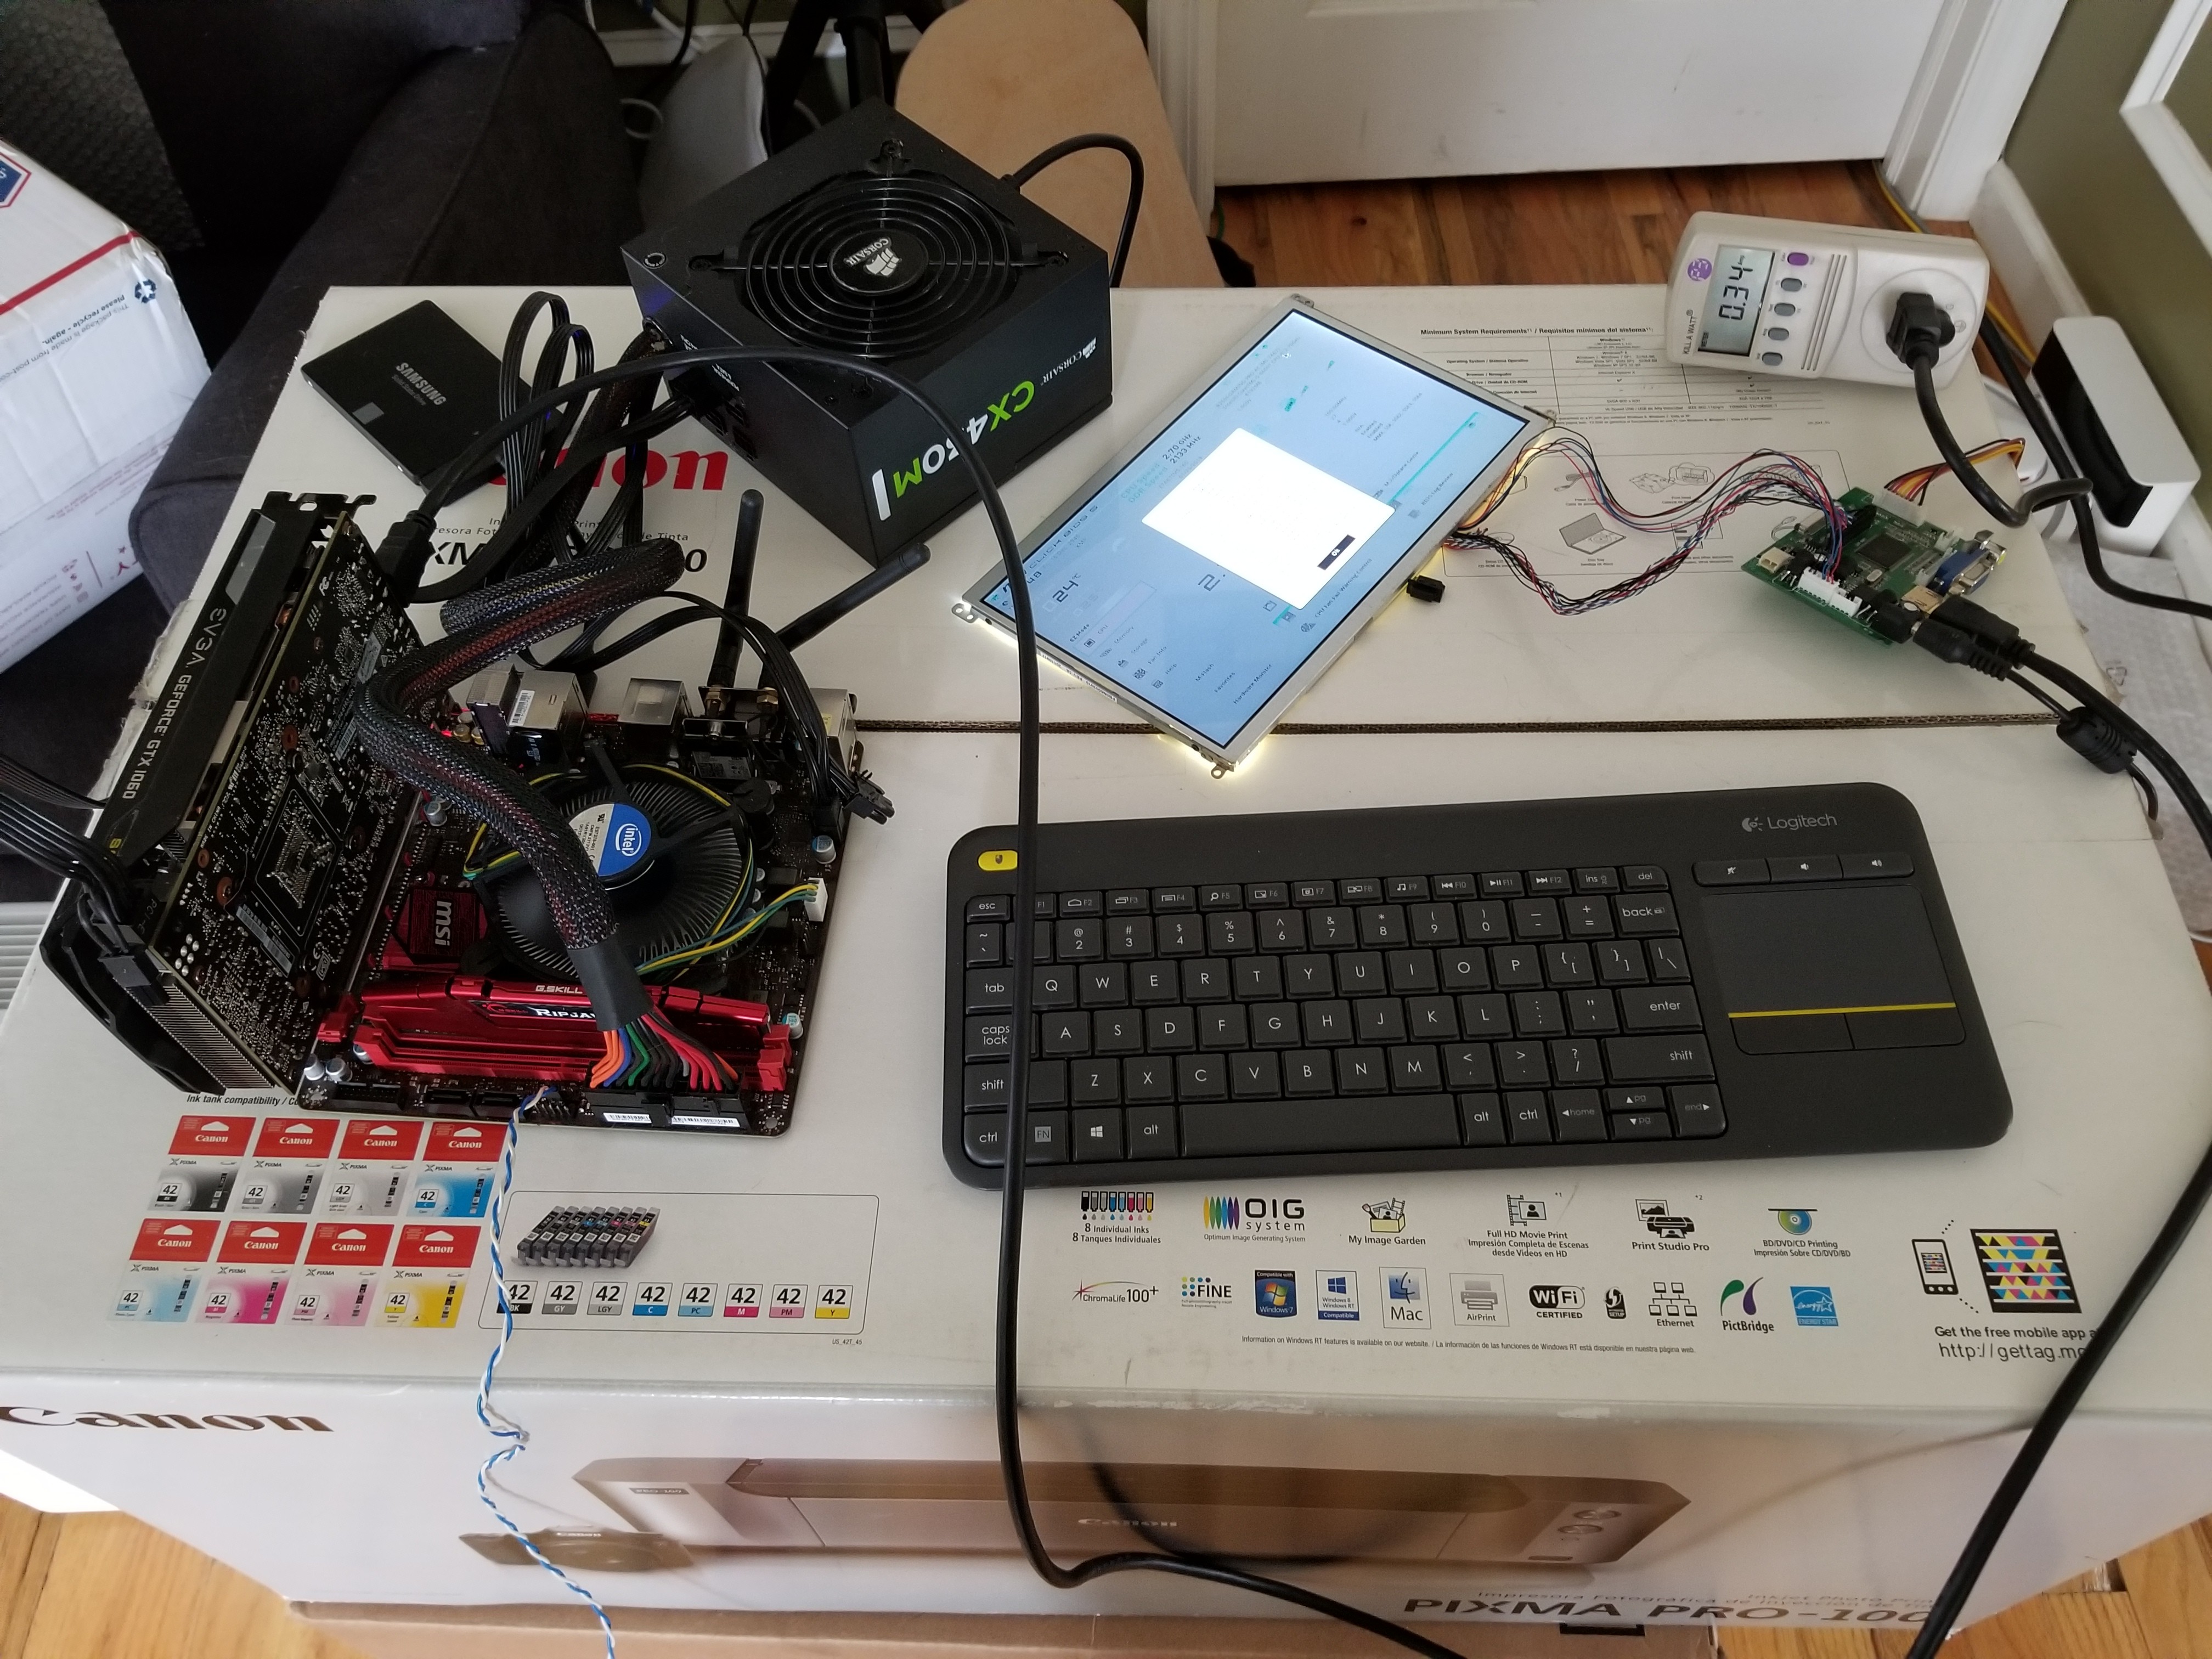
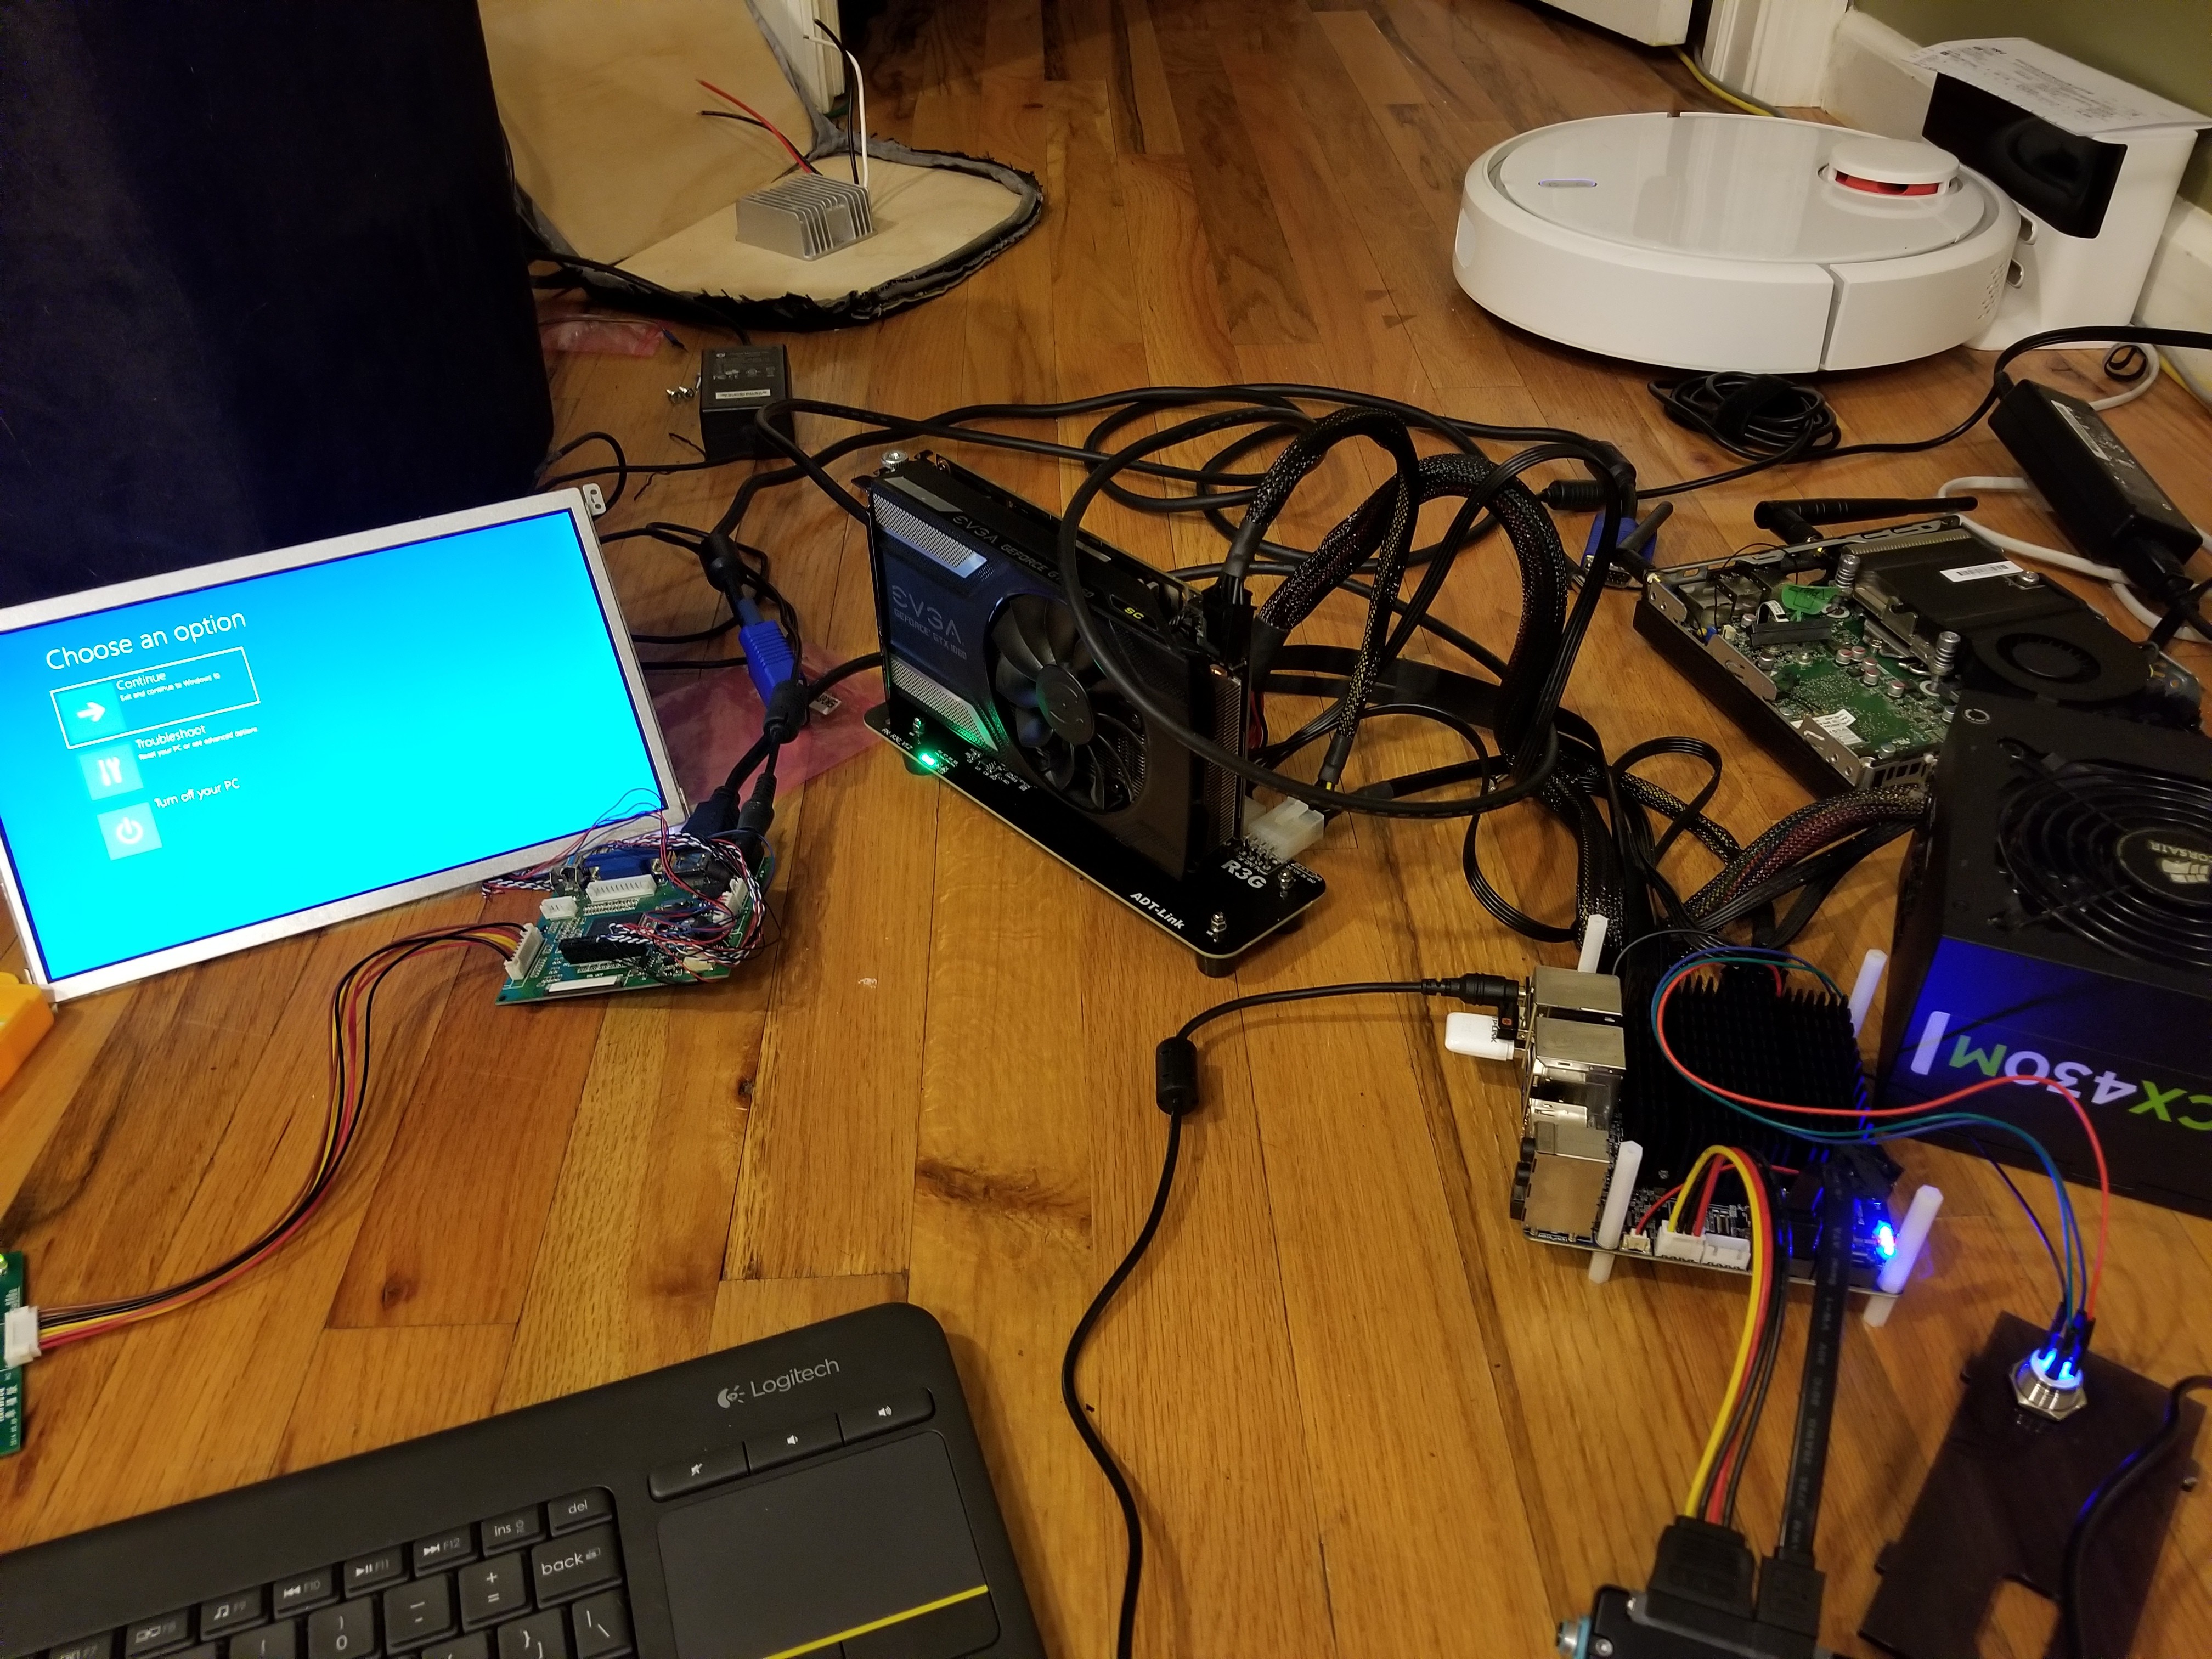
Upgrade-Ready Virtual Reality Backpack
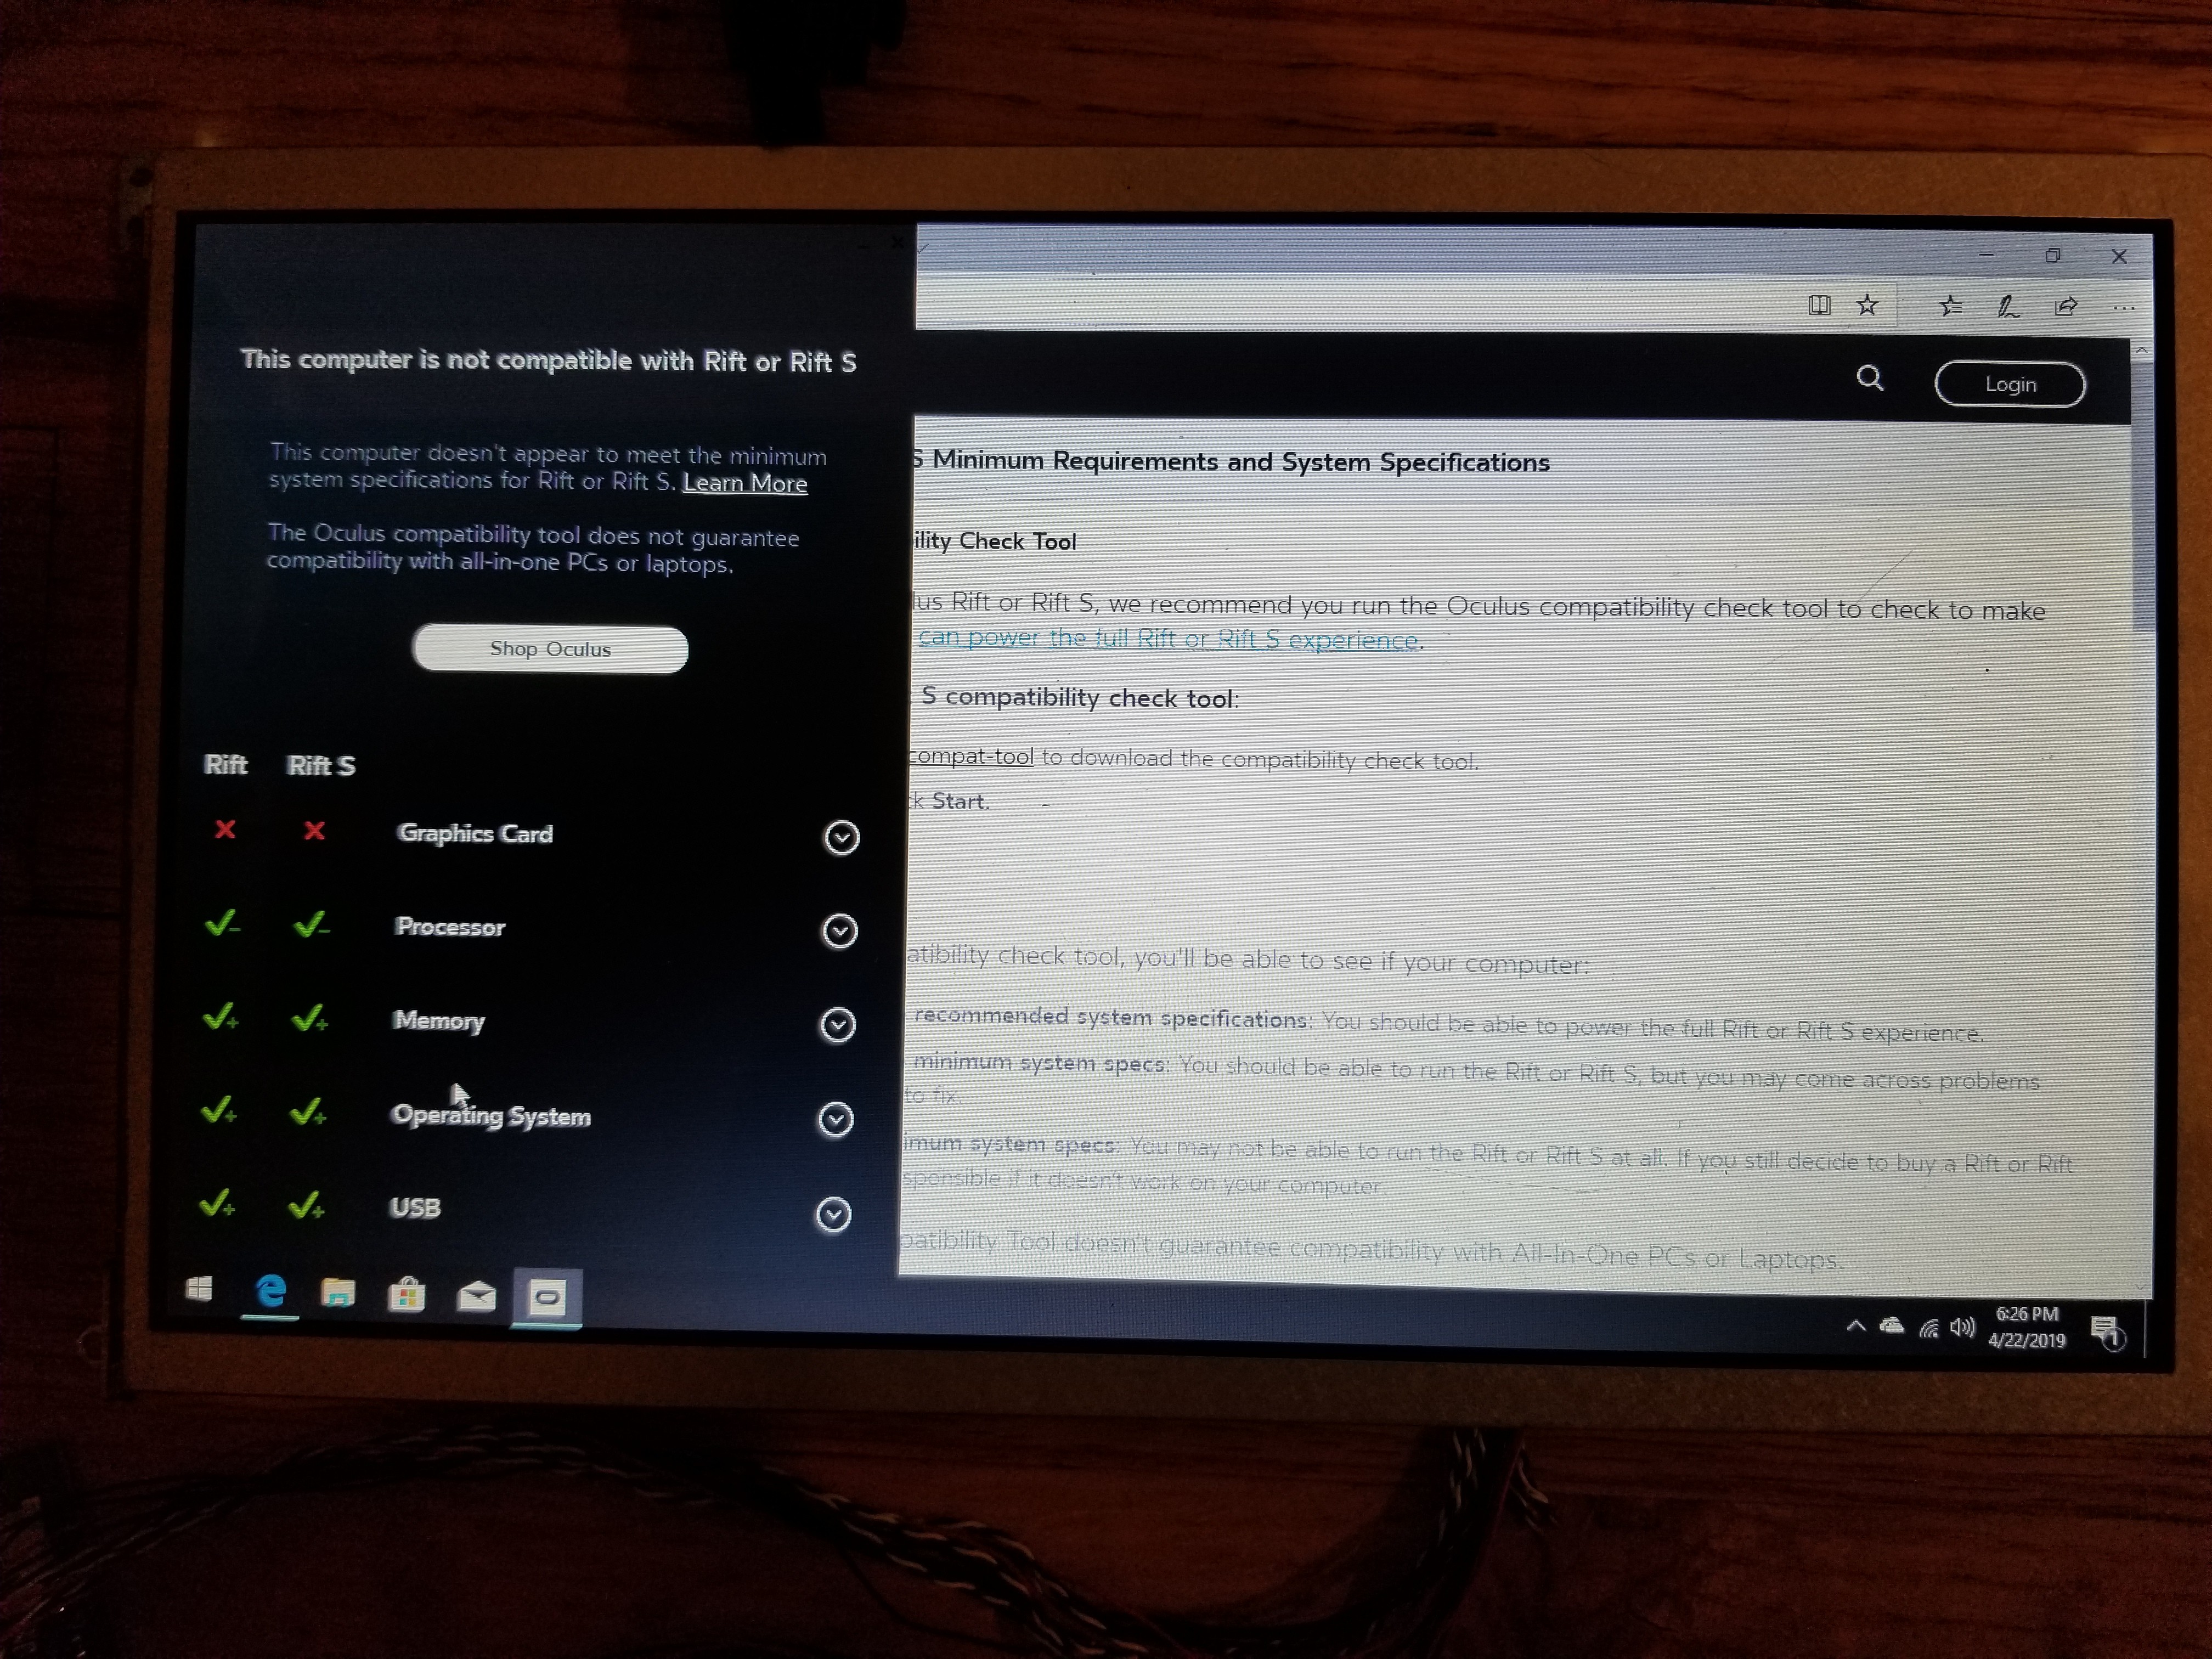
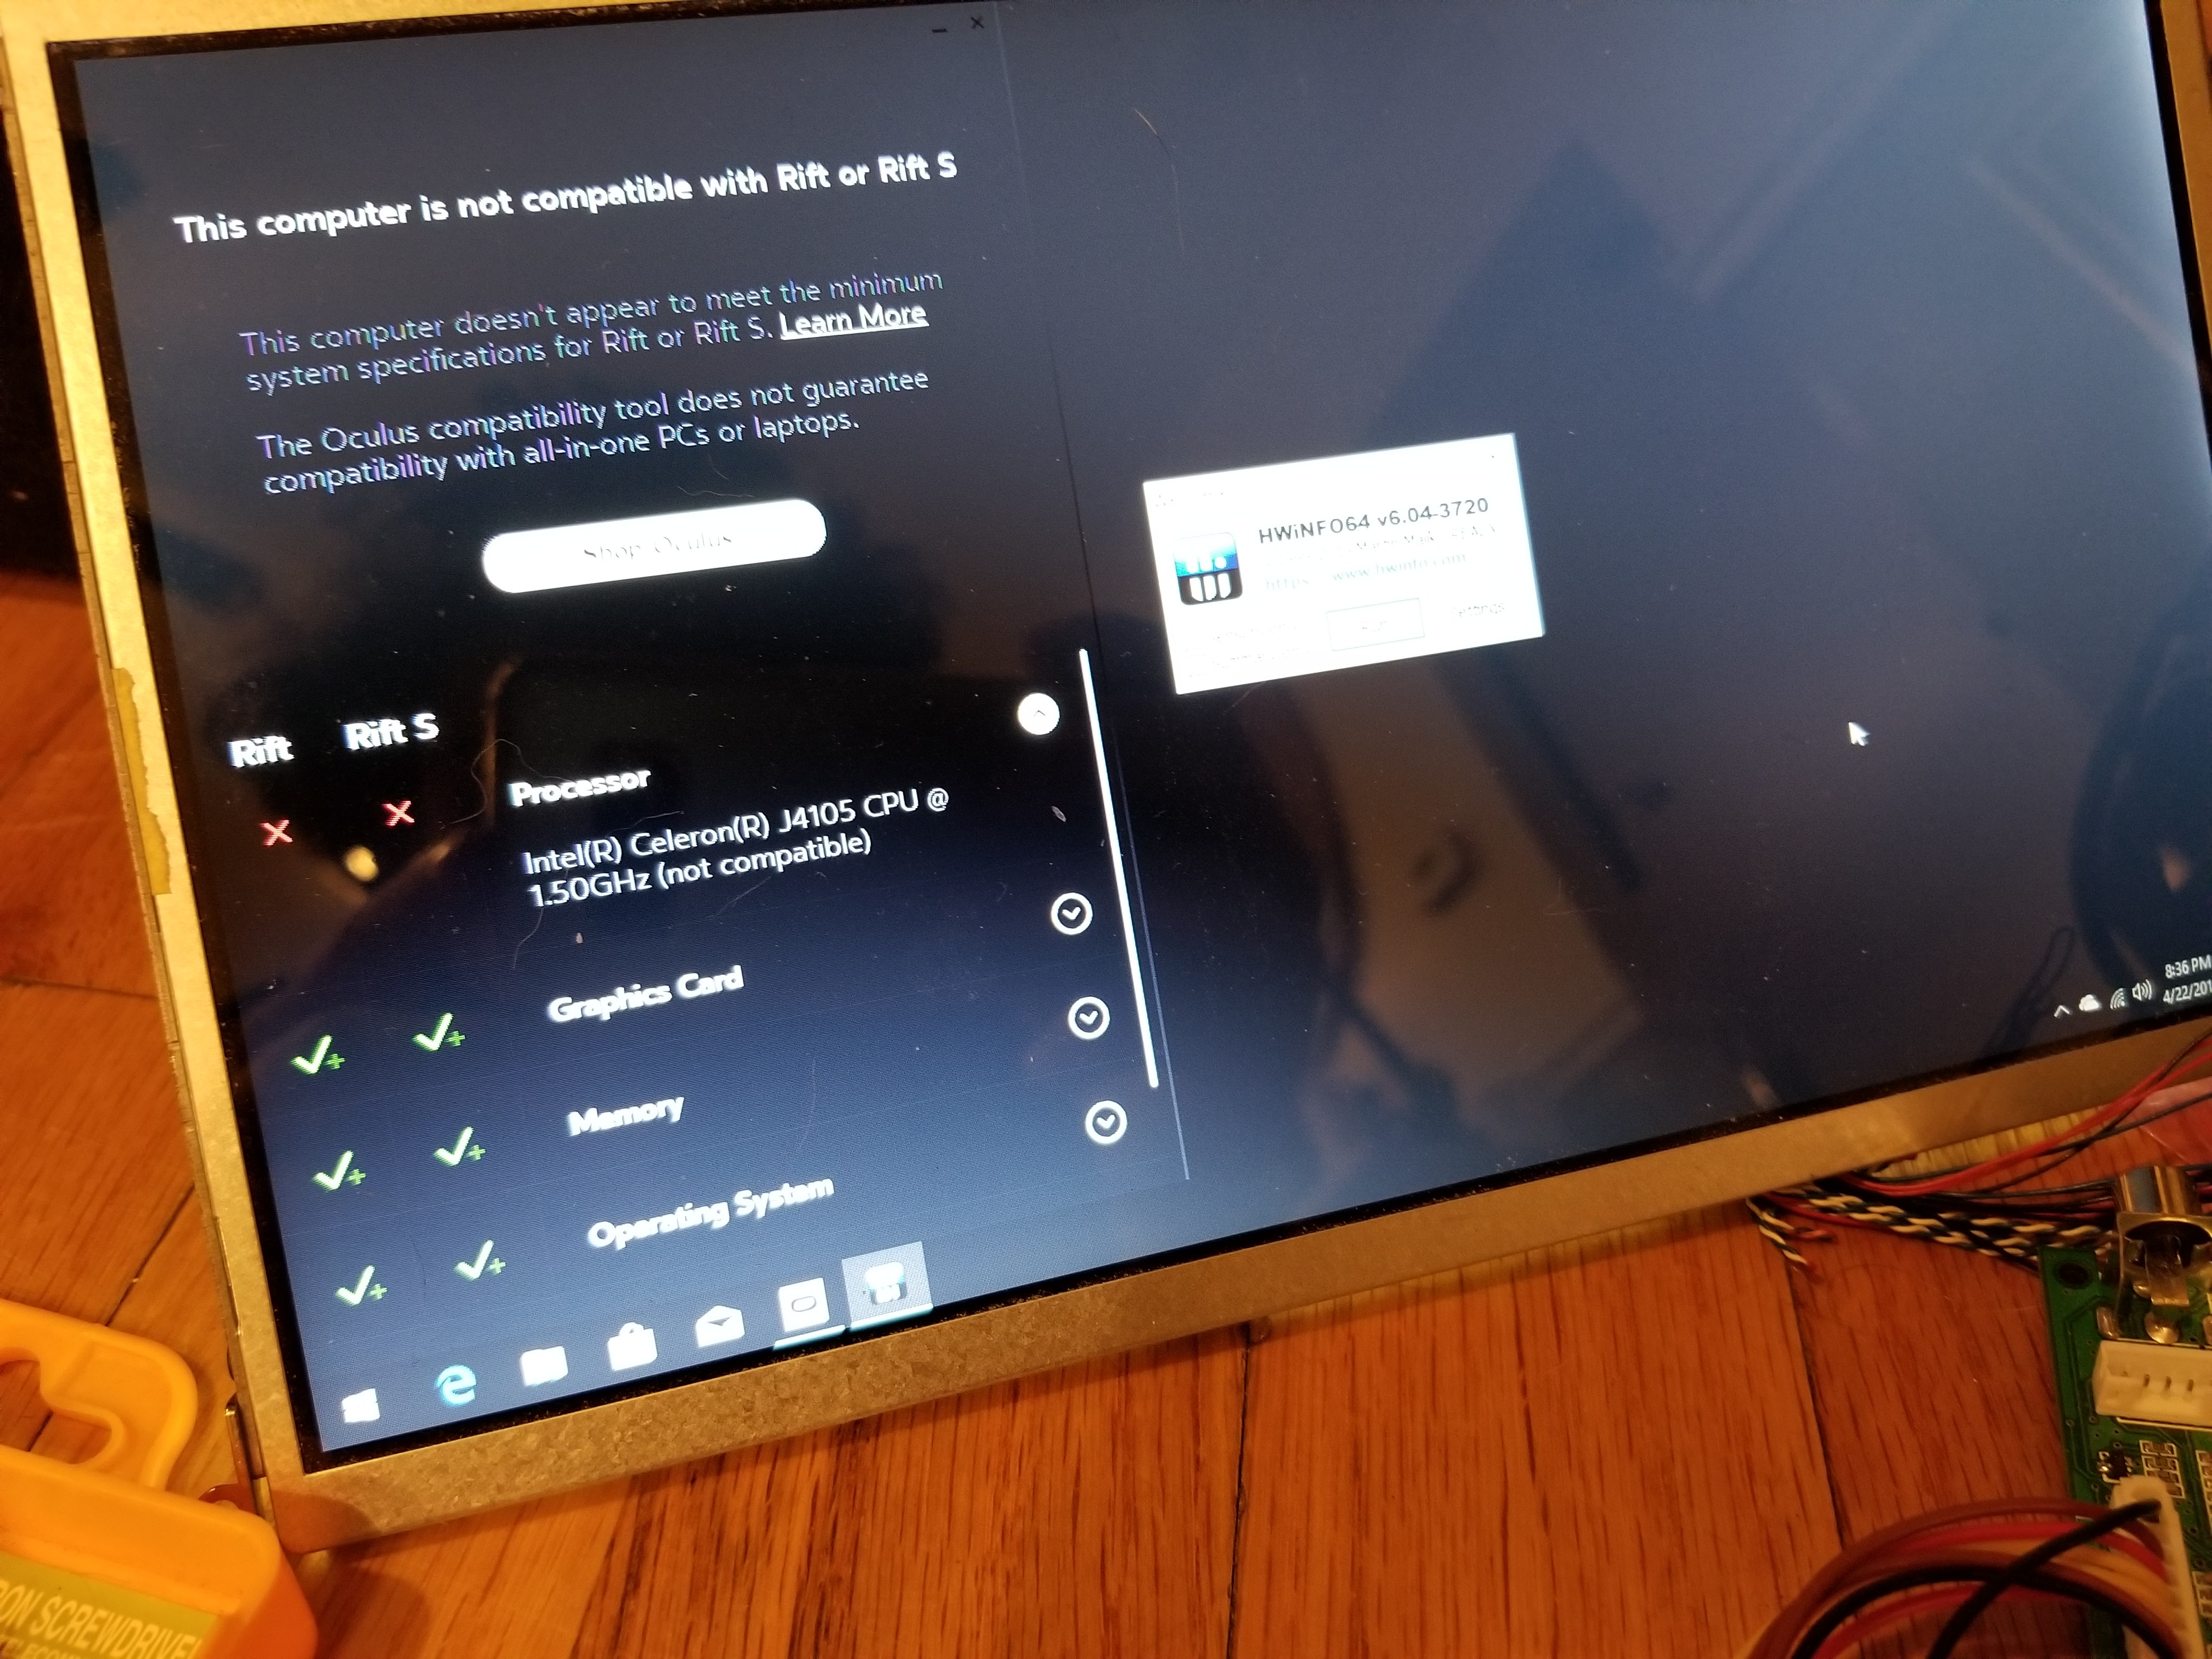
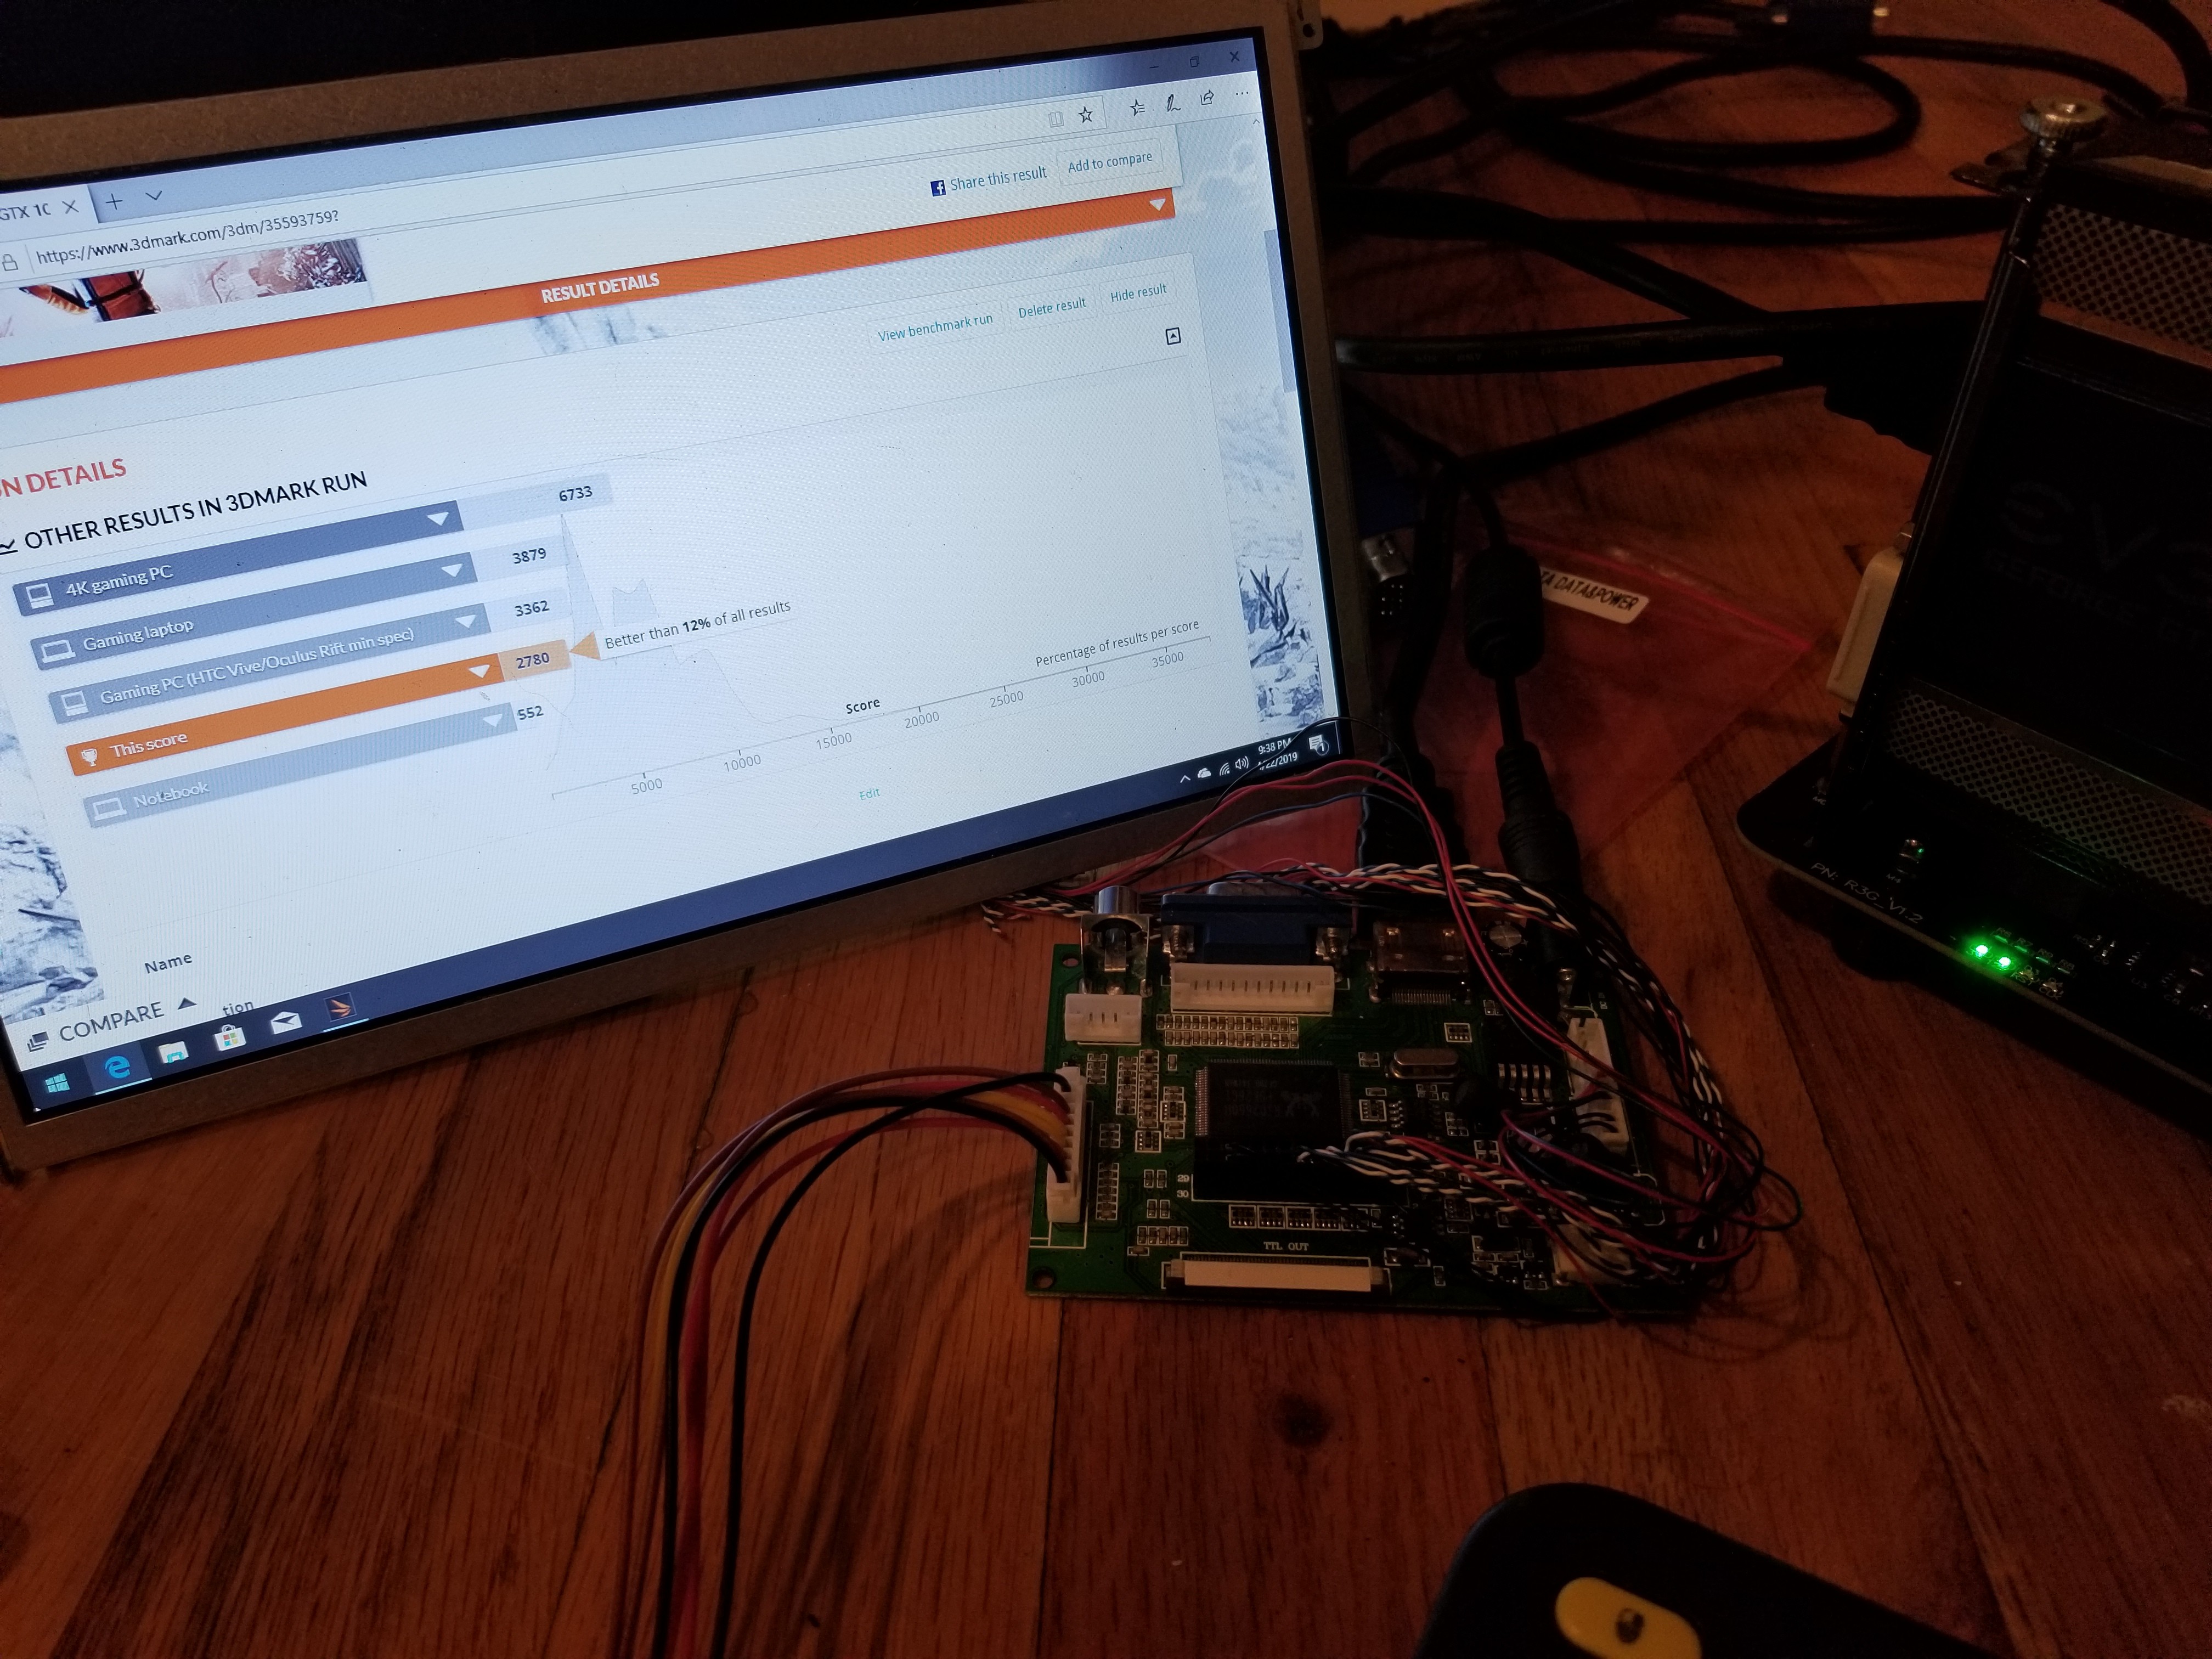
Stuck between the choice of mobile, low power VR and stationary, PC grade escapism, the best choice was clearly to mash the two together.
Become a Hackaday.io member
Already have an account? Log in.
Just one more thing
To make the experience fit your profile, pick a username and tell us what interests you.
Pick an awesome username
hackaday.io/
Your profile's URL: hackaday.io/username. Max 25 alphanumeric characters.
Pick a few interests
Projects that share your interests
People that share your interests


 travis.r.wheatley
 Josh Starnes
 Eric
Eric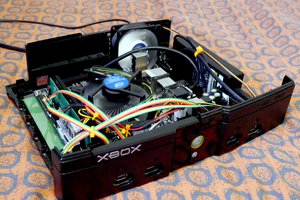
 Ryan Walmsley