 ServError
While considering the obstacles I encountered on my first build, I revisited my design goals to see if anything needed changing.
I was looking for:
- A motherboard that could handle a wide input voltage (preferably 18-22V)
- Only needing one extra regulator for the GPU
- A light total weight
- And obviously a backpack form factor
Revisiting my GPU implementation with the micro PC, I realized that the total cost of the micro PC and PCIe adapter were not actually better than a used or refurbished ITX motherboard that's a couple of generations old. An off the shelf motherboard wouldn't give me trouble through undocumented BIOS security features, and ideally might also be able to supply 75 watts to a full sized PCIe port while using on board regulators (though my mind was pretty firmly set on 120 watt GPUs anyhow). Also, the use of an M.2 slot and adapter relegated me to 4 lanes of PCIe 3.0, which while nothing to sneeze at, was not as good as a native 16 lane connection.
Doing some research, I found a few companies that made hard-to-find motherboards that fit the bill (at least more or less). Some had DC barrel jacks but only x4 PCIe ports. Some had a 4 pin molex and offered a bit more power. In every instance, the boards were either incredibly hard to find, overpriced, or had shortcomings that didn't really sit well with me.
The time came to reconsider regular motherboards with 24 pin PSU connectors. I picked out a used MSI B250i ITX board and populated with the micro PC's CPU, GPU, and SSD, then grabbed some ADATA ram that was rated for speeds well above what I needed (AKA undervolting potential). The motherboard also has an M.2 slot on the underside which gives me the option to lose the 2.5 SSD and any mounting it would need. Everything worked easily, unsurprisingly.
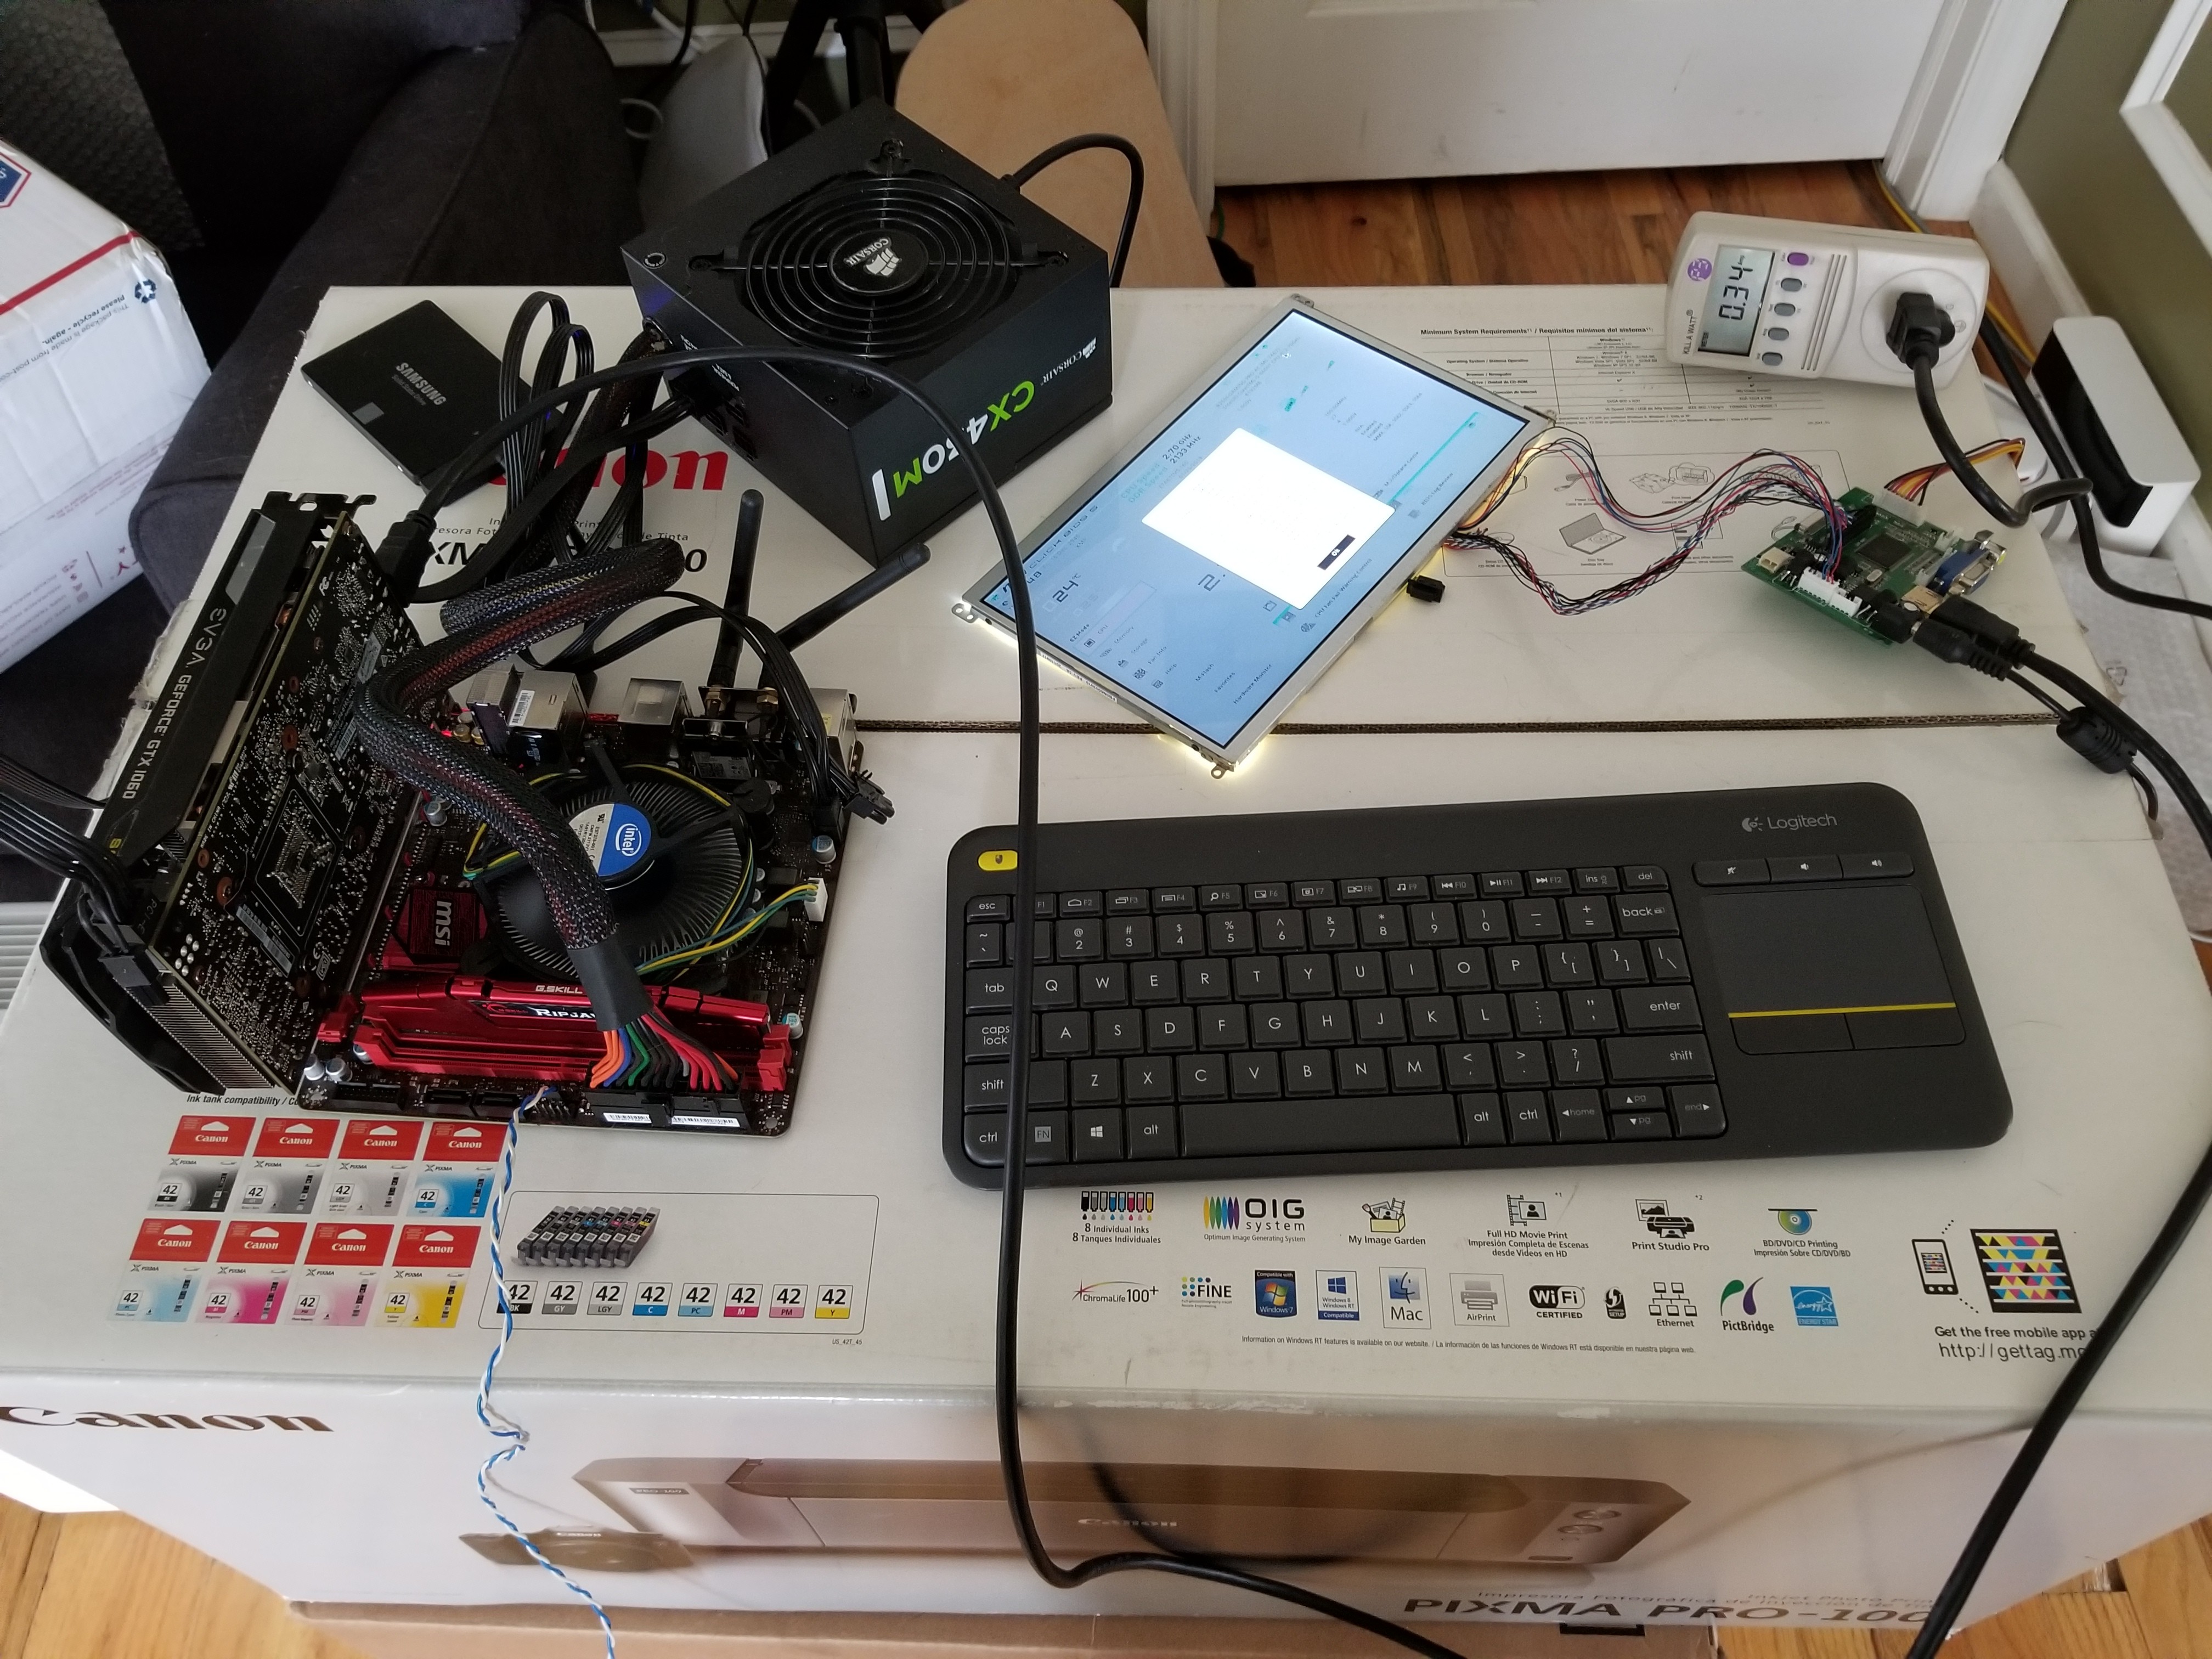
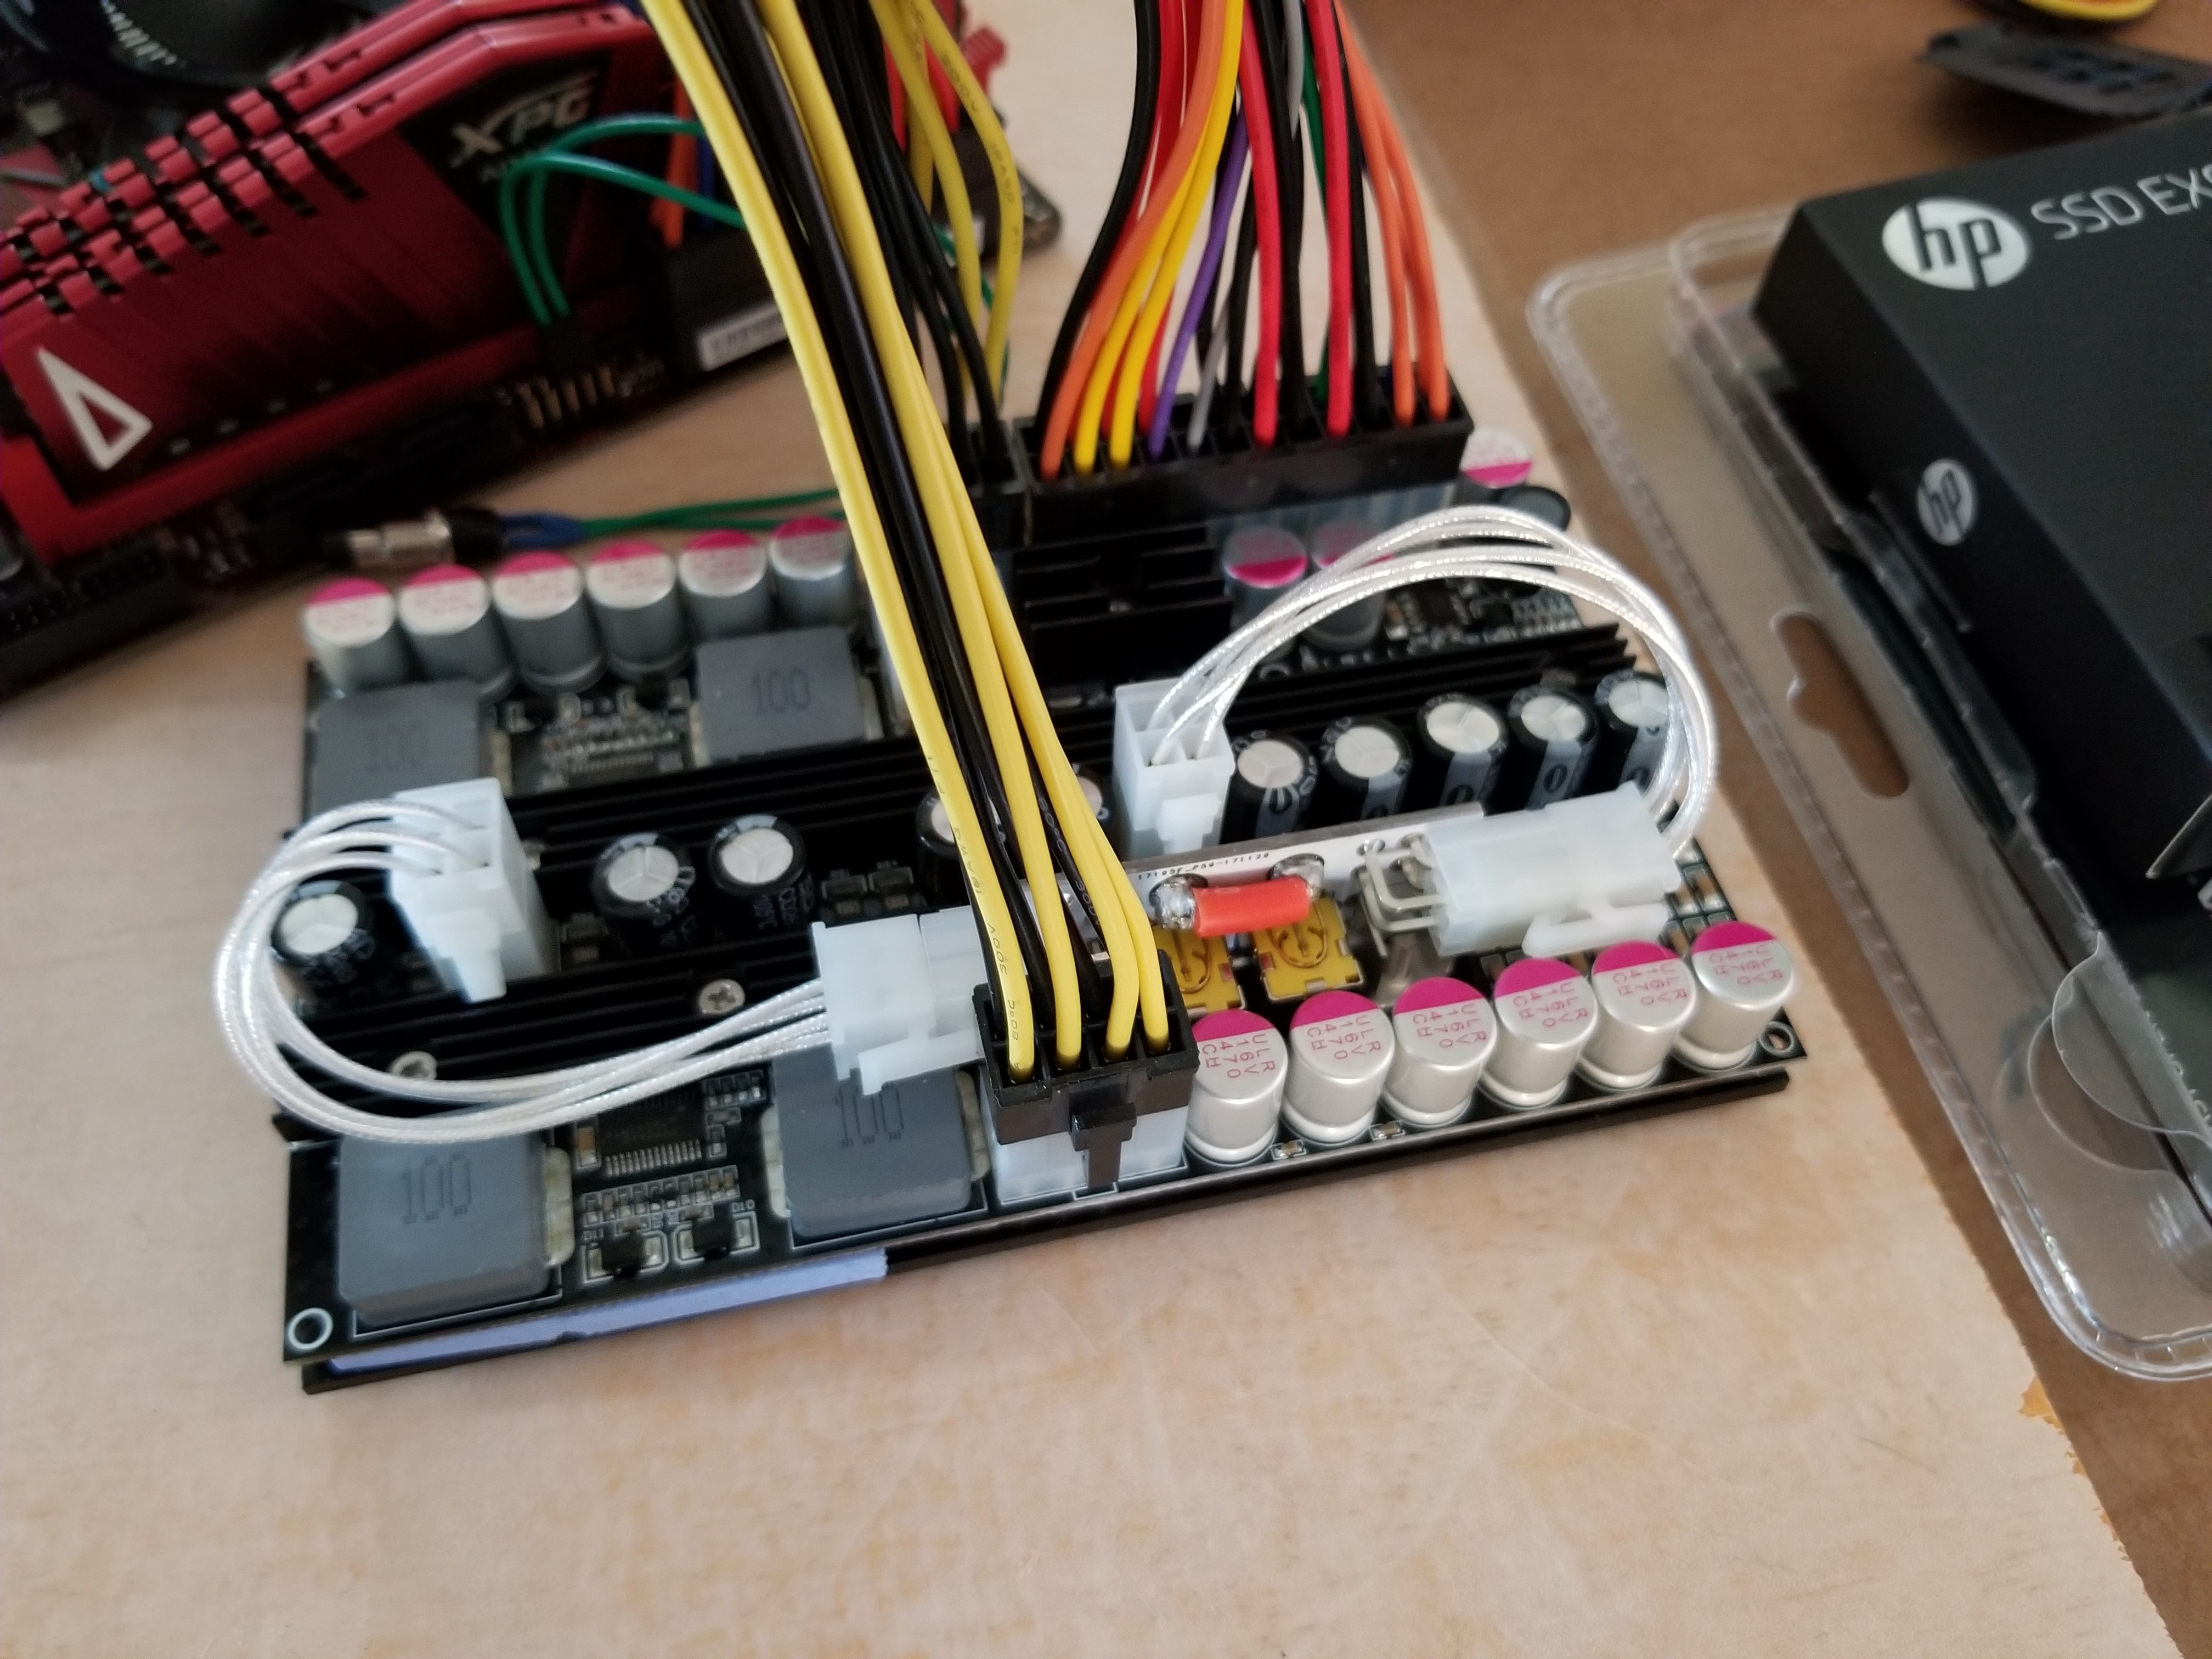
Initially I expected that powering this setup was going to be a hassle. Checking out the current DC-DC power supply market, I found a variety of direct plug or relatively small units, mainly from companies like HDPlex and PicoPSU (and a few others). I knew my total power draw was not especially high (sub 200 watts easily at this point), but I decided that my first foray into this space would be with a ~500 watt unit, just as a safety margin. I ordered a PicoPSU model (a couple actually) and added a large jumper to bridge the two regulator circuits for use with a single power source. The nice 12 volt rails on these PSUs means I can scrap the separate buck regulator idea and run the entire system through these instead.
Around this time the batteries I was waiting on finally arrived. I made up two packs of 6 cell, 7000mah LiFePo4 batteries. Why LiFePo4? At the pack size I was working with, I knew that my load was well within the tolerances to keep the pack healthy. The number of charge cycles offered by this chemistry also puts others to shame. Lastly, the cells tend to be very stable, and convincing someone to strap batteries to themselves is a little easier when you can confidently say "these ones don't explode or ignite!".
I assembled the packs and got them welded up, then attached balance leads and an XT60 cable for use with my RC charger. Finally it was time for the first battery operated test!
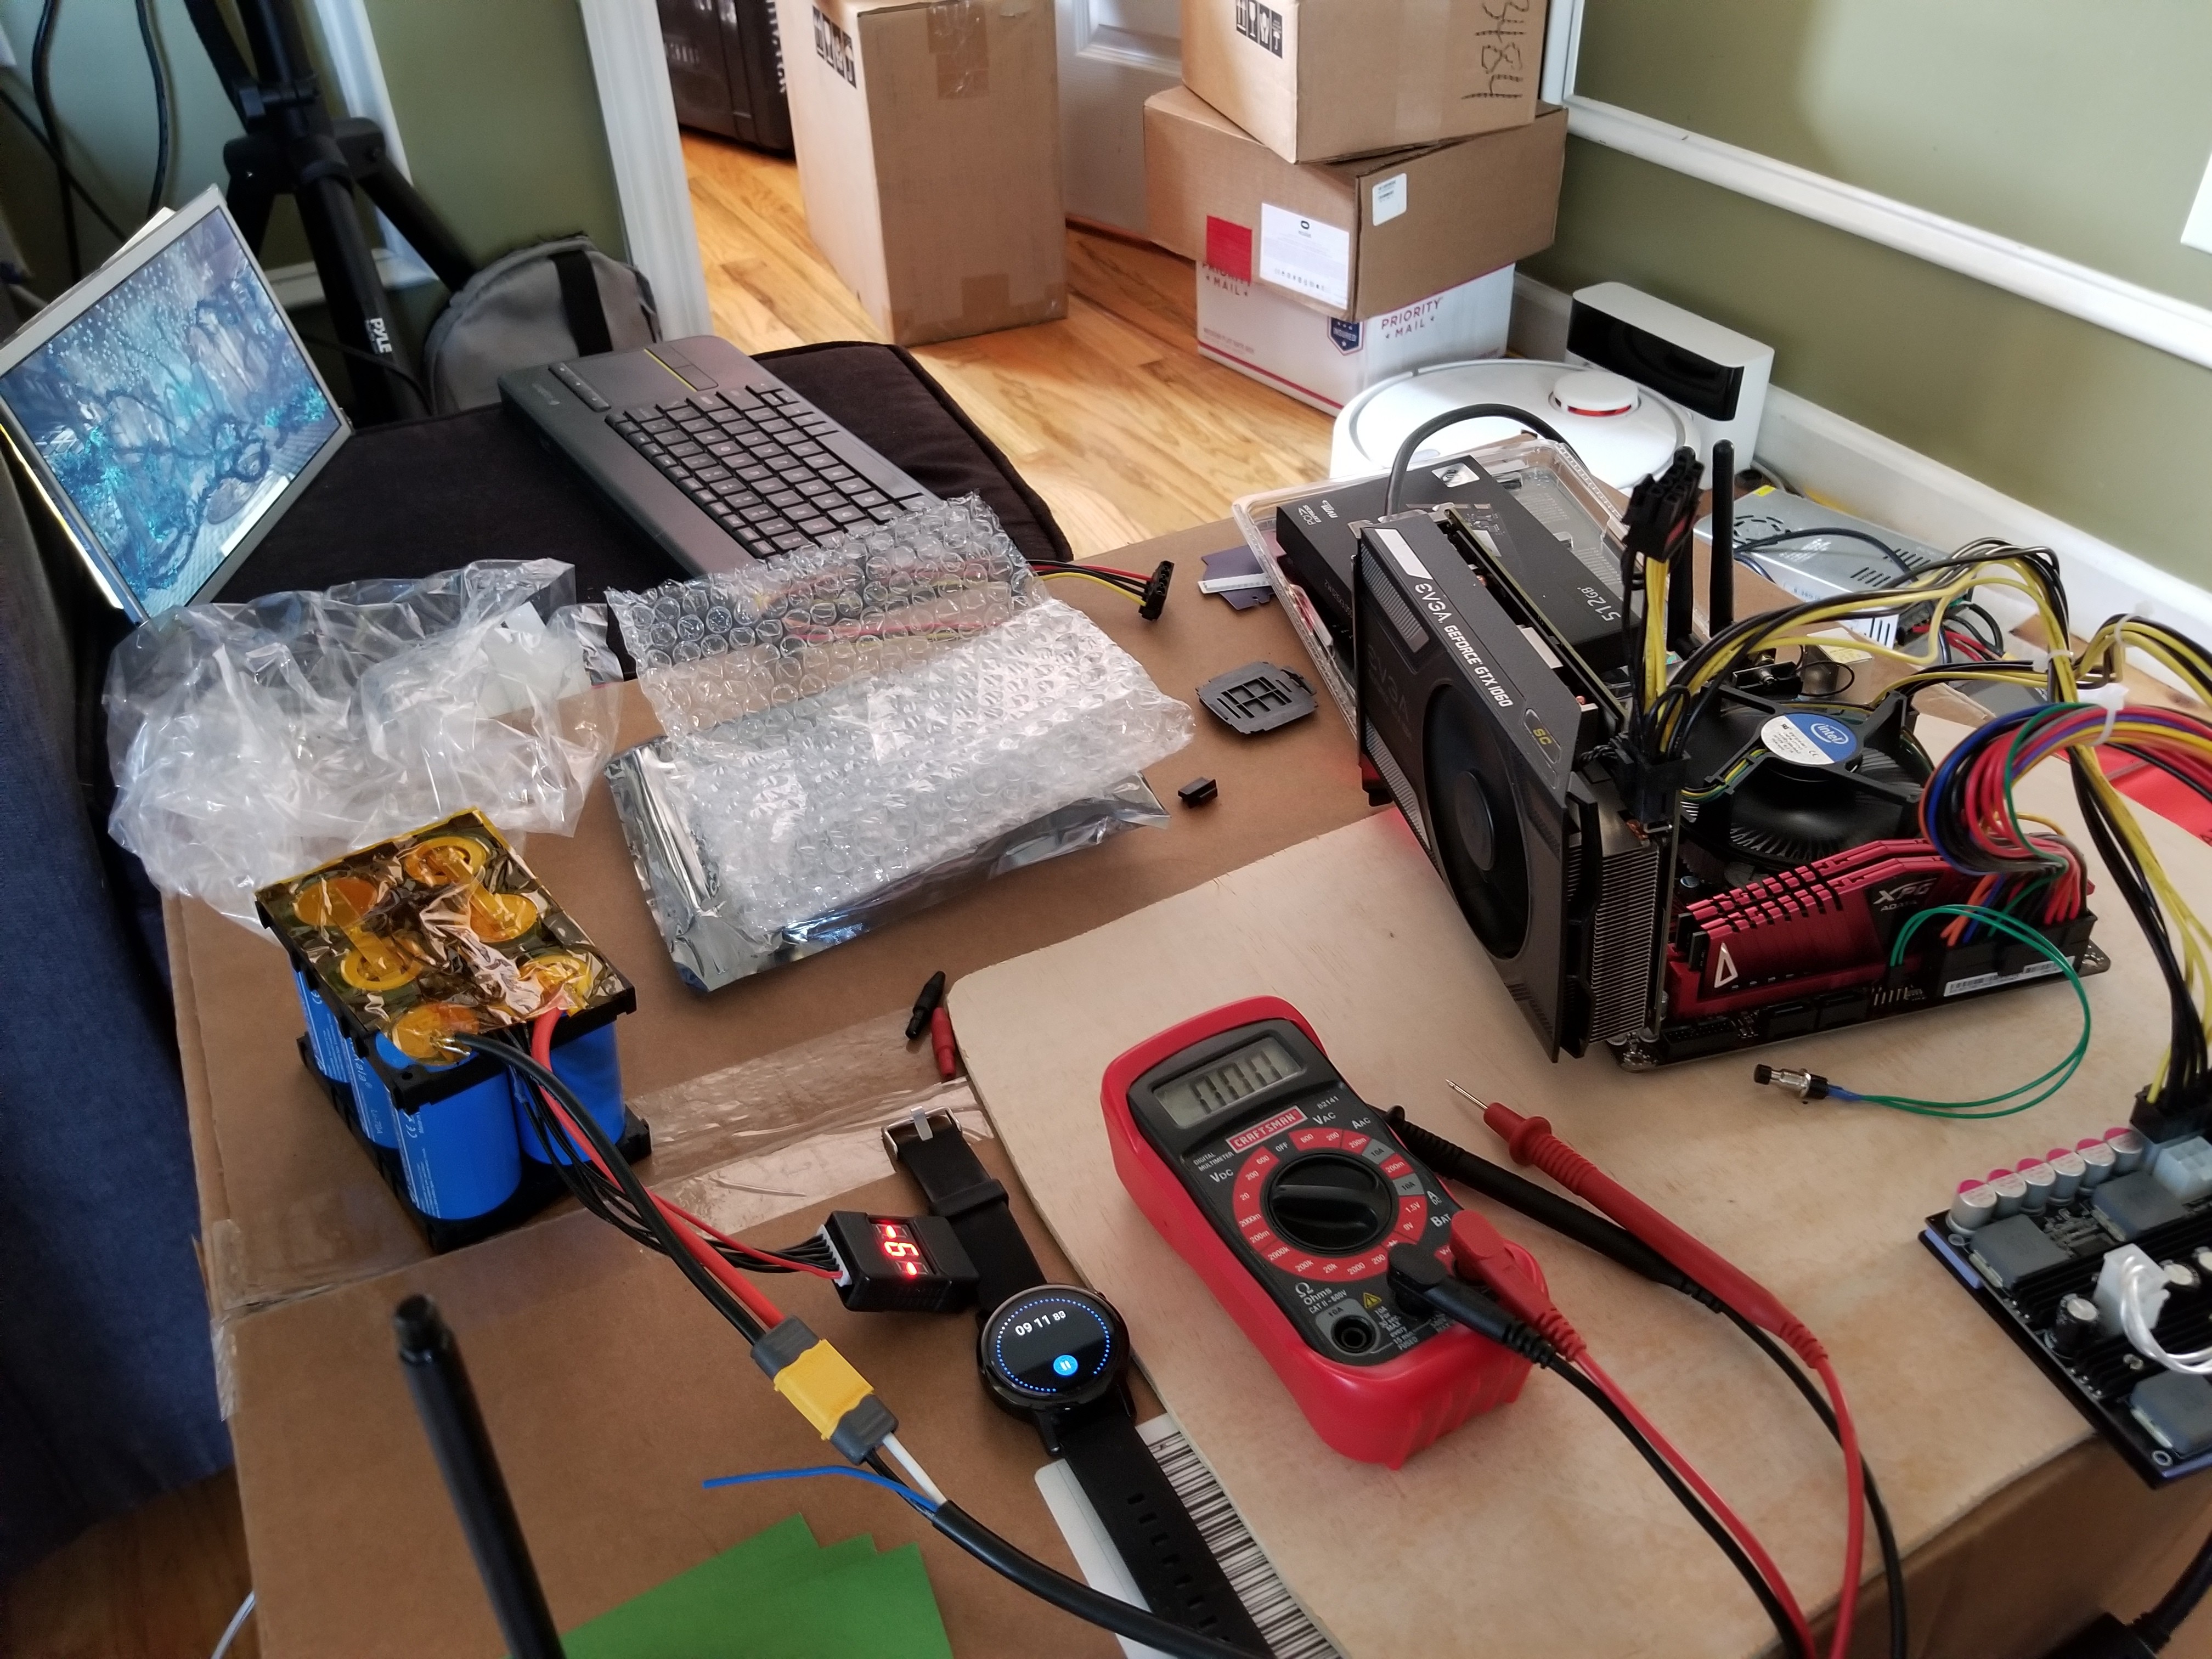
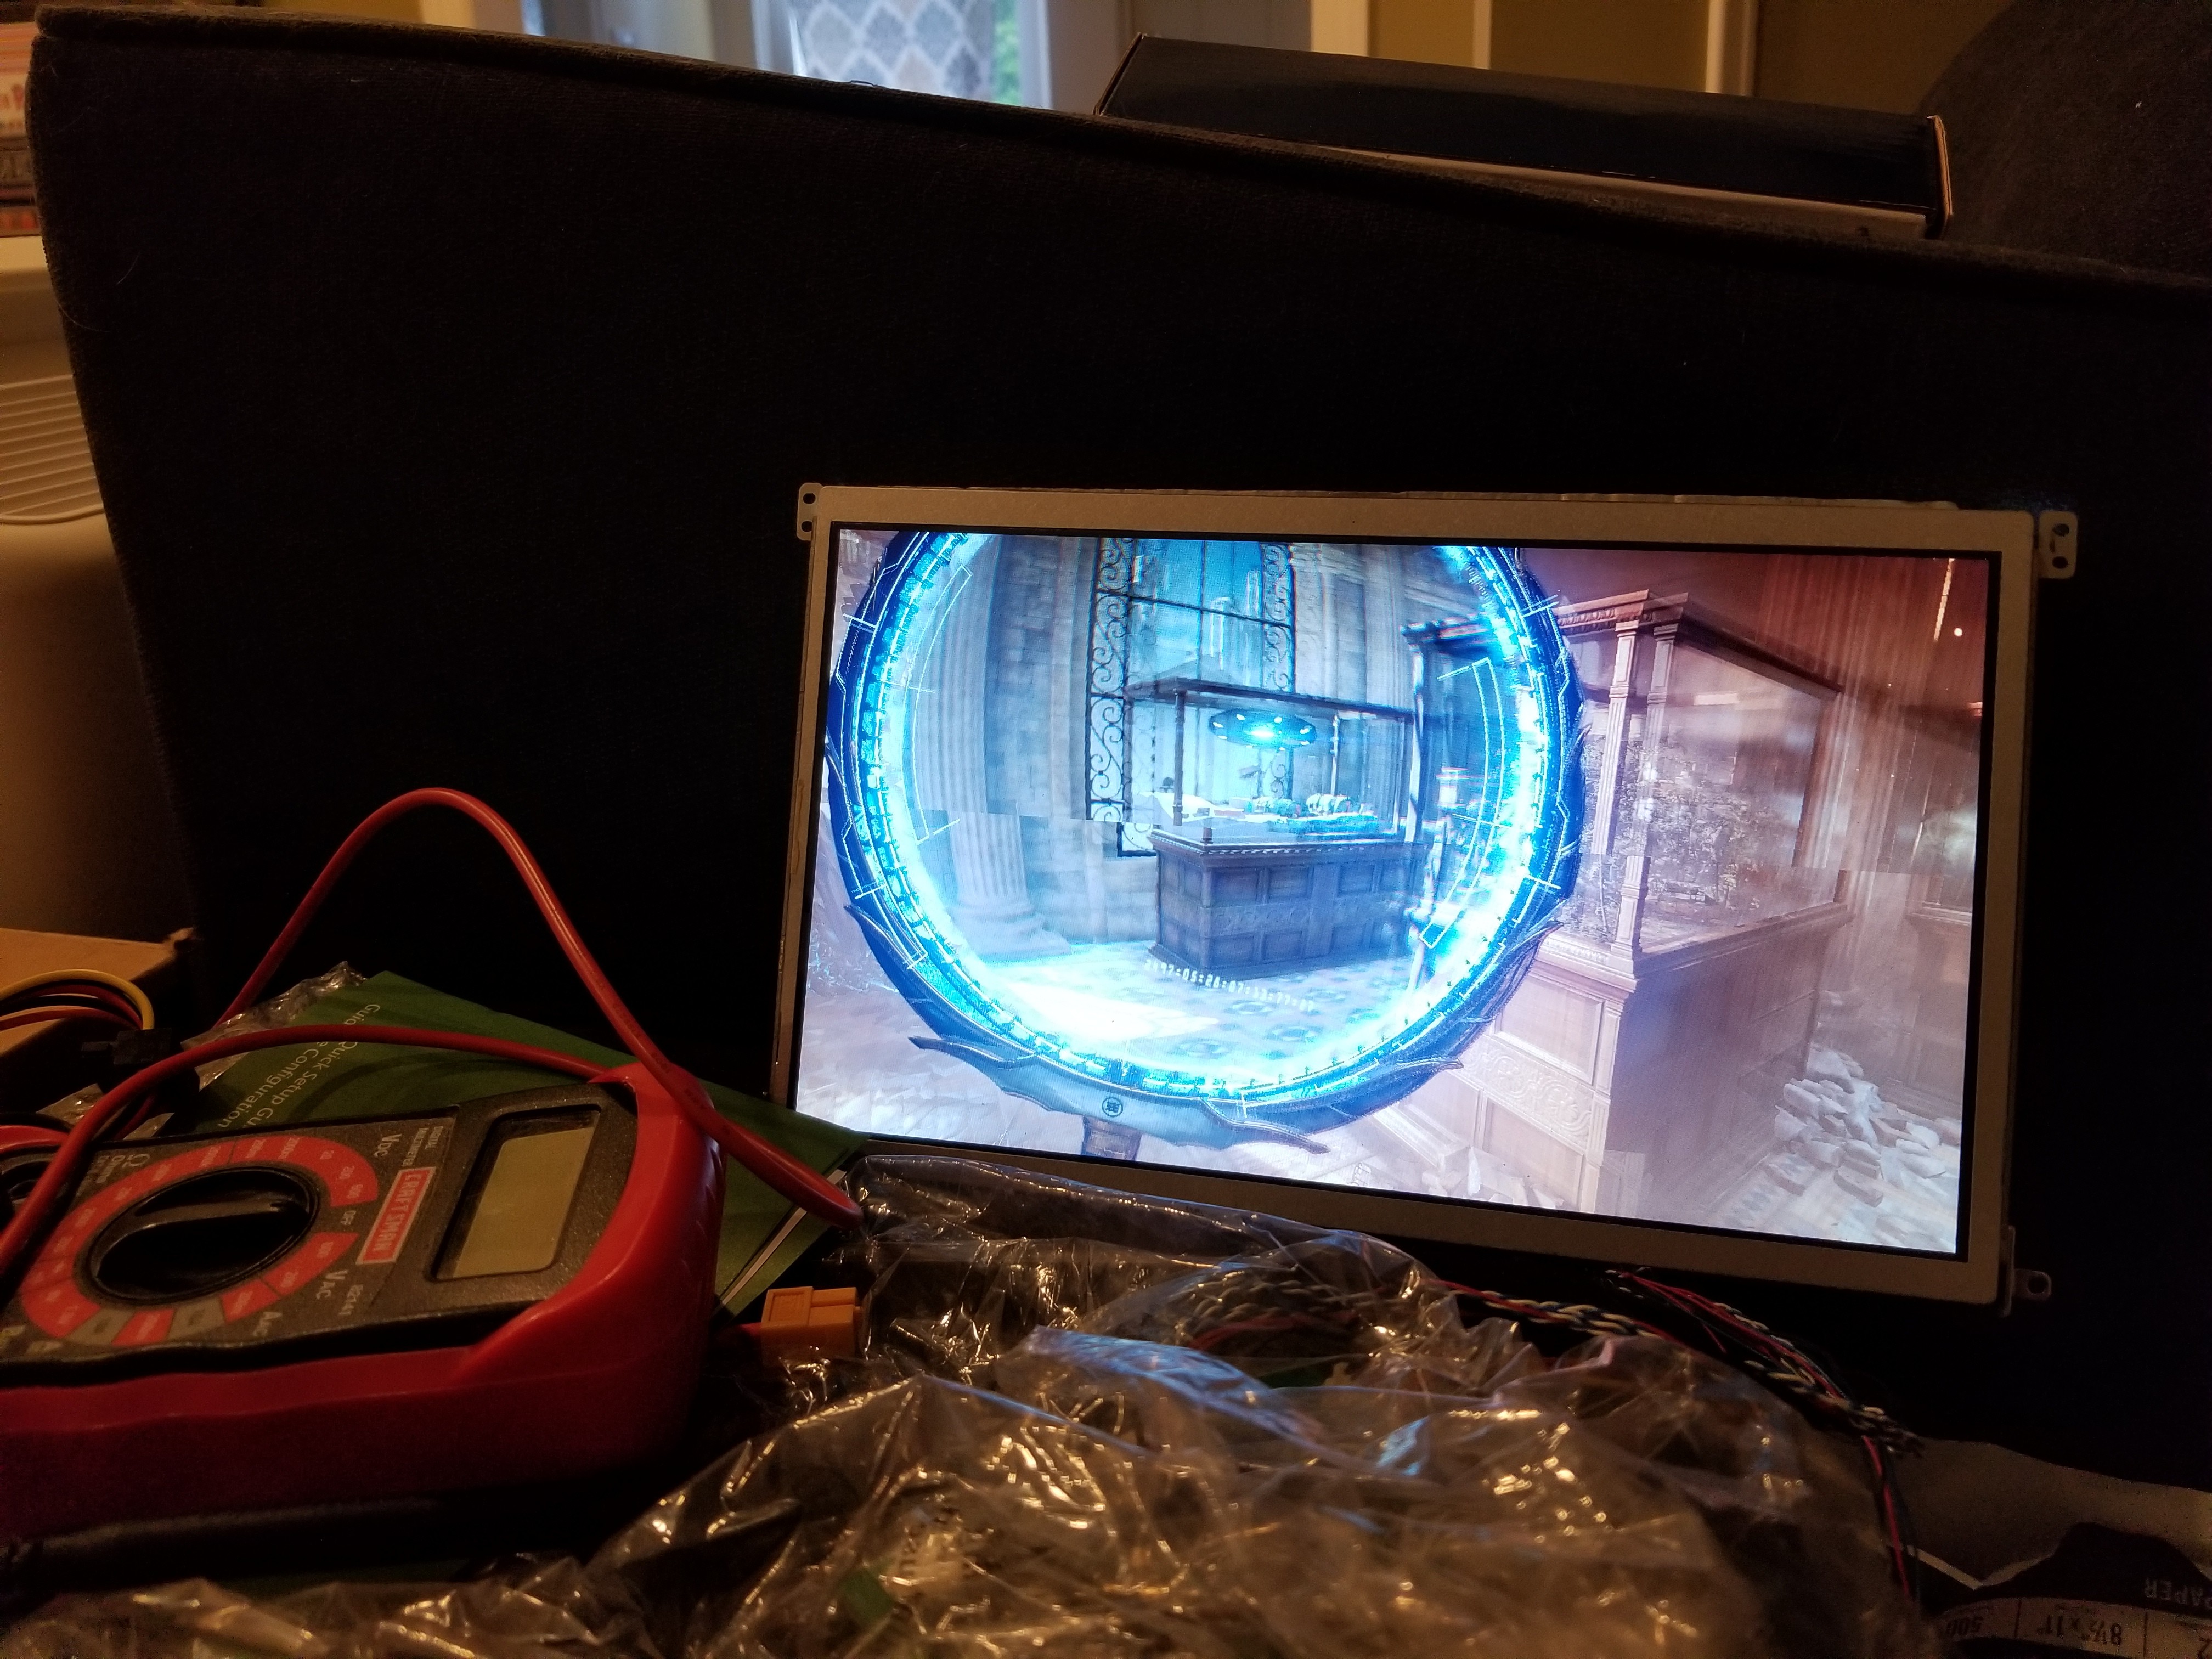
Benchmarks abound. Time to run an actual VR title (though in 2D mode) and make sure my runtime is reasonable.

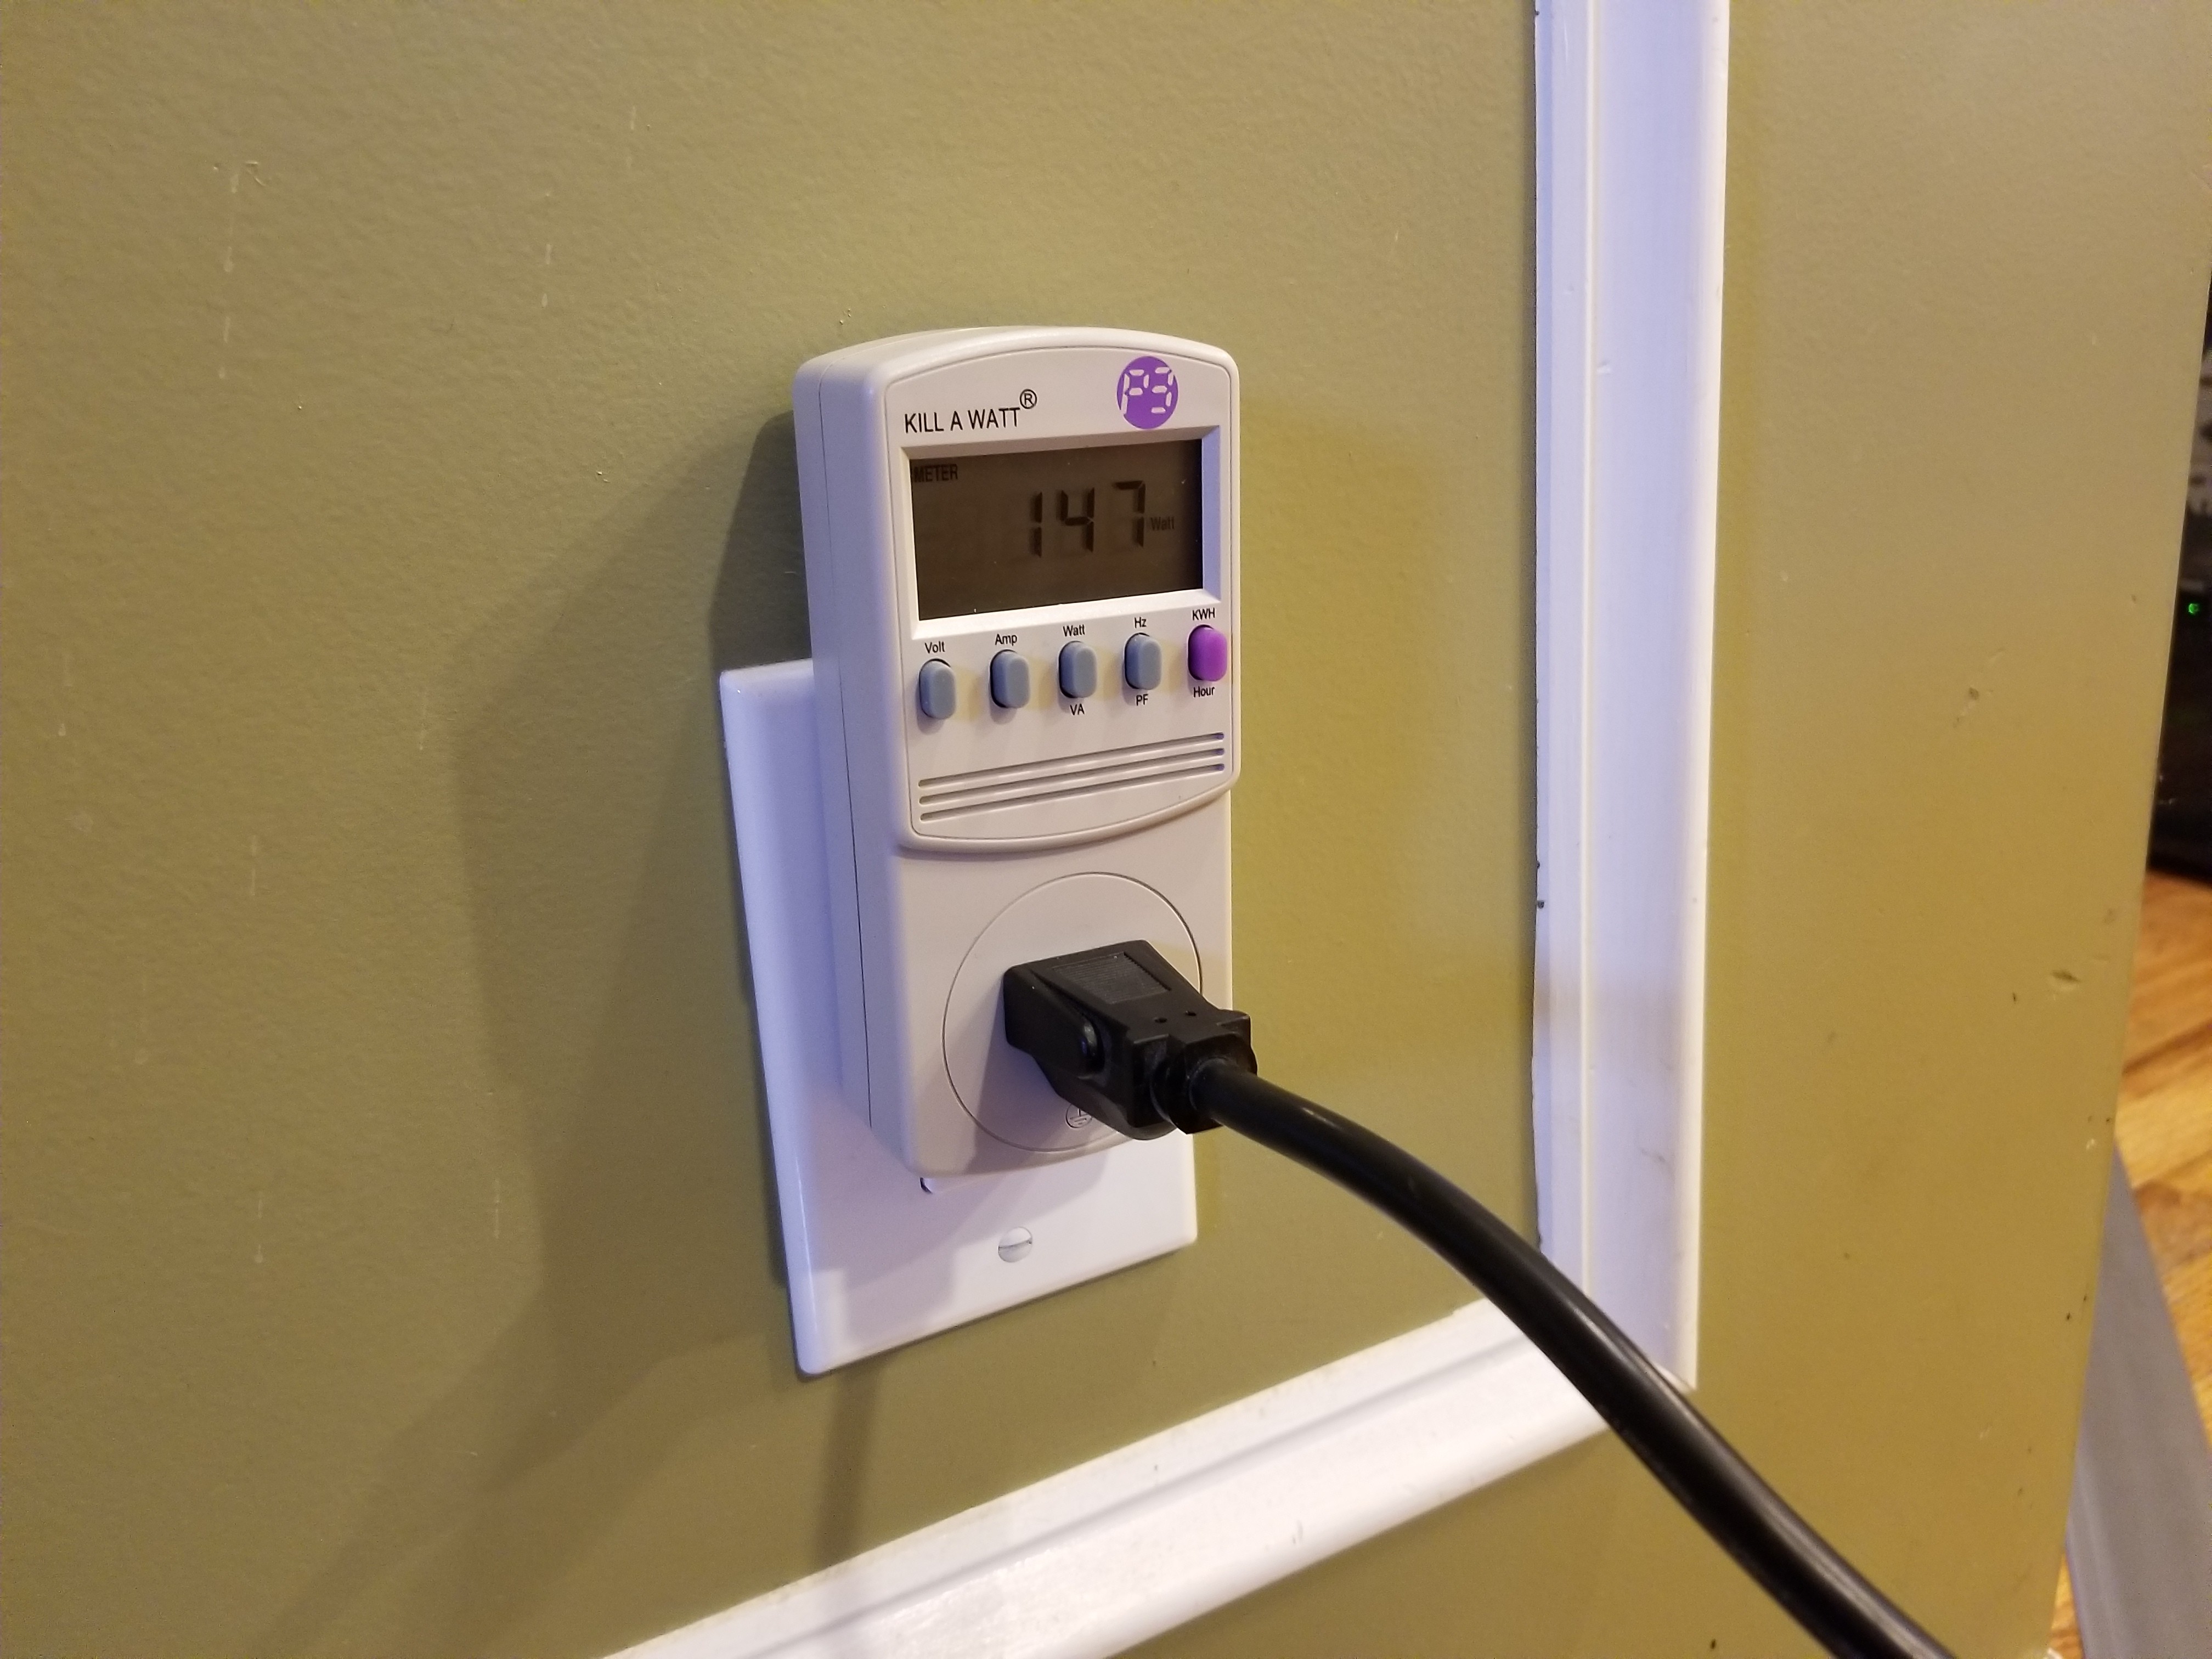
45 minutes later, and the pack still wasn't discharged. I was happy to declare the pack a success. Now with my hardware validated, I could return to the backpack aspect of the build.
Discussions
Become a Hackaday.io Member
Create an account to leave a comment. Already have an account? Log In.