 Timo Birnschein
We start with a finished design:
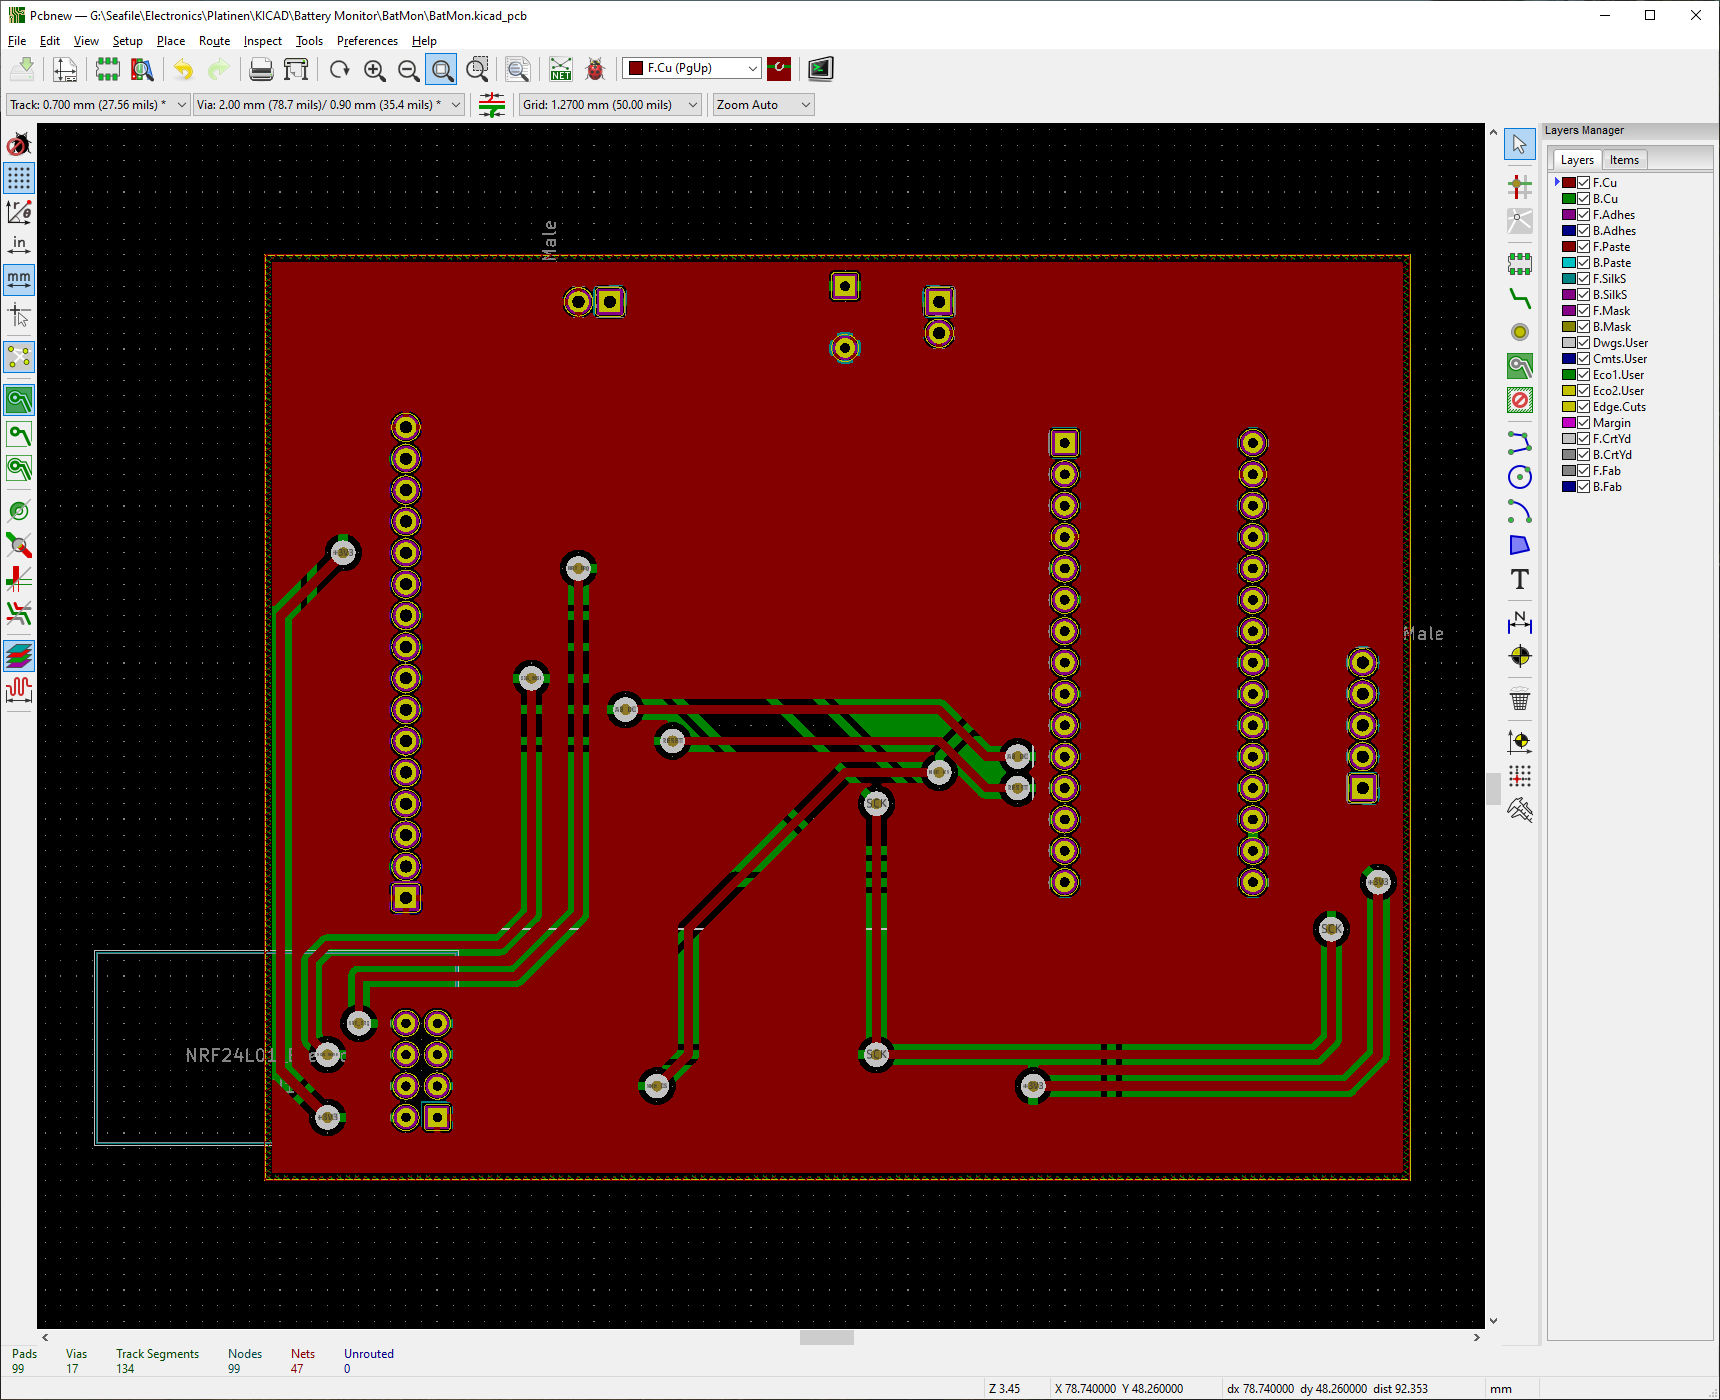
This is a simple battery monitor for a boat, reading the voltage of five different batteries and displaying the voltages on a 160x128 LCD display one can buy on ebay for about $3 each.
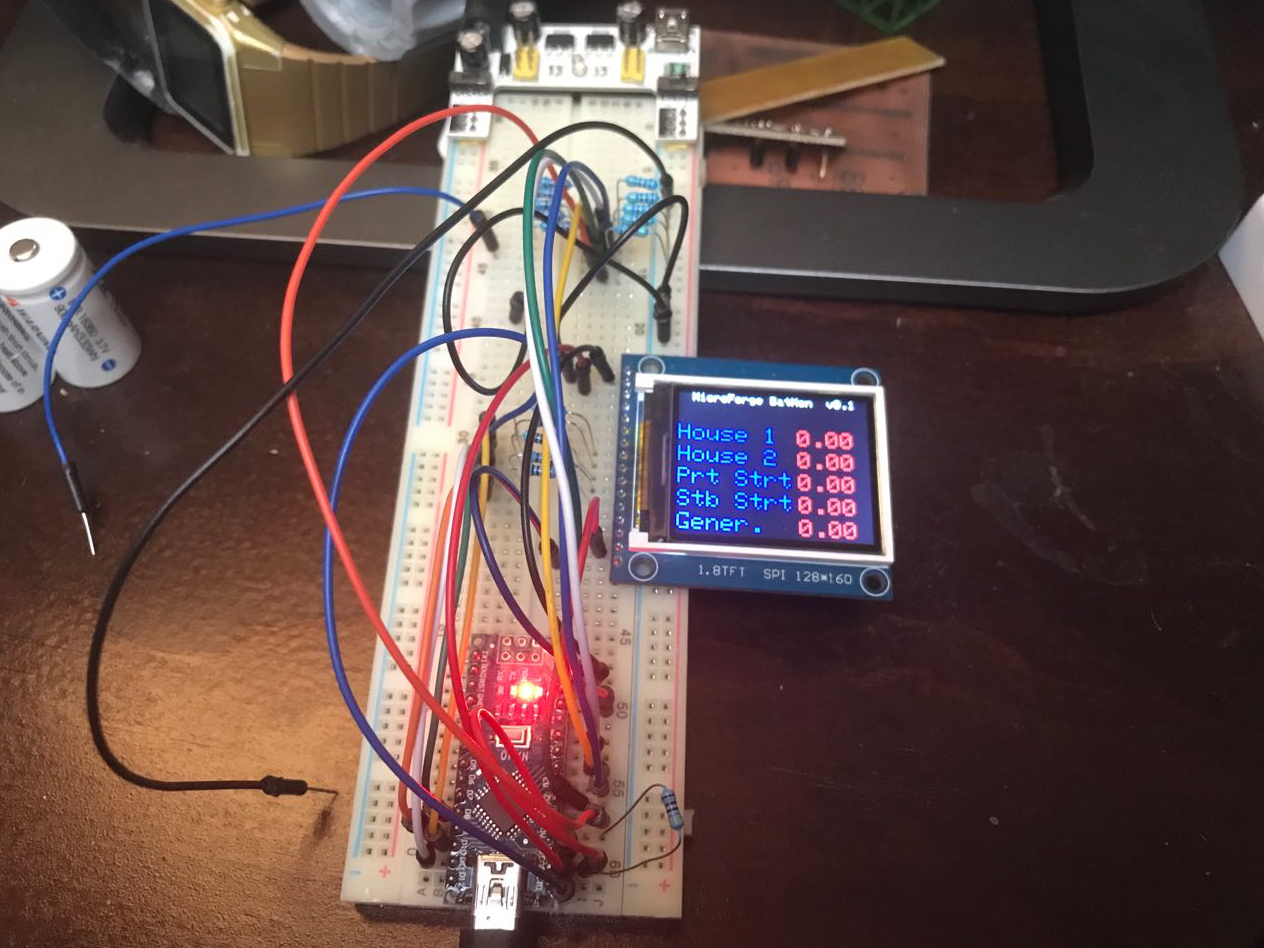
This is the breadboard showing it at work:
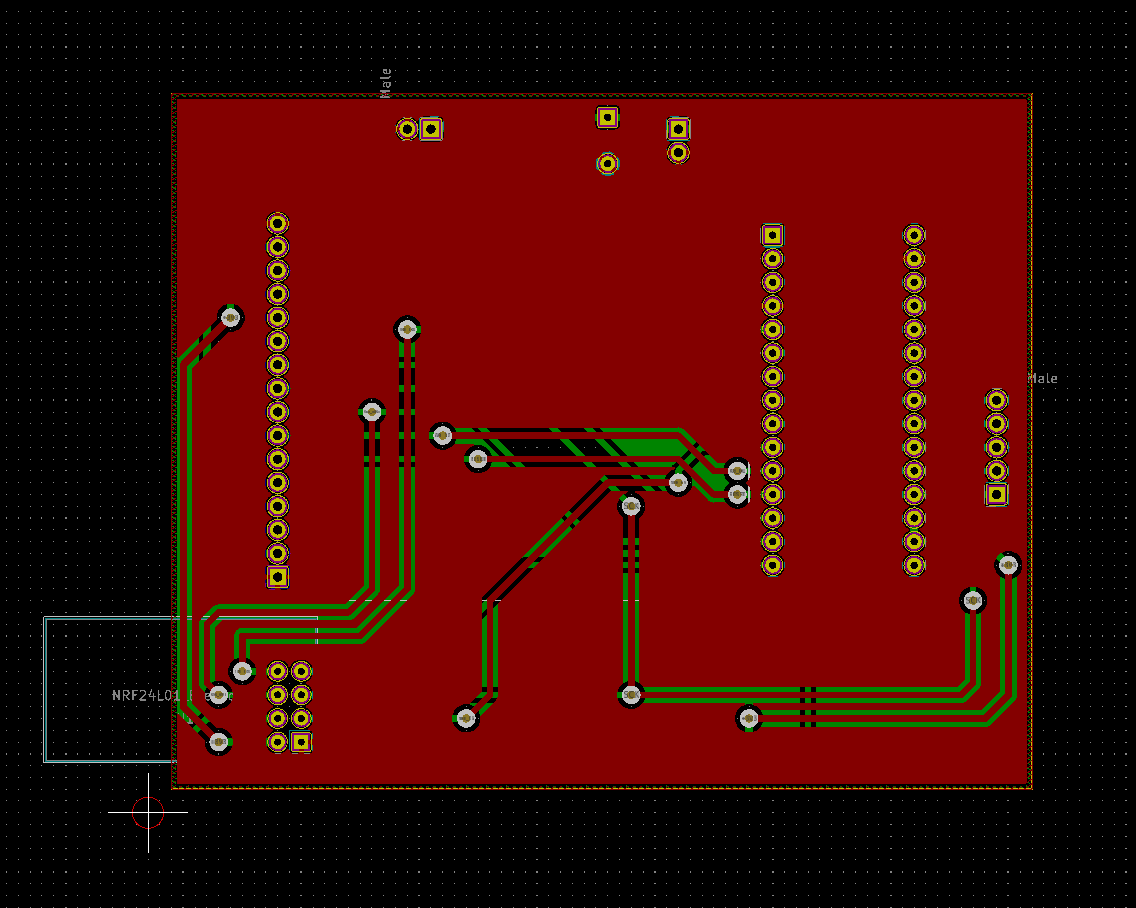
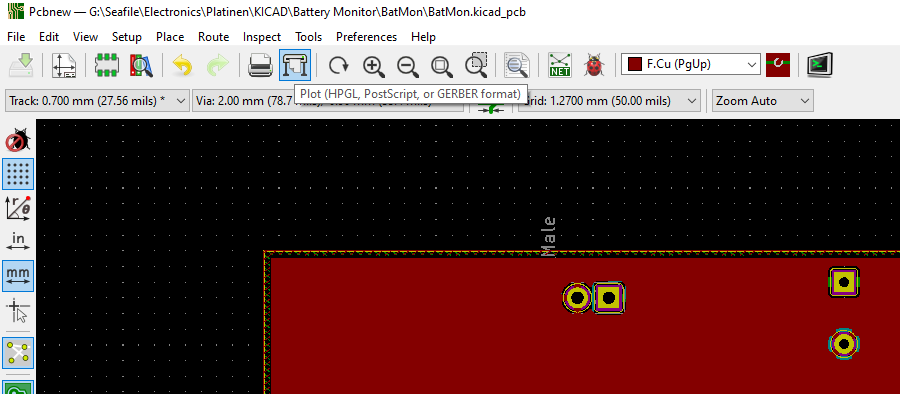
Before exporting anything to Gerber, it is important to set the origin of the PCB. This will be used by FlatCAM to understand where to place the PCB and how to process top and bottom. Because one of the layers needs to be mirrored. The mirror takes place around the origin:
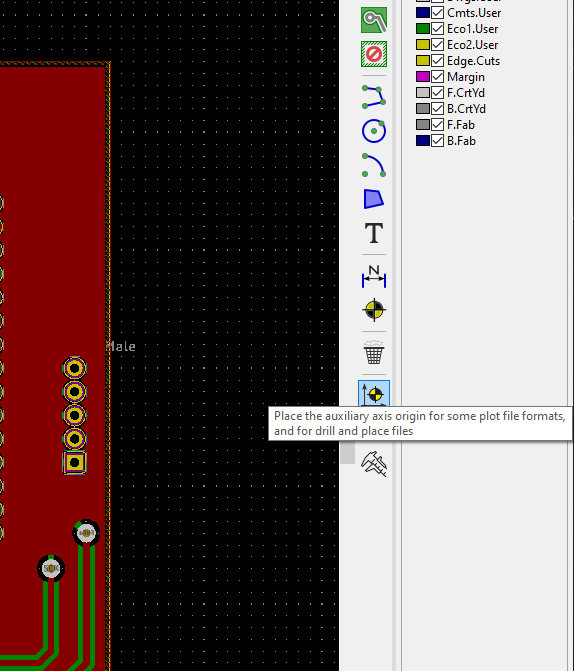
I usually give myself a little space such that the cnc router can actually cut the outlines without going into negative coordinate space.
To export Gerber for FlatCam, click the export button at the top of the screen:
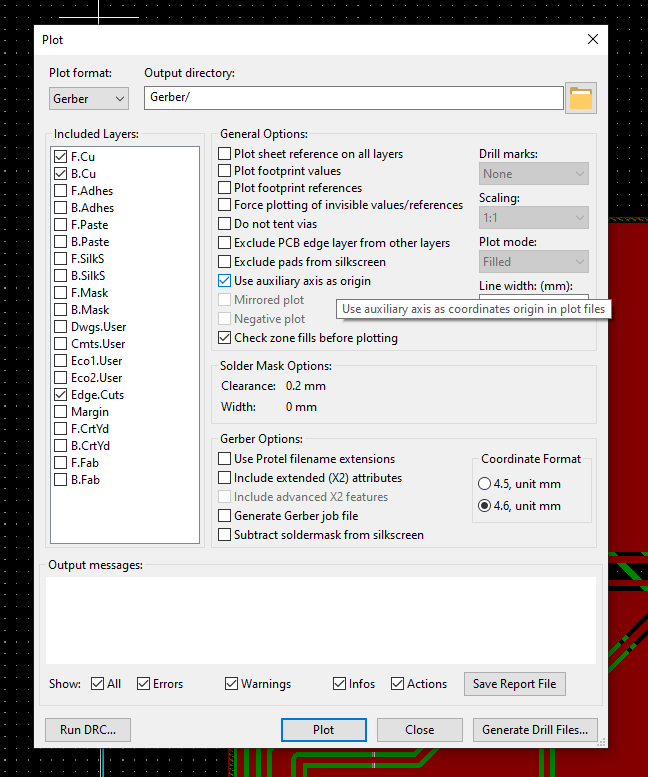
Select a folder to export to and deselect everything except the stuff you will likely need like top and bottom layer as well as the edge cuts (these need to be defined!)
If you need drill files, you also need to click on Generate Drill files:
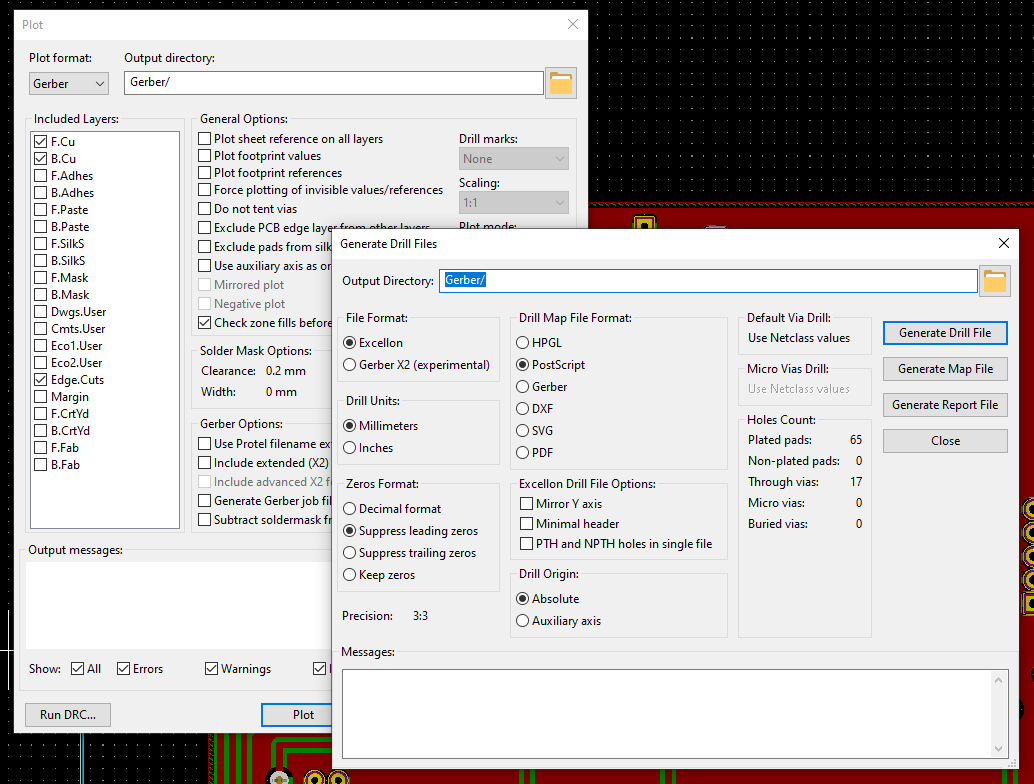
Hit Generate Drill File and then Close.
After the drill file was generated, the Gerber files can be plotted using the Plot button.
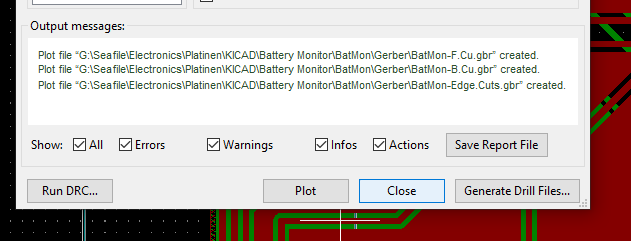
Three different files will be created that we can not use in FlatCam to create the CNC milling files.
Discussions
Become a Hackaday.io Member
Create an account to leave a comment. Already have an account? Log In.