 Patchr
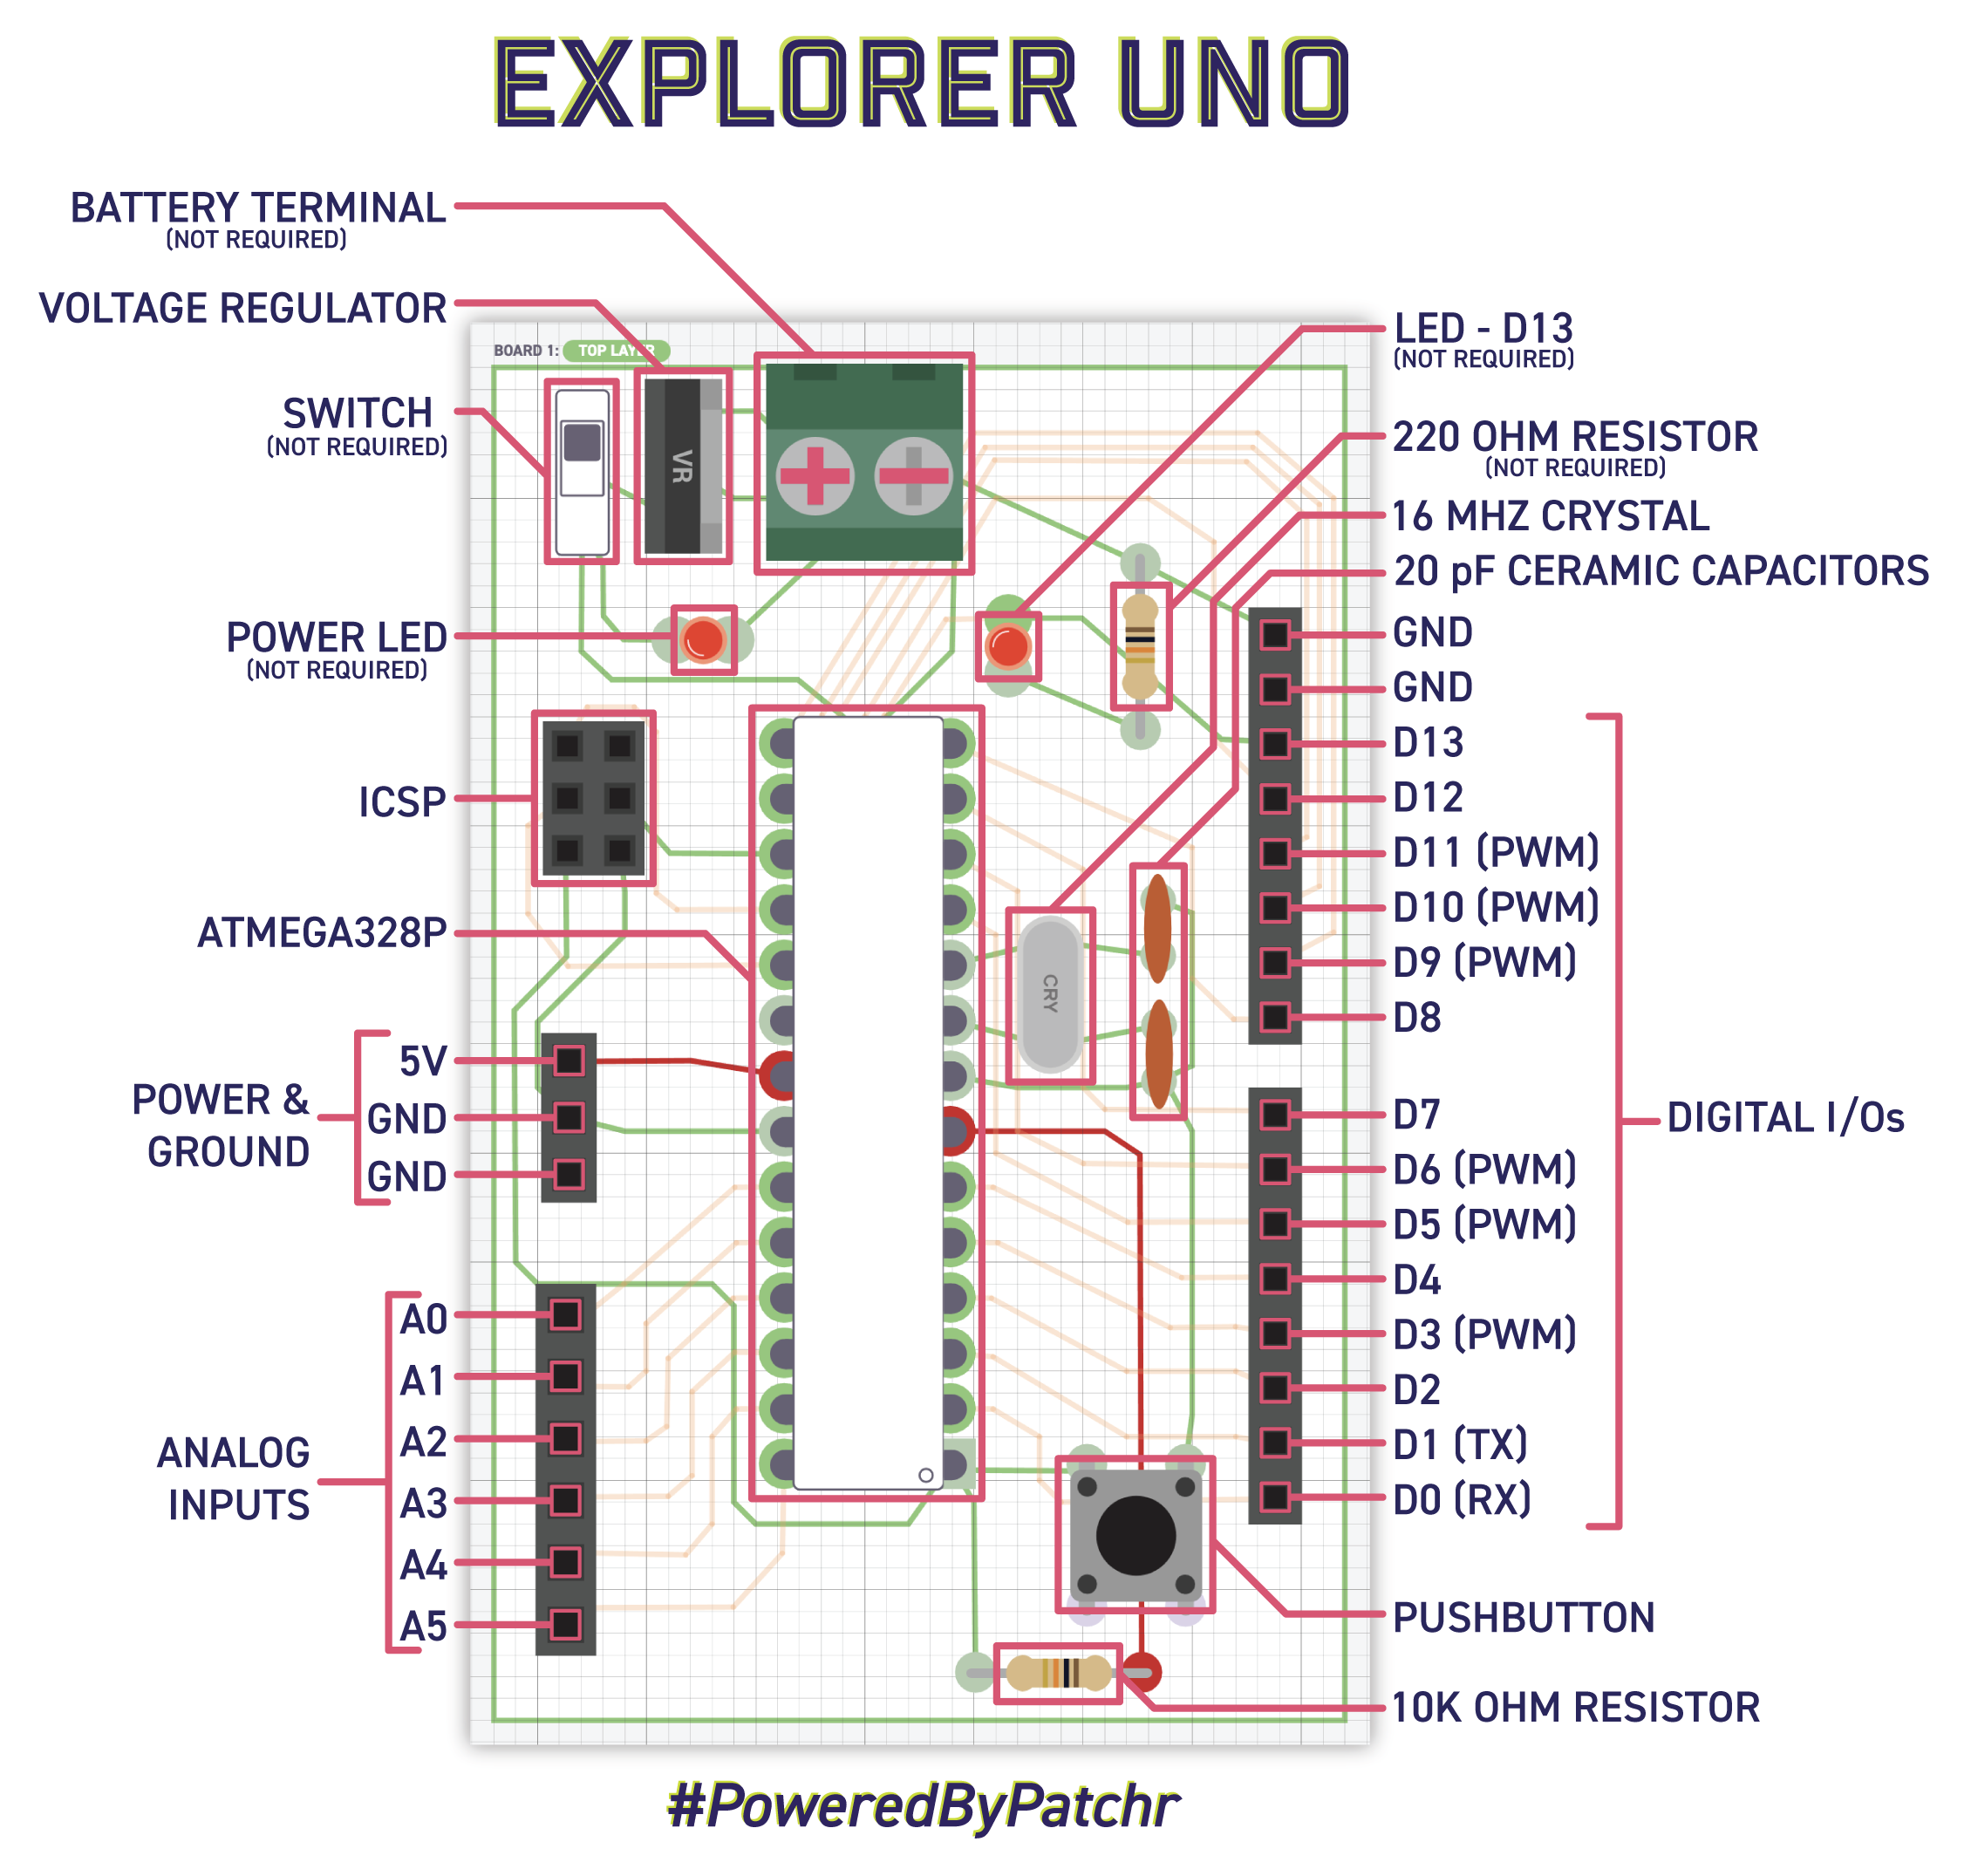
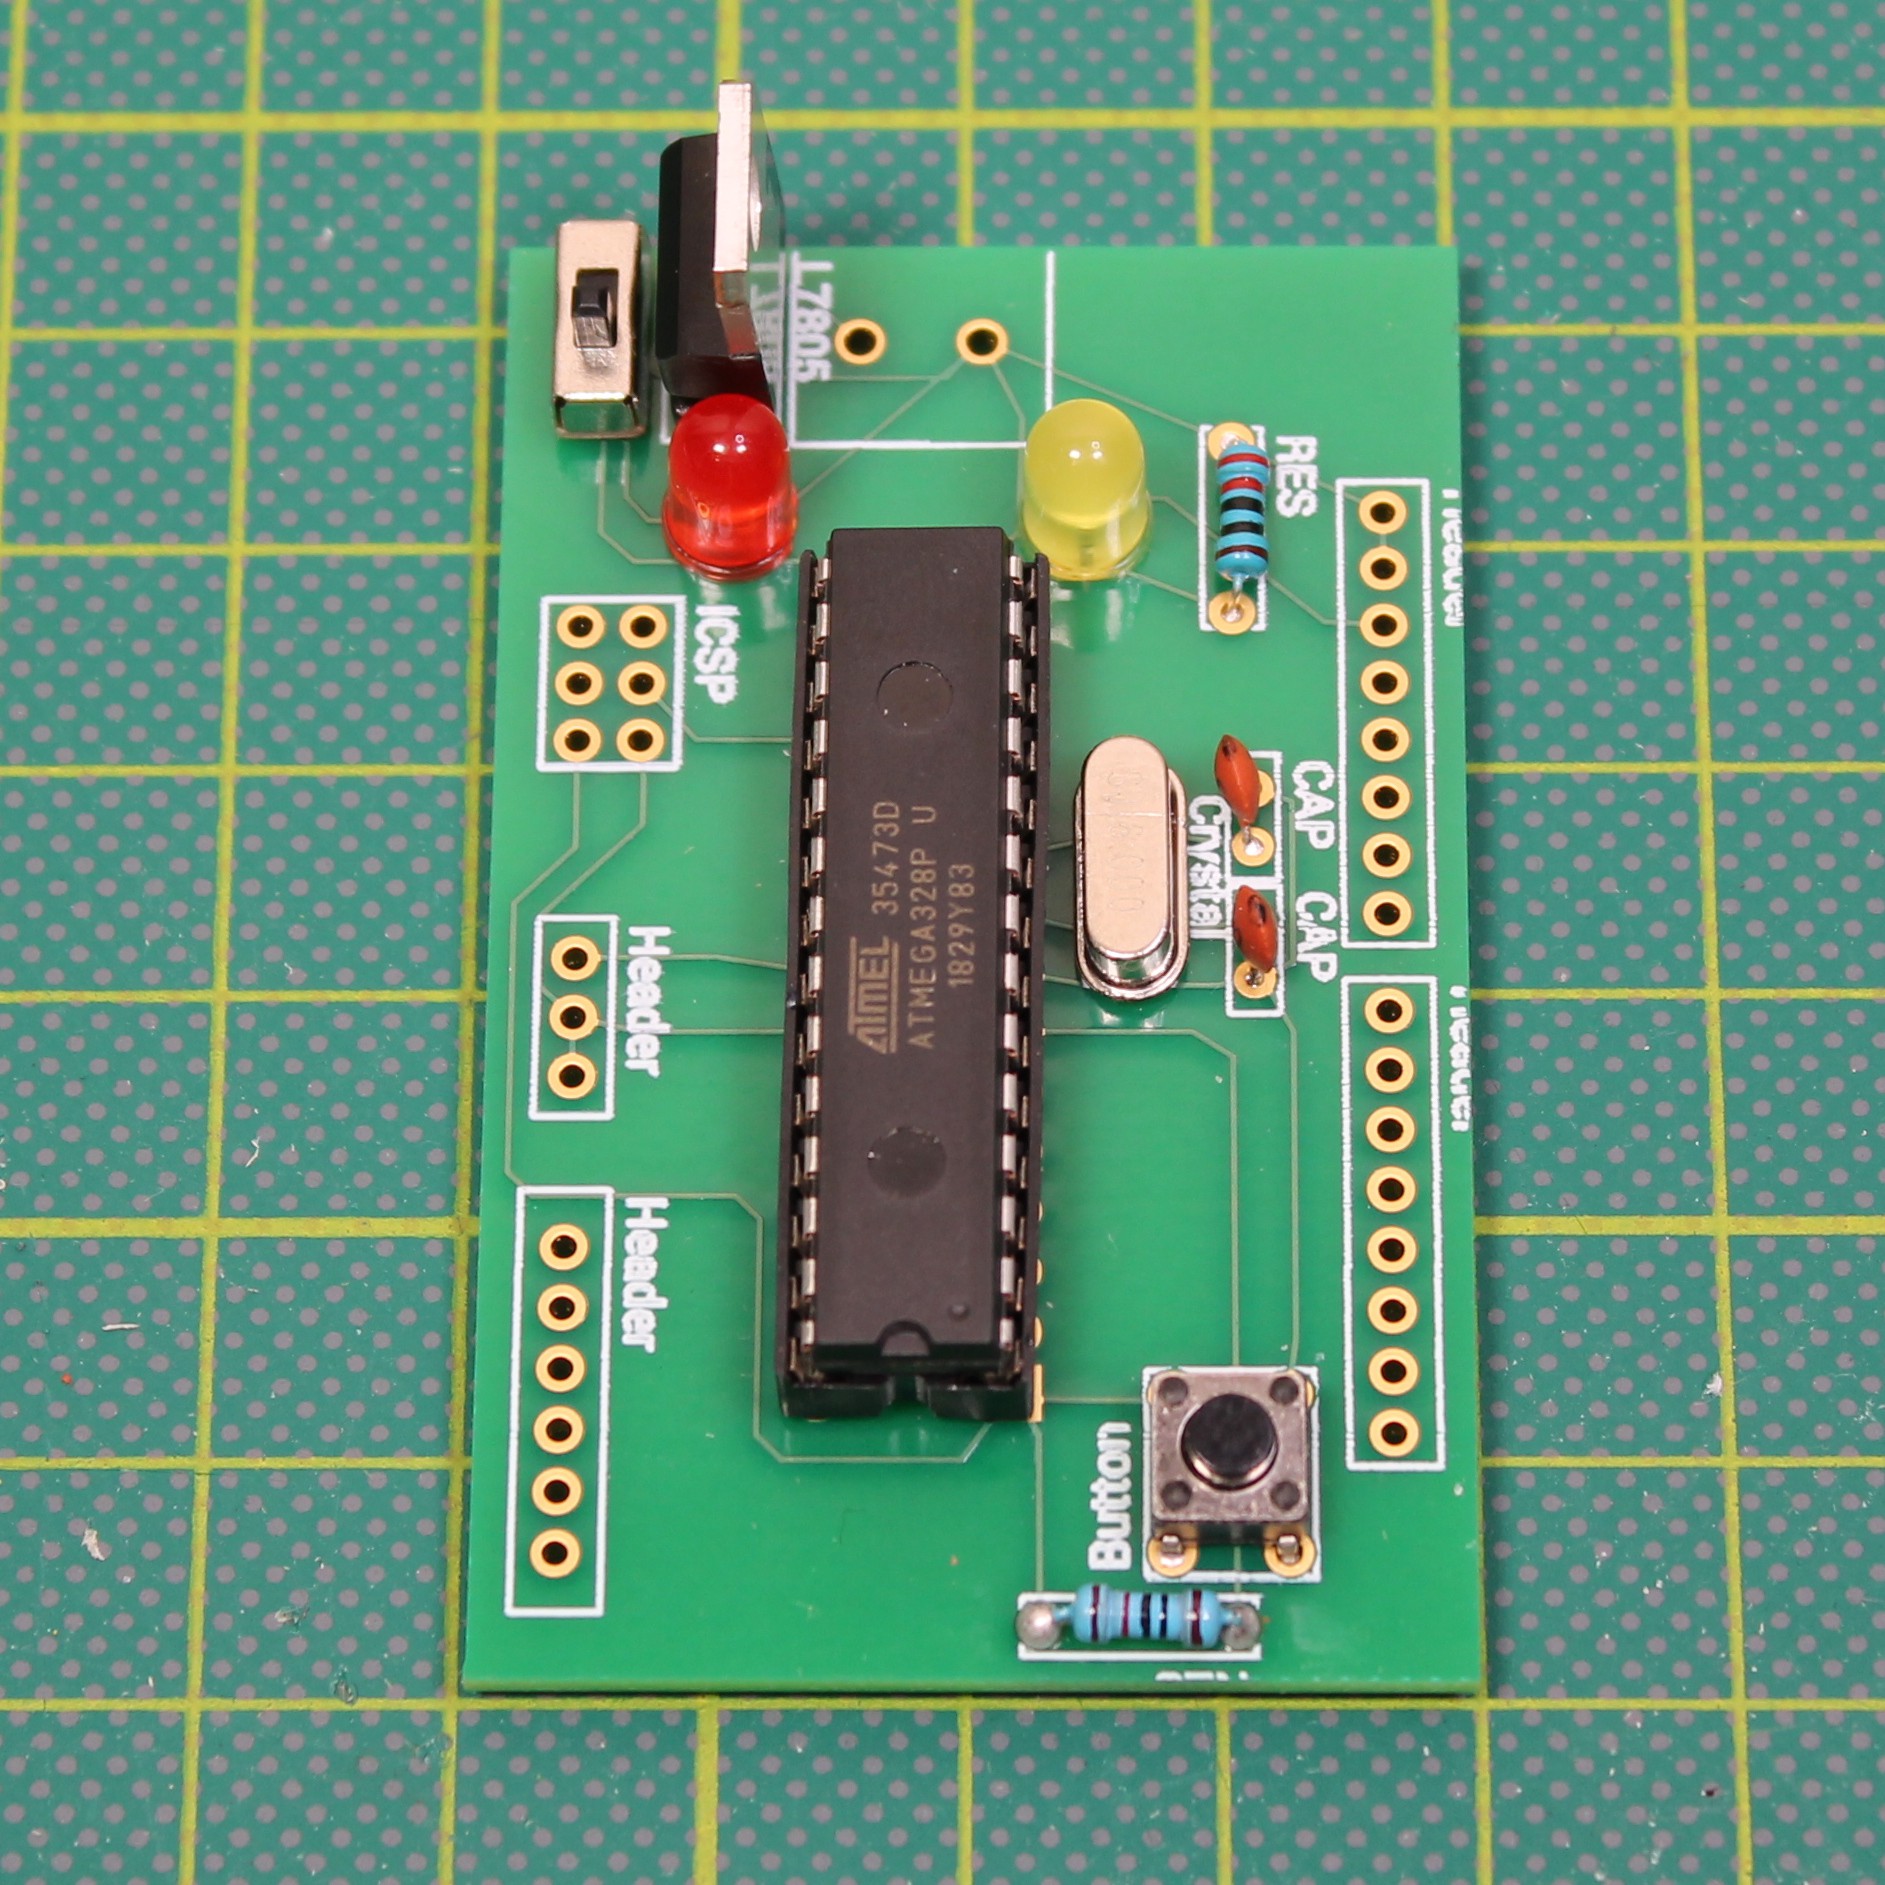
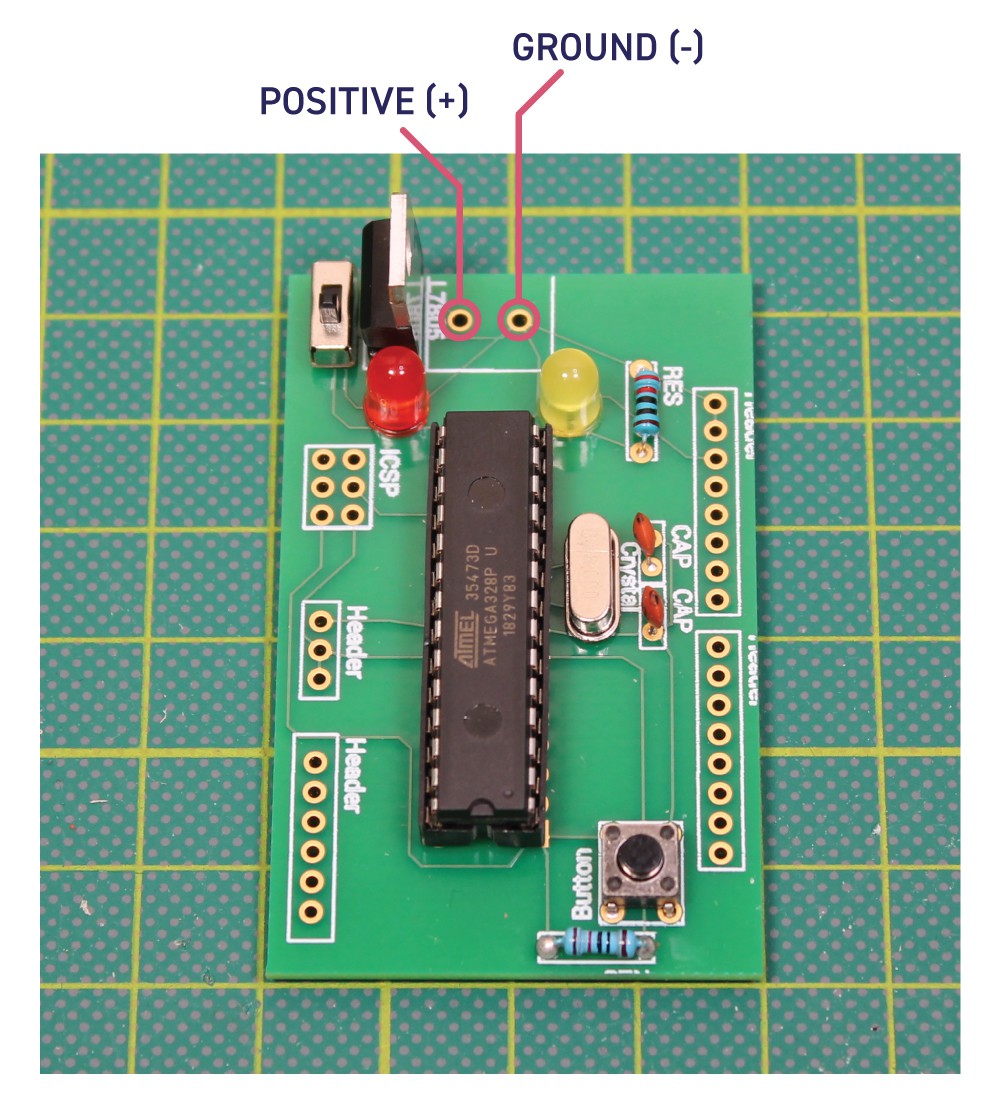
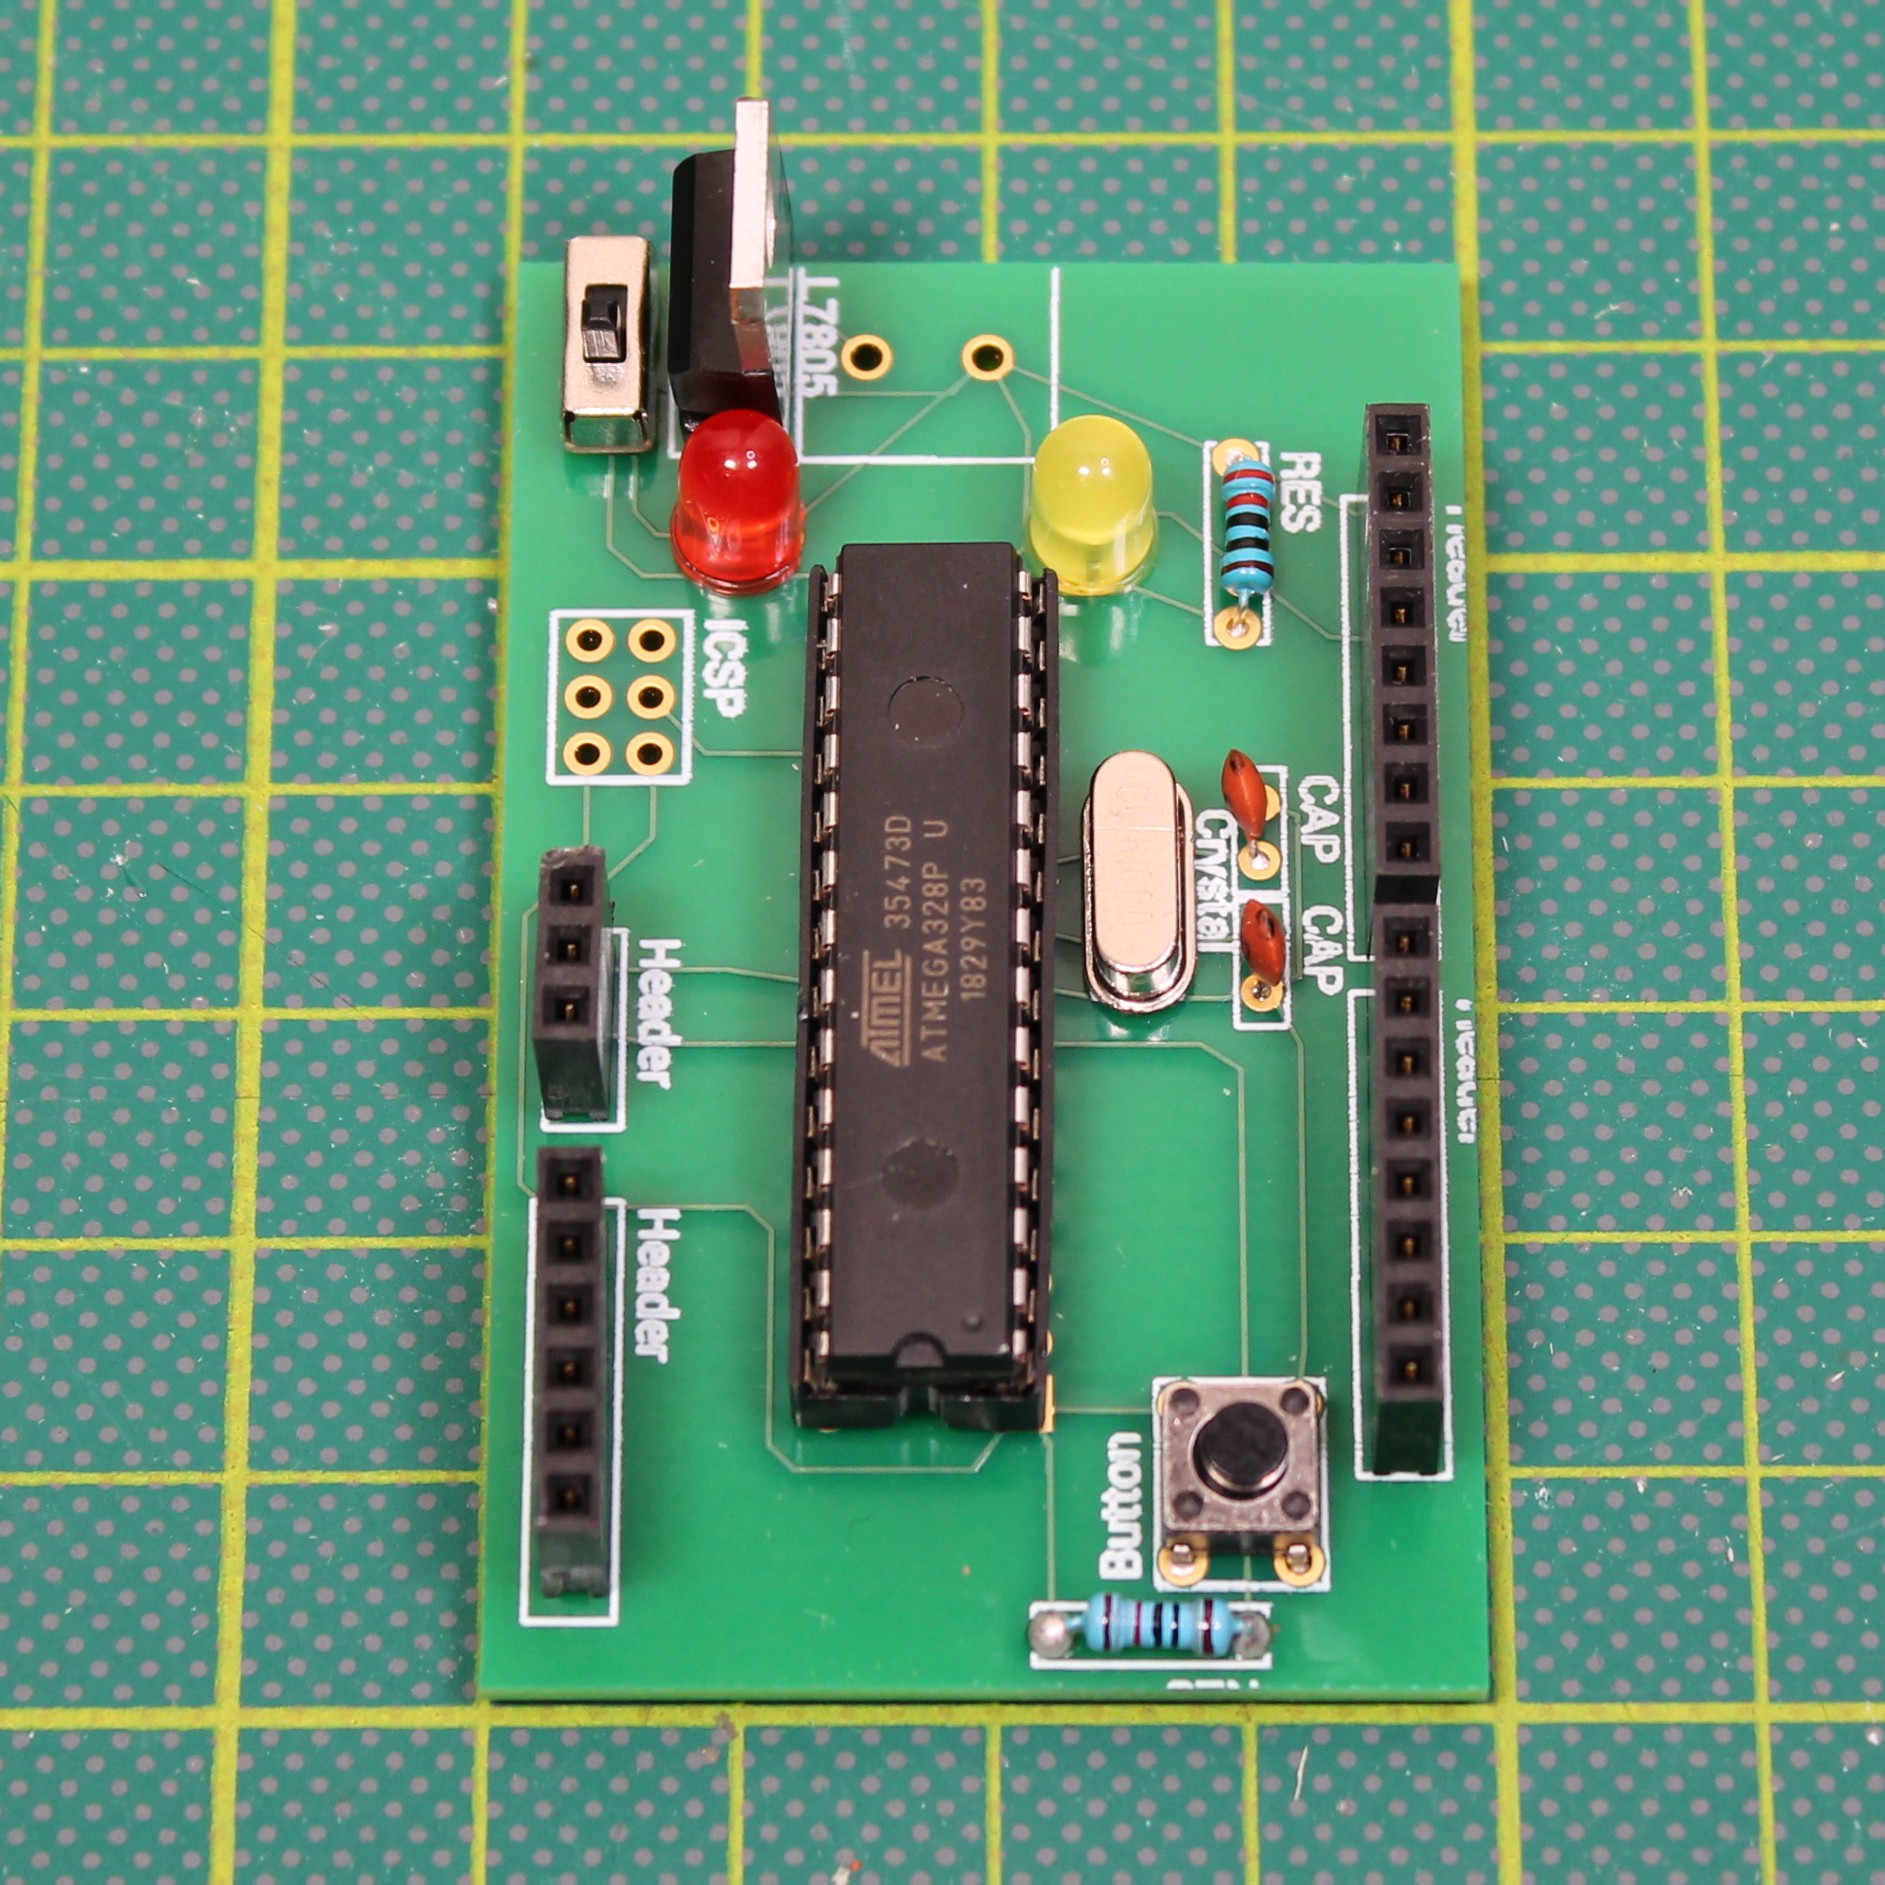
The Explorer Uno is perfect in that it has all the GPIOs you have come to love with the Arduino Uno with the ability to connect directly to them and delete the pins you don’t use. We’ve put together a diagram for you that shows which components are vital and which ones you can remove.


 Jithin Sanal
 UTSOURCE
 Sagar 001
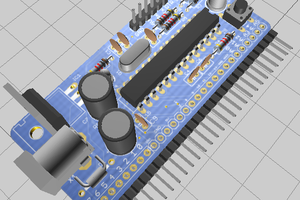
 Clovis Fritzen