 little french kev
The funny story is that this project was never meant to be .
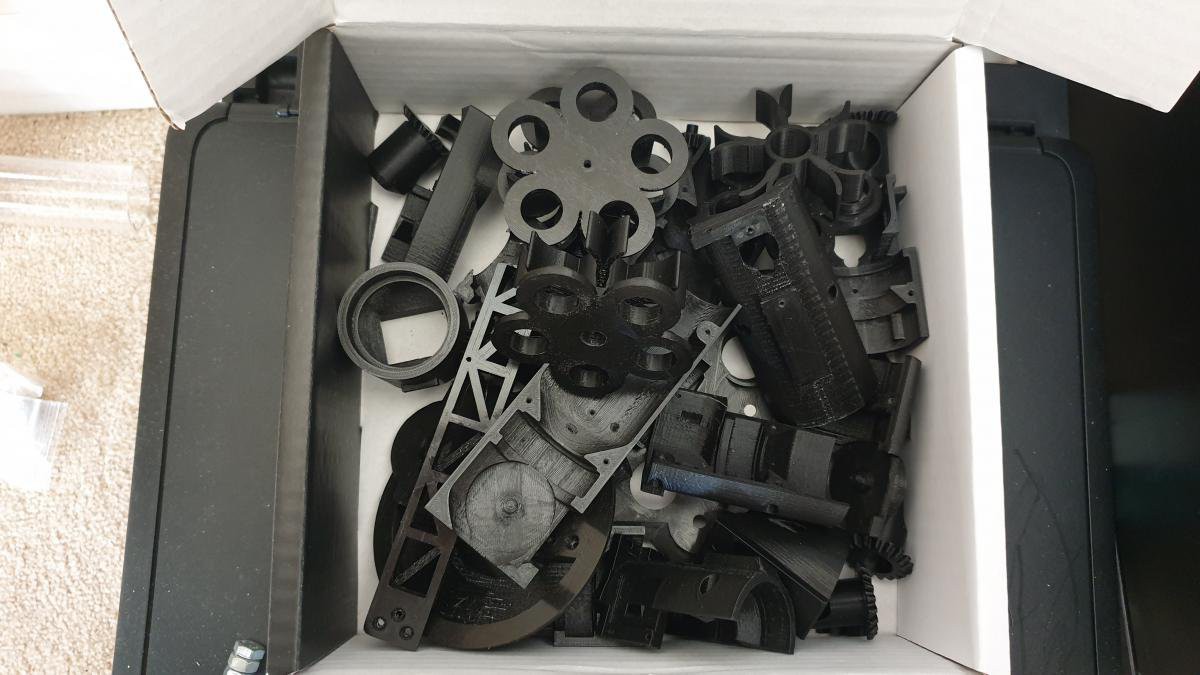
About 3.5 years ago I started design a much funkier color sorting machine and like many of my projects it ended up half finished collecting dust on the window ledge (I am sure nobody else can relate to this haha) .
Long story short, a few months ago I decided to pick up this old project back up . The first thing I needed to work out was how to collect skittles from a reservoir and check their color quite reliably while keeping the system as compact as I could (which I failed to achieve the first time) . I managed talking myself into designing a simpler color sorting machine just to get the design of the collection system right . I foolishly thought It would be a 2 weekends job ,nice, easy and quick... Oh boy!!! was I wrong...
I took me 2 completely different design and many tweaked prototypes to get something that work in a acceptable manner (I am still experiencing some pick up issues from time to time) .
Even though it's not perfect I am quite pleased with the result .
HOW DOES IT WORKS ?
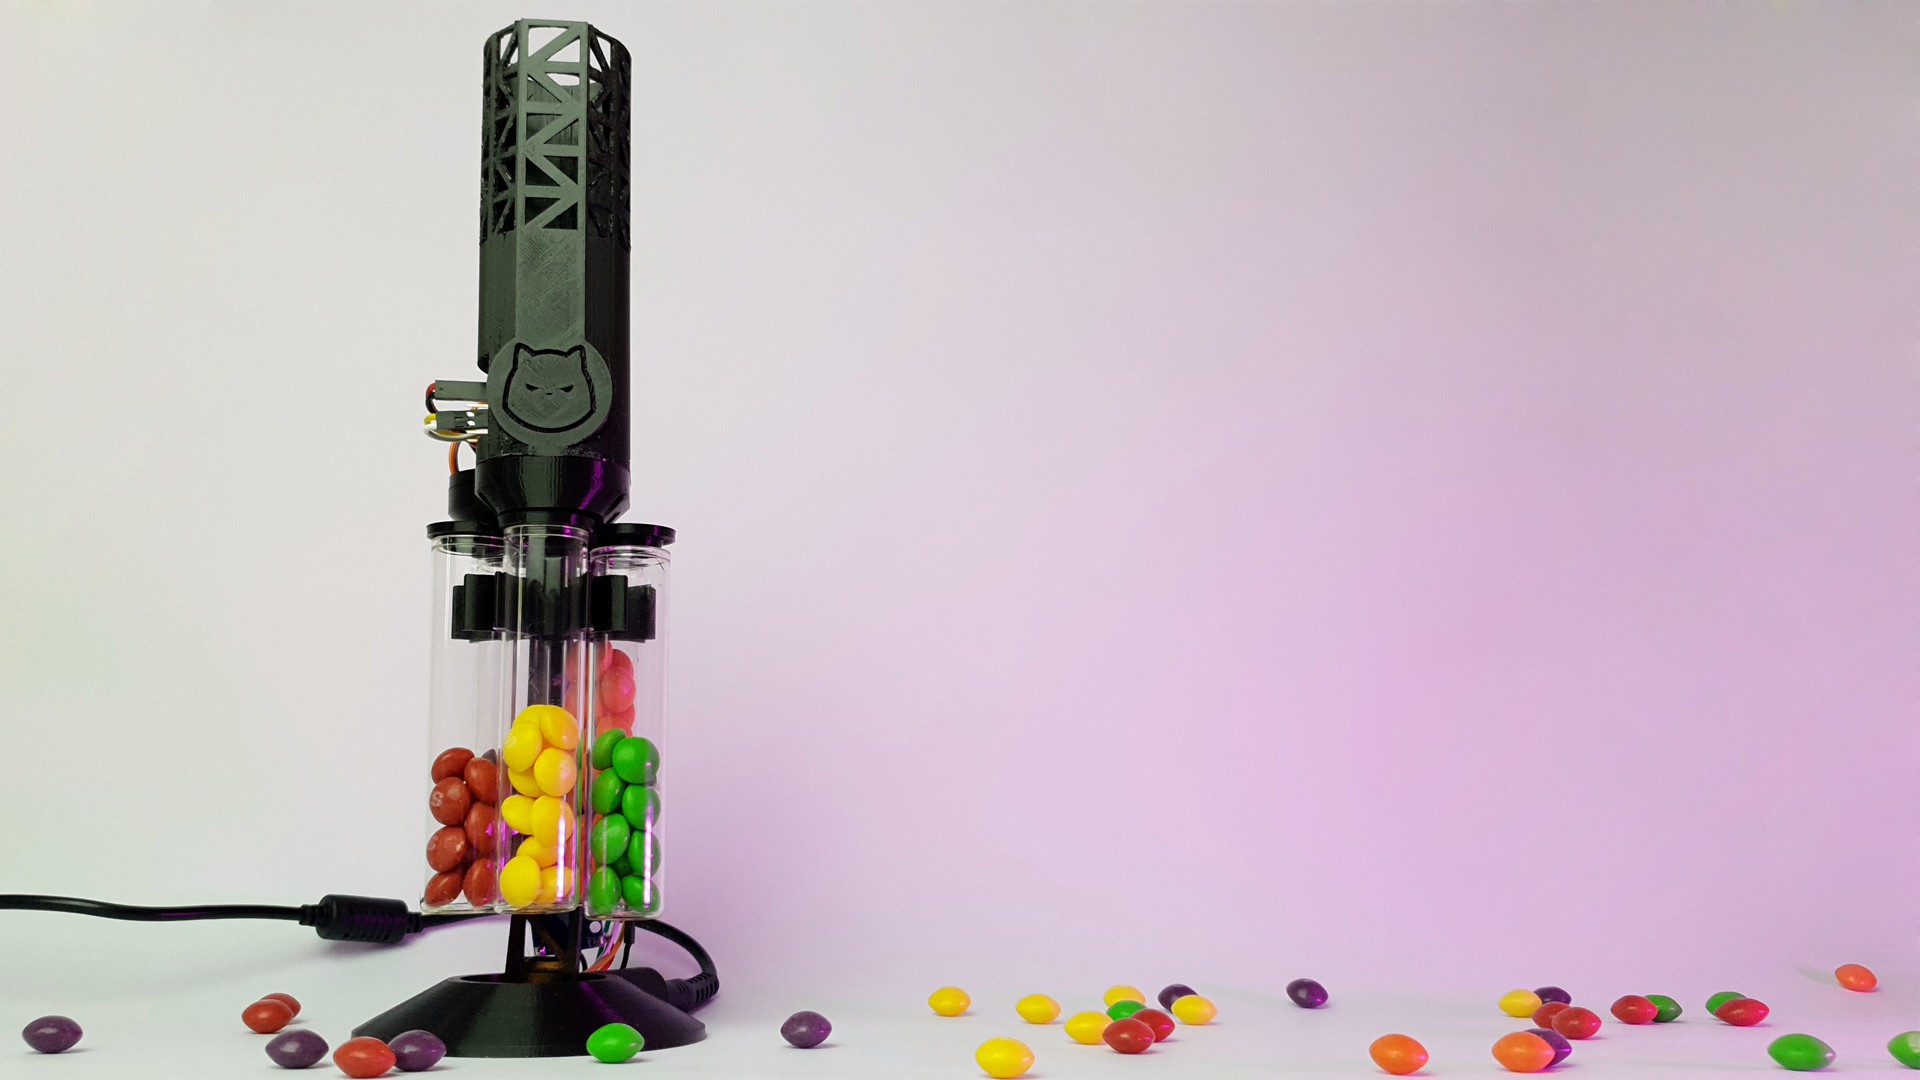
The machine can be split in 2 main stages .
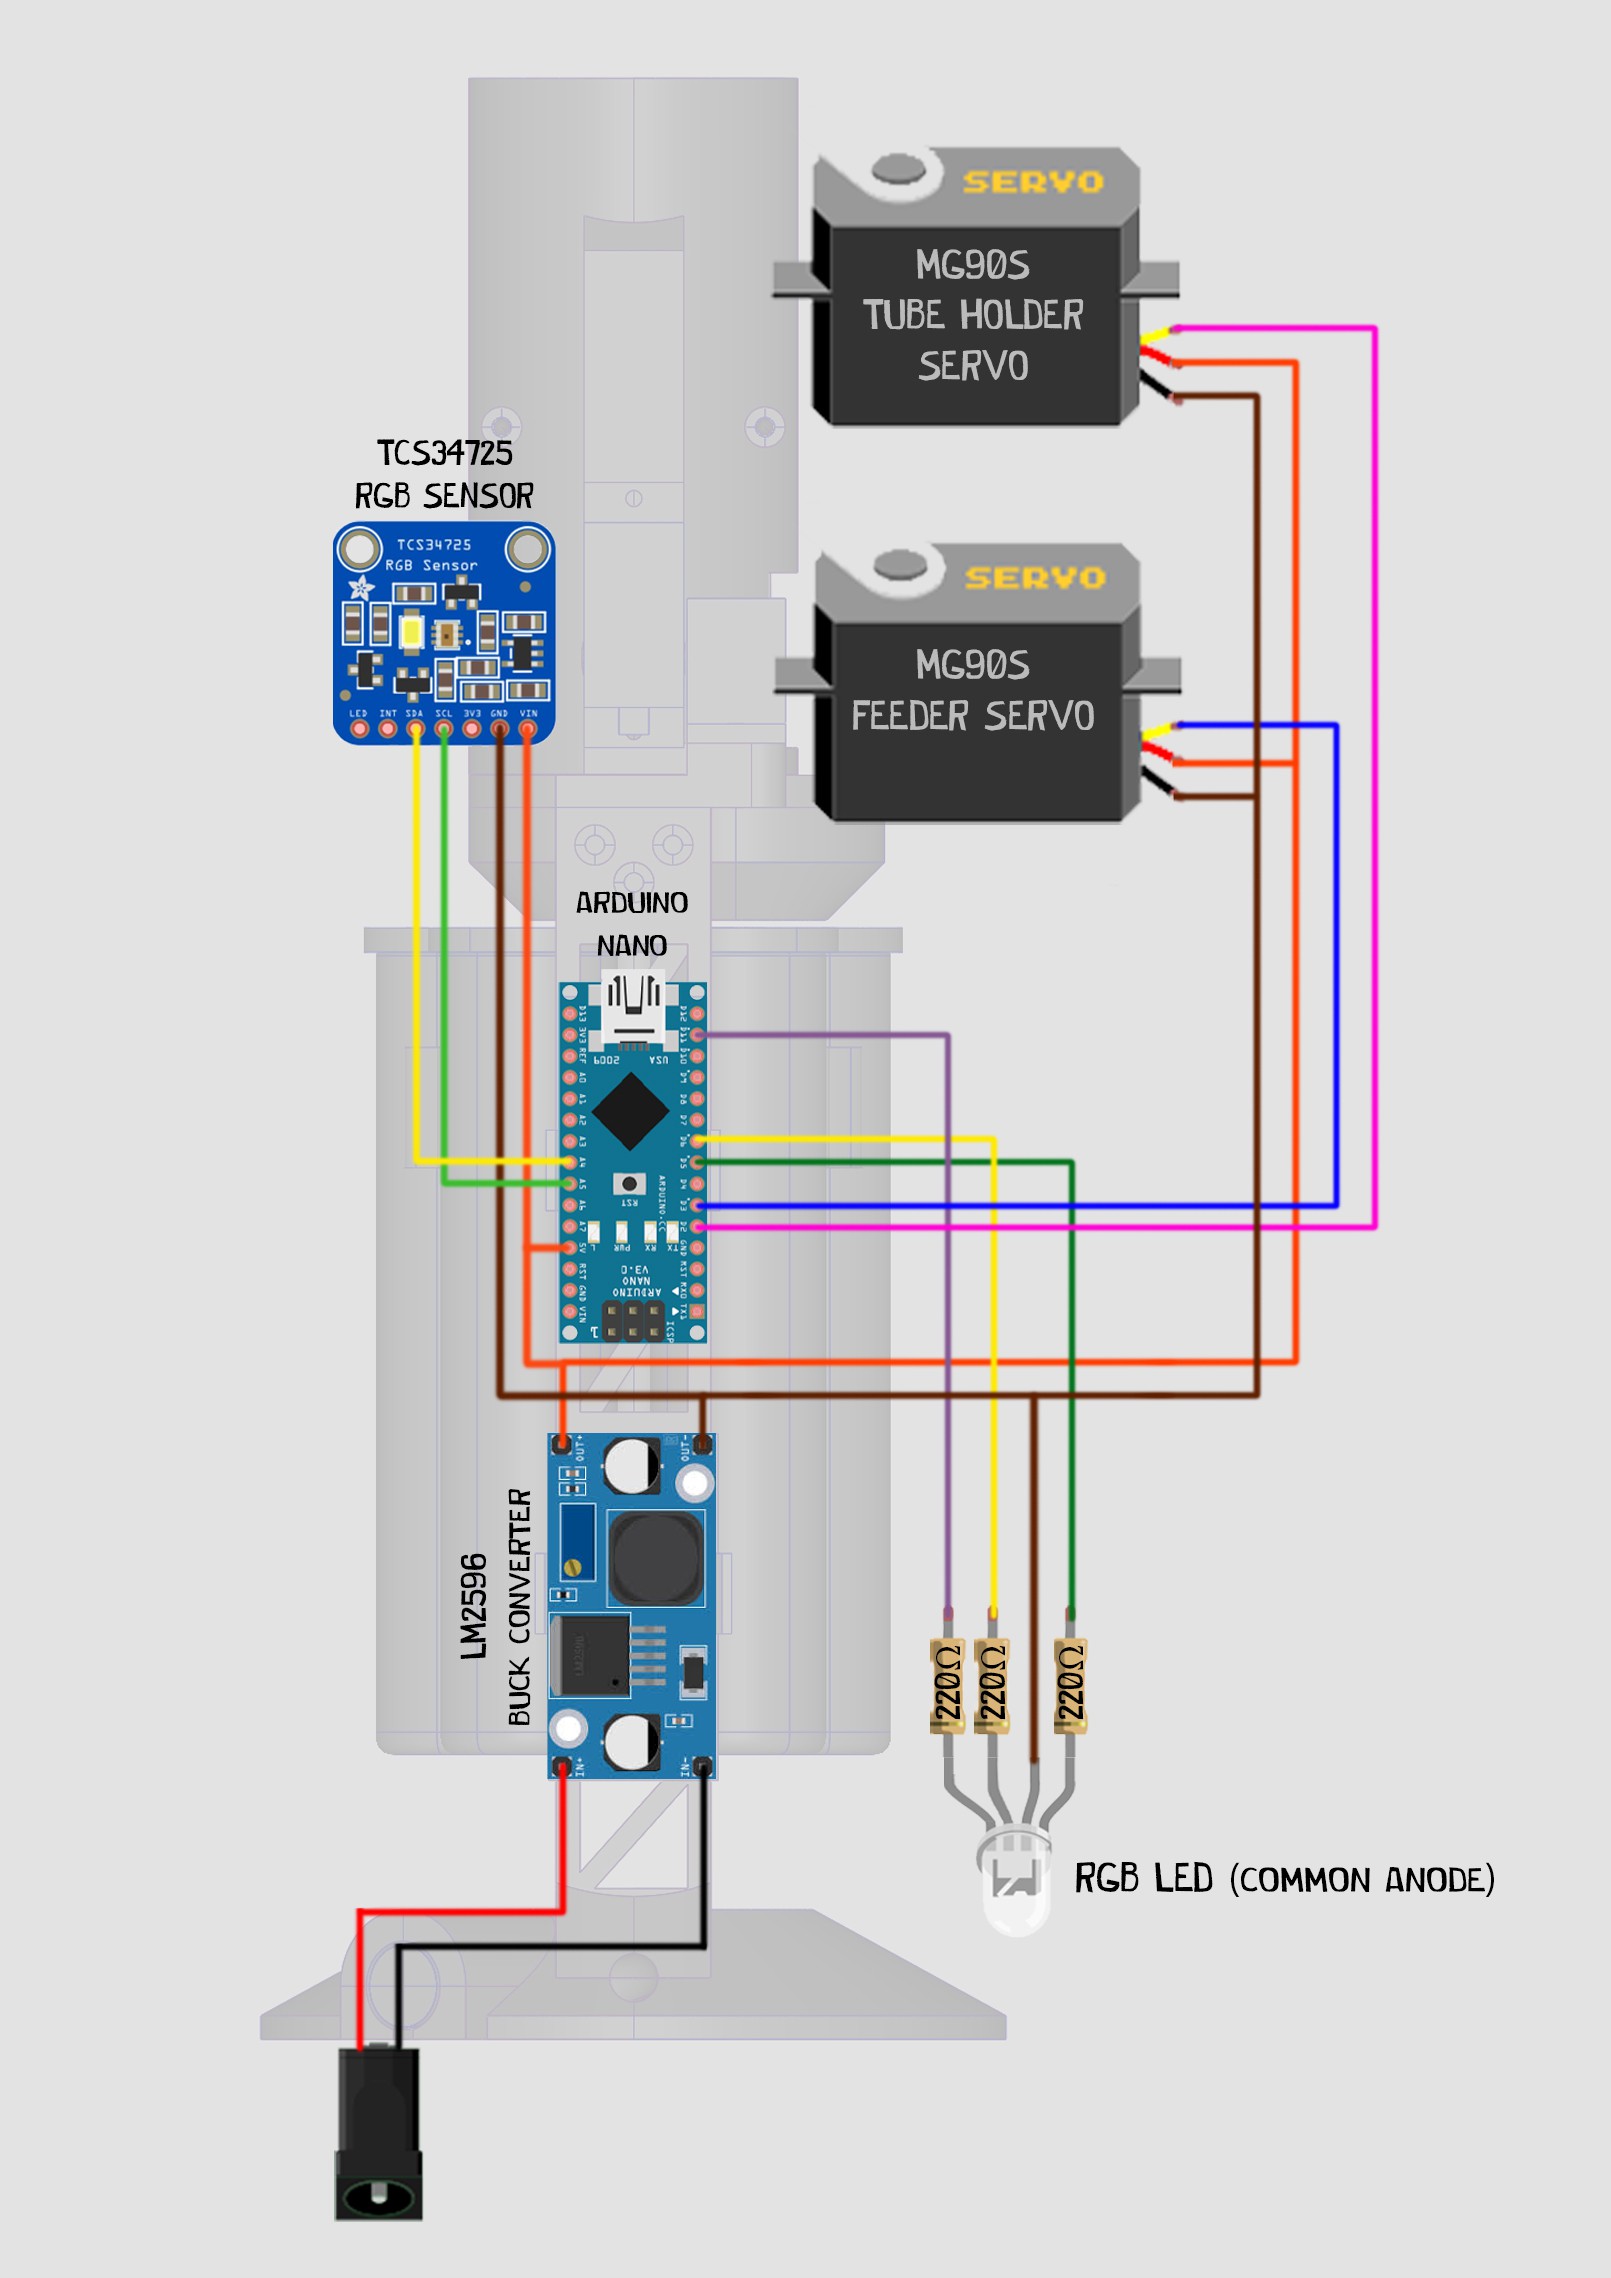
At the top you can find the reservoir for the unsorted Skittles . At the bottom of this reservoir is the feeding mechanism responsible for collecting skittles and positioning them in front of the color sensor where their color will be checked .
The feeding mechanism include an arm that shakes the content of the reservoir to make sure the Skittles flow nicely through the orifice of the feeding mechanism without jamming inside the reservoir ( unfortunately it still happen sometime ) .
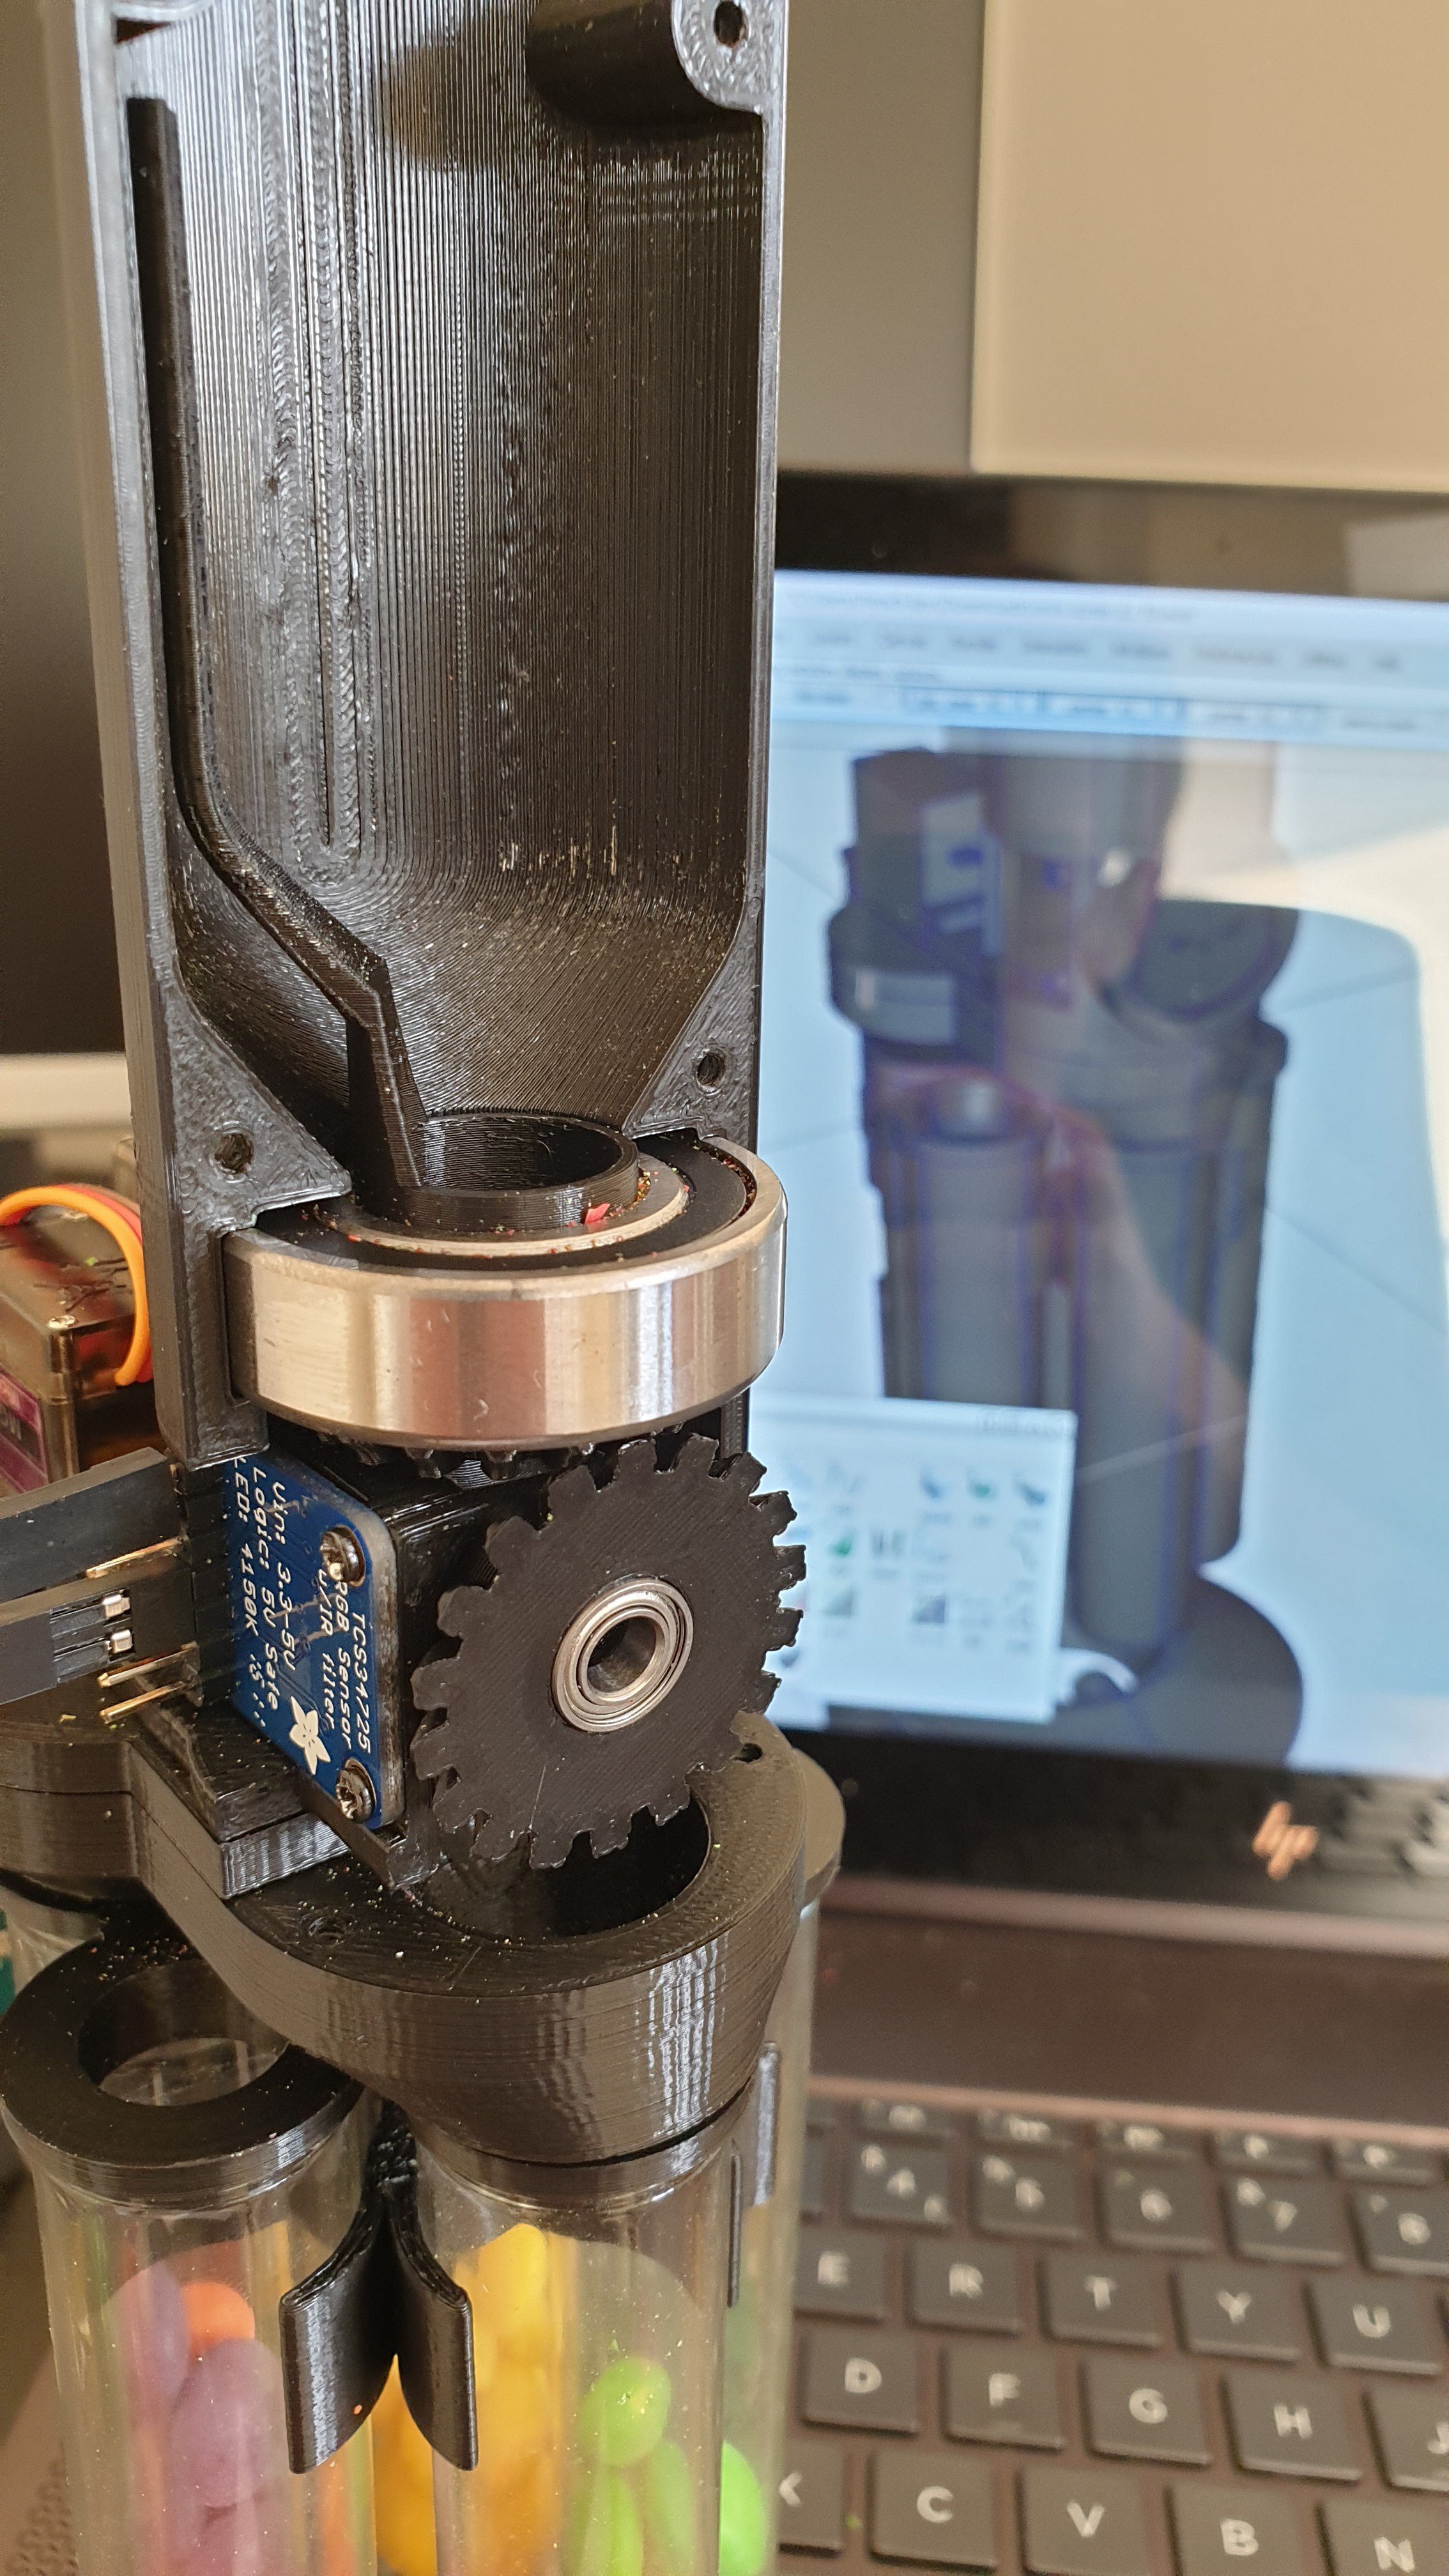
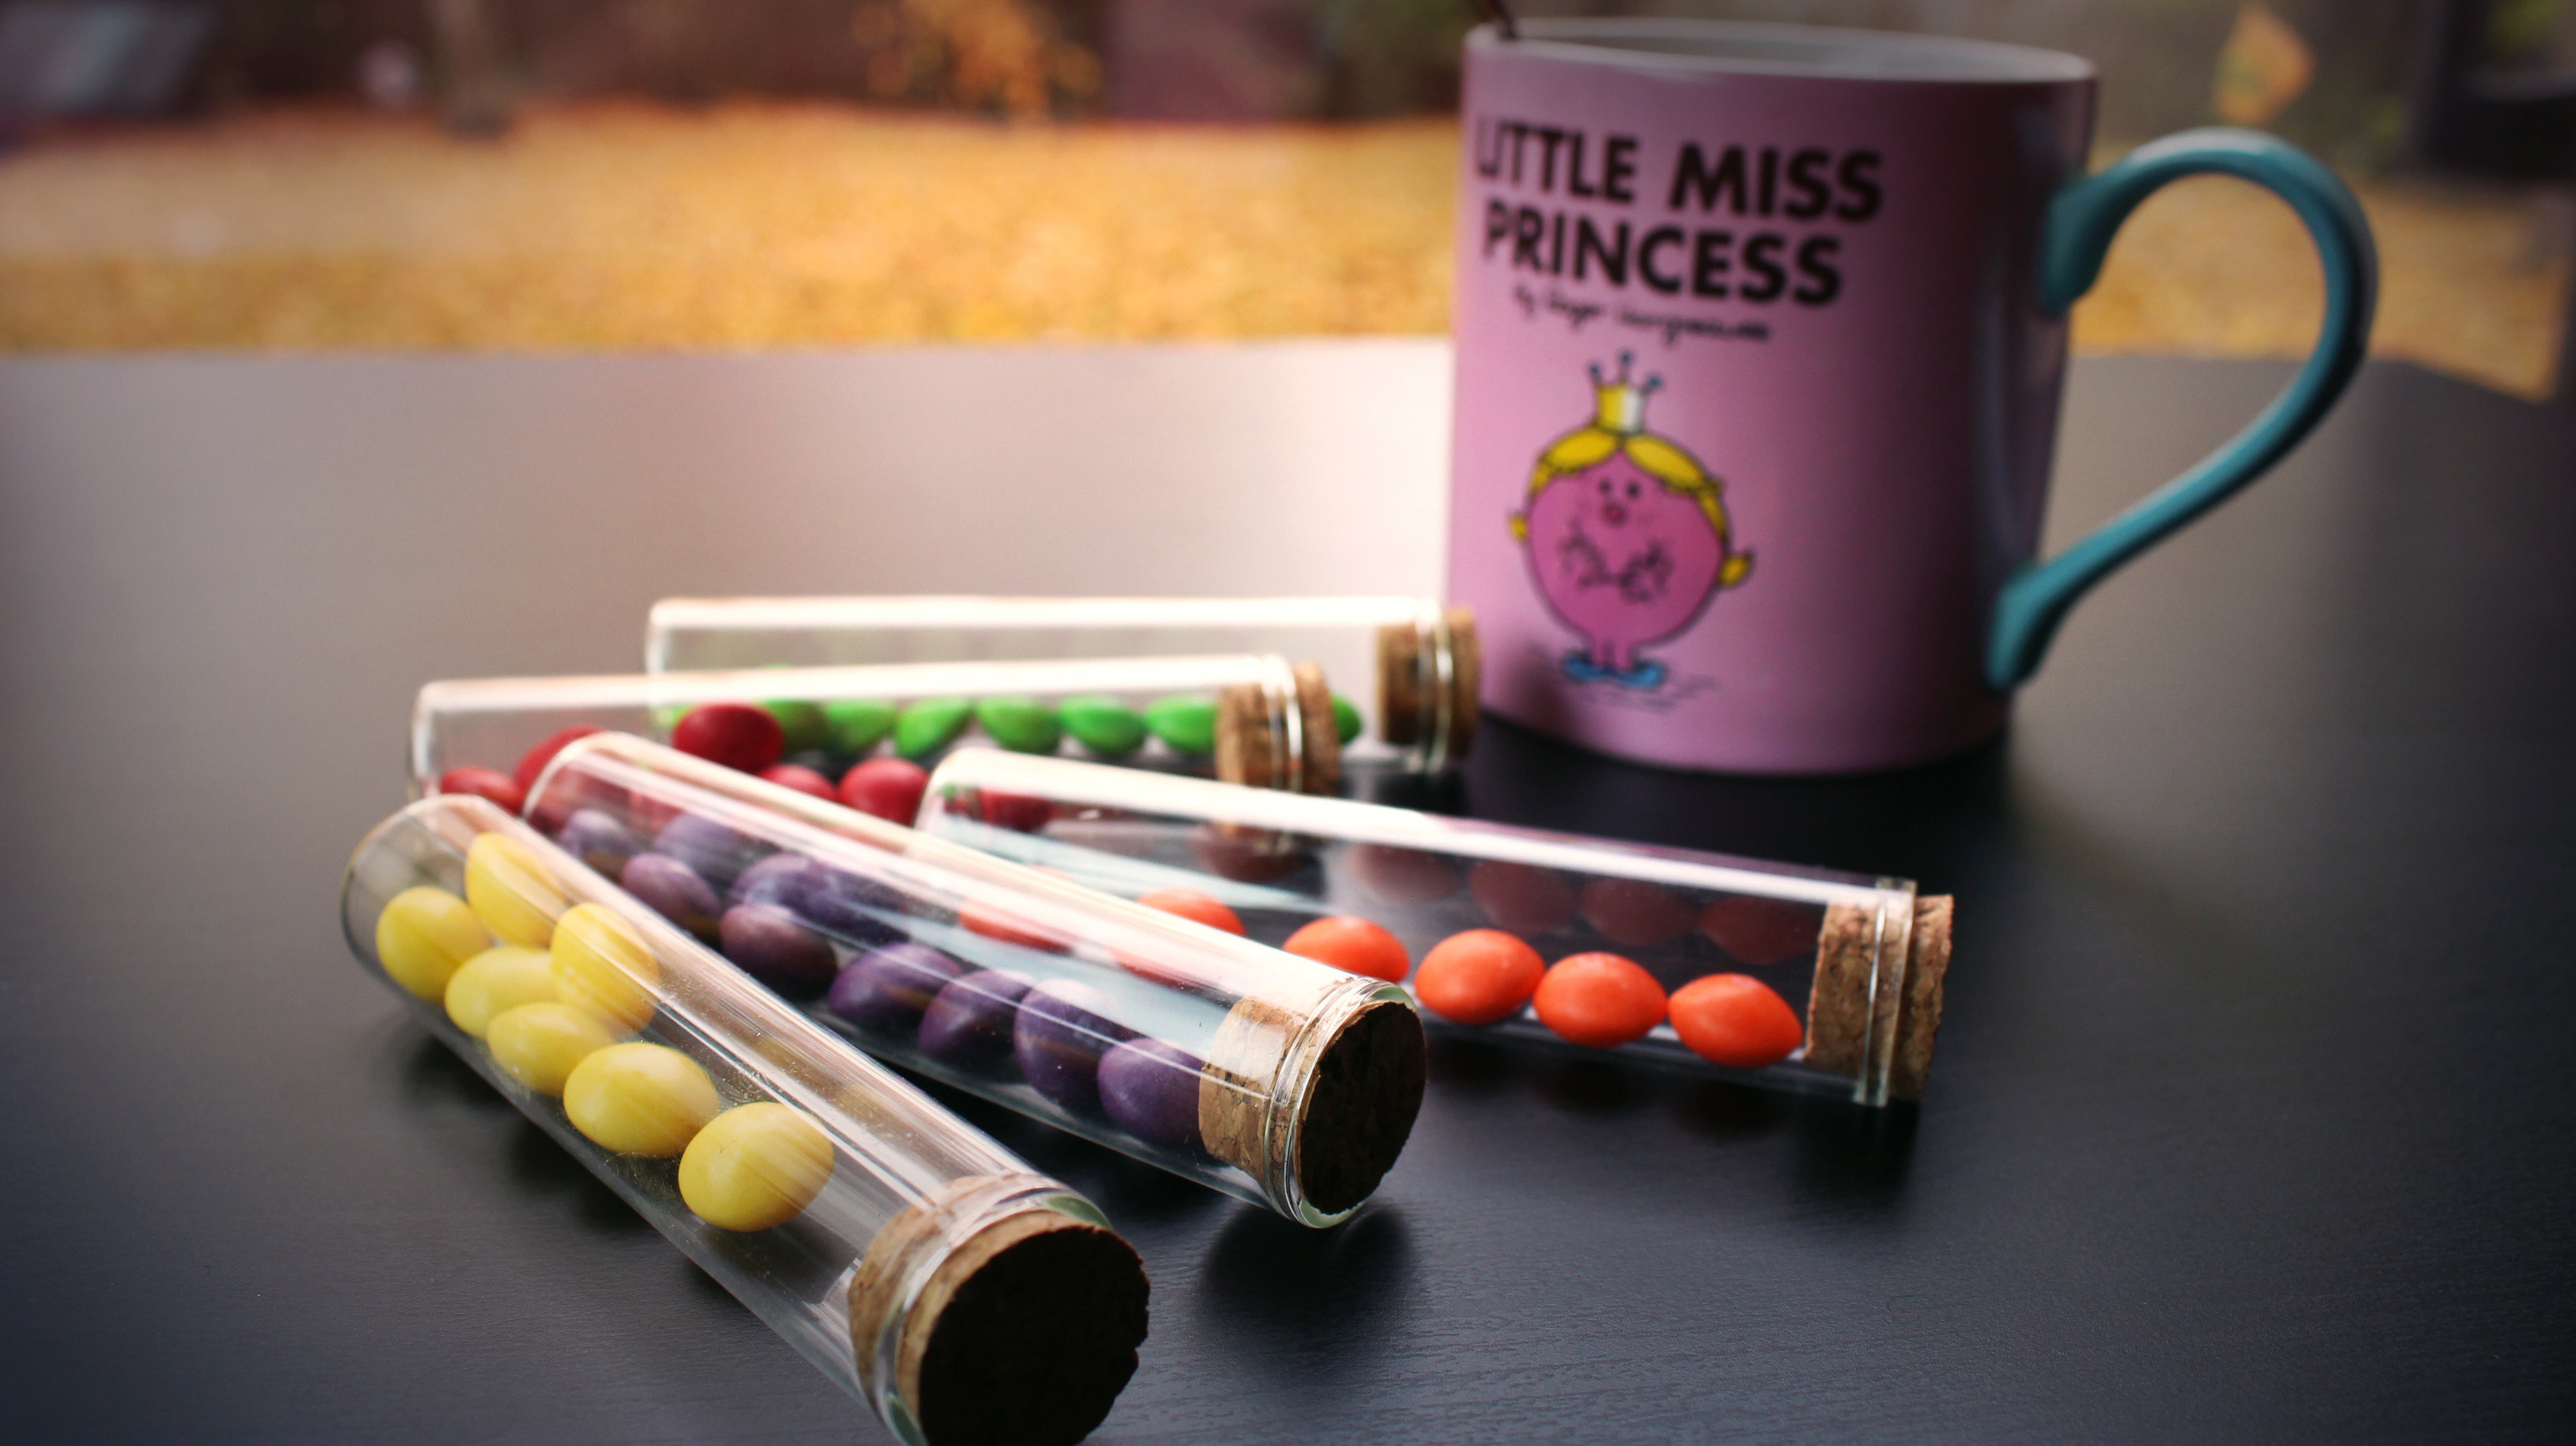
Once the color of the skittle has been found, the second stage of the machine comes into action . The test tubes holder align the right tube in front of the feeding mechanism for the skittle to be dropped in .
The cycle can then be repeated until the reservoir is empty .
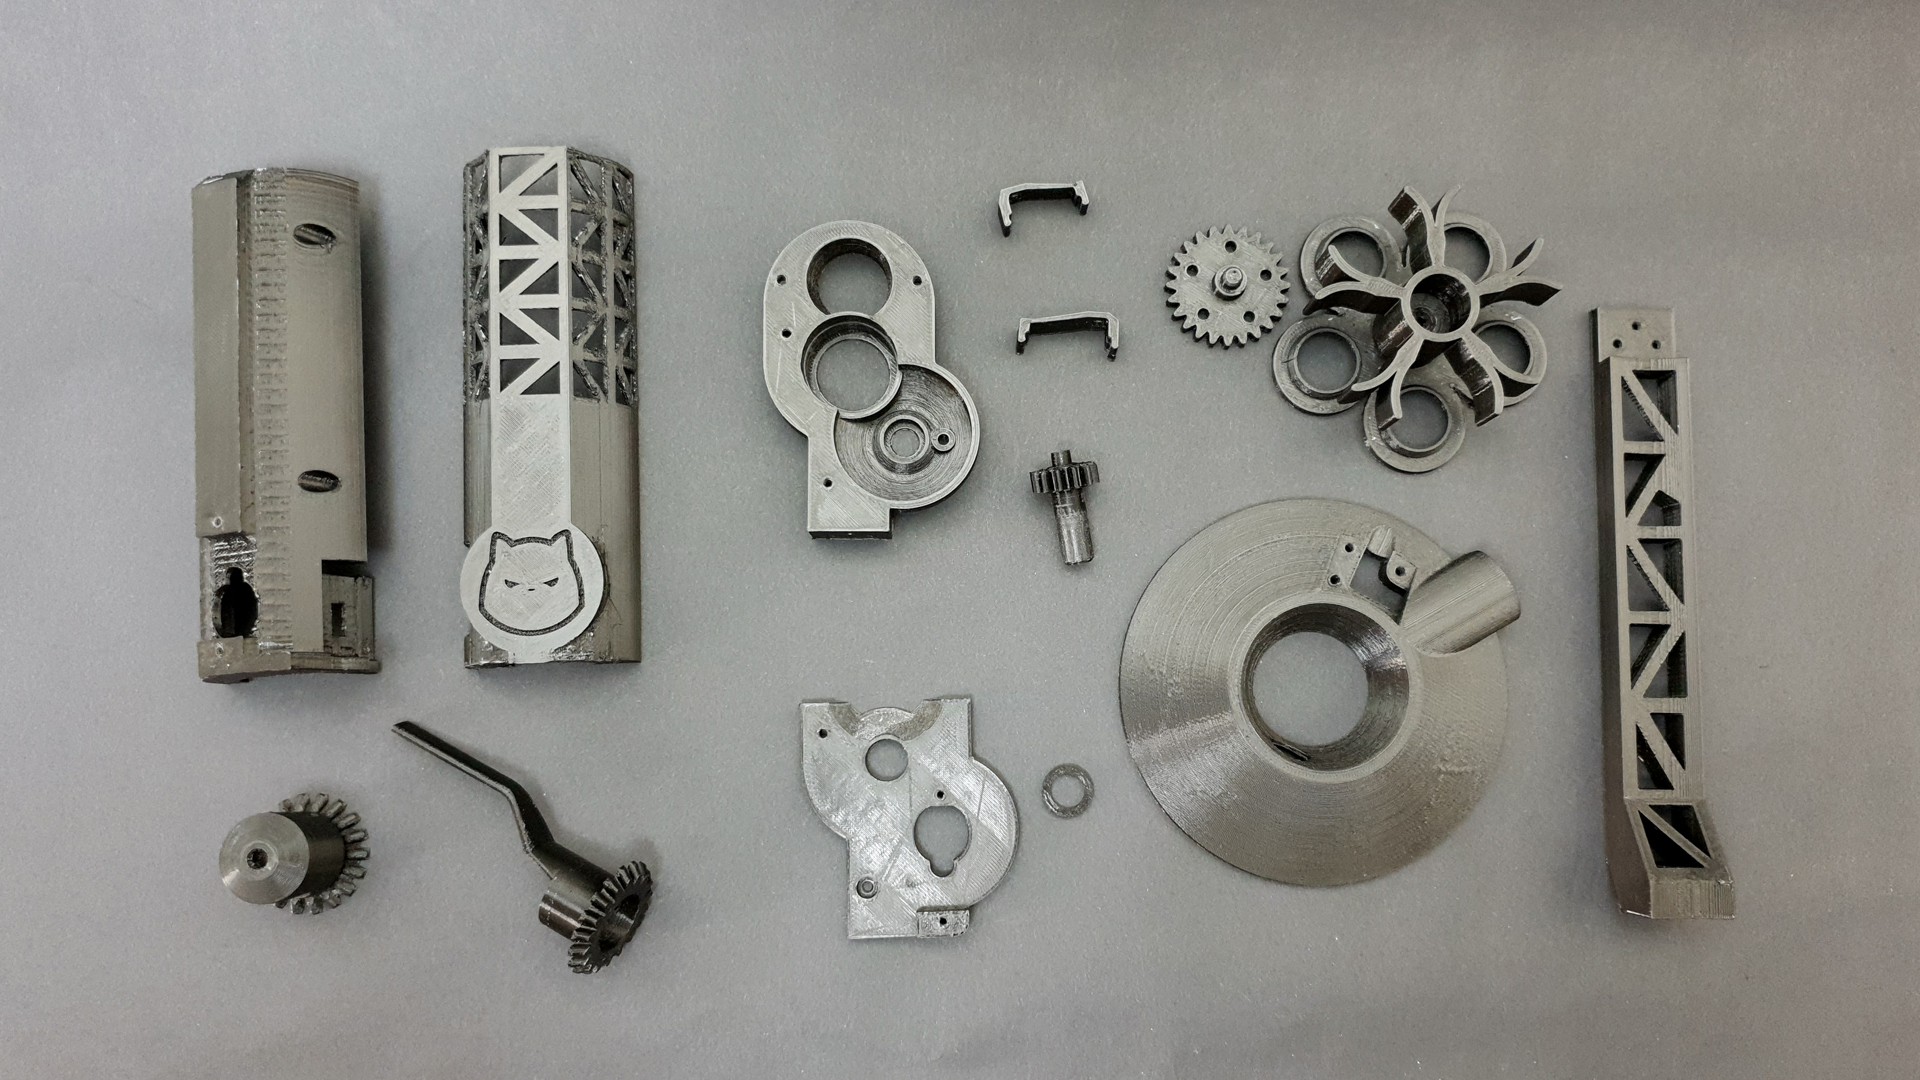
WANT TO MAKE YOUR OWN???


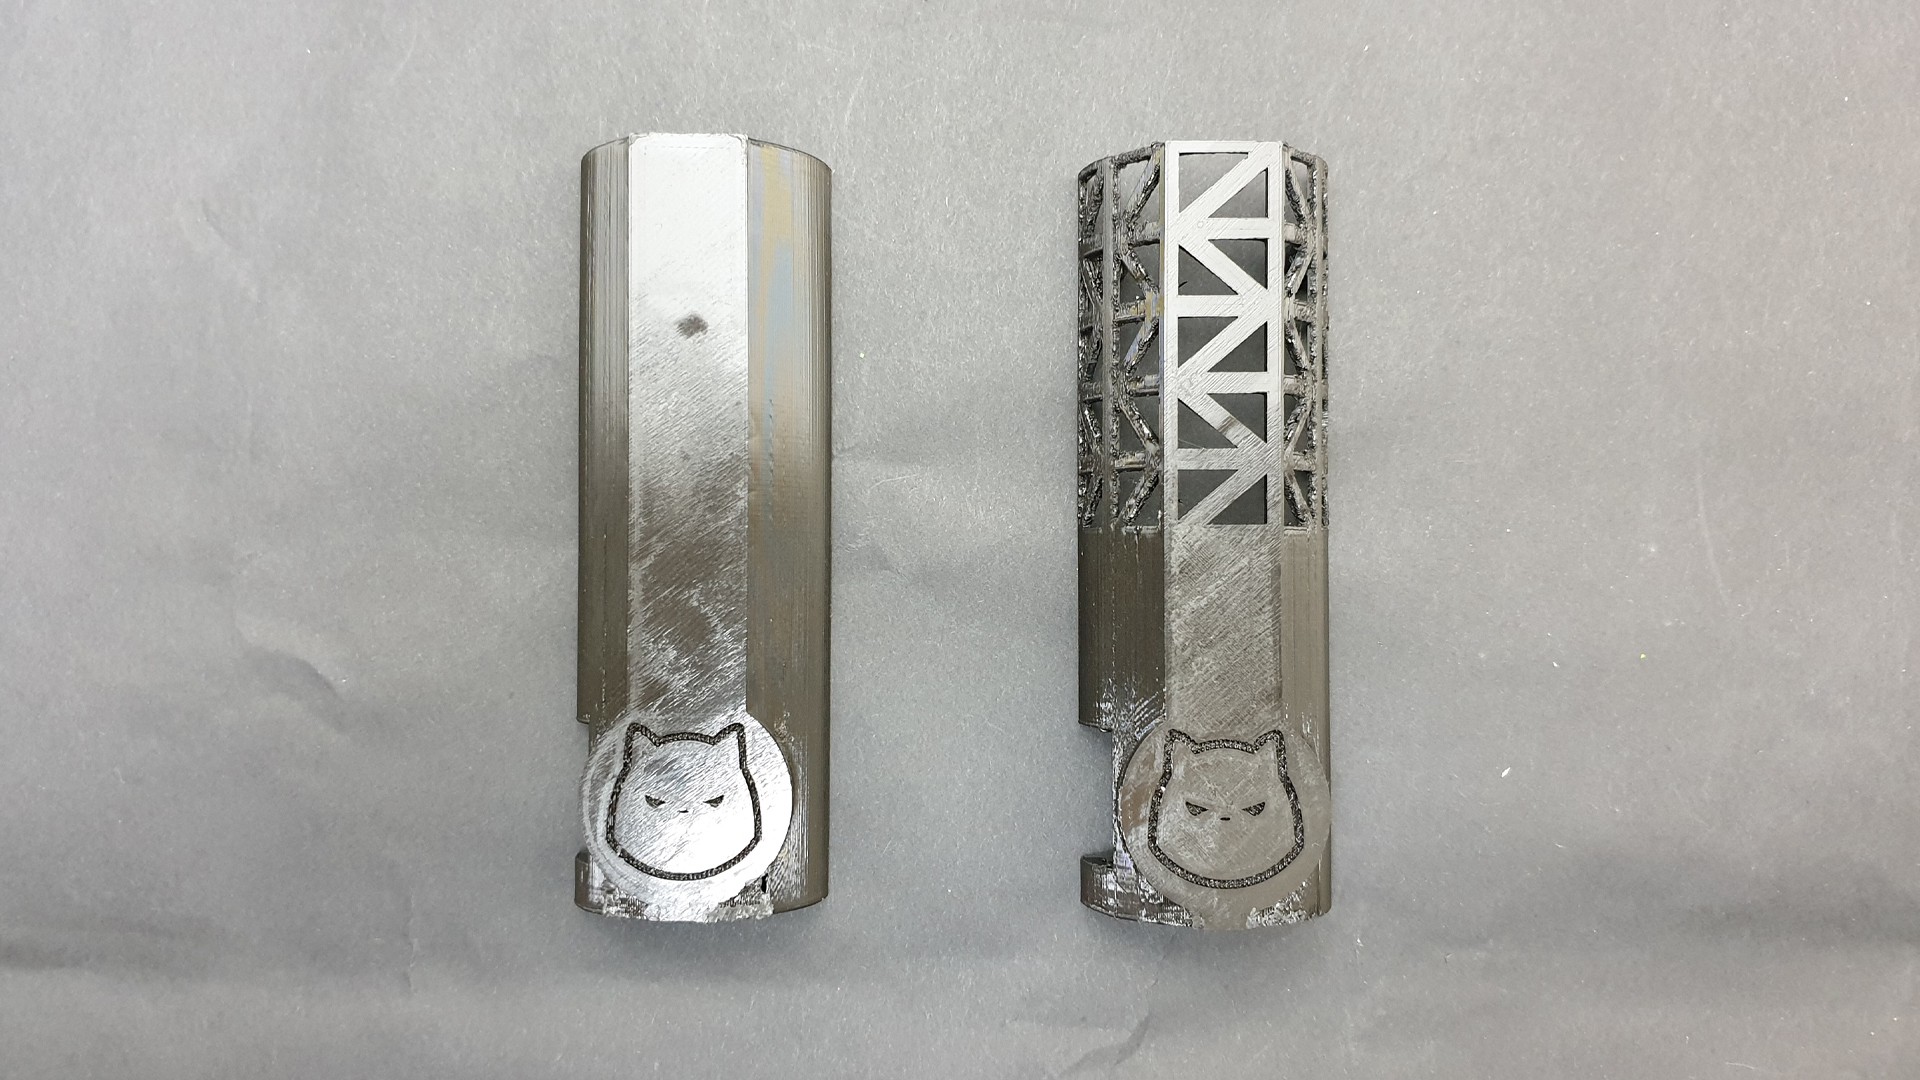
BONUS PHOTO FOR NO REASON .


 Adam Harper
 jupdyke

 zittware
Neat! Also photos and video look great.