 Ahron Wayne
A couple of years ago, I broke my first 3D printer during a replacement of the fan. Up in smoke the mainboard went, never to turn on again --- until now. Life has been breathed into it again in the form of a Raspberry pi 4, some easy drivers, some extra motors, and an unholy amount of jumper cables, hot glue, and some other stuff.
Main components:
1: Old Flashforge finder --- the one with the matte surface finish, external power supply, and LED mounted in the front. The new model has a smooth surface finish and LED mounted onto the extruder assembly, but has the same mechanical guts.
2: Raspberry pi 4 (1 gb) ram. I have also used a raspi 3 with this and an older ladybug, but the 4 has a much higher framerate with USB cameras, which is nice. I use it like a desktop with a monitor/keyboard/mouse, but there's no reason you couldn't go headless.
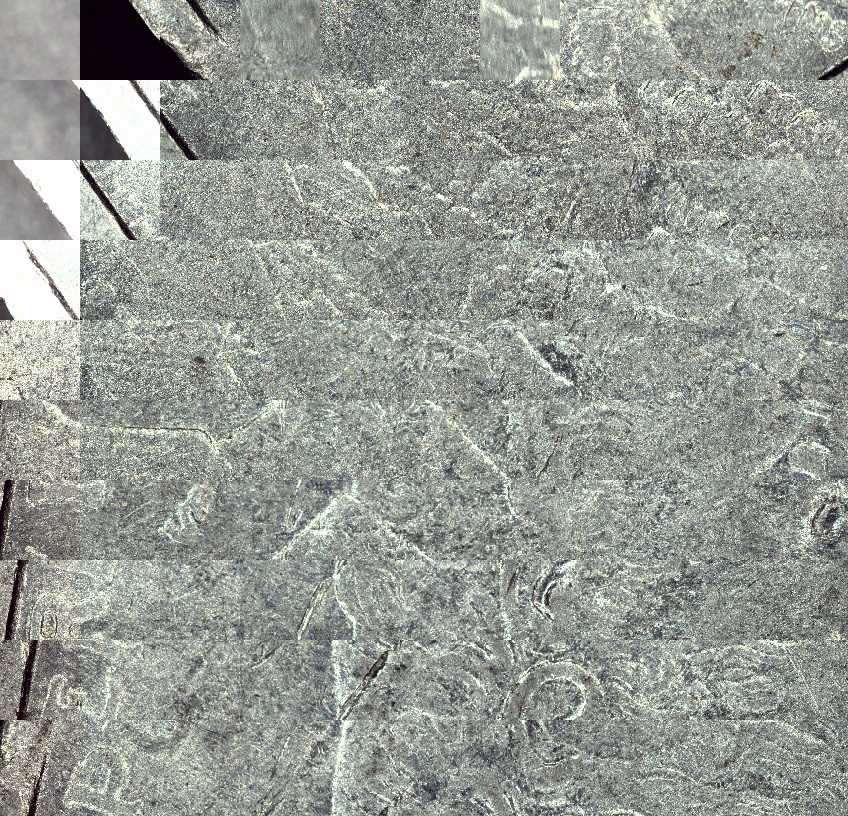
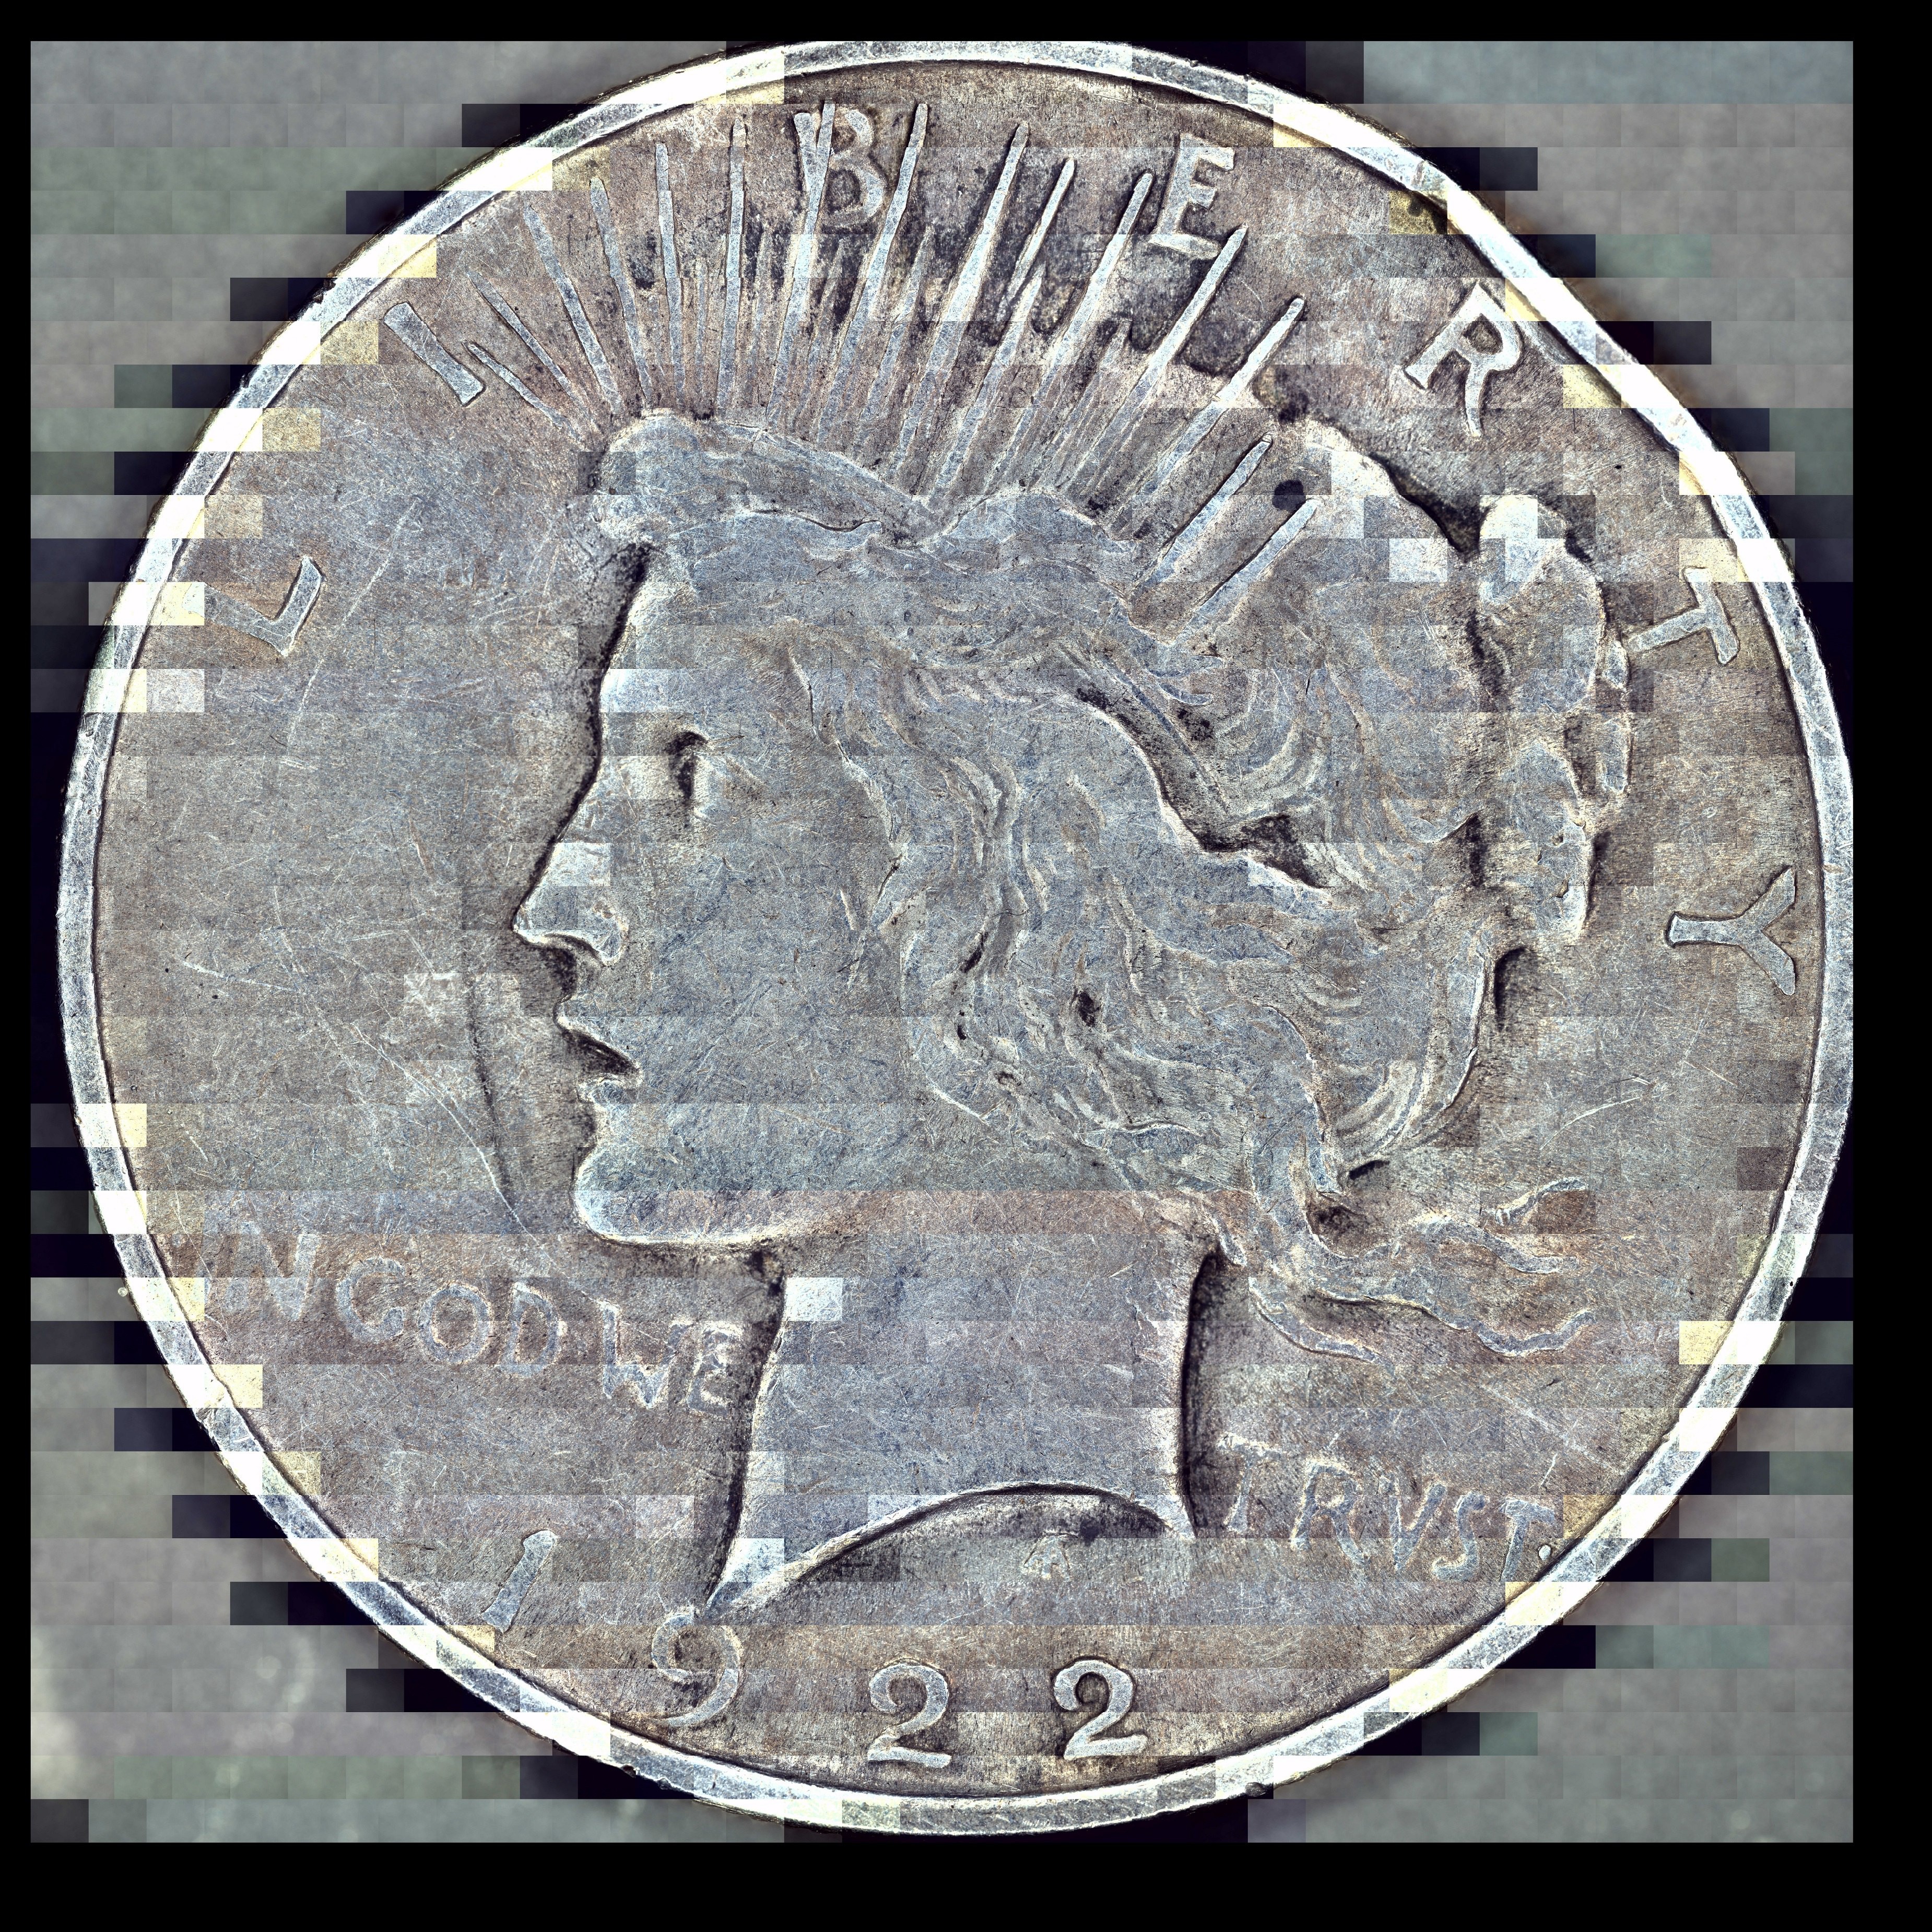
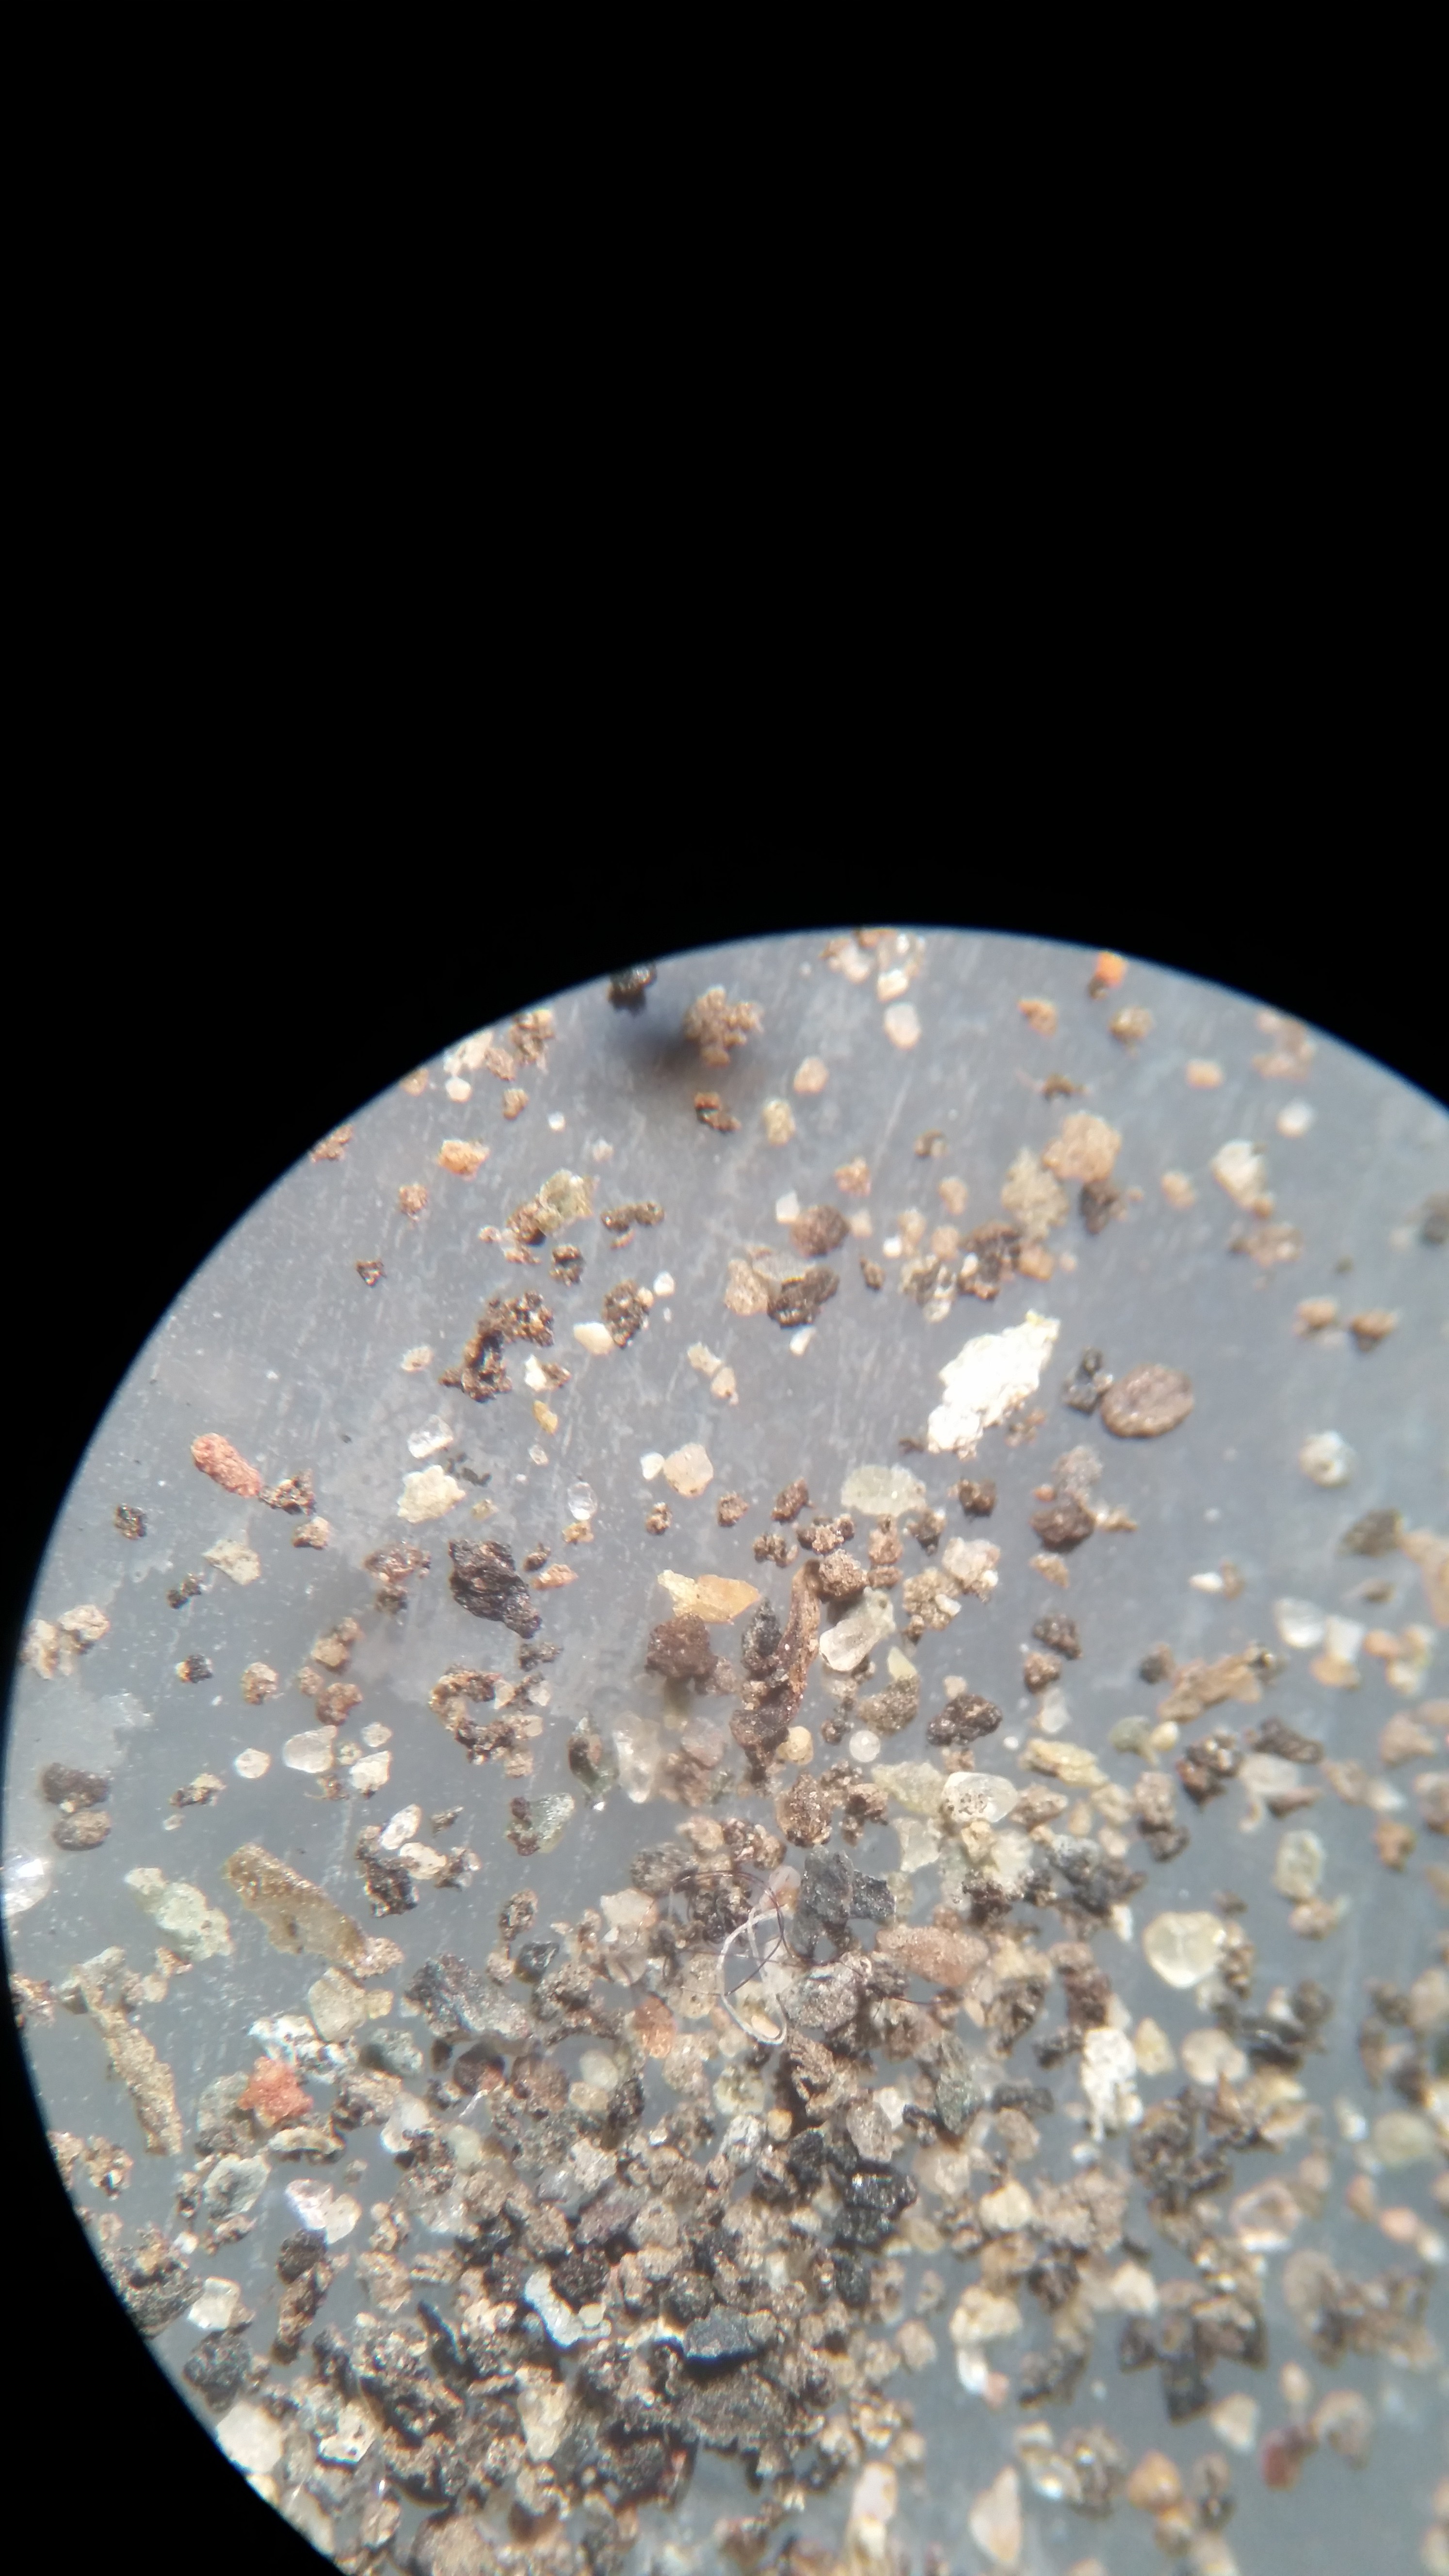
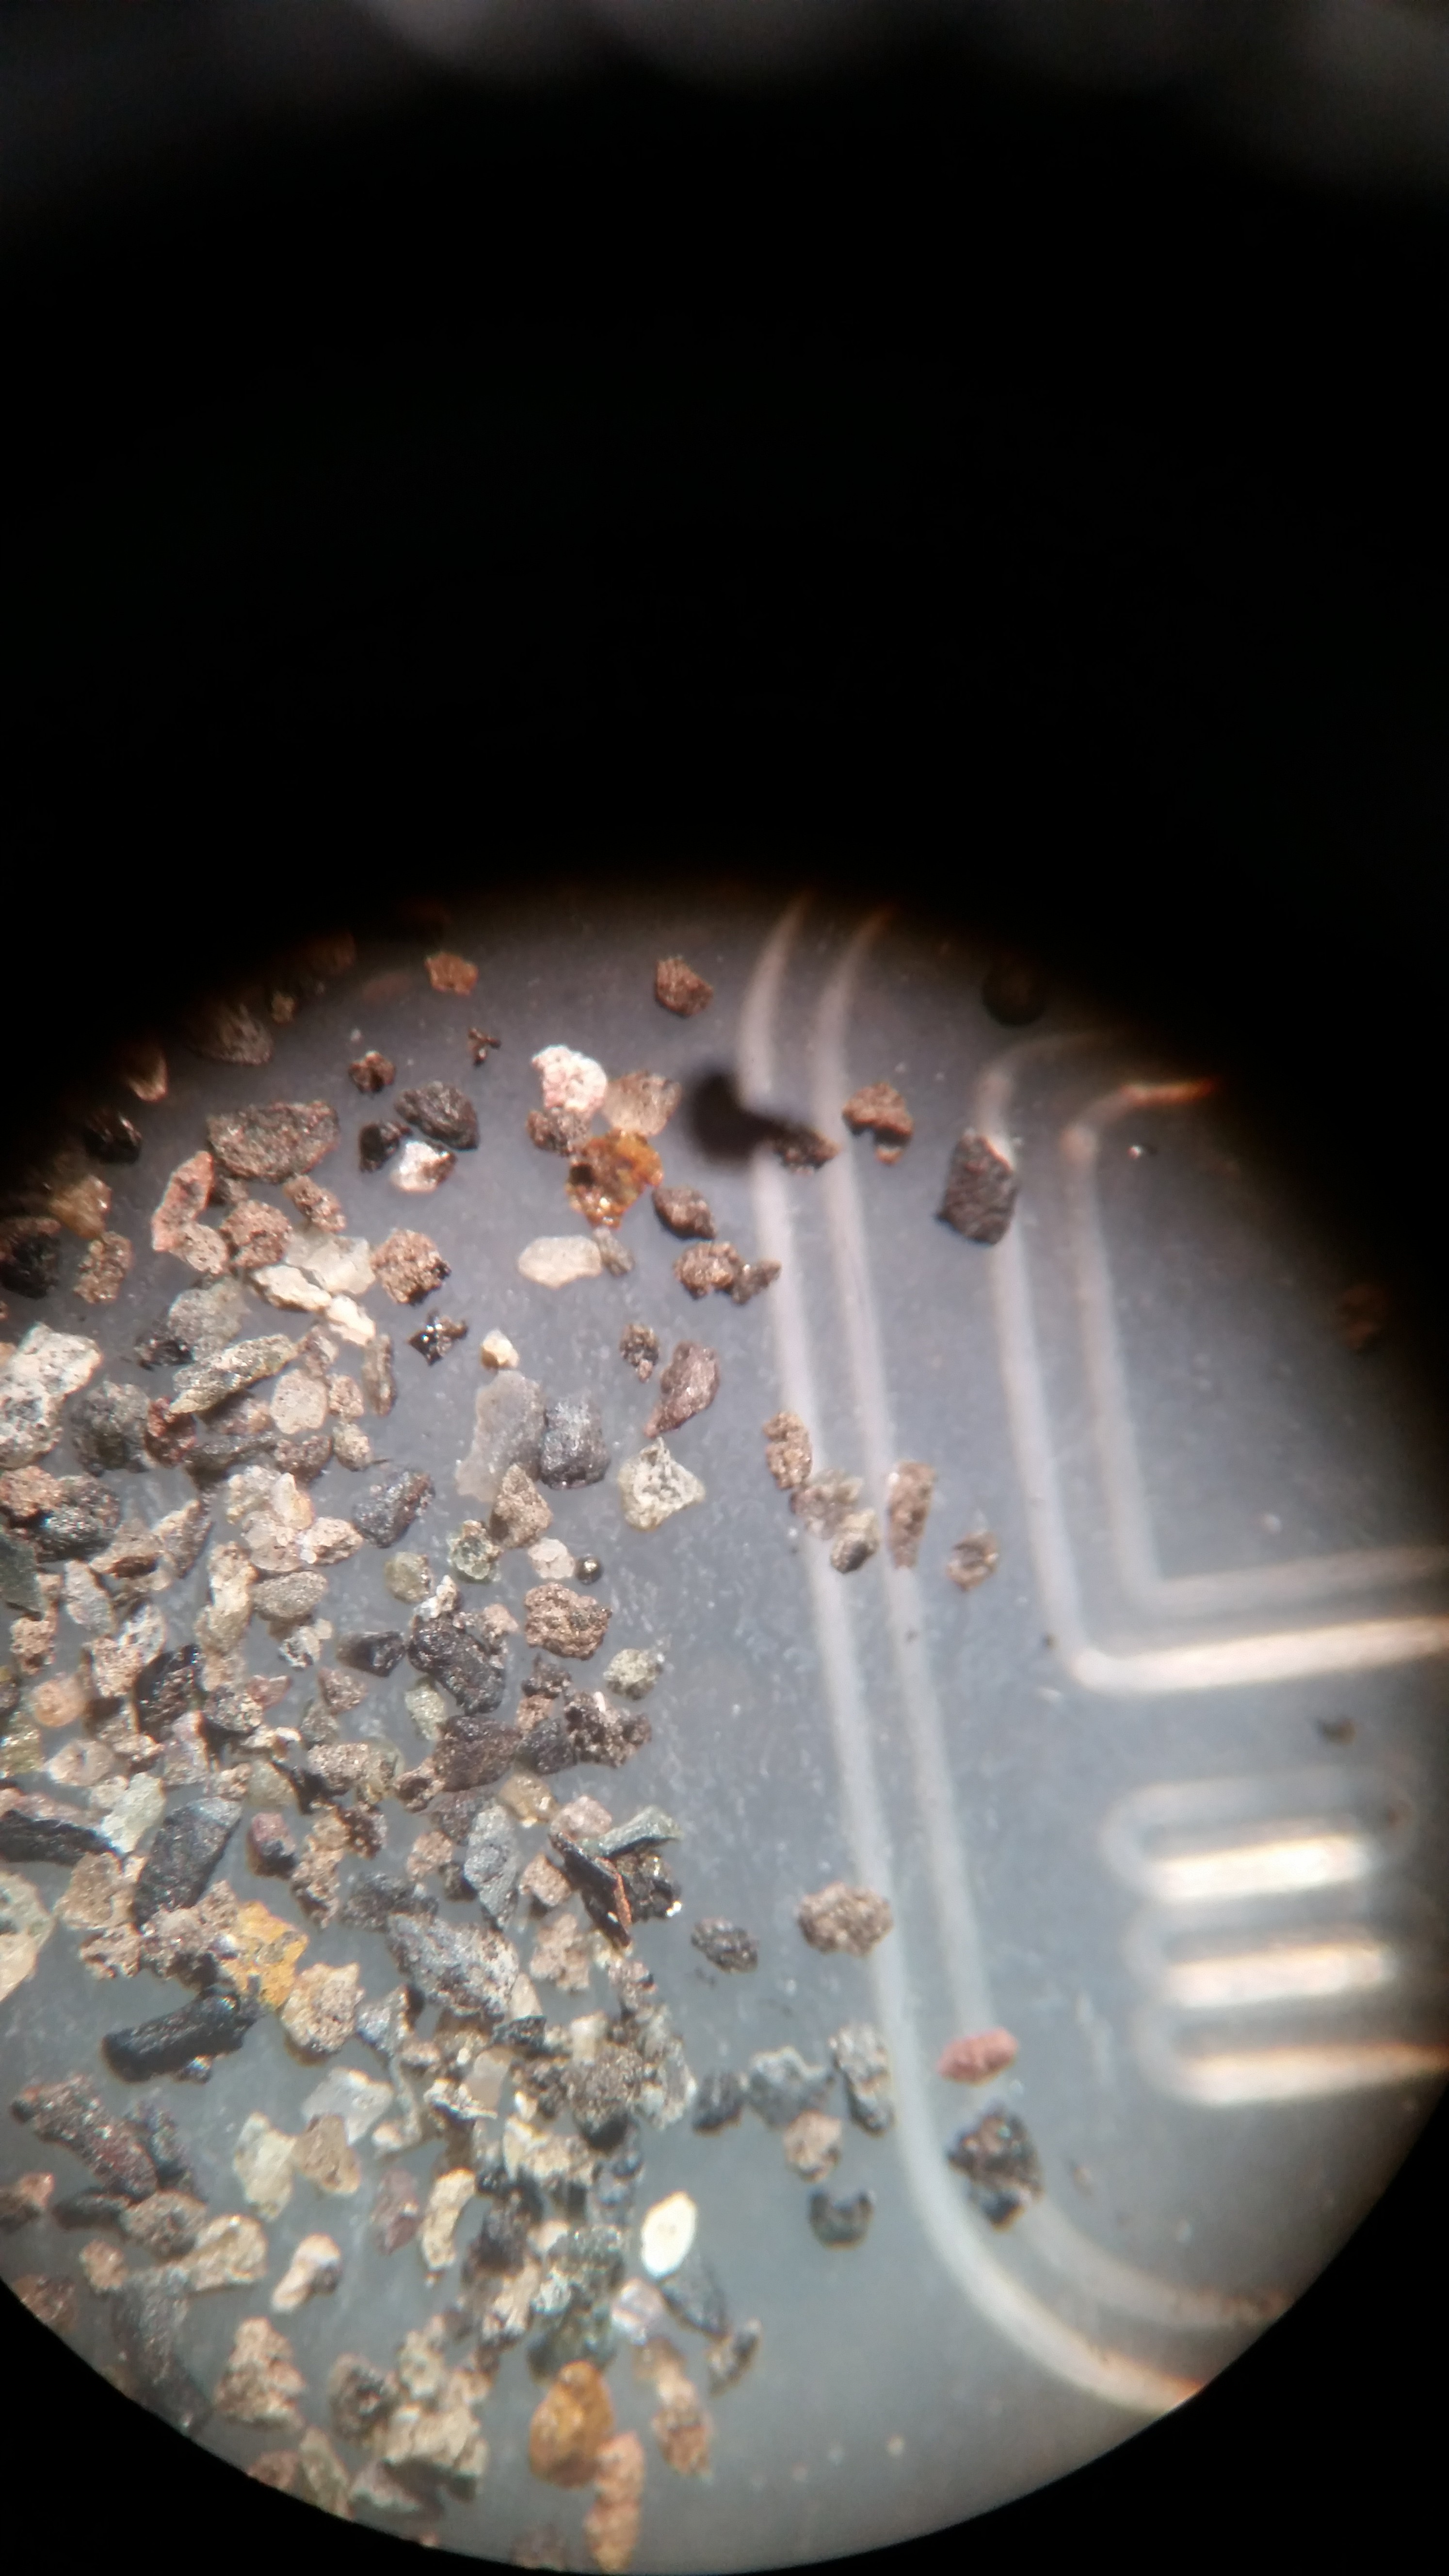
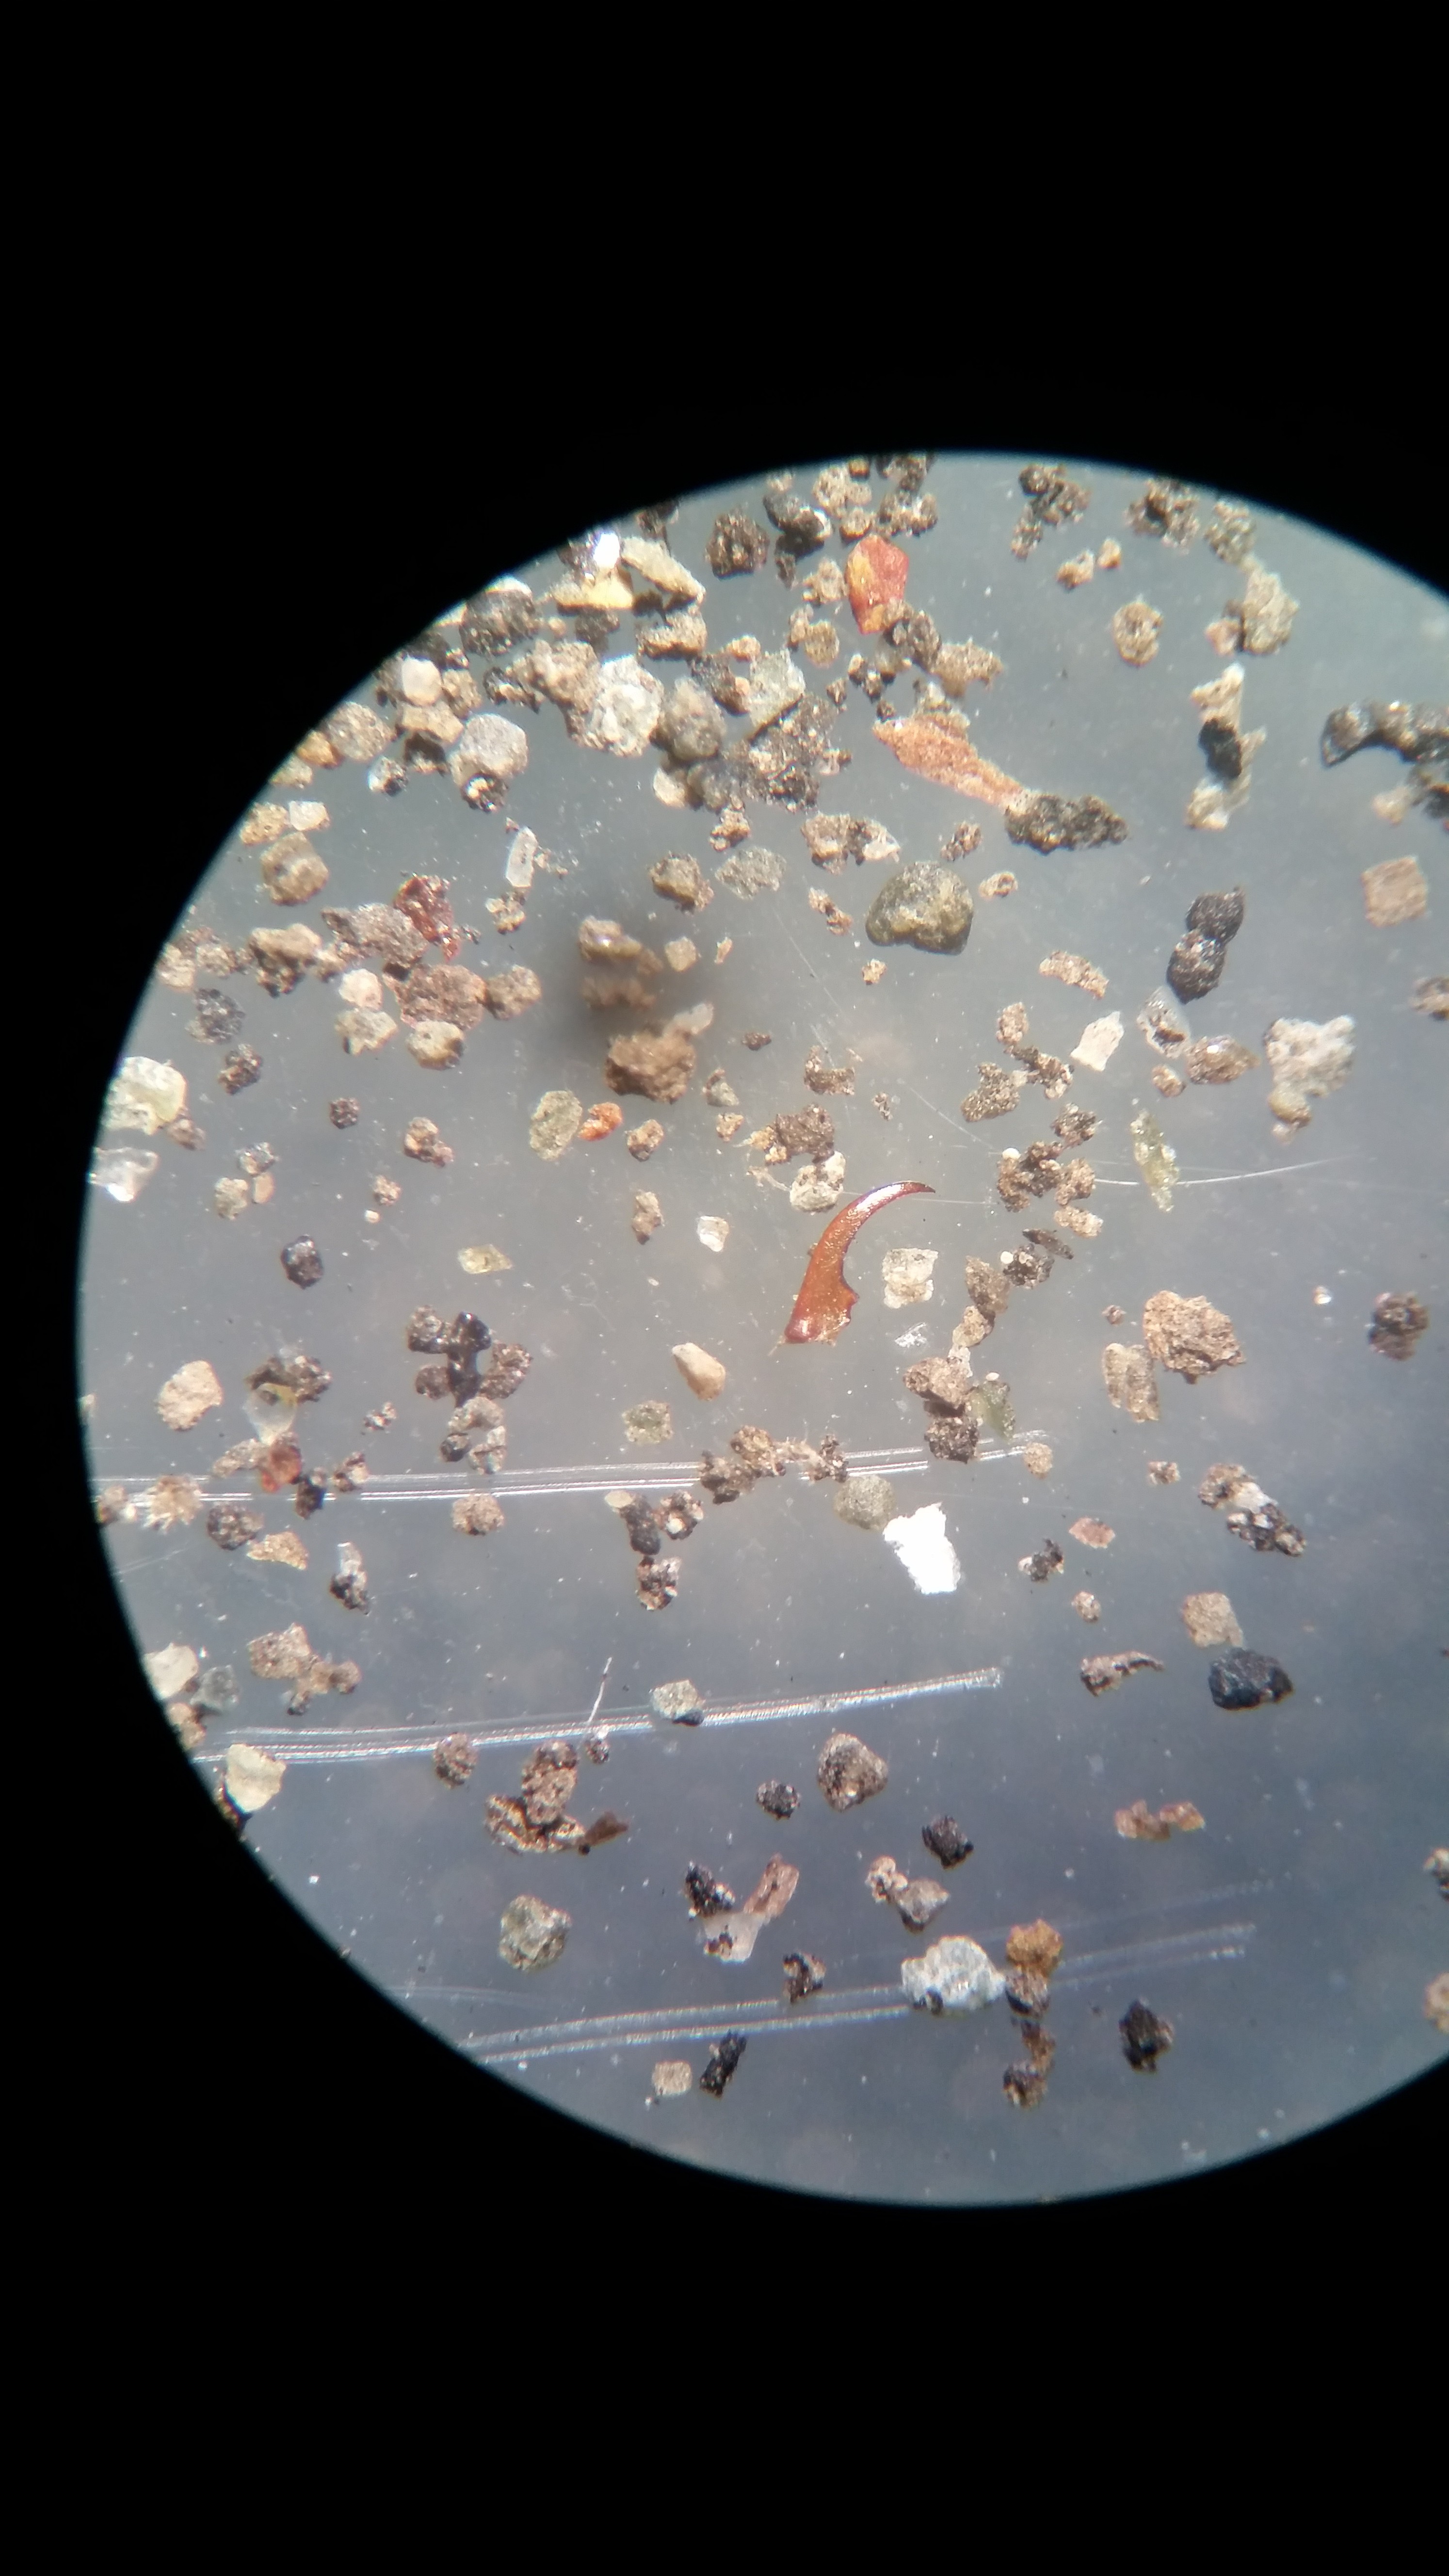
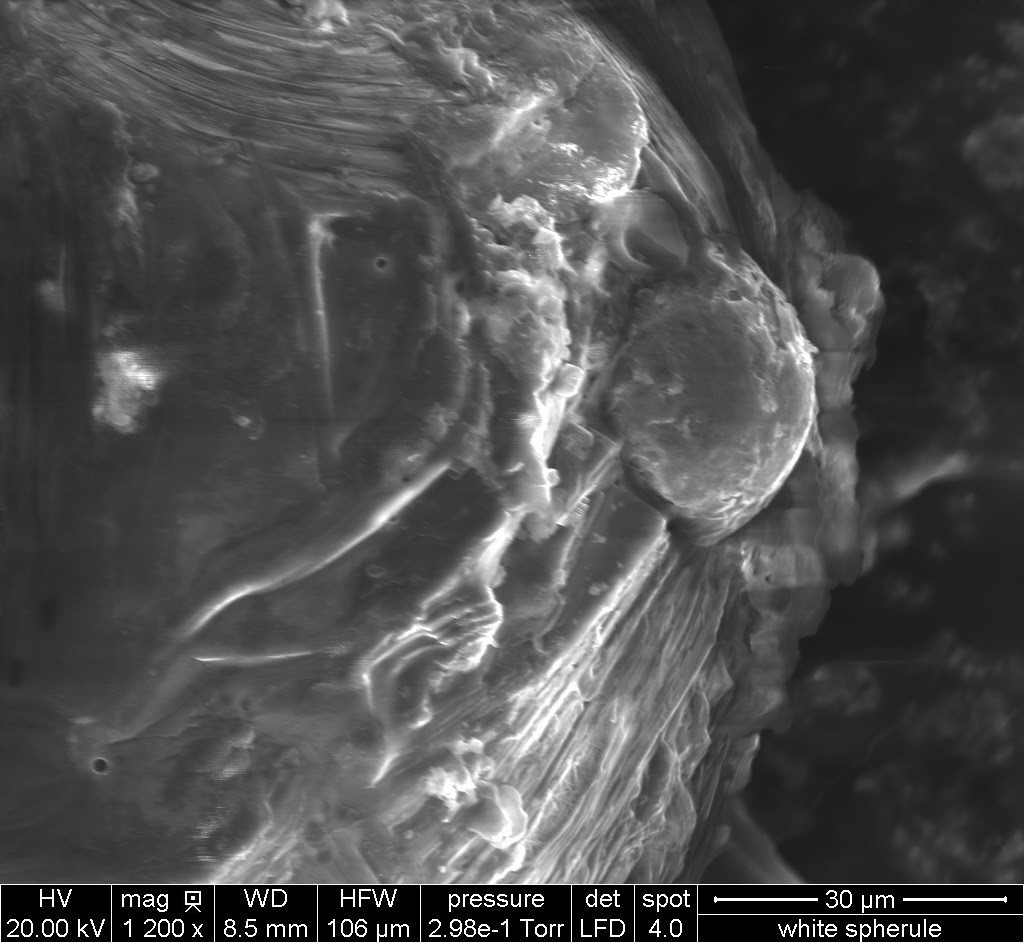
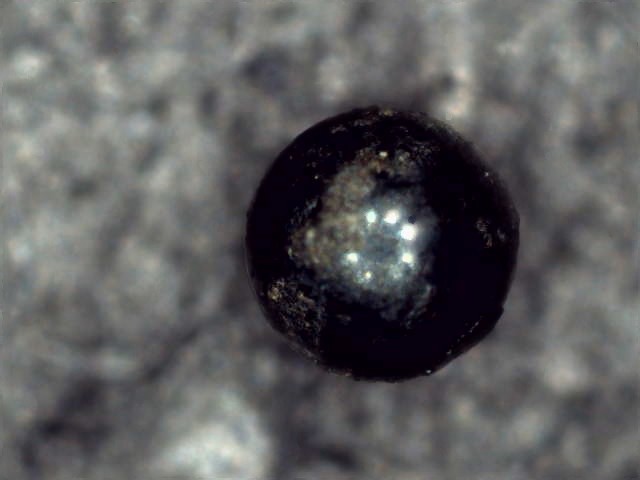
3: USB microscope: By happy coincidence, the generic ones in the style of dinolite (or the genuine article) fit neatly into the hole in the original extruder assembly.
4: I'm used to Easydrivers, but standard a4988/drv8825 drivers or whatever should work fine, especially for motors of this size.
5: Extra motors (optional). At the very least, you should make use of the extruder motor to add a fourth axis. But you can go really crazy and go for a fifth or more.
6: Misc: An older 20v laptop power supply, wireless selfie module for taking picture with a phone, breadboard, wires, beeper.
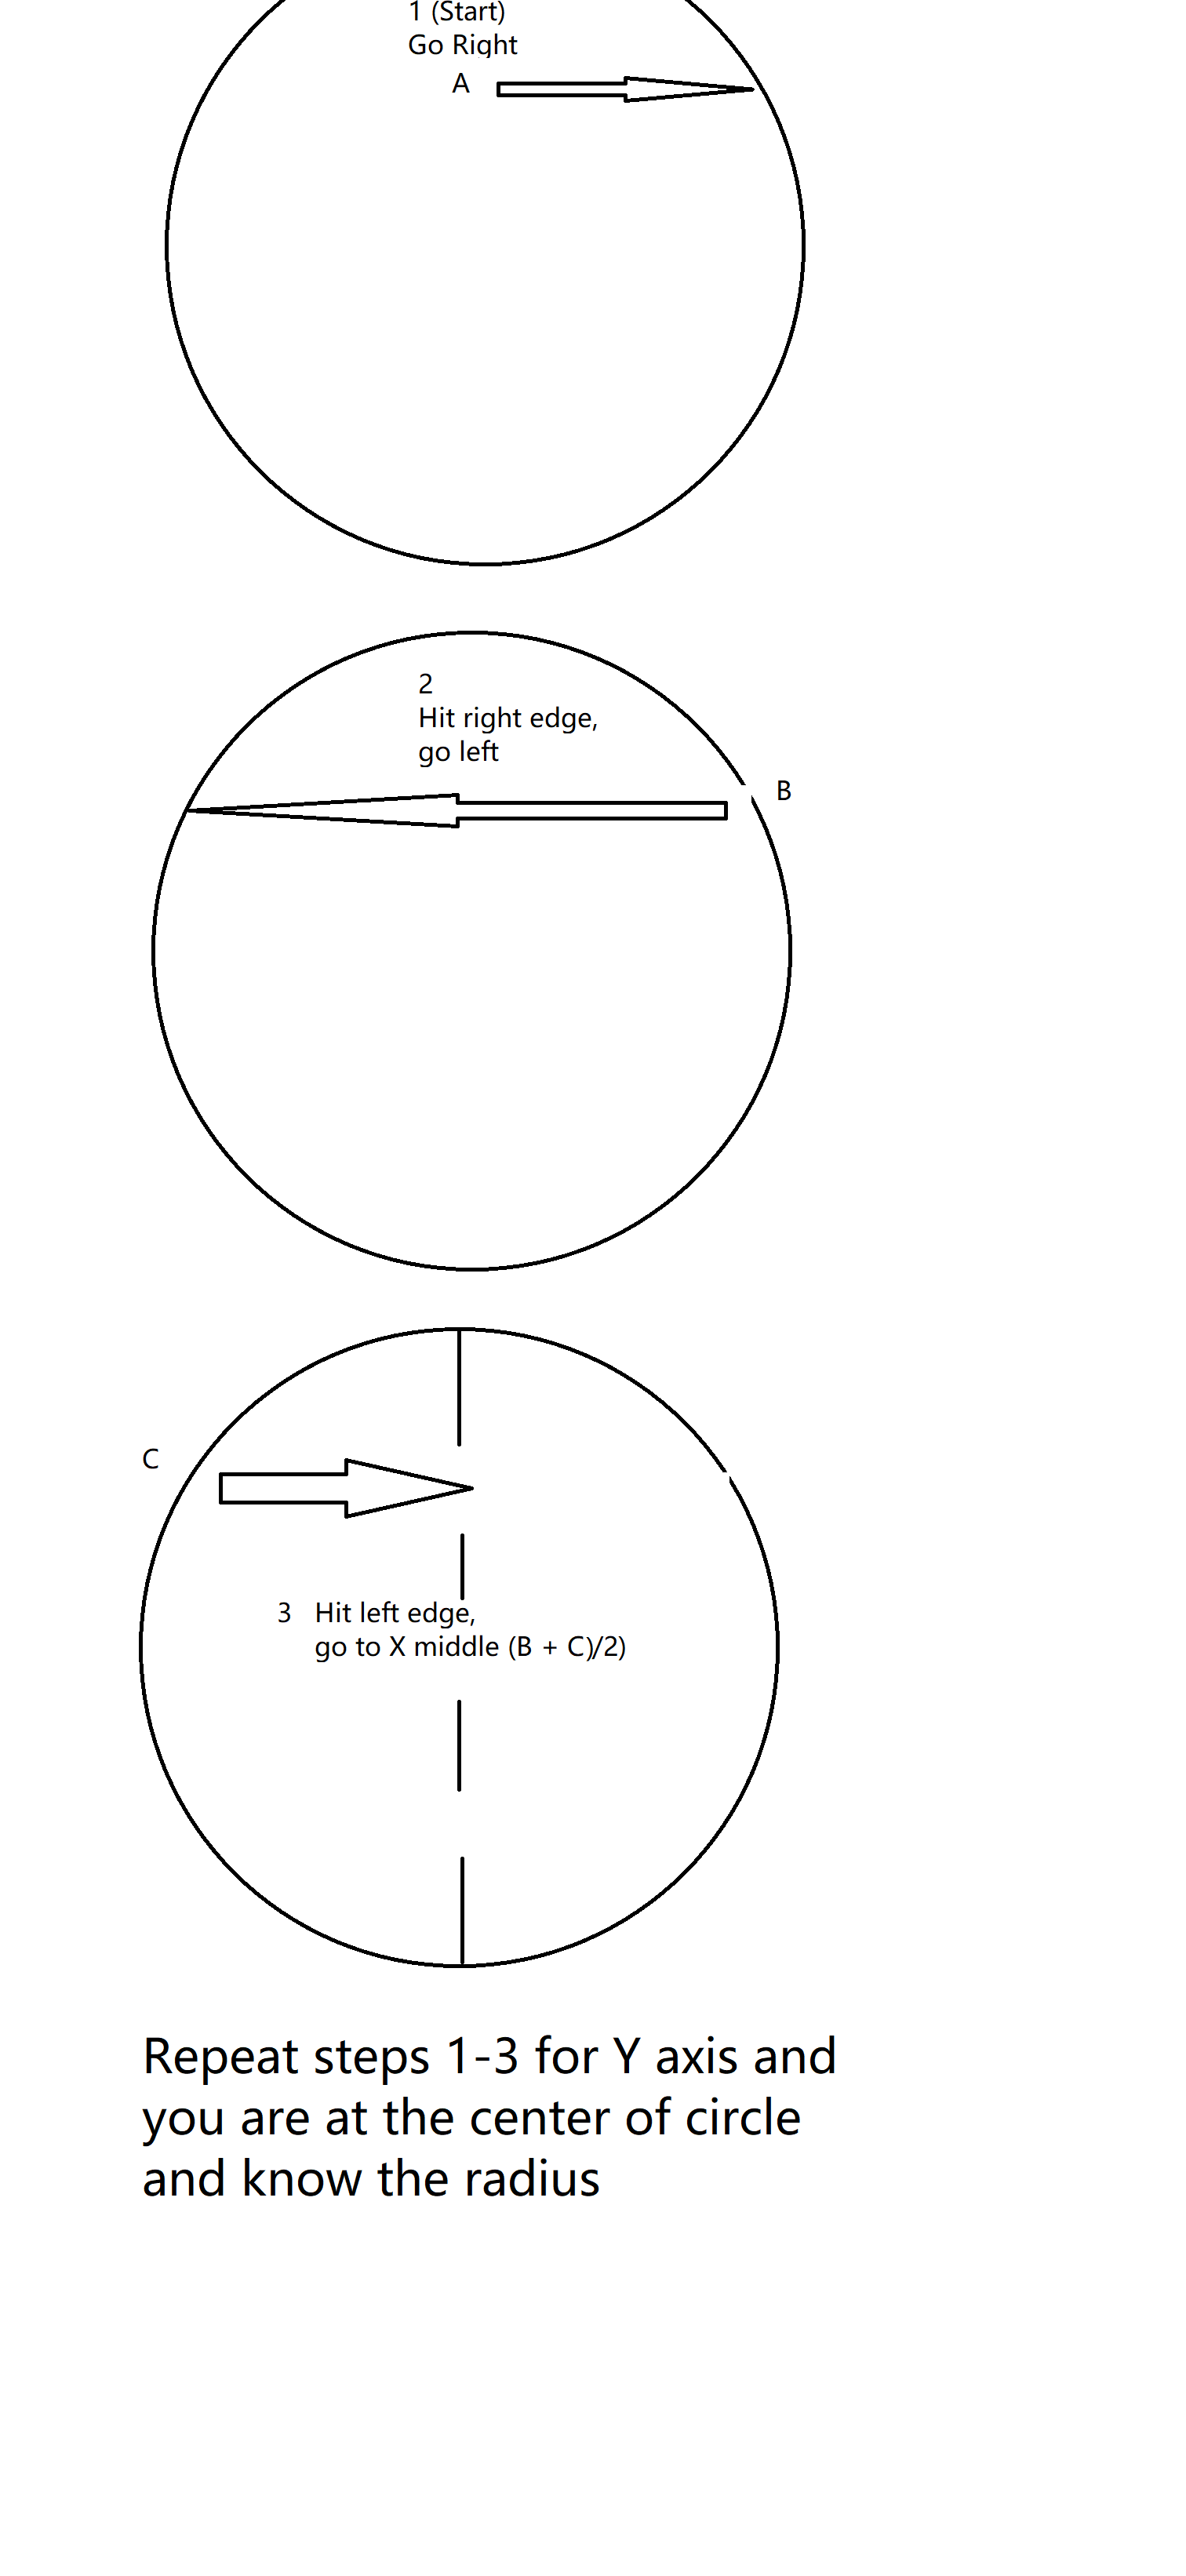
Scanning is done on a single python file in the Pi, with most post-processing done on a main computer using commercial software as well as some custom utils.


 Morning.Star
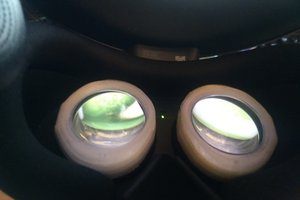
 cprossu
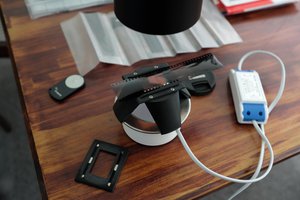
 Stephen Holdaway
 Daren Schwenke
so cool it reminds me of a confocal microscope like this I made a scanning laser microscope - YouTube
is this what type of system being built here? plz forgive my ignorance.
I really looking for a way to scan objects to cad accurately on the small scall
thanks