0%
0%
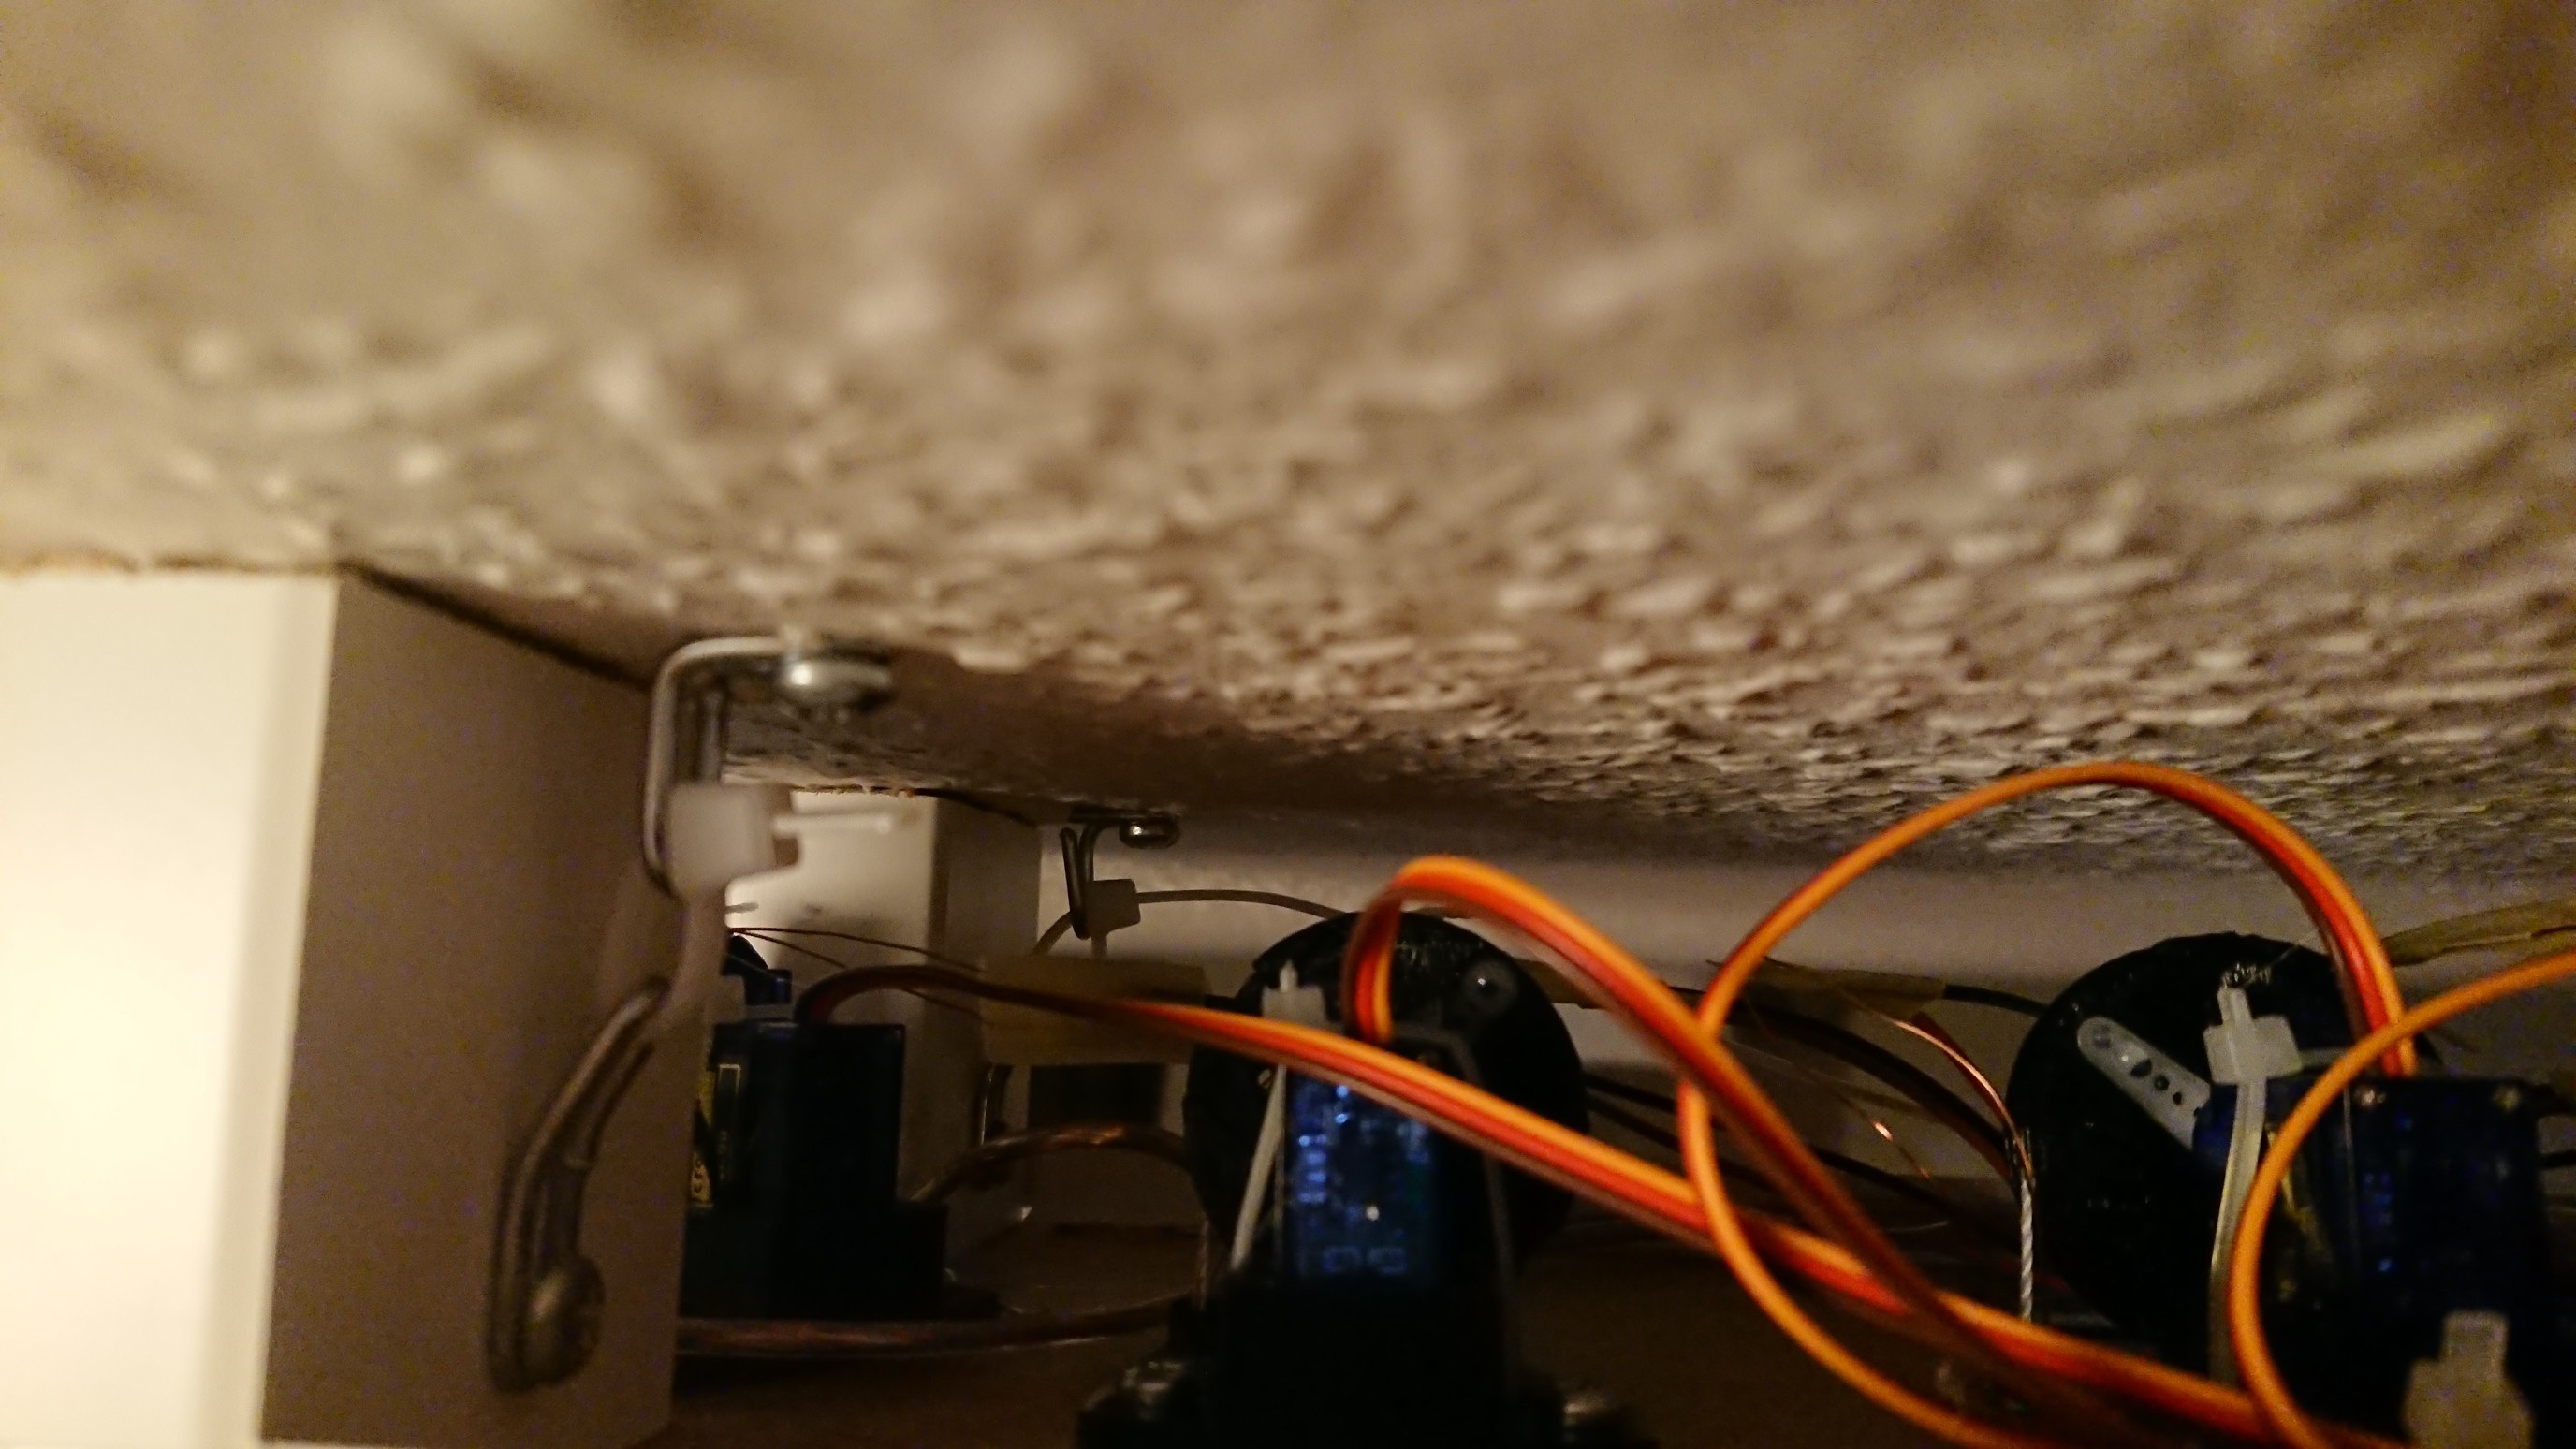
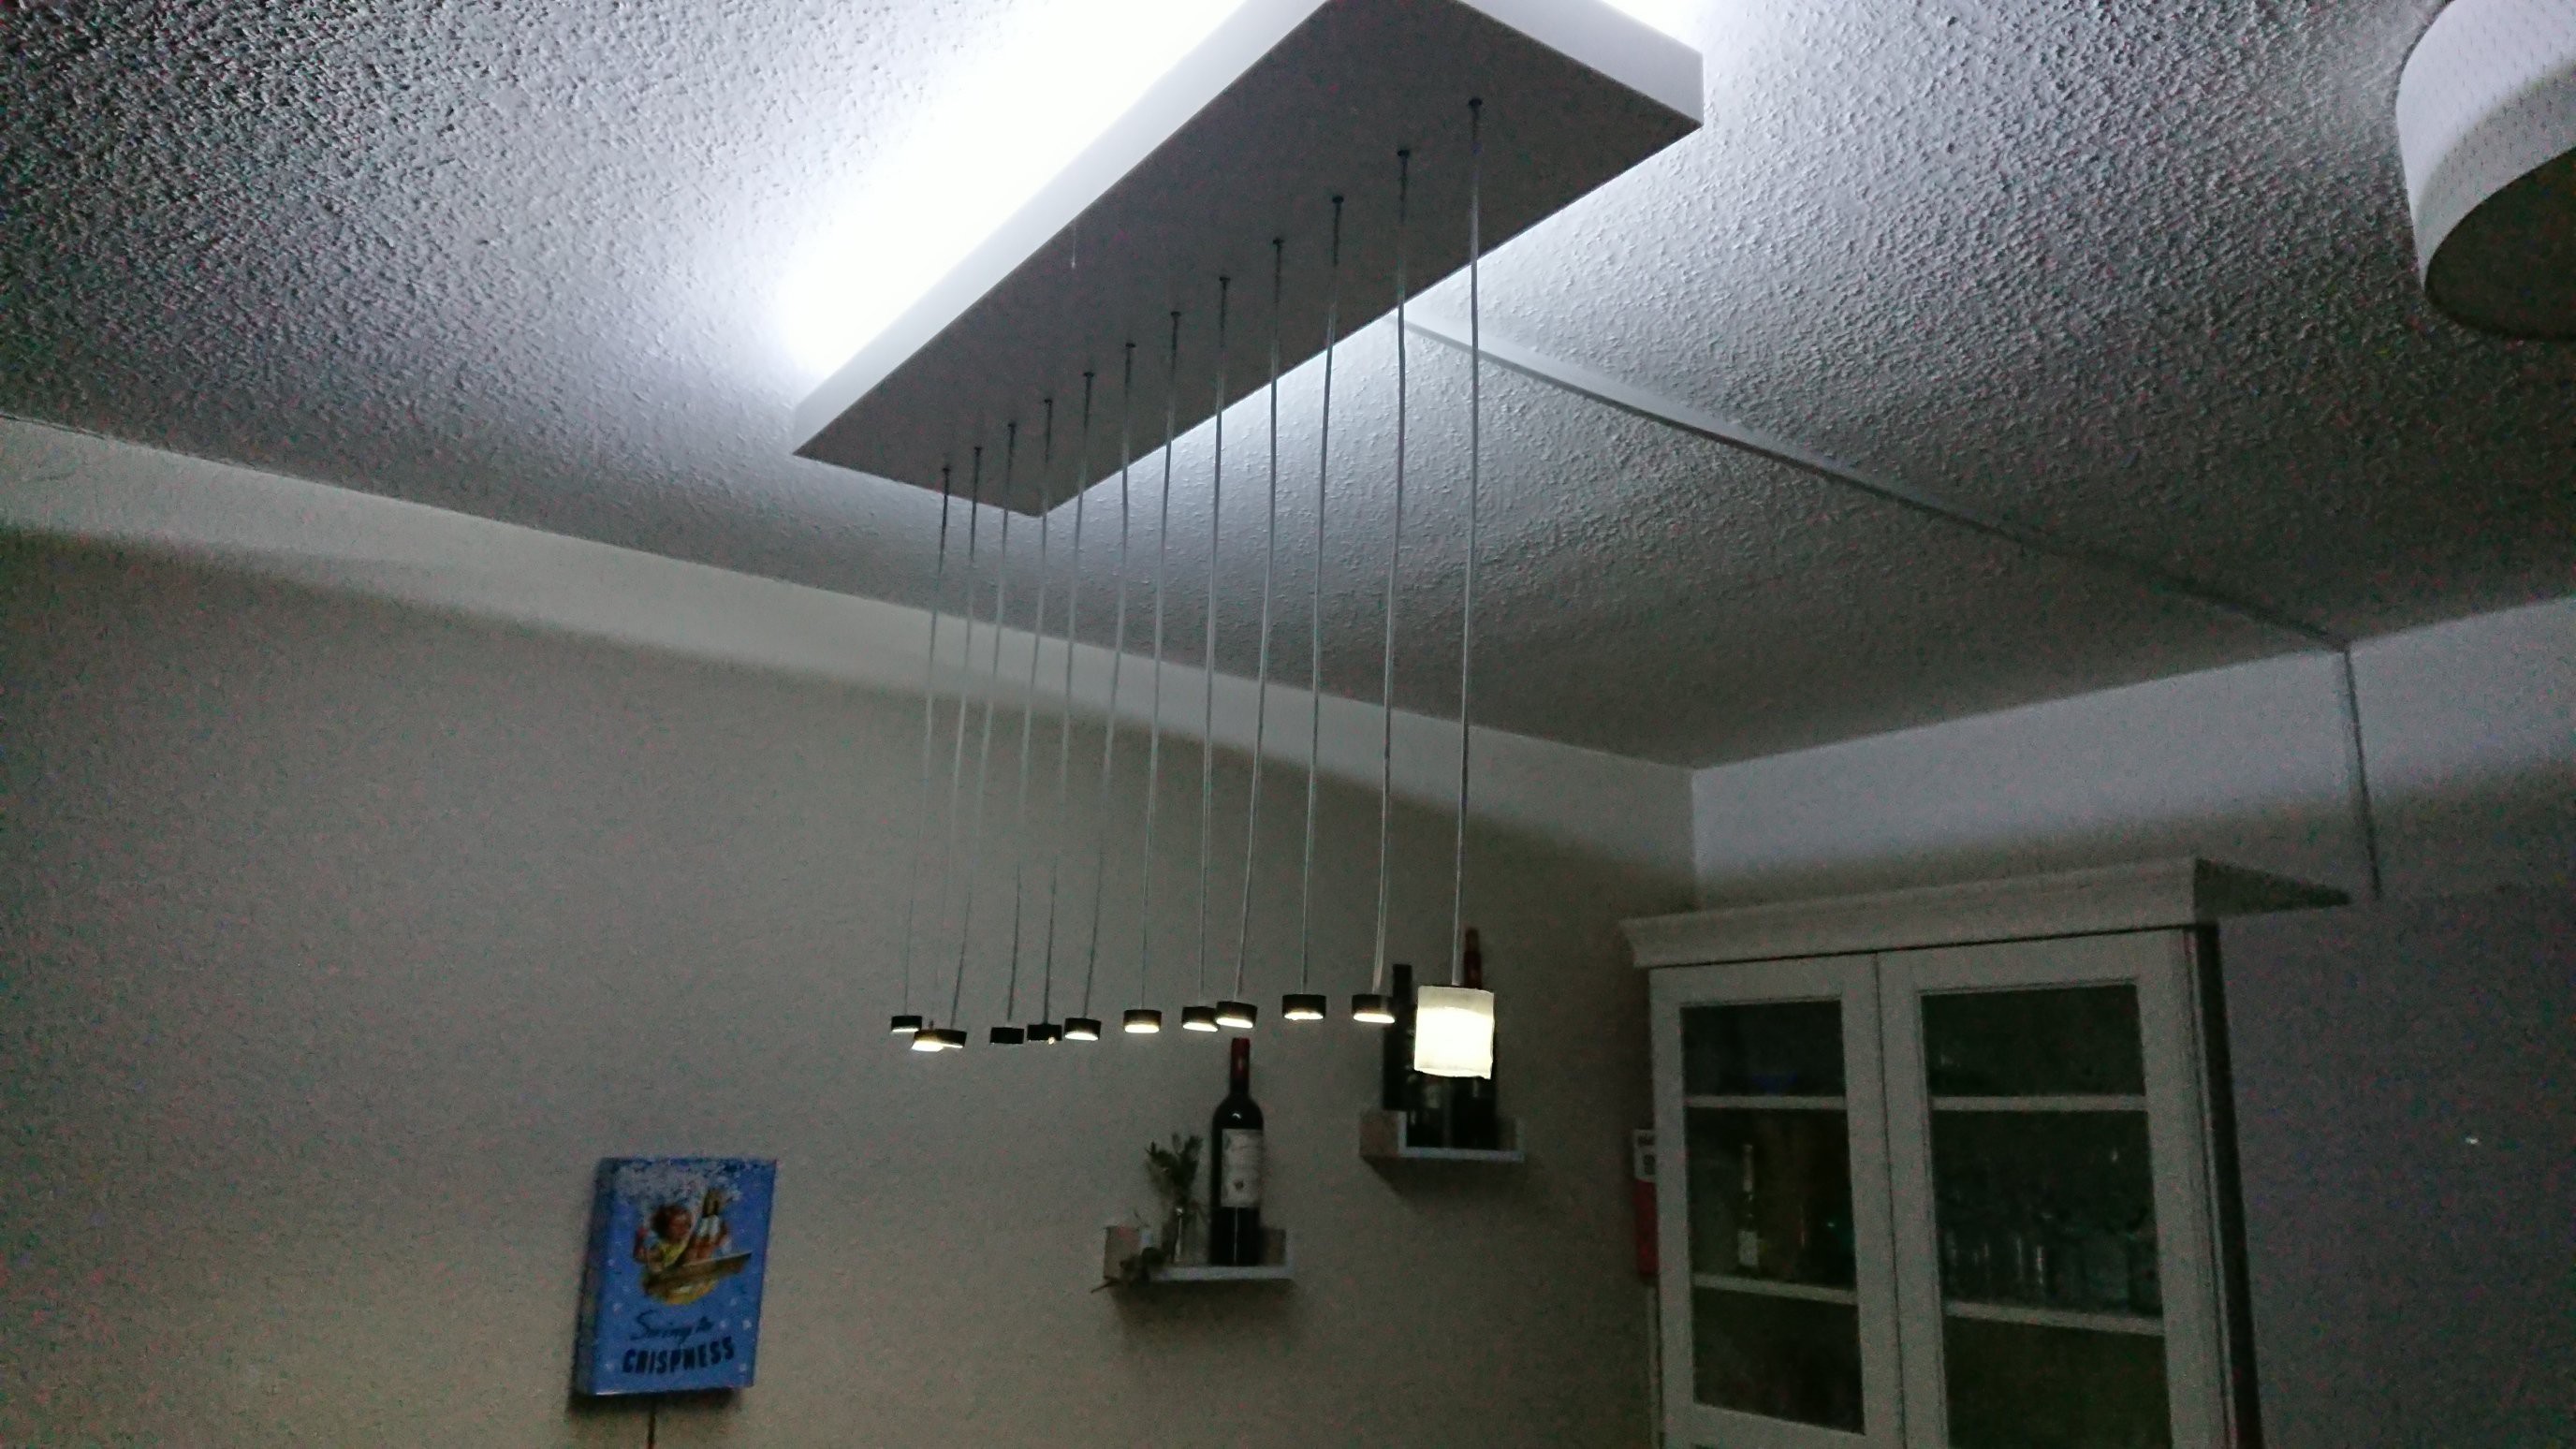
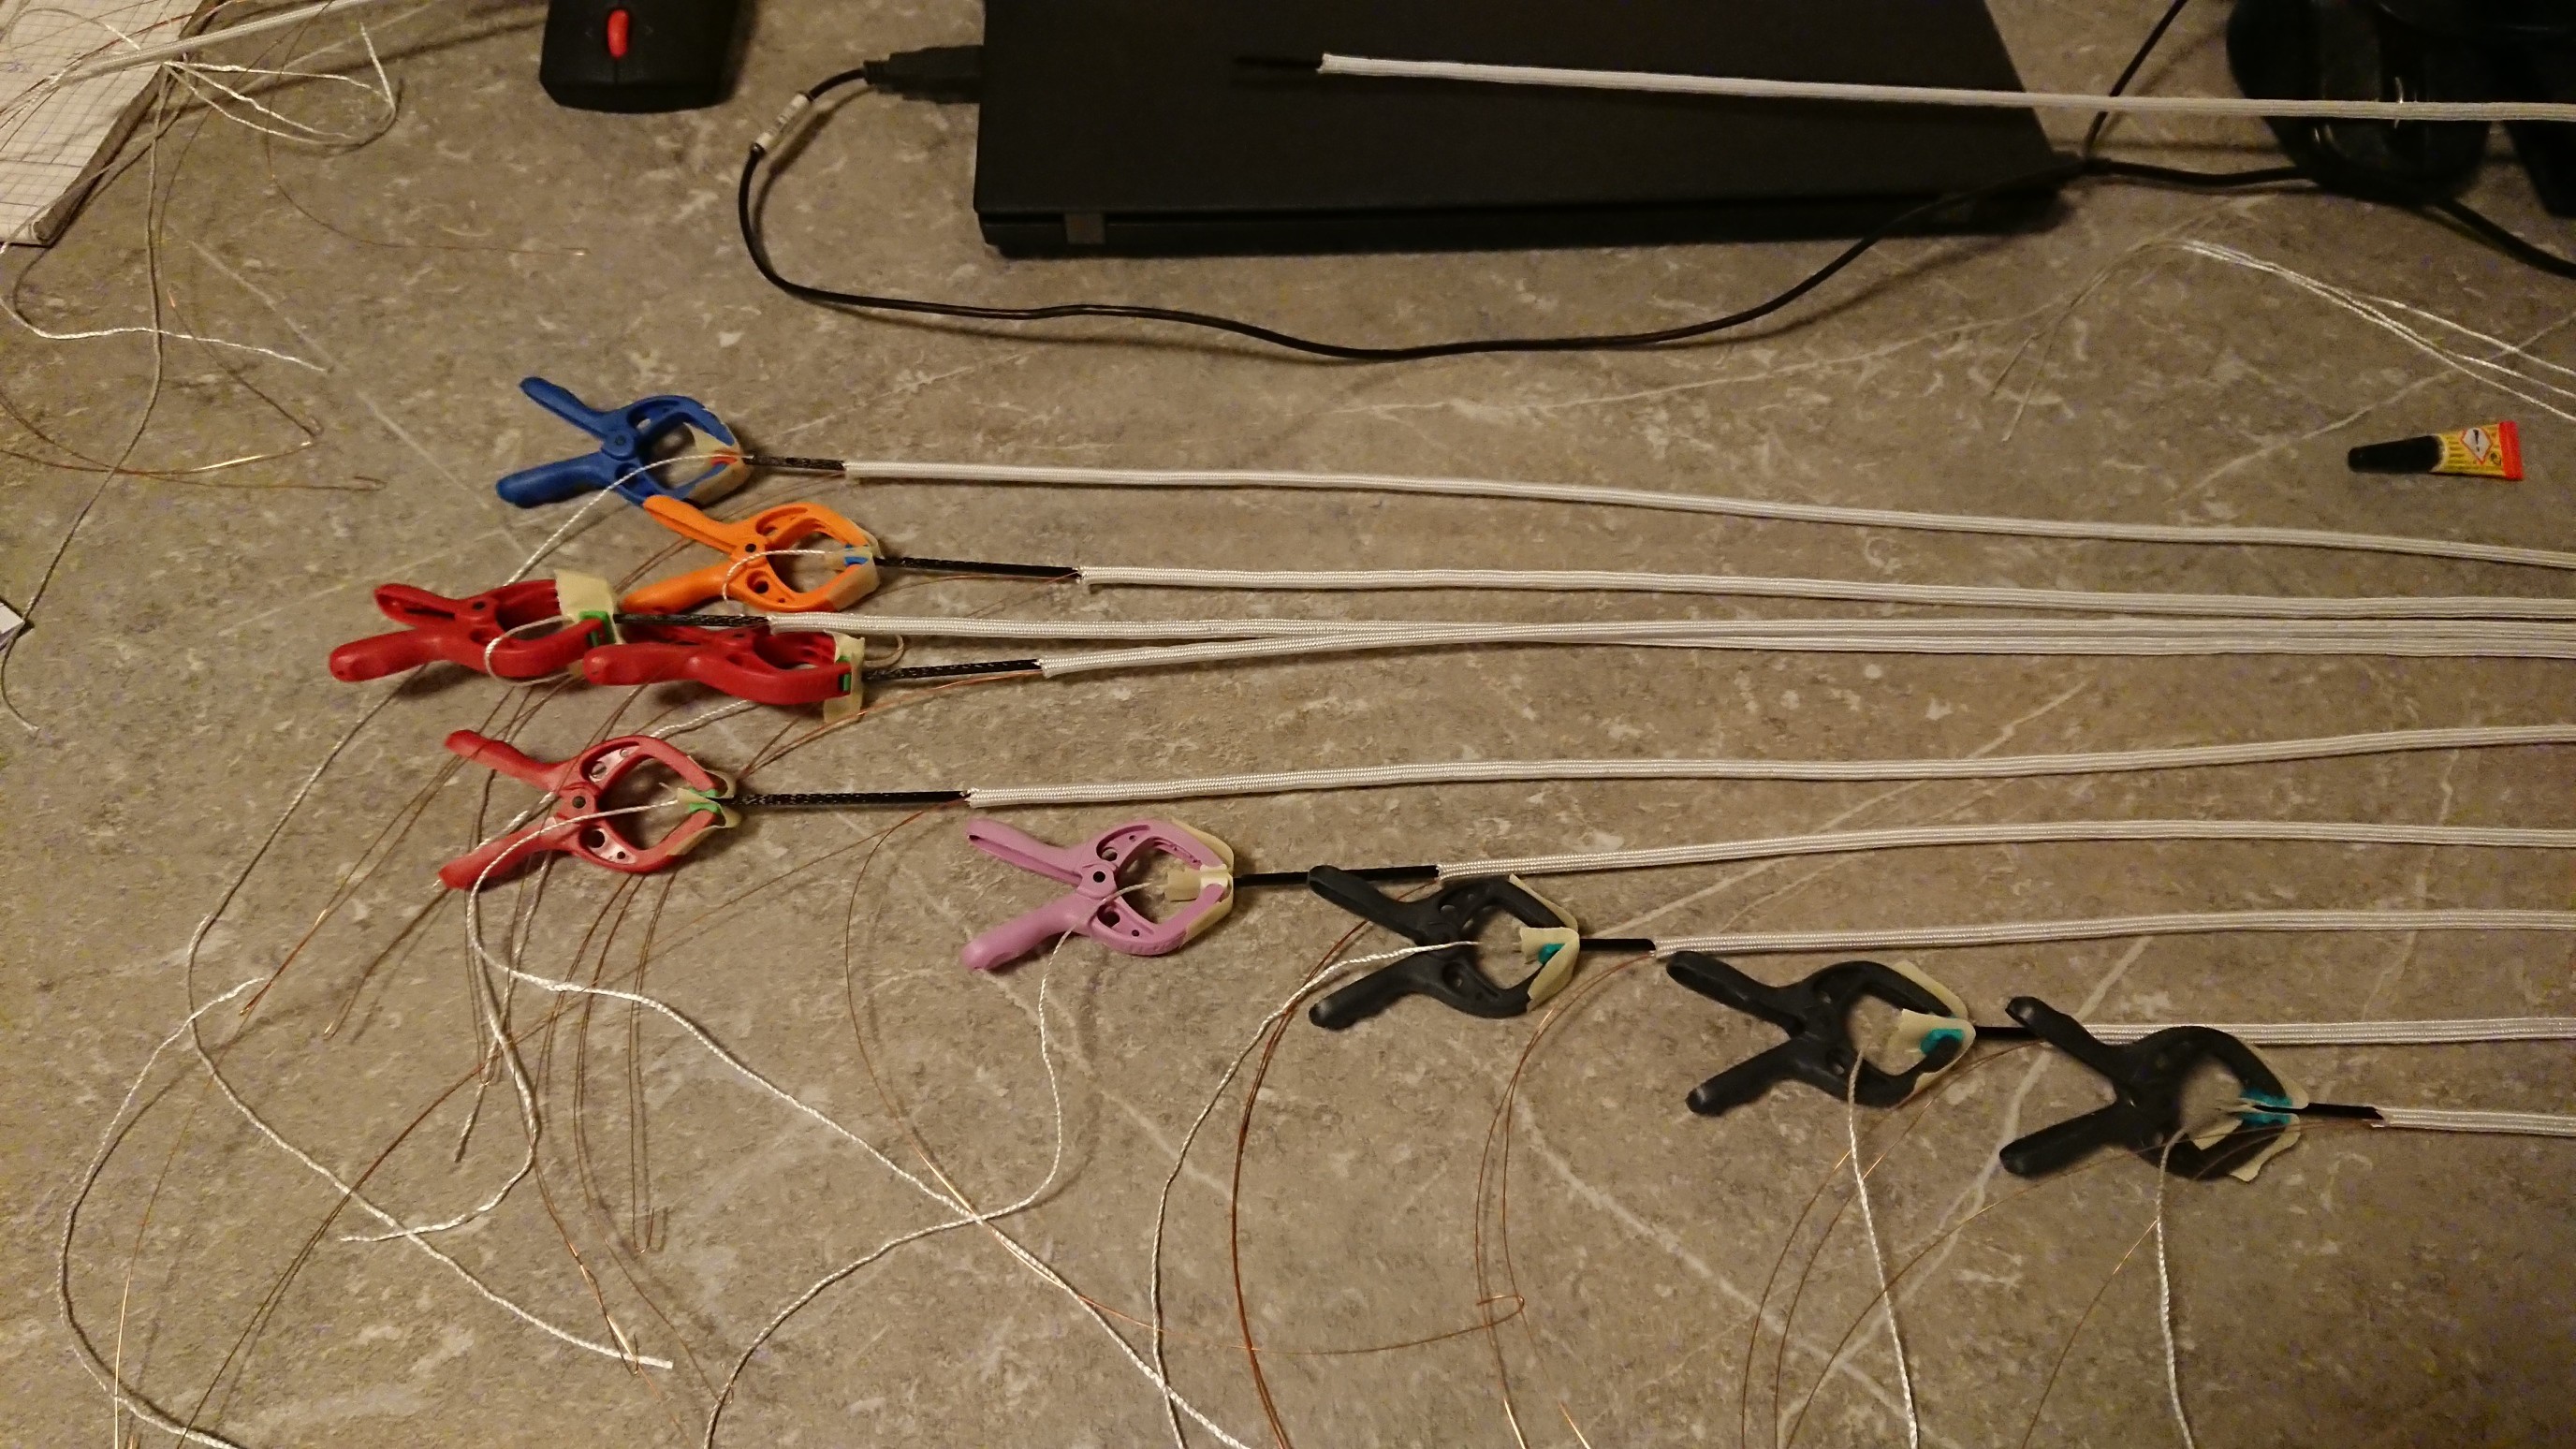
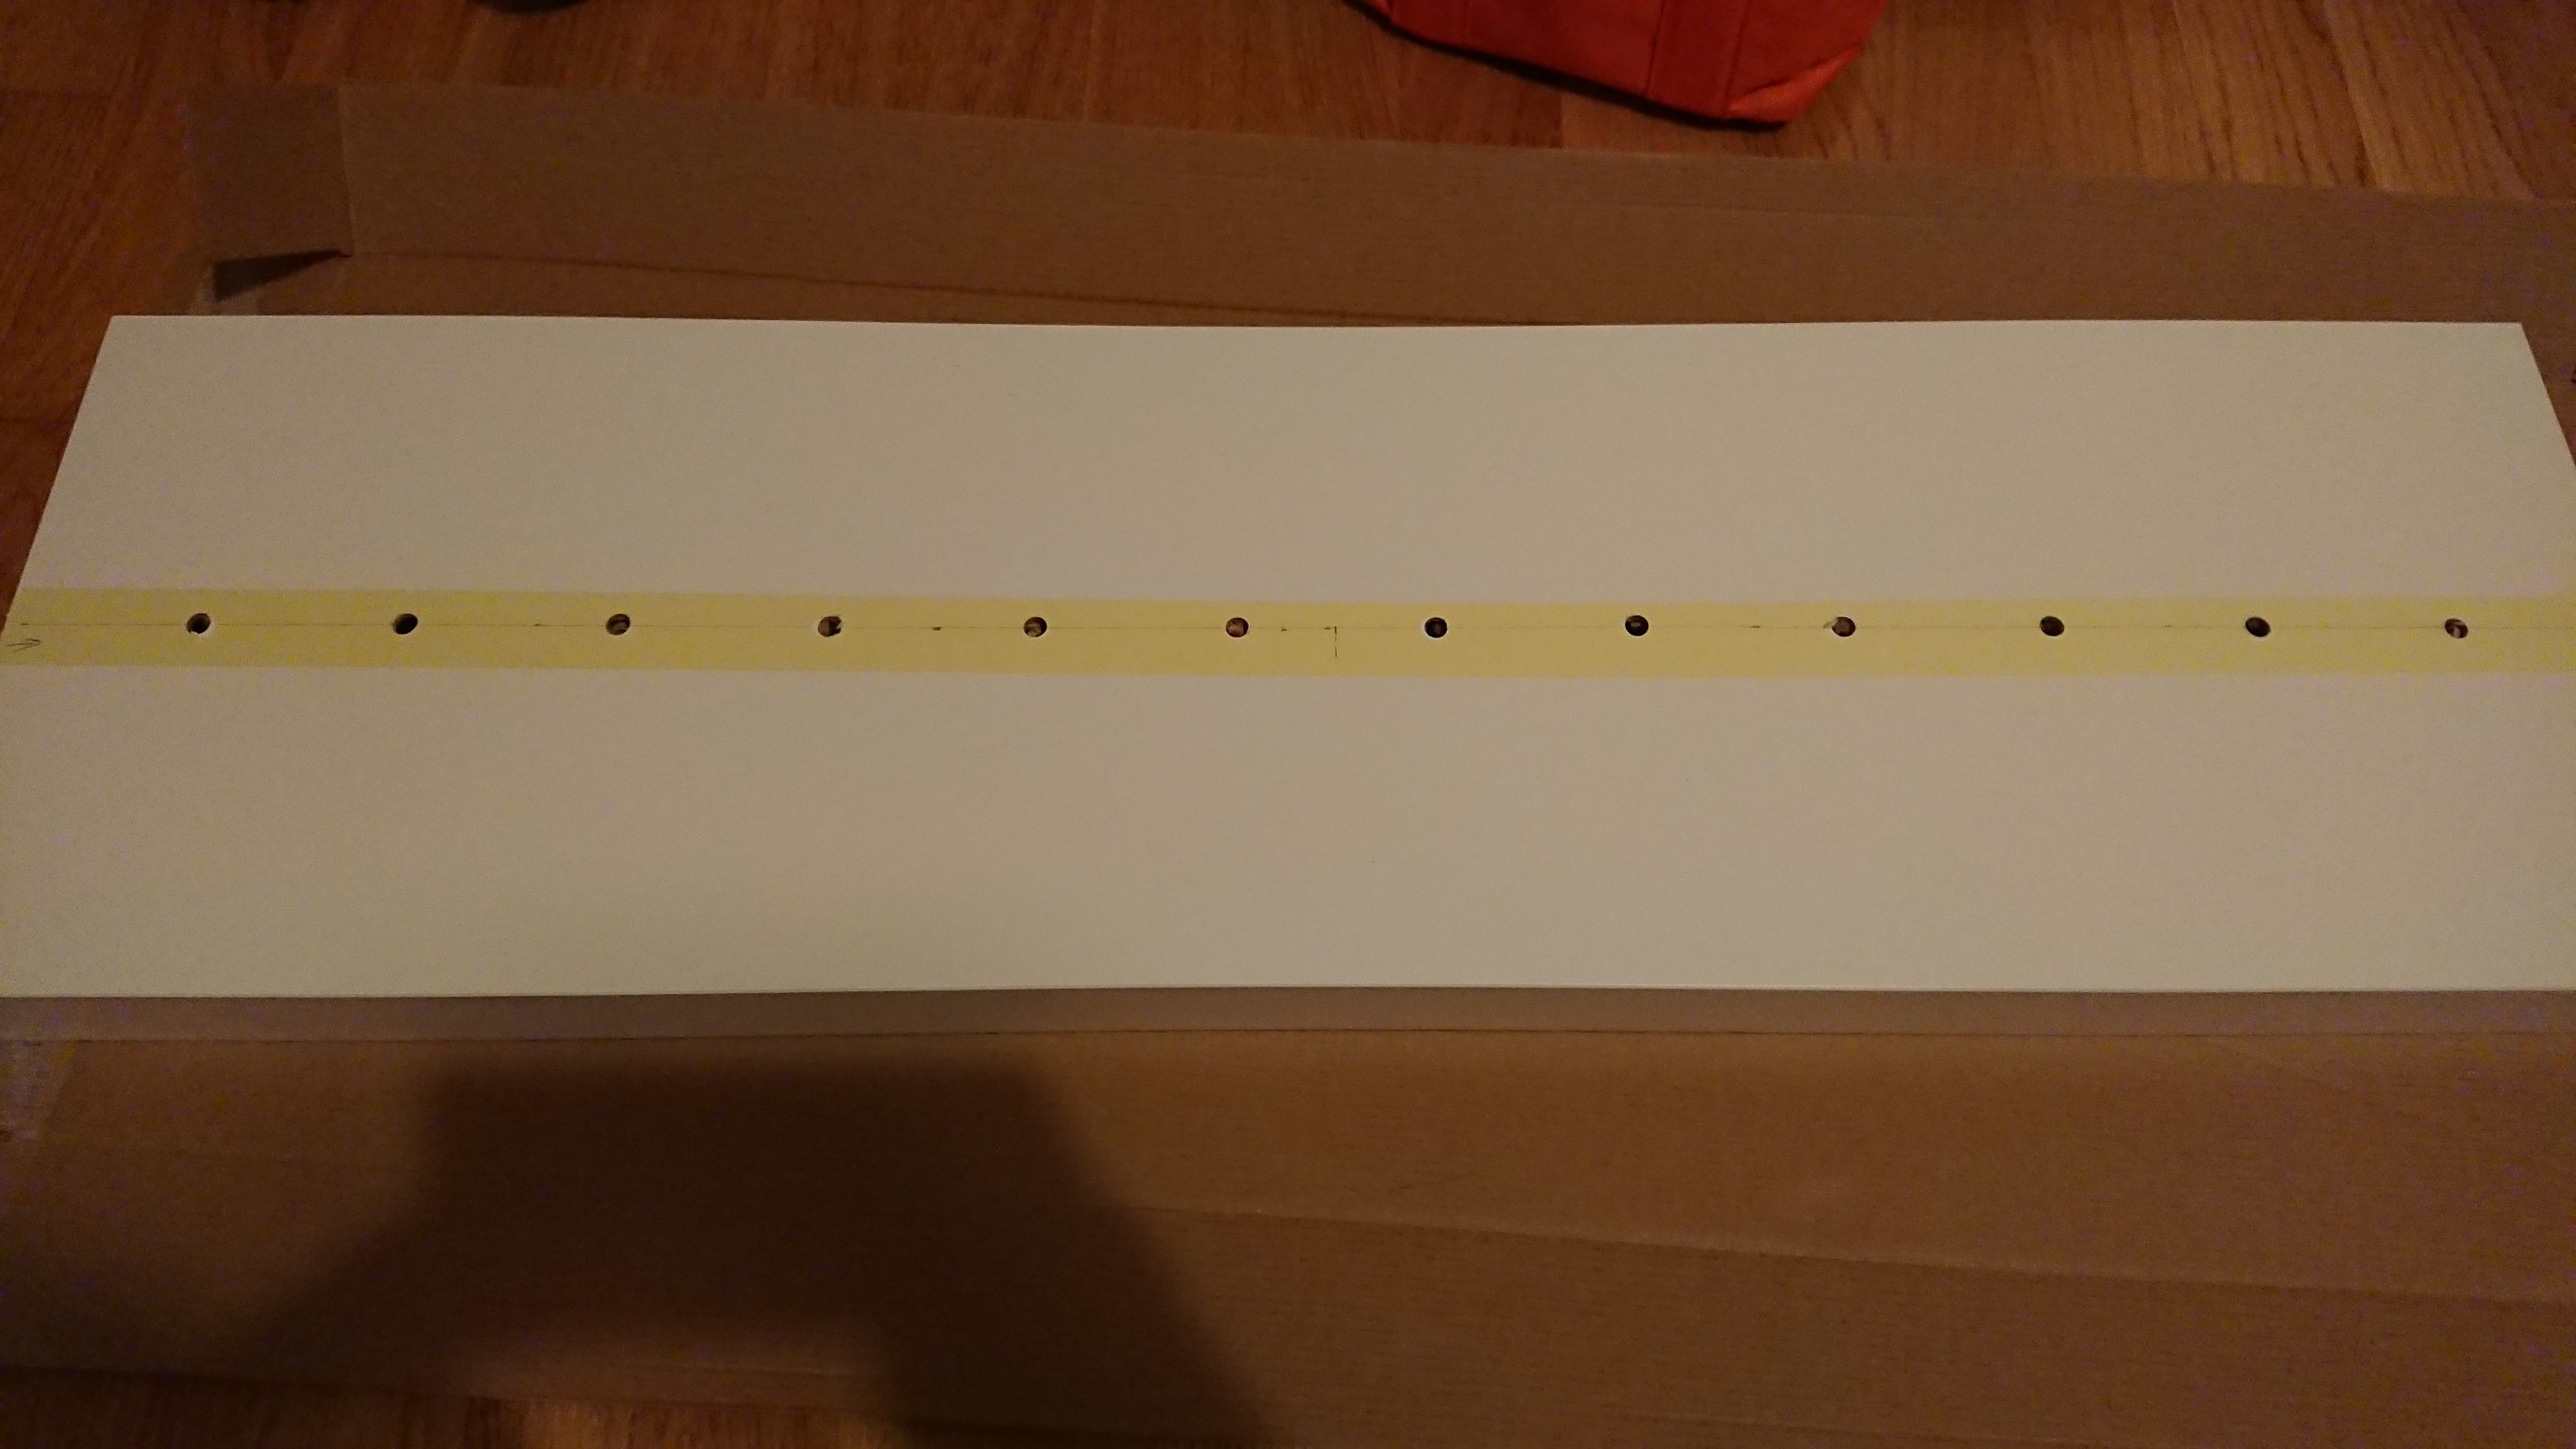
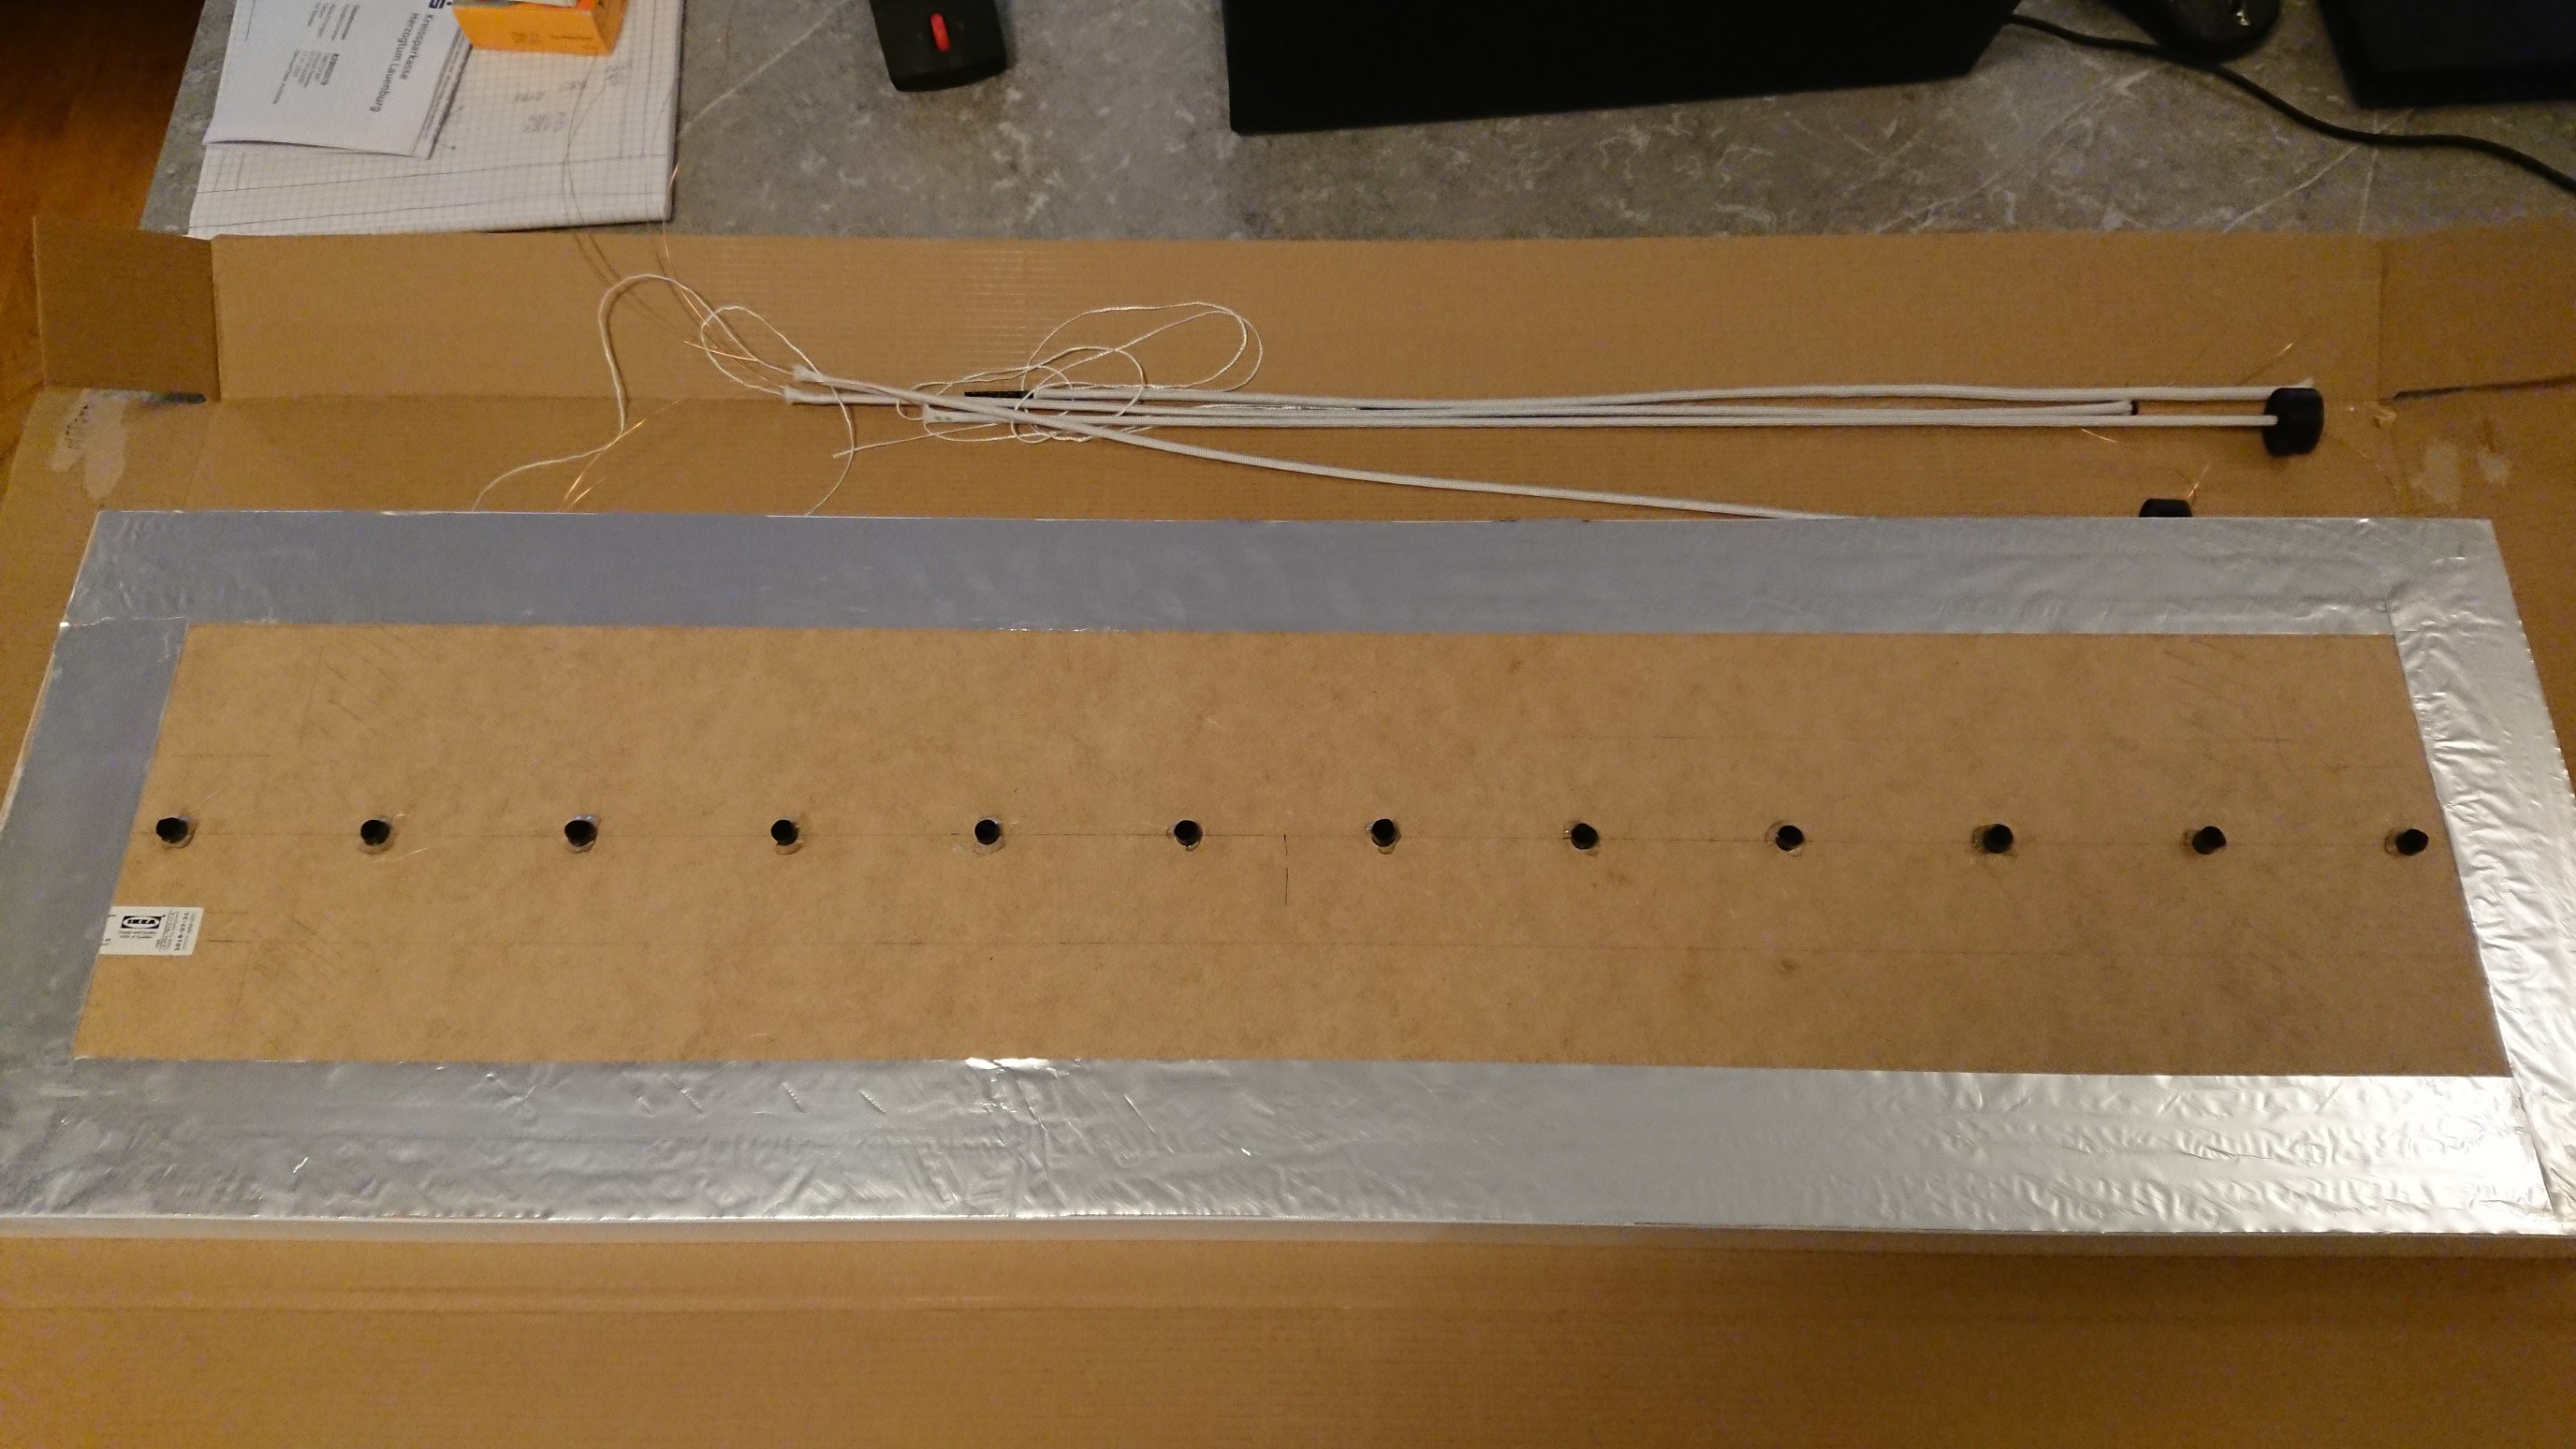
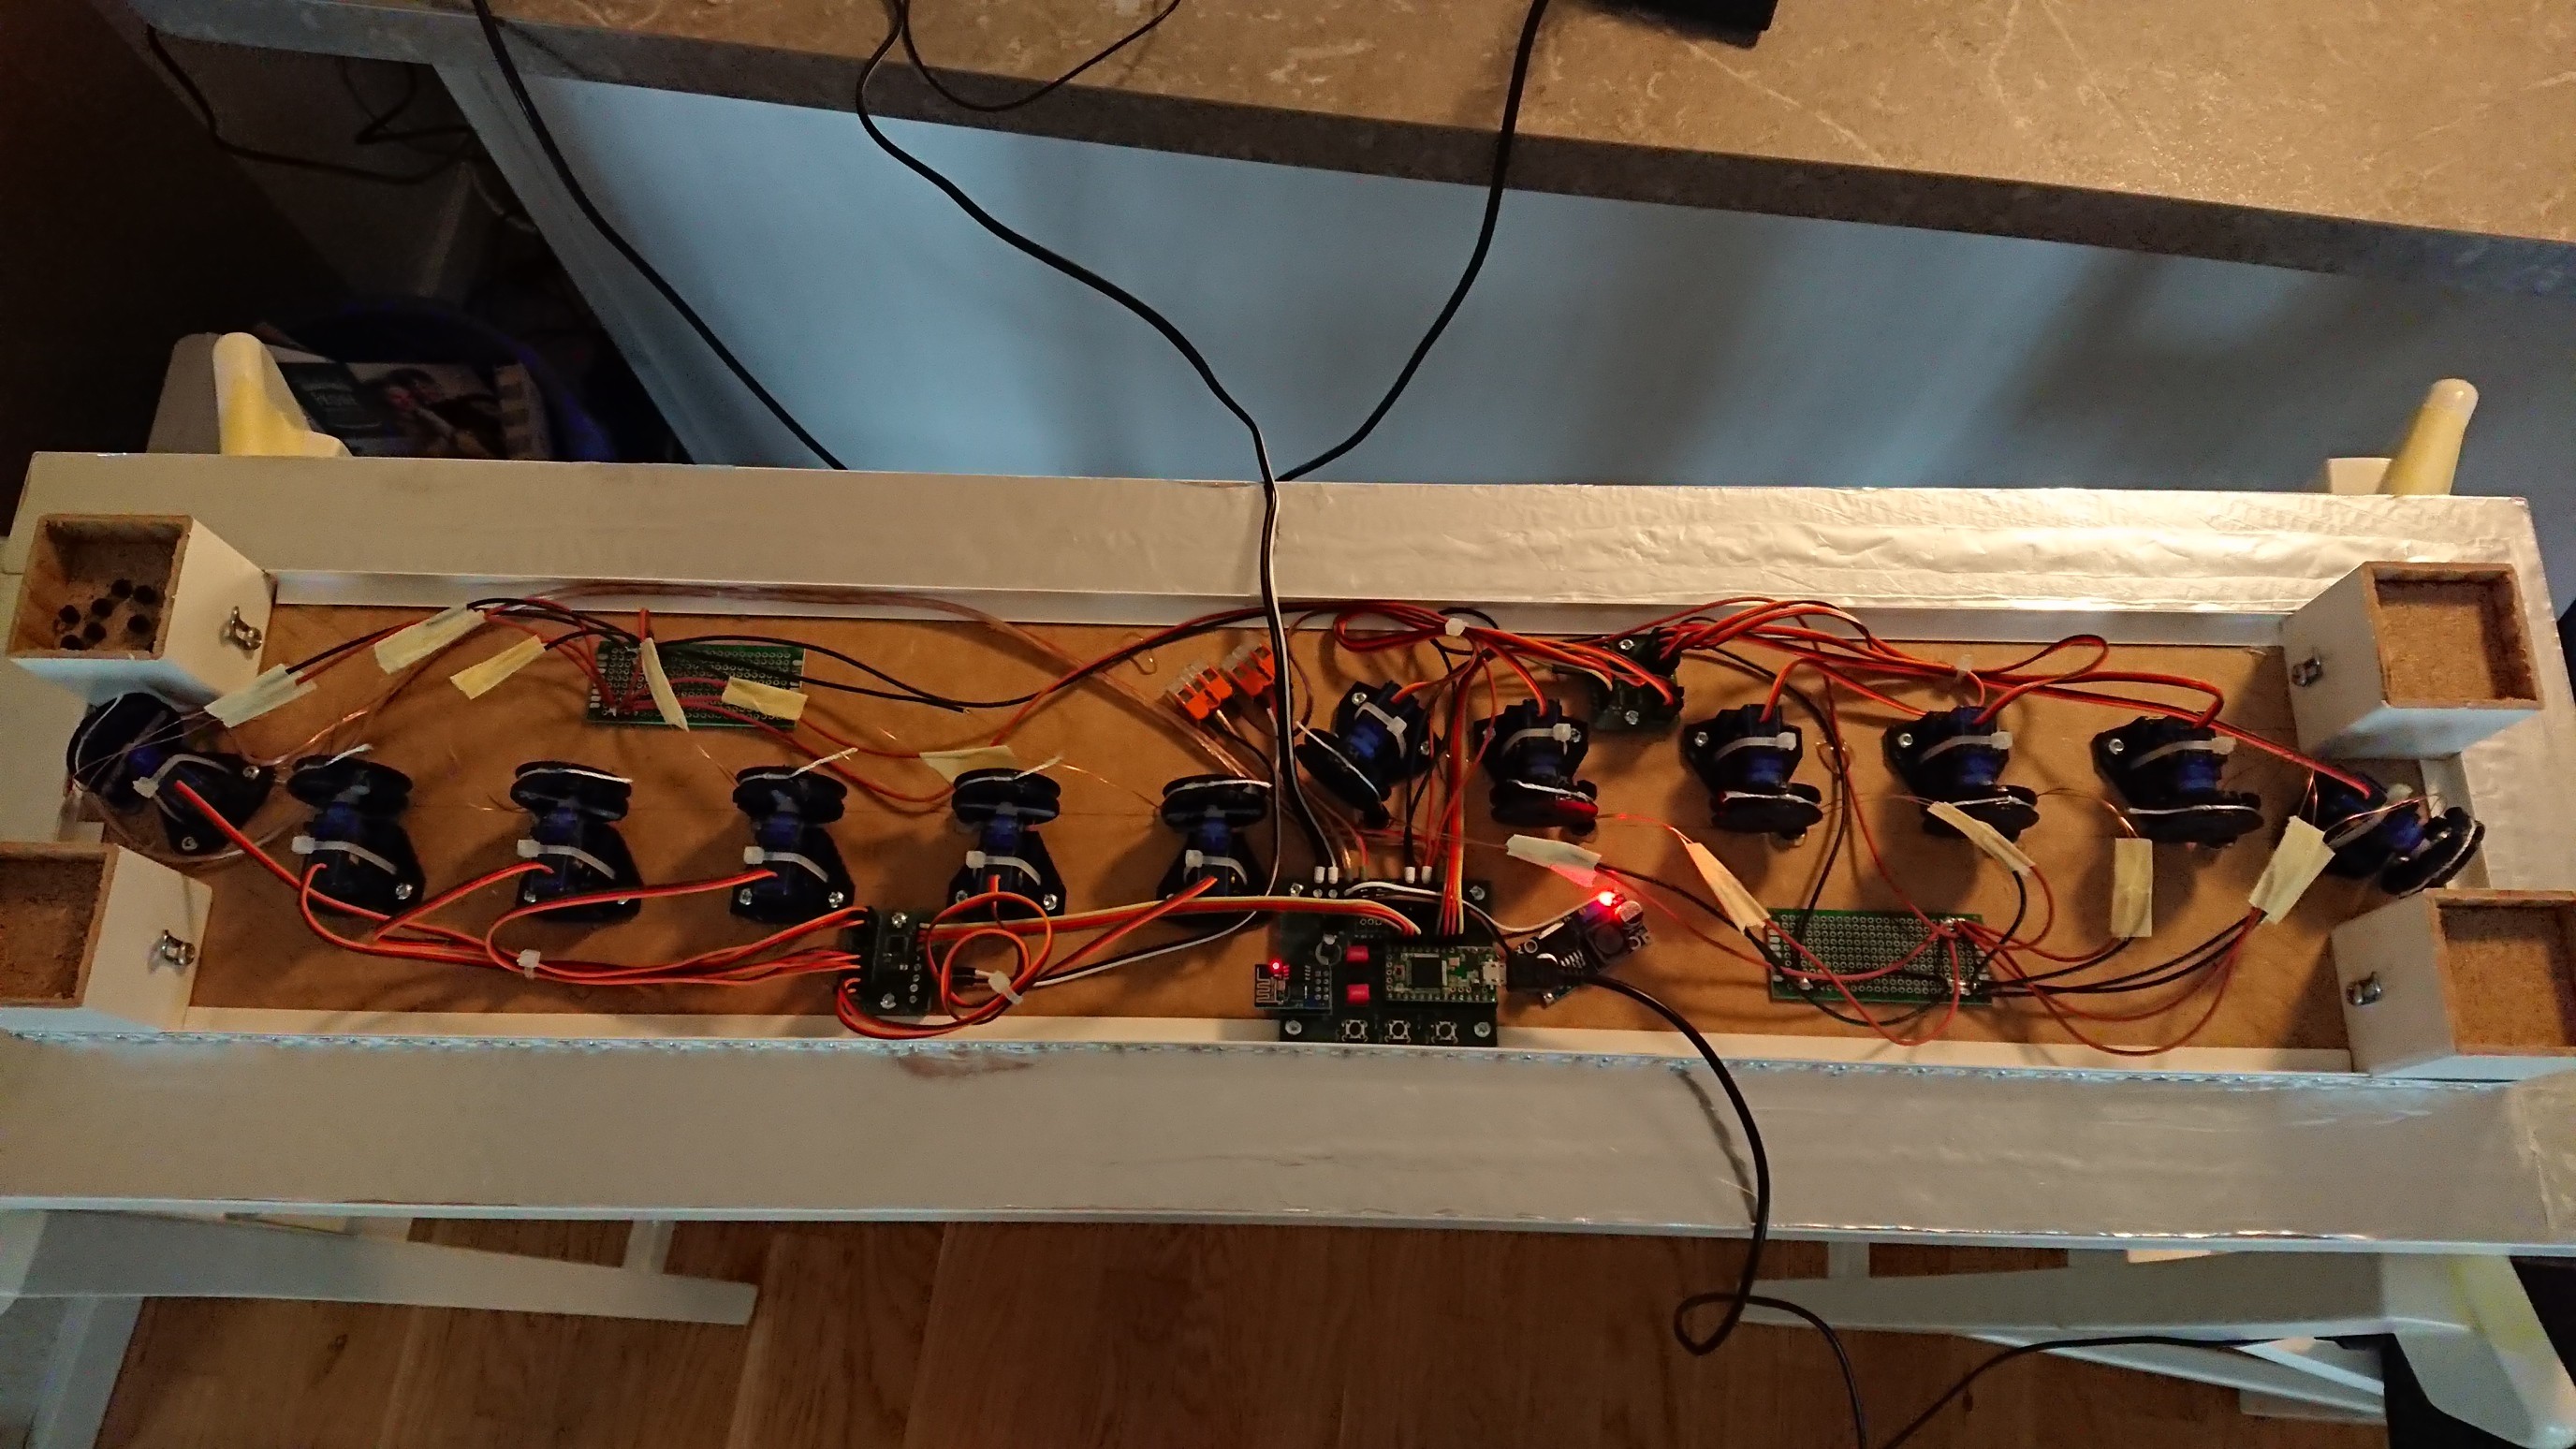
IKEA LACK Table Lamp Clock
A ceiling-mounted ikea table, with dimmable LEDs and a bunch of small lamp shades to show time.
 Christoph
Become a Hackaday.io member
Already have an account? Log in.
Just one more thing
To make the experience fit your profile, pick a username and tell us what interests you.
Pick an awesome username
hackaday.io/
Your profile's URL: hackaday.io/username. Max 25 alphanumeric characters.
Pick a few interests
Projects that share your interests
People that share your interests


 Harsh
Harsh
 Jan
Jan
 David Hopkins
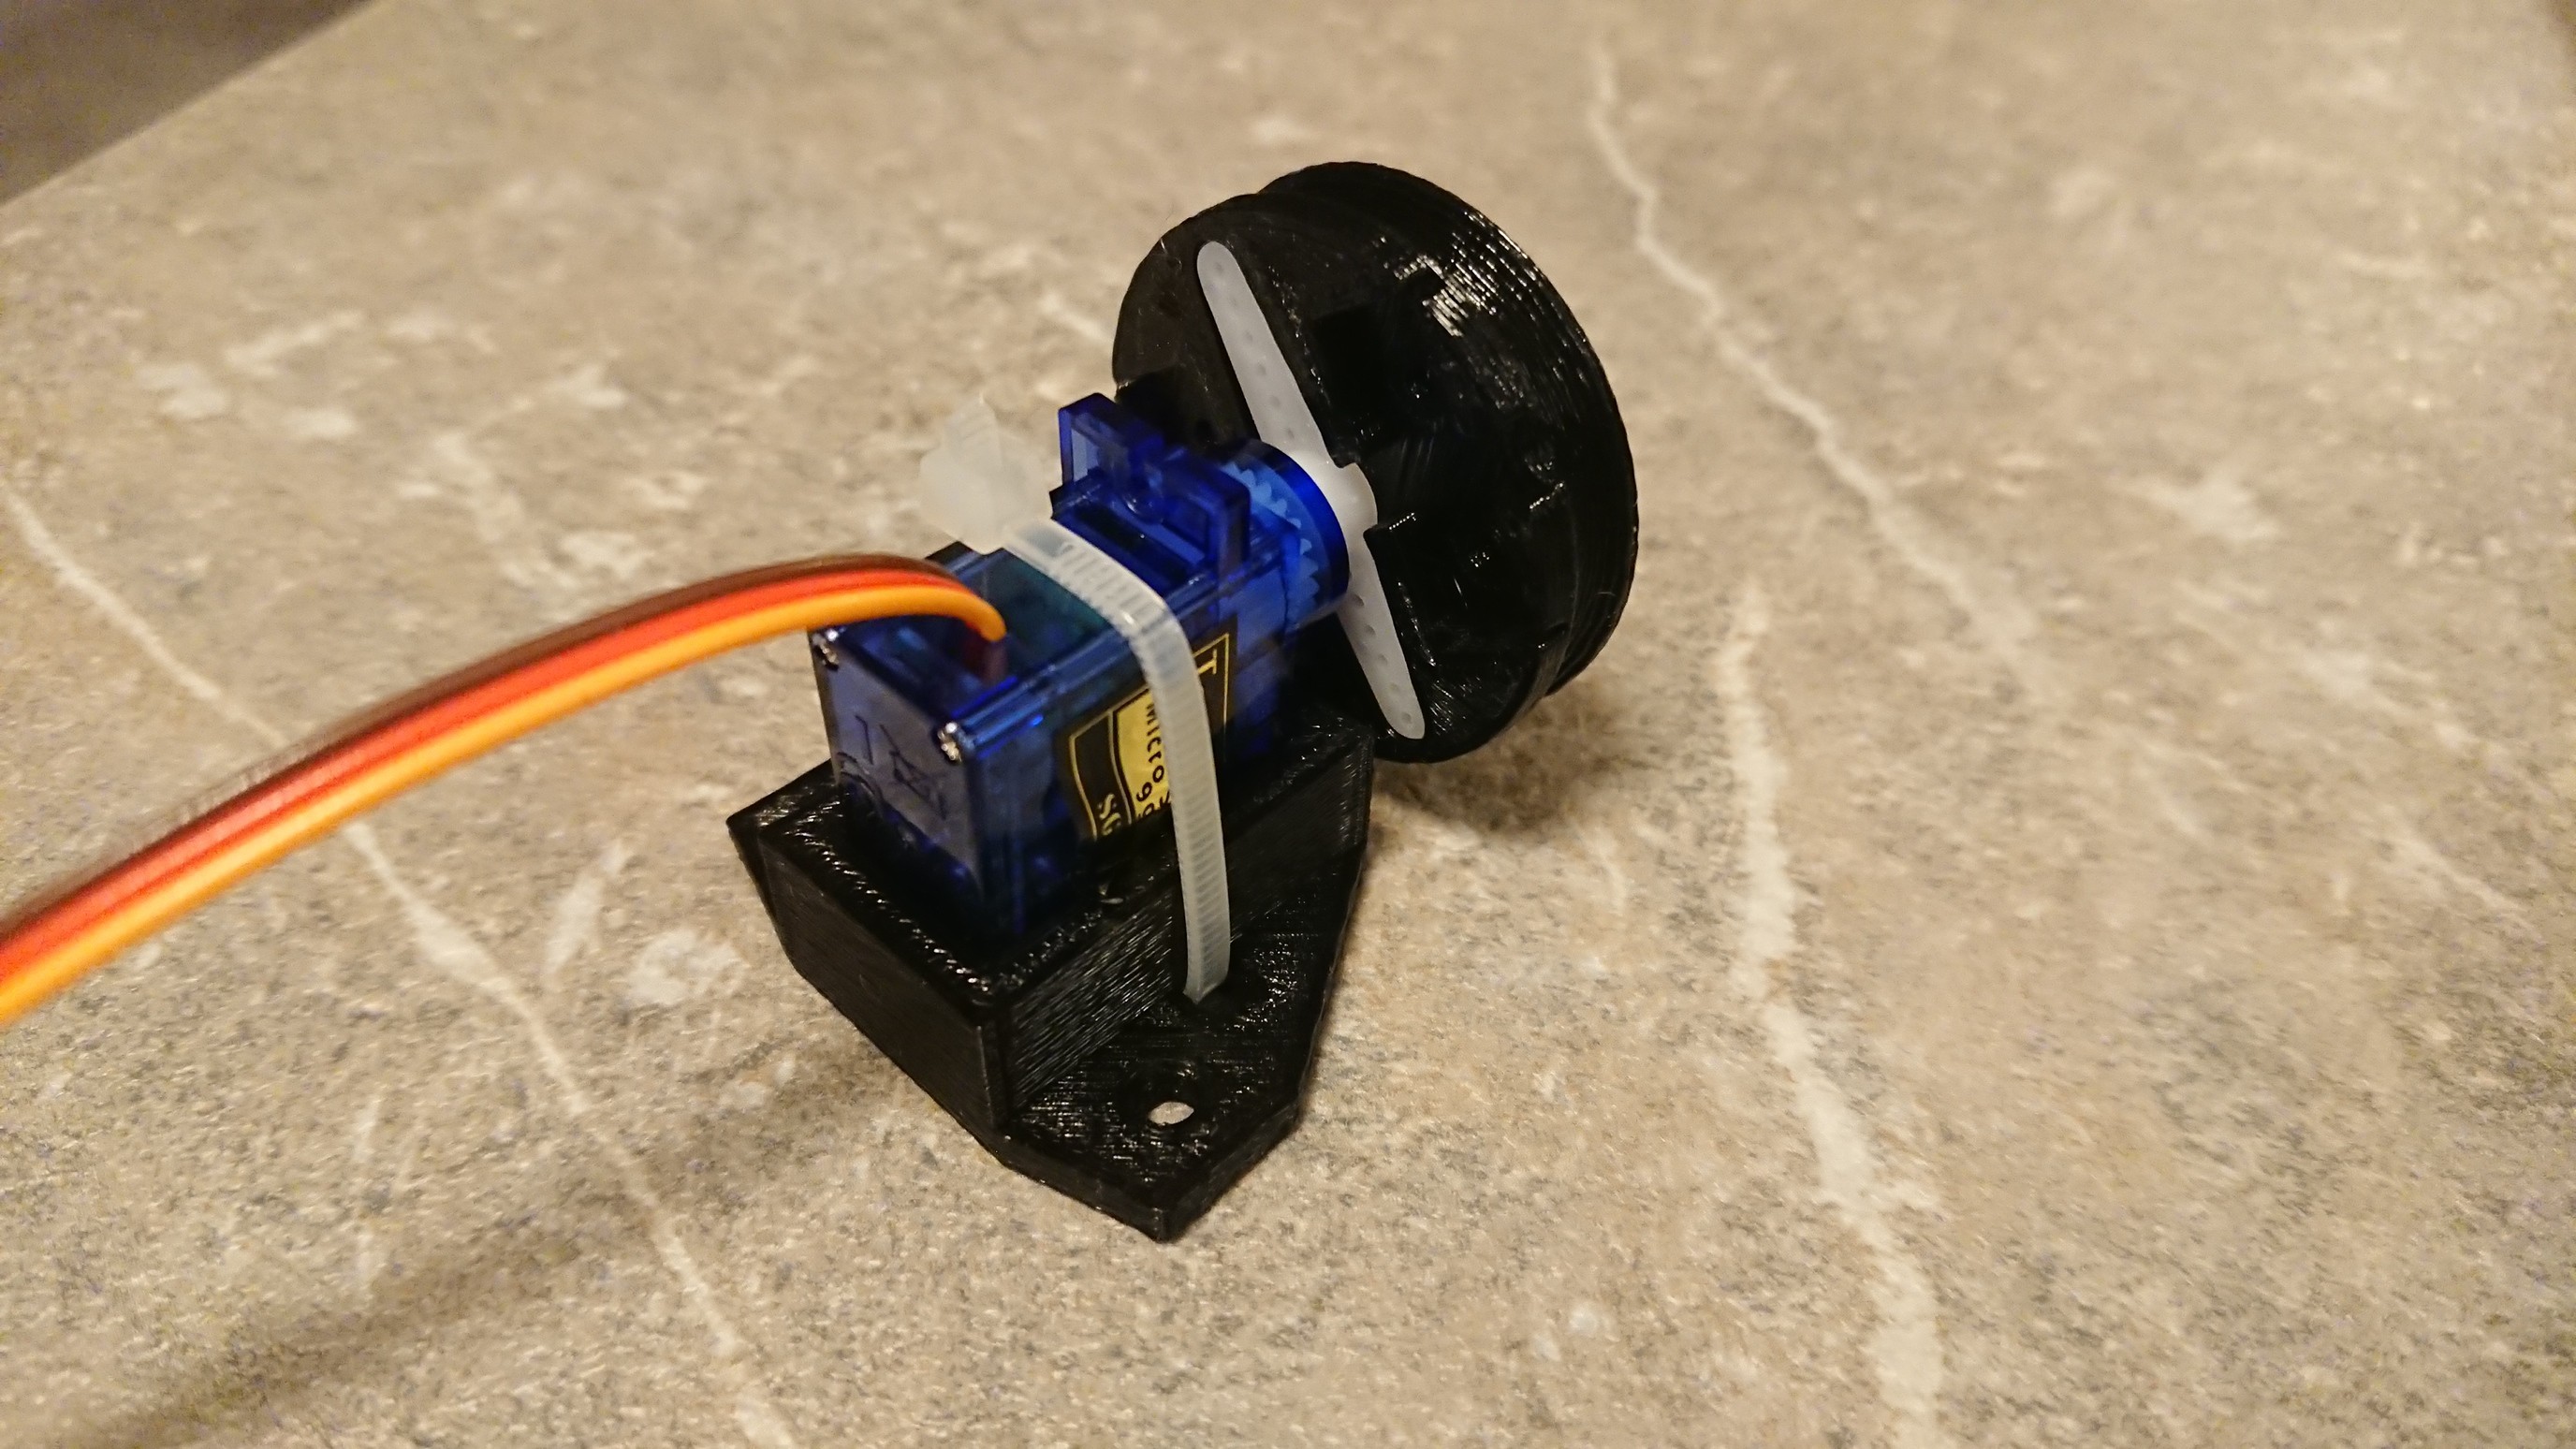
I love this! It’s such a cool way to tell the time, disguised in an ordinary object. By the way, which servo motors did you use? Were they the ordinary SG90 ones?