 talofer99
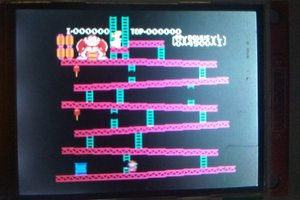
I really like retro things, and this joystick brings back memories.
I do love to learn how things work, so taking it apart was the first step.
The buttons are considerably easy to handle and they are using the 4 output of the buttons with sets of binary representation. you can see the LED in the youtube thumb.
The analog are a different story and I will need to imitate the old mono stable mechanism with a 555 - so that will be fun and a great video.
I do no have an end result yet, got few Ideas, will post updates.


 Sven Dahlstrand
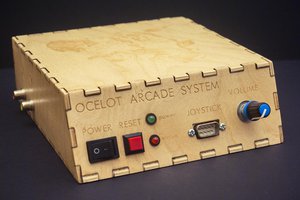
 Matt Carr