Goals
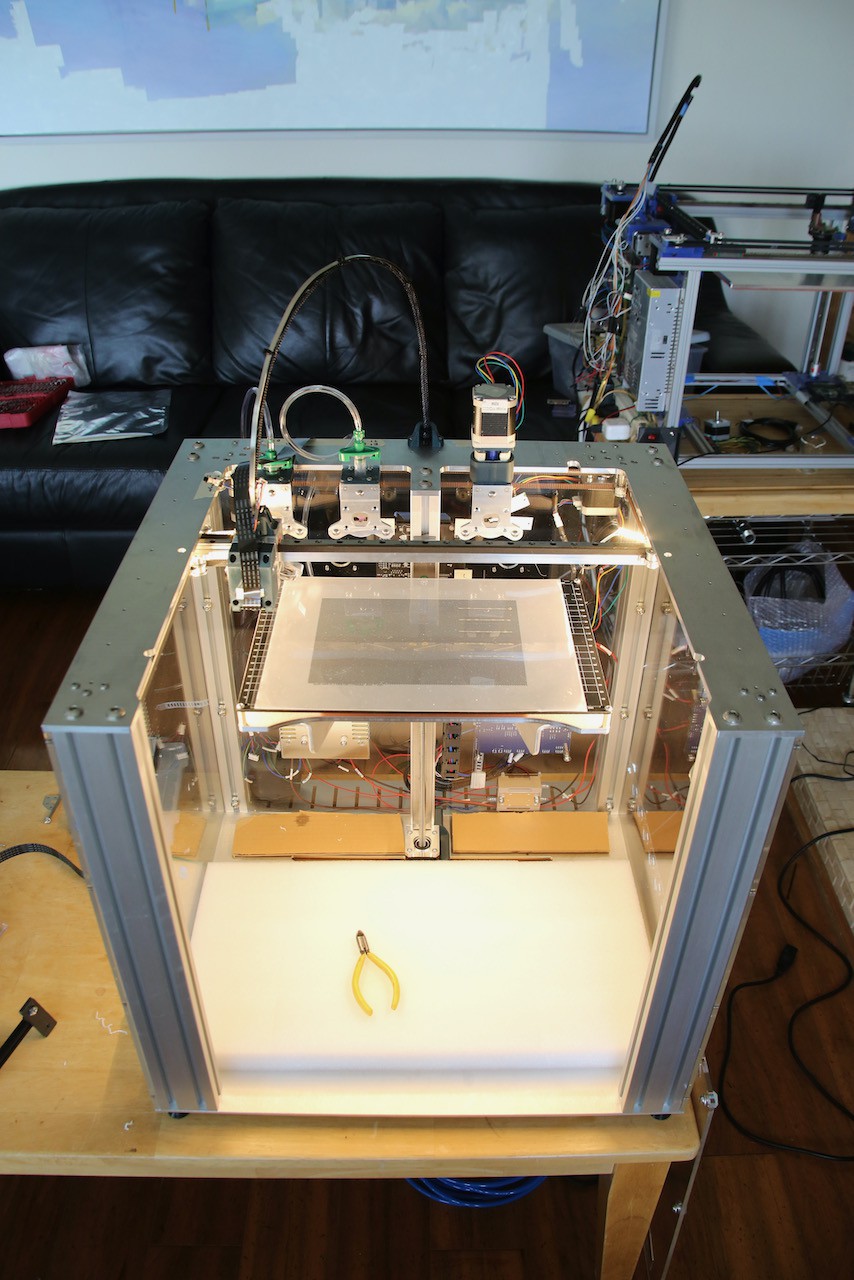
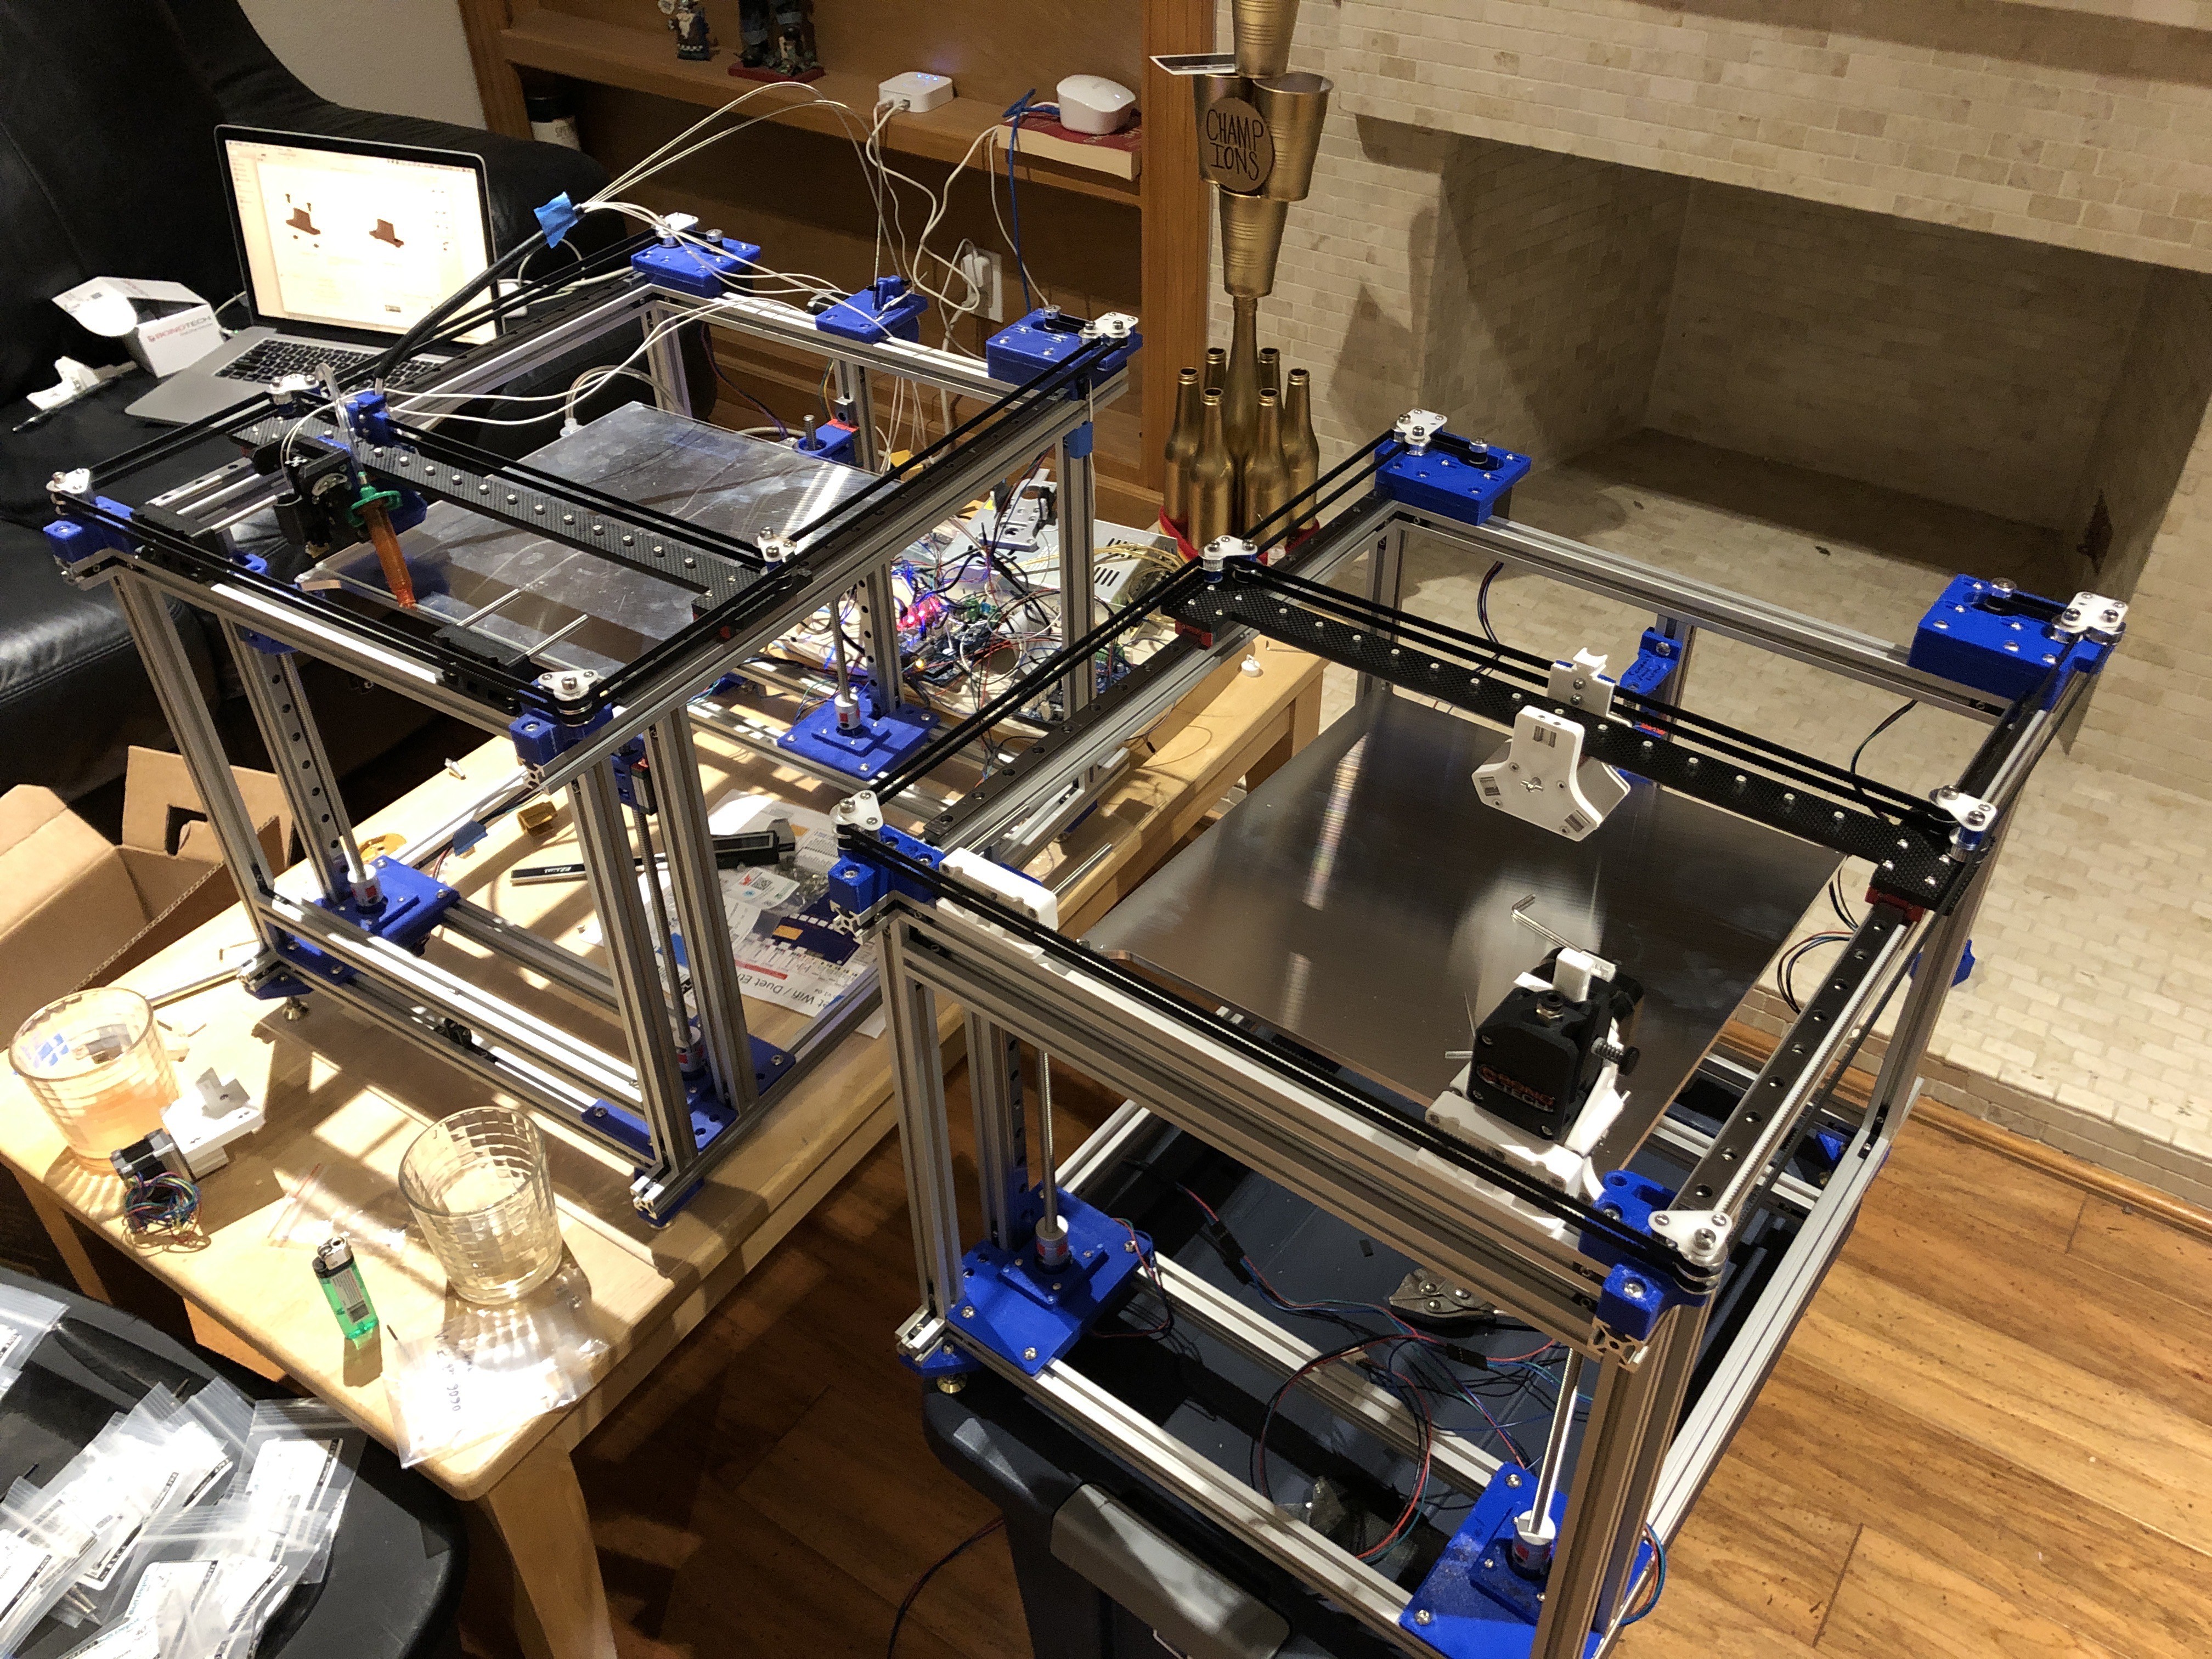
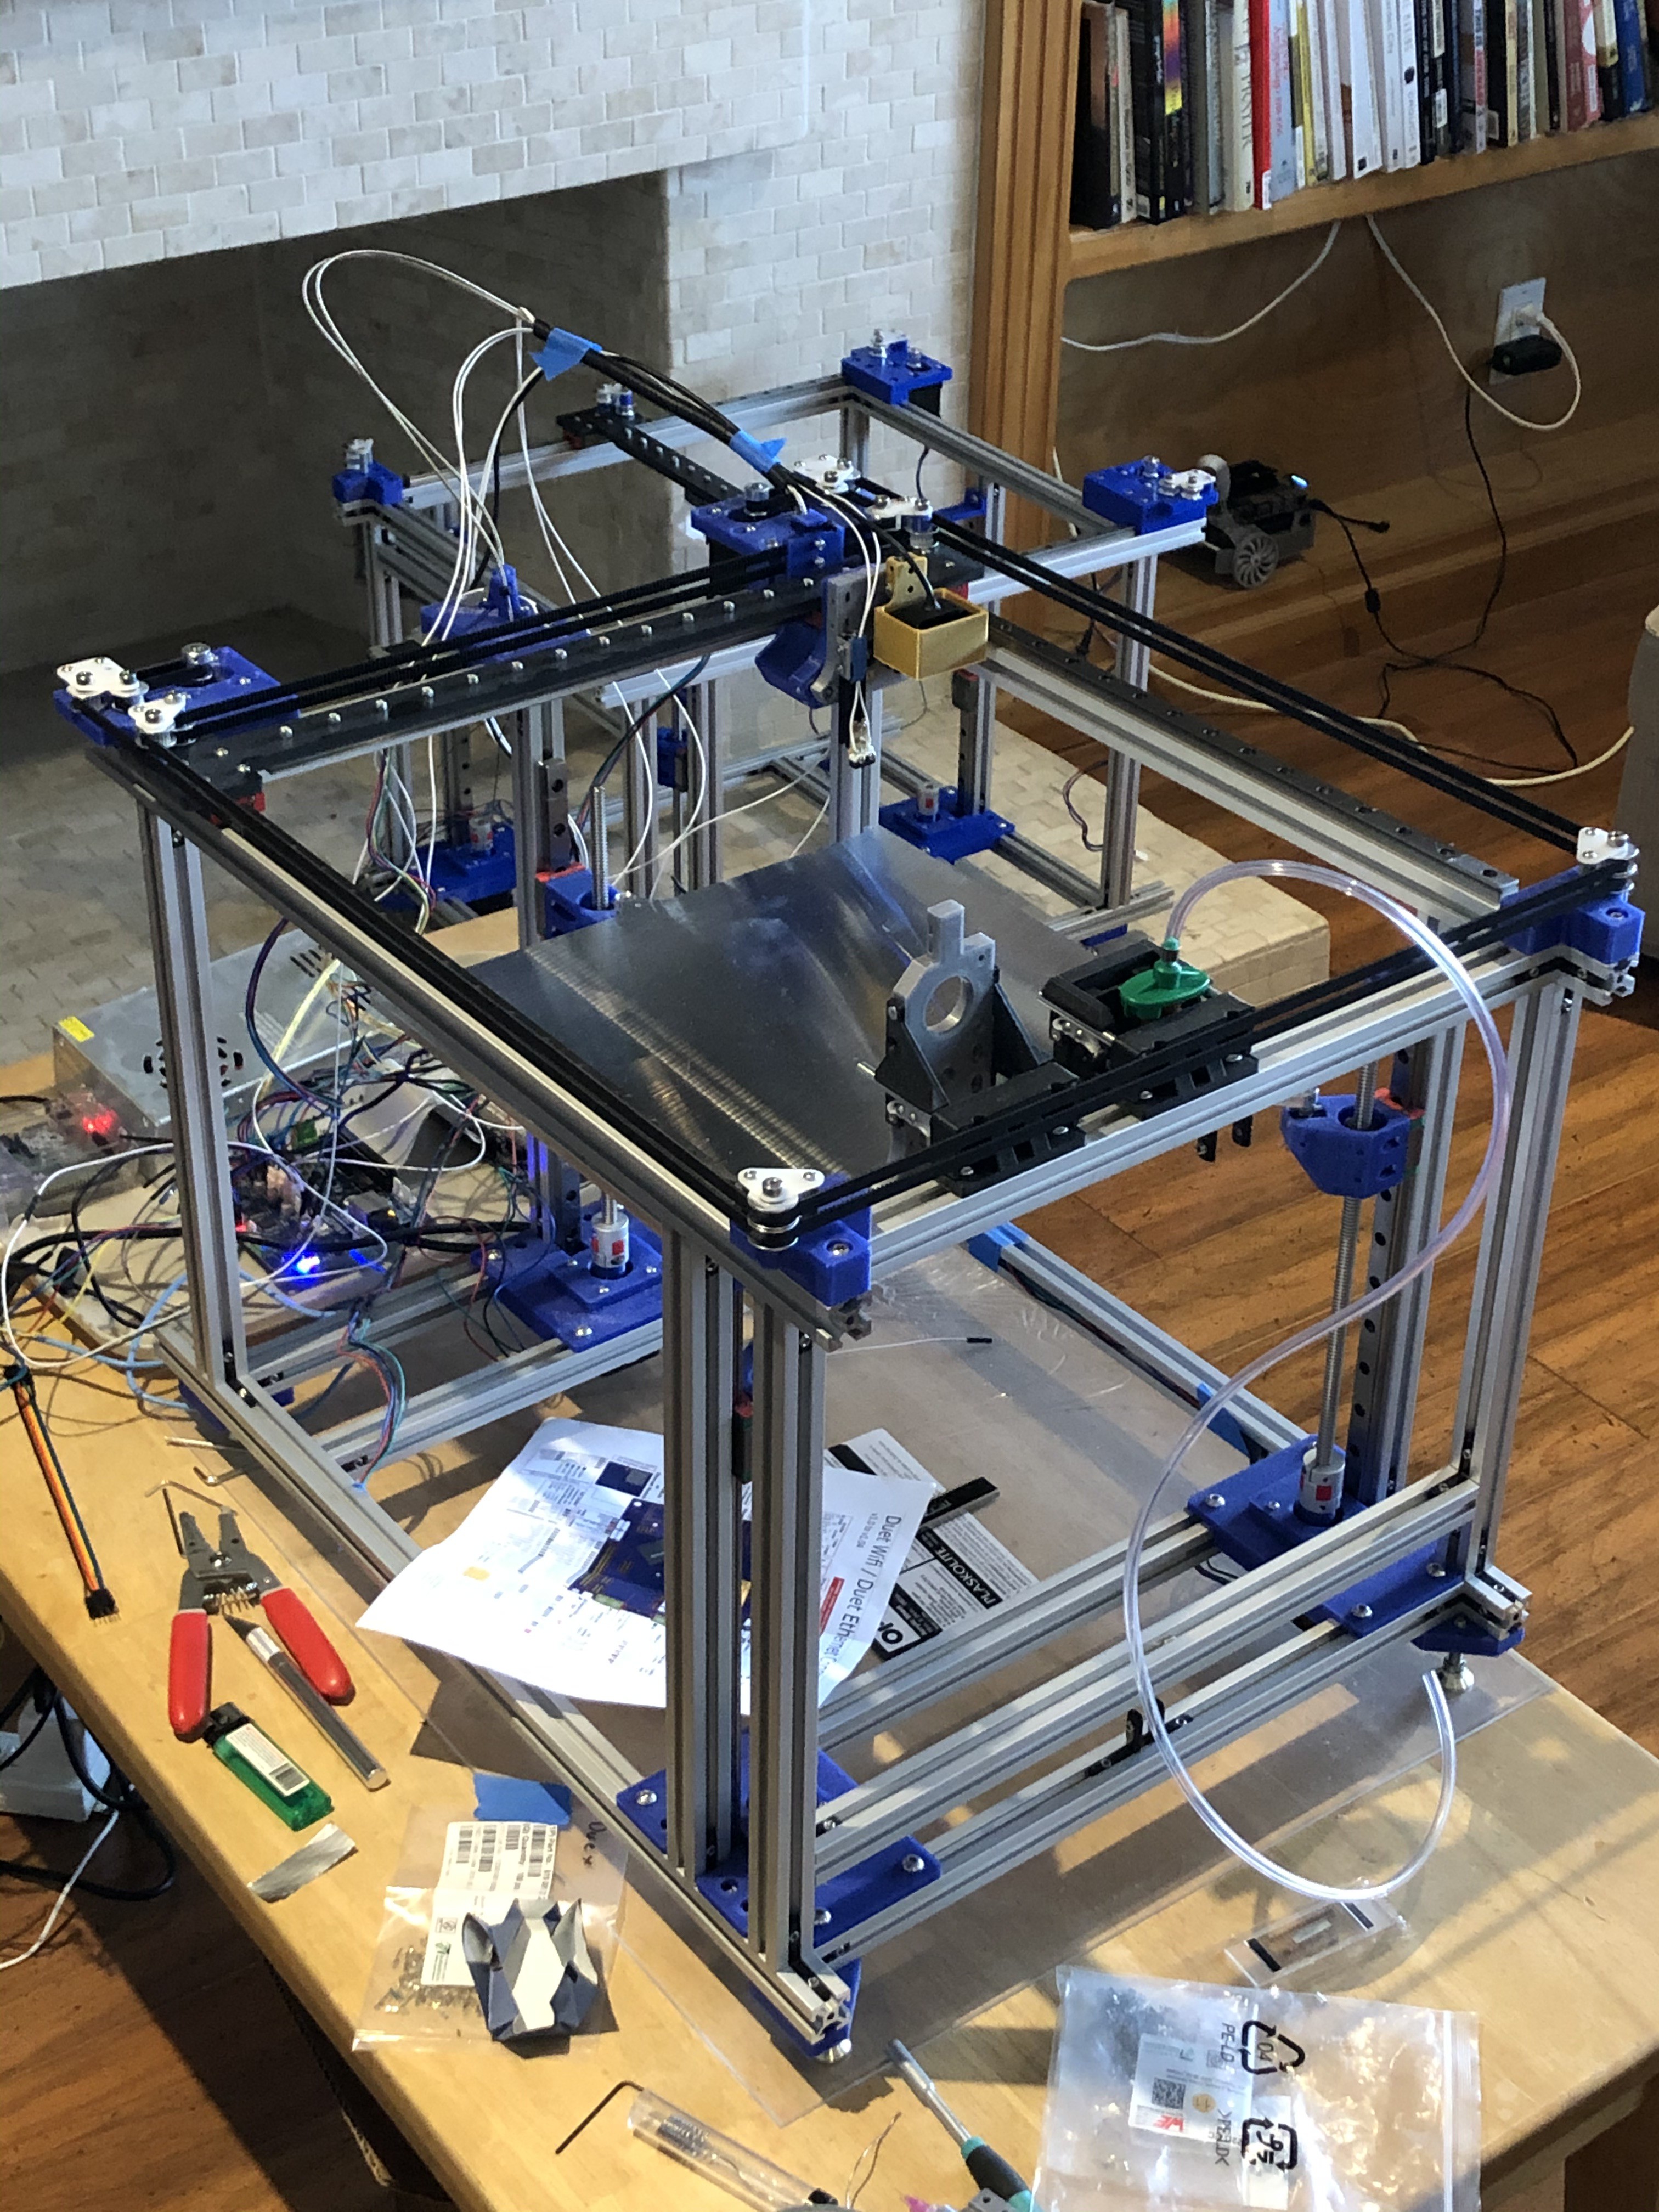
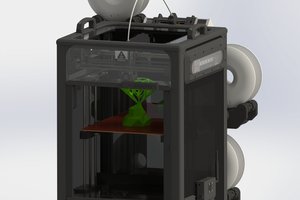
The goal of a circuit printer has been something I have wanted to do for a while. The commercial company Voltera.io has something similar, but their system is not open source and has a rather small bed area. I am making something similar with a more open set of hardware.
My background is in printed electronics, and it also is my current day job so I have quite a bit of experience in this area.
Requirements:
In order to connect to most microcontrollers, we need to print traces that are capable of ~100-150um separations. This requires:
1. An ink with a highly consistent particle size,
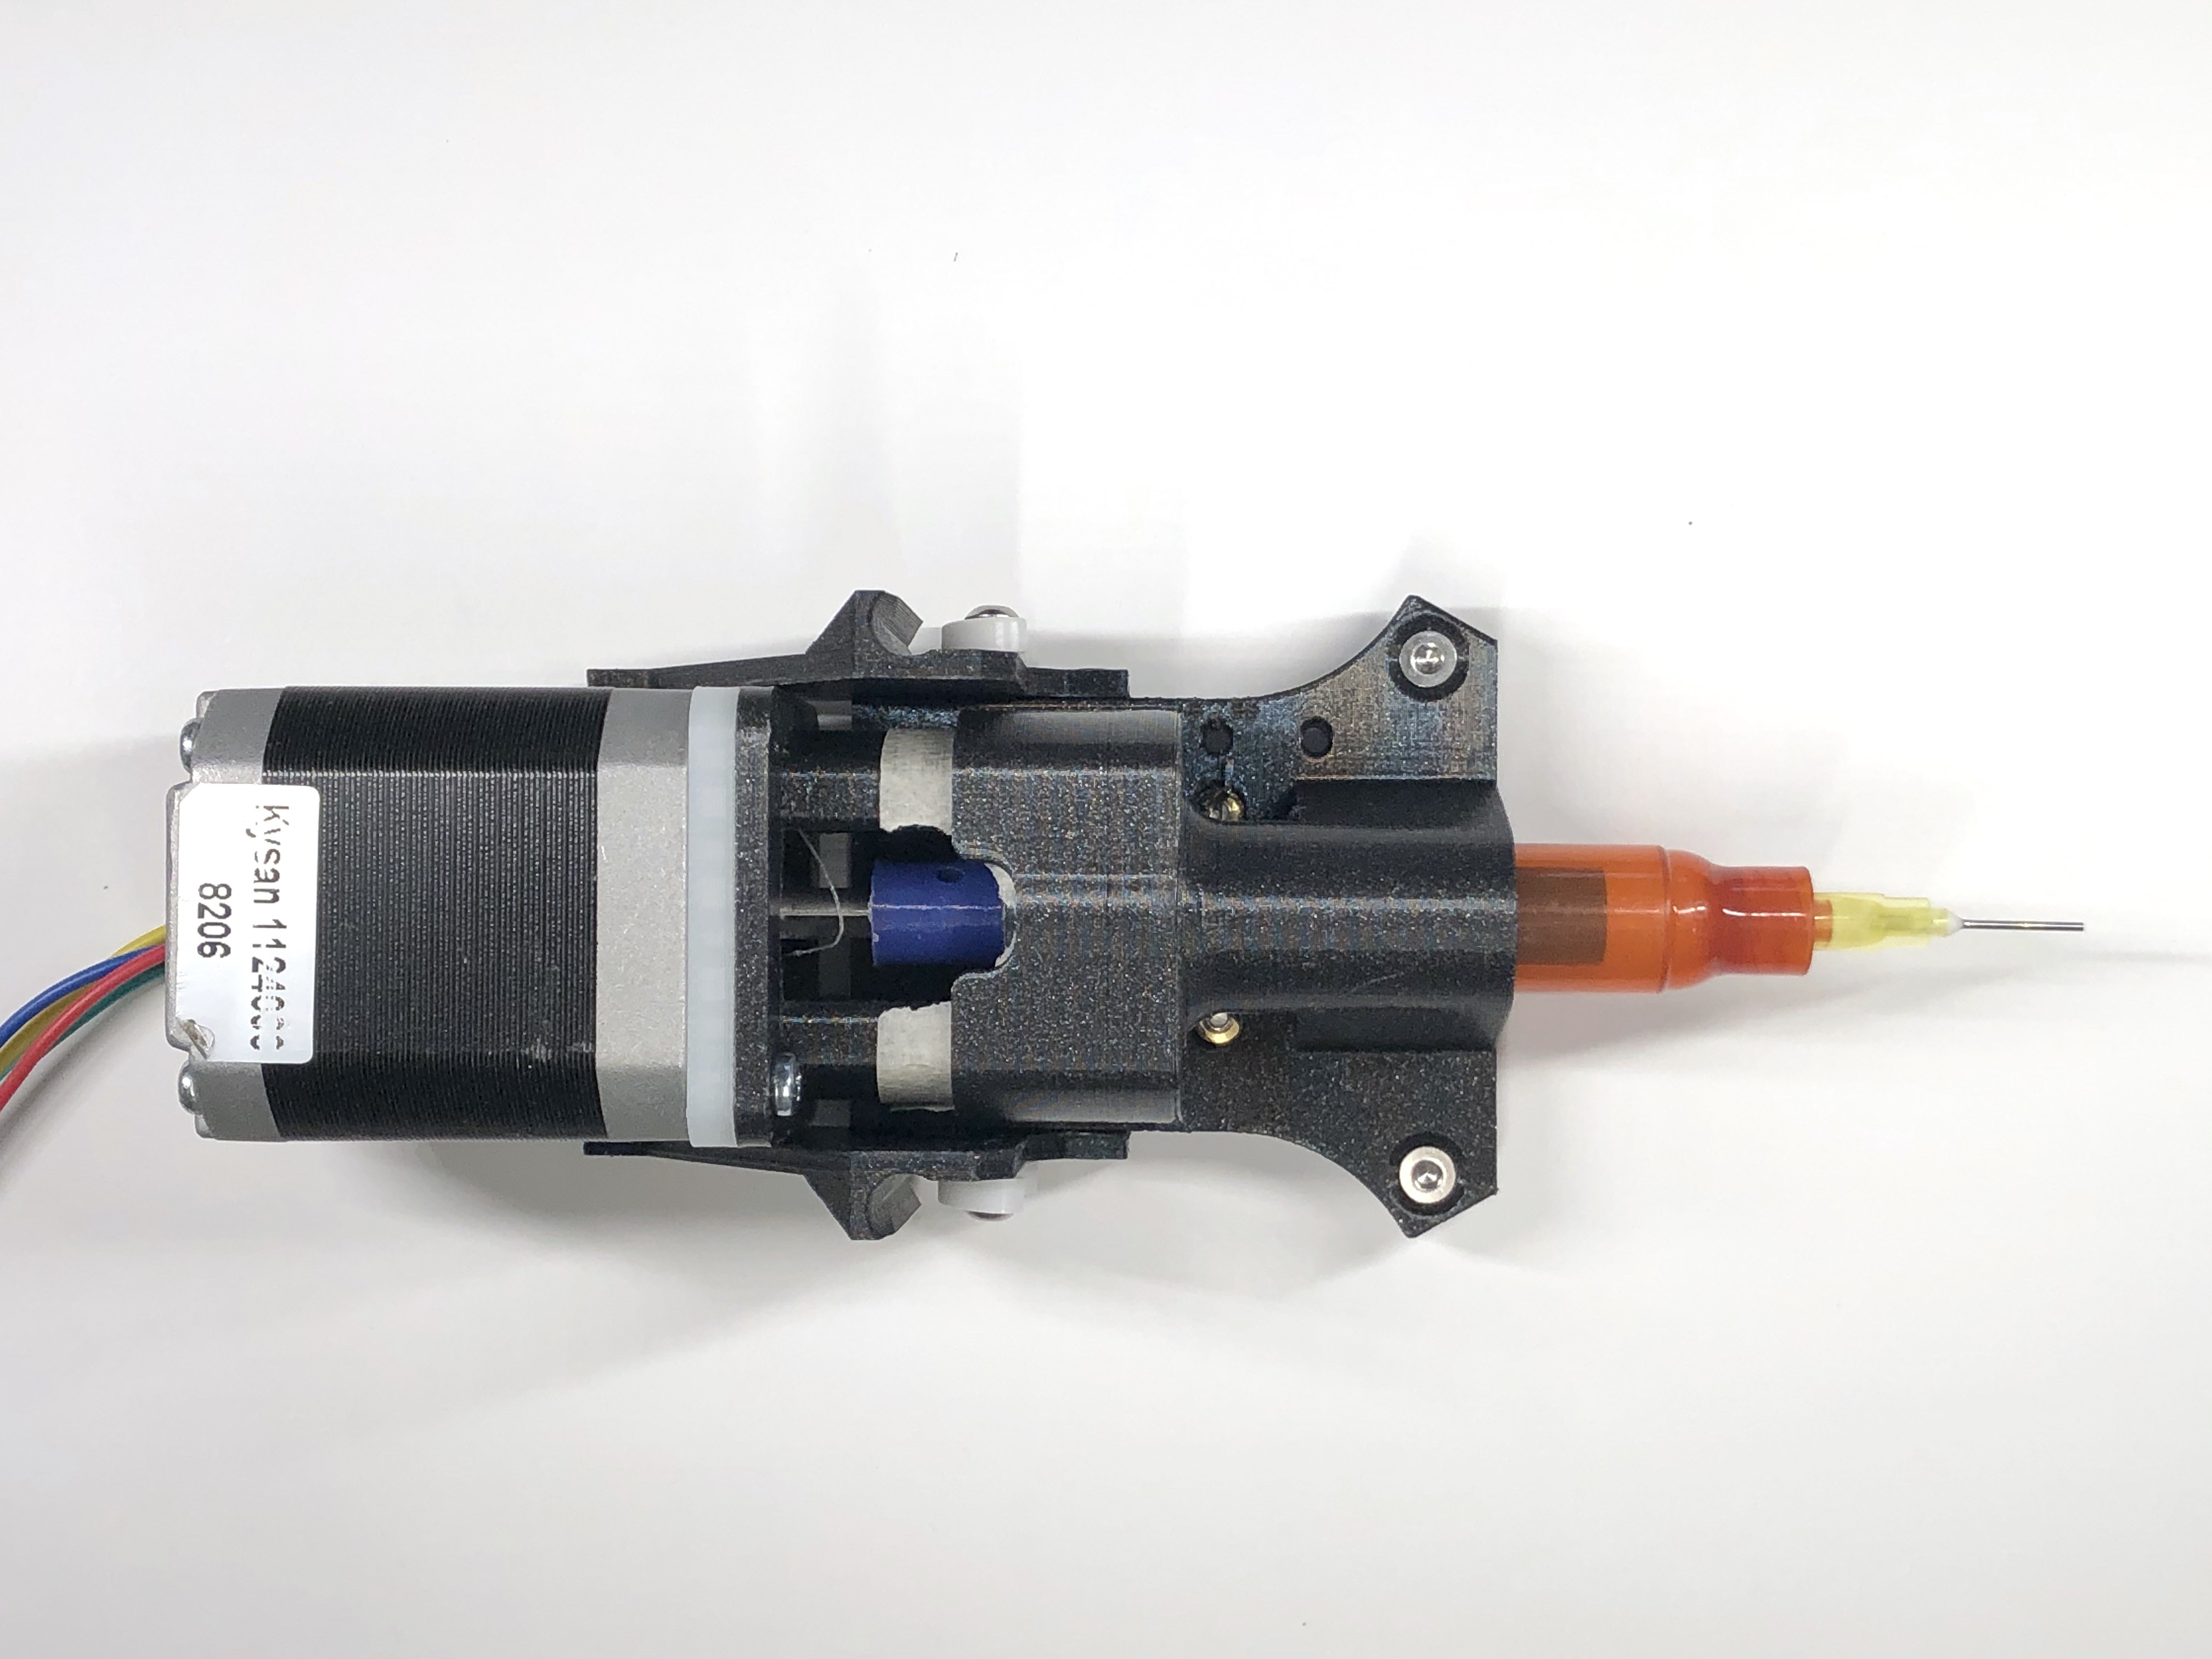
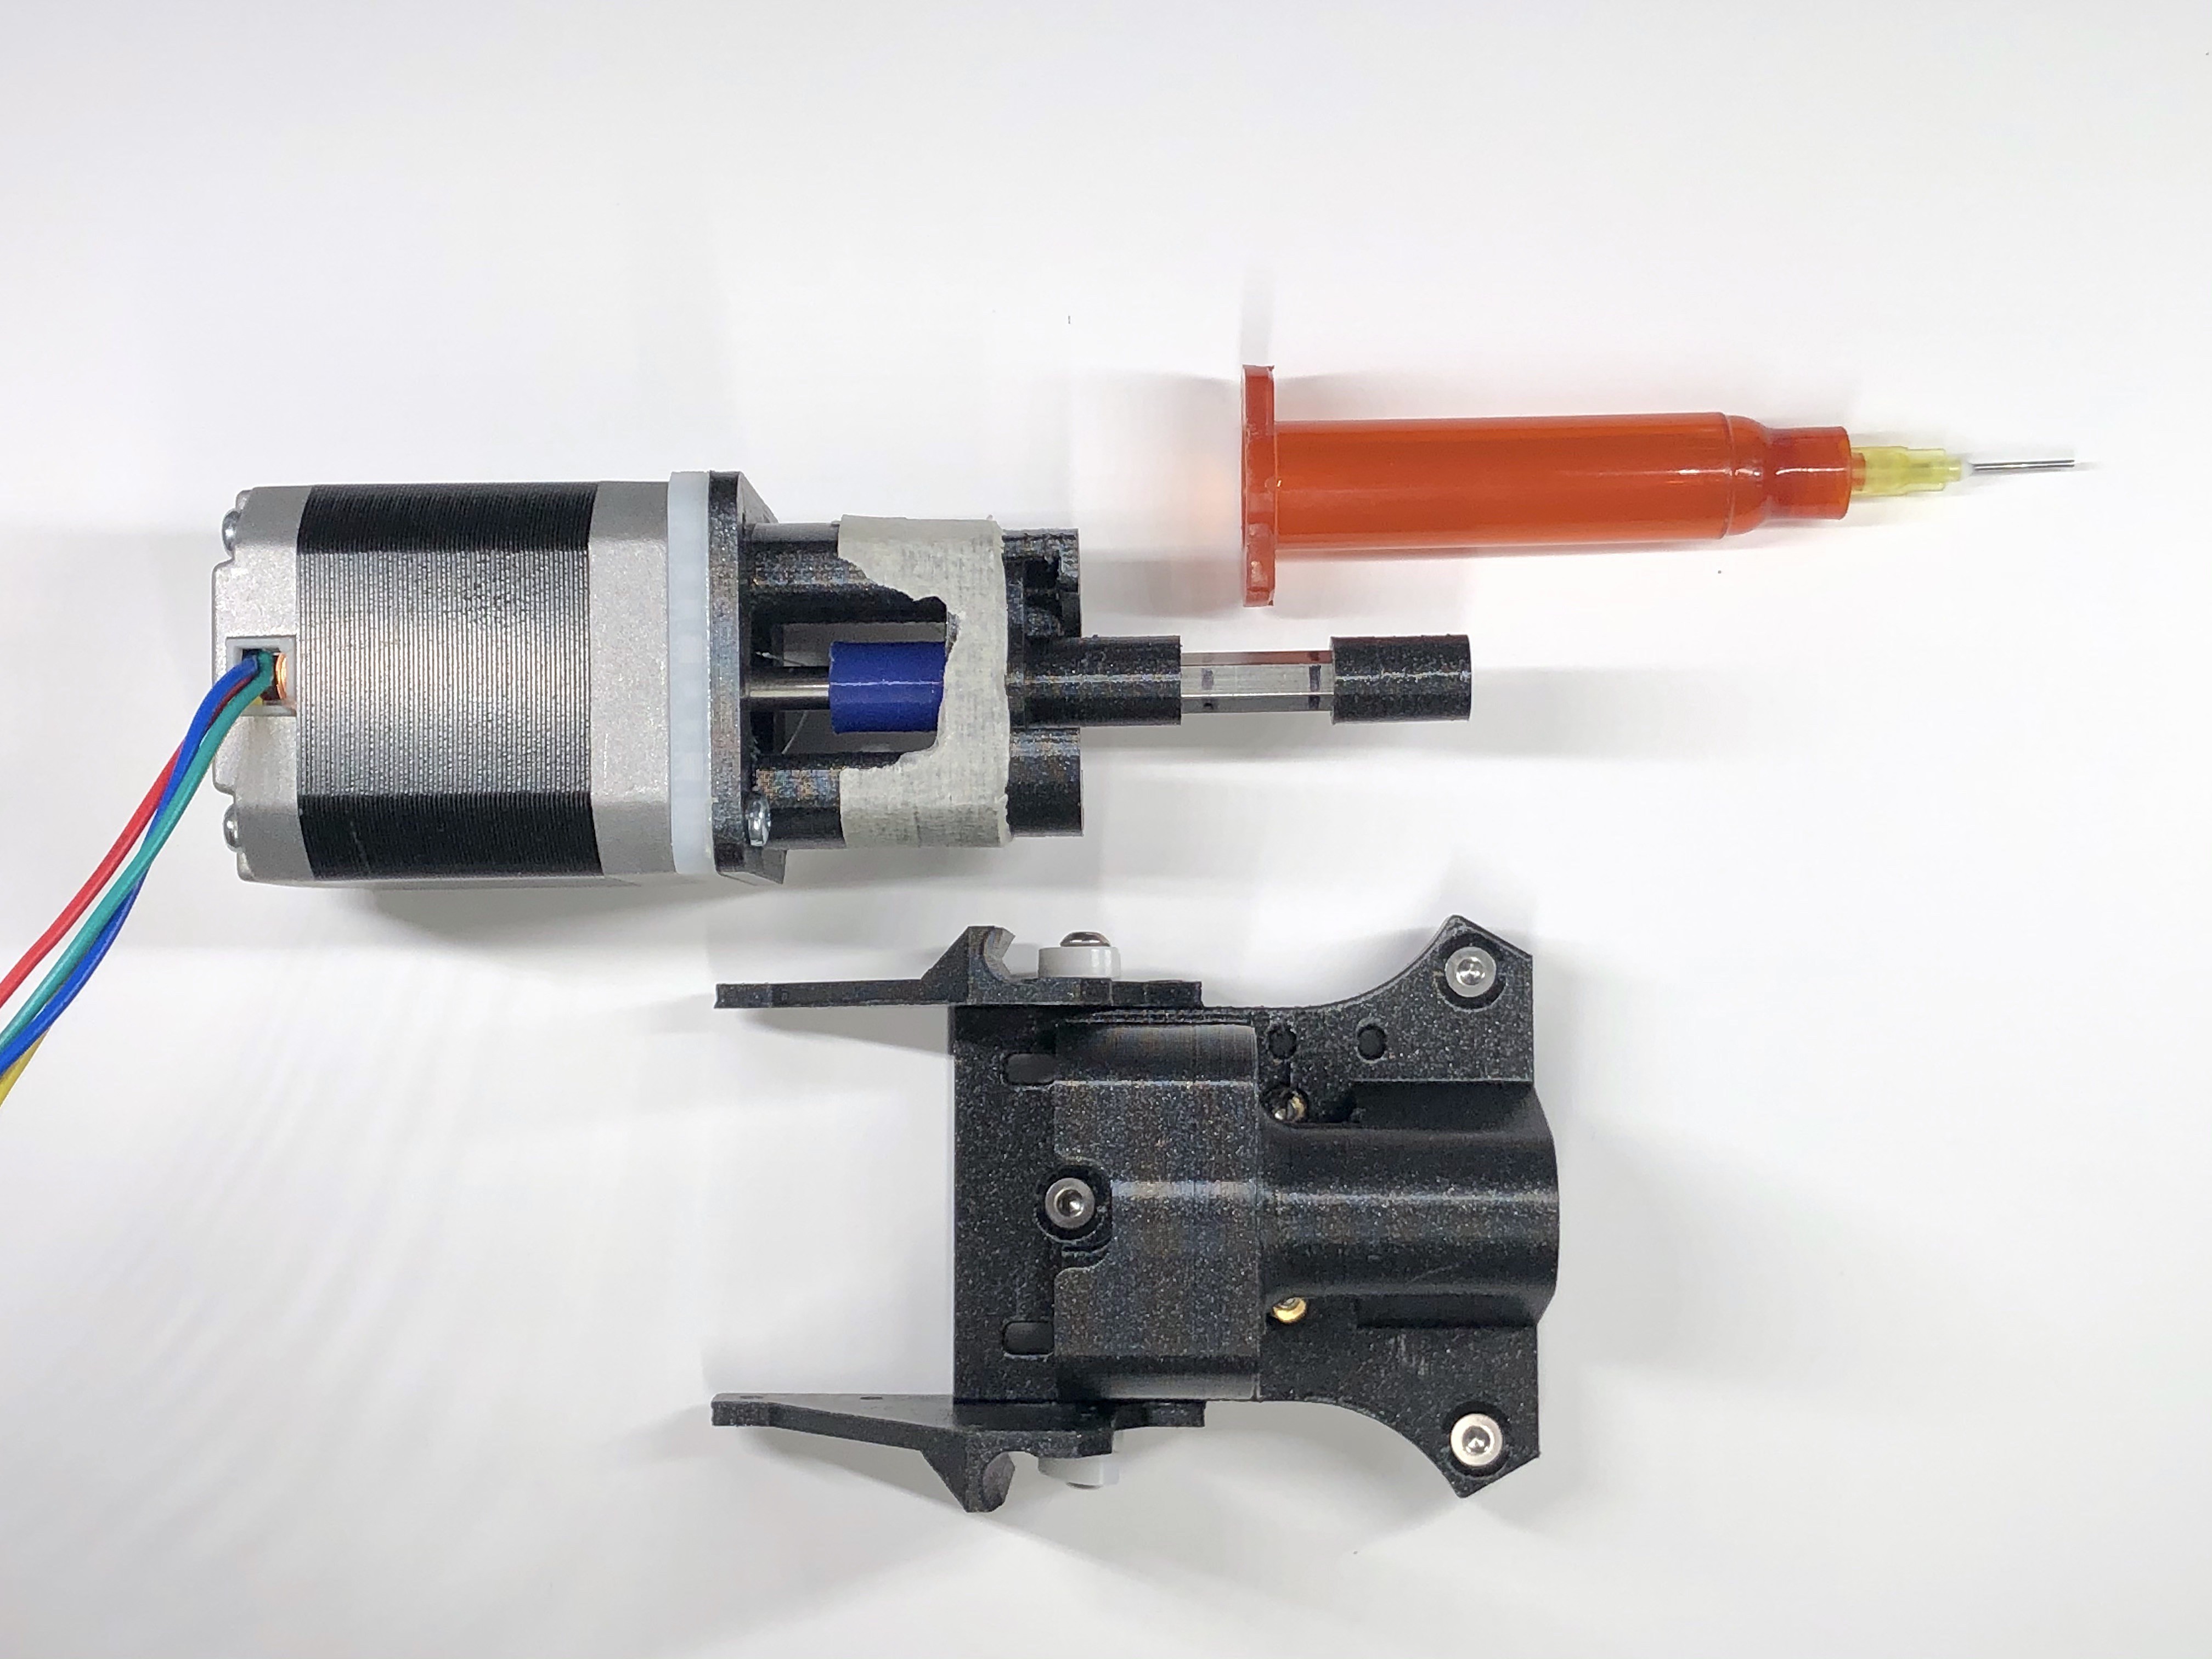
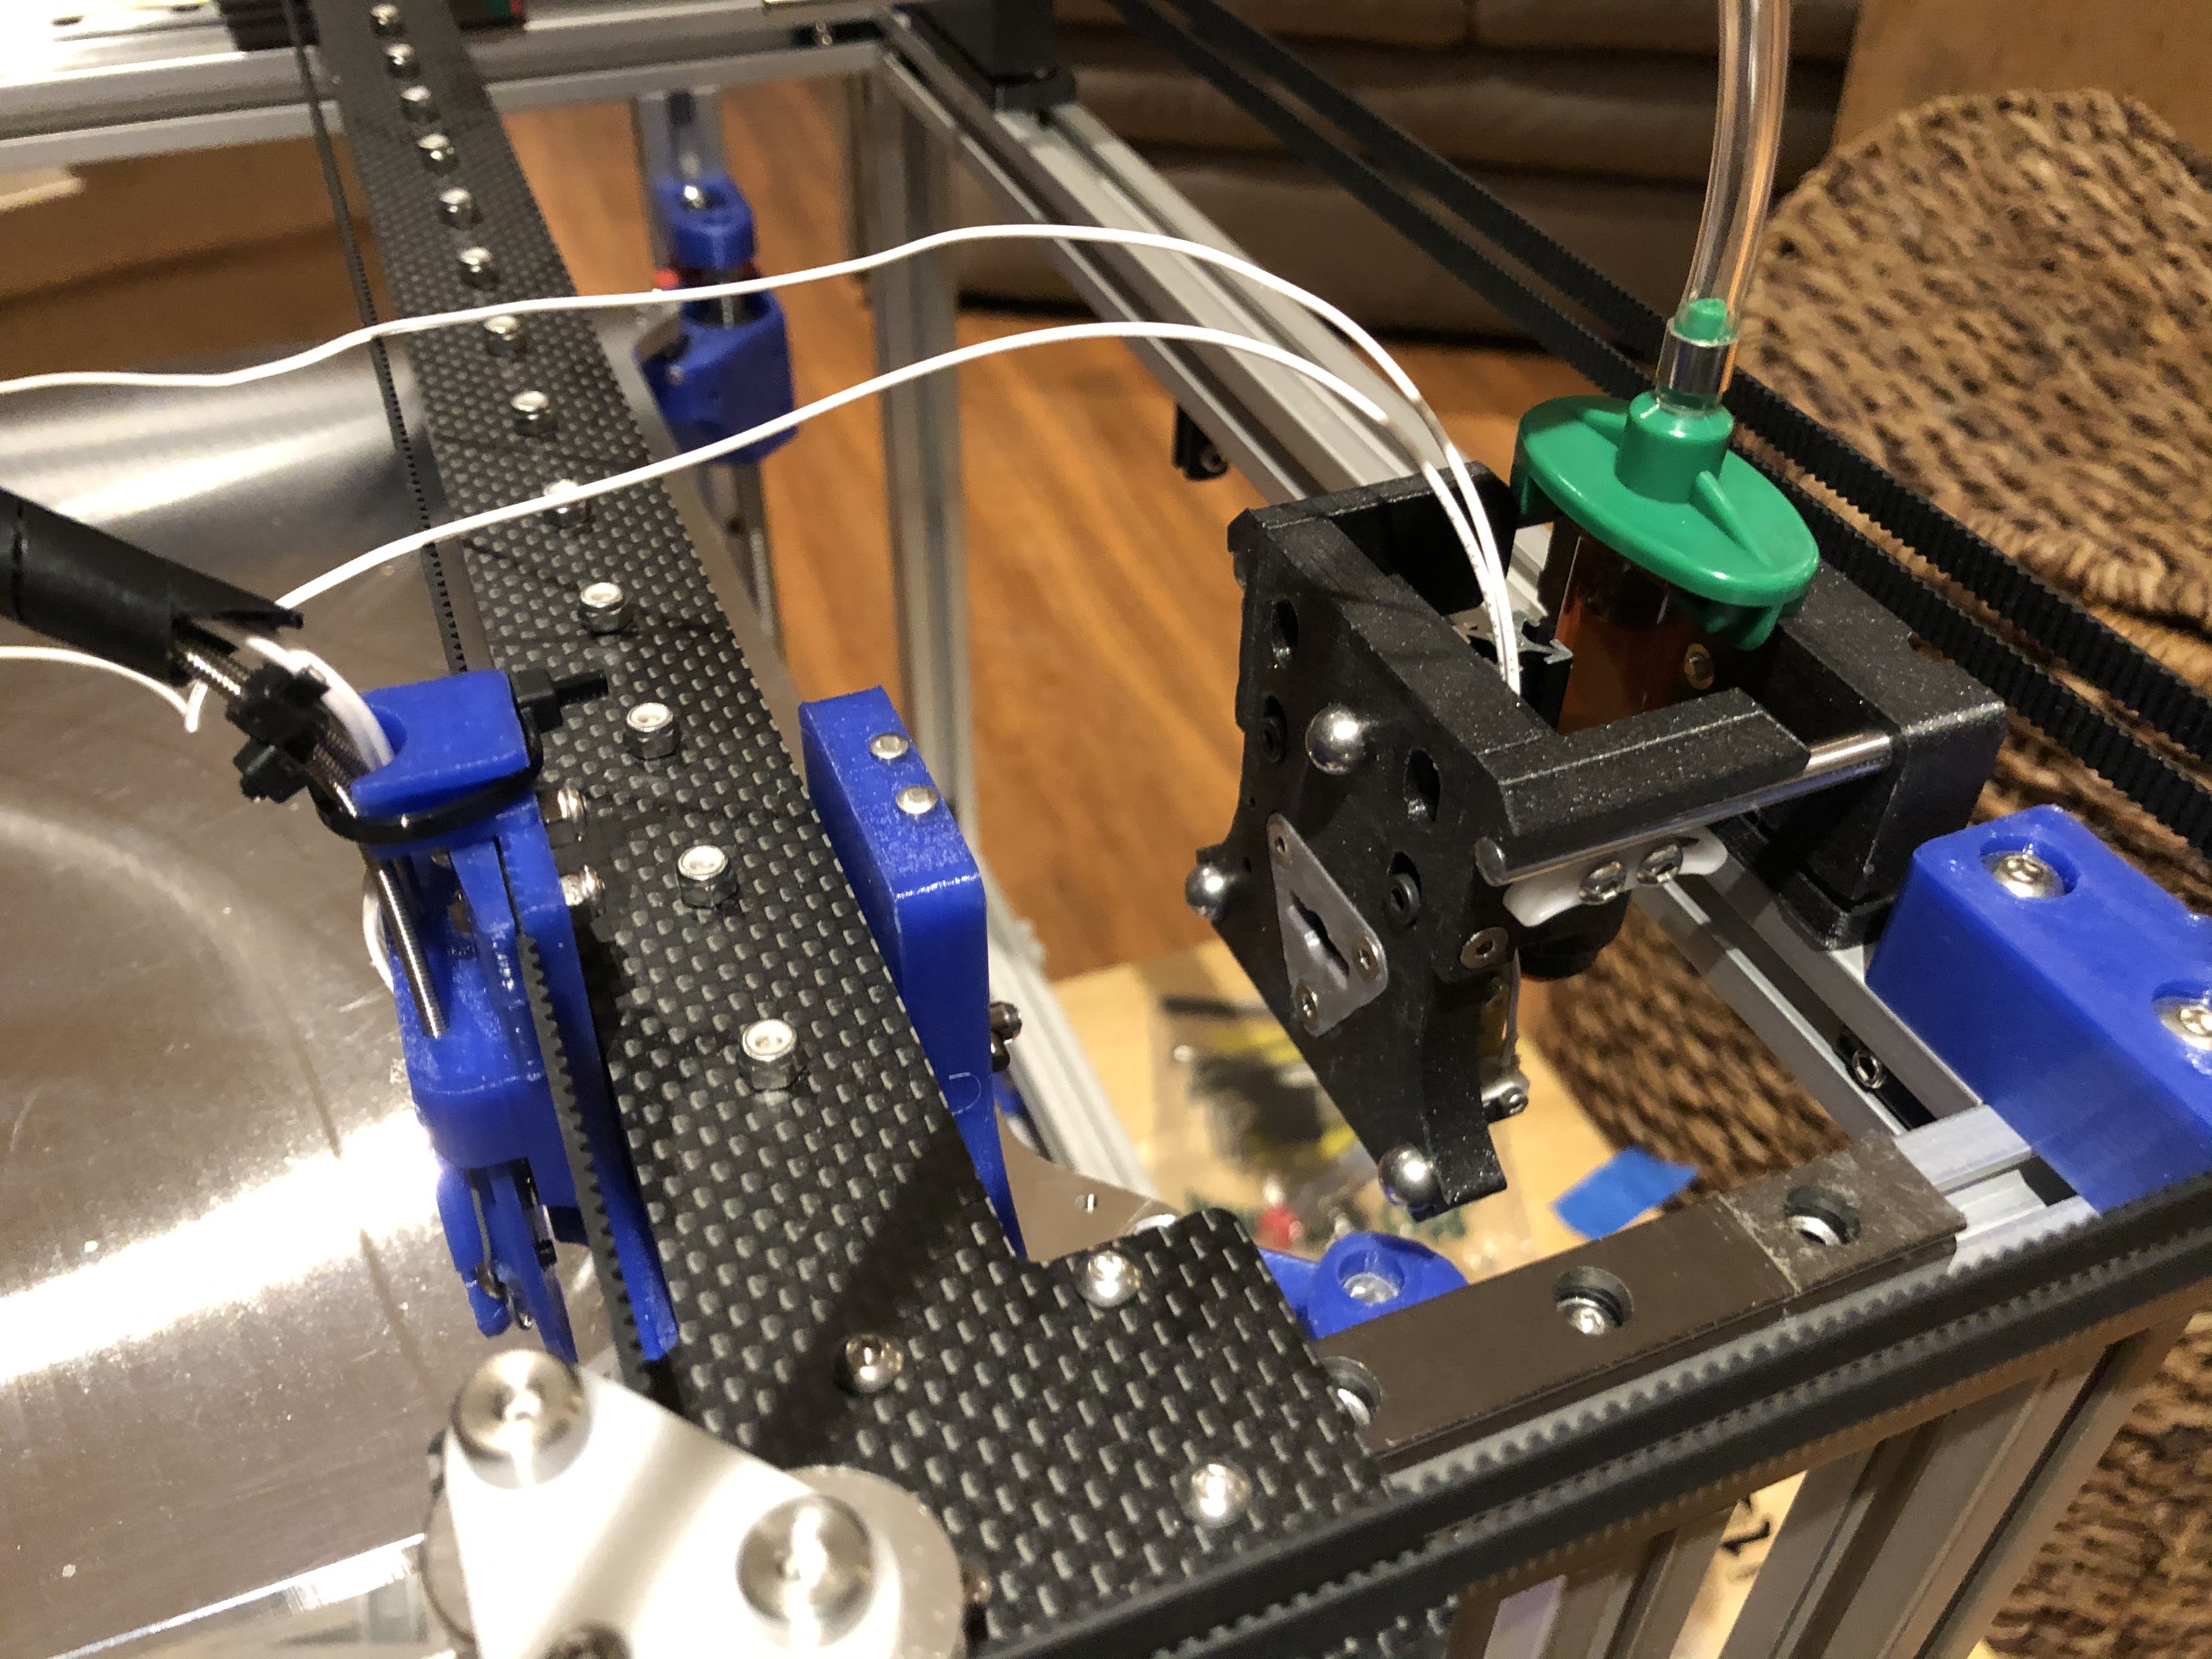
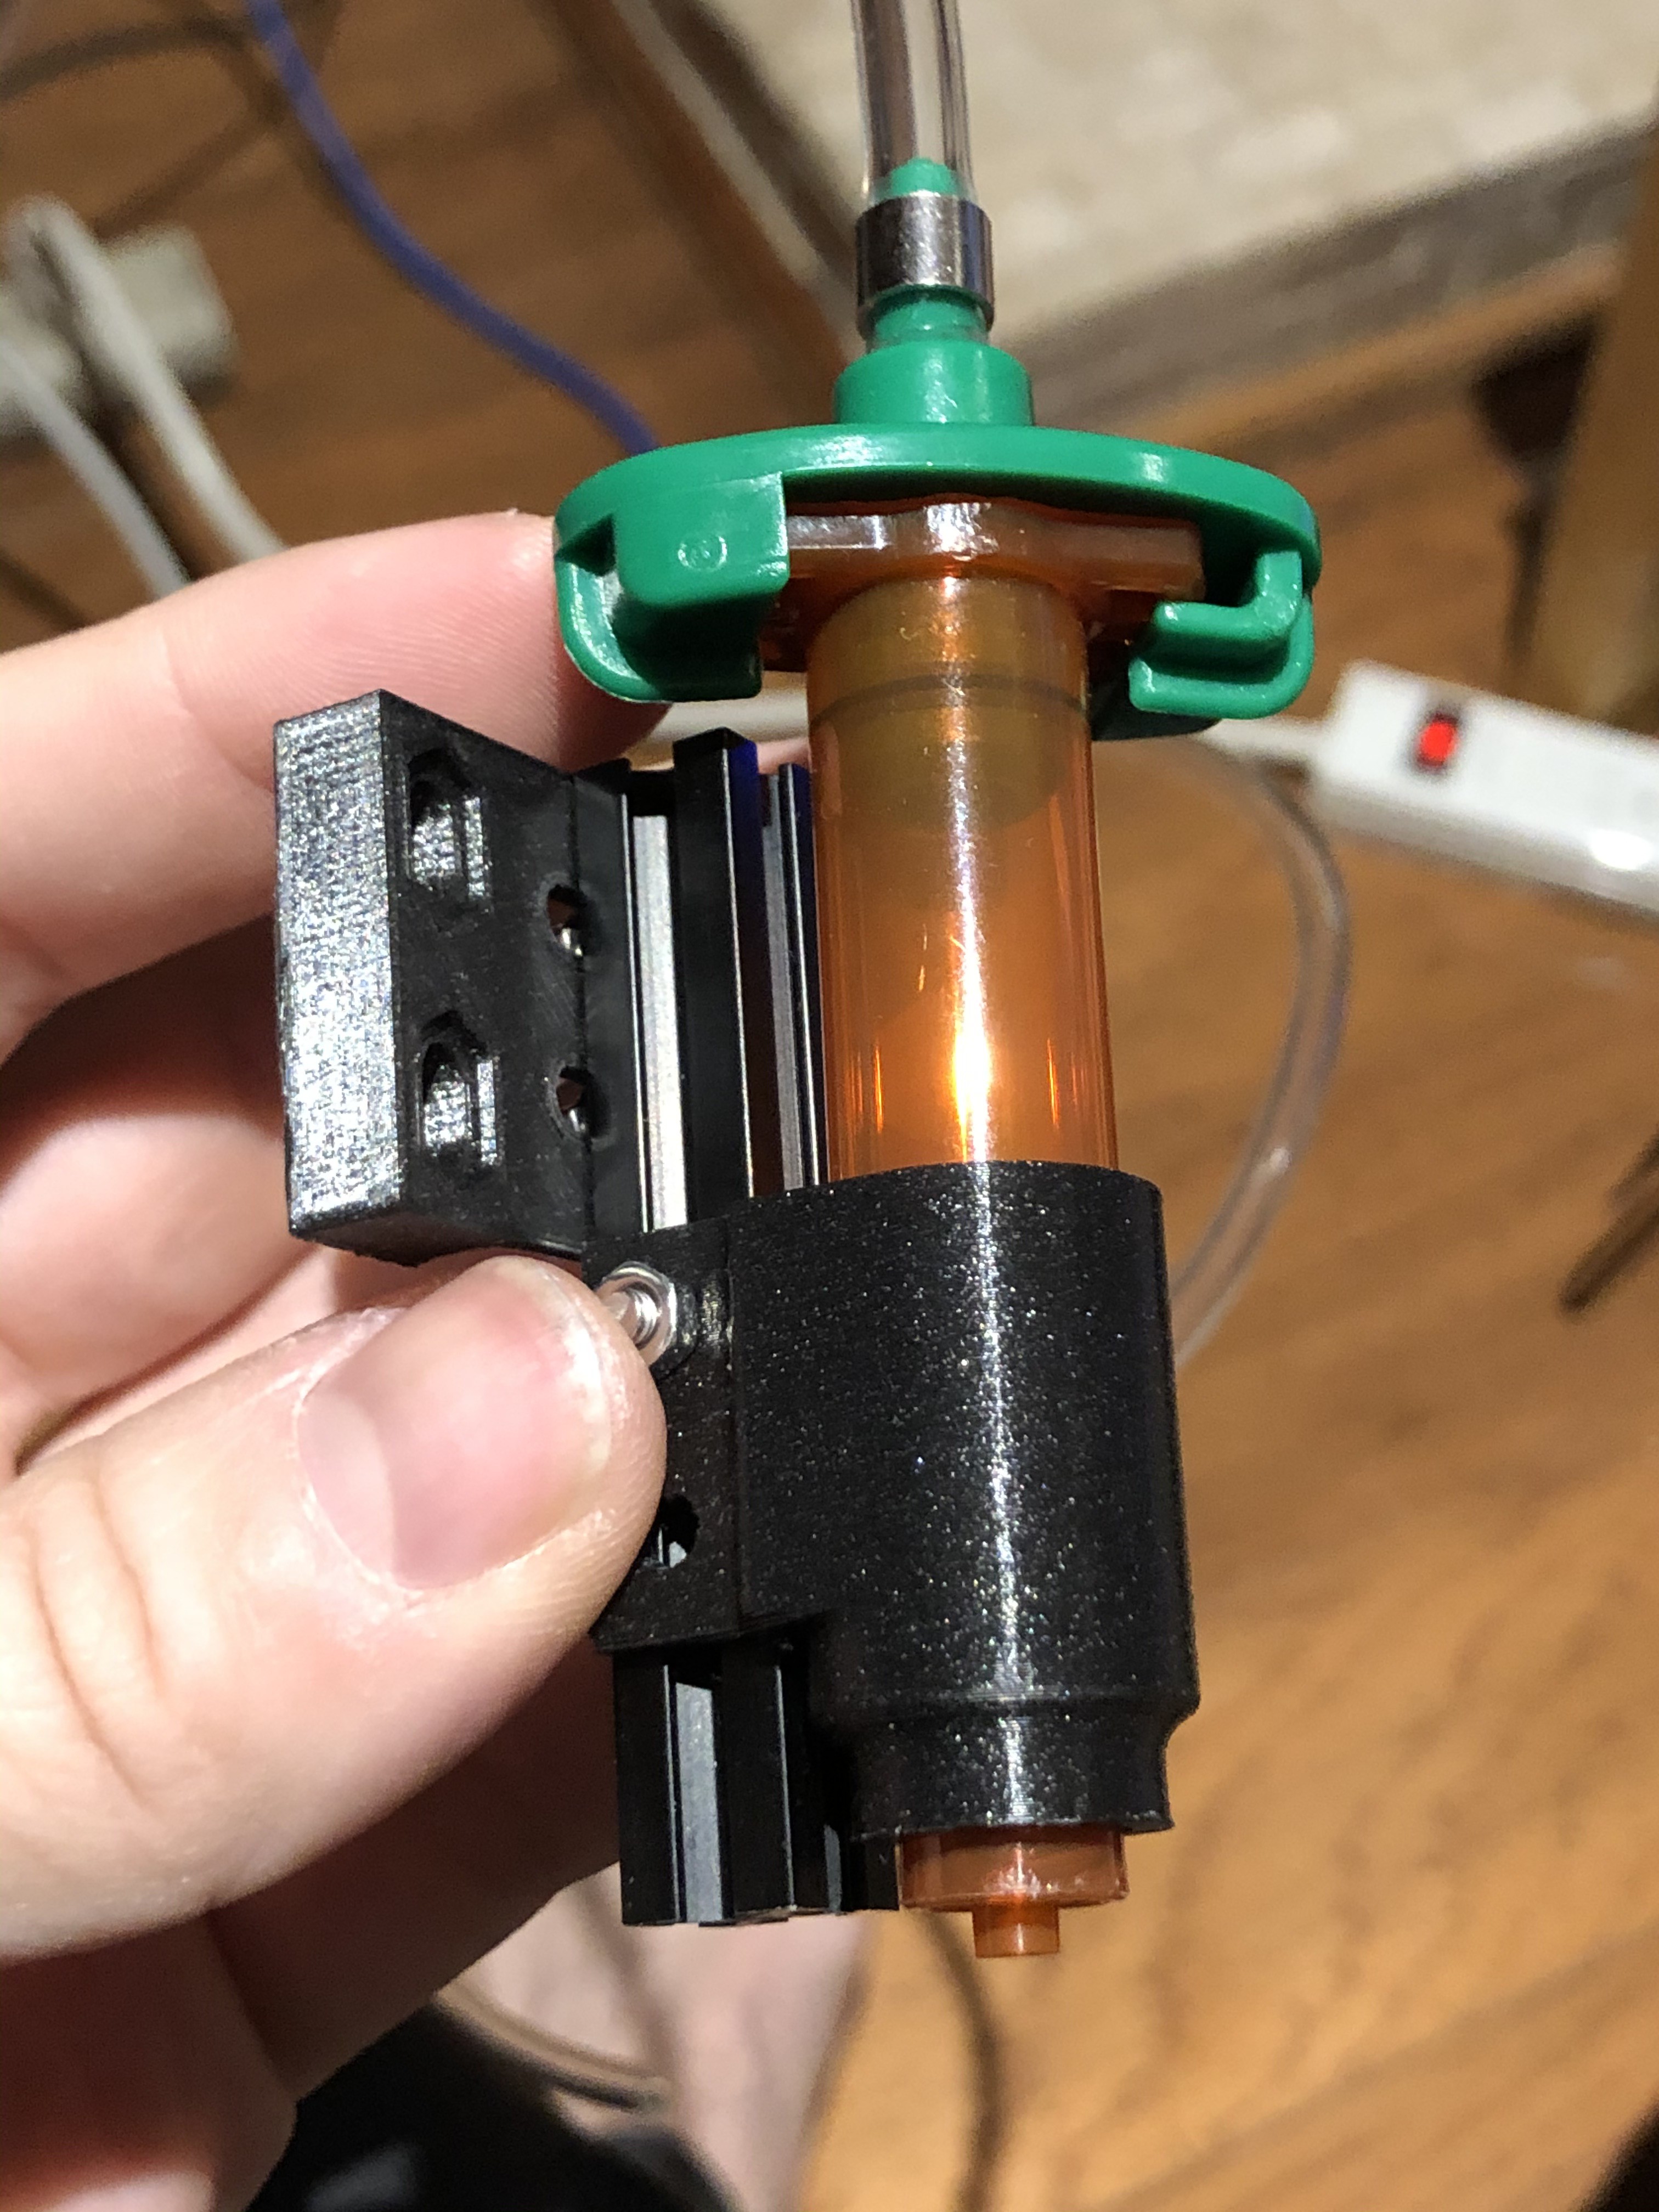
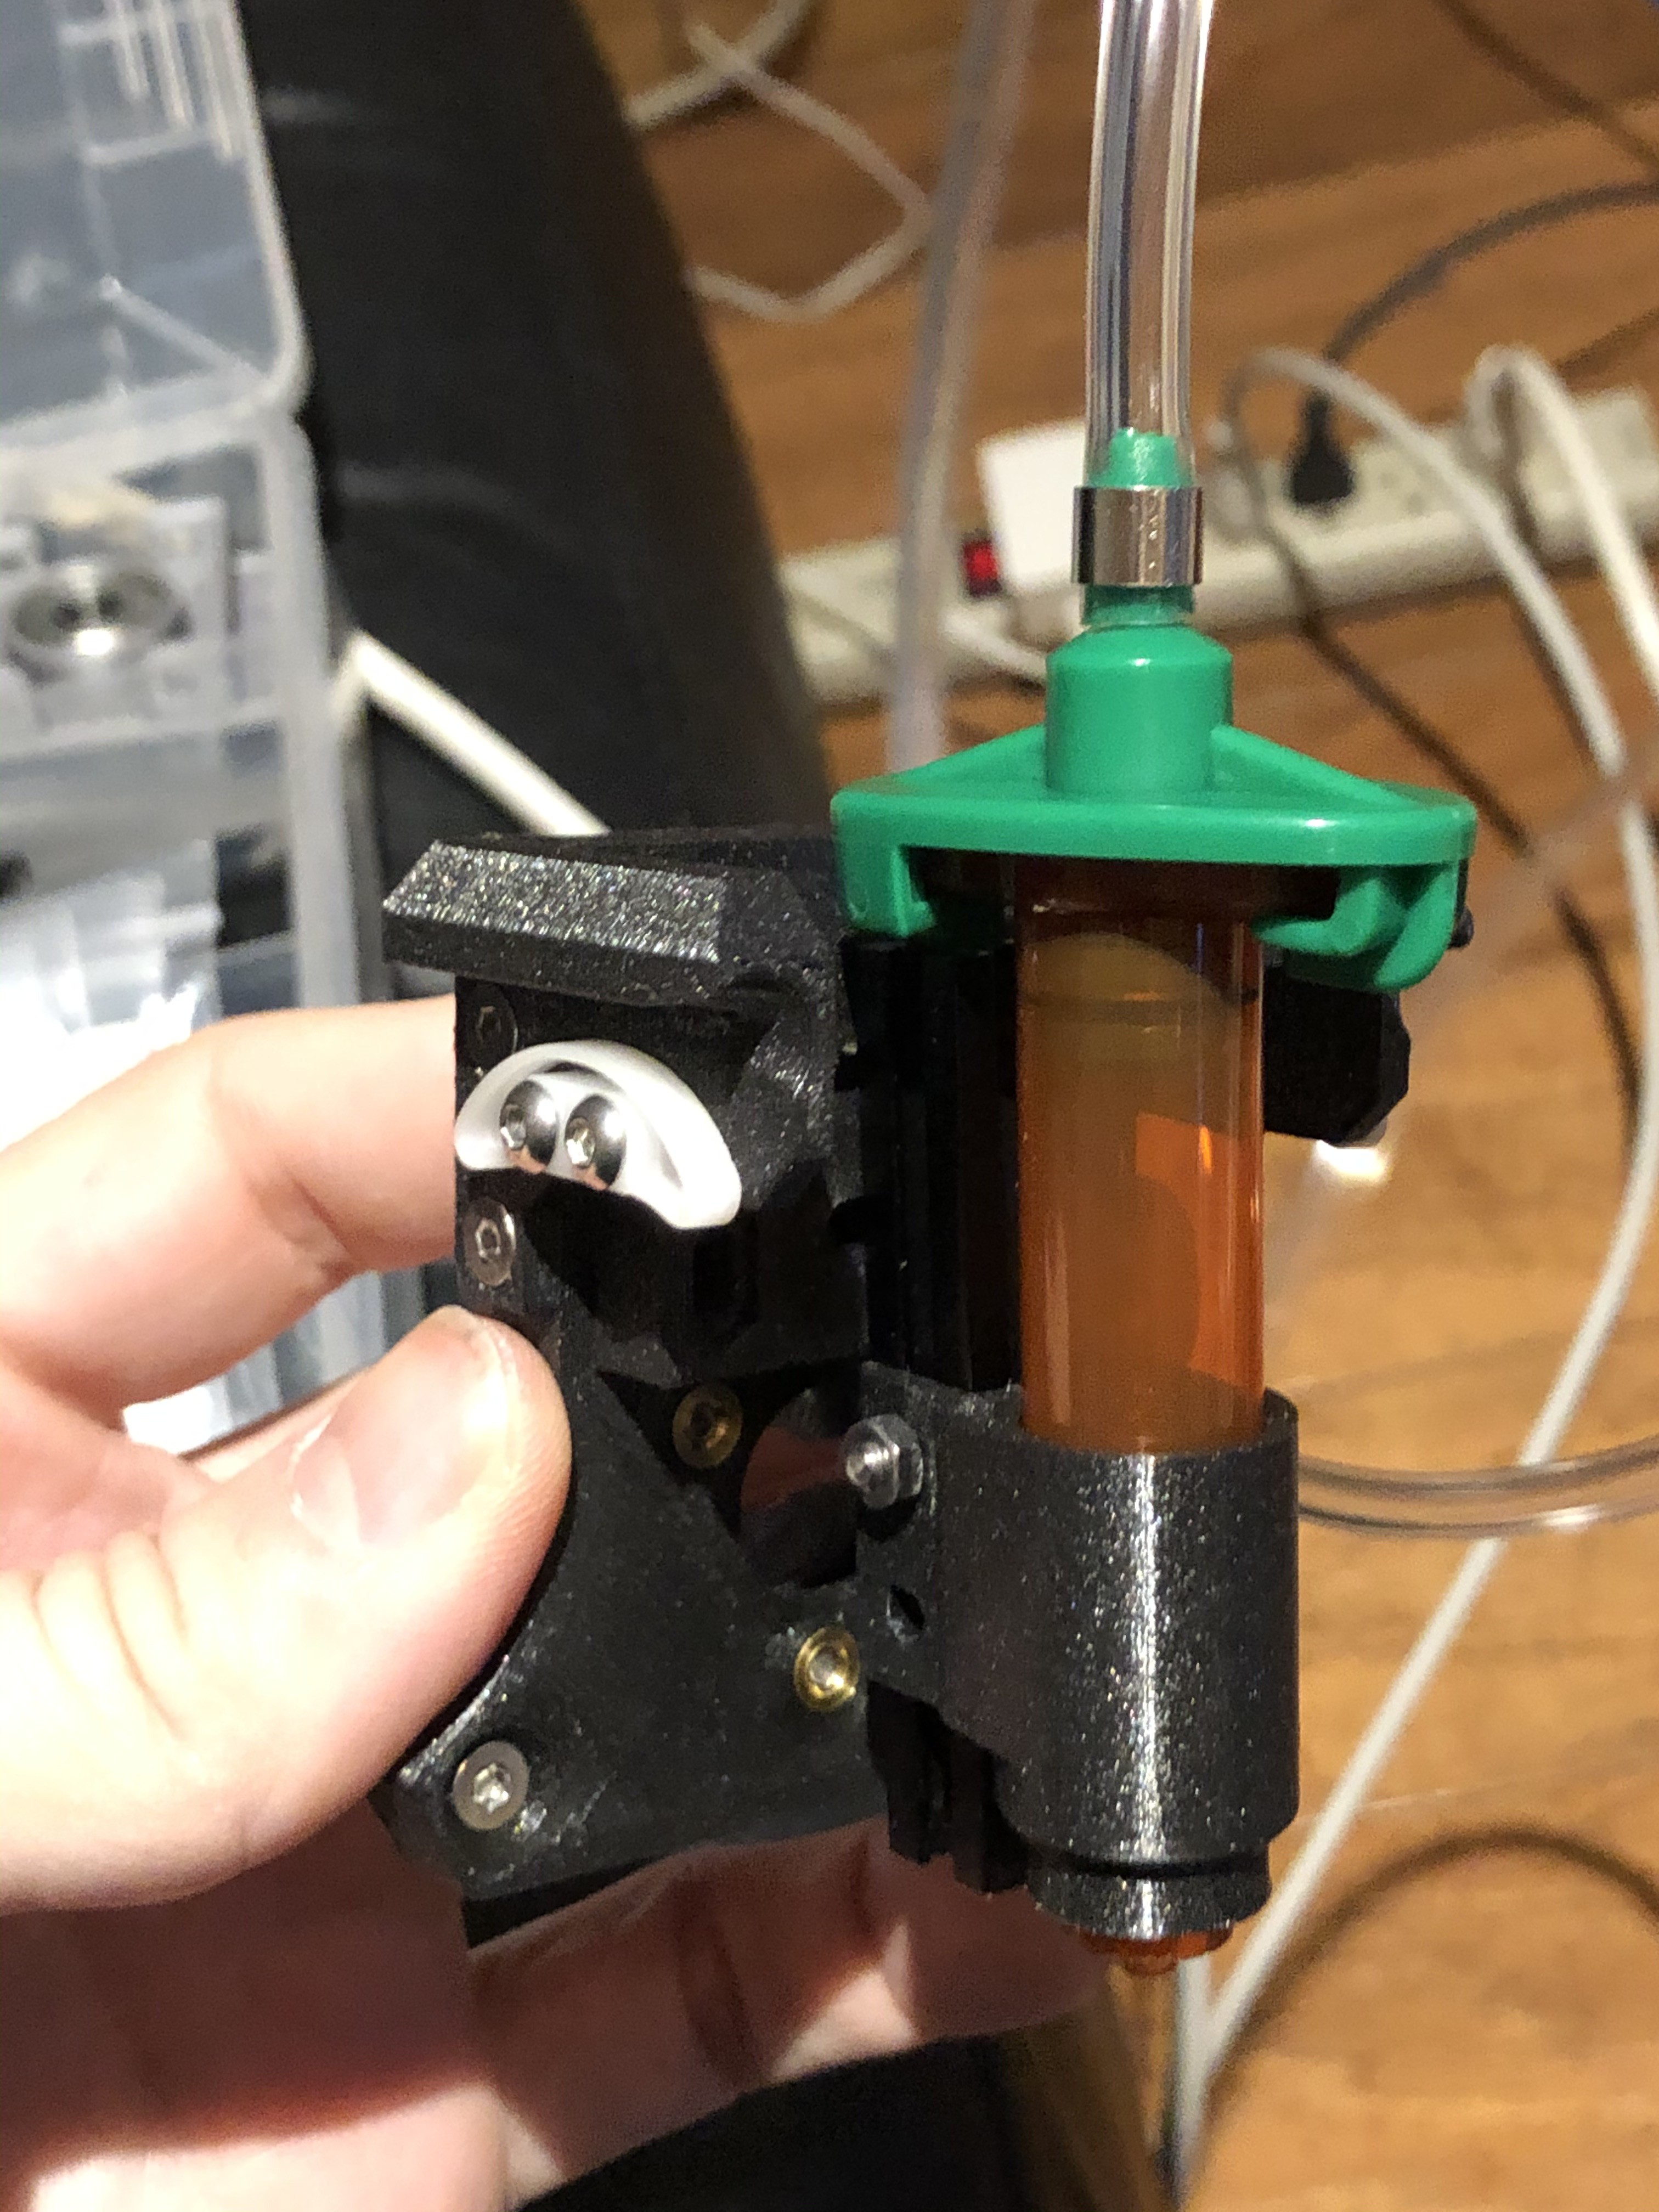
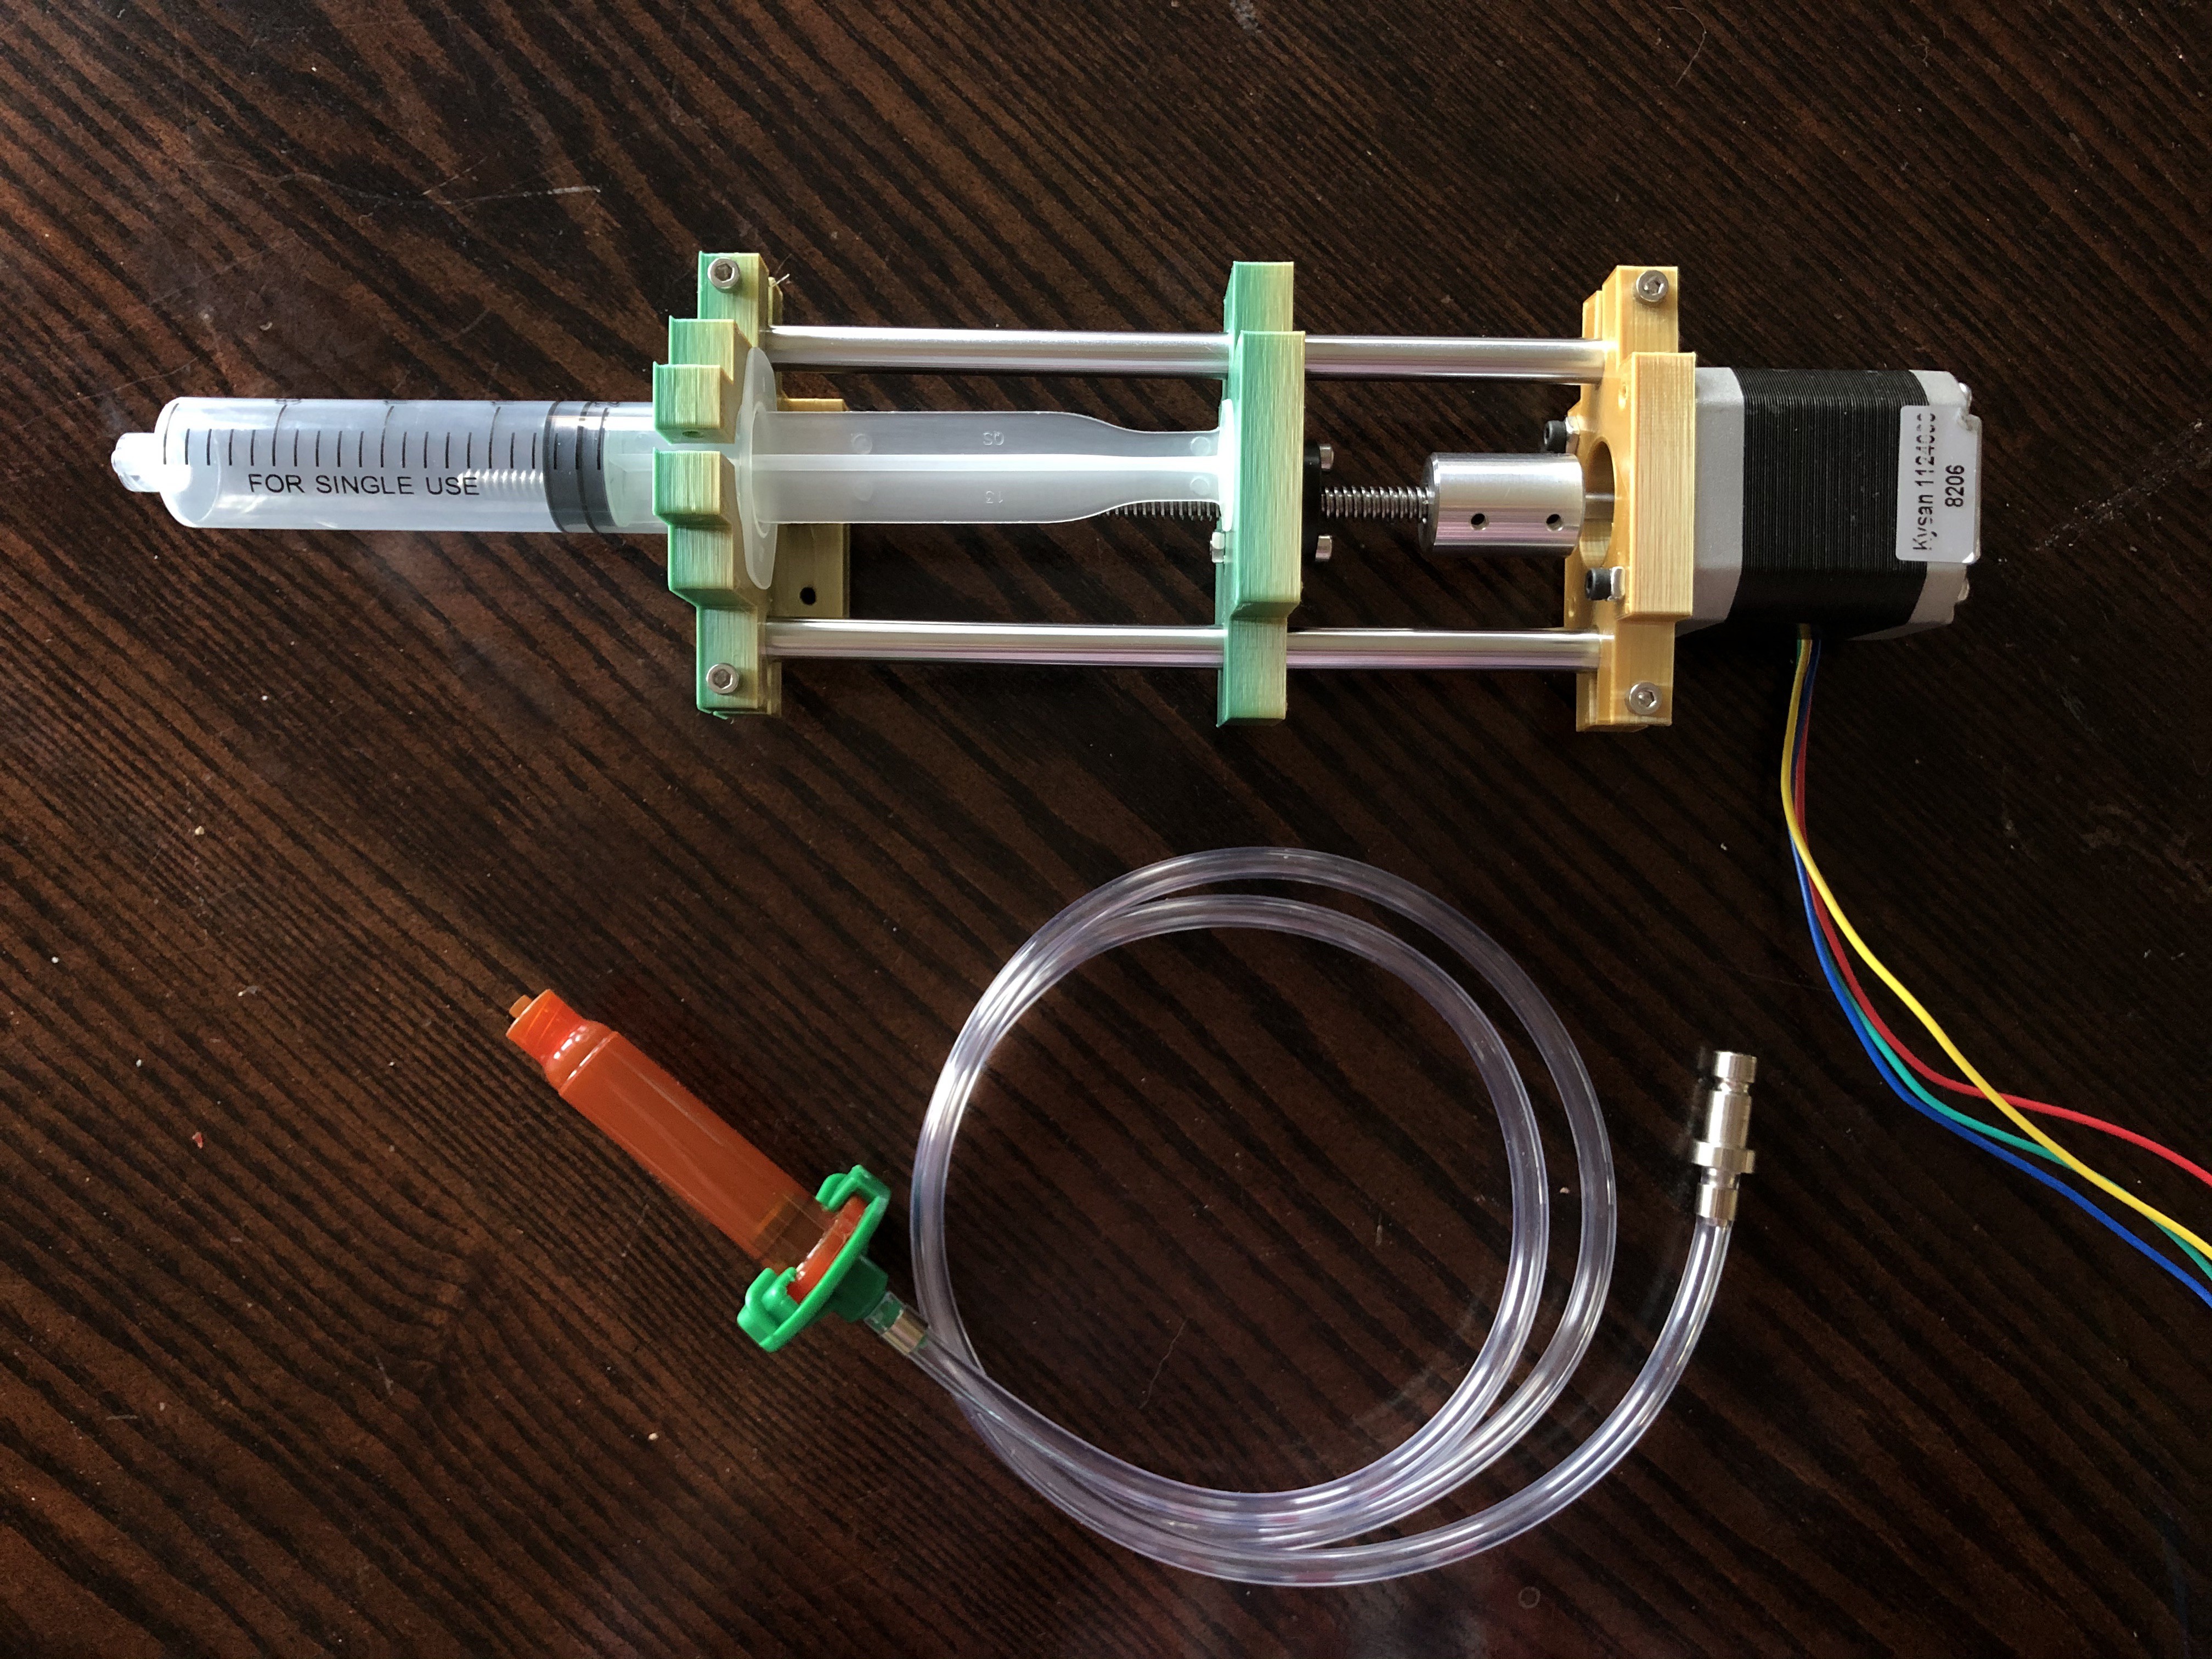
2. A dispensing method precise enough and capable of 50-100 psi pressures
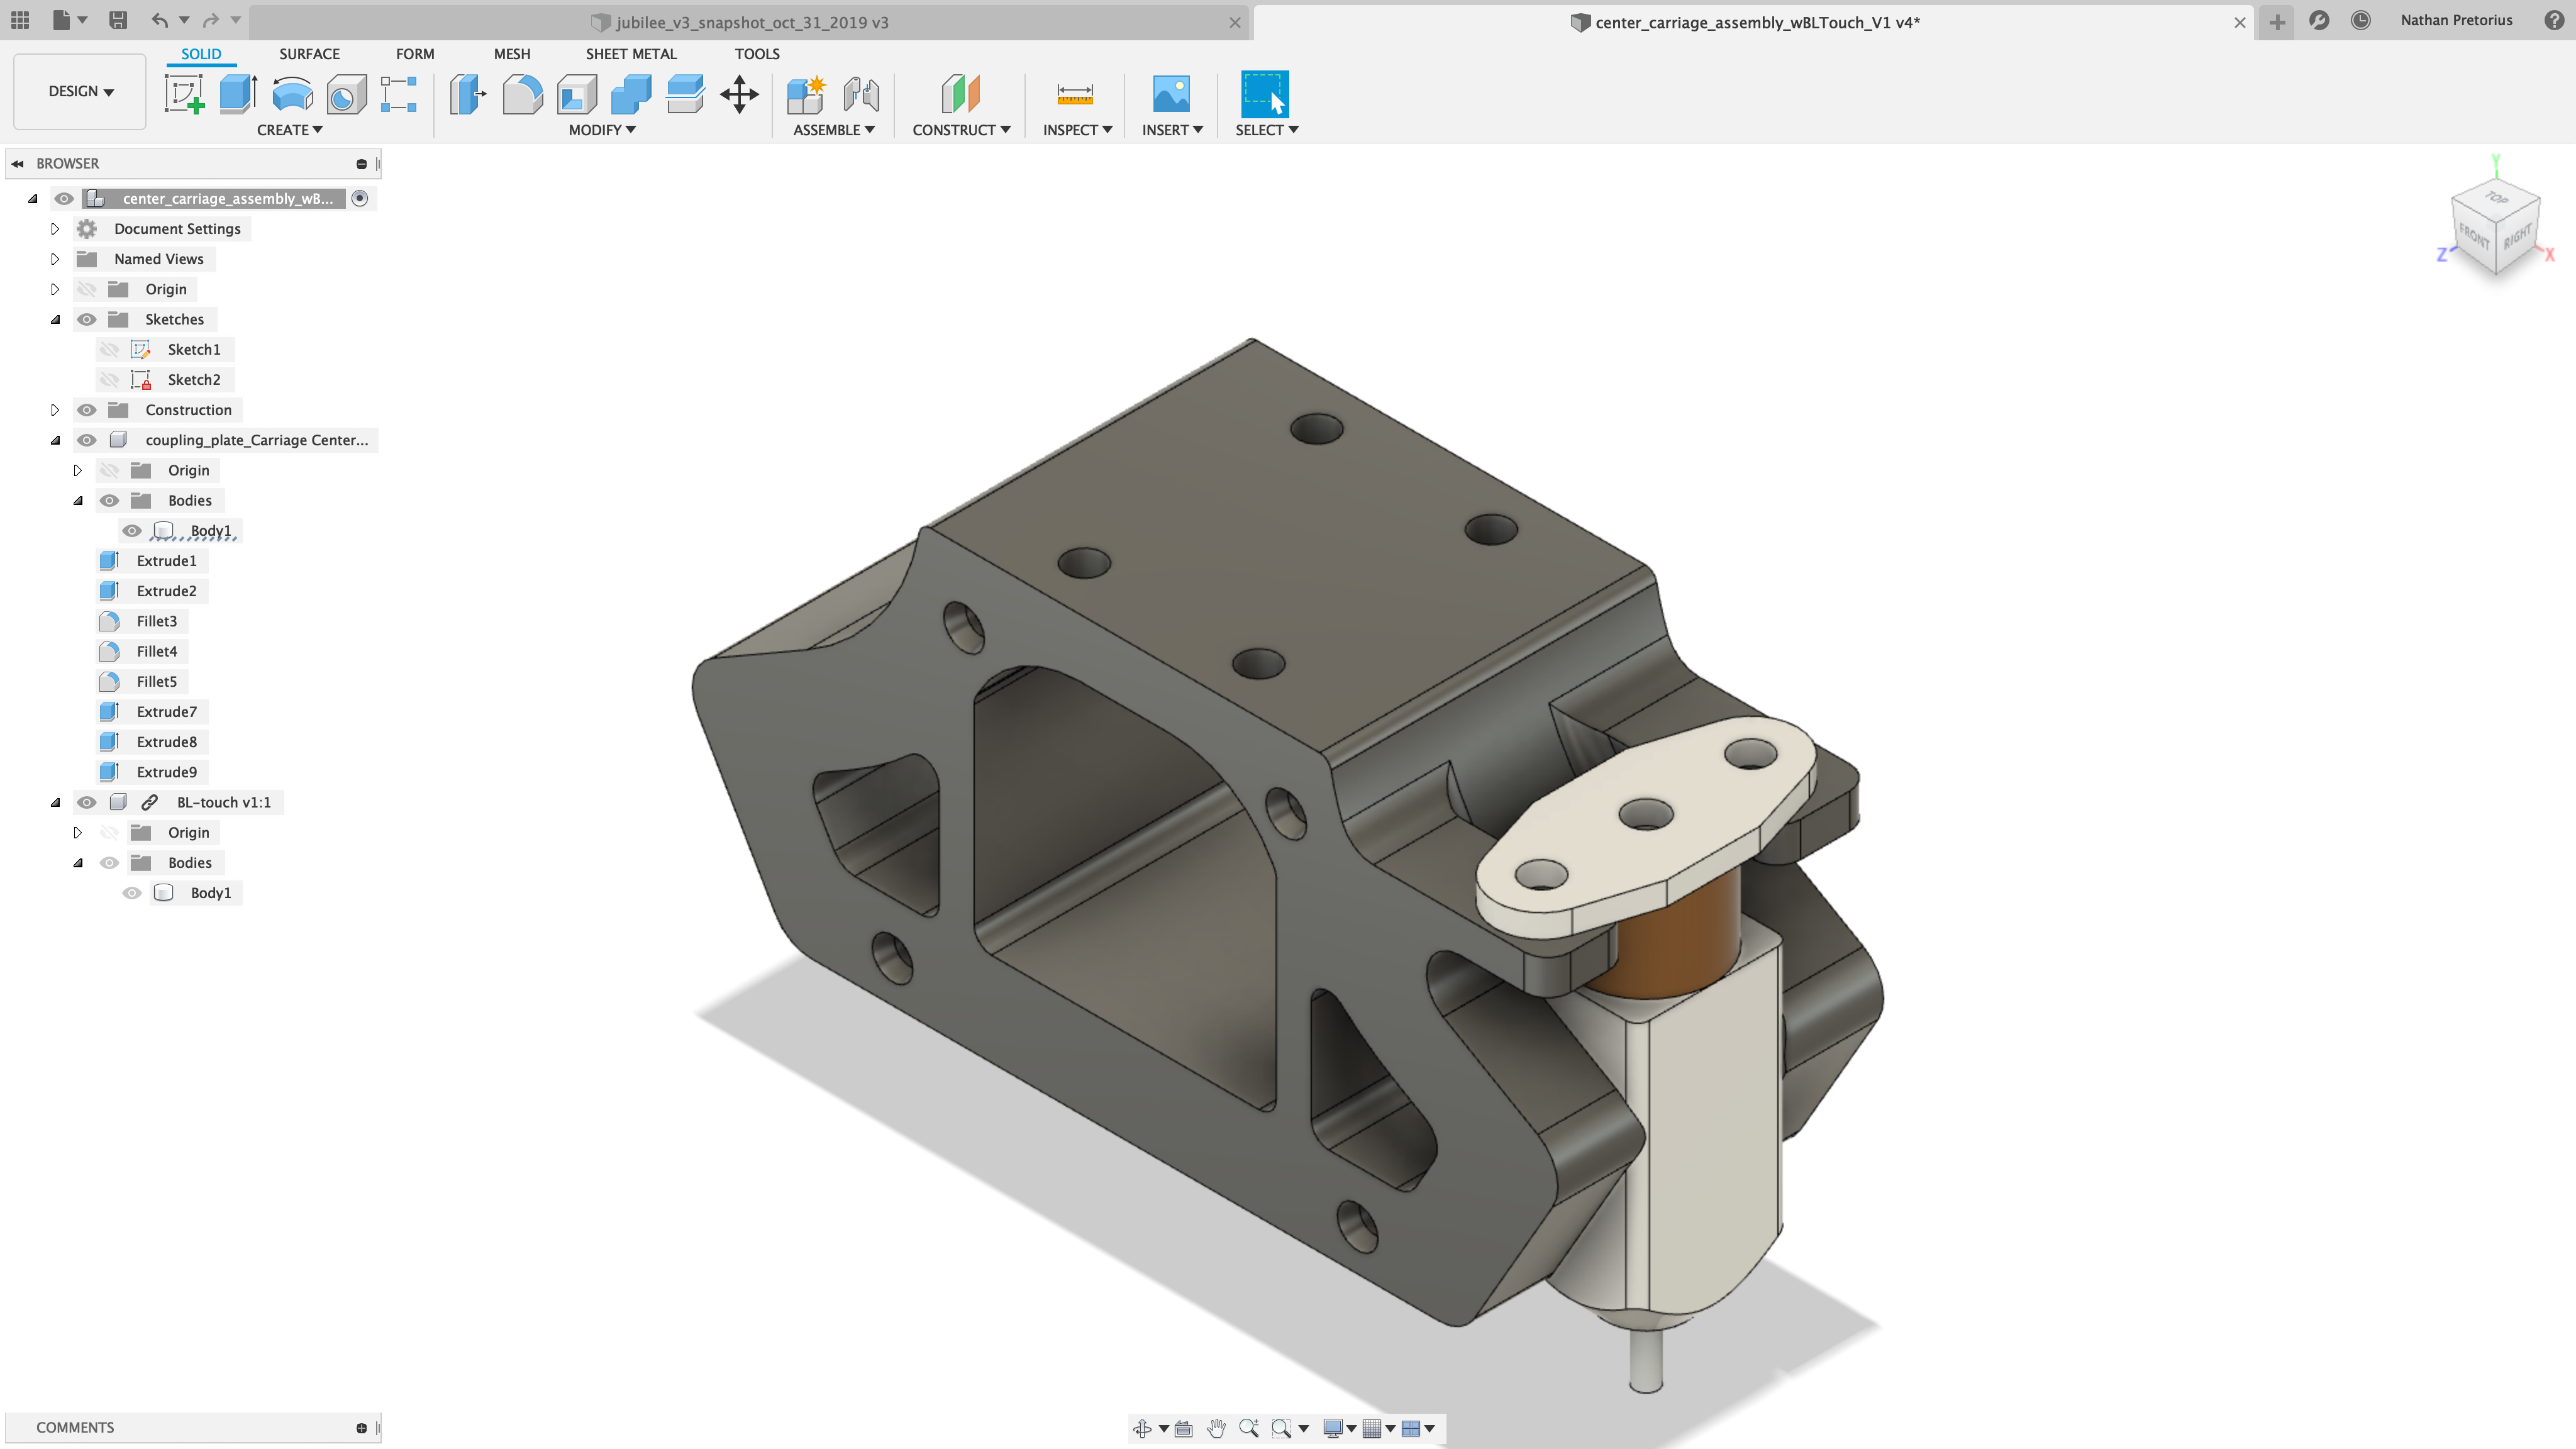
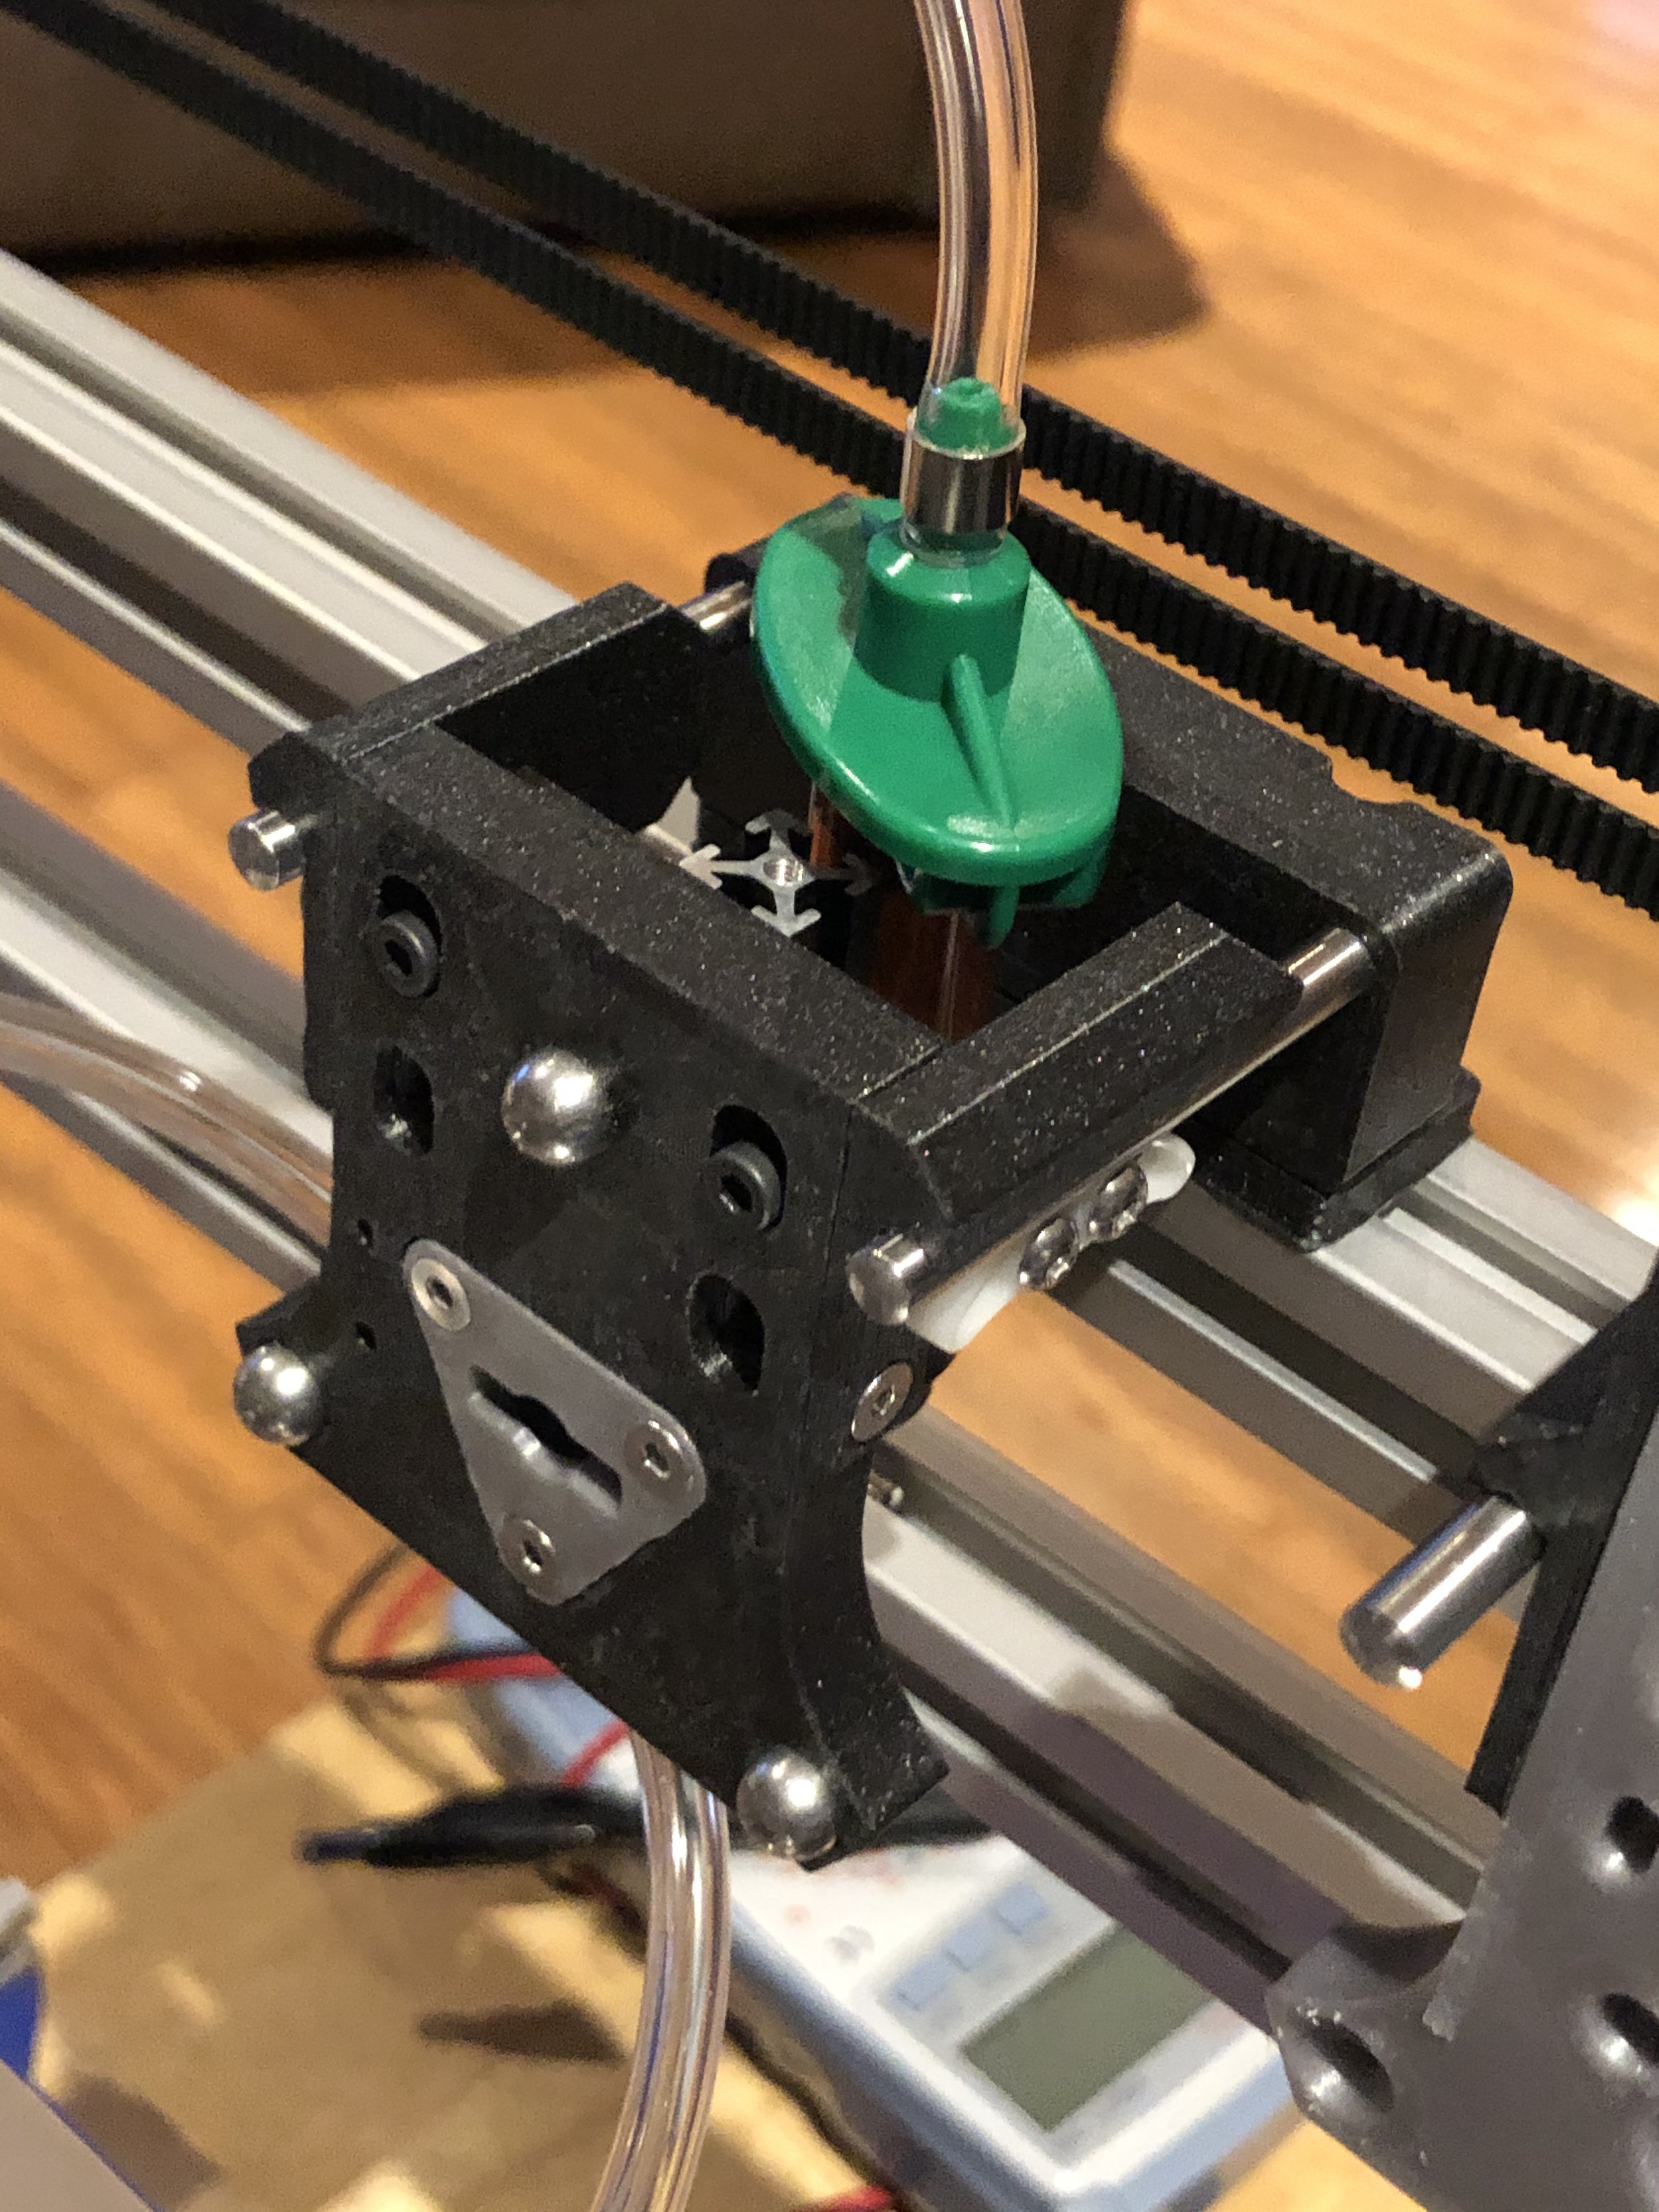
3. A motion system with a Z axis that can account do sub-30 micron precision.
The last point is important since extrusion dispensing consistency is highly reliant on having a very consistent distance between the syringe tip and the substrate.
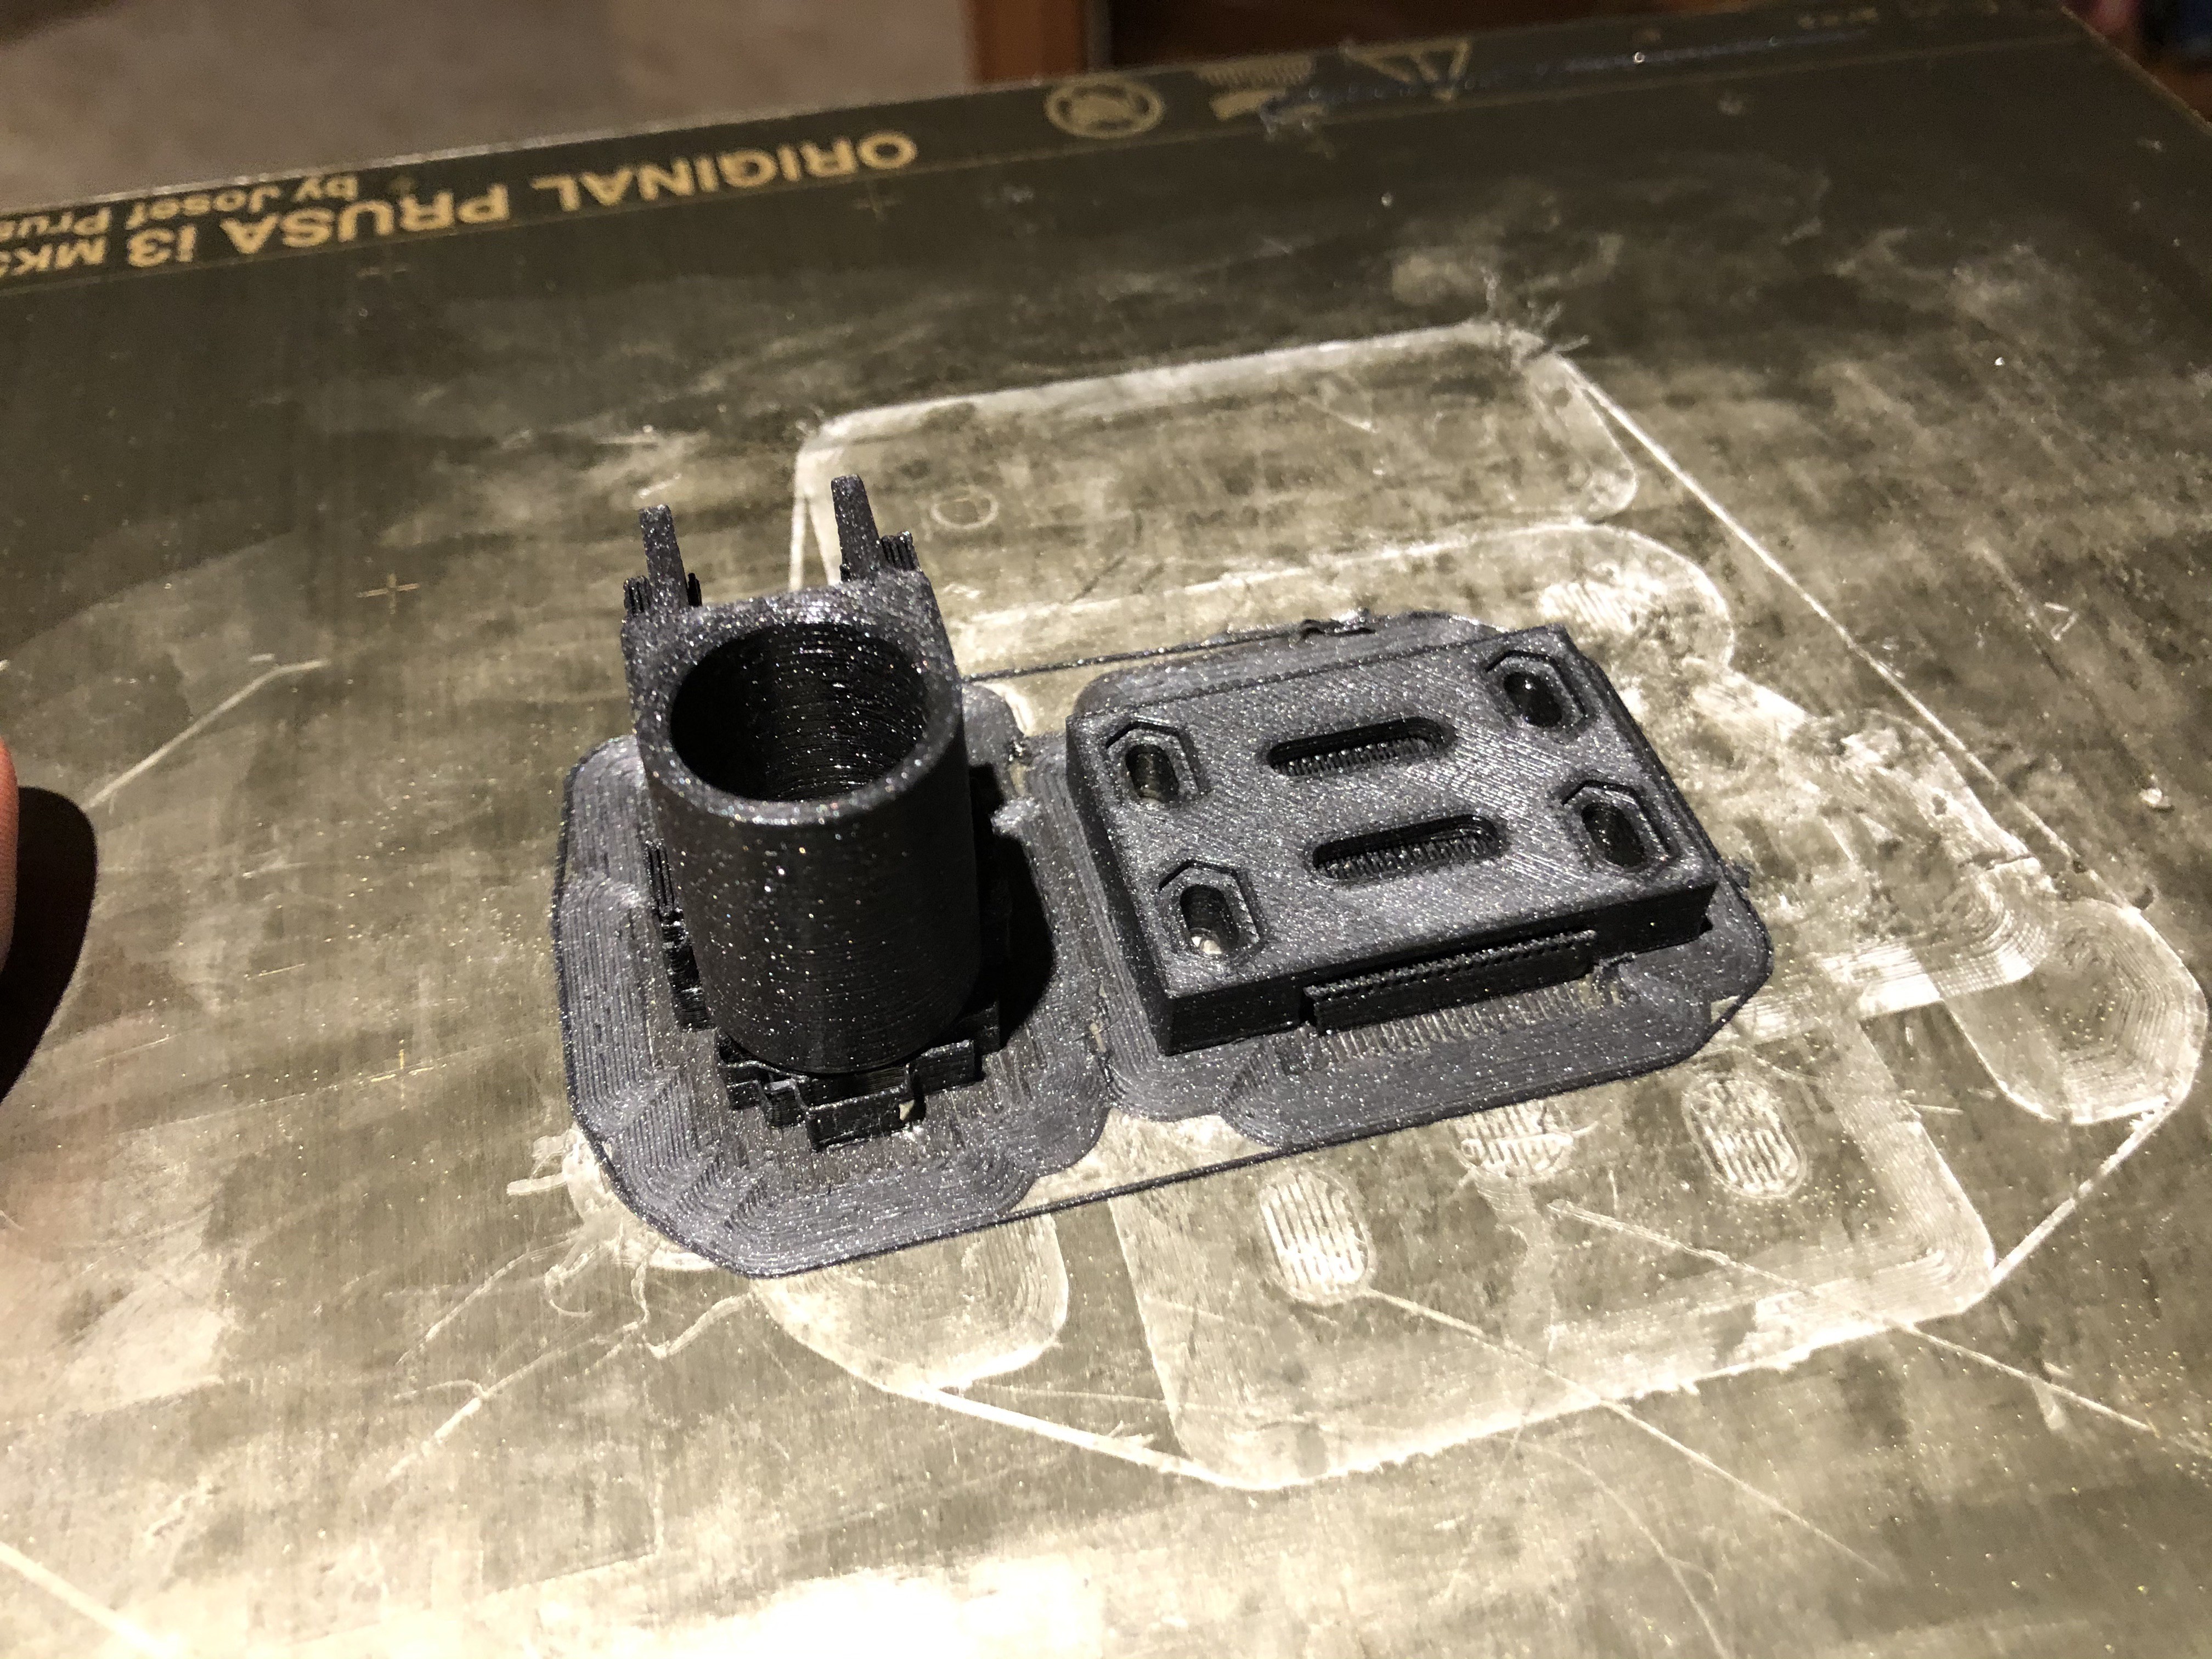
I'm currently evaluating a few options for the extrusion that are open source, I'll keep posting as I get them tested..
Potential future goals:
Pick and place


 Michal Wojciechowski
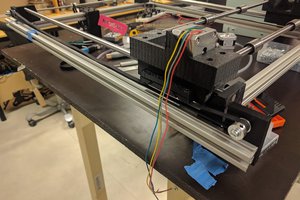
 Nikolai Ovesen
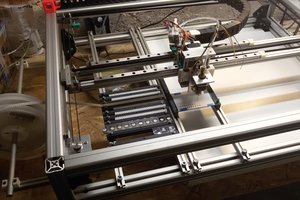

 Paul Crouch
Do you think 400kPa (58psi) would be high enough of a pressure? It's the rated max of the SY-020 pump I plan to use in [gd0105].