Close
0%
0%

FilDry 1.0

Filament Storage Solution 1.0

Similar projects worth following
Goals:
1. Build a simple filament storage solution with minimum expense.
2. Attempt to revive older filament (PLA) through drying.
3. Attempt to prolong the life of PLA filament.

WARNING: This project uses 110VAC. Please do not attempt reproducing this project in part or whole. You may get seriously hurt or die.

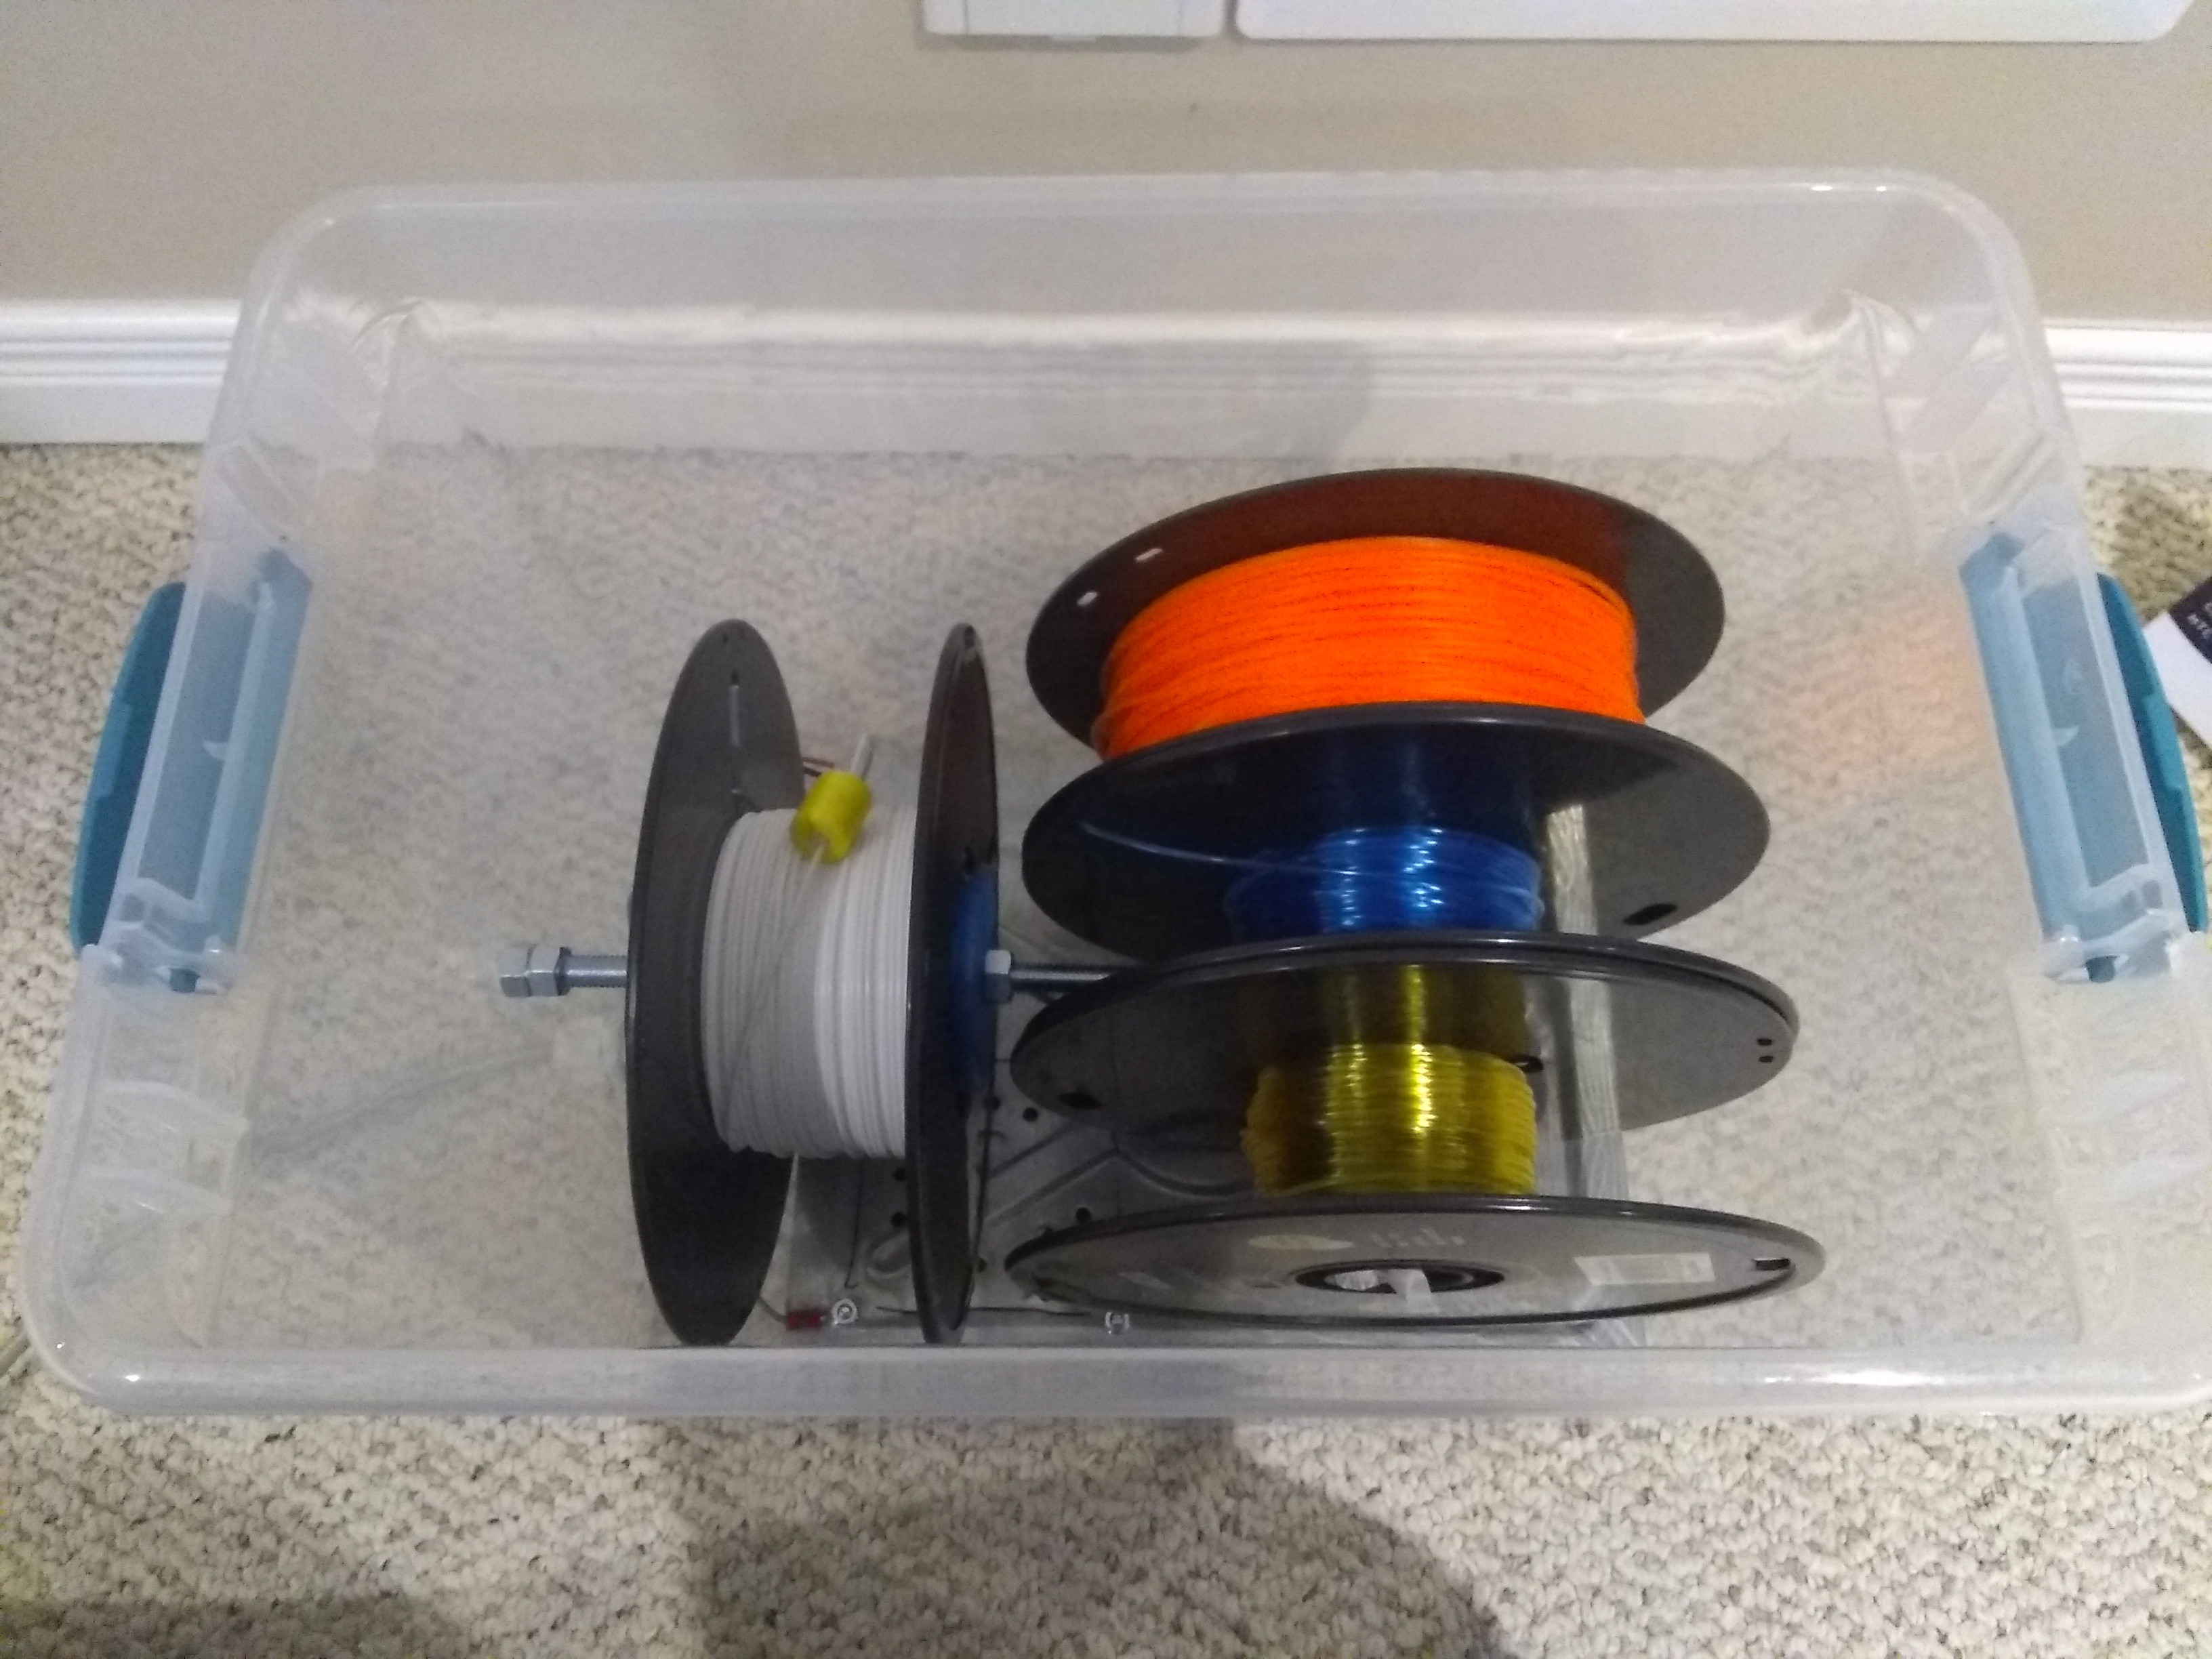
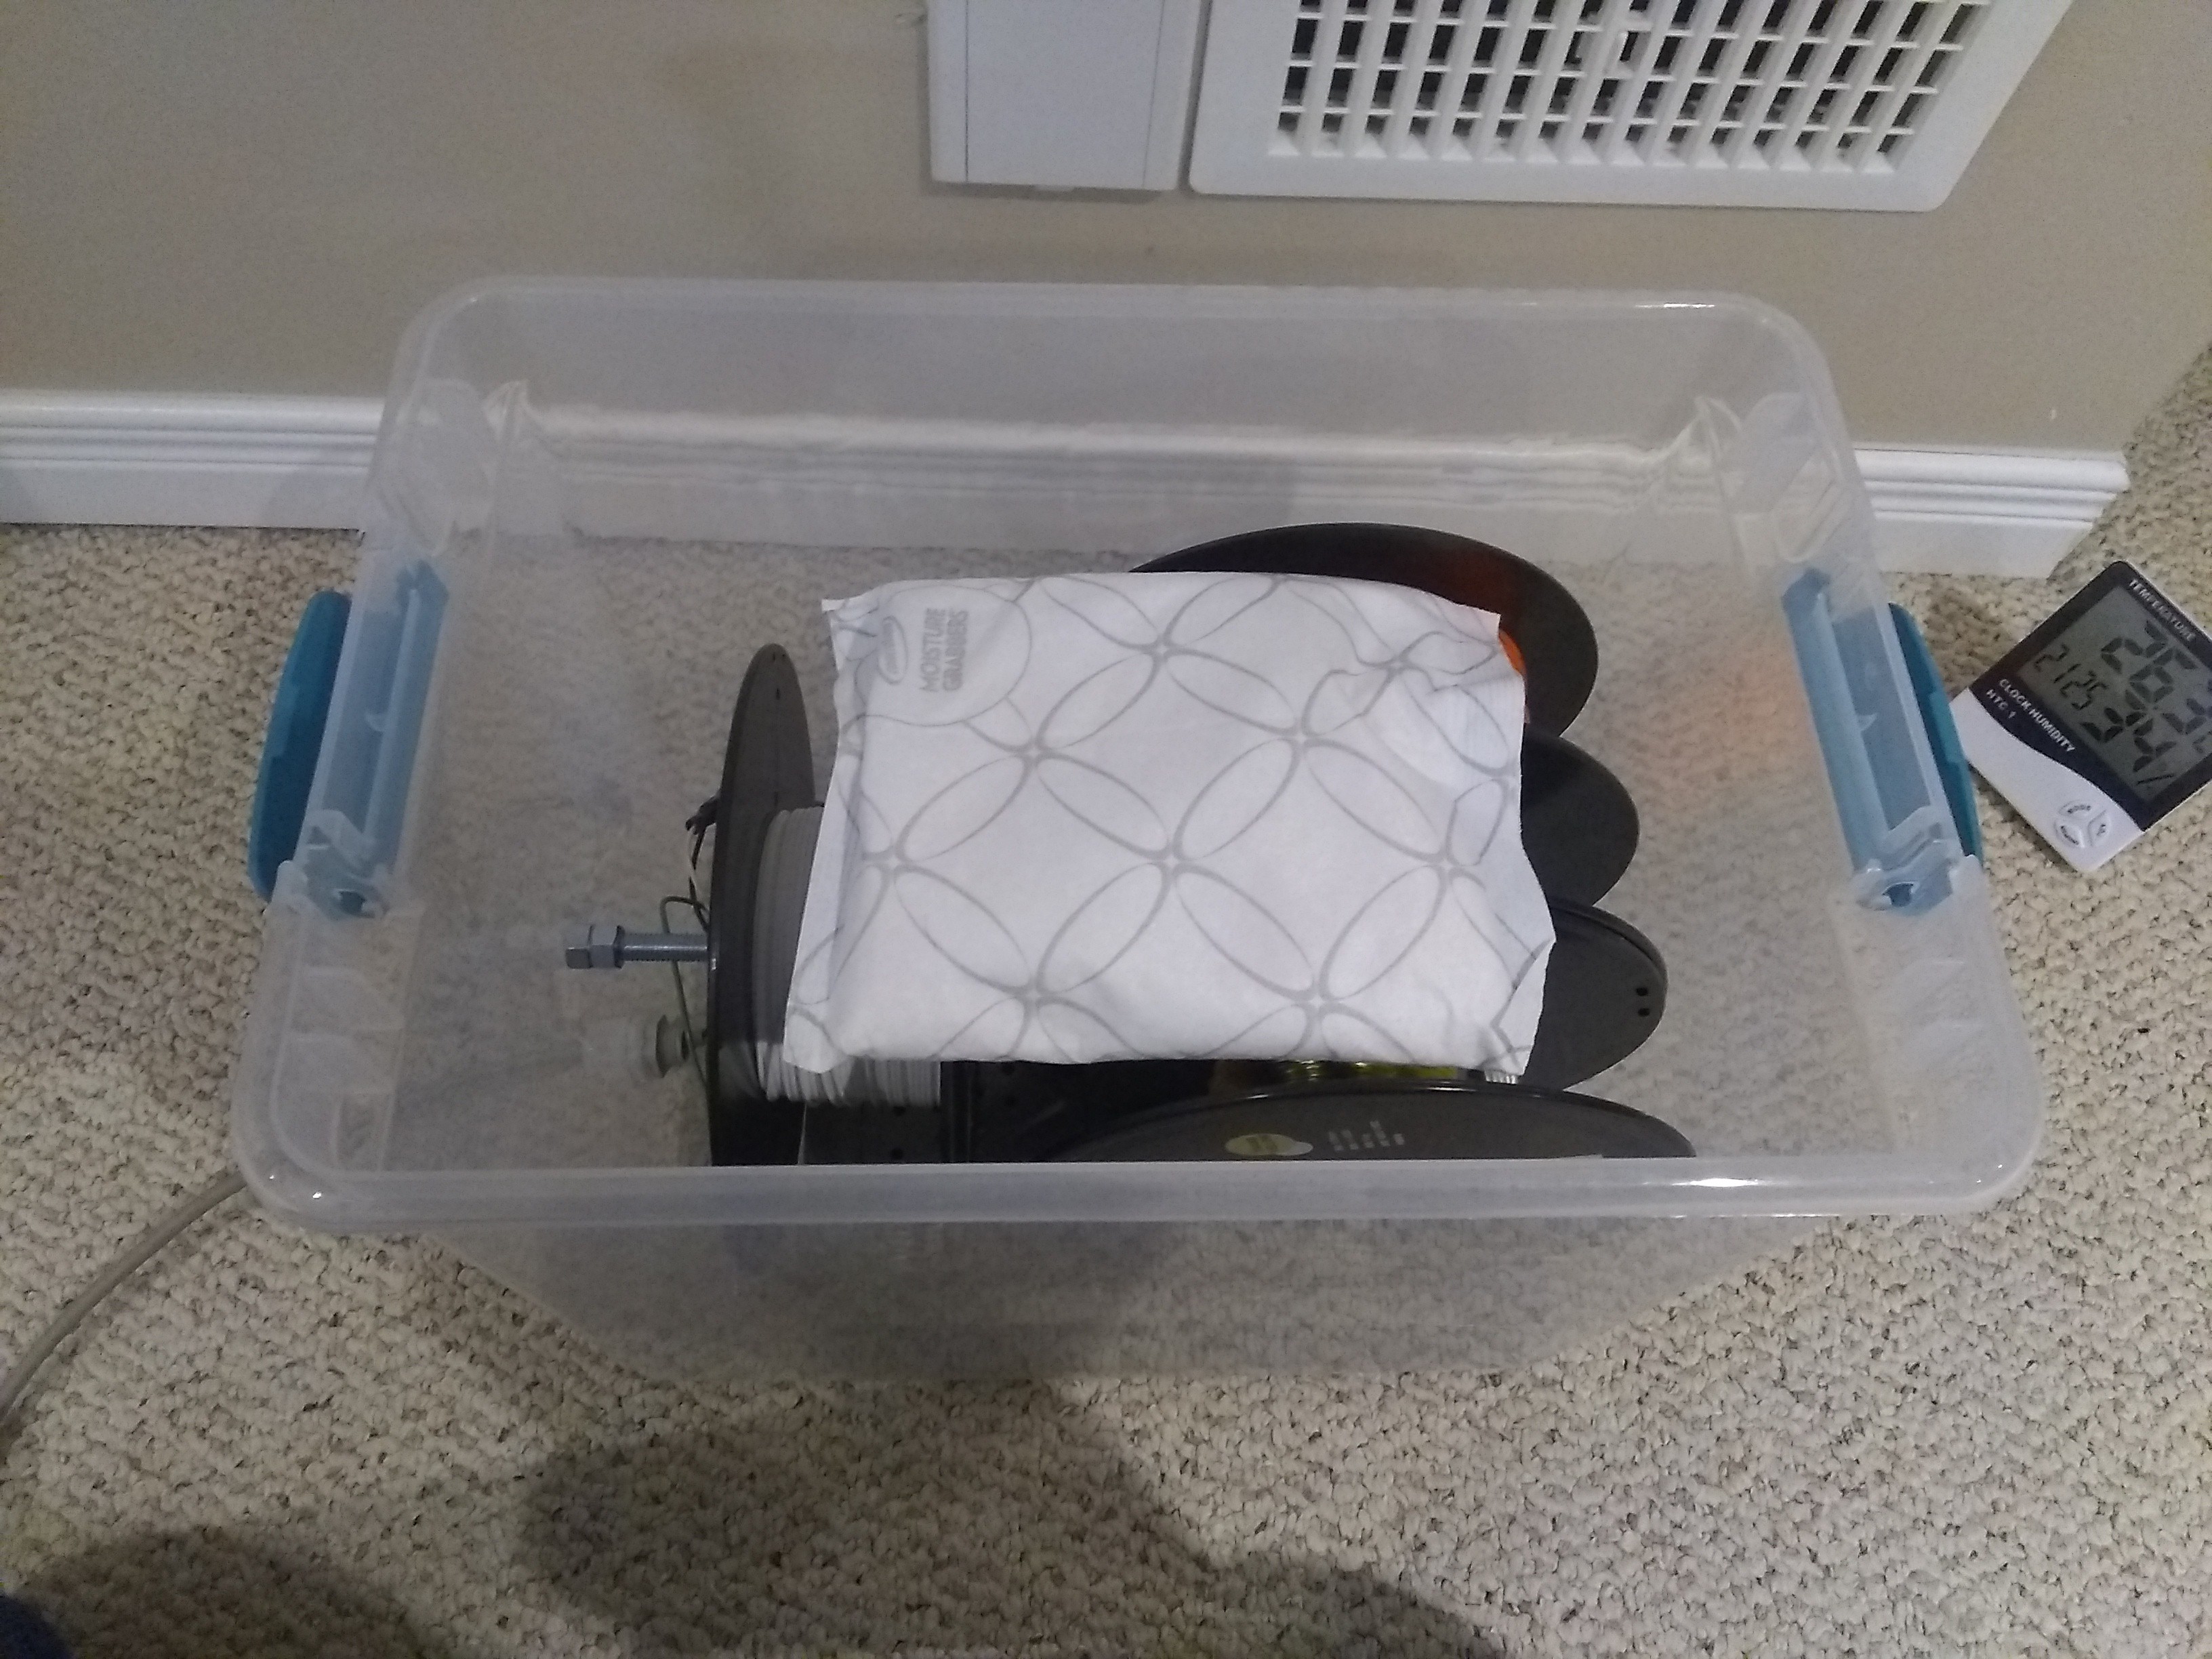
I'd like to keep my filament for as long as possible, even the partial rolls. 

Up to this point I would store them in a large zip-lock bag with a desiccant pack. 

A few complaints about the zip-lock bags:

* Sometimes they develop holes that are not obvious.

* Filament becomes brittle quite fast.

* Zip lock bags are an eyesore piled up in a corner.

* You need a bag... can't find one.

* The status of the desiccant pack is unclear. Might be saturated.

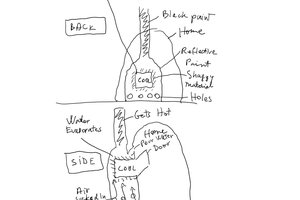
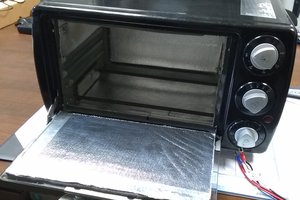
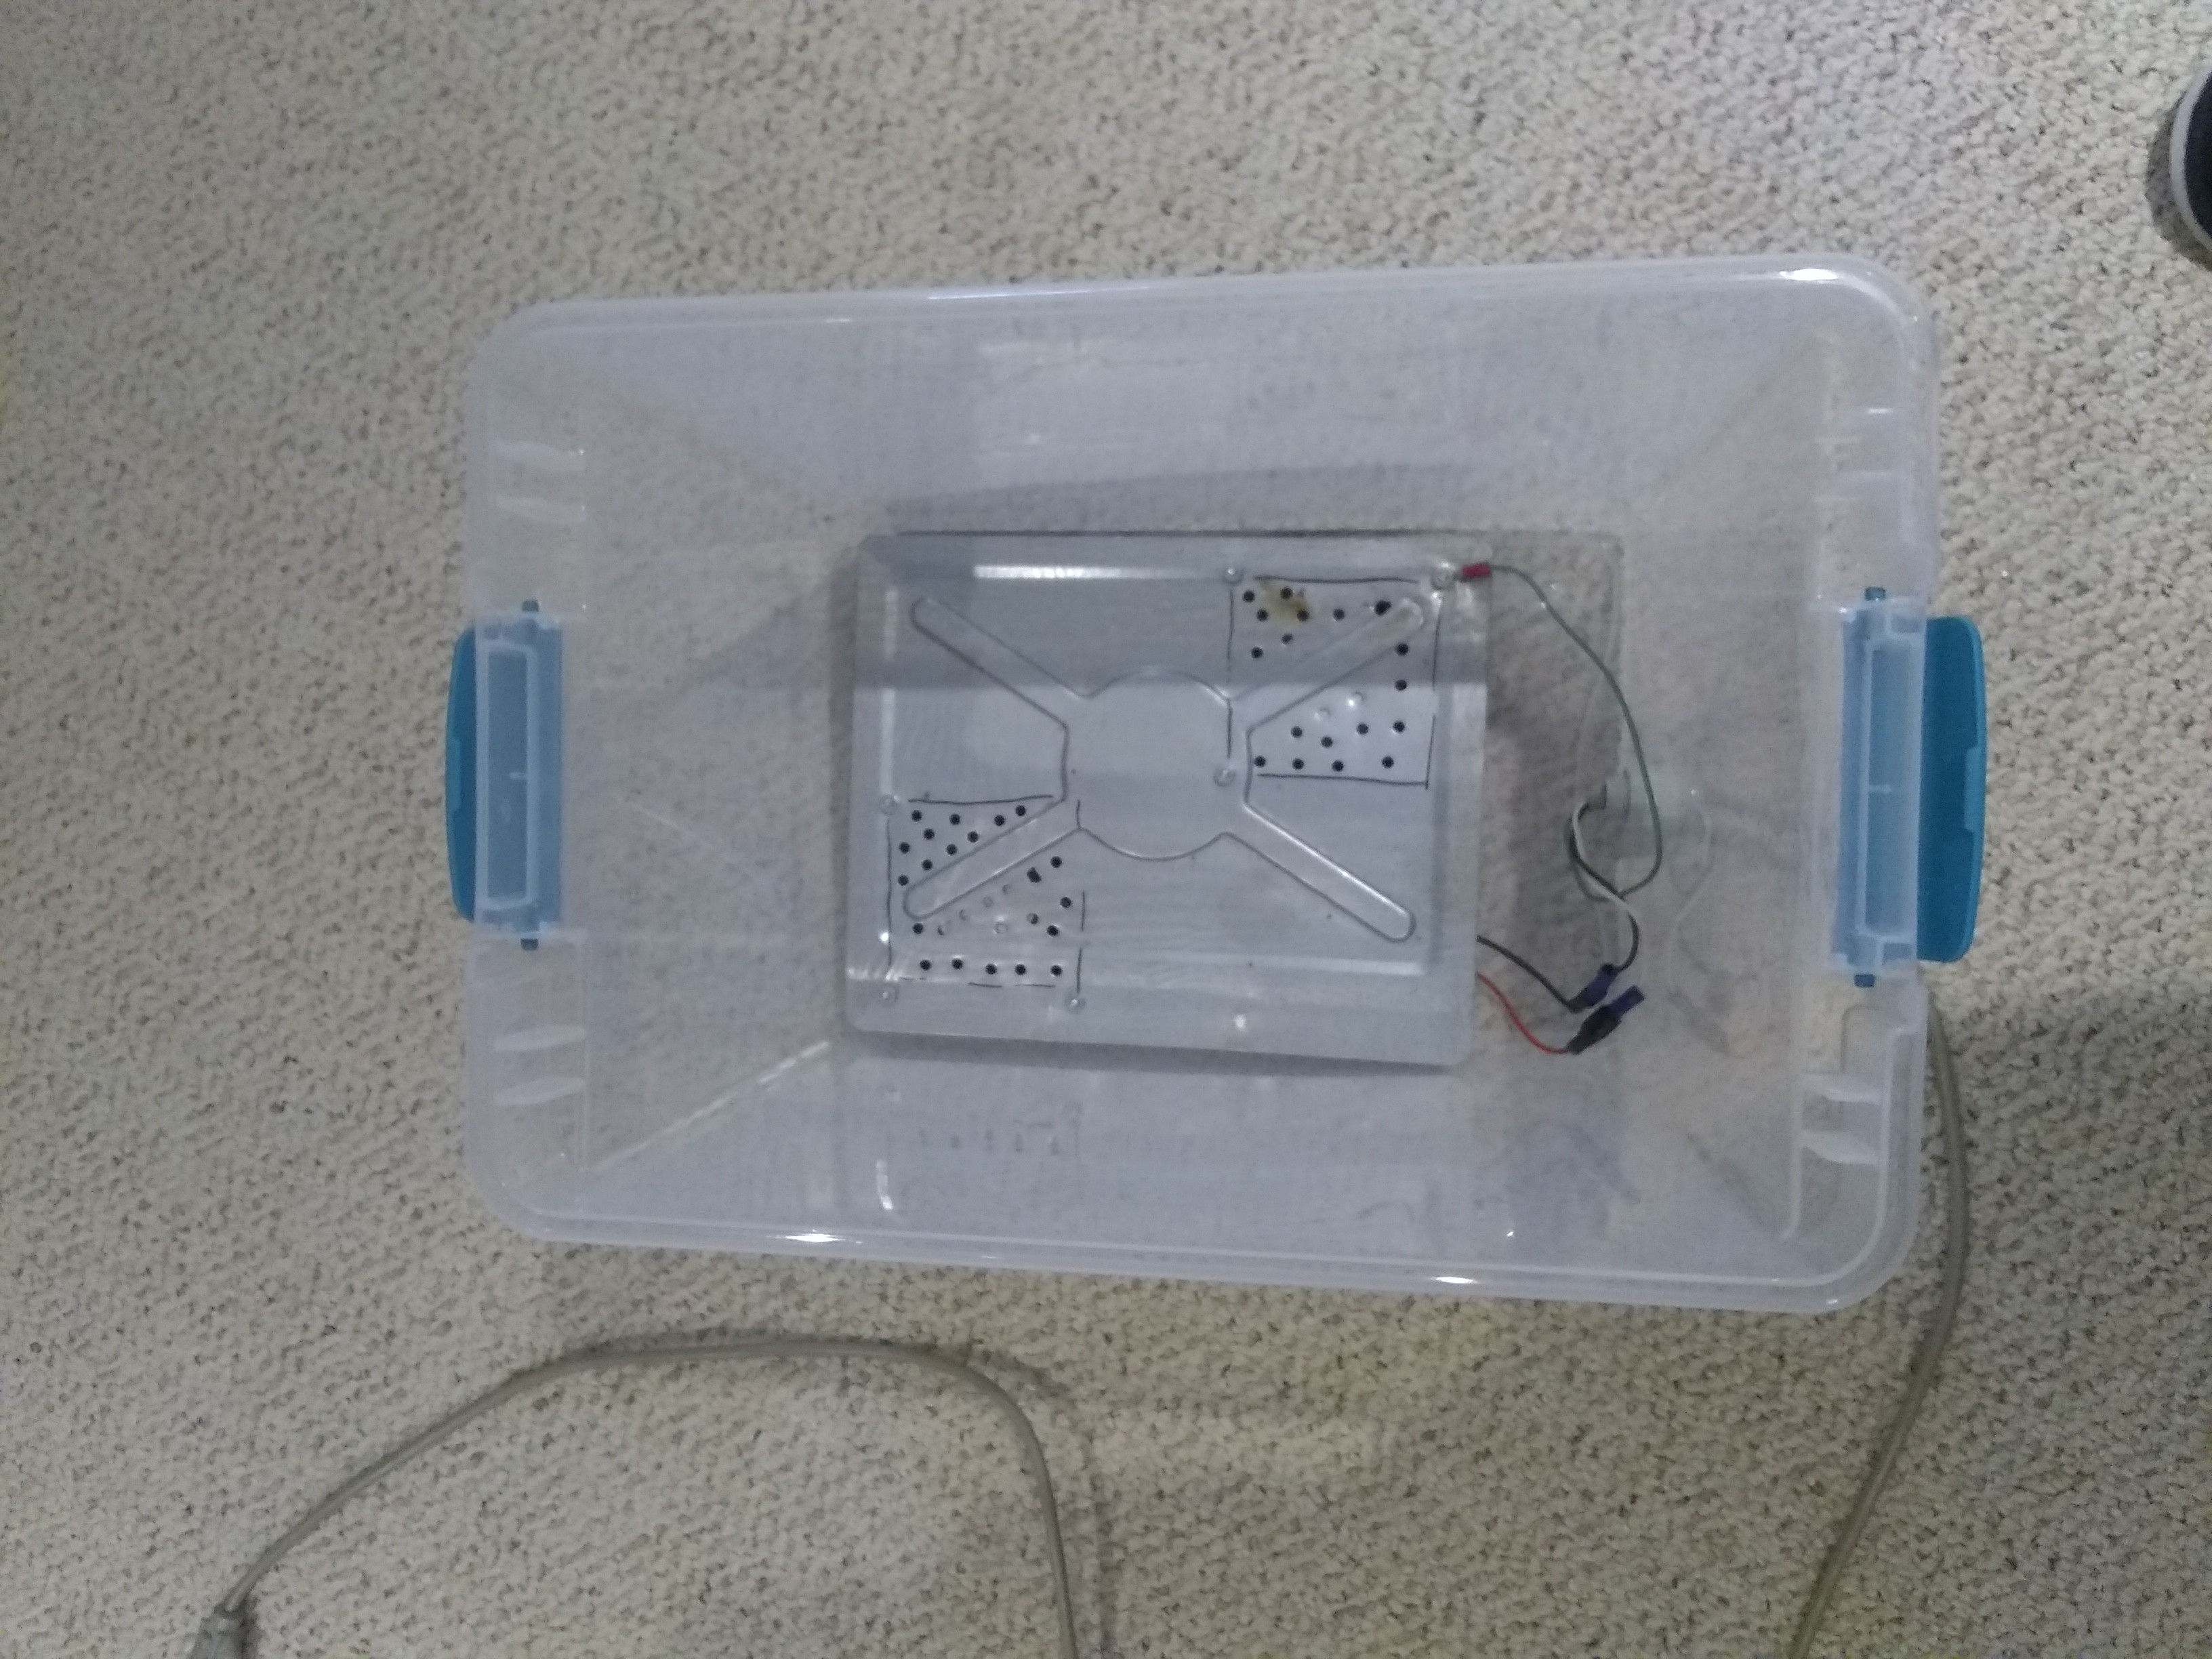
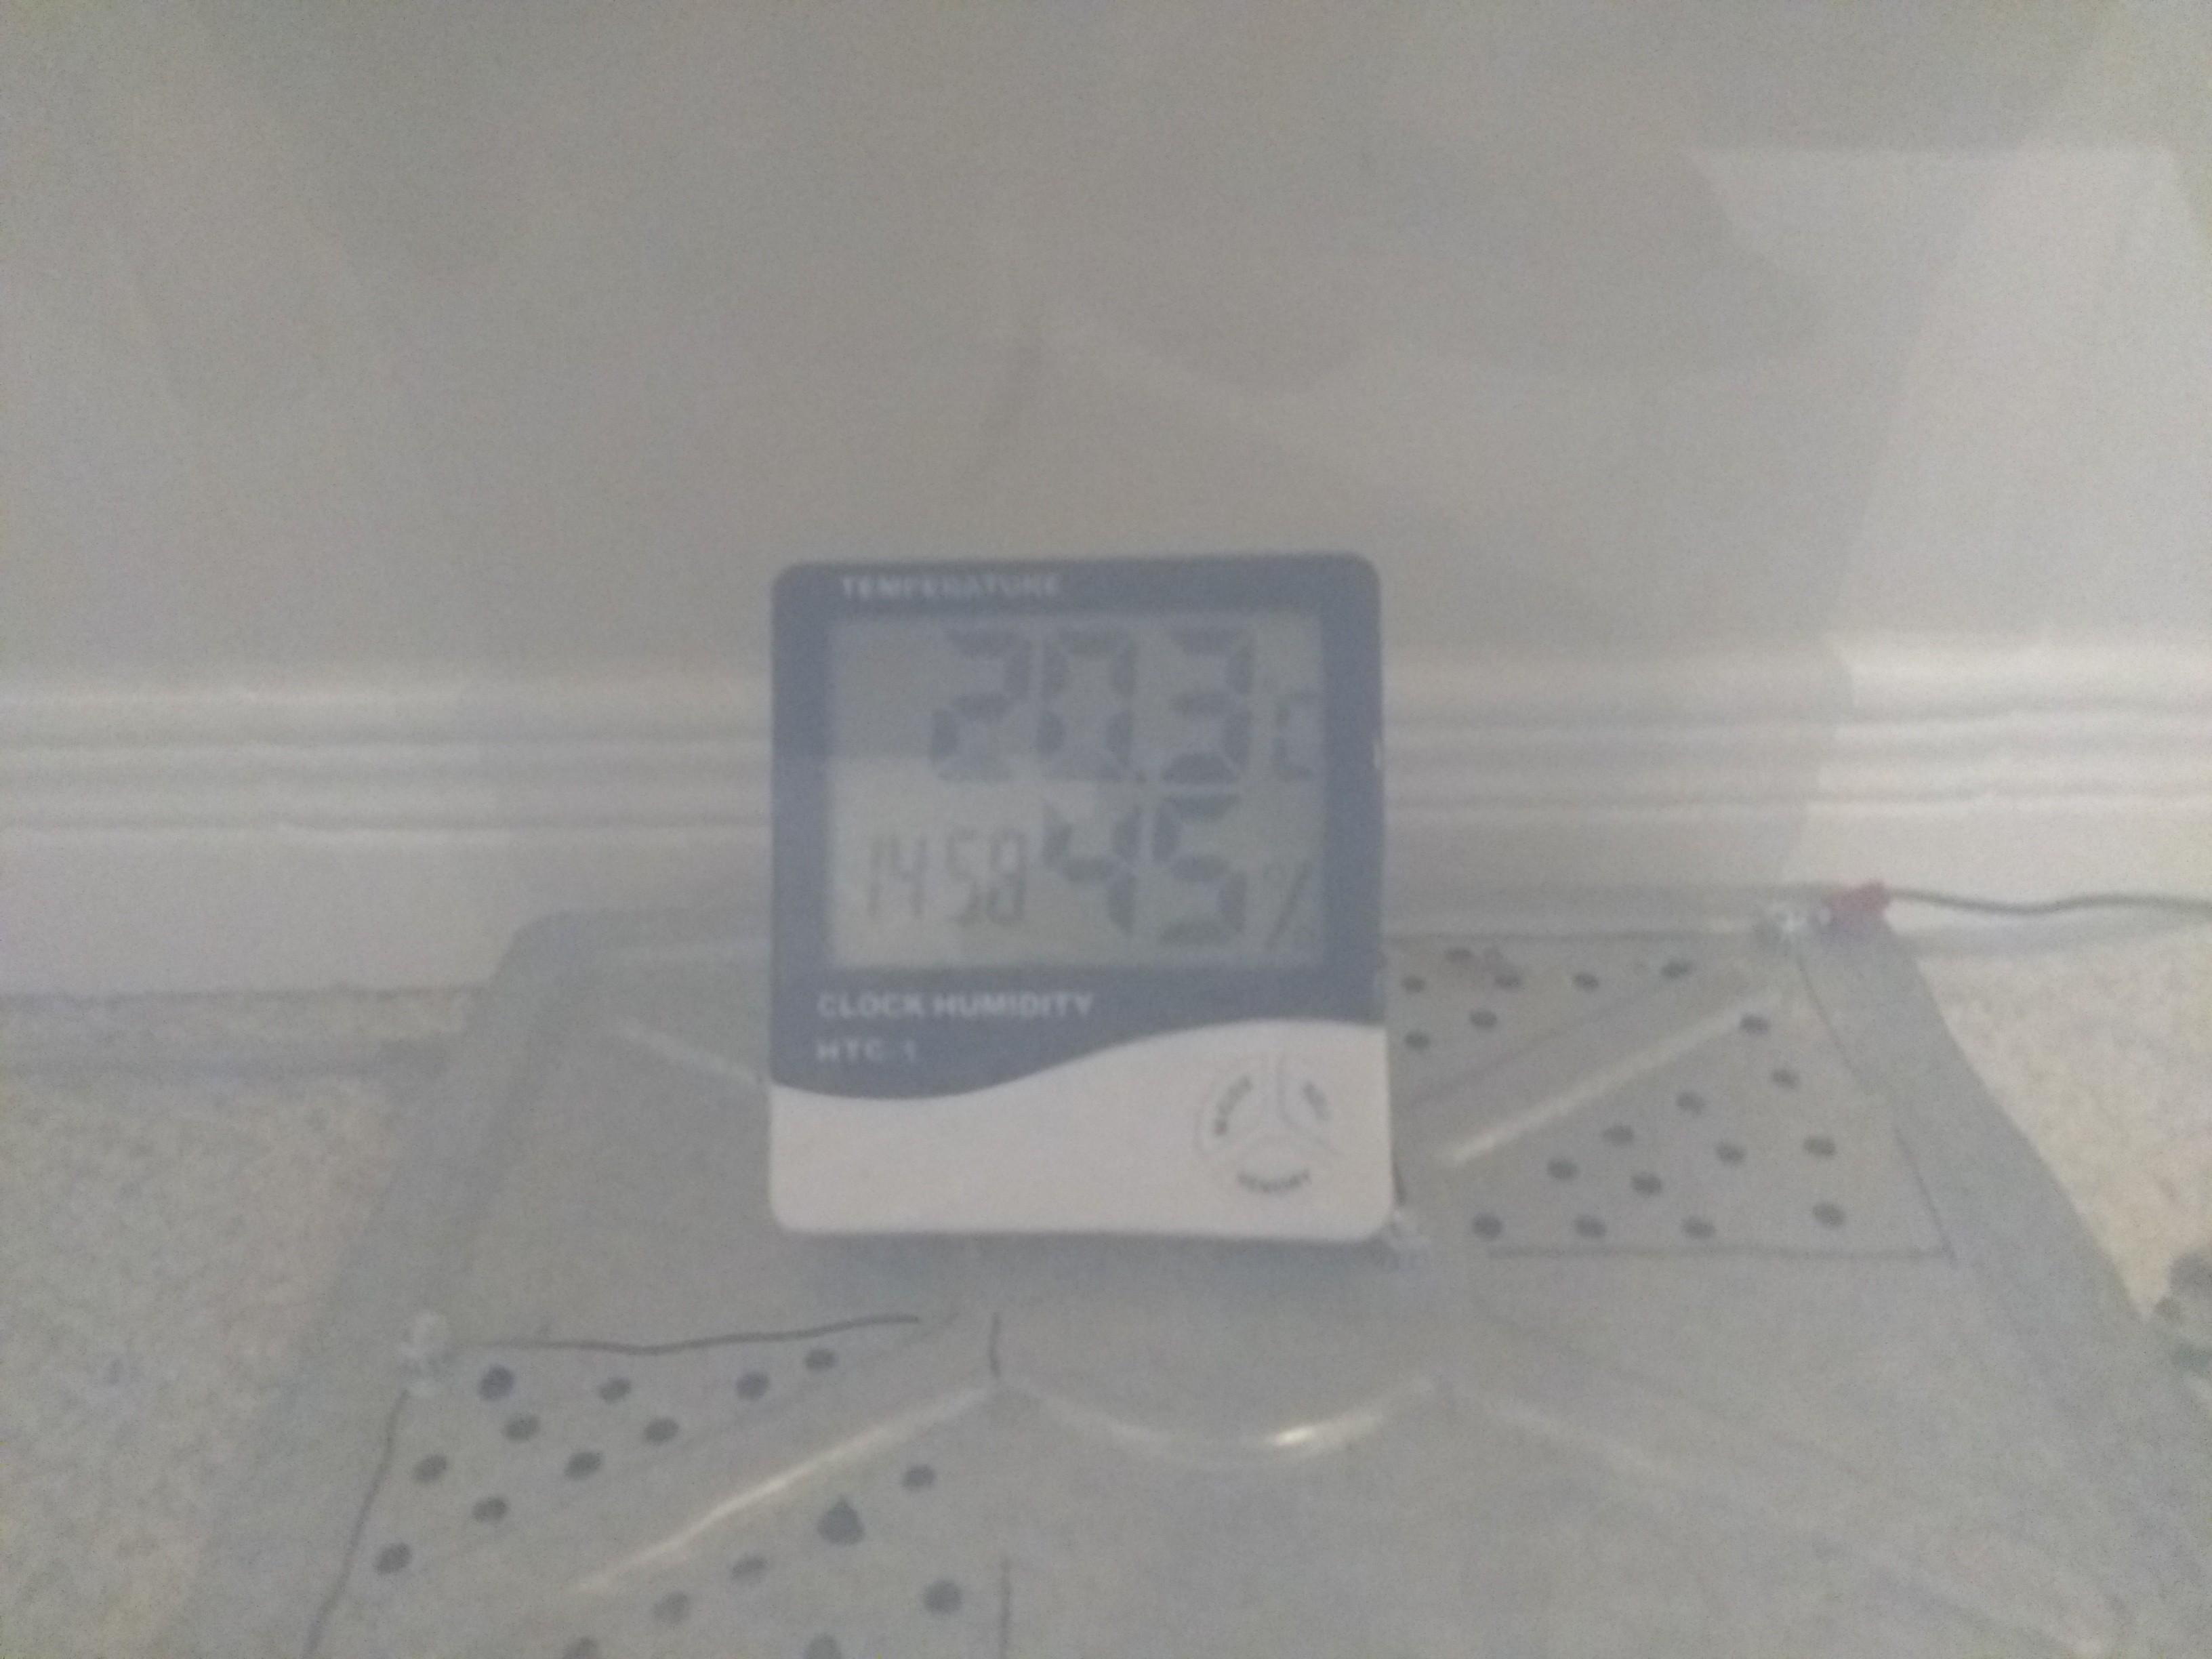
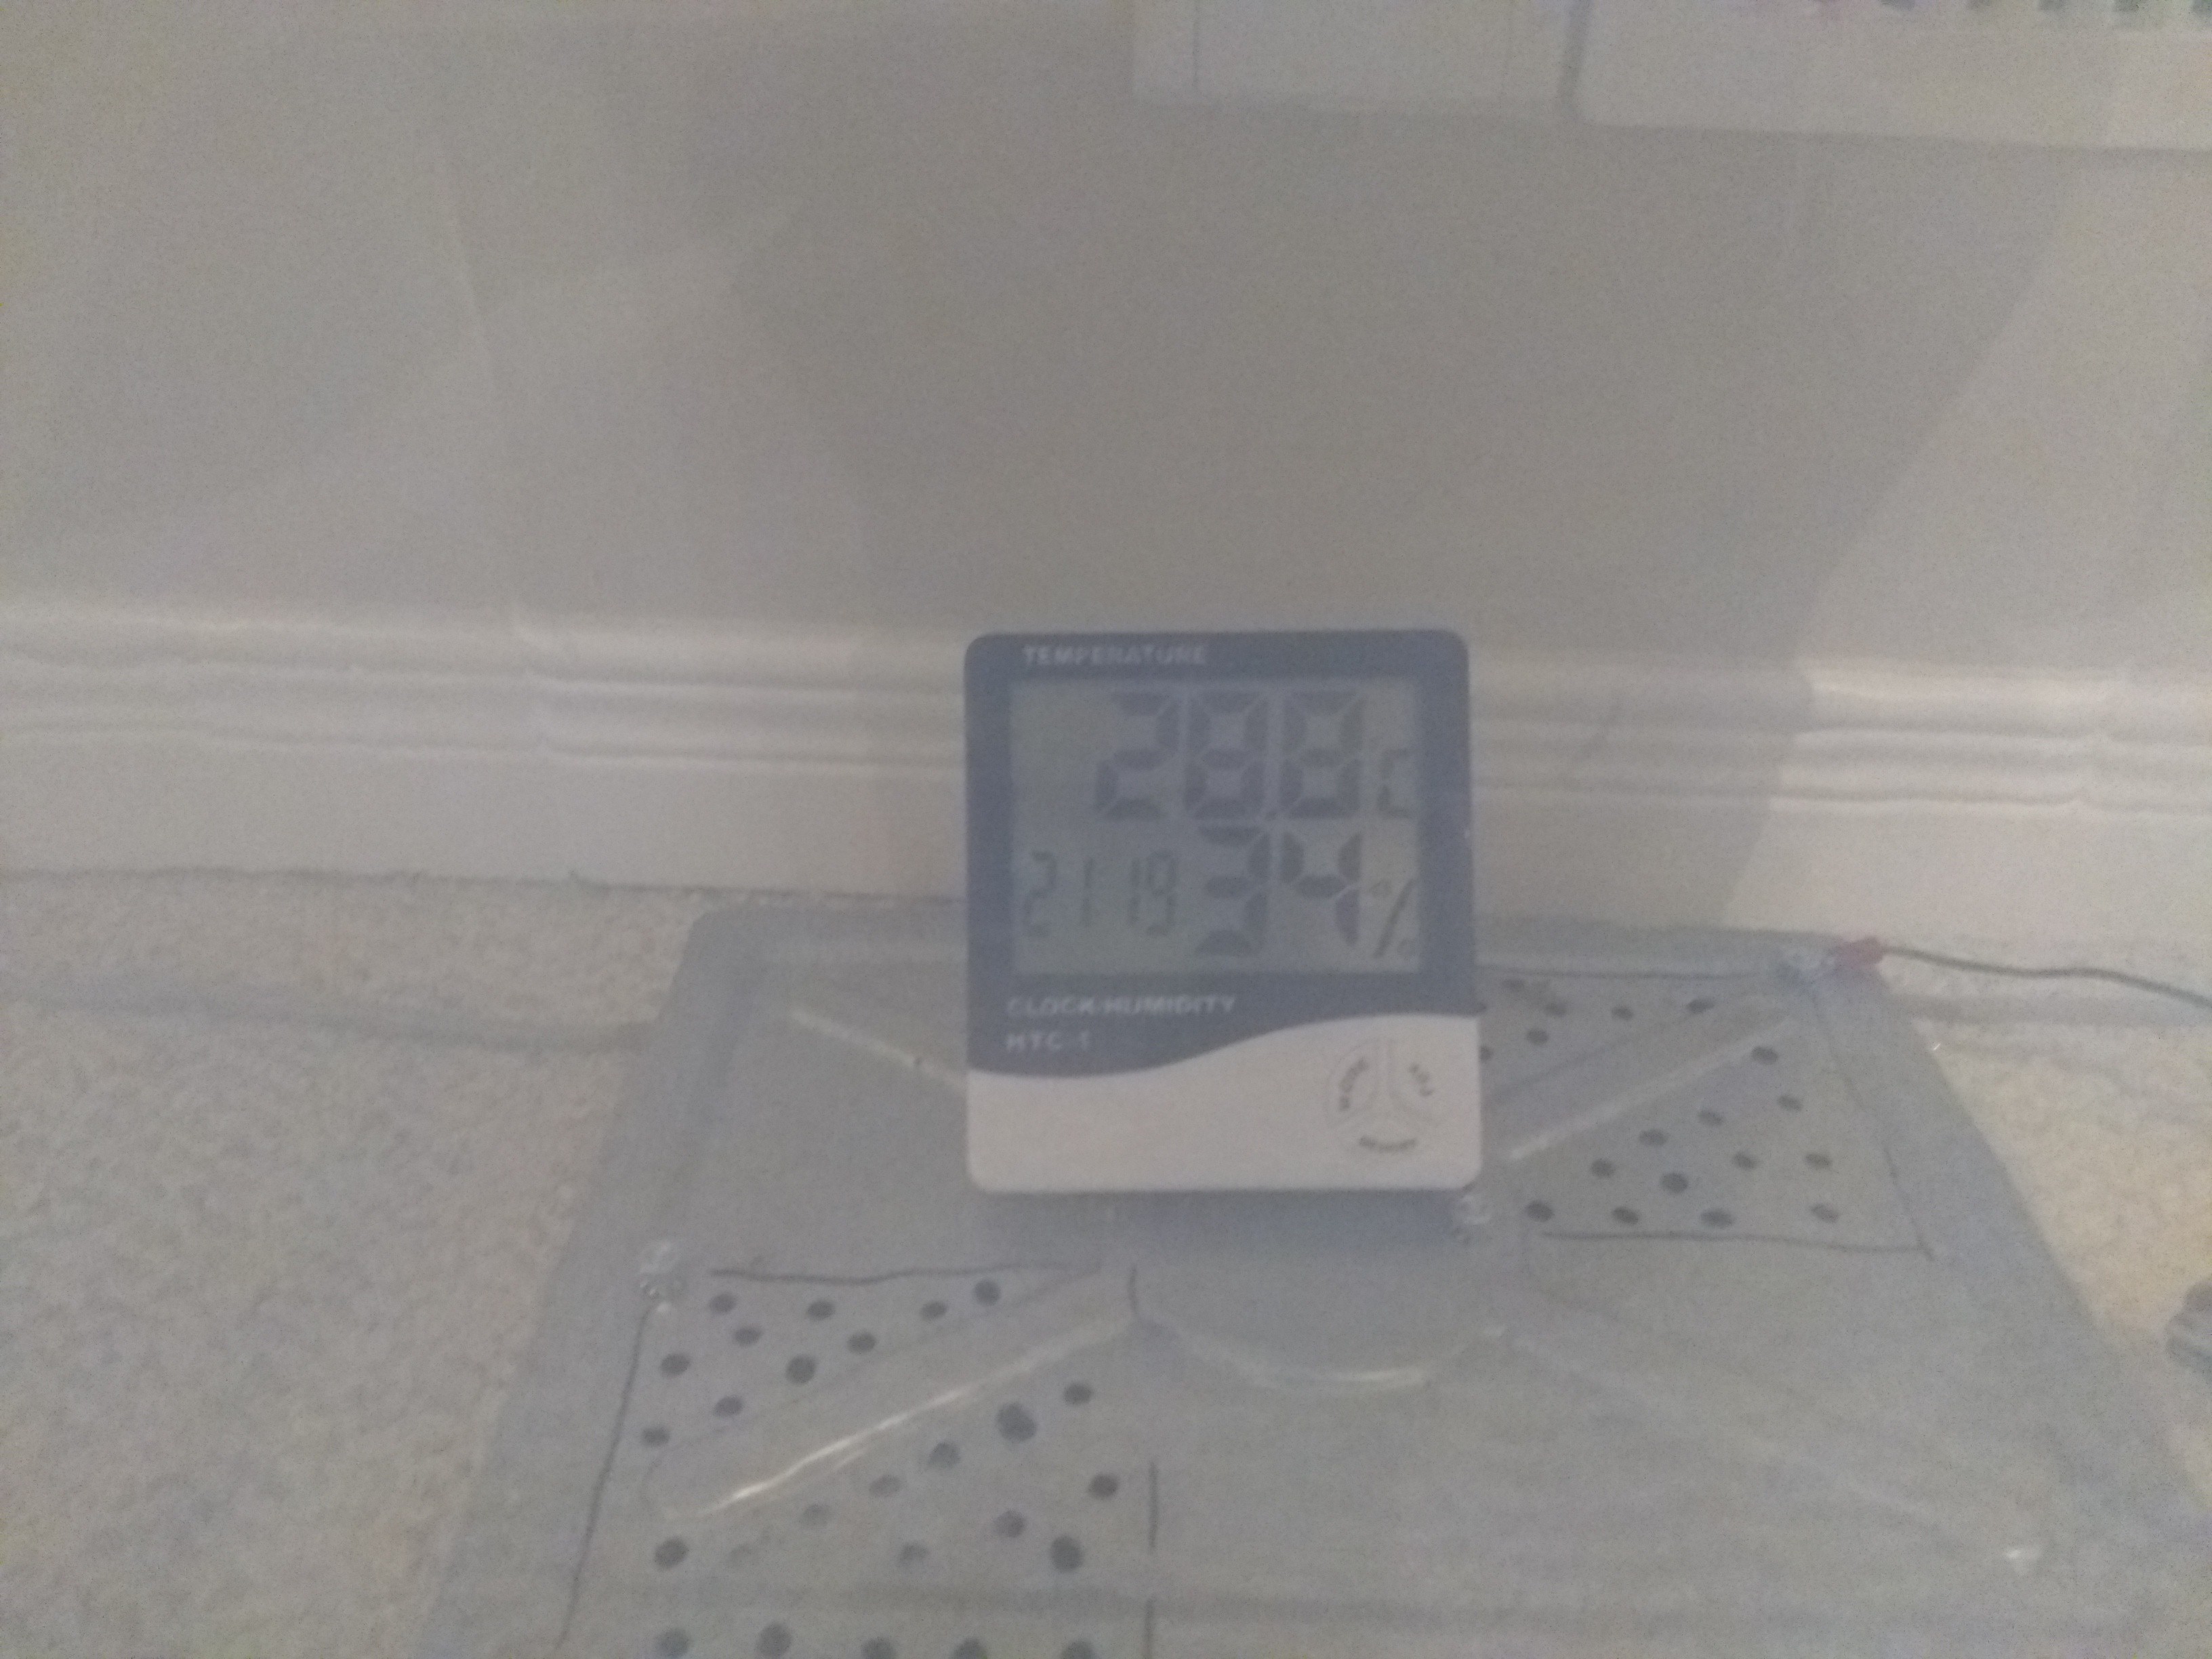
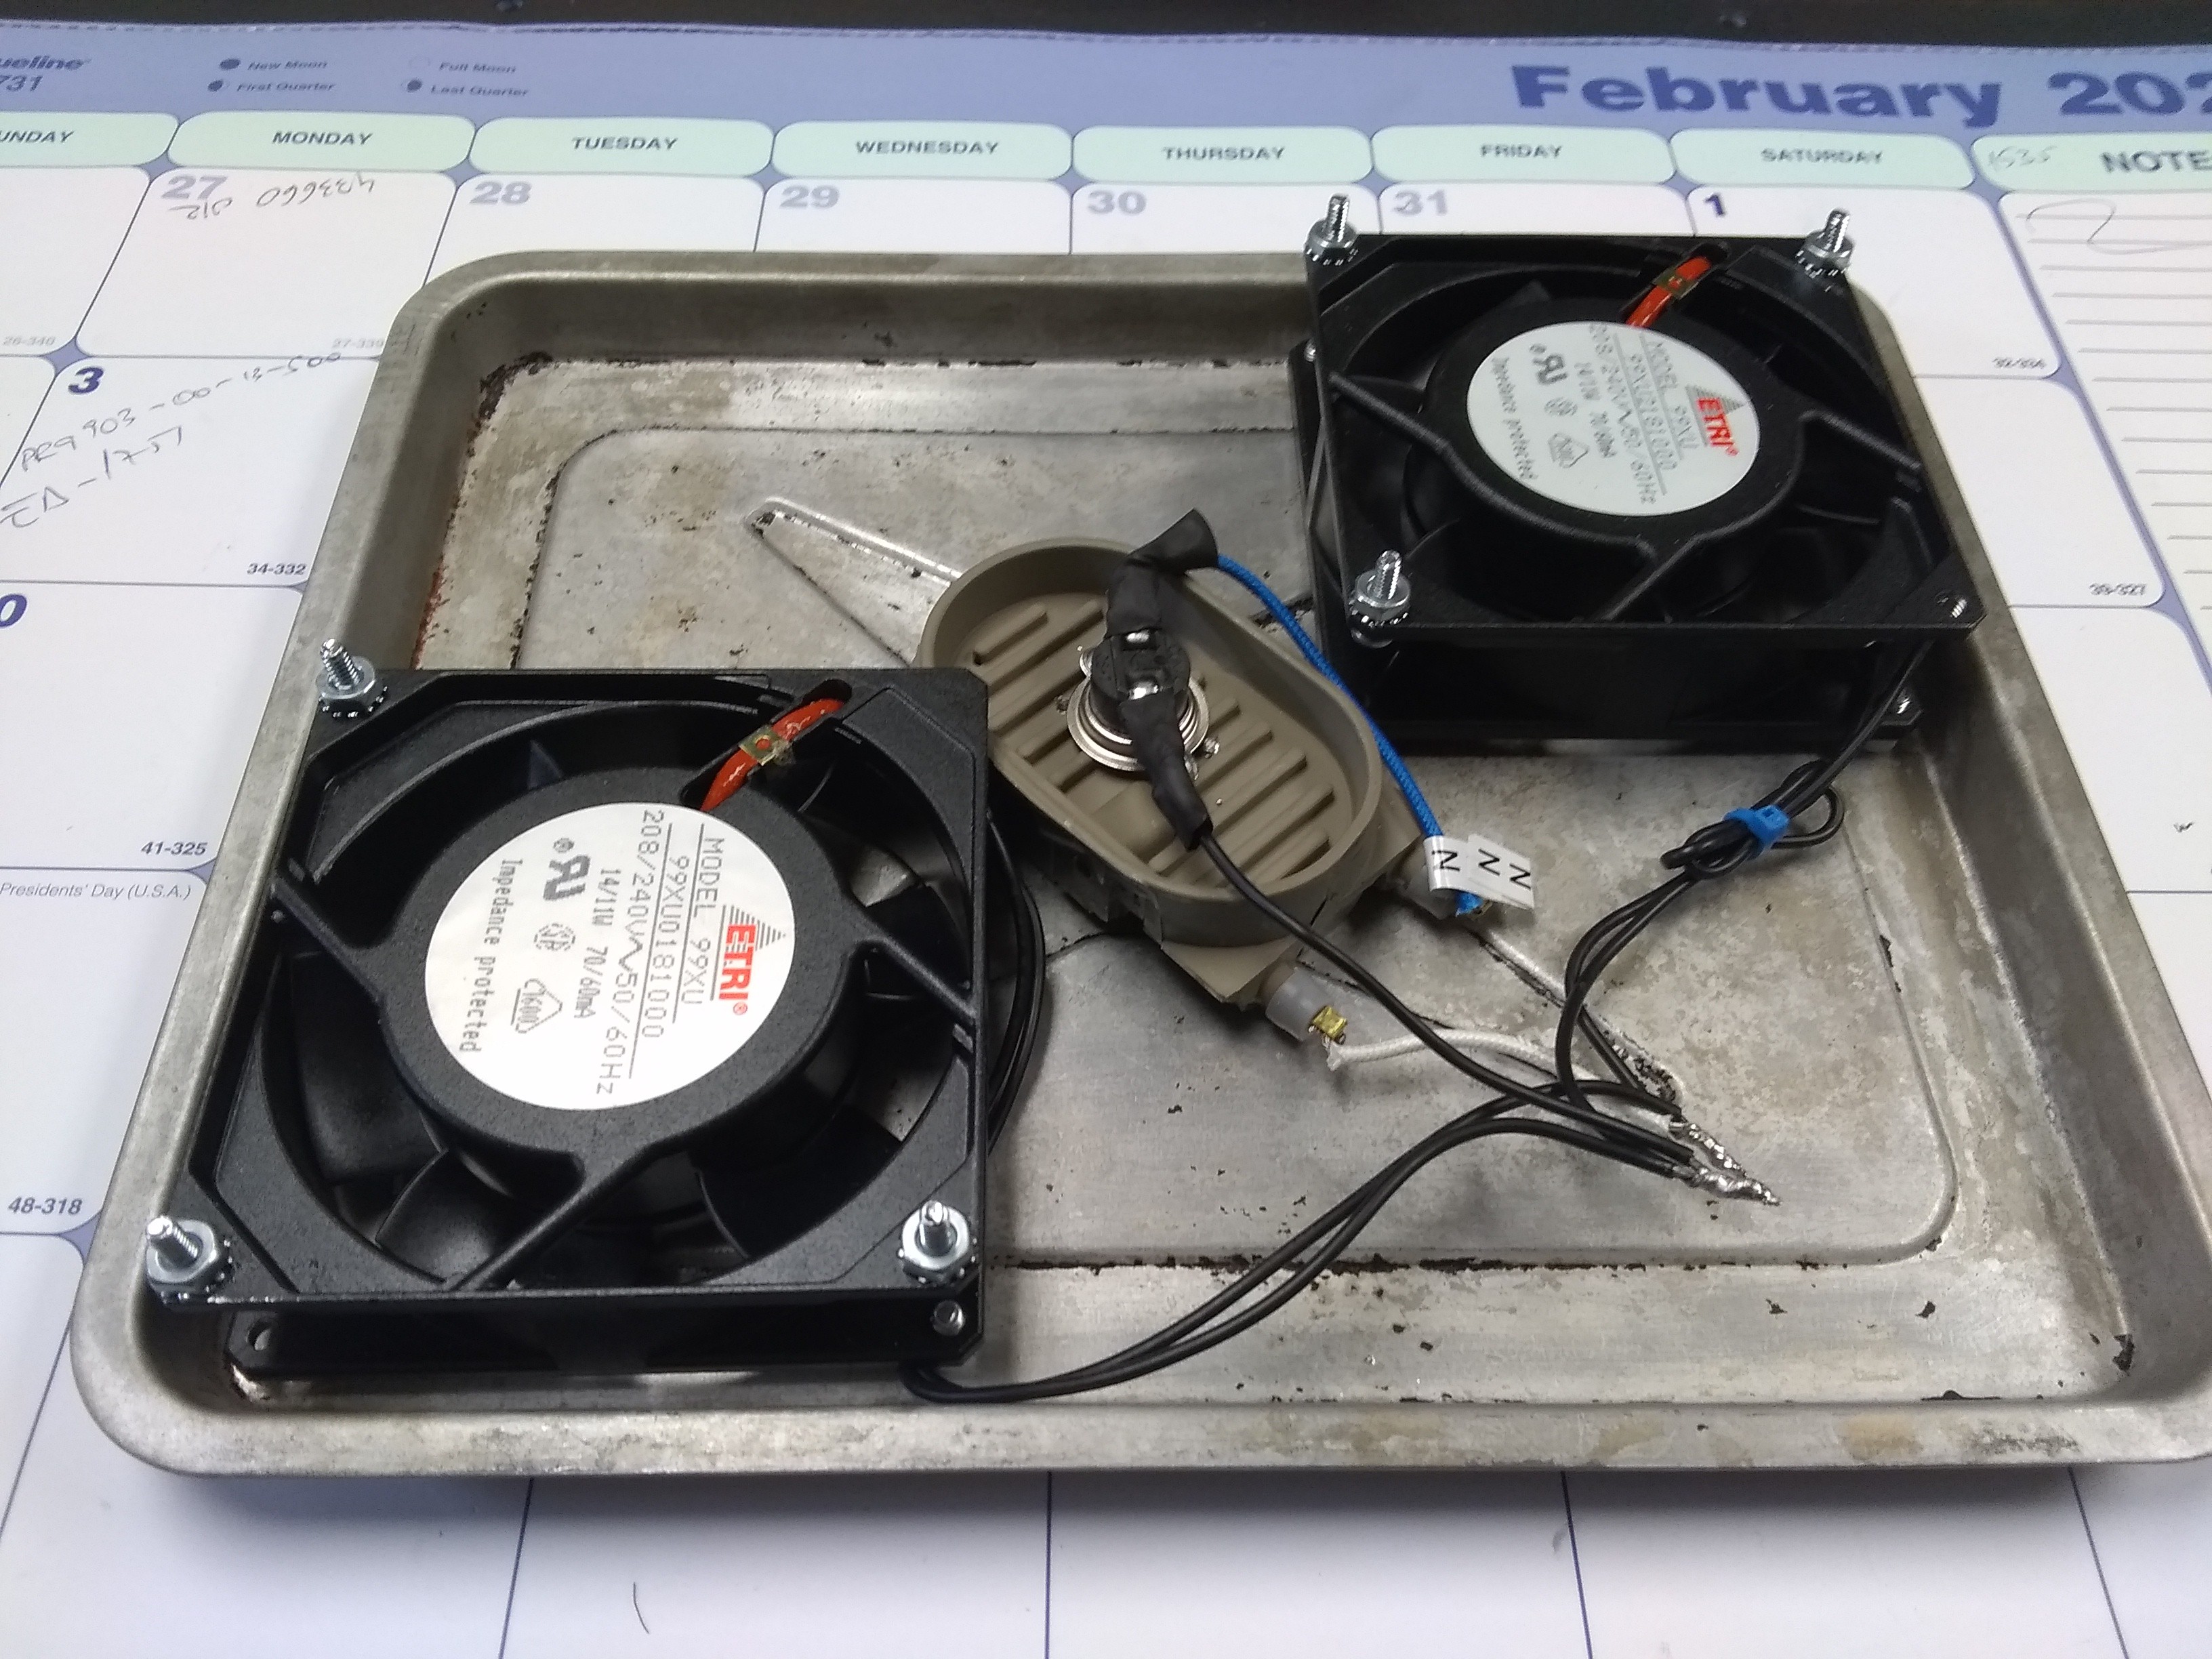
This is my first attempt at the simplest storage solution I could muster up with stuff that I already had.

  • The Implementation

    TheGrim03/15/2020 at 02:39 0 comments

    Now, being satisfied that nothing will melt into a ball of ooze, it's time to put the filament in. Dropped a few rolls in (not my best ones) and plugged it in. On top of the rolls I added a desiccant pack from the hardware store. They are usually sold for reducing humidity in camper trailers (during storage season) and boats. Cost for this was around $4.

    I put the lid on and plugged it in. We'll see how it does.

    A check a couple of hours later, it was sitting a 28C and 32%RH.

    I will provide an update at a later date on the long-term efficiency of this unit.

    Some drawbacks at first glance:

    1. The strange humming of constantly running fans.

    2. Not grade-A electrical safety to do things like this.

    3. The bi-metal switch has a limited number of cycles before it fails.

    4. I would not leave this plugged in if I wasn't around.

    Improvement ideas for next iteration:

    1. Replace bi-metal switch with TRIAC.

    2. Integrate a safety relay to stop a thermal run-away.

    3. Control the heat and safety of the system with an Arduino.

  • The Experiment

    TheGrim03/15/2020 at 02:23 0 comments

    So I grabbed the container. A 25-ish liter container with a lid with side snap locks. Nothing special. I hoped it wasn't too efficient at retaining heat either. I'm counting on the thermal losses here to lower the temperature.

    Drilled a hole in container. Installed gland and AC cord.

    Connected the phase and neutral to the circuitry inside. Connected the GROUND to the tray assembly. This way we can touch them while they're running. 

    I had previously set up a temperature and humidity meter in this room in order to know the starting point right away without waiting for the meter to adjust to the room. It read 20C at 45%RH.

    I put the lid on the box and plugged it in. I kept an eye on it at first to see how quick the temperature would rise. I didn't see anything too concerning so I started checking on it every half hour or so. After about six hours it stabilized at around 29C. I expect the RH would continue to drop, especially if desiccant is added. 

  • The Plan

    TheGrim03/15/2020 at 02:01 0 comments

    Watched a few you tube videos to get an idea what some people have tried. 

    No use re-inventing the wheel. Simplest solution I could find is the guy with the reptile mat of course.

    Here's what I found to make this happen:

    1. Old AC cord from wherever.

    2. Plastic container. 25L? Something like that.

    3. Two aluminum trays from an old toaster oven.

    4. Old baby bottle warmer heater element.

    5. Normally closed Bi-metal switch. I think this came from an old microwave at some point.

    6. Gland for wire to go through box.

    7. Two 220VAC industrial fans.

    8. Fuseholder and 3A fuse.

    Since both the heater element and fans could take AC voltage, and the bi-metal switch was rated for 240VAC there was no need to build any kind of power supply. I tested the fans and they spun up at 110VAC as well (about half-speed). This was great for air circulation. 

    Bolted the fans up to the bigger tray tray using a few washers so the rotor doesn't rub on the bottom.

    Installed the heater element in the middle.

    Connected the fans together and directly to 110VAC.

    Bolted bi-metal switch to the heater. Wired heater and bi-metal element (in series) to 110VAC.

    The idea here is that the element will get to 50C and the bi-metal switch will open and stop the heating process. The heating element heats up VERY fast at 110VAC so it will be on for very short periods of time. This will allow small amounts of heat to be built in bursts inside the enclosure, reaching an equilibrium with the natural losses of the box. Regardless of these losses, the temperature that the system will settle at will be significantly below 50C. That temperature should be acceptable for PLA storage. This is determined experimentally and may vary by container size and degree of sealing of lid.

    This is all good but we will need a fuse, for at least a modicum of safety. I was surprised that the 3A fuse that I had on hand didn't burn up immediately with that heater element. It seemed like a value that would verge on the low side for this setup so I just kept it. I installed the fuse in series on the phase ("hot") side of the AC coming from the plug. This way we would lose the phase if the fuse went. This would definitely stop everything cold.

    Perforated the other tray to make a shield with ventilation holes where the fans were. This tray was aluminum too. It would shield the filament from the intense but short burst of heat coming from the heating element. It would act as an averaging buffer for these bursts. The space in between the two plates is a welcome addition since this will provide additional paths for the warm air currents.

View all 3 project logs

Enjoy this project?

Share

Discussions

Similar Projects

Does this project spark your interest?

Become a member to follow this project and never miss any updates