 Pierre-Loup M.
The two wheels are importants components of this project. And it took time to figure out how to make them.
The first and most obvious idea was to 3D-print them. Or at least the bracket. For the wheel itself I wanted something else, as the final aspect of 3D-printed part is not so good, unless you spend a lot of time with abrasive paper and primer, and paint, and...
So, 3D-printing. If my printer were perfectly tuned, it would have been a two-hours story, designing the part, slicing it and printing it. But its not. The first part broke when I remove it from the printer bed, the second exploded when I tried to put screws in it, so after a few missed attempts I came back to what I know : acrylic and laser cutter.
The final version of the bracket is made of five parts of 4mm thick black cast PMMA. The laser cutter gives slightly beveled edges, so a bit of filing was needed before assembly. The five parts are fitted together, then glued (in fact chemically soldered) with chloroforme. PMMA cement can also be used.
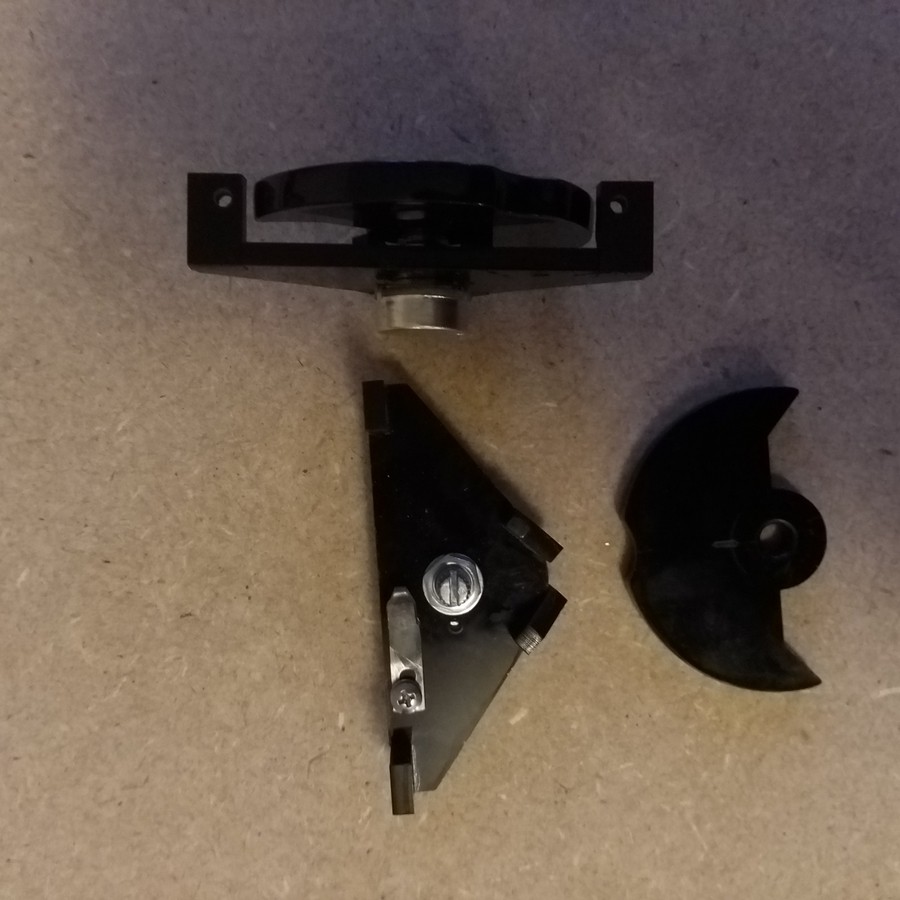
The wheel assembly, complete.
For the wheel itself, I had several ideas. Wheels on modern synths are beautiful, some with white flange, other with clear plastic and light underneath, with a silicone revetment on top... beautiful but too modern-looking. I thank about a pmma flange (not visible) and a wooden rim. And finally opted to all-acrylic. They are laser-cut too, in 6mm black PMMA. The rim has been sanded to remove the cutting marks and give a slightly rounded profile. Then the miracle technique : a small blowtorch is passed along the edge, which gives a perfect finish in ten seconds. Ok, I've made an extra one to have the right move, but it's really efficient.
The wheels have a small groove, and the pitchbend assembly has a spring that notch into this groove, so neutral can be felt. The spring has been made with 0.5mm spring steel, and is simply screwed onto the bracket ; the hole is oblong, so the spring can me moved to precisely position the mid-point.
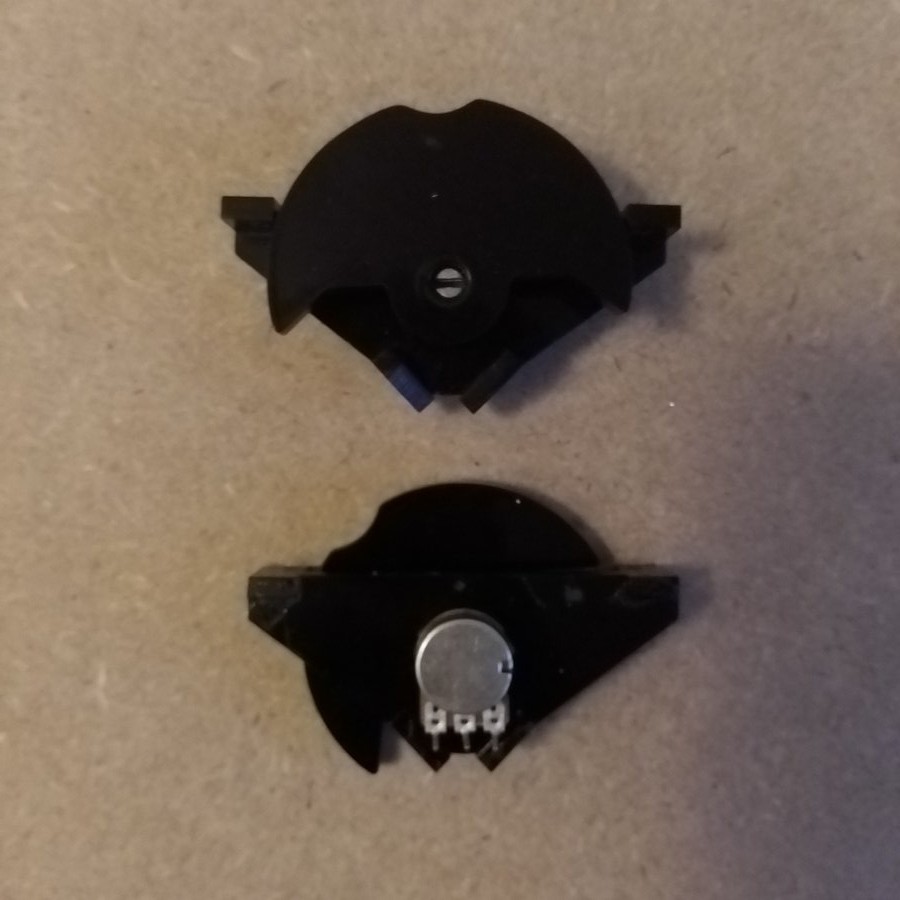
And then, how to mount the wheel on the potentiometer ? The hole is laser-cut , I've simply let the blowtorch burn a few seconds on each side, through the hole, then press the wheel on the potentiometer axle. It's perfectly adjust, can me removed if needed, and there is no play. Simple and easy. I just realised I could have mounted the potentiometer into the mandrel of my drill press to have a perfectly right fitting. Net time... :)
Discussions
Become a Hackaday.io Member
Create an account to leave a comment. Already have an account? Log In.