 peter jansen
Version 2 (Newer)
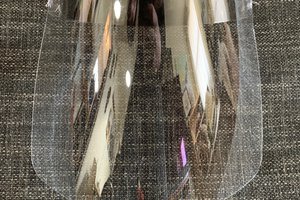
Version 2 is entirely cut out of 0.5mm PETG sheet (no other materials required), and does not require an elastic band (although that would likely give a little more tension). The design files are below in the files section (plate_*). It takes about 60-80 seconds to cut one on our laser cutter, dramatically reducing manufacture time. The materials cost for us is approximately $1 of PETG each. It's based on my best guess at what the InkSmith.ca Design #2 is doing, with some modifications for making it entirely laser cut. Assembly video below.
Version 1 (Older)
The coronavirus is currently using a great deal of Personal Protective Equipment (PPE) for medical staff, and the news seems full of cases across the world of hospitals asking for PPE donations, and staff being asked to reuse PPE equipment that's normally single use.
In response, the open hardware community has started coming up with rapid prototypable PPE designs. Yesterday Prusa released their 3D Printable Face Shield. We thought about doing our part and trying to manufacture a large number, but it requires about 4 hours to print each shield on our 3D printers, meaning with the 4 printers in our lab, we would only be able to print out a maximum of about 24 face shields per day, running 24 hours a day. This is an attempt to make a laser-cuttable face shield design based off Prusas design, whose parts can be manufactured in a few minutes instead of hours, and using regular swappable off-the-shelf materials.
Design
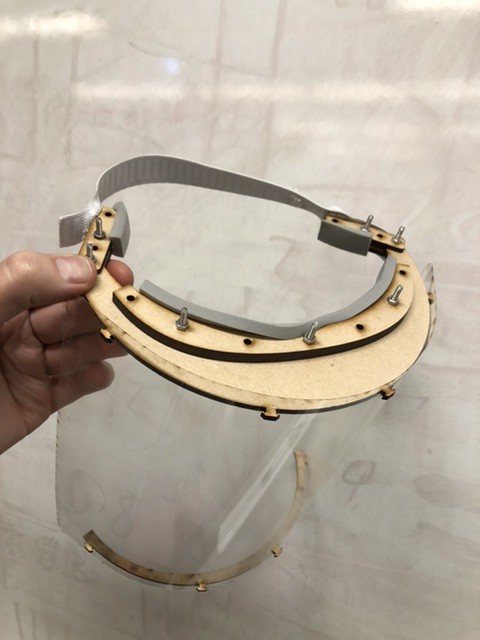
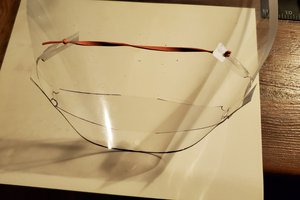
The prototype (above) is a laser cut main visor, two arms (similar to the arms on glasses), and a bottom stiffener. The transparent plastic is also laser cut. The non laser cut parts are:
- Six or 7 M3 machine screws (~12mm or longer) paired with stop nuts.
- Something to use as an elastic band -- here, actual elastic from the sewing section of Walmart or Michaels (in the US). I think this is normally used for the waistband of pants, but many elastic ribbons could be substituted.
- Weather stripping (foam, with one sticky side, normally used around windows to keep cold air out) to make the mask more comfortable to wear. This is usually available at hardware stores (I found this at Home Depot in the US).
- The transparent plastic used here was an 8.5x11 standard transparency sheet from a local office supply.
The laser cut material here was 3mm MDF, but many on-hand materials would likely function.
Wear/Fit
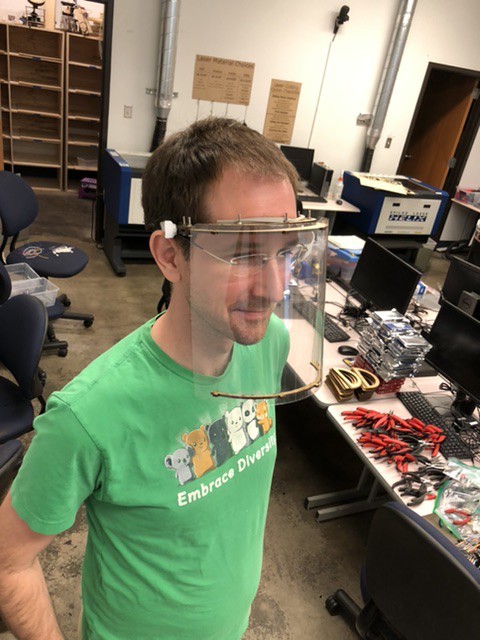
The mask fits comfortably on the head, as shown. The arrowed tabs on the visor (top) and stiffener (bottom) keep the plastic sheet in place.
Manufacture Time
I put a Prusa RC2 Face Shield on one of our 3D printers, and it took about 4 hours to print.
This laser cuttable design takes about 4 minutes to cut (3.5 minutes for the MDF parts, and 30 seconds for the plastic face shield) on our Epilog Helix 60W cutter -- so it's about 50x faster. It does take some minutes of manual assembly to put all the parts together, where as the Prusa design large works fresh off the printer.
I found both remarkably comfortable to wear. The Prusa face shield was a little more comfortable, but not 50x more comfortable, and I didn't find the laser cuttable face shield uncomfortable.
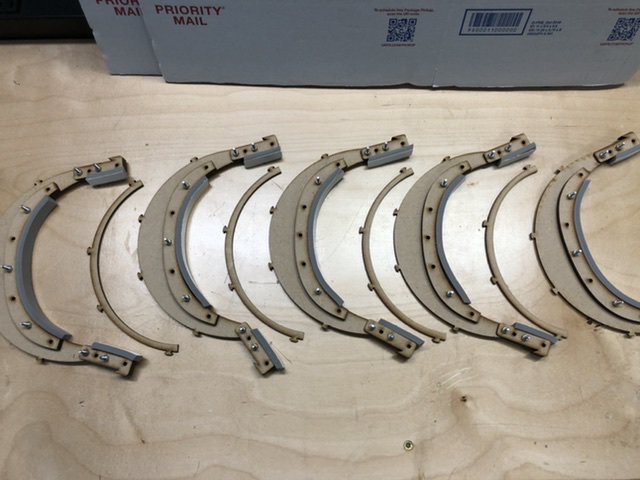
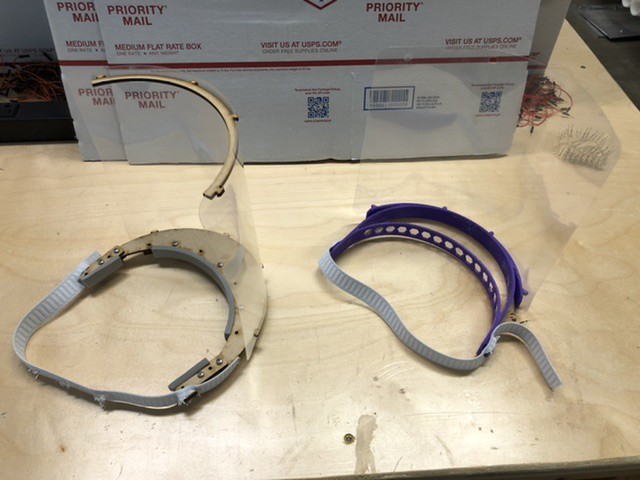
Above are a handful of visors and bottom stiffeners.
Materials
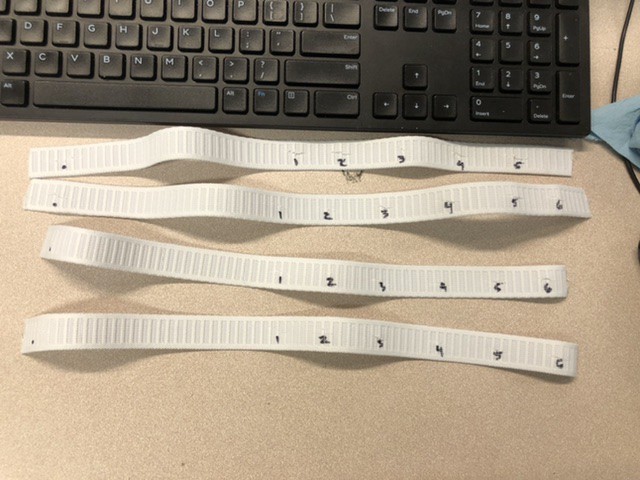
Like the Prusa design, the face shield visor is held on using an elastic band. Here I just found elastic in the sewing section of Walmart and Michaels, and cut short slits (using a pair of shears -- essentially heavy duty scissors) at either end. One end of the band has 5-6 holes to allow for some adjustment to fit.
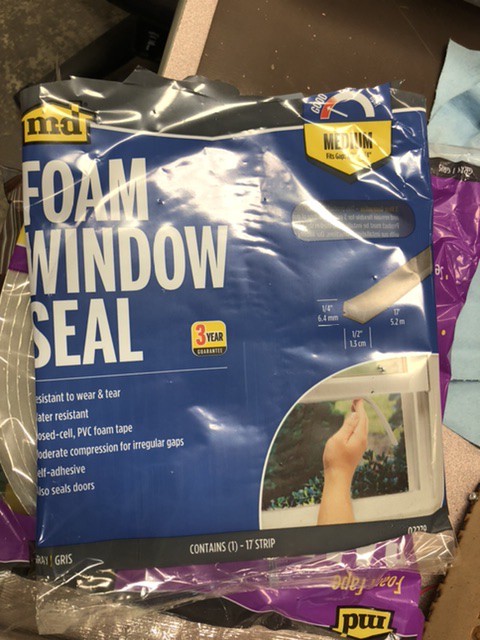
Above is the weather stripping from the hardware store. I picked up a bunch of bags of different sizes -- this was the first I tried, and it worked well, but I...
Read more »


 Josh
Josh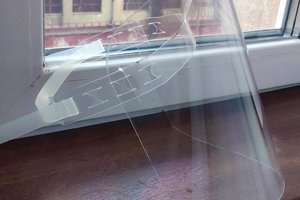
 Jason Cho
This looks great. I like the speed of production versus 3d printed models. Would you consider releasing the CAD files. I have an idea to adjust the design slightly to give variable spacing between the shield and face.
Great design. Thanks.