Close
0%
0%

ZX80 replica

Recreating this iconic (and mostly useless) computer from the eighties

Public Chat
Similar projects worth following
This year (2020) it's exactly 40 years ago that the Sinclair ZX80 was introduced. The ultra low-cost computer that was actually useless from the start. With only 1K RAM, monochrome video that dropped out when you pressed a key, and a simple BASIC that only supported limited variables and only integer arithmetic. Still nearly 100000 units were sold, before it was succeeded by the ZX81, so it definitely had some appeal. At 75 UK Pound it was really low cost, and that showed. The housing was made of cheap, vacuum formed plastic and so a lot of these units have not survived the years.
When I started building my first 3D printer it was always in the back of my head that it could be used for creating a ZX-80 replica. That did not really work out, since it was too inaccurate and the effective build plate was just too small. But my new printer has a build plate of 210x210 and it prints significantly better, so now is the time to build my own ZX-80.

(Nice: this design was even featured here on Hackaday to celebrate the 40th anniversary of the ZX-80 !)

When starting this project I first considered building a full replica, using Grant Searle's detailed description and PCB design. But I knew I did not have the time to complete this so I decided to take shortcut and use a Raspberry Pi to emulate it and just make sure the housing looked as good as possible.

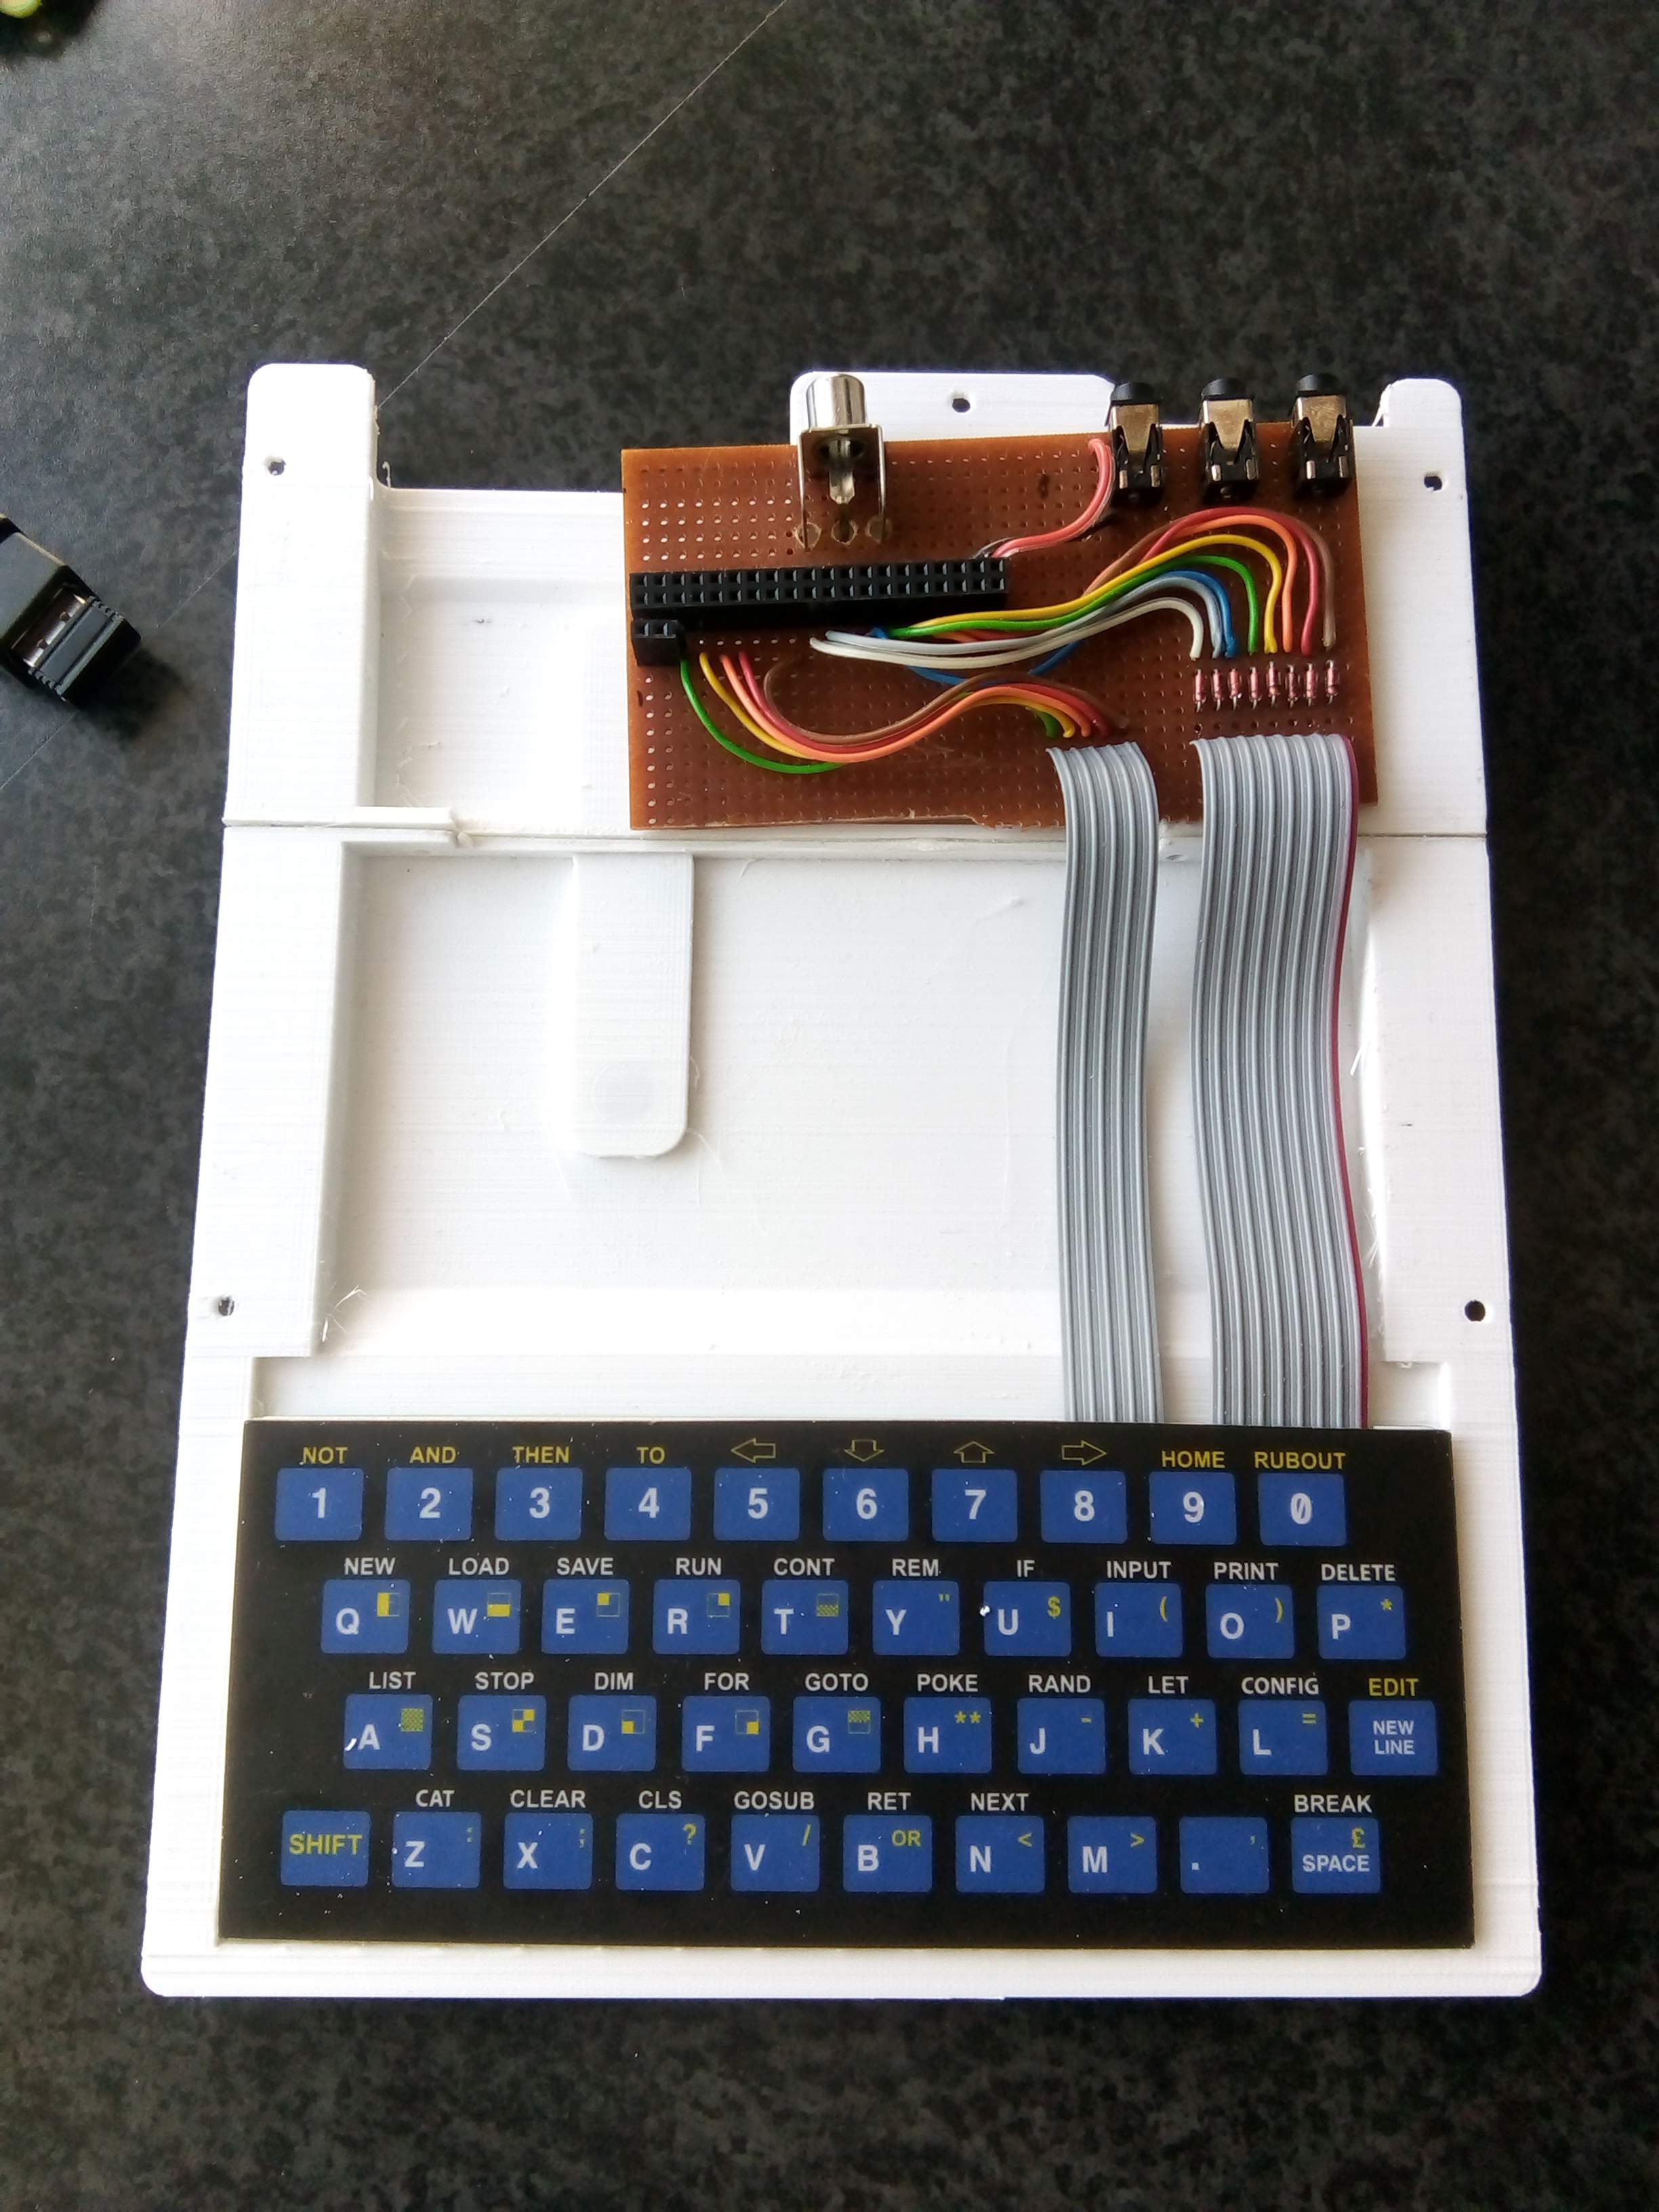
Fortunately, thanks to the current retro computing revival, there are a lot of resources.First there is the ZX80 replacement keyboard on Sell My Retro. This is an excellent keyboard, with actual tactile switches, which makes it much easier to type on than the original. Also available:
original rivets, again on Sell my Retro.

And the design files are on Thingiverse. These were not exactly to my liking, so I made quite some changes. Mainly to make them easier to print, and to make sure that the new keyboard would fit.

There are a lot of images available, but most are just showing the complete computer from the front or side. There are lots of images on this site that also show the rear, bottom and inside. I used these to refine my 3D design, which is now available on Thingiverse.

And if you don't want or cannot print the case yourself, it is also available as a complete printed part on Shapeways. It's not cheap (about € 140,- for the set) but it obviously has a smoother finish, and the bottom part is in one piece.

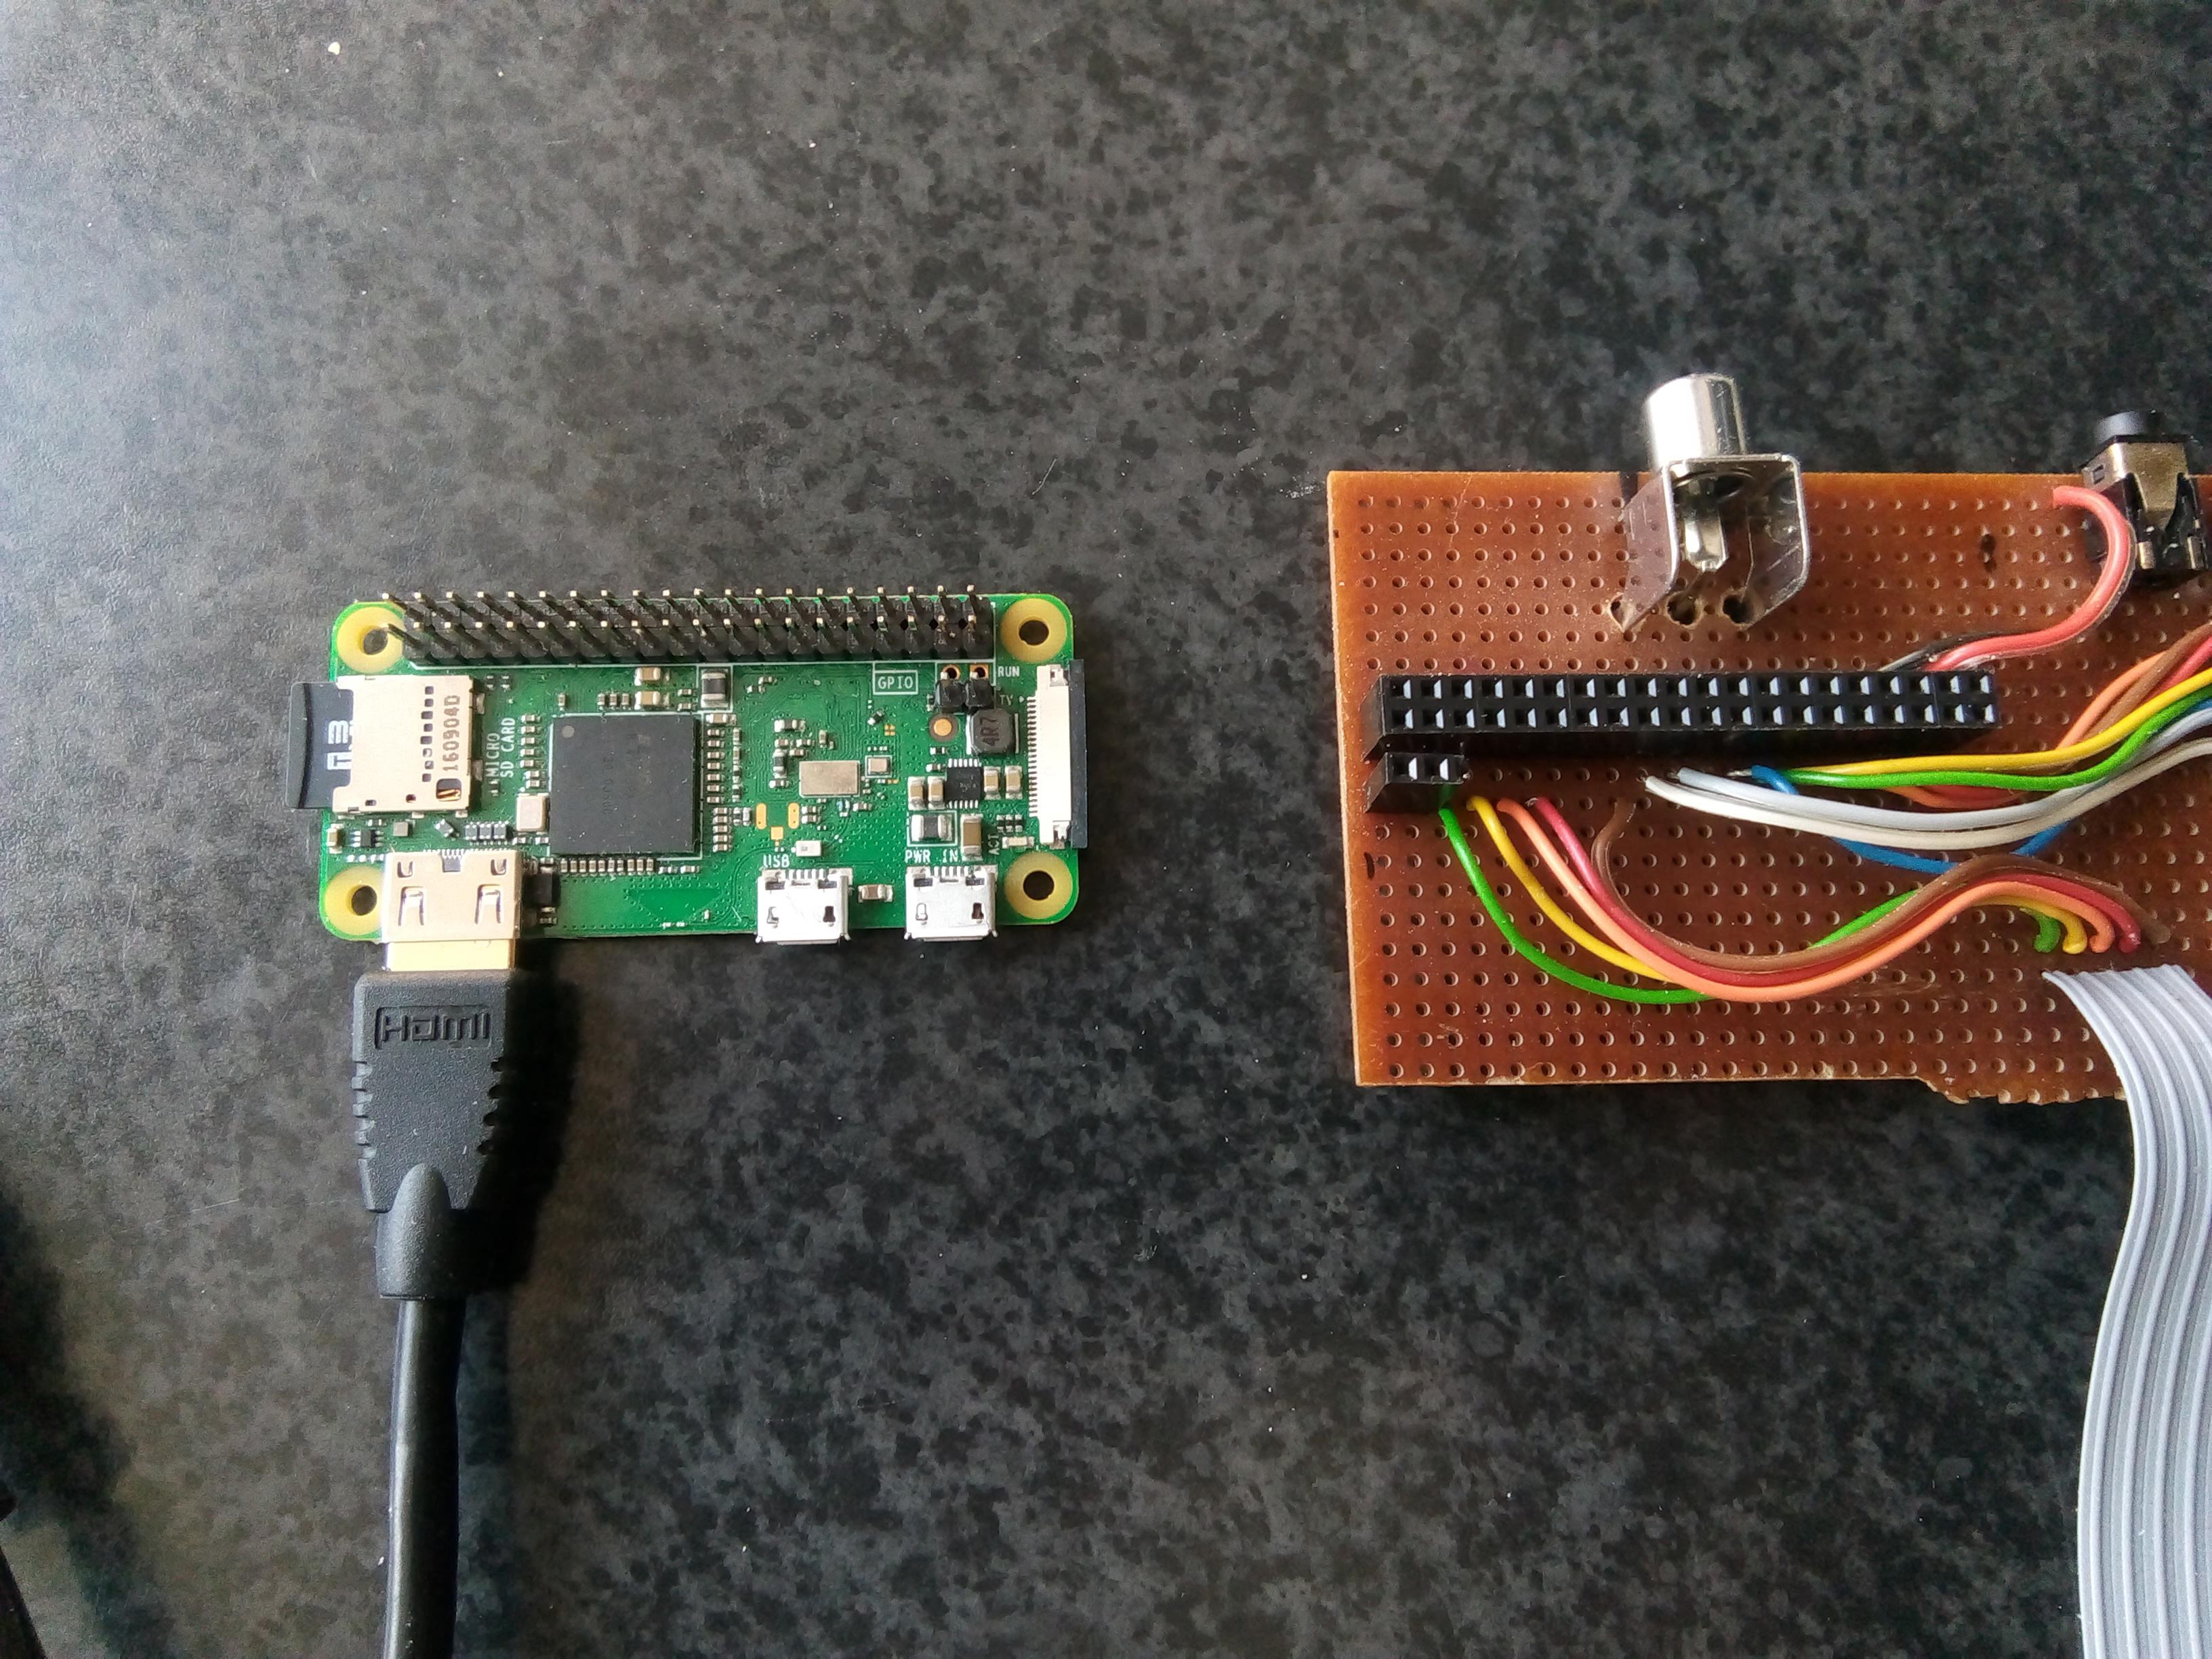
For the emulation I chose the Raspberry Pi Zero W. Apart from being cheap, it has the option to output composite video. Now I can connect an actual video monitor to it and get even closer to the original retro feeling. It also comes with WiFi which makes it easy to control and modify the software if necessary using a remote console. So I did not have to add the connections for a standard keyboard and monitor.
Label ZX80.pdf

ZX80 Labels. In .pdf format.

Adobe Portable Document Format - 114.33 kB - 04/01/2020 at 20:49

Preview
Download

ZX80_OperatingManual.pdf

Copy of the ZX80 Operating manual. Not mine, just something I found on the internet.

Adobe Portable Document Format - 2.56 MB - 04/01/2020 at 20:48

Preview
Download

Label ZX80.odg

ZX80 Labels. In Libreoffice .odg format.

graphics - 134.79 kB - 04/01/2020 at 20:47

Download

RPi Keyboard wiring.png

Schematic of the wiring from the keyboard to the Raspberry Pi and the power-socket.

Portable Network Graphics (PNG) - 76.60 kB - 04/01/2020 at 20:45

Preview
Download

View all 7 components

  • Printing the housing

    Cees Meijer07/03/2020 at 06:44 0 comments

    The housing design was based on an existing model that I found on ThingiVerse: https://www.thingiverse.com/thing:1880449

    Using a lot of photos of the original I modified this design considerably to get is closer to the original, and to make it easier to print. My final design can be found on :

    https://www.prusaprinters.org/prints/29047-sinclair-zx80-replica

    First part : the top cover. 

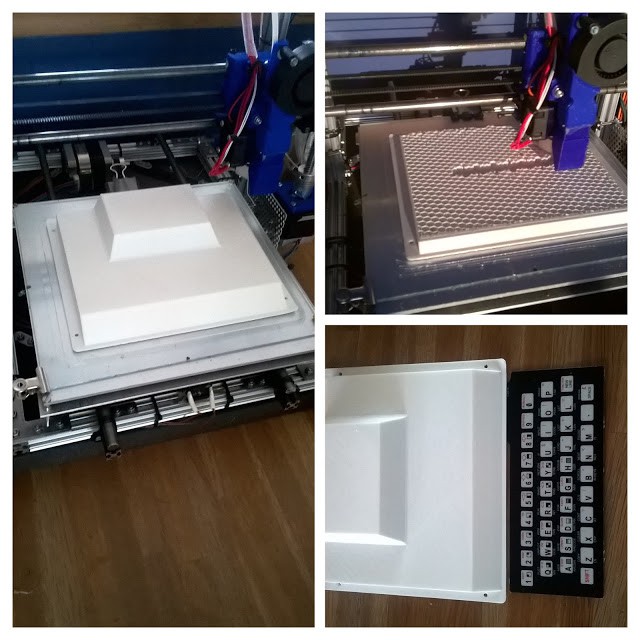
    It took 27.3 hours to print, but turned out really nice. Unfortunately  there was some warping on the edges, but not too bad and I can probably correct this by heating it a little. And 4 solid layers for the top was not enough to completely hide the support structure, so the honeycomb pattern is still vaguely visible on the surface.

    Part two : the bottom section.

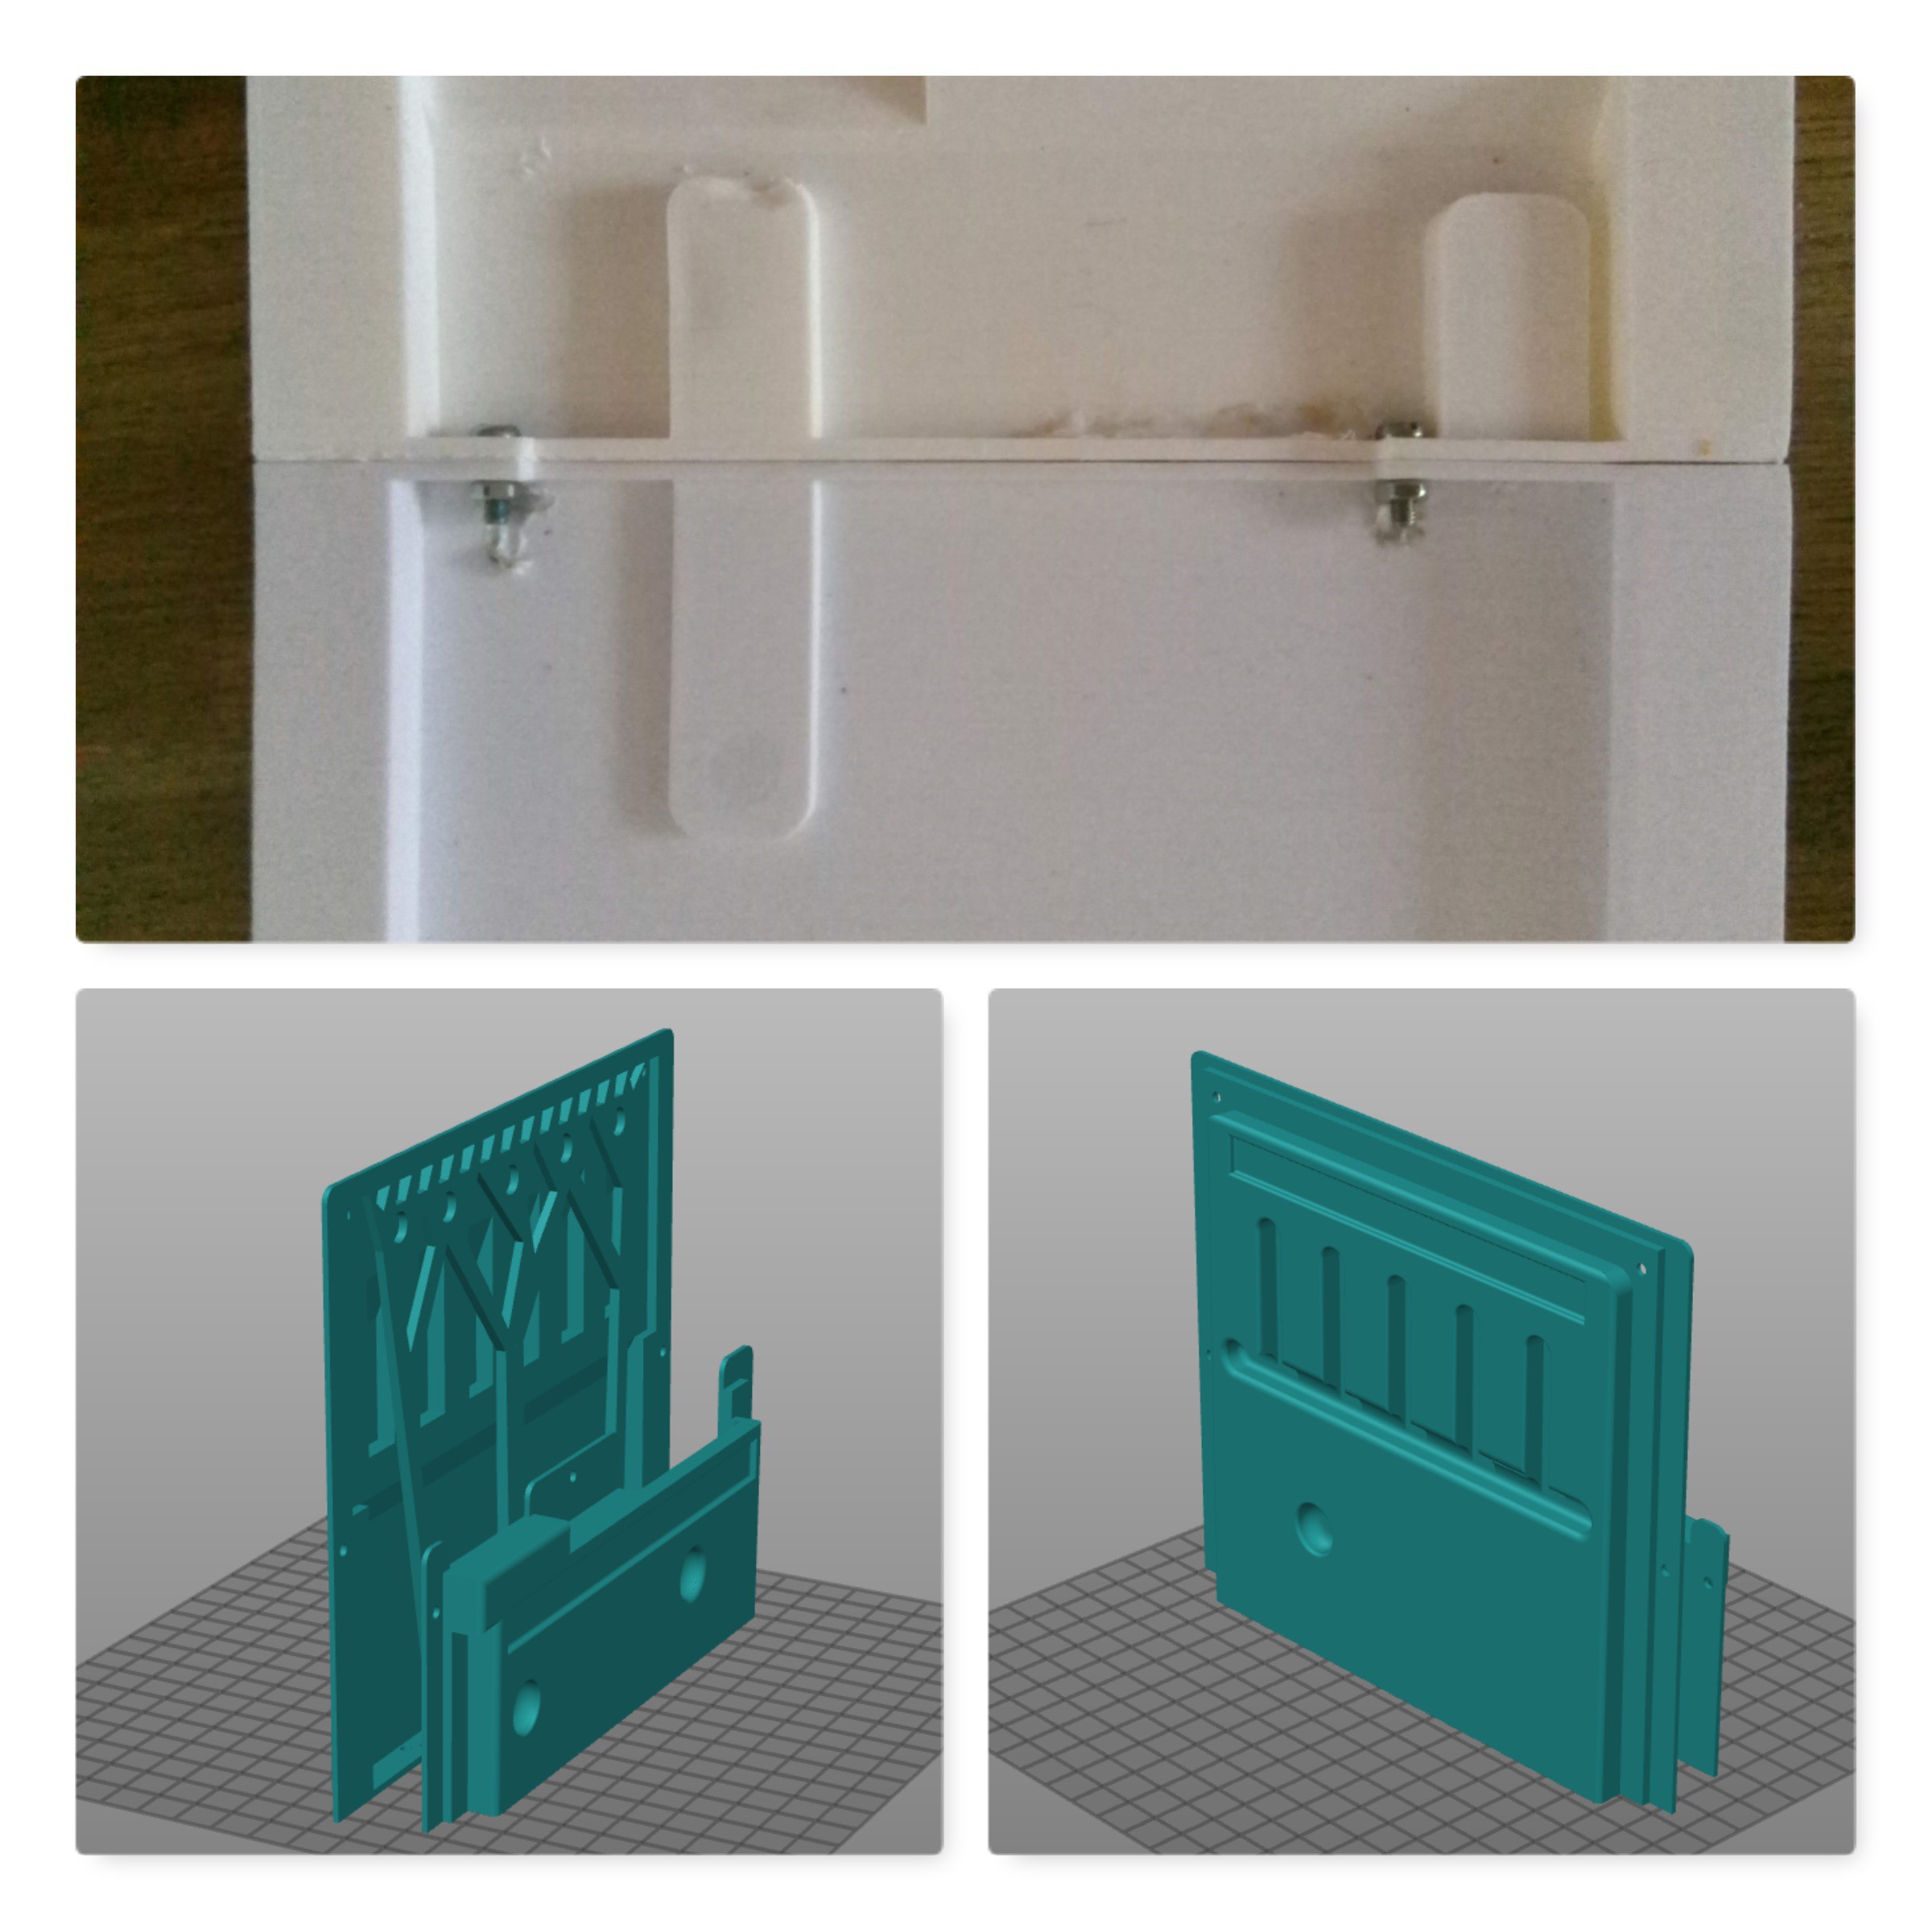
    Since I could not print the whole bottom section on my printer I had to split it into two parts. By adding some support and making some minor changes to the basic shapes, I ended up with two printable pieces that can be bolted and glued together.

View project log

Enjoy this project?

Share

Discussions

Calomx wrote 03/08/2021 at 20:11 point

It's necessary a PiZeroW? Its not enough a PiZero?

Thanks and congrats! 

ps - I just understand... to communications :)   By the way The keyboards are gone on SellMyRetro :(

  Are you sure? yes | no

Timescale wrote 07/11/2020 at 16:29 point

Using membrane or dead-flesh keyboards once every so often makes me realize how good I have it now!

  Are you sure? yes | no

Cees Meijer wrote 07/12/2020 at 13:02 point

True, though the replacement keyboard I used for this project is not bad at all. It's got real switches and tactile feedback which make 'typing' just a bit better than on the original.

  Are you sure? yes | no

Timescale wrote 07/12/2020 at 19:47 point

And one could not always SSH or VNC their way into the speccy! Regardless, I'm itching to get my old ZX spectrum out of the mothballs now.

  Are you sure? yes | no

steve.morris wrote 04/15/2020 at 16:01 point

Hi Cees - very impressive project, I am trying to do something similar.  With regards to the ZX81 emulator I am having problems installing/compiling the emulator - do you have any simple instructions how to run this on the RPI - ie which OS you used etc on the PI and commands to install.  Many Thanks

  Are you sure? yes | no

Cees Meijer wrote 07/12/2020 at 13:00 point

Hi Steve,

Completely missed your comment at the time, so I assume you probably already figured it out.. If not, you can check by blogpost : https://c-scope.blogspot.com/2020/03/zx80-replica.html .

  Are you sure? yes | no

[deleted]

[this comment has been deleted]

Cees Meijer wrote 04/04/2020 at 20:54 point

Next revision..;-)

  Are you sure? yes | no

Similar Projects

Does this project spark your interest?

Become a member to follow this project and never miss any updates