 Just4Fun
* * PREFACE * *
Luckily I have enough electronic stuff "to survive" these days, so I decided to start the design of a new "retro" board, this time using a V20HL CPU. Of course my way...
* * THE PROTOTYPE * *
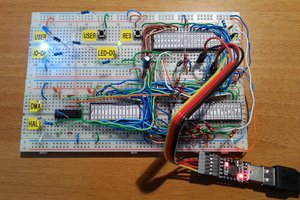
In the first phase of the design I've used a prototype on a breadboard to check the basic "concepts".
To make things easier I've used as "companion" MCU a STM32F030R8 on a custom board (ARMando) I previously made and that it is directly pluggable on breadboards, and with onboard microSD card and USB-serial adapter.:

To make the firmware for the STM32F030R8 I've used Arduino IDE with the core made by ST. In this way the "porting" to the Atmega32 used in the final board would have been simpler.
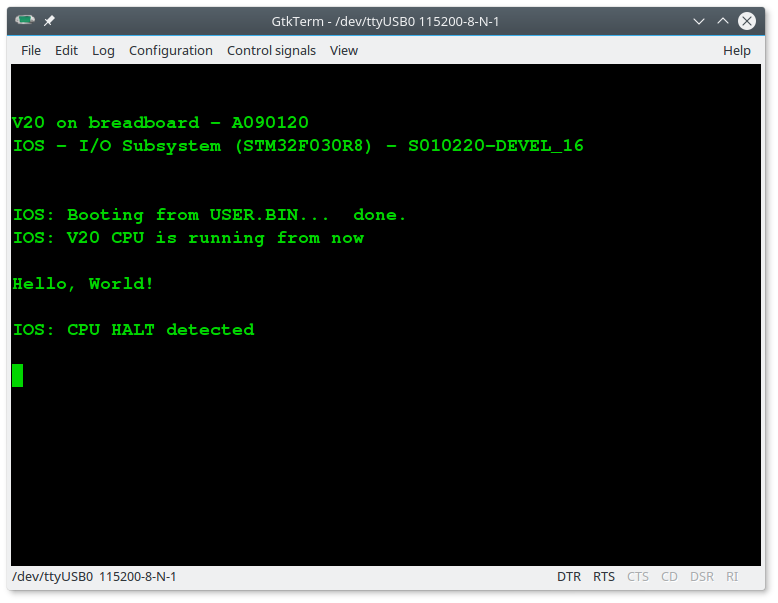
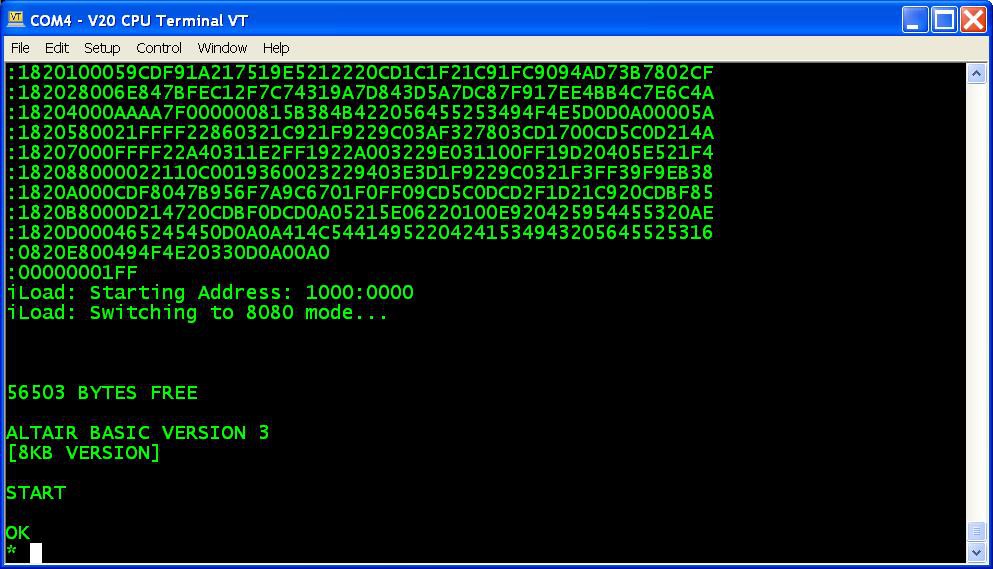
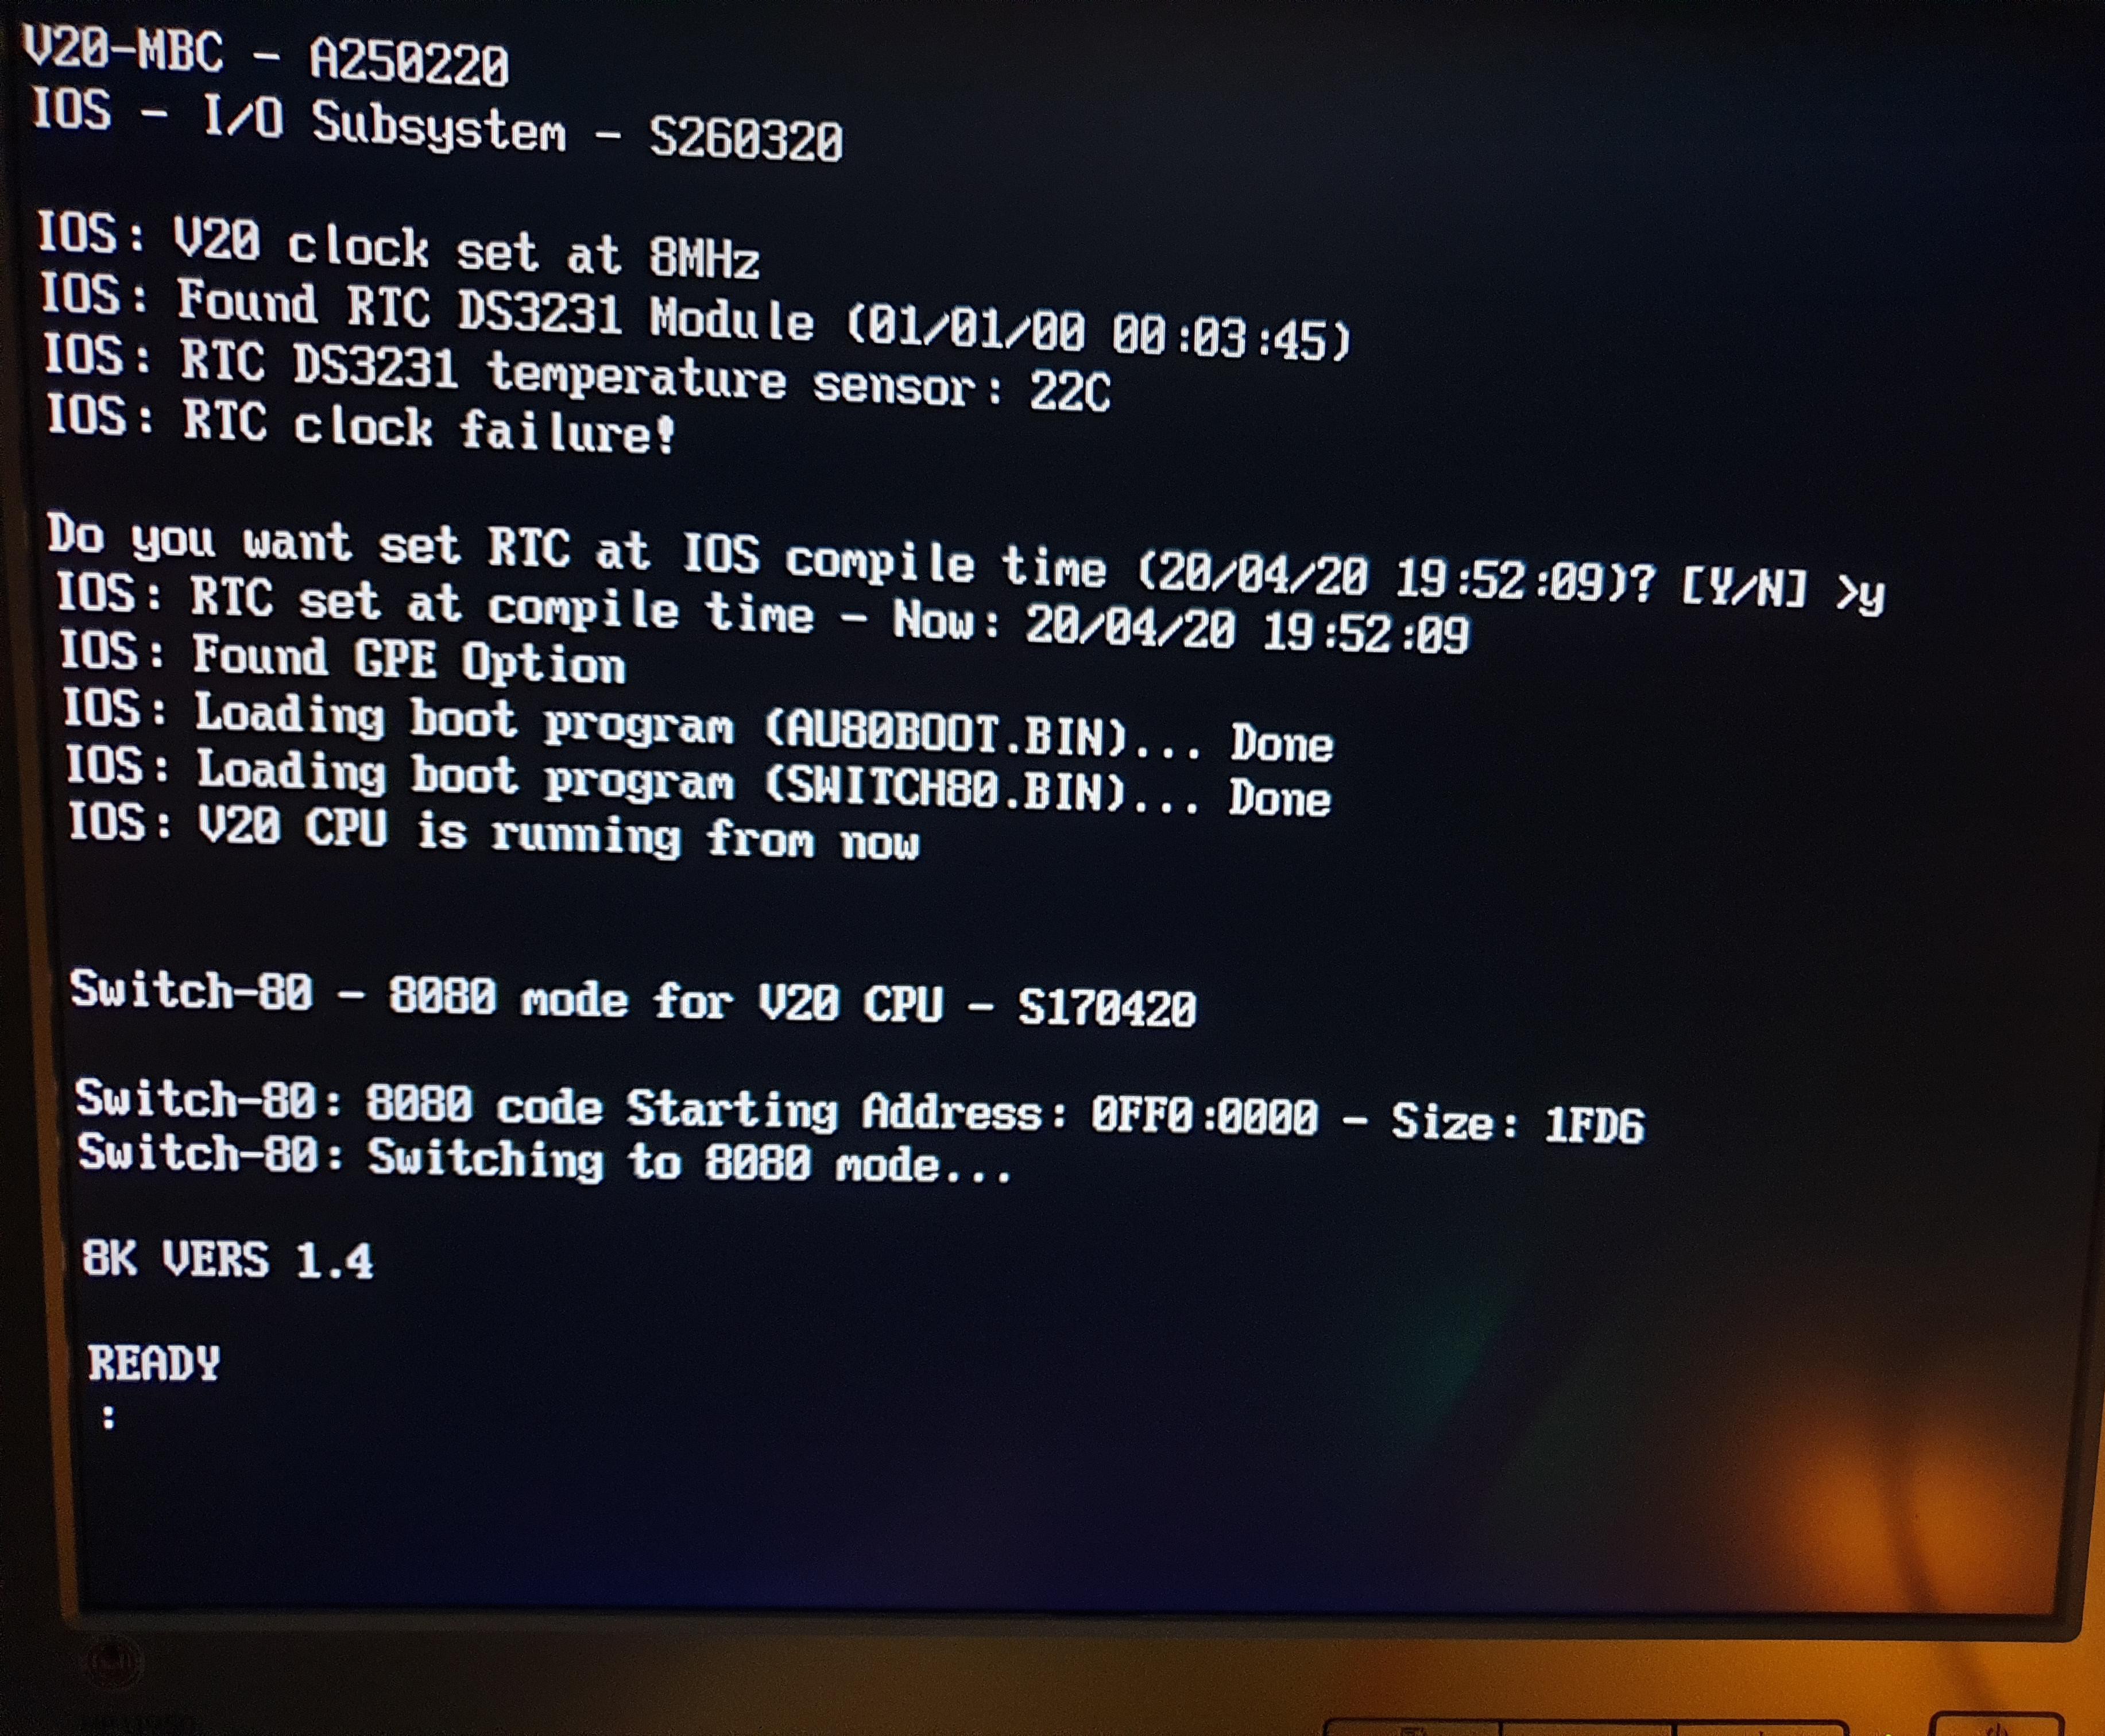
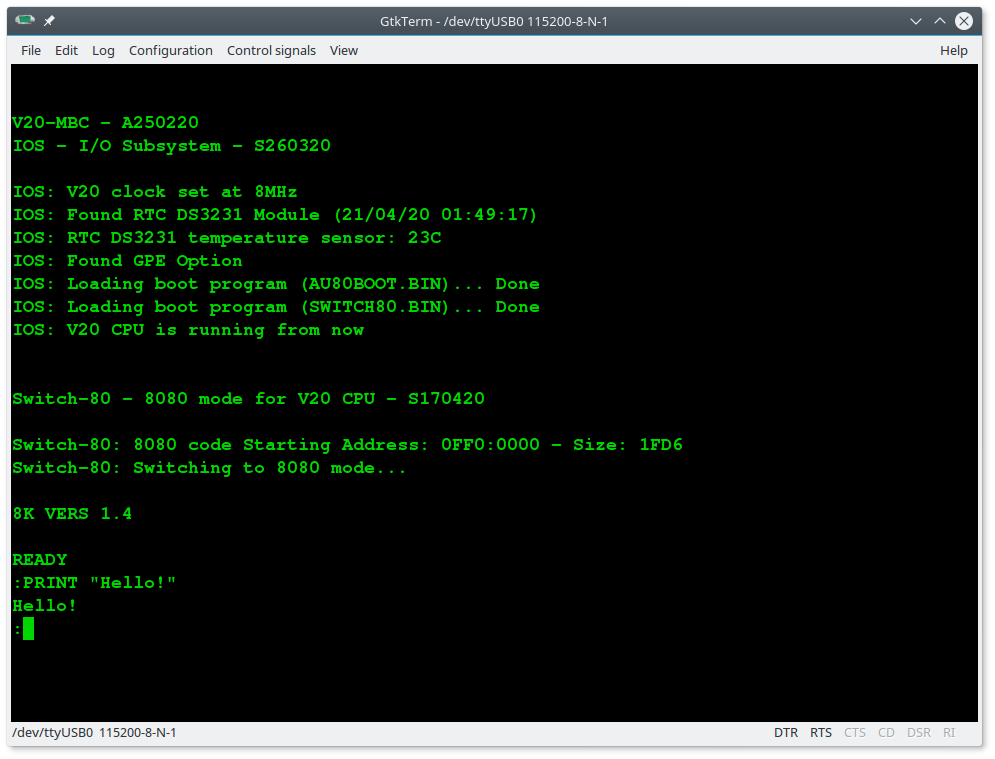
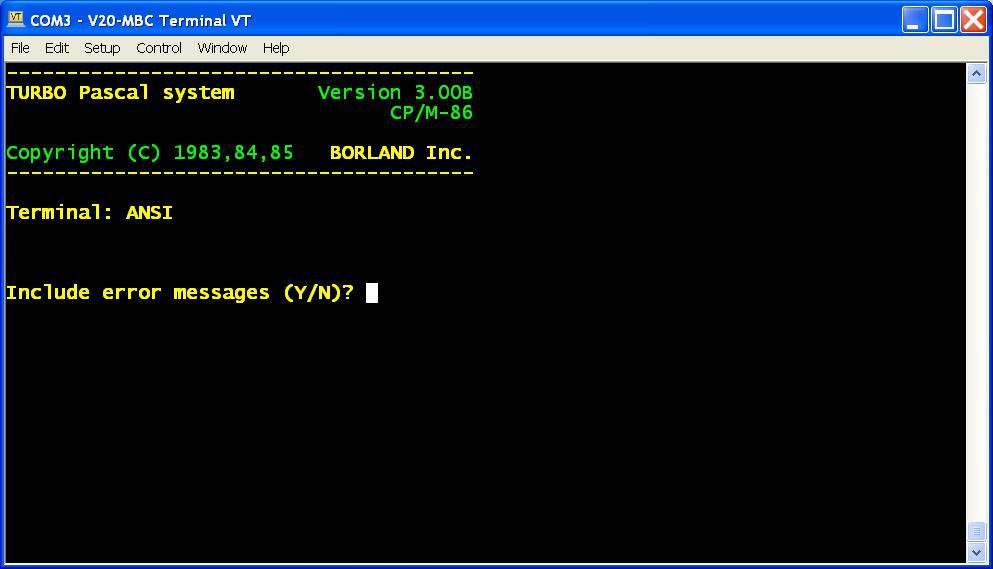
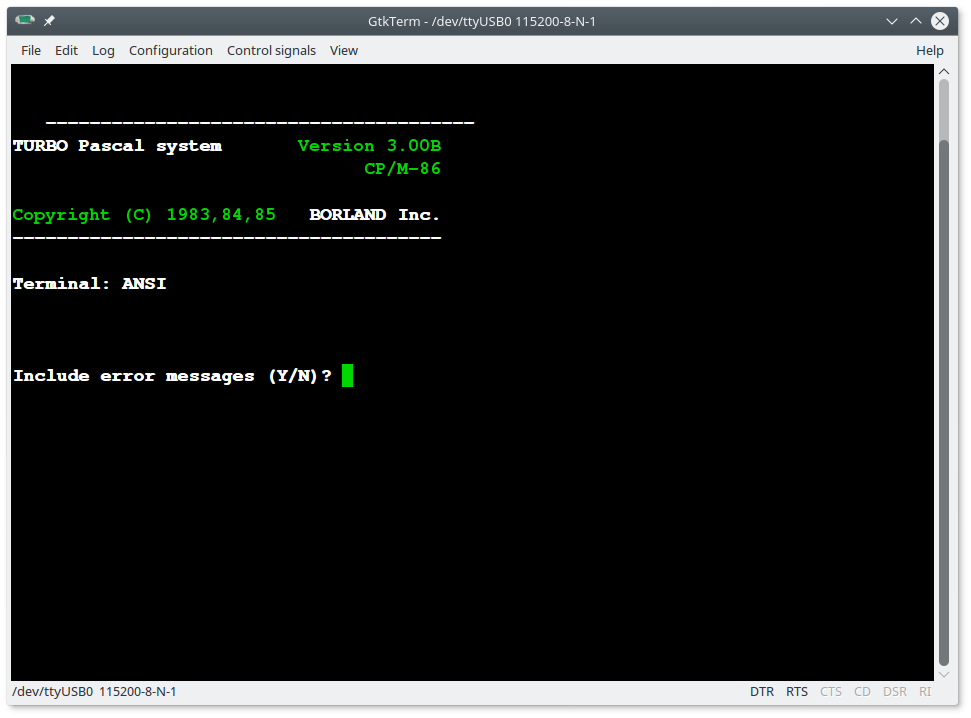
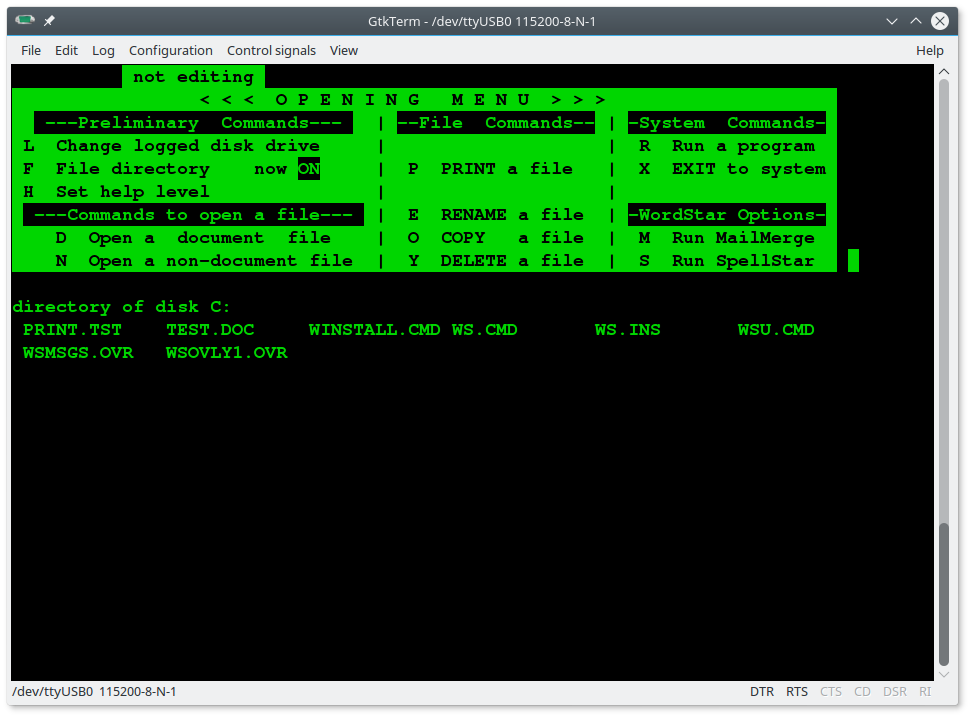
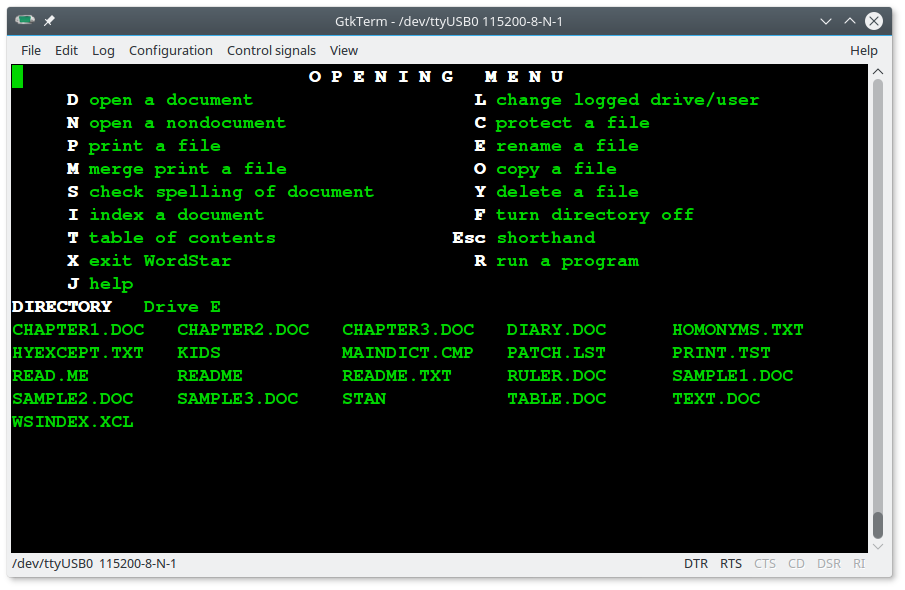
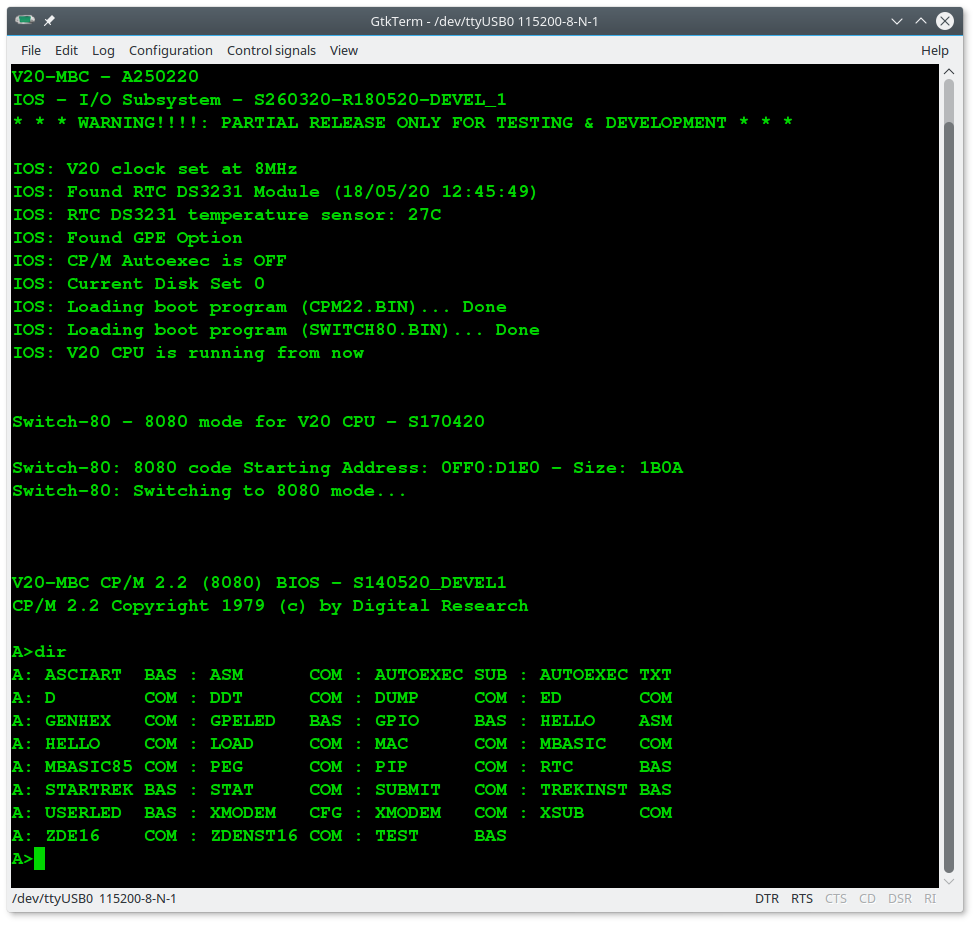
Here some screenshots of some tests using the 8080 mode to run the Altair Basic and the IMSAI Basic:

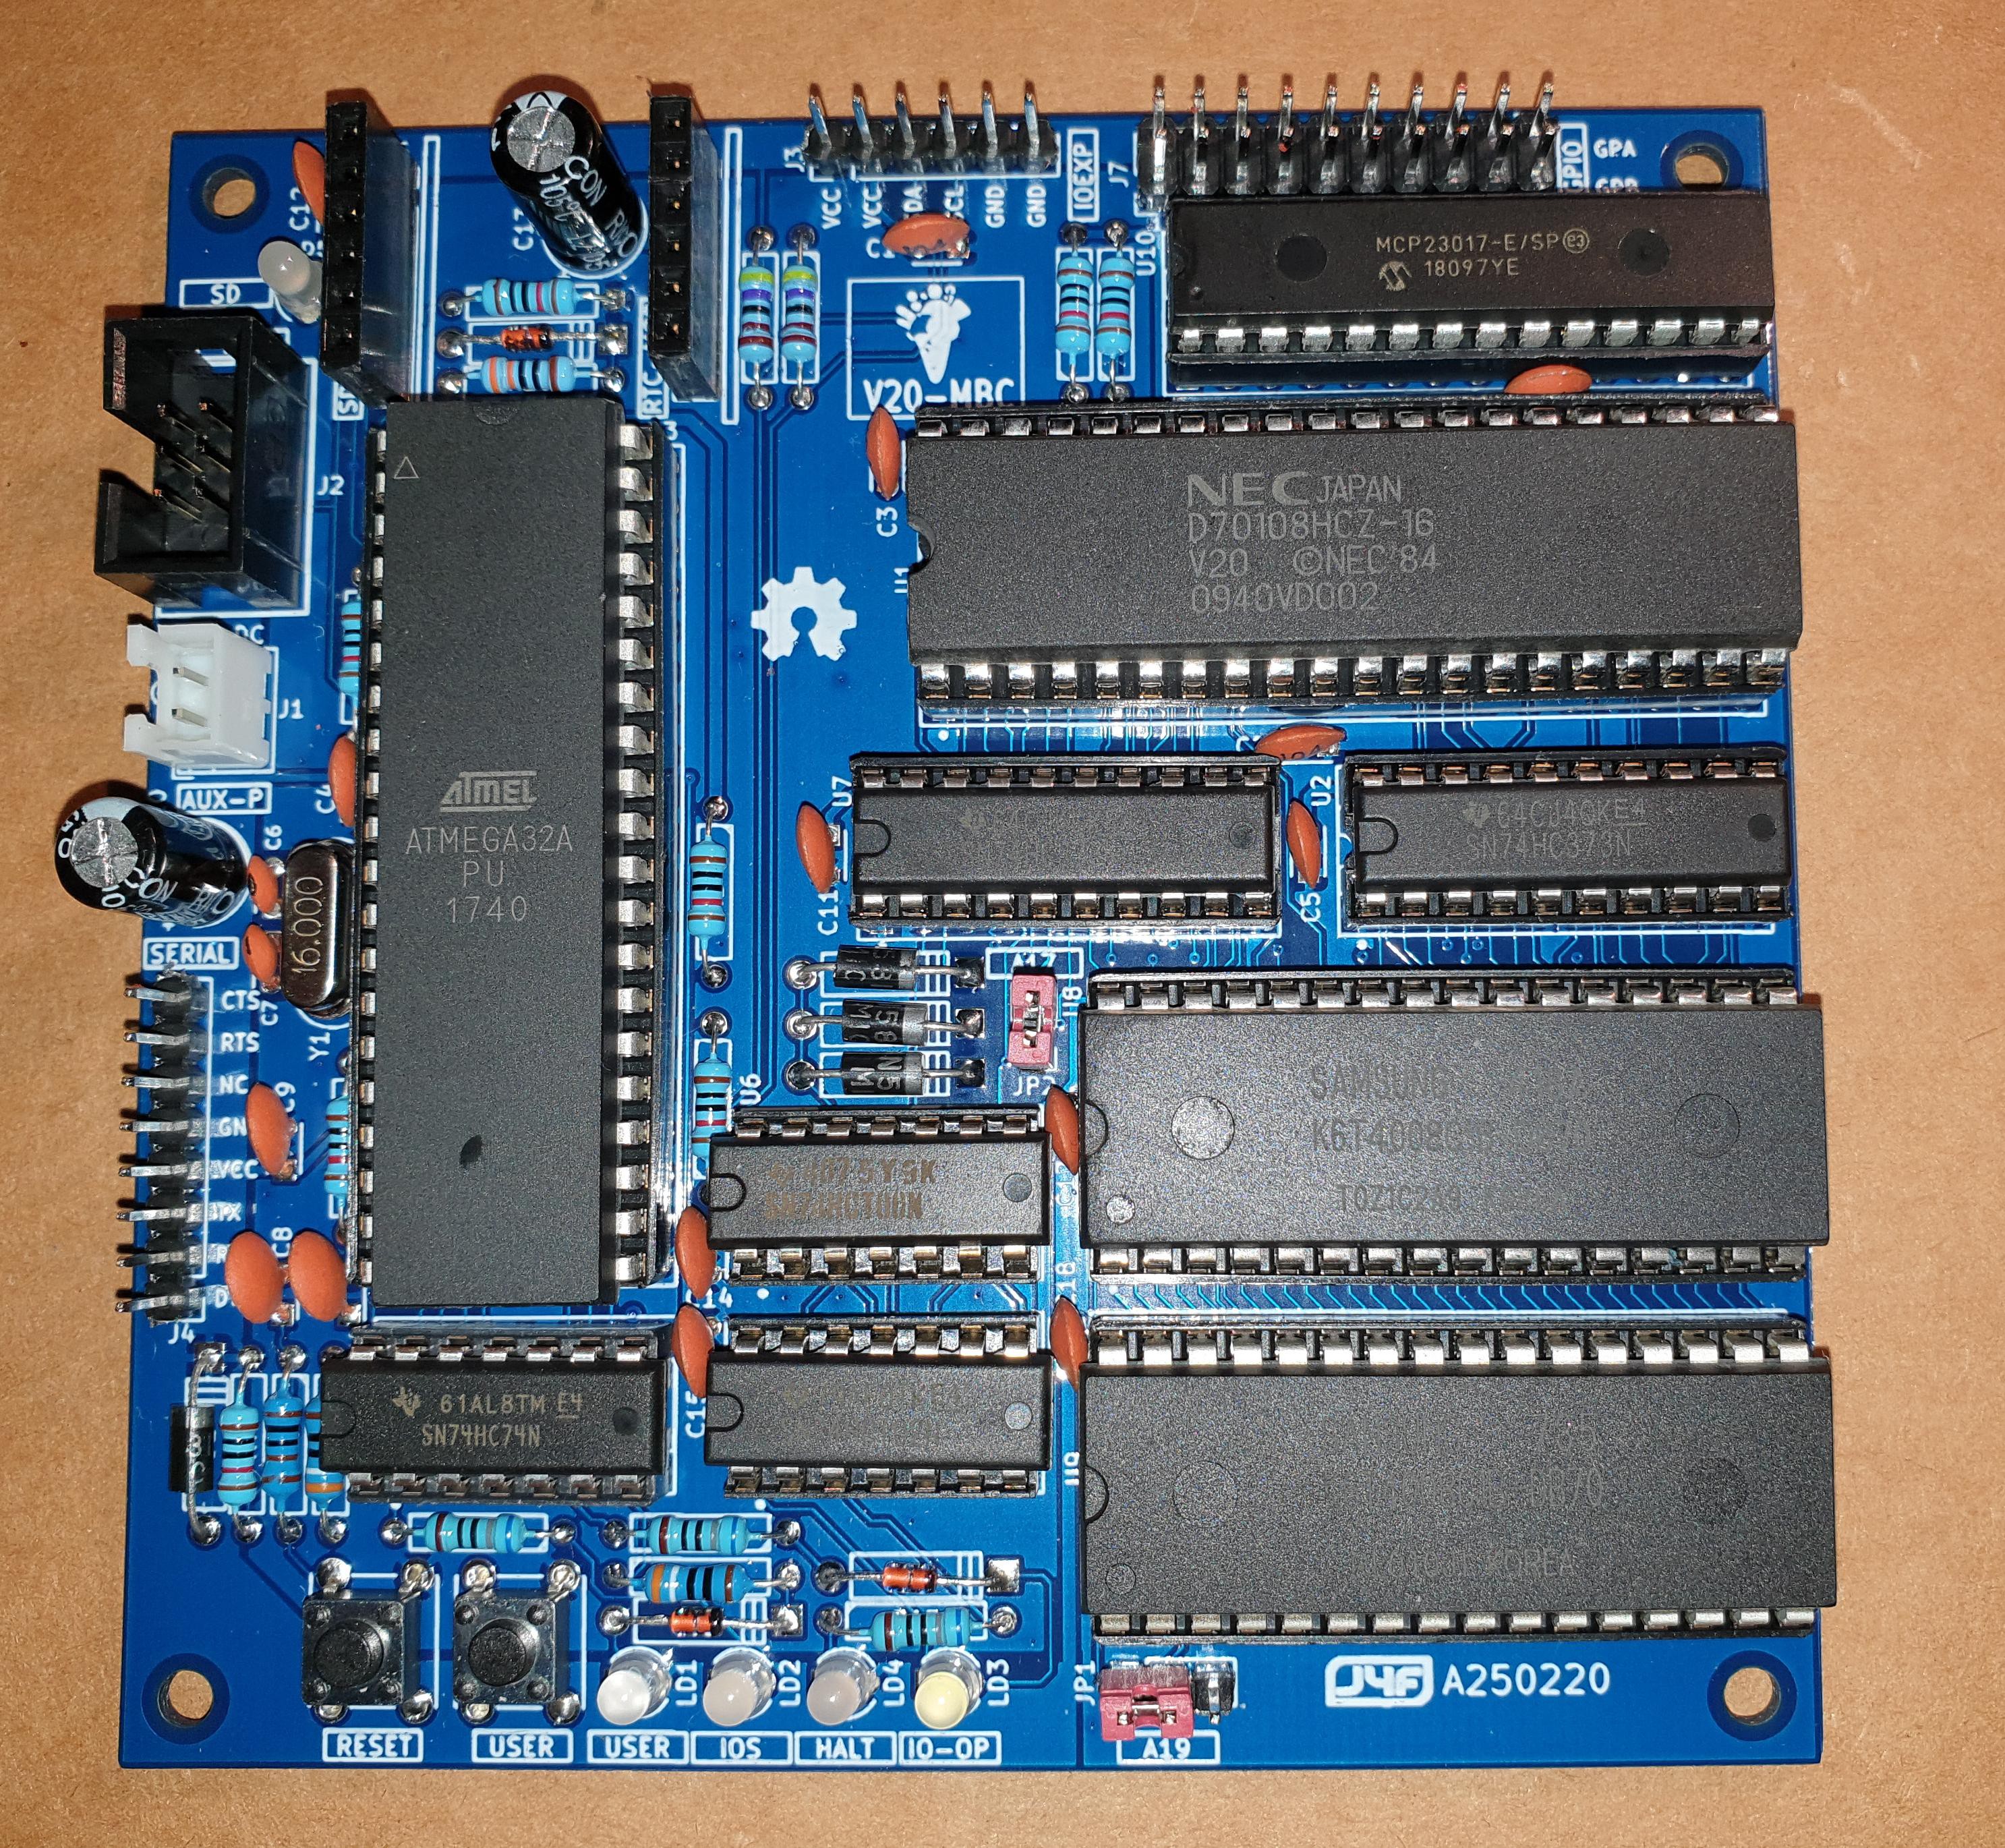
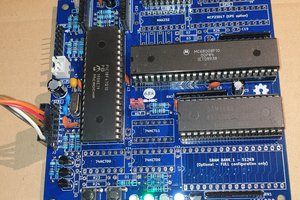
* * HARDWARE OVERVIEW * *
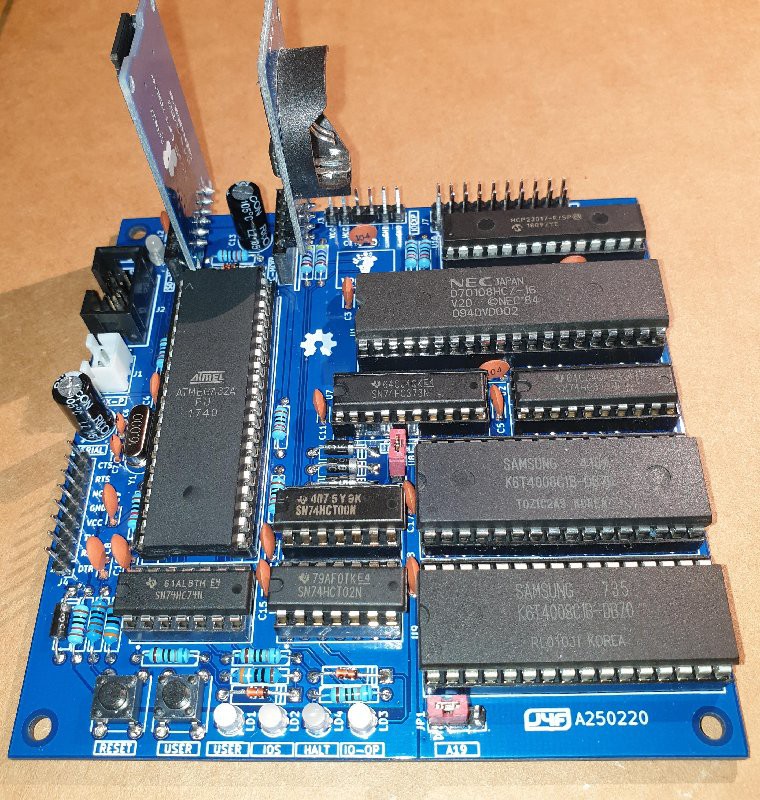
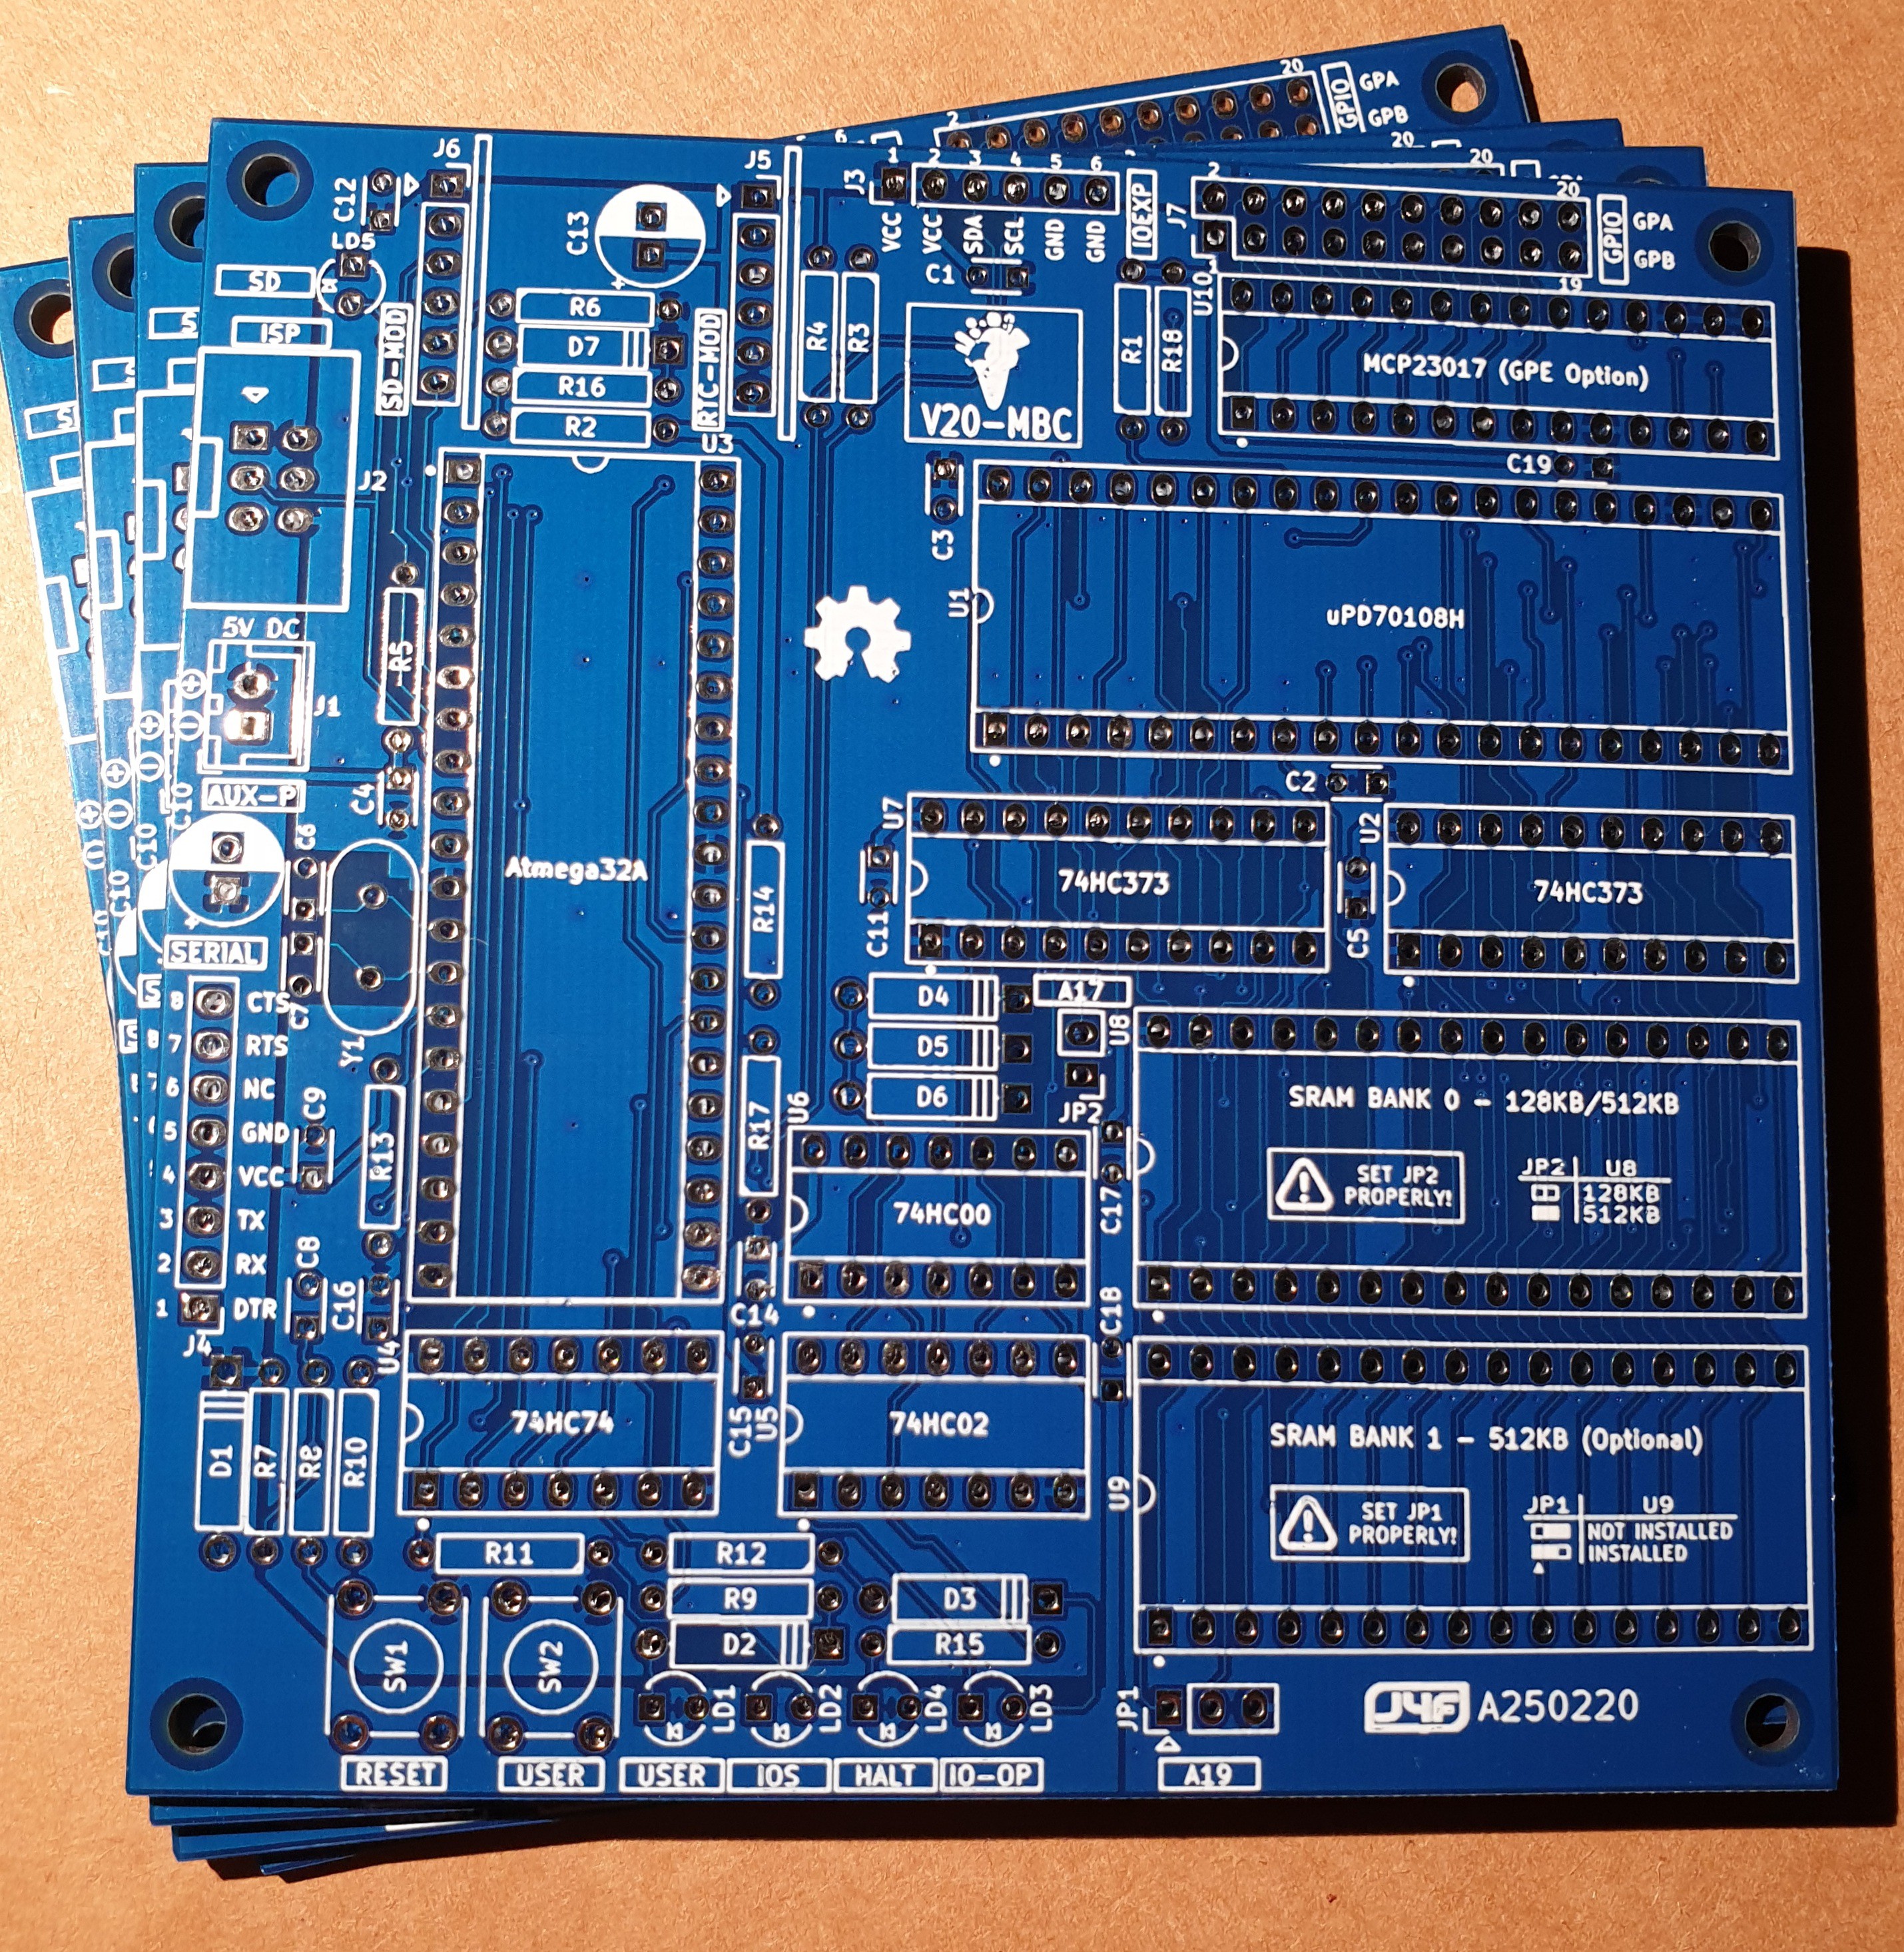
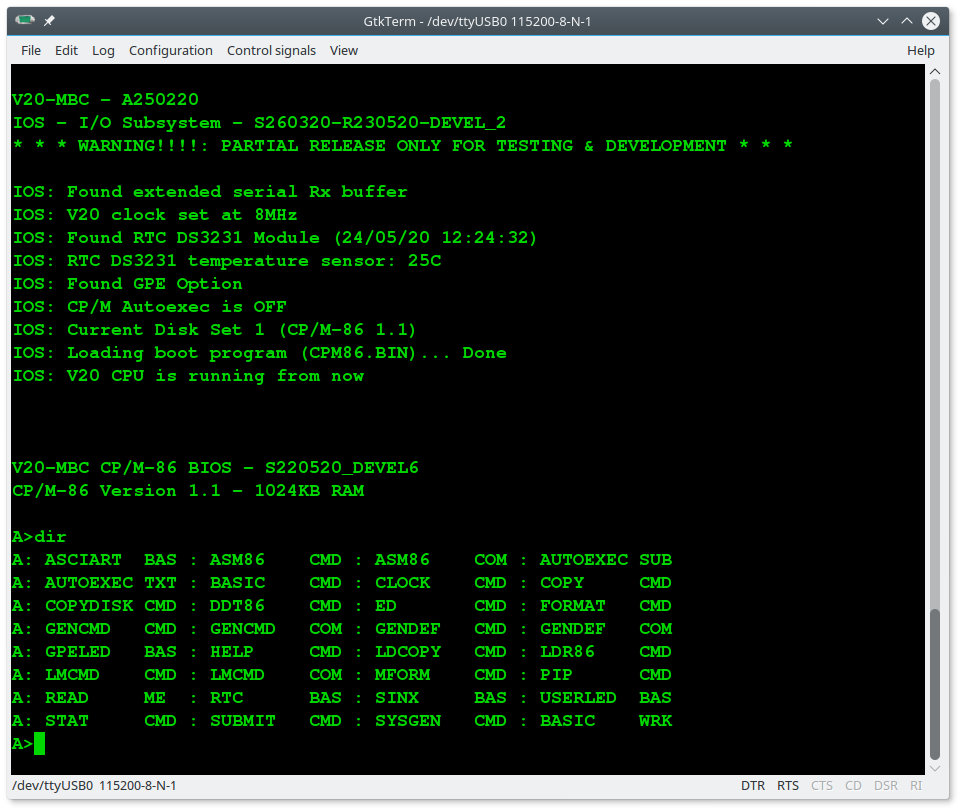
Here the V20-MBC hardware main specs:
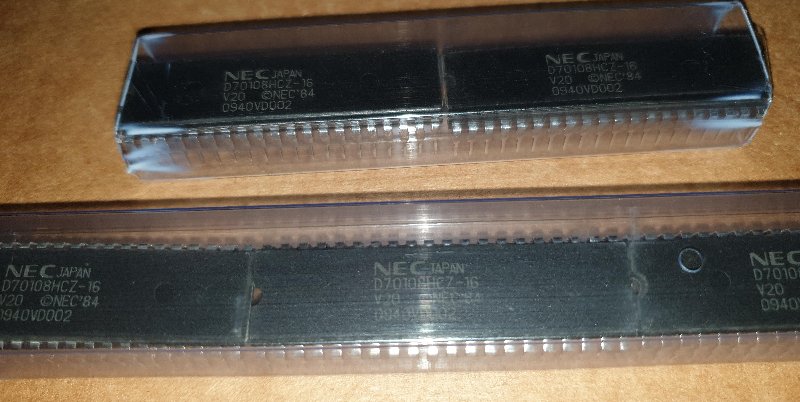
- V20HL full static CMOS CPU (uPD70108H)
- can be used an 80C88 (CMOS version) too;
- RAM can be configured as 128/512/1024KB;
- optional RTC and microSD modules (the same used in the Z80-MBC2);
- optional 16x GPIO port;
- I2C expansion port;
- serial port;
- User led and key:
- ISP connector (for the Atmega32);
- clock can be configured at 4/8MHz (by software).
The CPU is used in "minimum mode" to limit the BOM.
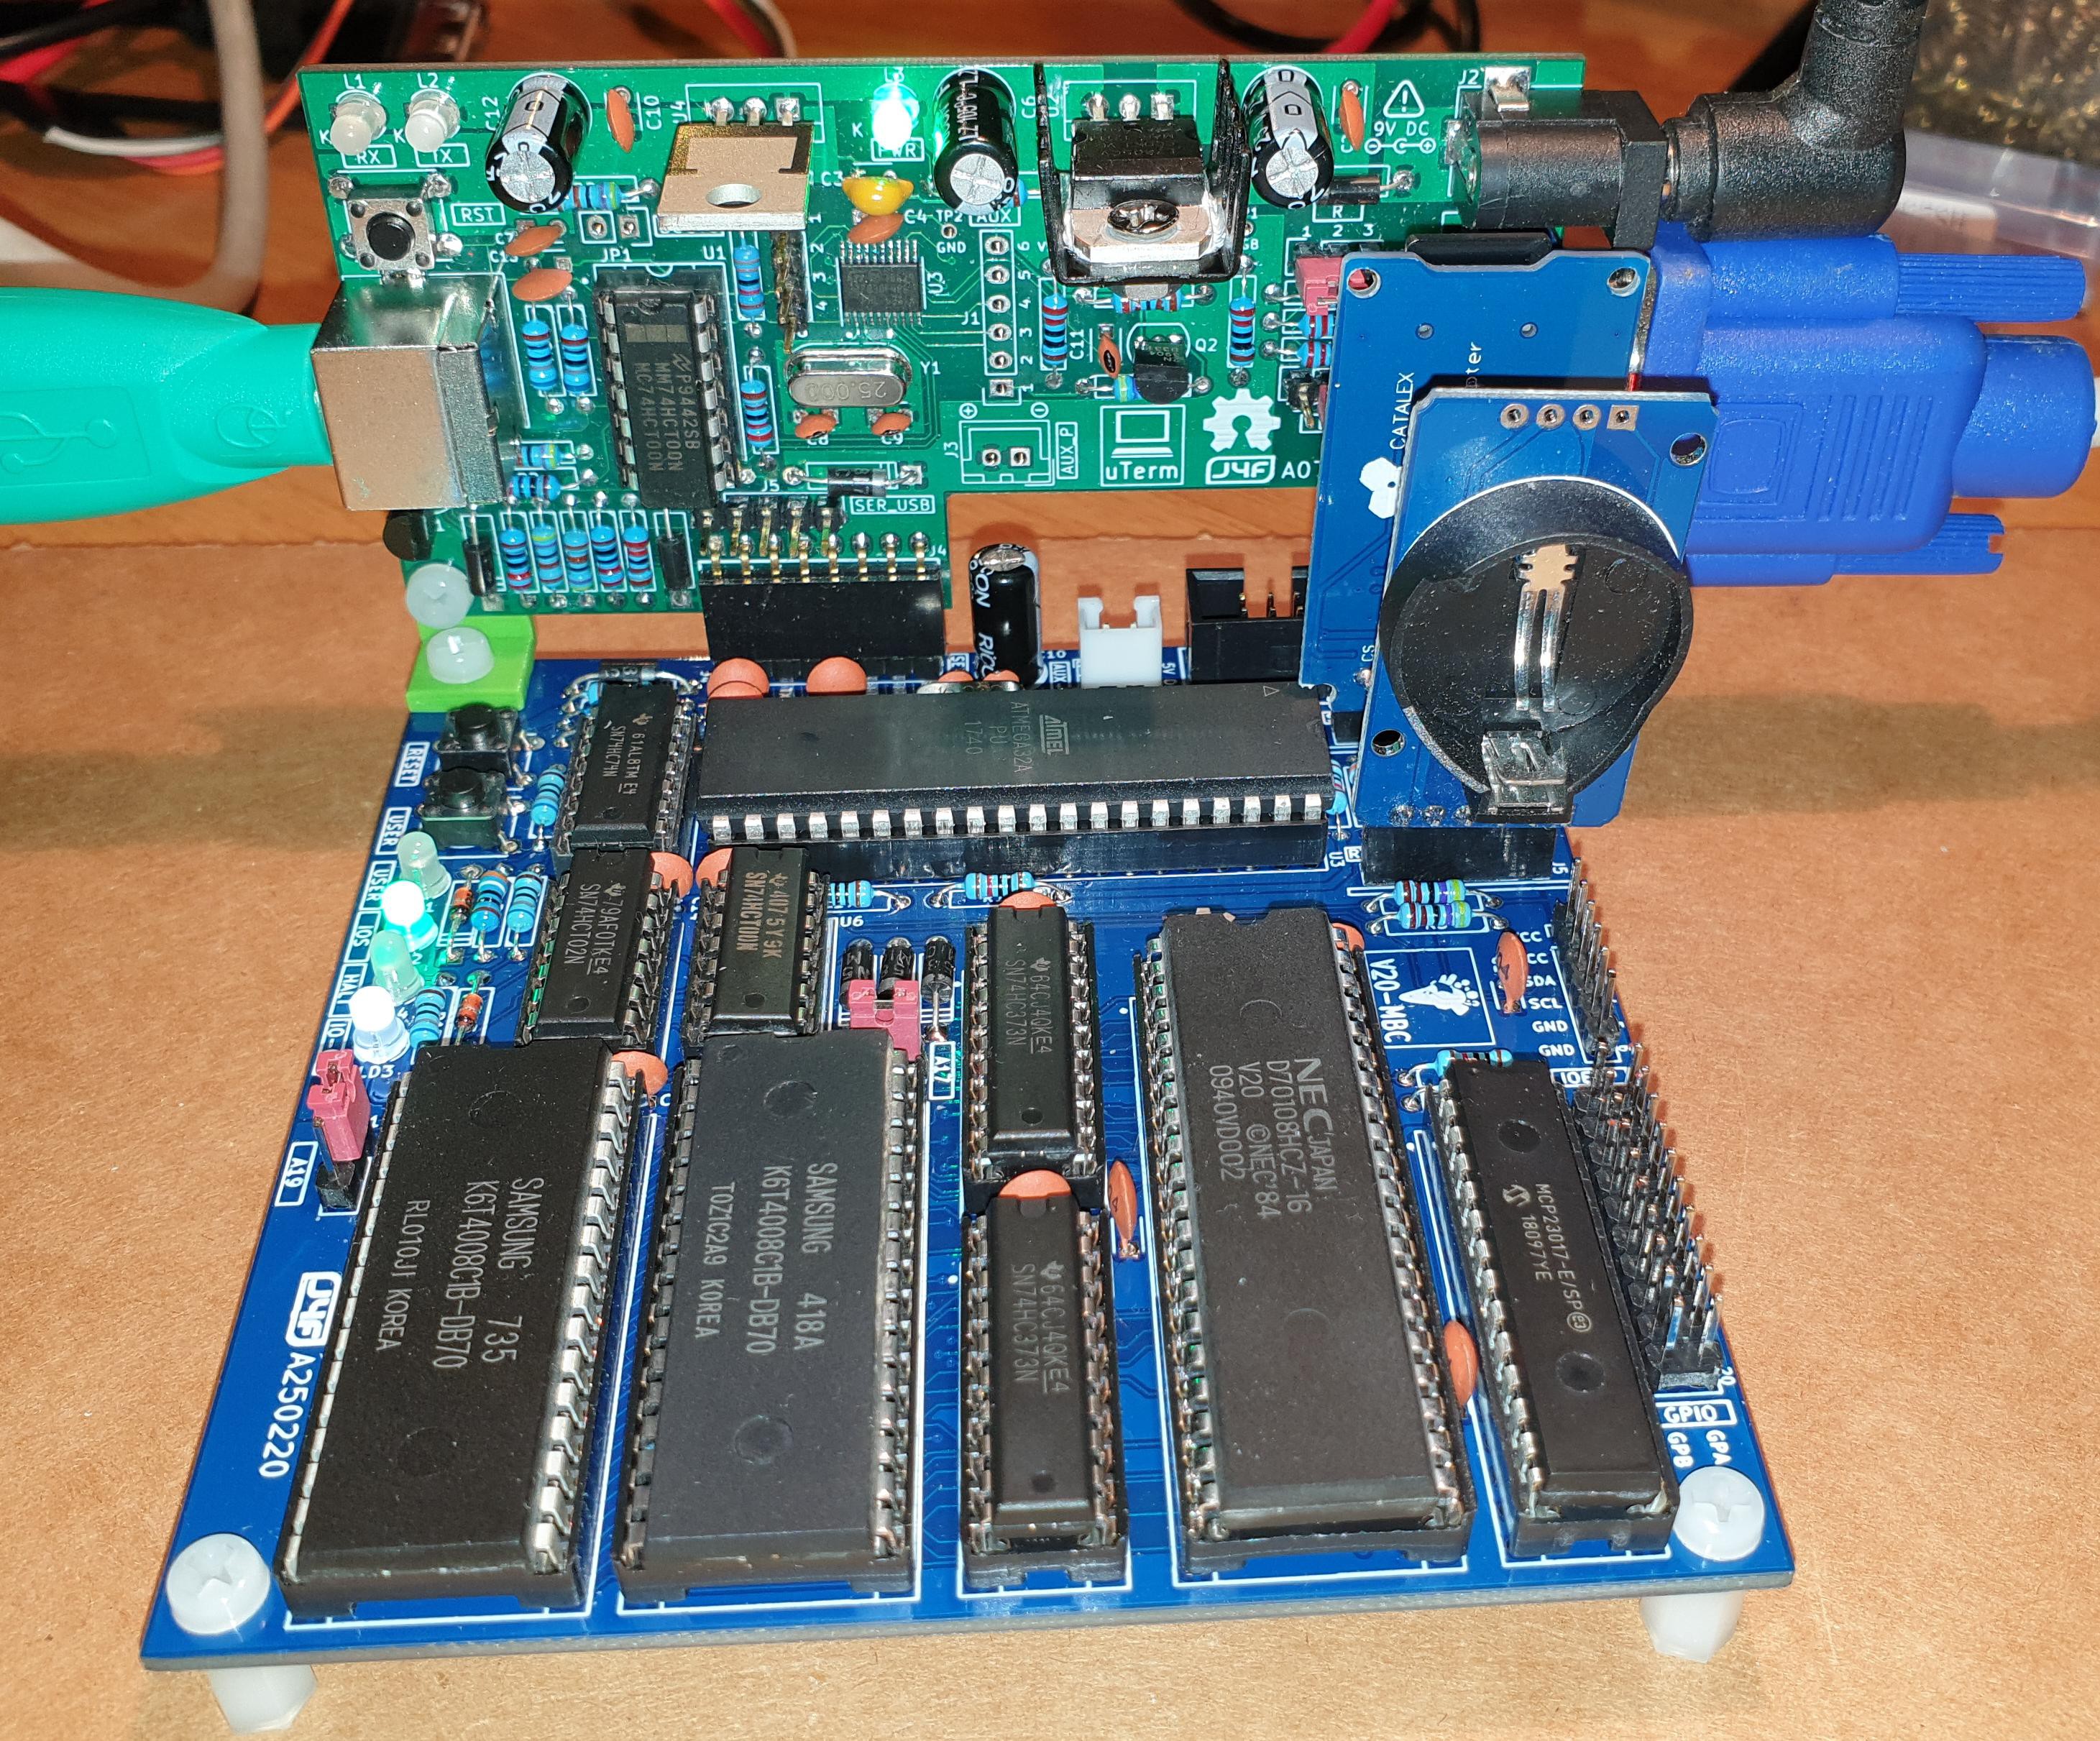
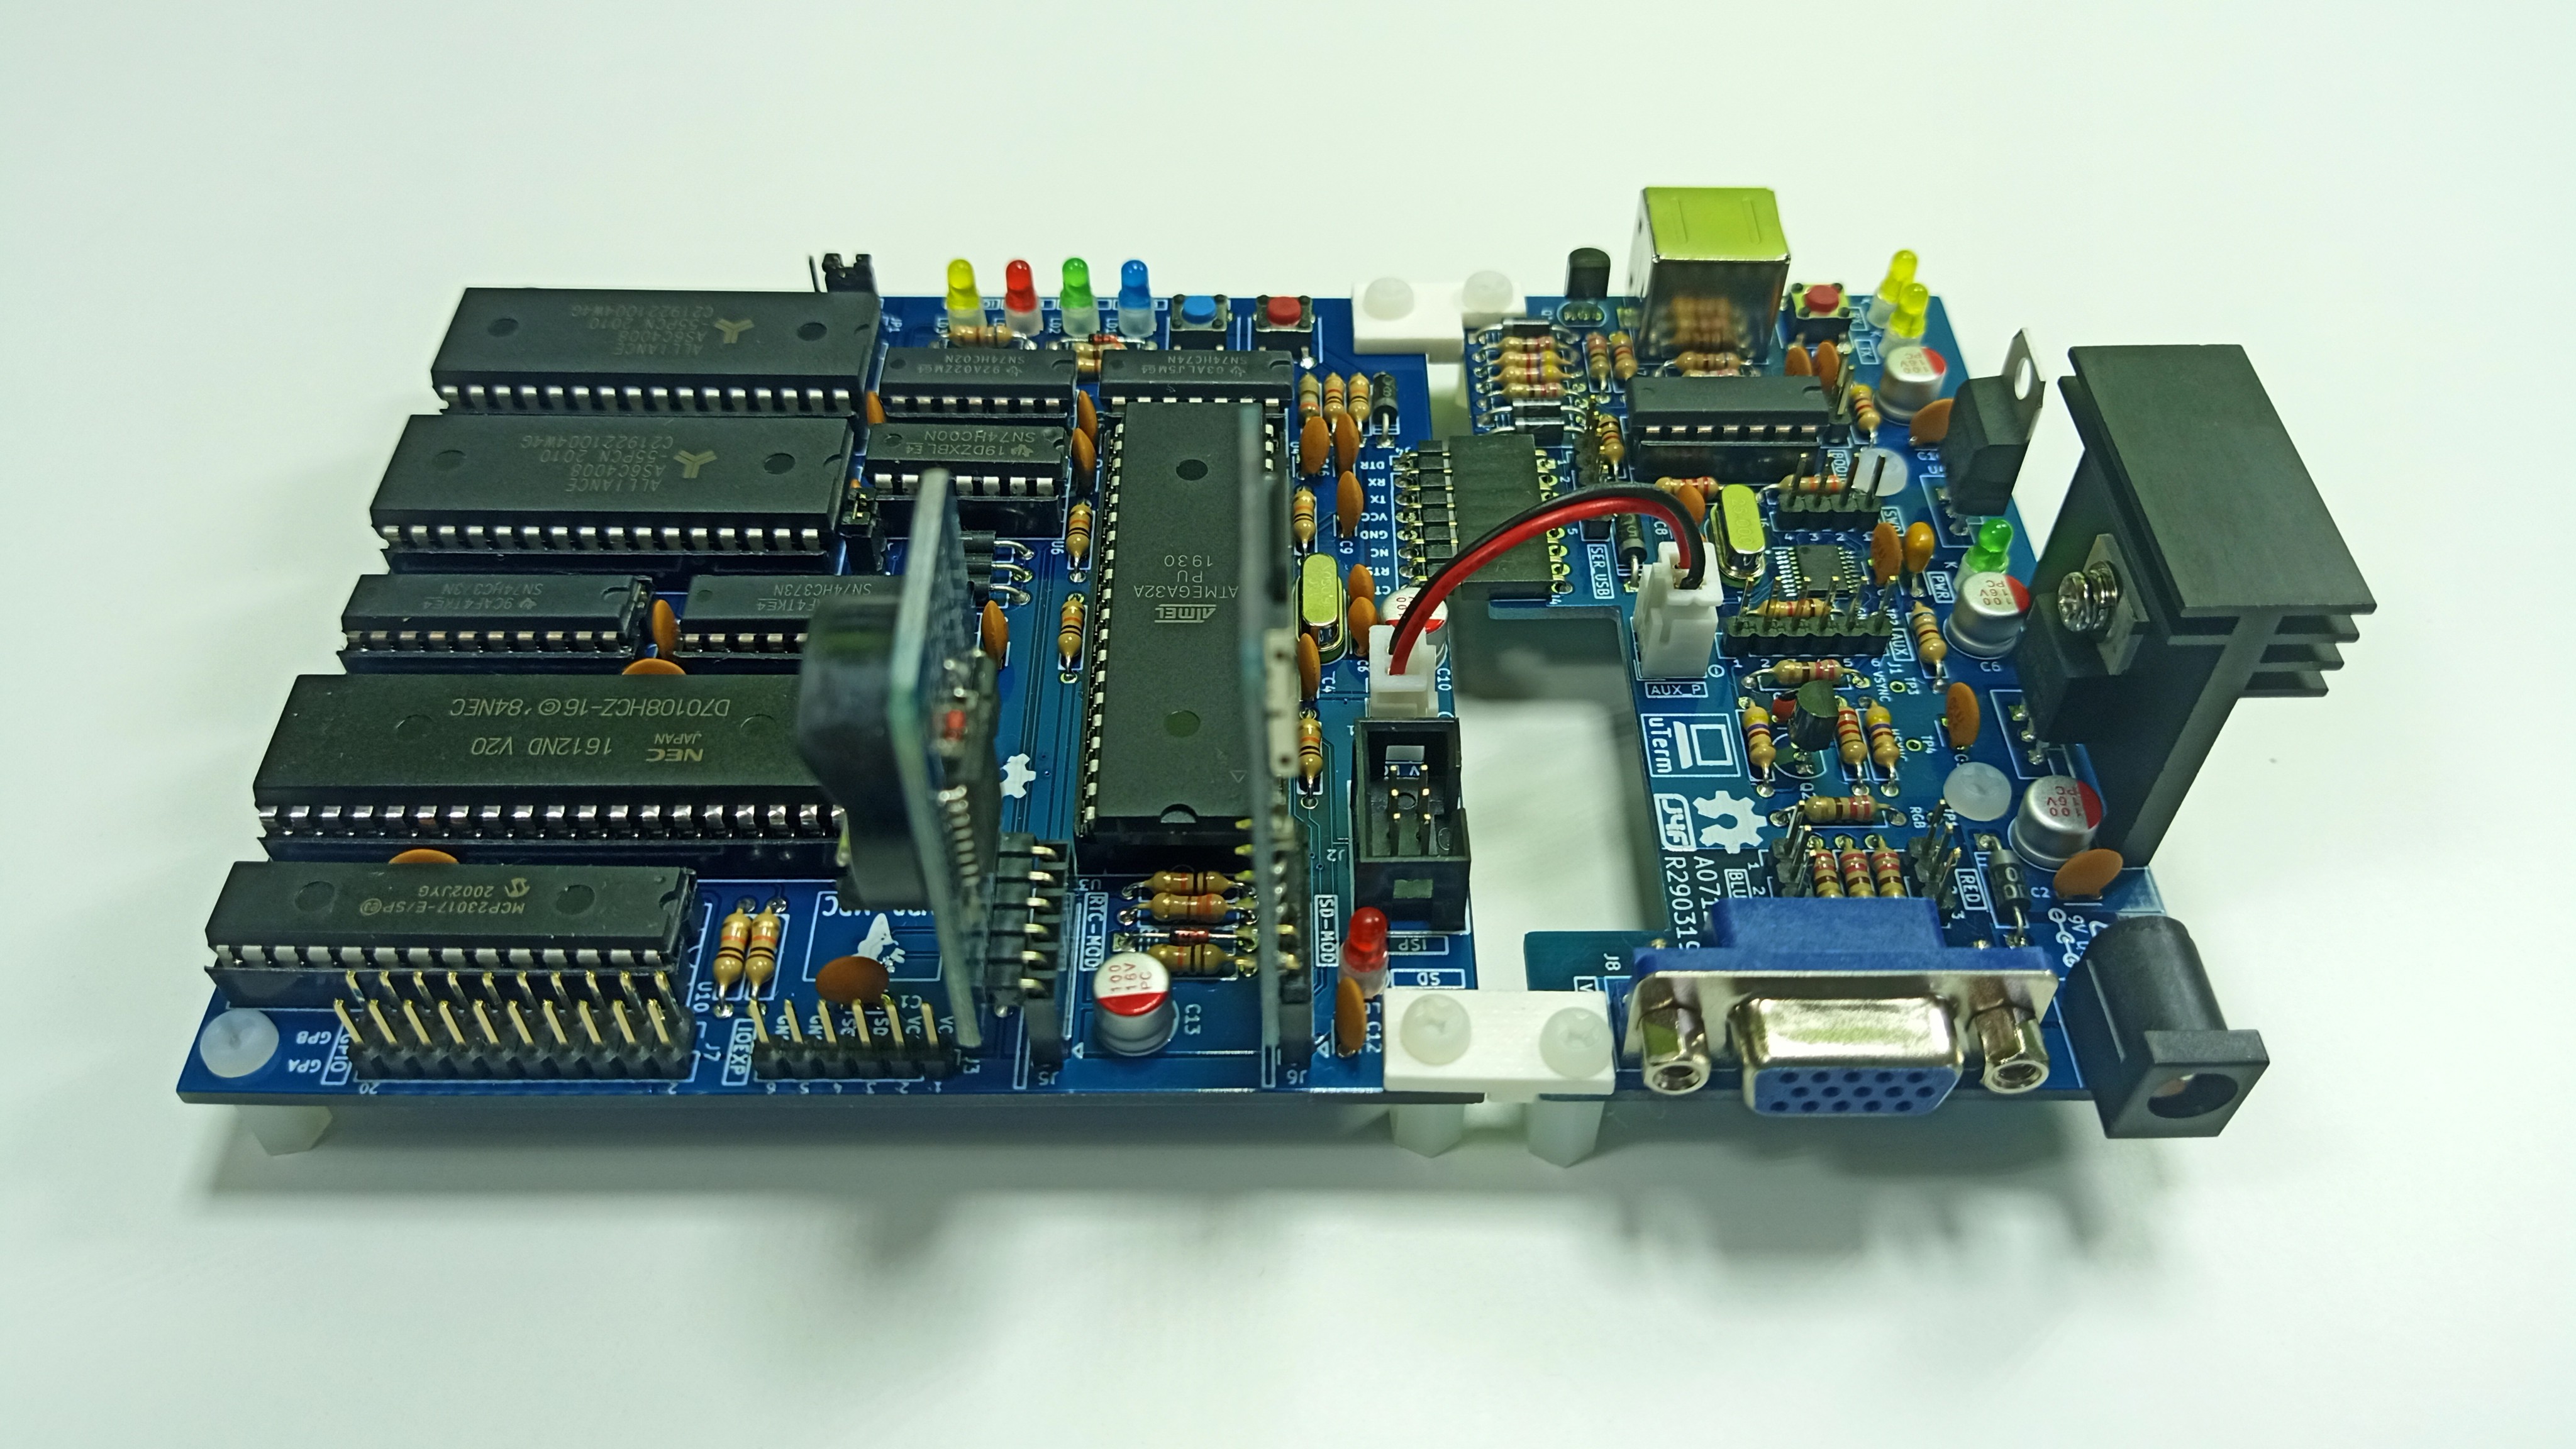
The layout allows to "plug in" a uTerm or a uCom board as in the Z80-MBC2 (vertically or horizontally) using the same 3D printed brackets (the following screenshot could change due to IOS updates).
The following images show a V20-MBC attached to a uTerm board to form an "autonomous" unit with a PS/2 keyboard and a VGA monitor (mounted vertically and horizontally):
Because it is a "two flavors" board (8088/8080), I've used a two flavors ice cream as logo... ☺
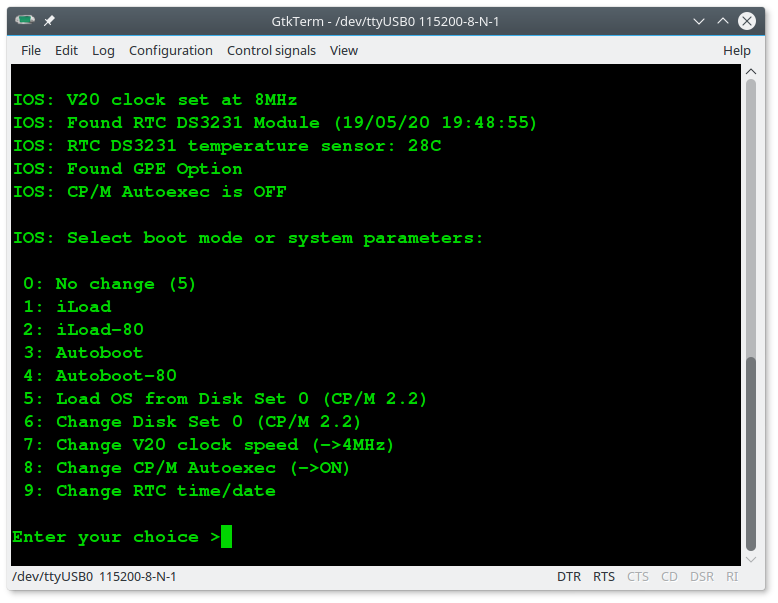
(the following screenshot could change due to IOS updates)
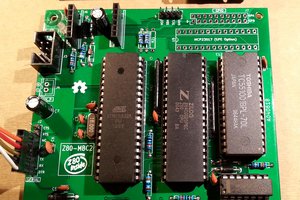
Please remember that a CMOS full static CPU is required here, so the only V20 CPU that can be used is the V20HL (uPD7108H, see the "H" at the end of the part code that makes the difference...).
Only this CMOS full static version allows to use a clock rate from DC and, under some conditions, guaranties that the logic levels are compatible with the Atmega32A ones (the Atmega logic input levels are not TTL compliant)
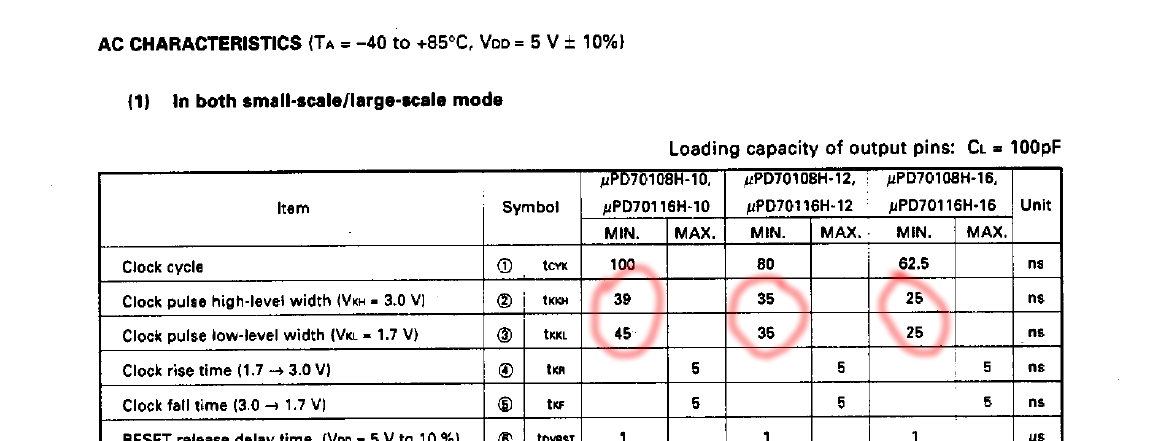
Another aspect of the V20-MBC is that the well known 8284 clock oscillator chip (normally used to generate the 8088/8086 clock with the required 33% duty cycle) is not used here. Reading the V20HL datasheet you can see that the -12 and -16 speed grades have a symmetrical clock requirement, and the -10 speed grade clock requirement can be met using a little lower clock with a 50% duty cycle (not greater than about 9MHz, so using a maximum 8MHz clock there is a good margin).
In the Files section you can find the V20HL Datasheet.
RAM CONFIGURATION
The V20-MBC allows three different RAM configurations:
- 128KB (1x128KB)
- 512KB (1x512KB)
- 1024KB (2x512KB)
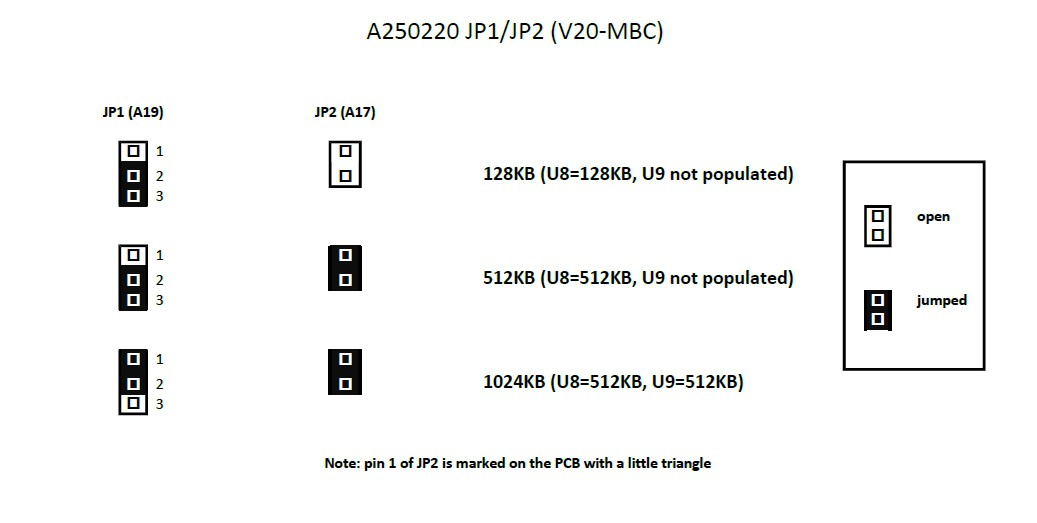
To set the proper RAM configuration two jumpers (JP1/A19 and JP2/A17) must be set. This operation must be done when the board is not powered, and before the first power on with the RAM chips installed.
Please note that using a 128KB SRAM only the single SRAM chip configuration is supported (the 2x128KB is not supported).
The following table shows how to set jumpers JP1 and JP2 for the three RAM configurations:
CONSIDERATIONS USING AN 80C88 CPU
The V20-MBC can use an 80C88 CMOS CPU too.
Of course when using an 80C88 CPU you loose the 8080 mode specific of the V20HL CPU.
Please consider that when using an 80C88 a speed grade -2 is required (80C88-2) to meet the 80C88 specifications. If we see at the datasheet the clock requirements are:
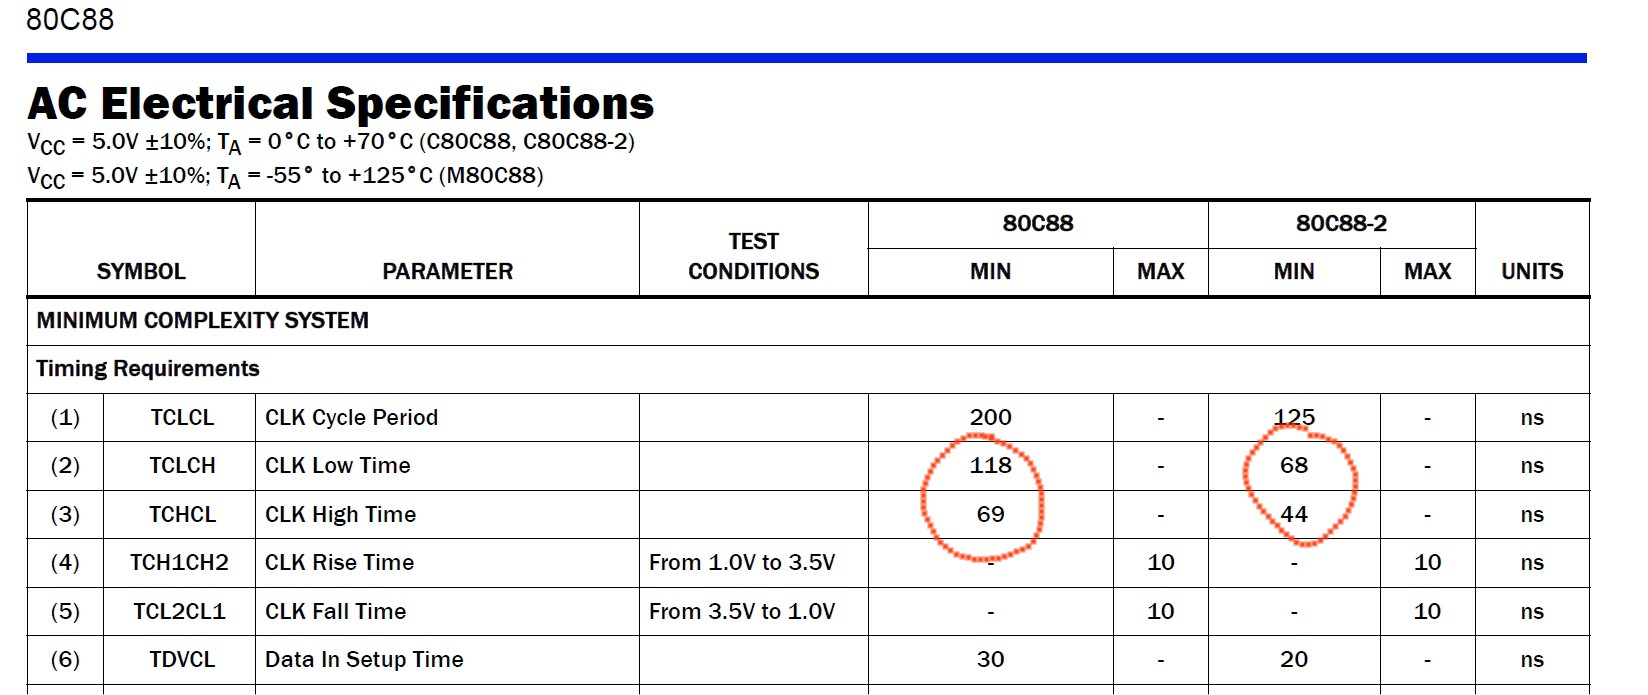
So a 8MHz clock with a 50% duty cycle will no meet both the 80C88 and 80C88-2 specifications, but a 4MHz clock with a 50% duty cycle will meet the 80C88-2 specs.
So you have to use an 80C88-2 CMOS CPU setting the clock at 4MHz...
Read more »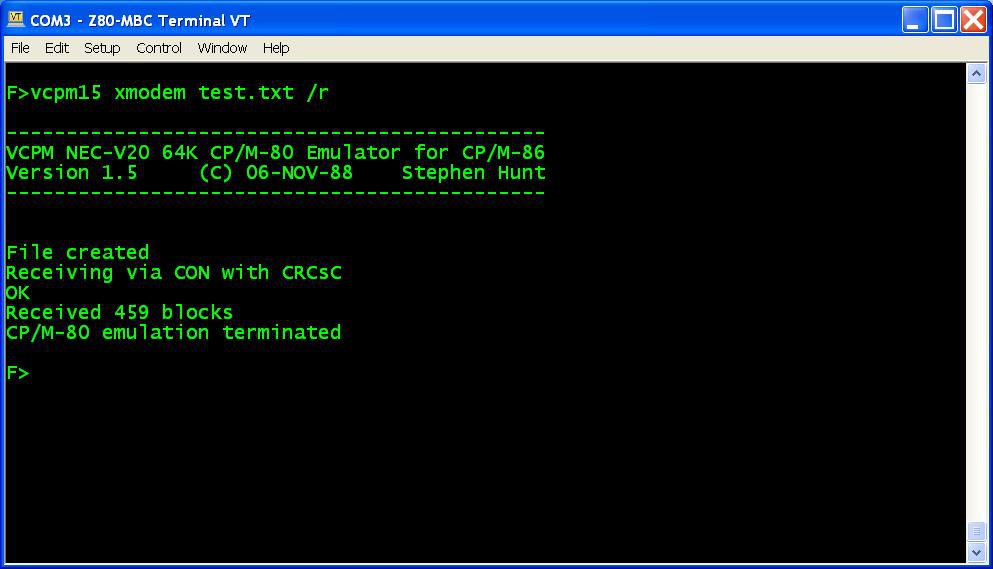


 Augusto Baffa
Yes, I built this and finally got it working. It took considerable finagling.
Criticism:
This project should be considered a beta version, as the serial port is non-standard and the build instructions are pretty much non-existent. Fix the serial port and add much needed documentation, including BOM and detailed build instructions.
Notes:
The V20HL is hard to find - doesn't come up in an eBay search, though there is one eBay seller that has them. Haven't tried the non H version of the V20, though others report that it might work. A cheap T48 XGecu EPROM programmer is helpful for programming the ATM32 chip (be careful to set the fuses and lock byte correctly, see comment below).
The SD card interface seems to be fussy about which SD cards it accepts. A 16 GB / 10 speed one works.