 Dylan Radcliffe
Over the past several months I’ve been working with the Monoprice Select Mini V2 it is a solid printer right out of the box especially for the price. Despite all of the amazing things about this printer, it does come with a couple of small flaws, many of which can be fixed for pennies with a simple print and some cheap hardware. Today I’m looking at the E3Dv6 carriage upgrade by US Water Rockets. As a bonus I’ve included a short guide on how to effectively wire the LED and part cooling fan that is meant to be attached to this modification.
I’d had my eye on this upgrade soon after picking up this printer. I’d noticed that the stock carriage for the E3Dv6 style extruder that comes with the printer causes the gantry to tilt ever so slightly forwards as the center of gravity is quite far away from the linear rails. Additionally, printing calibration cubes demonstrated that the printer had a fair amount of play in the x axis. Initially in order to fix this I had printed some belt tensioners also designed by US Water Rockets. However, this carriage design improves the belt tensioning system dramatically by integrating it directly into the carriage.
This upgrade was also an opportunity to upgrade the stock plastic GT2 pulleys with full metal ones (Shout out to spool3d.ca). The part cooling fan is the only part of this print where I could see there being room for improvement, the rest of this upgrade is rock solid and really made a measurable improvement in the printer’s accuracy.
The Build:
US Water Rockets already has a great set of instructions on hackaday.io so I’ll just be adding my notes to their already comprehensive instructions.
In order to ensure the longevity of this part, I would encourage anyone printing it to use carbon fiber filled PETG. I used ColorFabb XT-CF20 to print all of the parts pictured here, remember you will need a steel hardened nozzle to print with this filament.

All parts for this upgrade were printed using carbon fiber filled PETG.
Stumbling Points:
- Removing the cap for the X axis rods was somewhat difficult on my printer, and I was wary of using the wooden handle of my hammer, but I can testify that it worked just fine.
- The linear bearings are quite a tight fit on the printed parts. In order to force them into place, I placed the flat piece of a metal paint scraper on top of the linear bearing (slightly inserted into the carriage) and placed all of my body weight on it. It quickly slipped into position.
- I ended up needing much less GT2 belt than the 48cm listed in the instructions. I recommend trimming off 1 cm at a time until you have the length you need.
- You will likely need much more than a 3mm bed spacer if you use this modification in combination with a glass bed upgrade. At the moment I am using a 7.5mm bed spacer.
- Installing the part cooling fan was not covered in great detail in the hackaday instructions, I’ll detail what I did below.
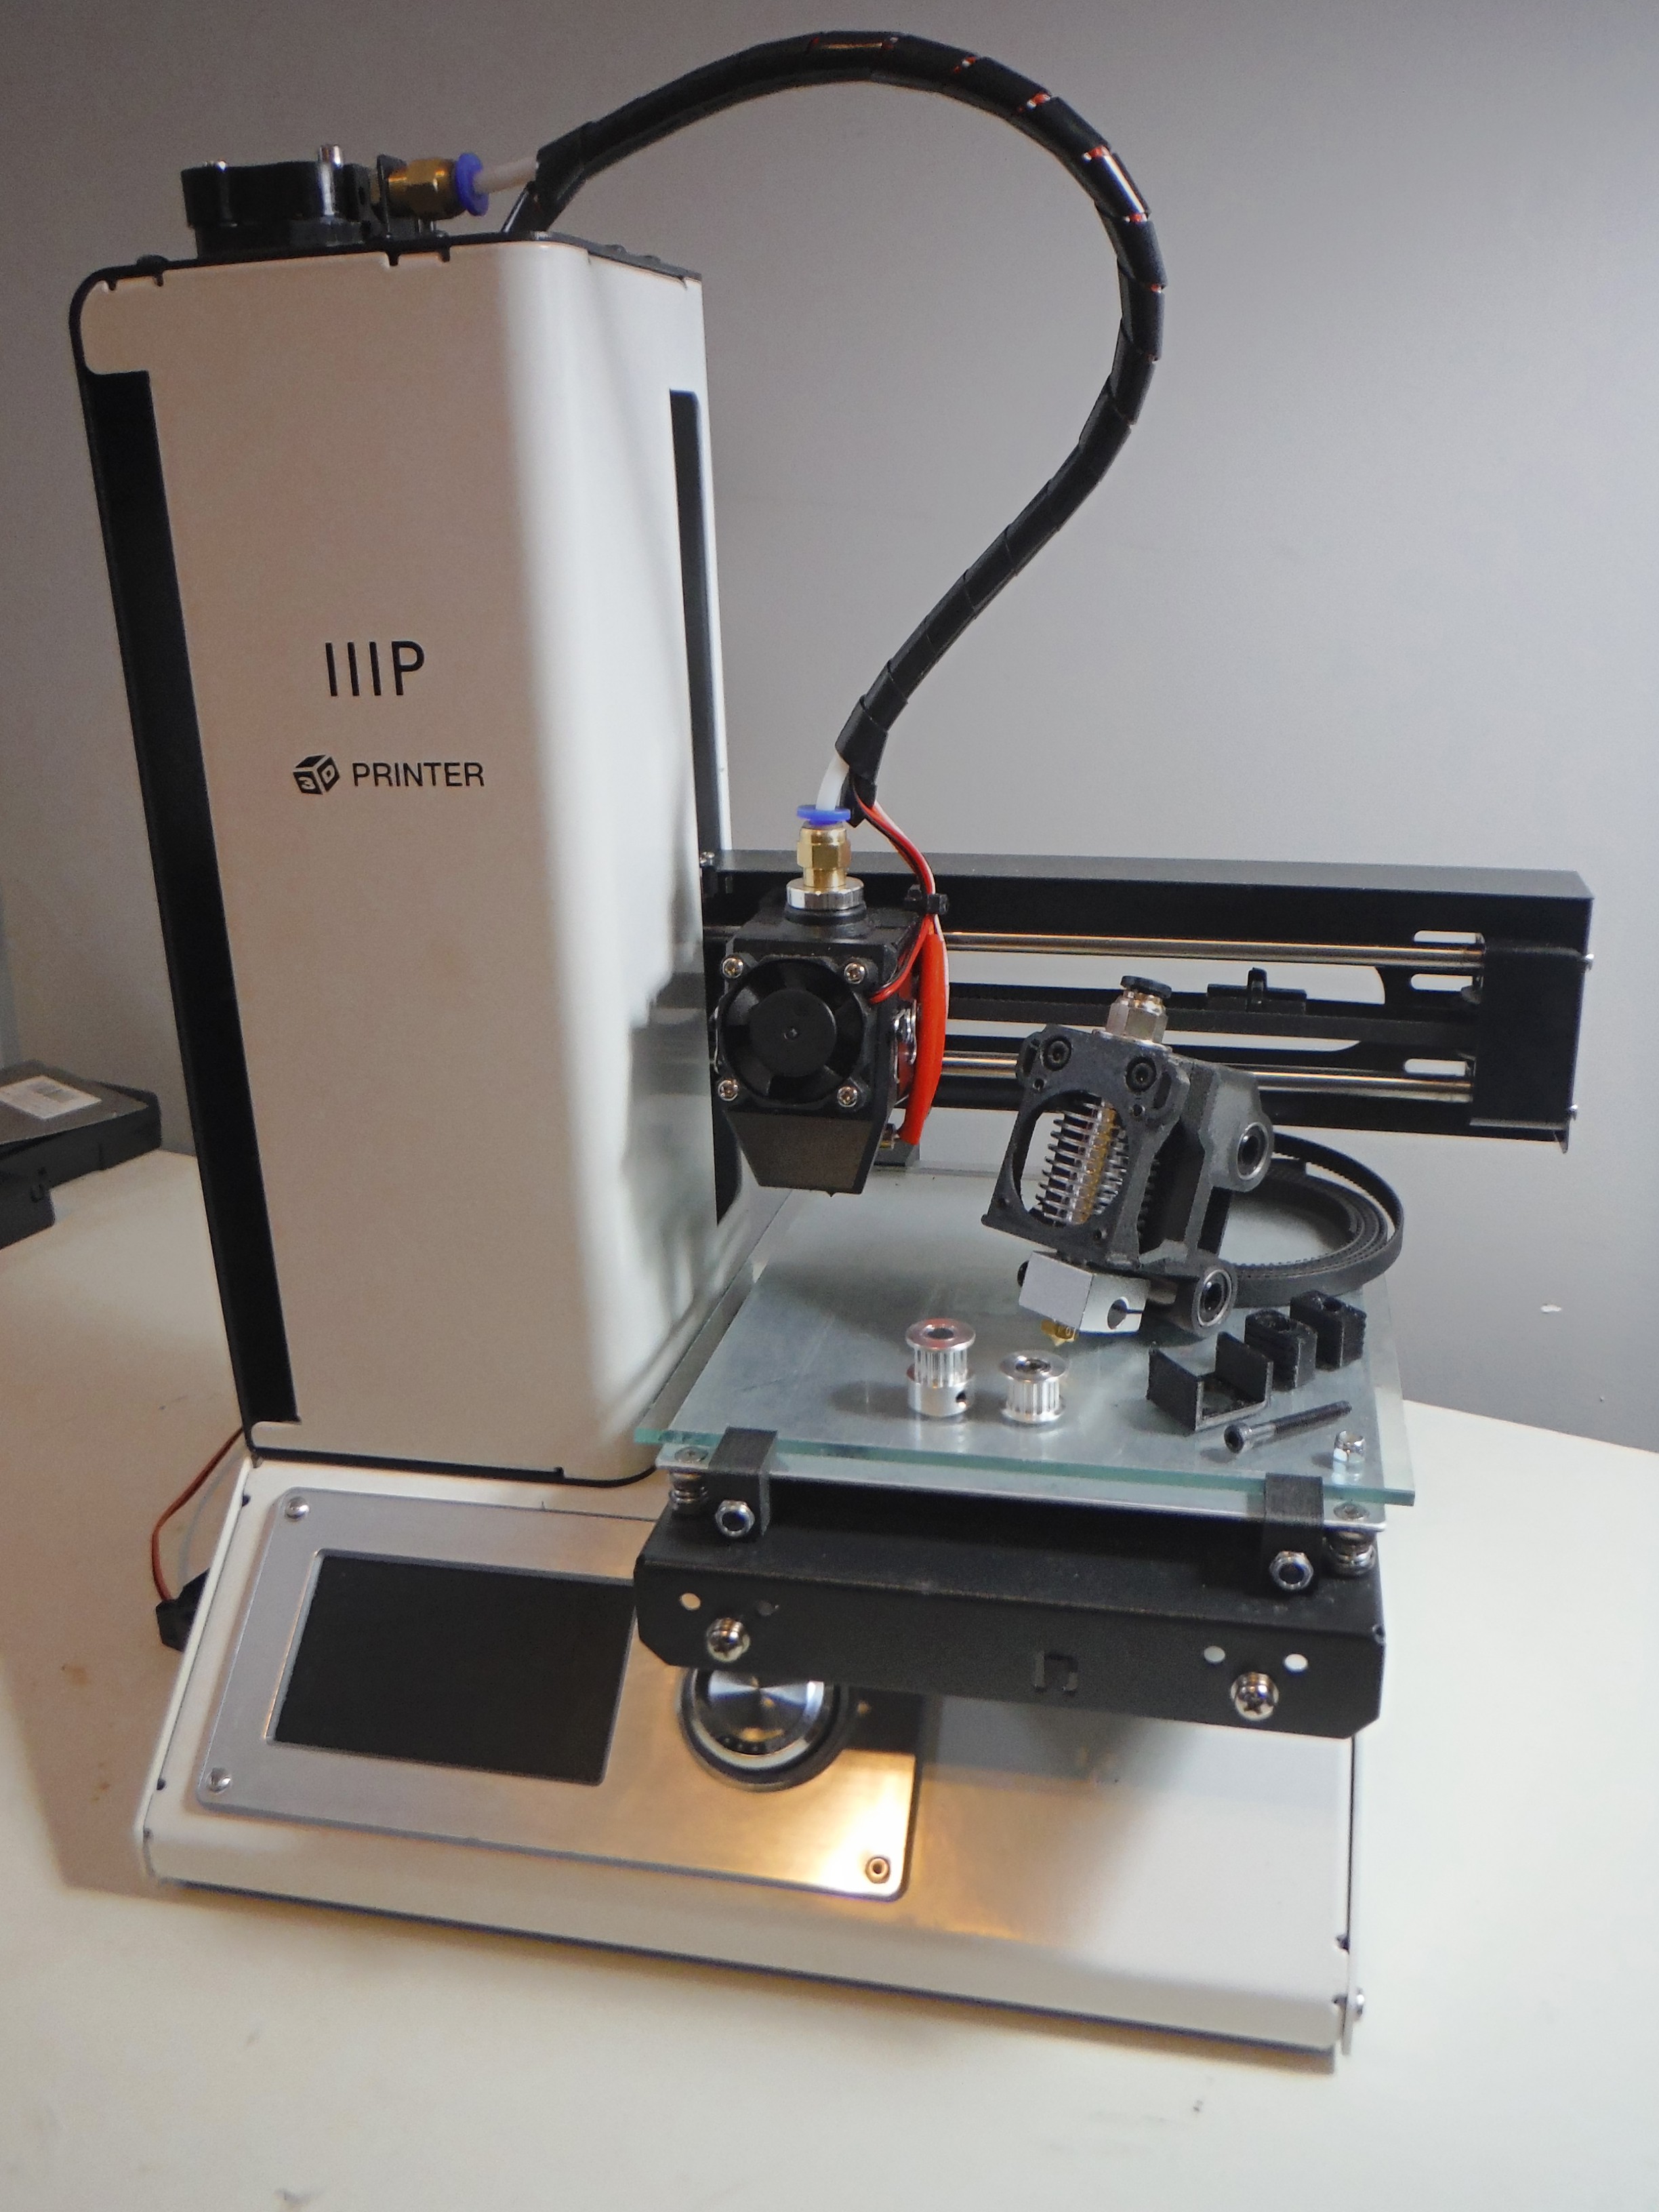
The printer ready for its upgrade. I ended up using the stock E3Dv6 style extruder instead of the one pictured in the printed carriage.
The hackaday article did not cover in any detail how to install the part cooling fan and there seemed to be a lot of questions around the internet, but no solid answers.
Parts Needed:
- Small piece of perfboard
- Male / Female Plug
- 2x Cold wire splice (Optional)
- 100k resistor
- Narrow gauge wire
- 2x 3mm white LED
- 30mm part cooling fan
Start by using the cold wire spices to attach a female plug to the positive and negative wires on the existing 12v fan. You don’t need to use a cold wire splice, as it is possible to solder the wires together, but this make the process pretty quick and painless.
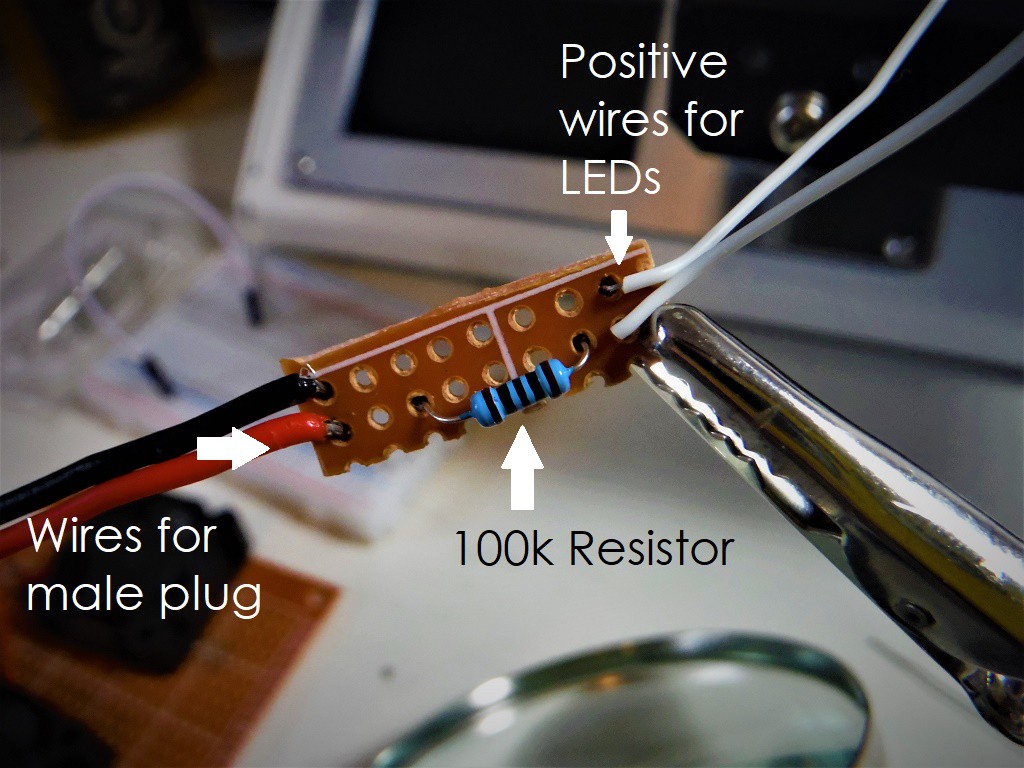
Wiring for the breadboard. Not pictured are the connections for the fan or negative wires for the LEDs.
Next up, take a 2 x 8 piece of perfboard and attach the positive and negative connections to one end of the board. Having a helping hand really makes this process significantly easier. Solder in place the 100k resistor and a pair of wires to attach each of the LEDs.
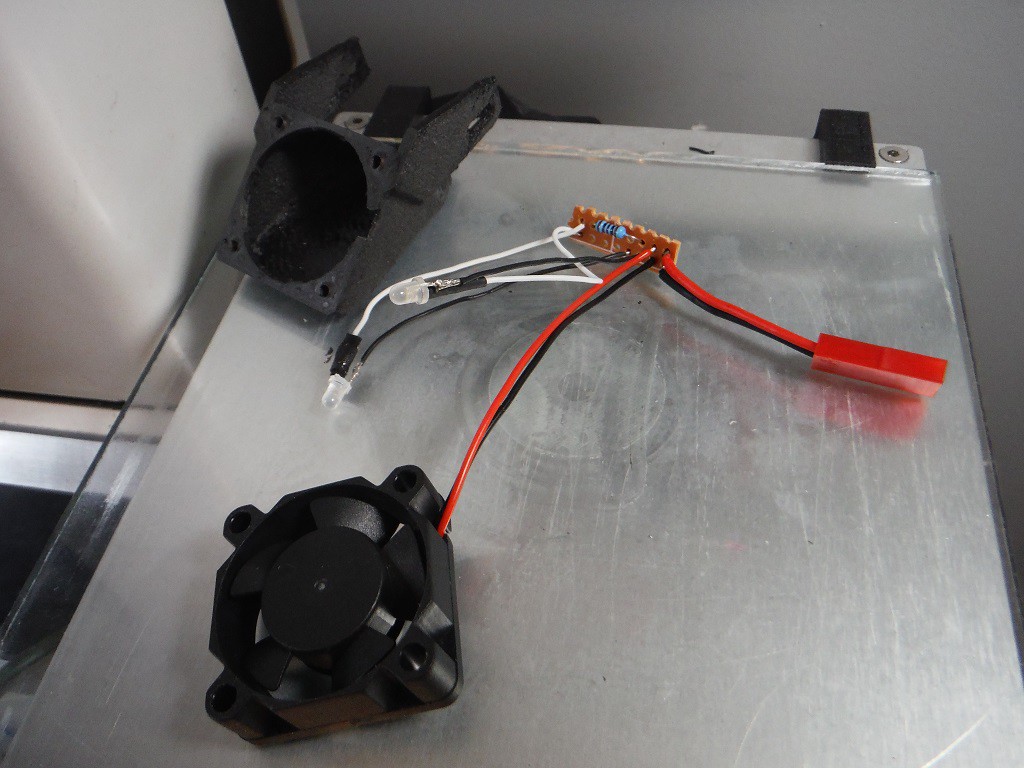
All of the wires and components soldered onto the breadboard.
You can then solder the fan into place along with the negative connections to the LEDs. This nice little package fits nicely inside the bottom of the fan shroud out of the way of most air flow. You can see why using a very narrow gauge wire is important for the installation of the LEDs.
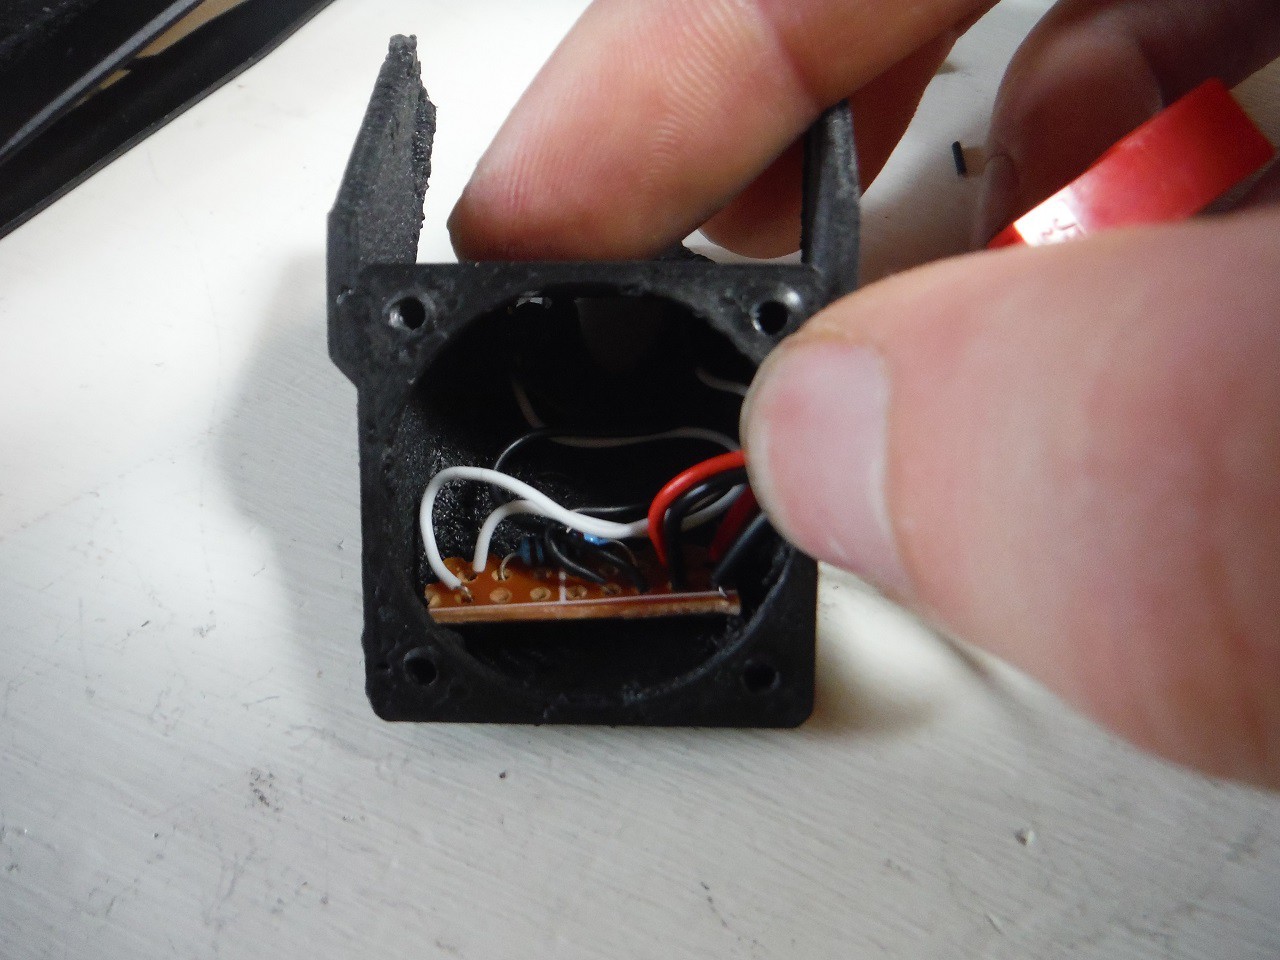
The entire little package fits nicely in the bottom of the fan shroud, out of the way of the majority of air flow. I ended up trimming some of the wires and breadboard to reduce the volume of parts inside of the shroud.
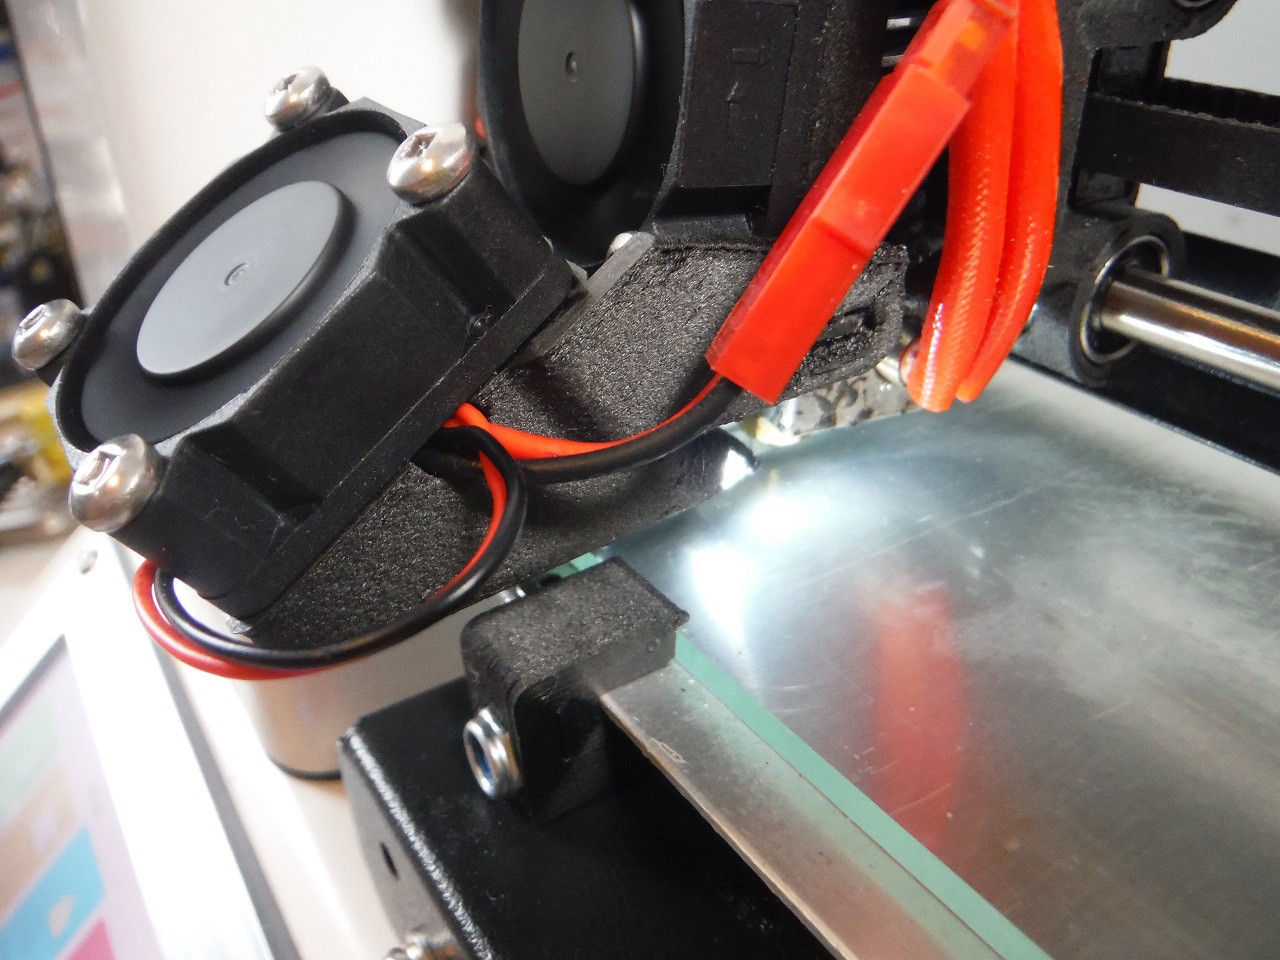
Once the plugs are wired in and fans screwed into place the entire assembly is ready to go. You can see the final product below.
Discussions
Become a Hackaday.io Member
Create an account to leave a comment. Already have an account? Log In.