 Dylan Radcliffe
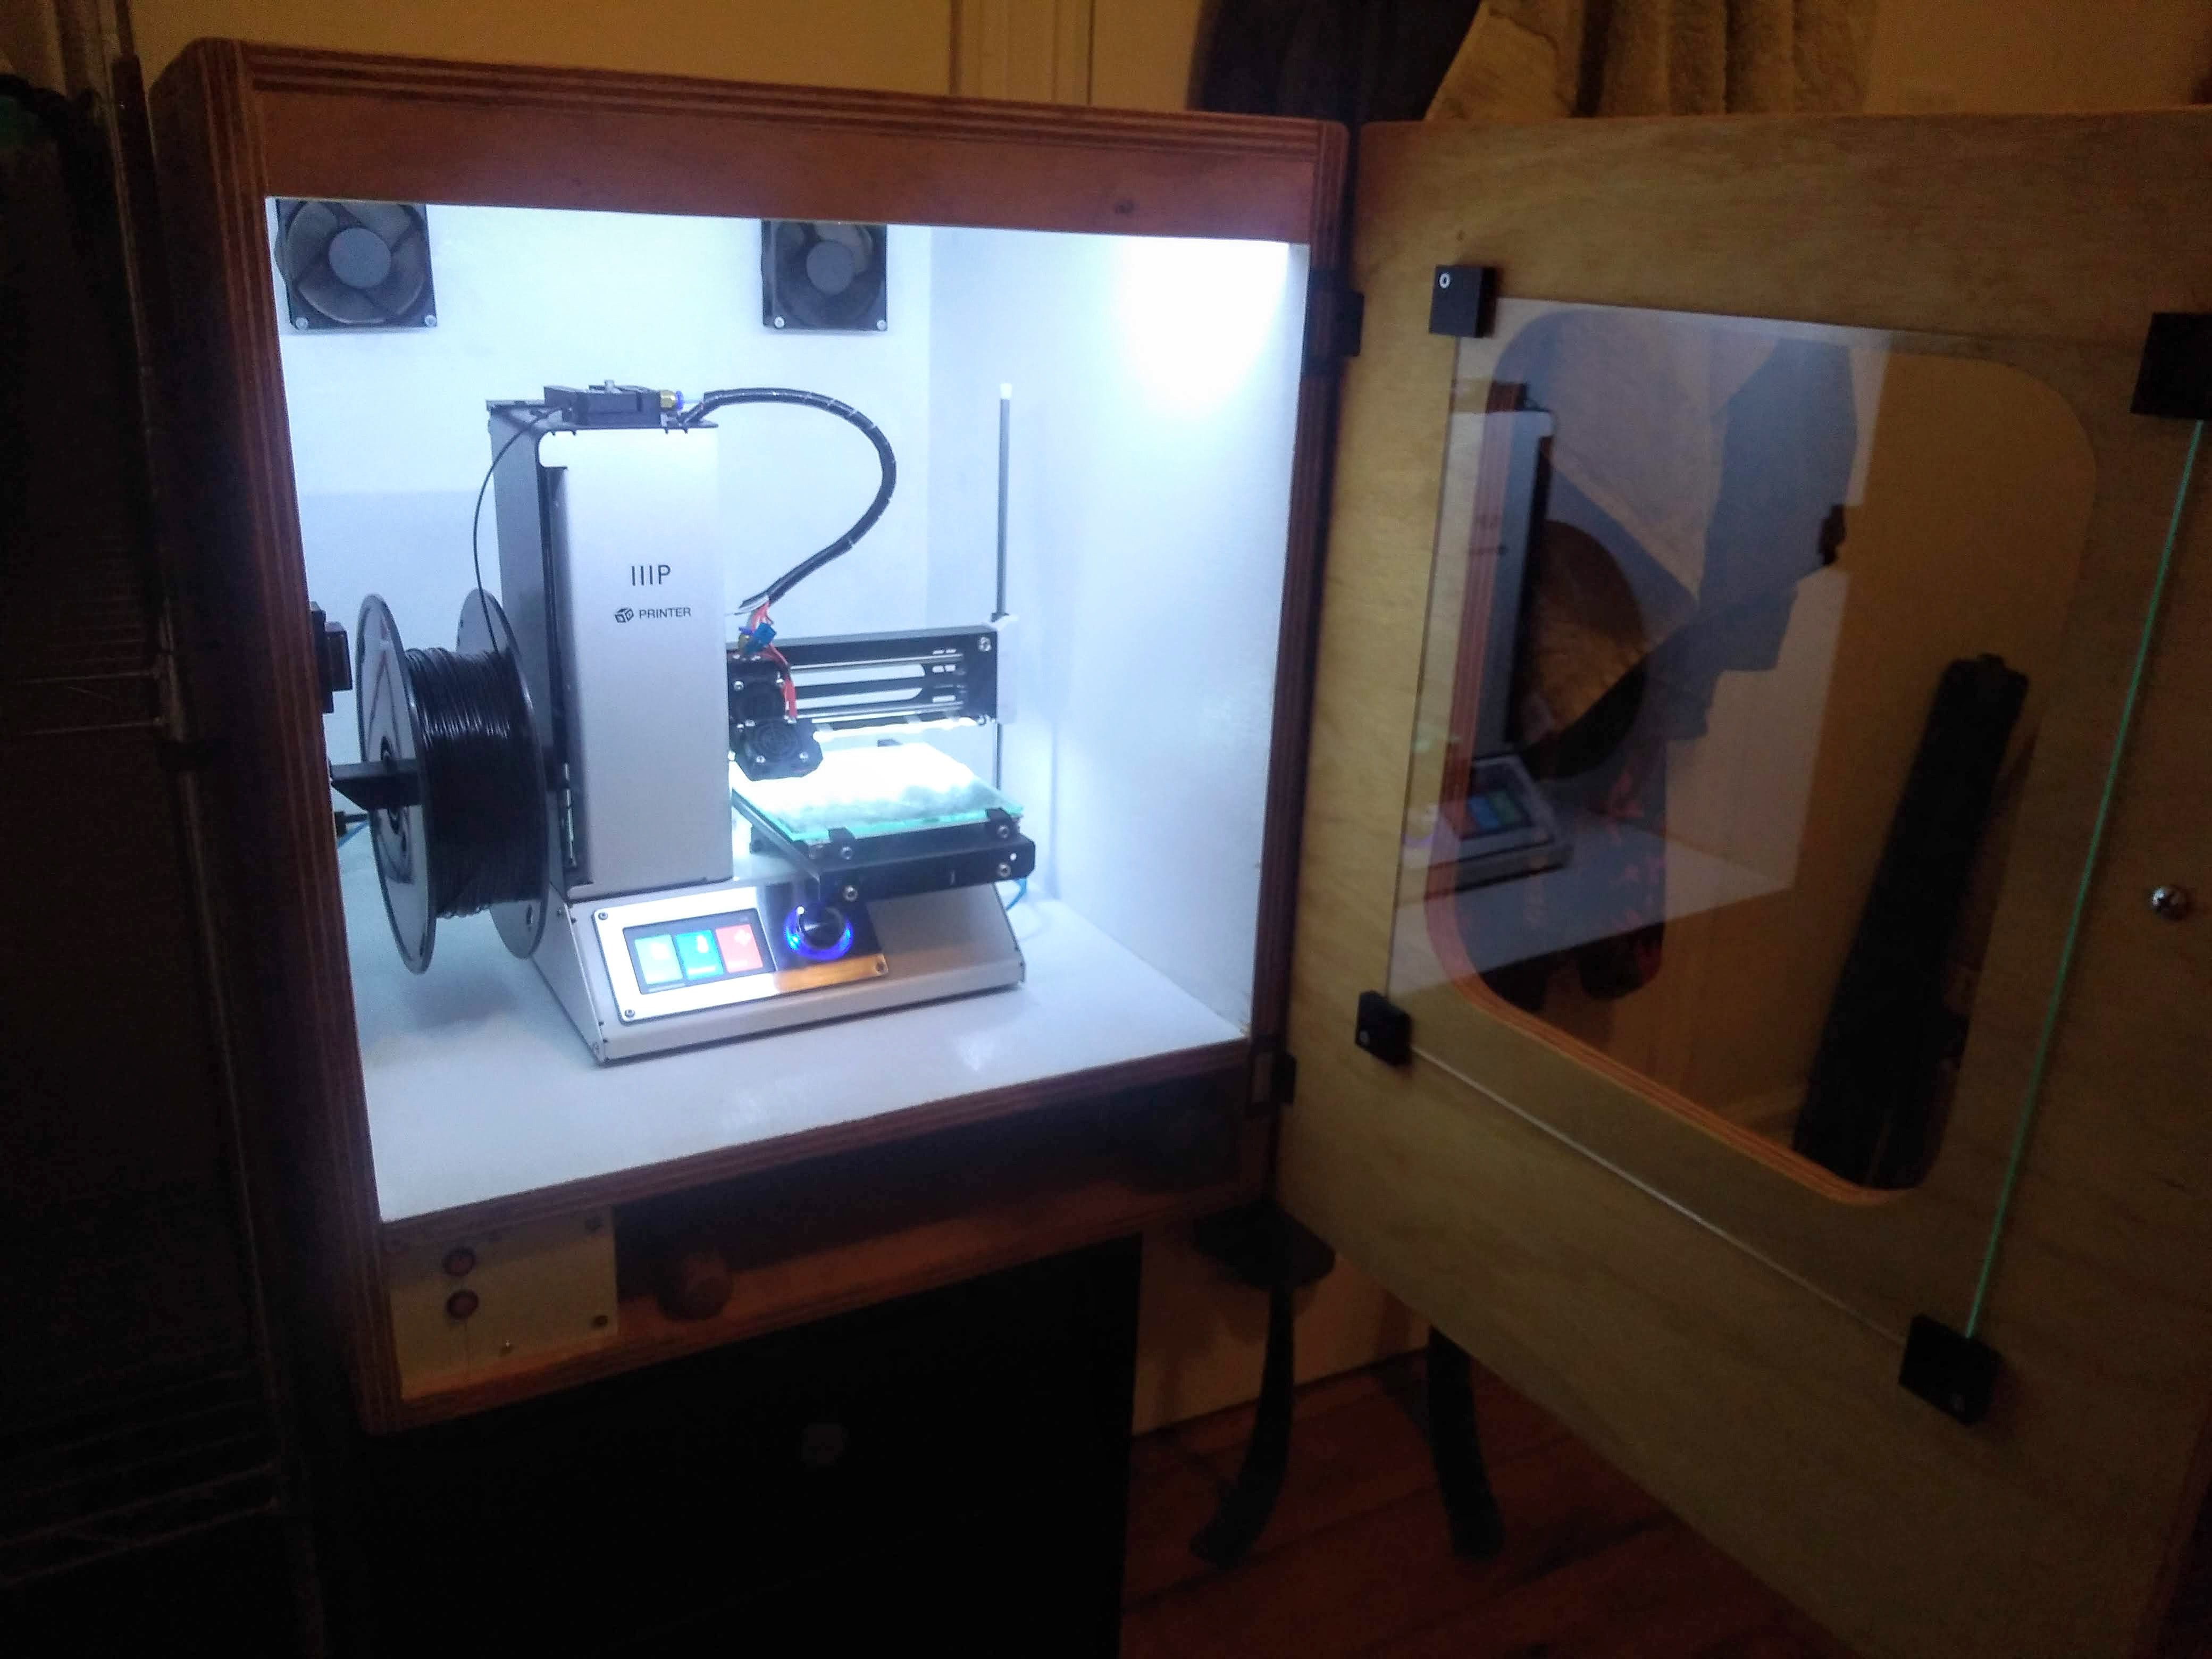
After moving the MPSM to the bedroom adjacent to ours, it became impossible to print while sleeping, it just made too much noise. I decided it was high time I came up with an enclosure for the machine. Luckily I had all of the tools and hardware I needed. I just needed to get my hands on a piece of plywood from Home Hardware. I grabbed a nice 4×8 sheet of project panel which was more than enough for this cabinet. I wanted to make sure that there was plenty of space below to store any extra pieces of hardware or tools and that there was plenty of lighting to ensure that I could see what was happening in the cabinet.
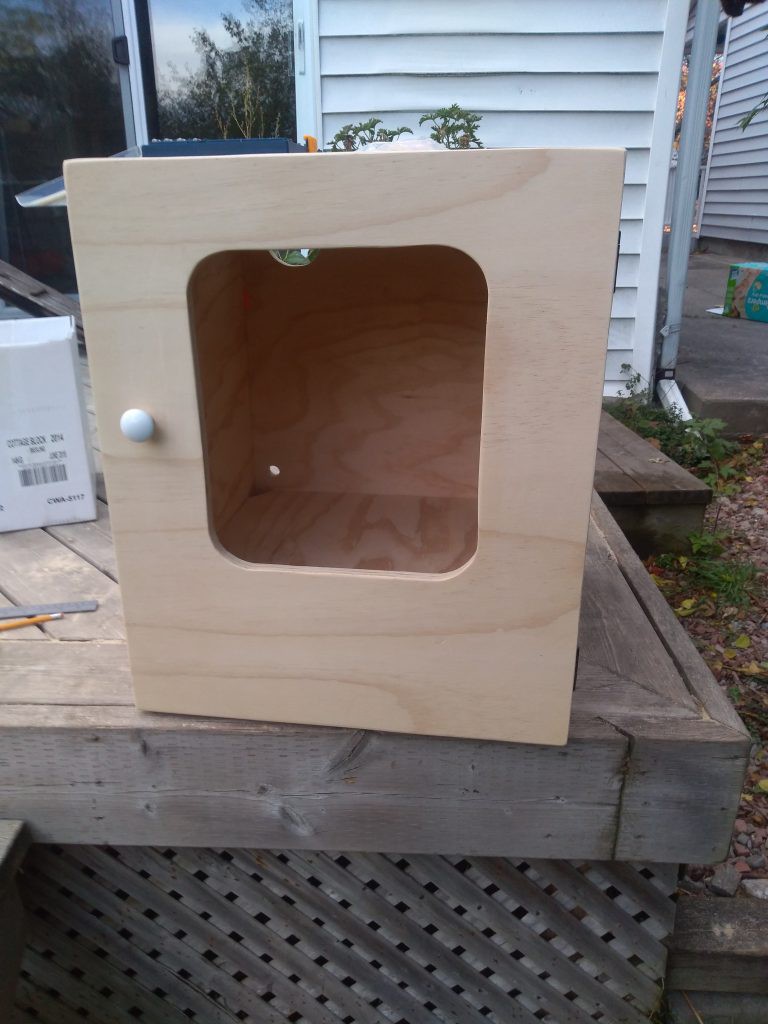
I started by producing a rough wooden box with the plywood. Unfortunately I didn’t have access to the table saw at the time, so I was stuck using the circular saw. It was nothing that a quick pass with the belt sander couldn’t handle (Thanks Peterborough Tool Library!). The door was quickly cut with a jigsaw and attached using some cheap hinges from the hardware store. I also cut two holes in the back to place some fans for controlled ventilation.
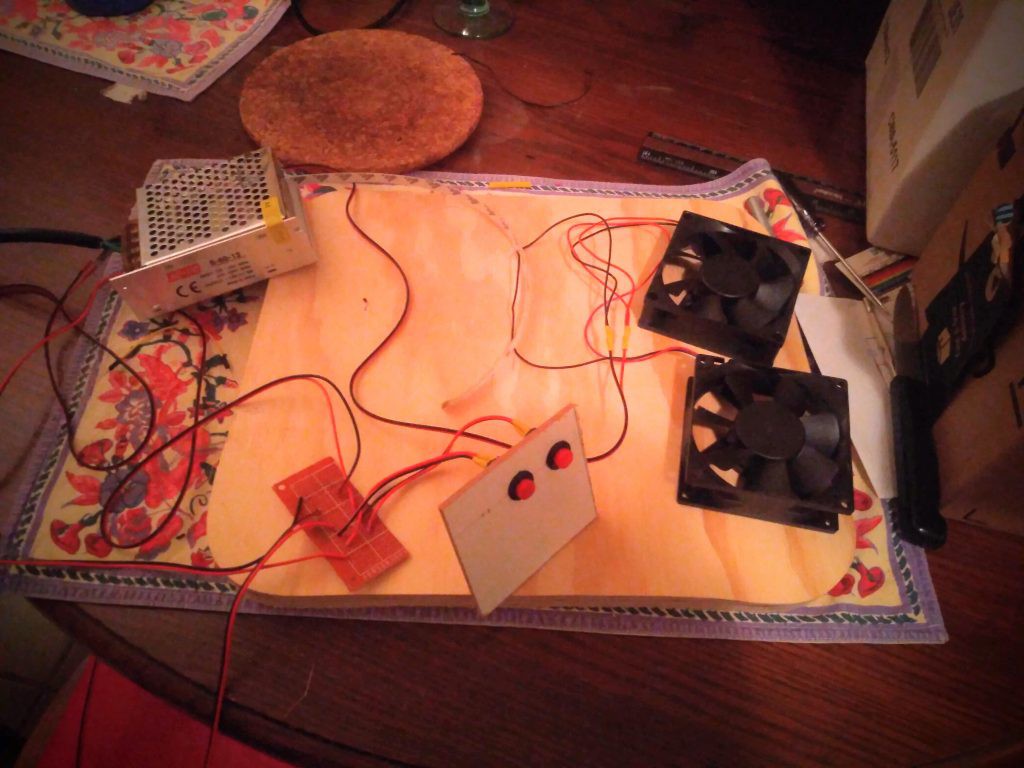 The Assembled power supply, controls and fan.
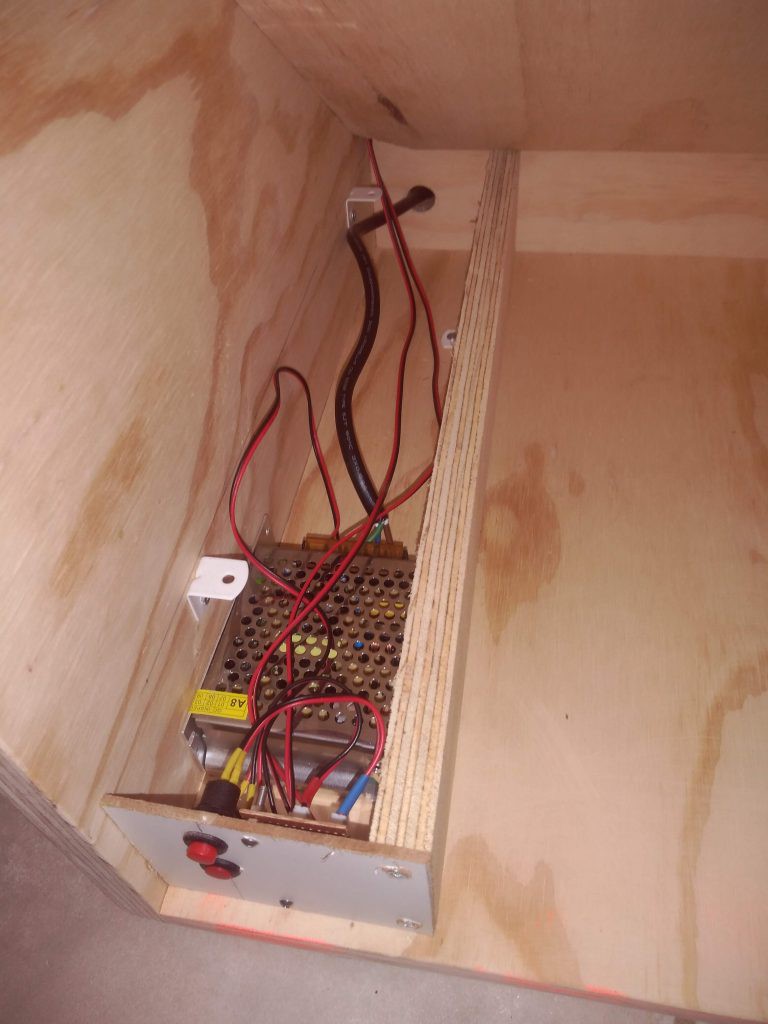
Here they are simply installed in the front.
The electronics all came together smoothly, and I even had most of the parts I needed lying around. I used a small 12v 5a power supply for the LEDs and the fans. It was all wired together using a small piece of breadboard and controlled by some red push buttons I had lying around. All of the electronics fit in a small space in the base of the cabinet.
 I wanted it to be very bright inside the cabinet, so I painted the inside with some high gloss white paint. I stained the outside of the cabinet with some oil. I even had some helpers come by for this part of the project! After it had all dried, I placed the electronics back in place and reattached the hardware. I used a small piece of 1/8 inch glass attached with some hardware corner brackets printed on the 3D printer. The extra space in the bottom also houses a raspberry pi that I run octoprint on. With the printer in place it is time for a test print. Next up I would like to run my webcam into the enclosure to be able to monitor my prints remotely. I’ll keep you updated with some slick videos produced in the cube!
Discussions
Become a Hackaday.io Member
Create an account to leave a comment. Already have an account? Log In.