 t.oster92
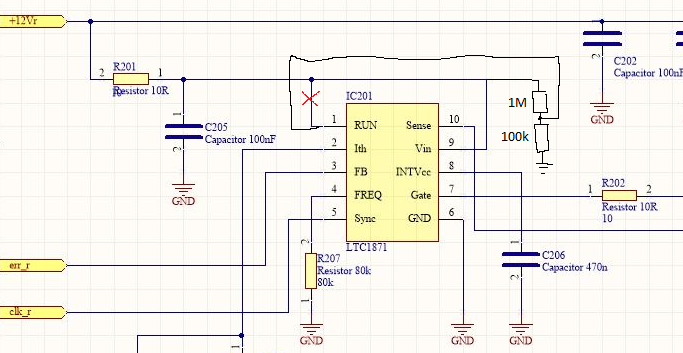
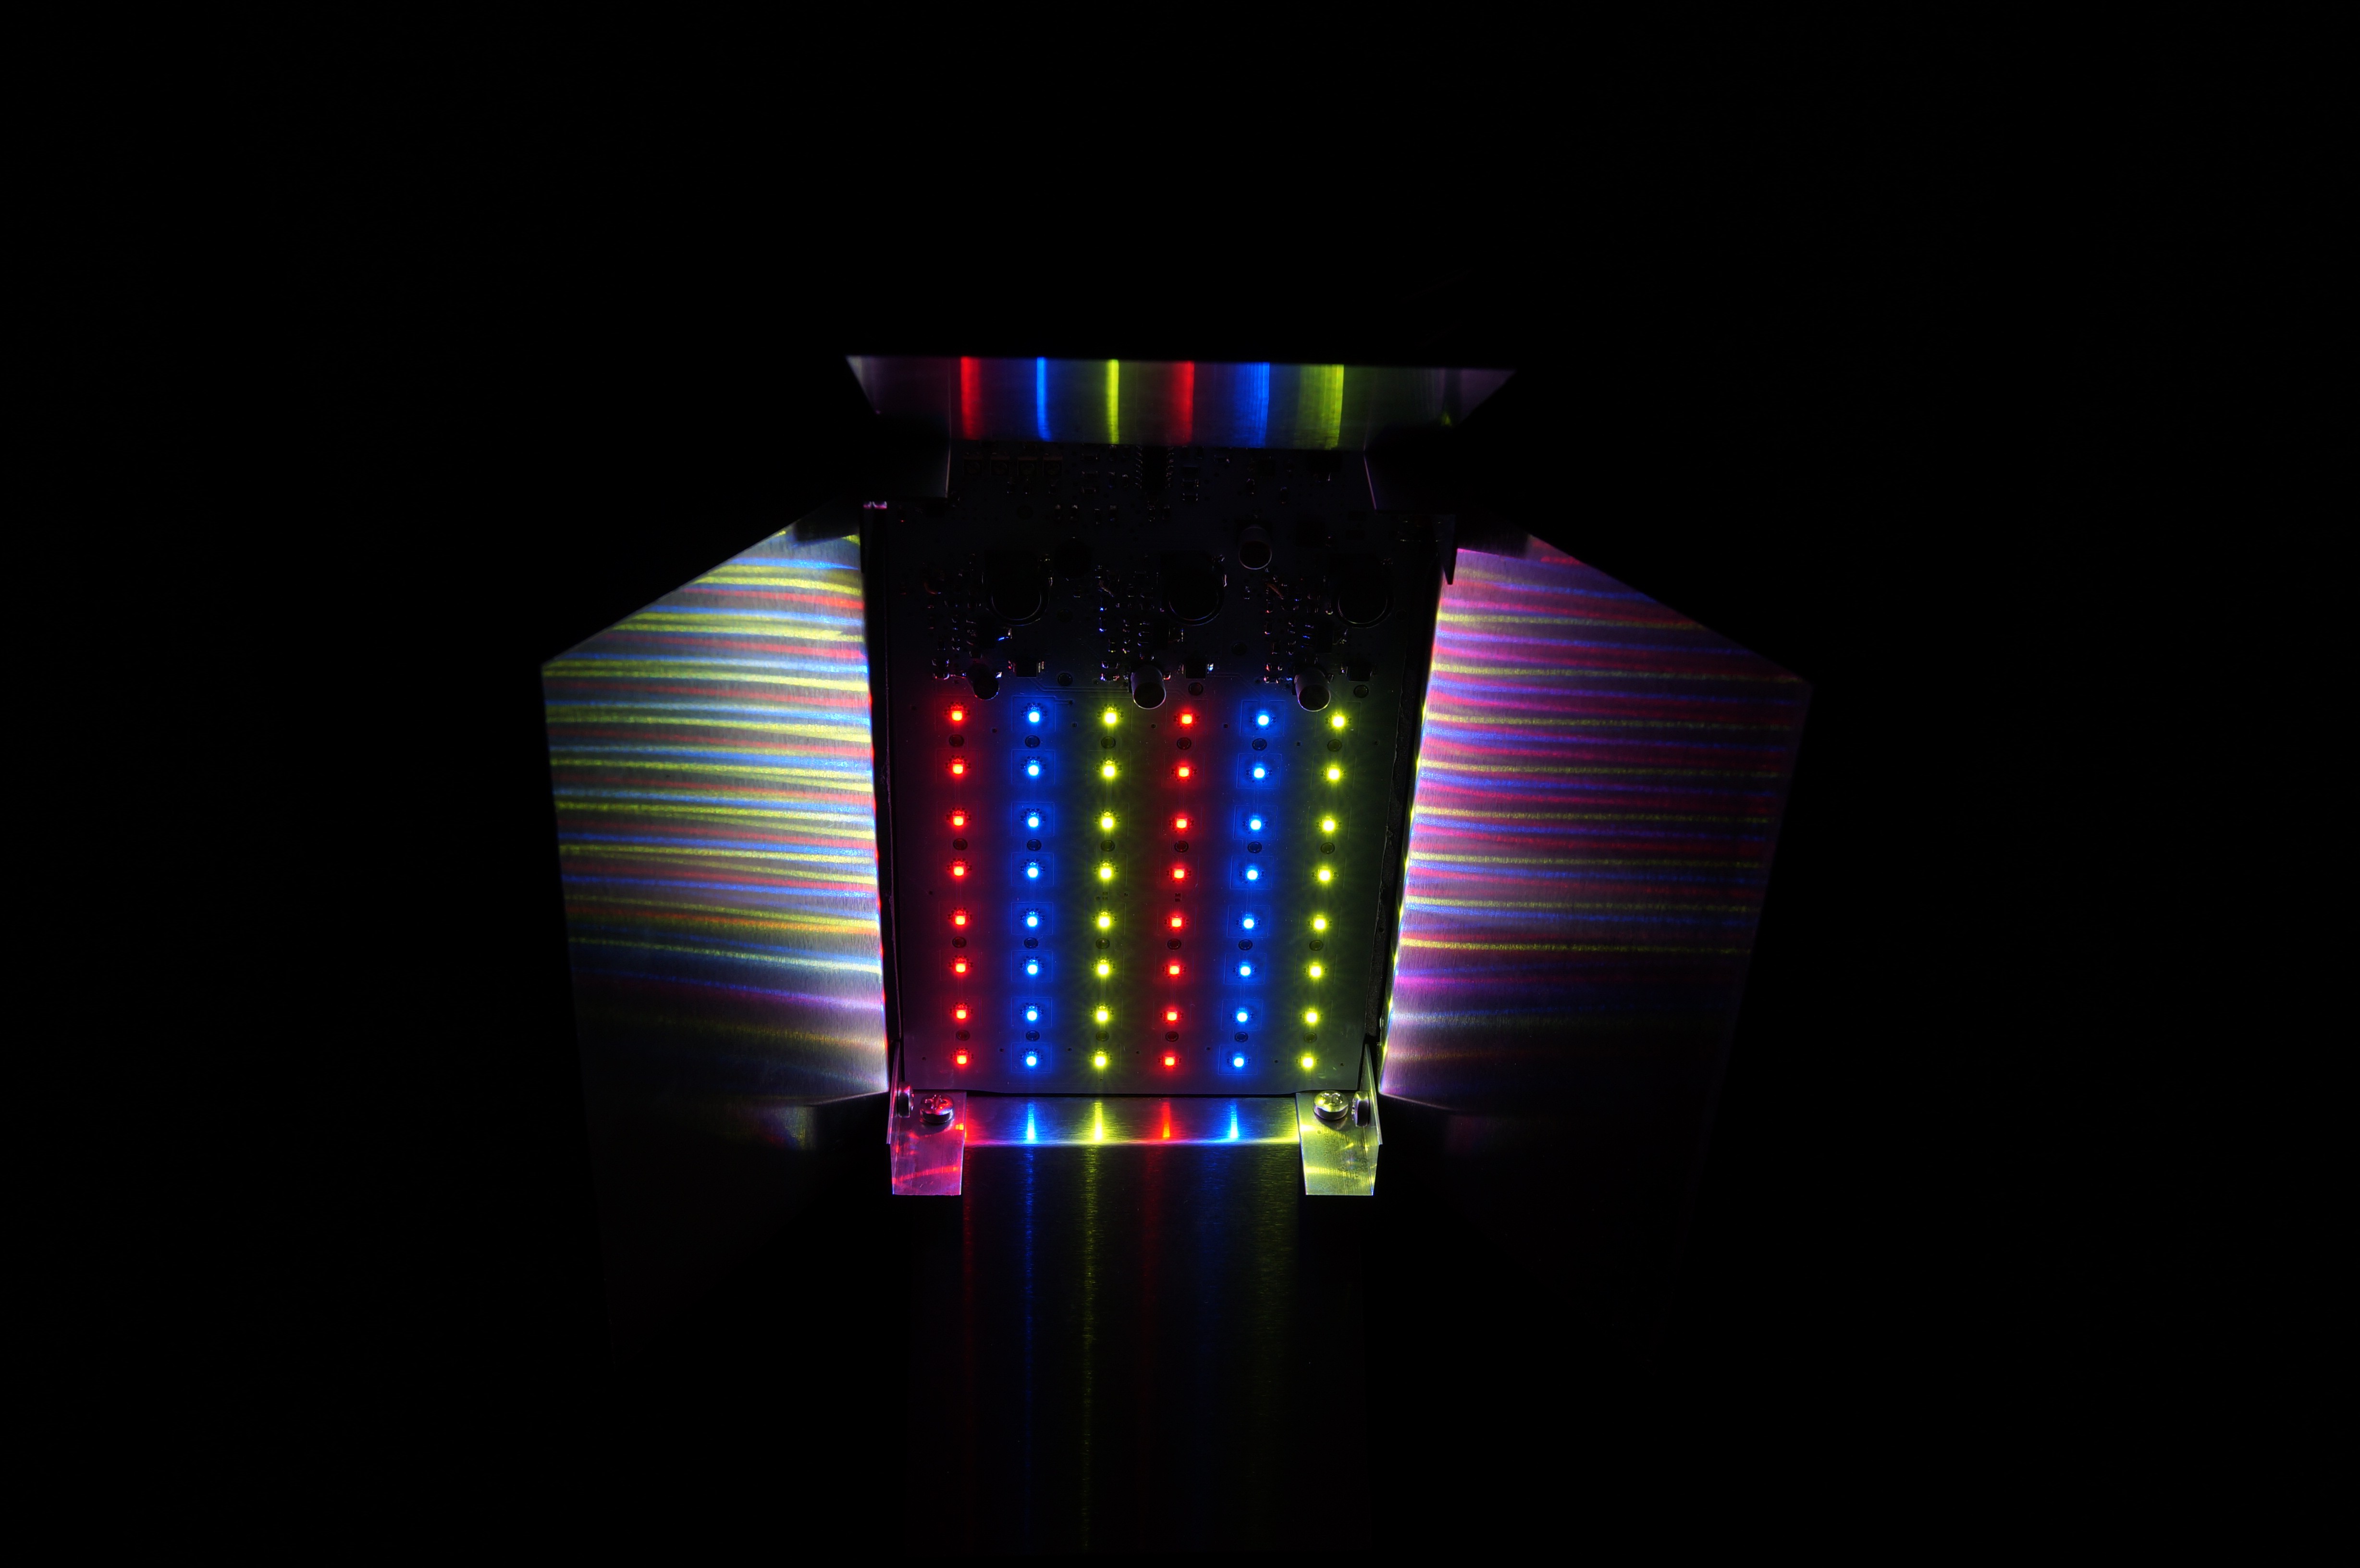
The DC-DC converters inside the light have spread spectrum modulation. This way, i expect to have less electomagnetical interference problems.
The computer fans are synchronized to within 1-2° of deviation. In the first few months, i didn't have this feature, and it was quite annoying to have the fans run at slightly different speeds. But now, it runs really silent and without any disturbing interferences between the fans
0%
0%
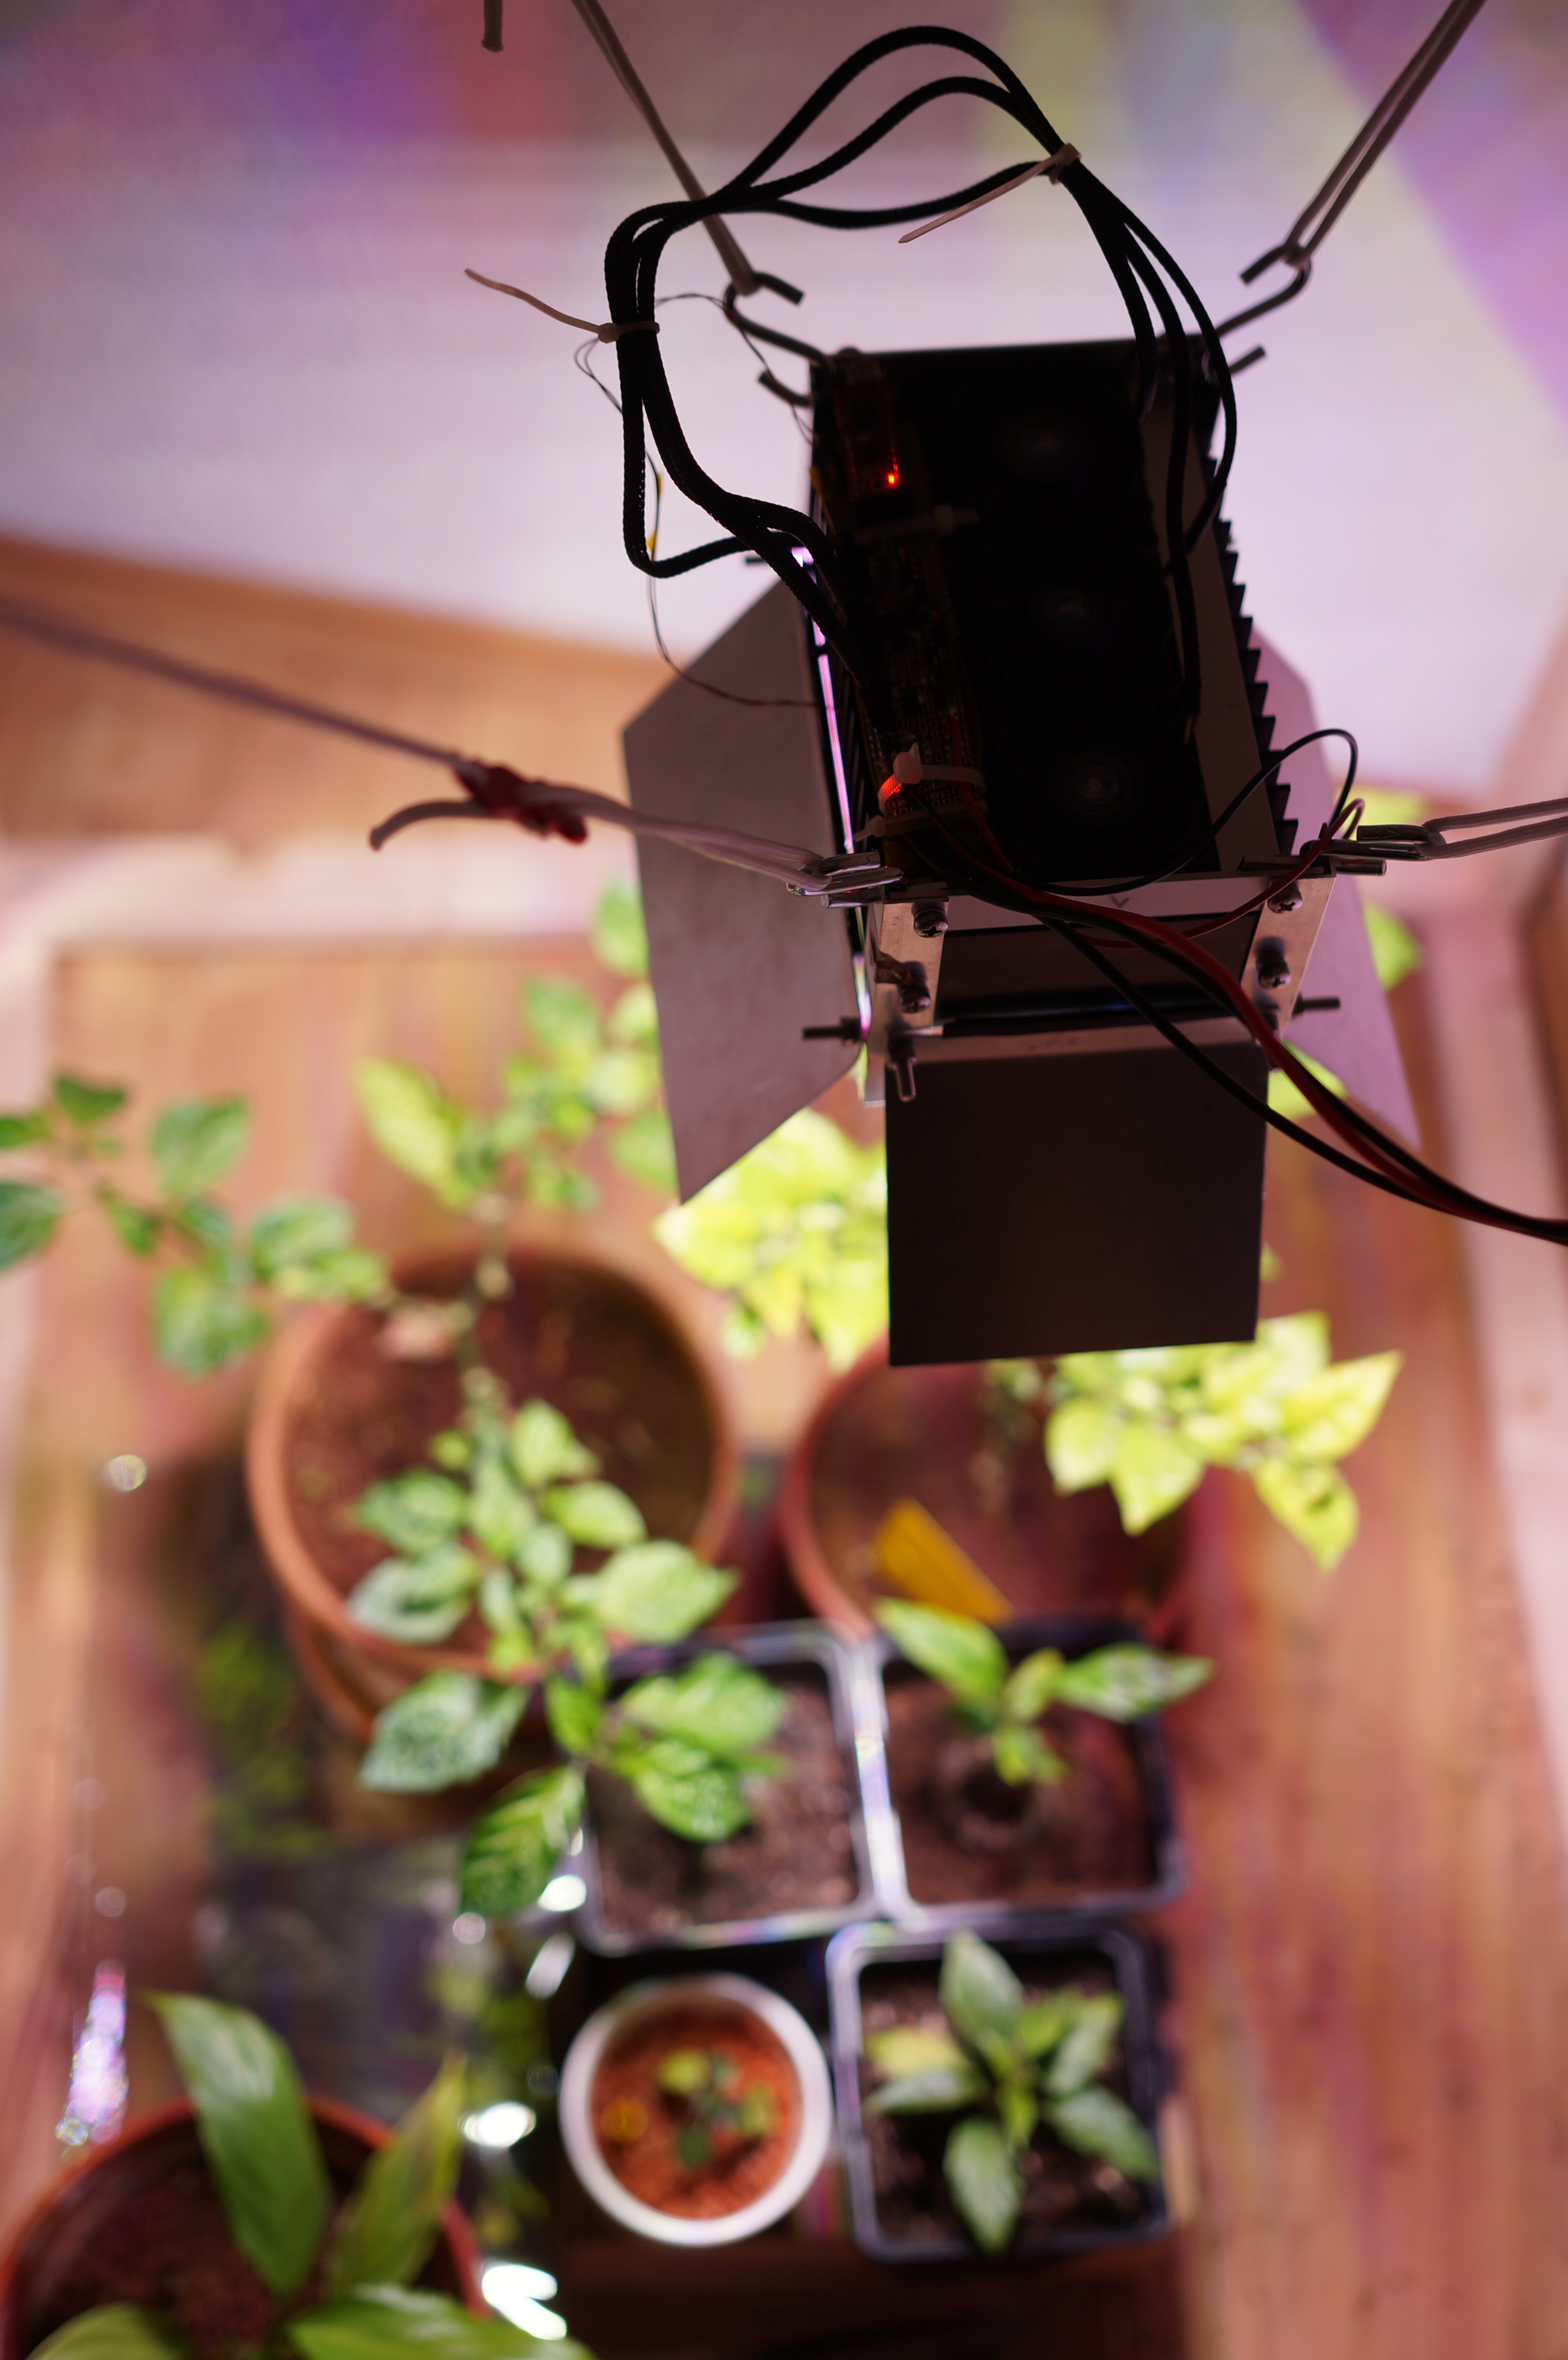
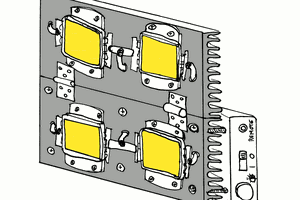
Planty Happy Grow Light
75 Watt LED grow light
Become a Hackaday.io member
Already have an account? Log in.
Just one more thing
To make the experience fit your profile, pick a username and tell us what interests you.
Pick an awesome username
hackaday.io/
Your profile's URL: hackaday.io/username. Max 25 alphanumeric characters.
Pick a few interests
Projects that share your interests
People that share your interests
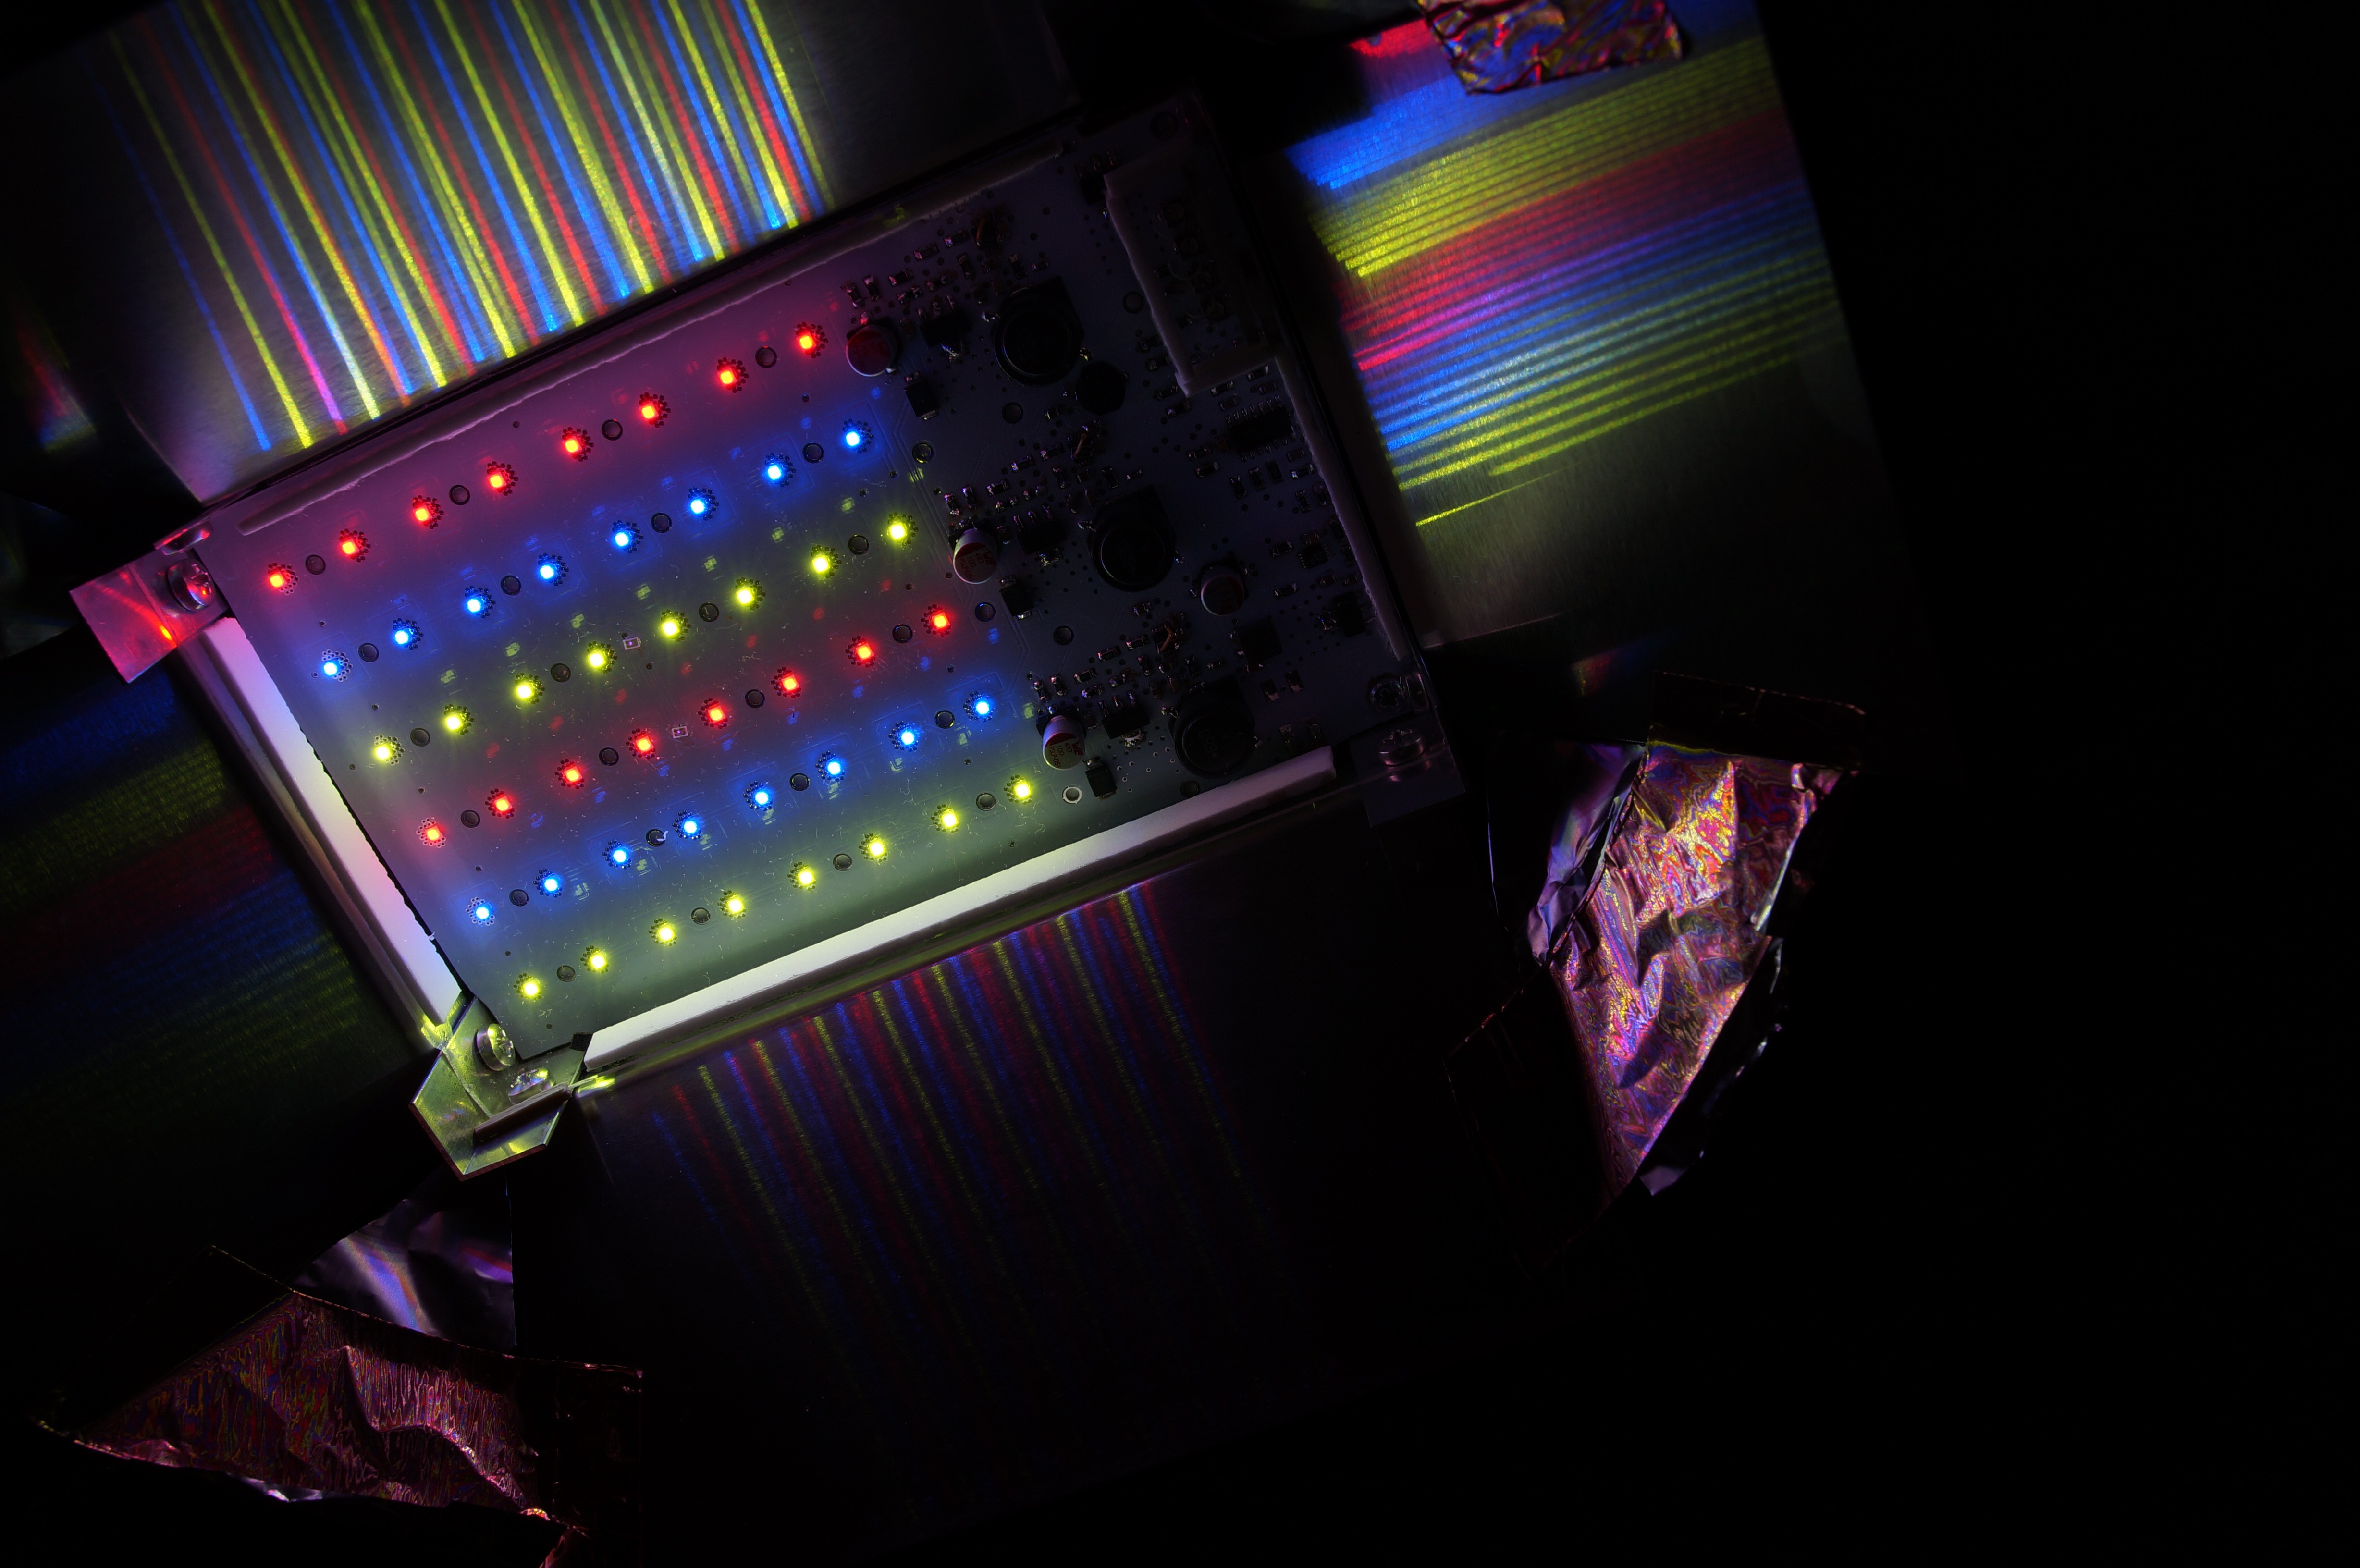
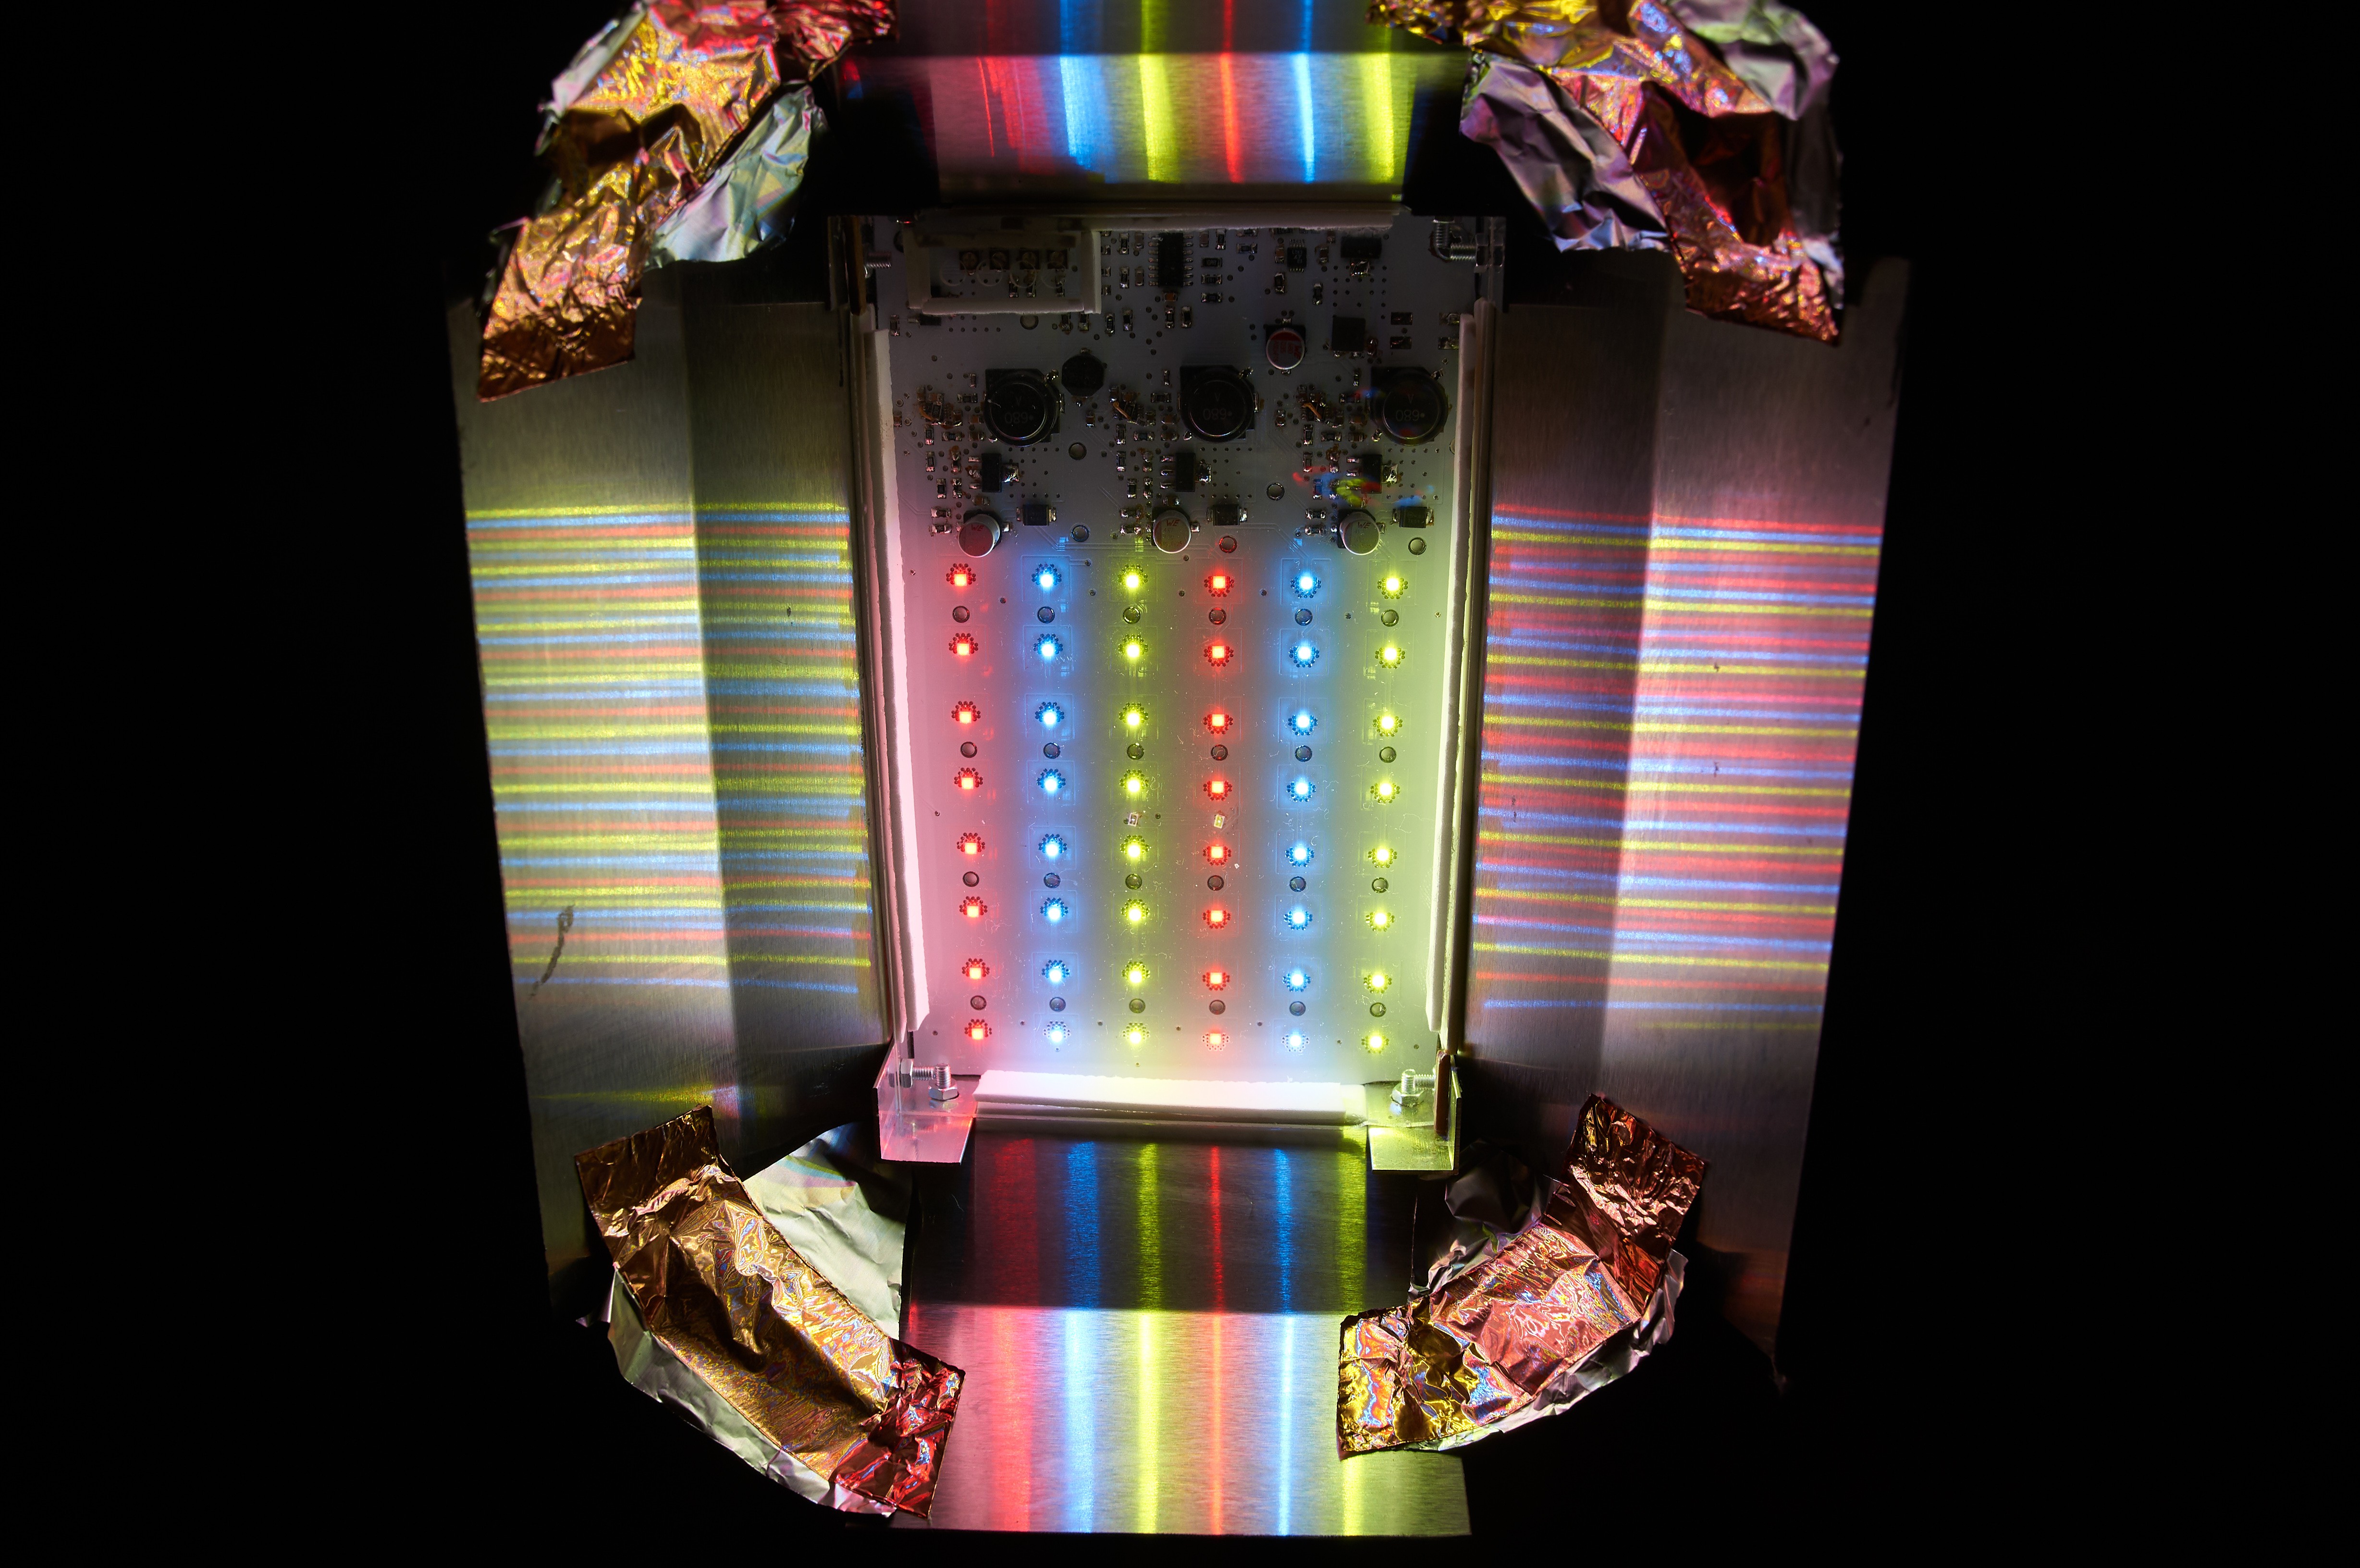 Also, i bent and painted the lightshade. The bend should make the light a little more focused, and the paint makes it look a little better.
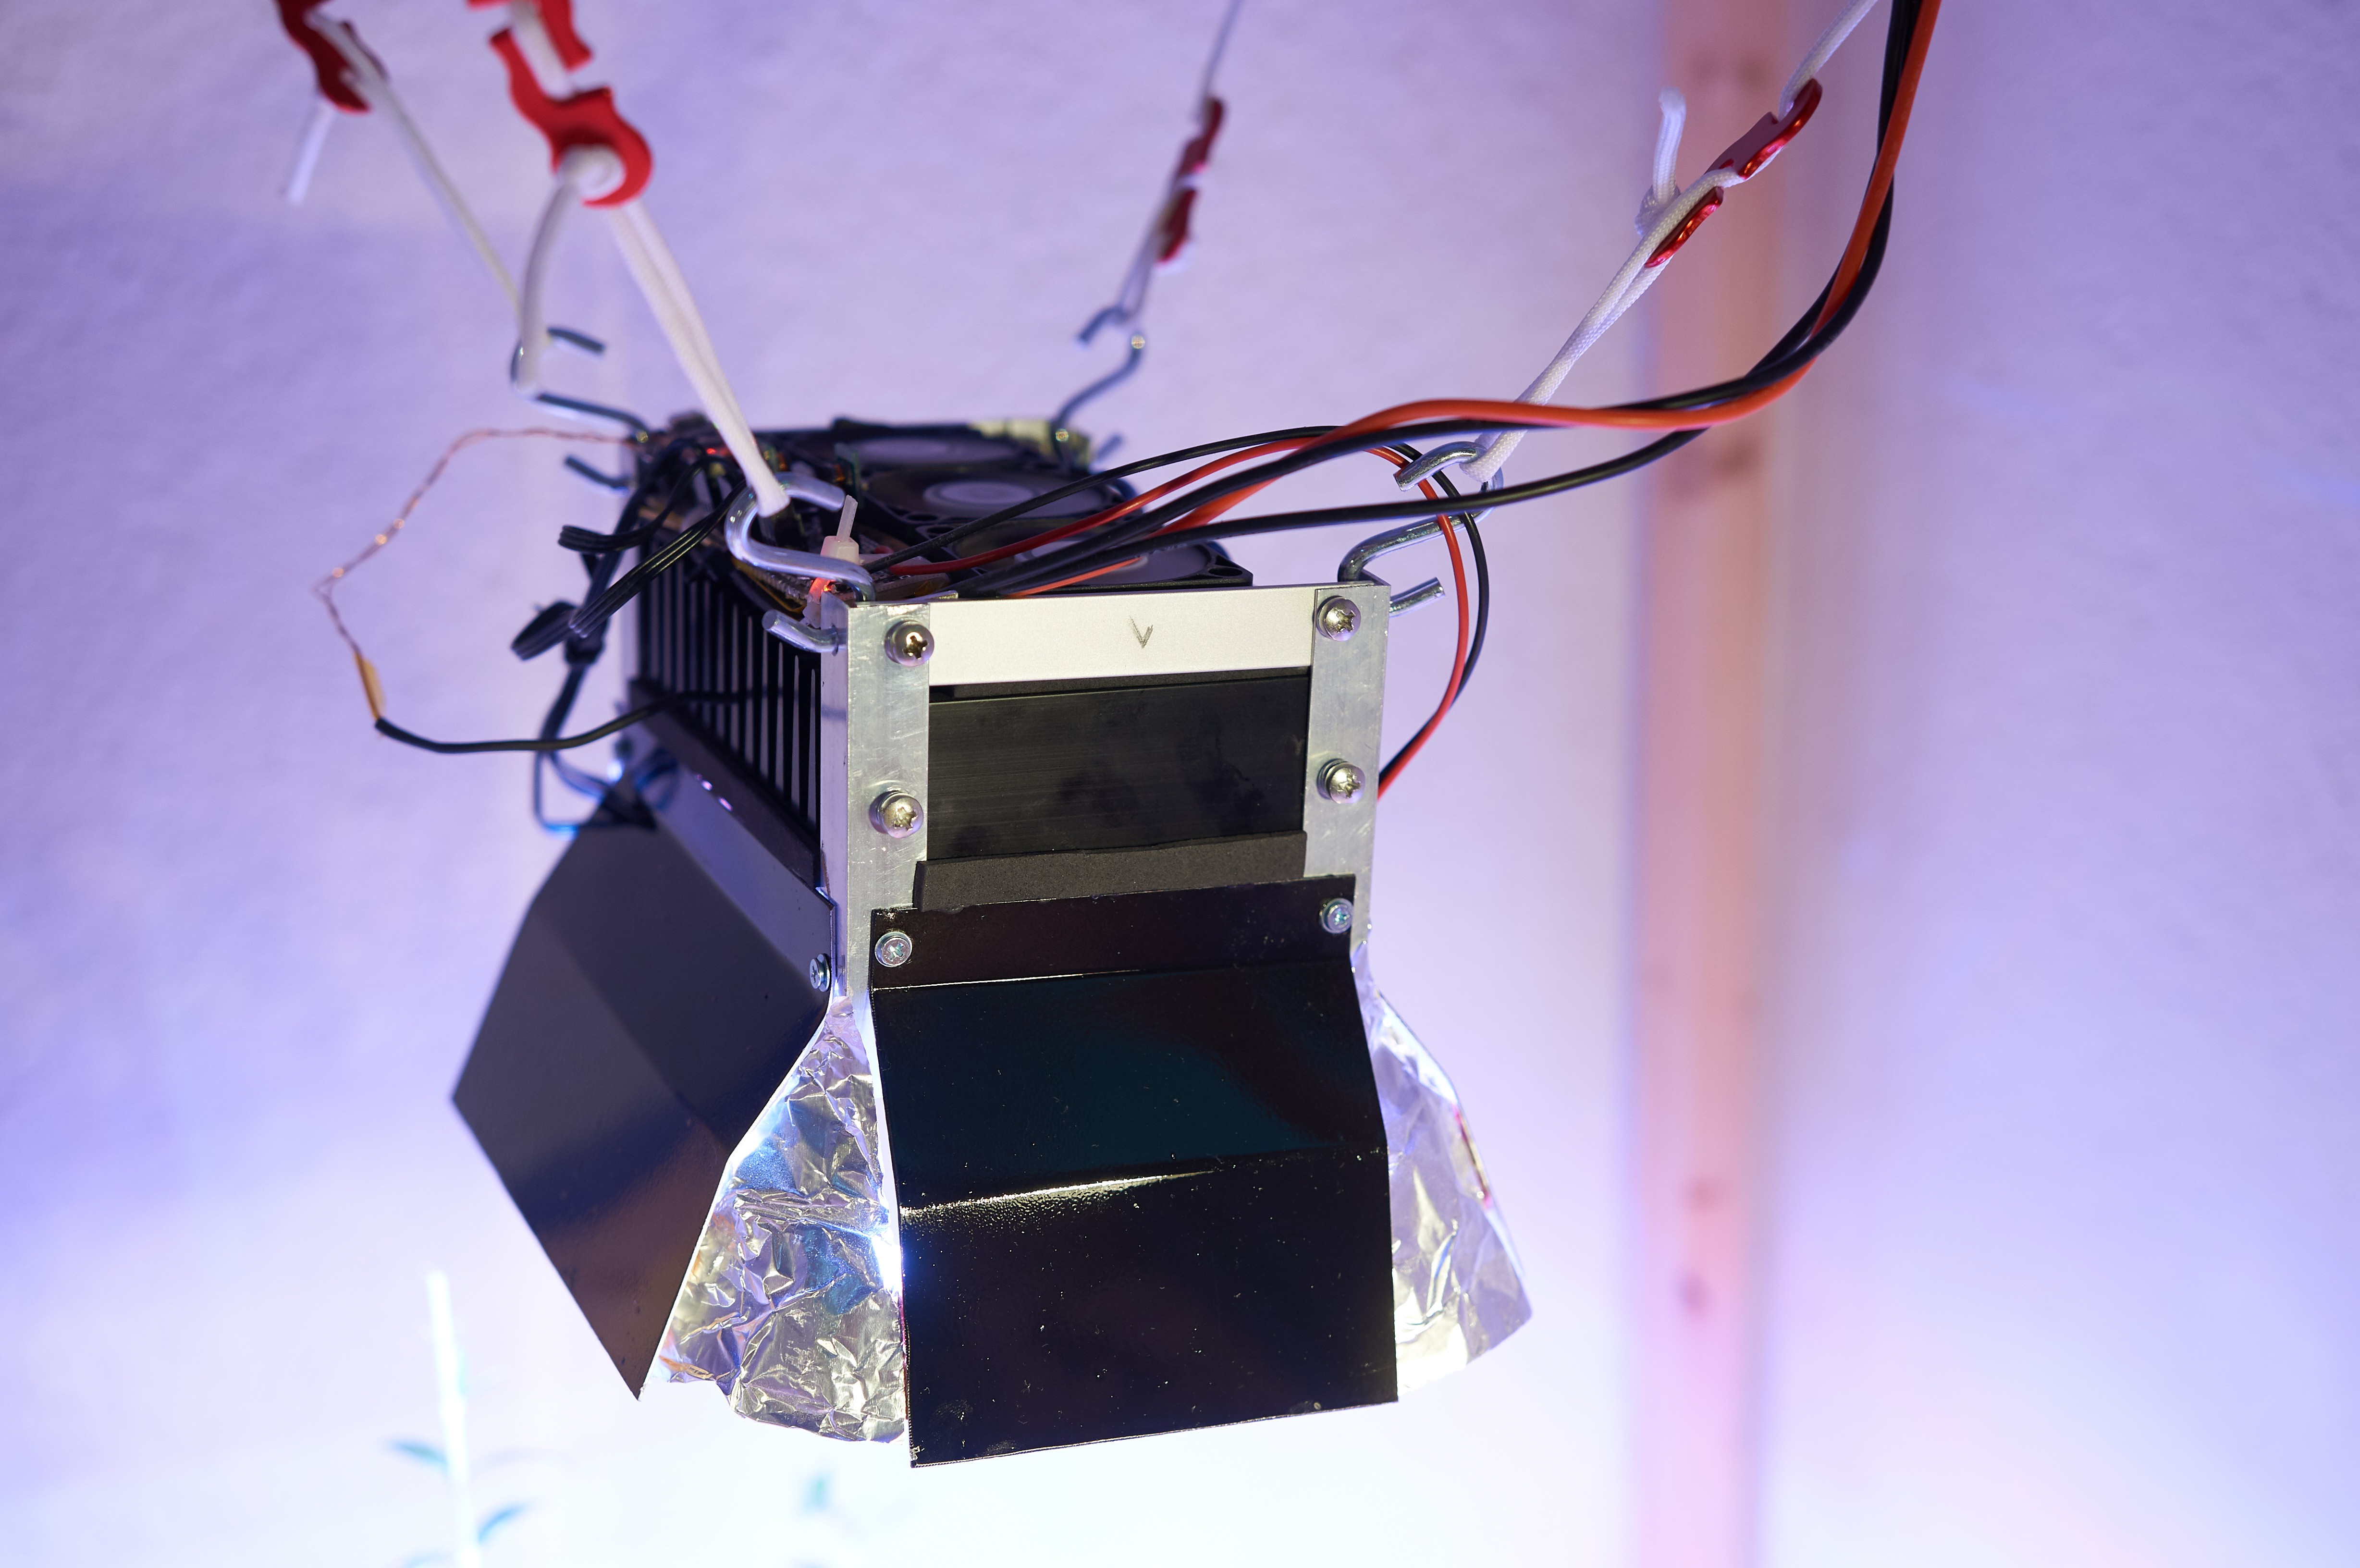
 The tool


 Yann Guidon / YGDES
 lion mclionhead
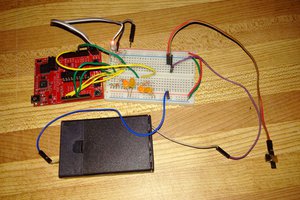
 Petri Varsa
 Jakub Kaderka