 Ryan Walmsley
As I found in the previous post that I could not use the small PSU I had because of it missing the negative 12v rail and while I could possibly modify it if I reallly wanted it wasn't worth it.
However as I originally ordered the Pico PSU for the car I had that arrive so started to set that up.
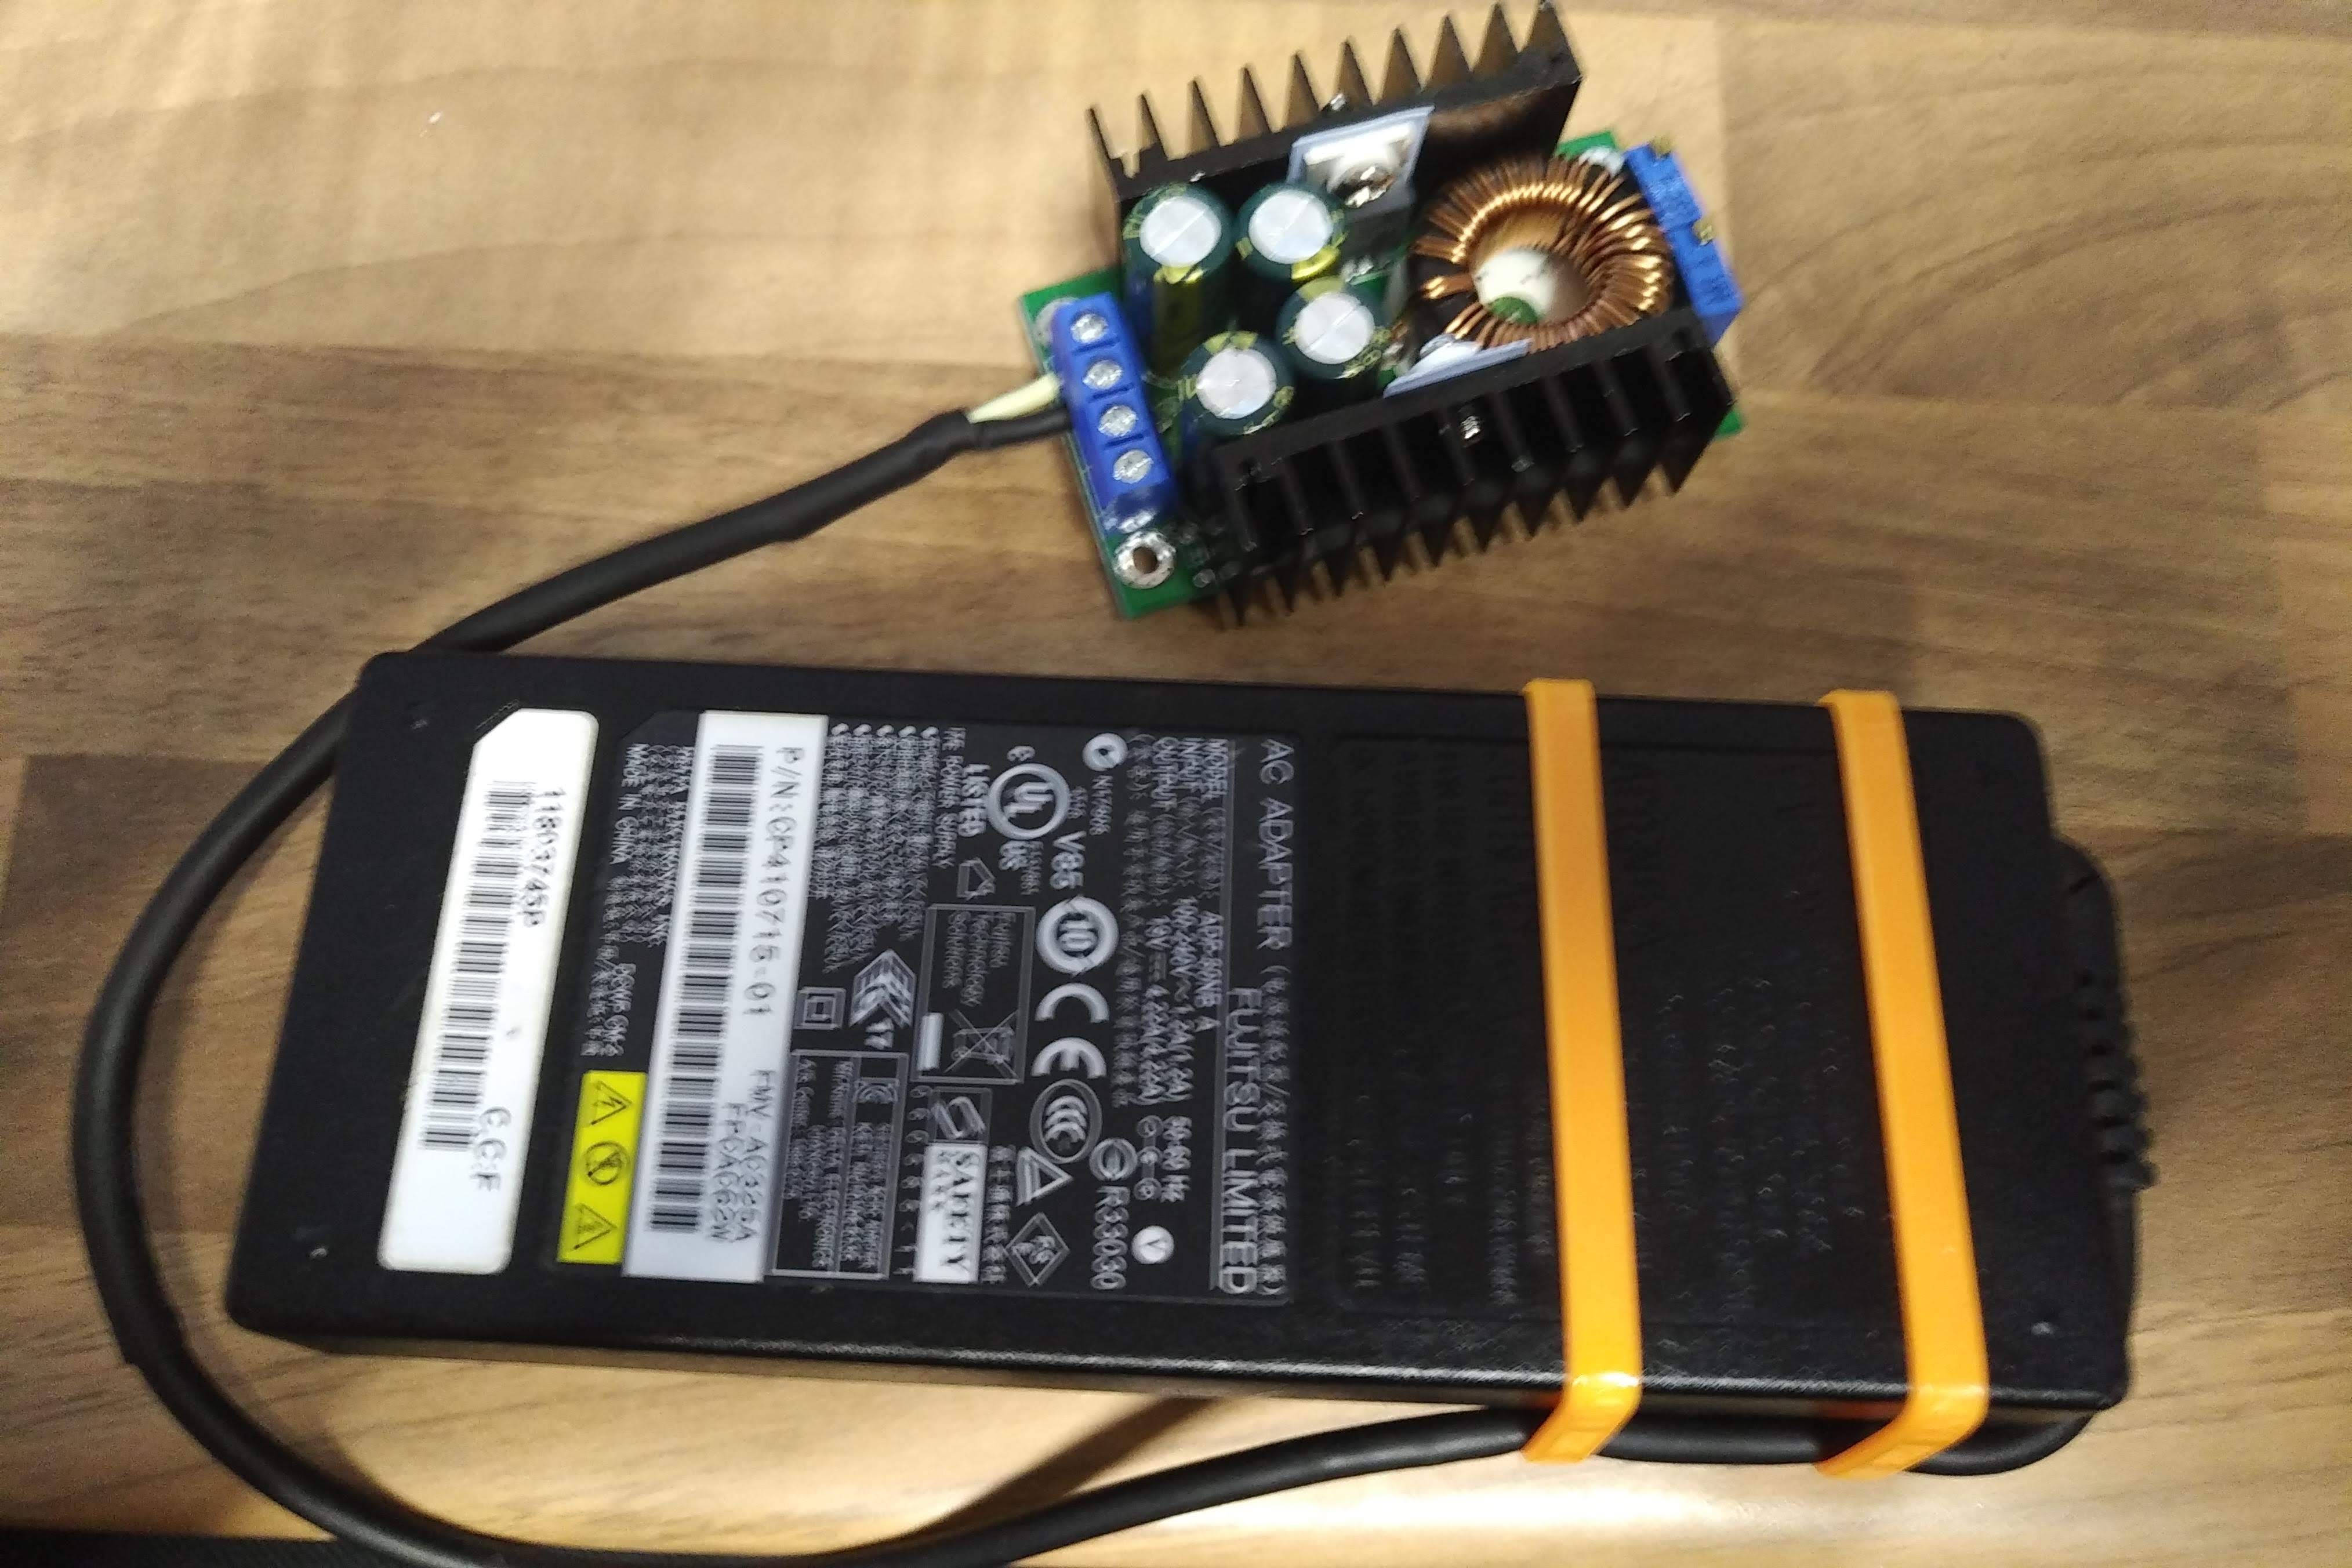
I originally tested it with the buck module on my bench power supply and after looking through my parts bin found a 19V 4.22A laptop power supply which is roughly 80W.
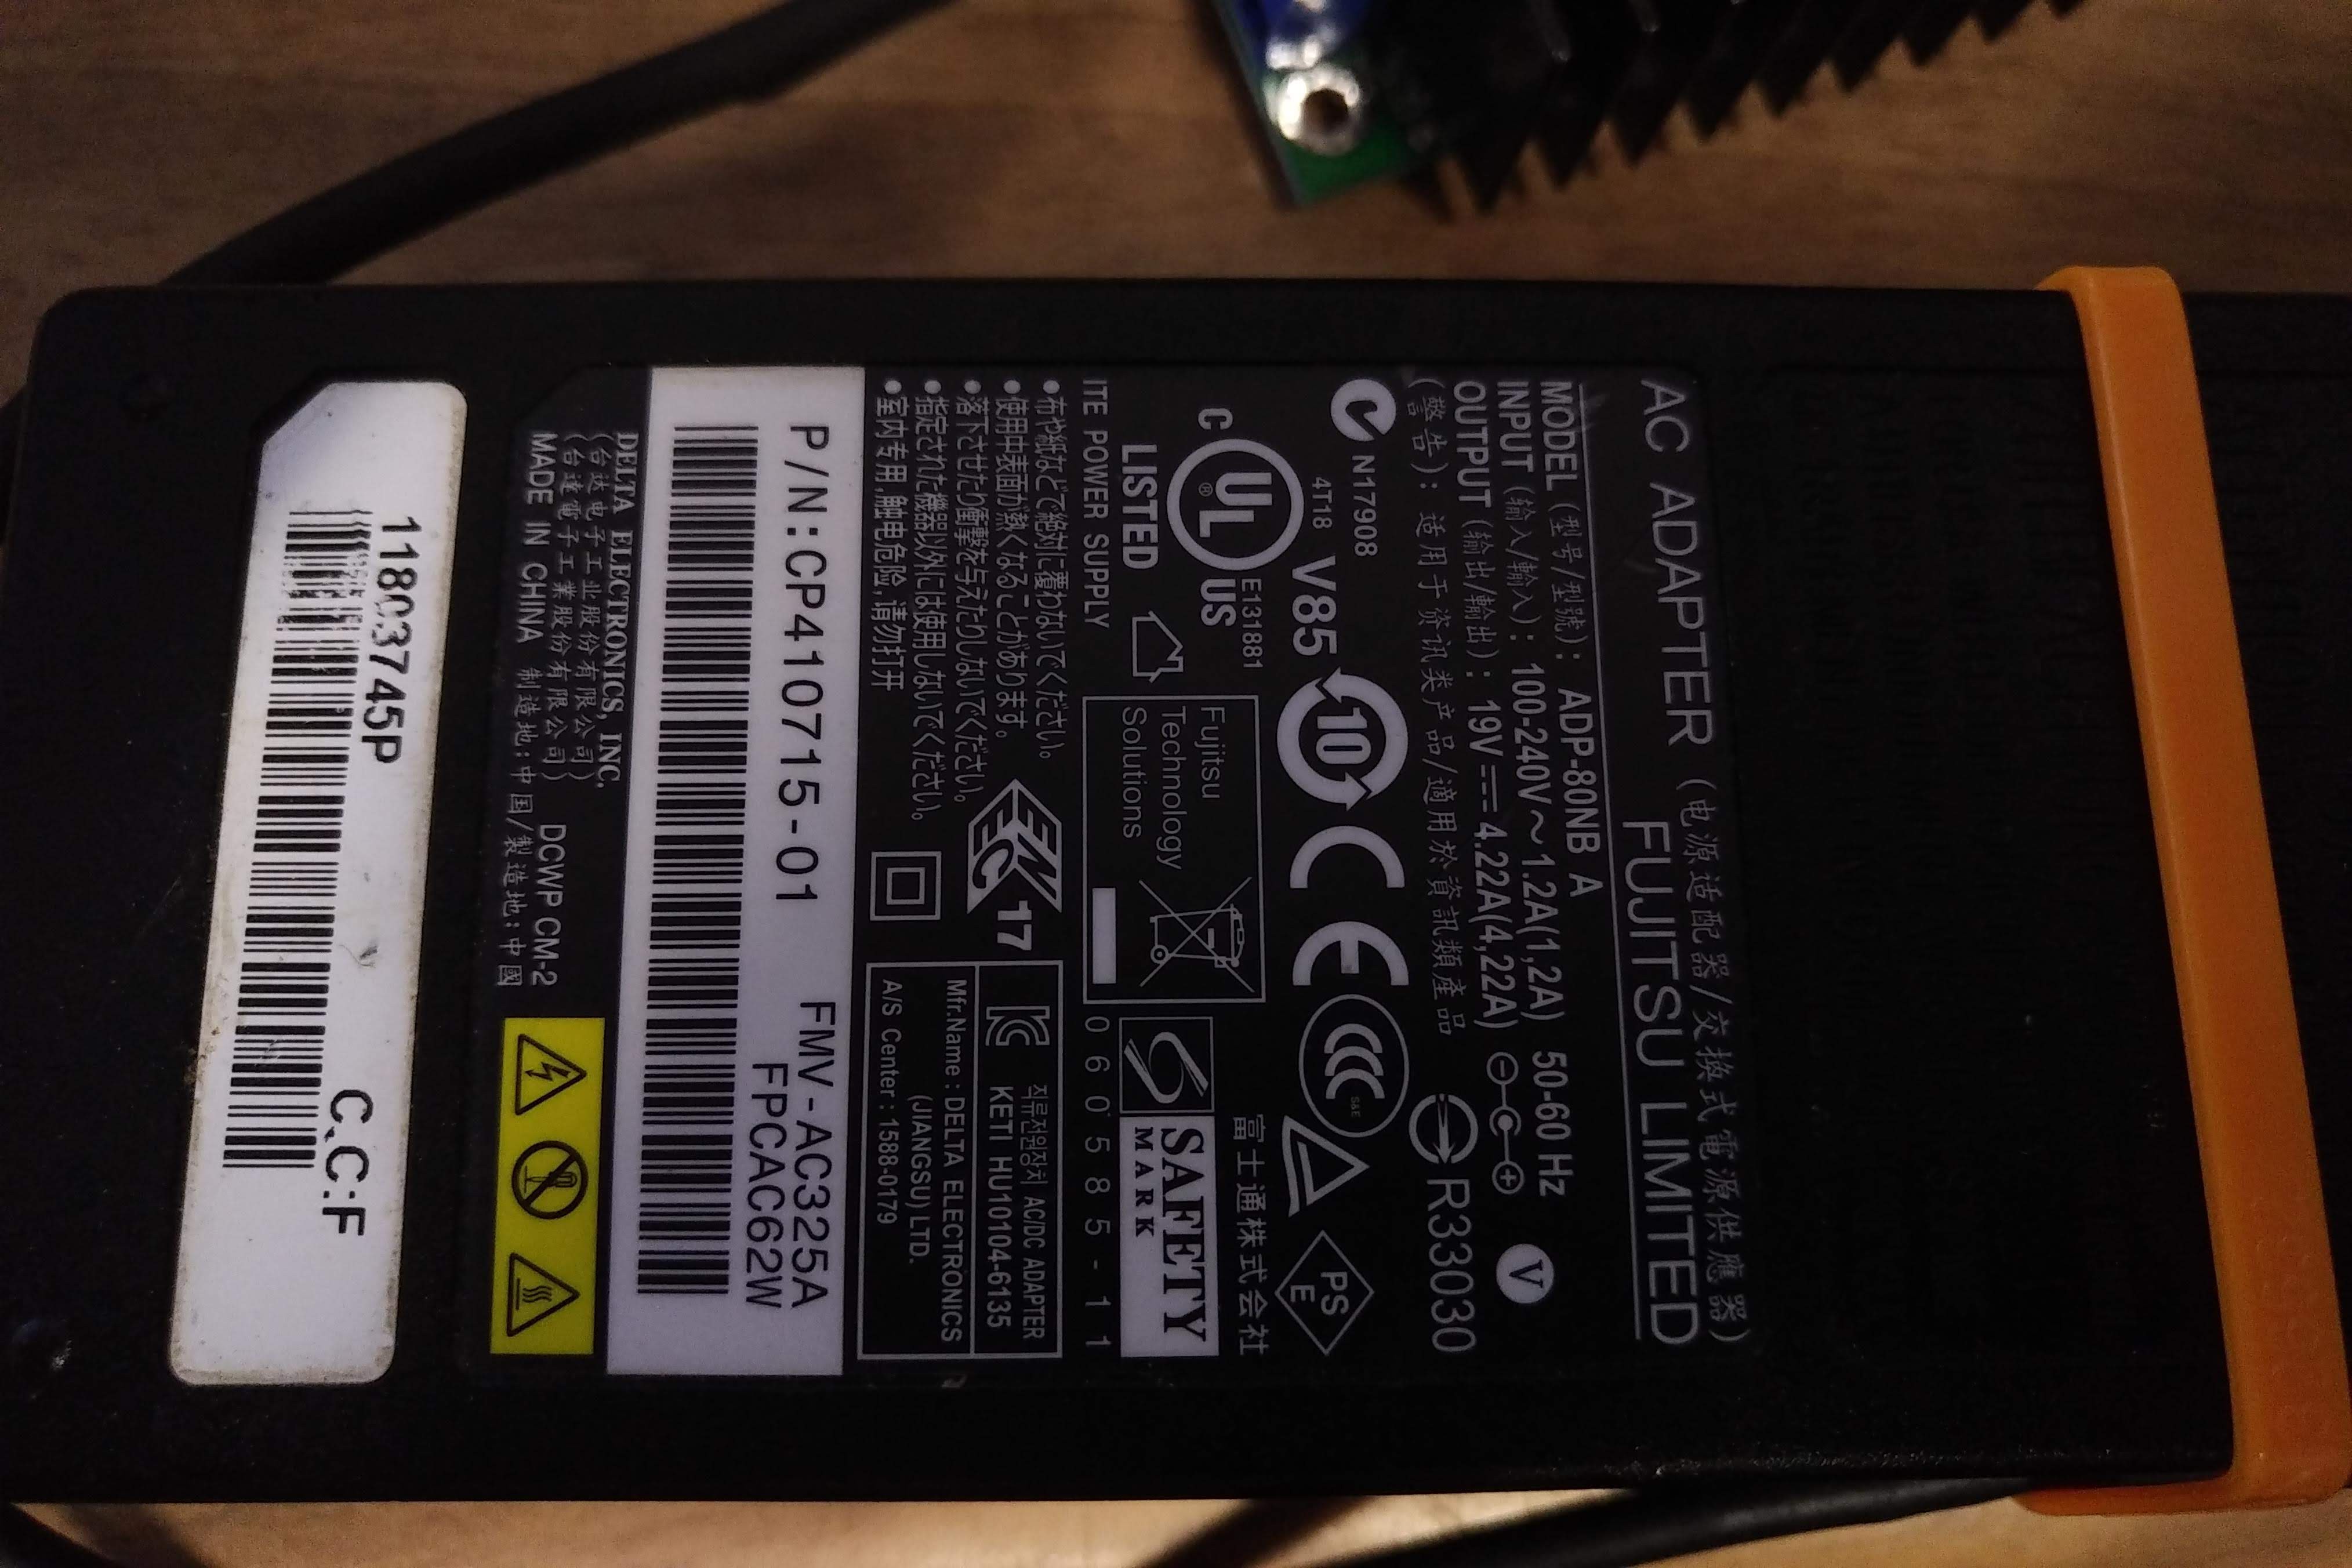
Just enough for this build as while it can draw more than 80W with some rough measurements on my bench PSU this was only with Prime 95 in essentially a "power virus" mode.
But under more realistic tests I found that it didn't draw much more than 60w which is excellent.
I first then tested with it all out of the case and found it ran fine
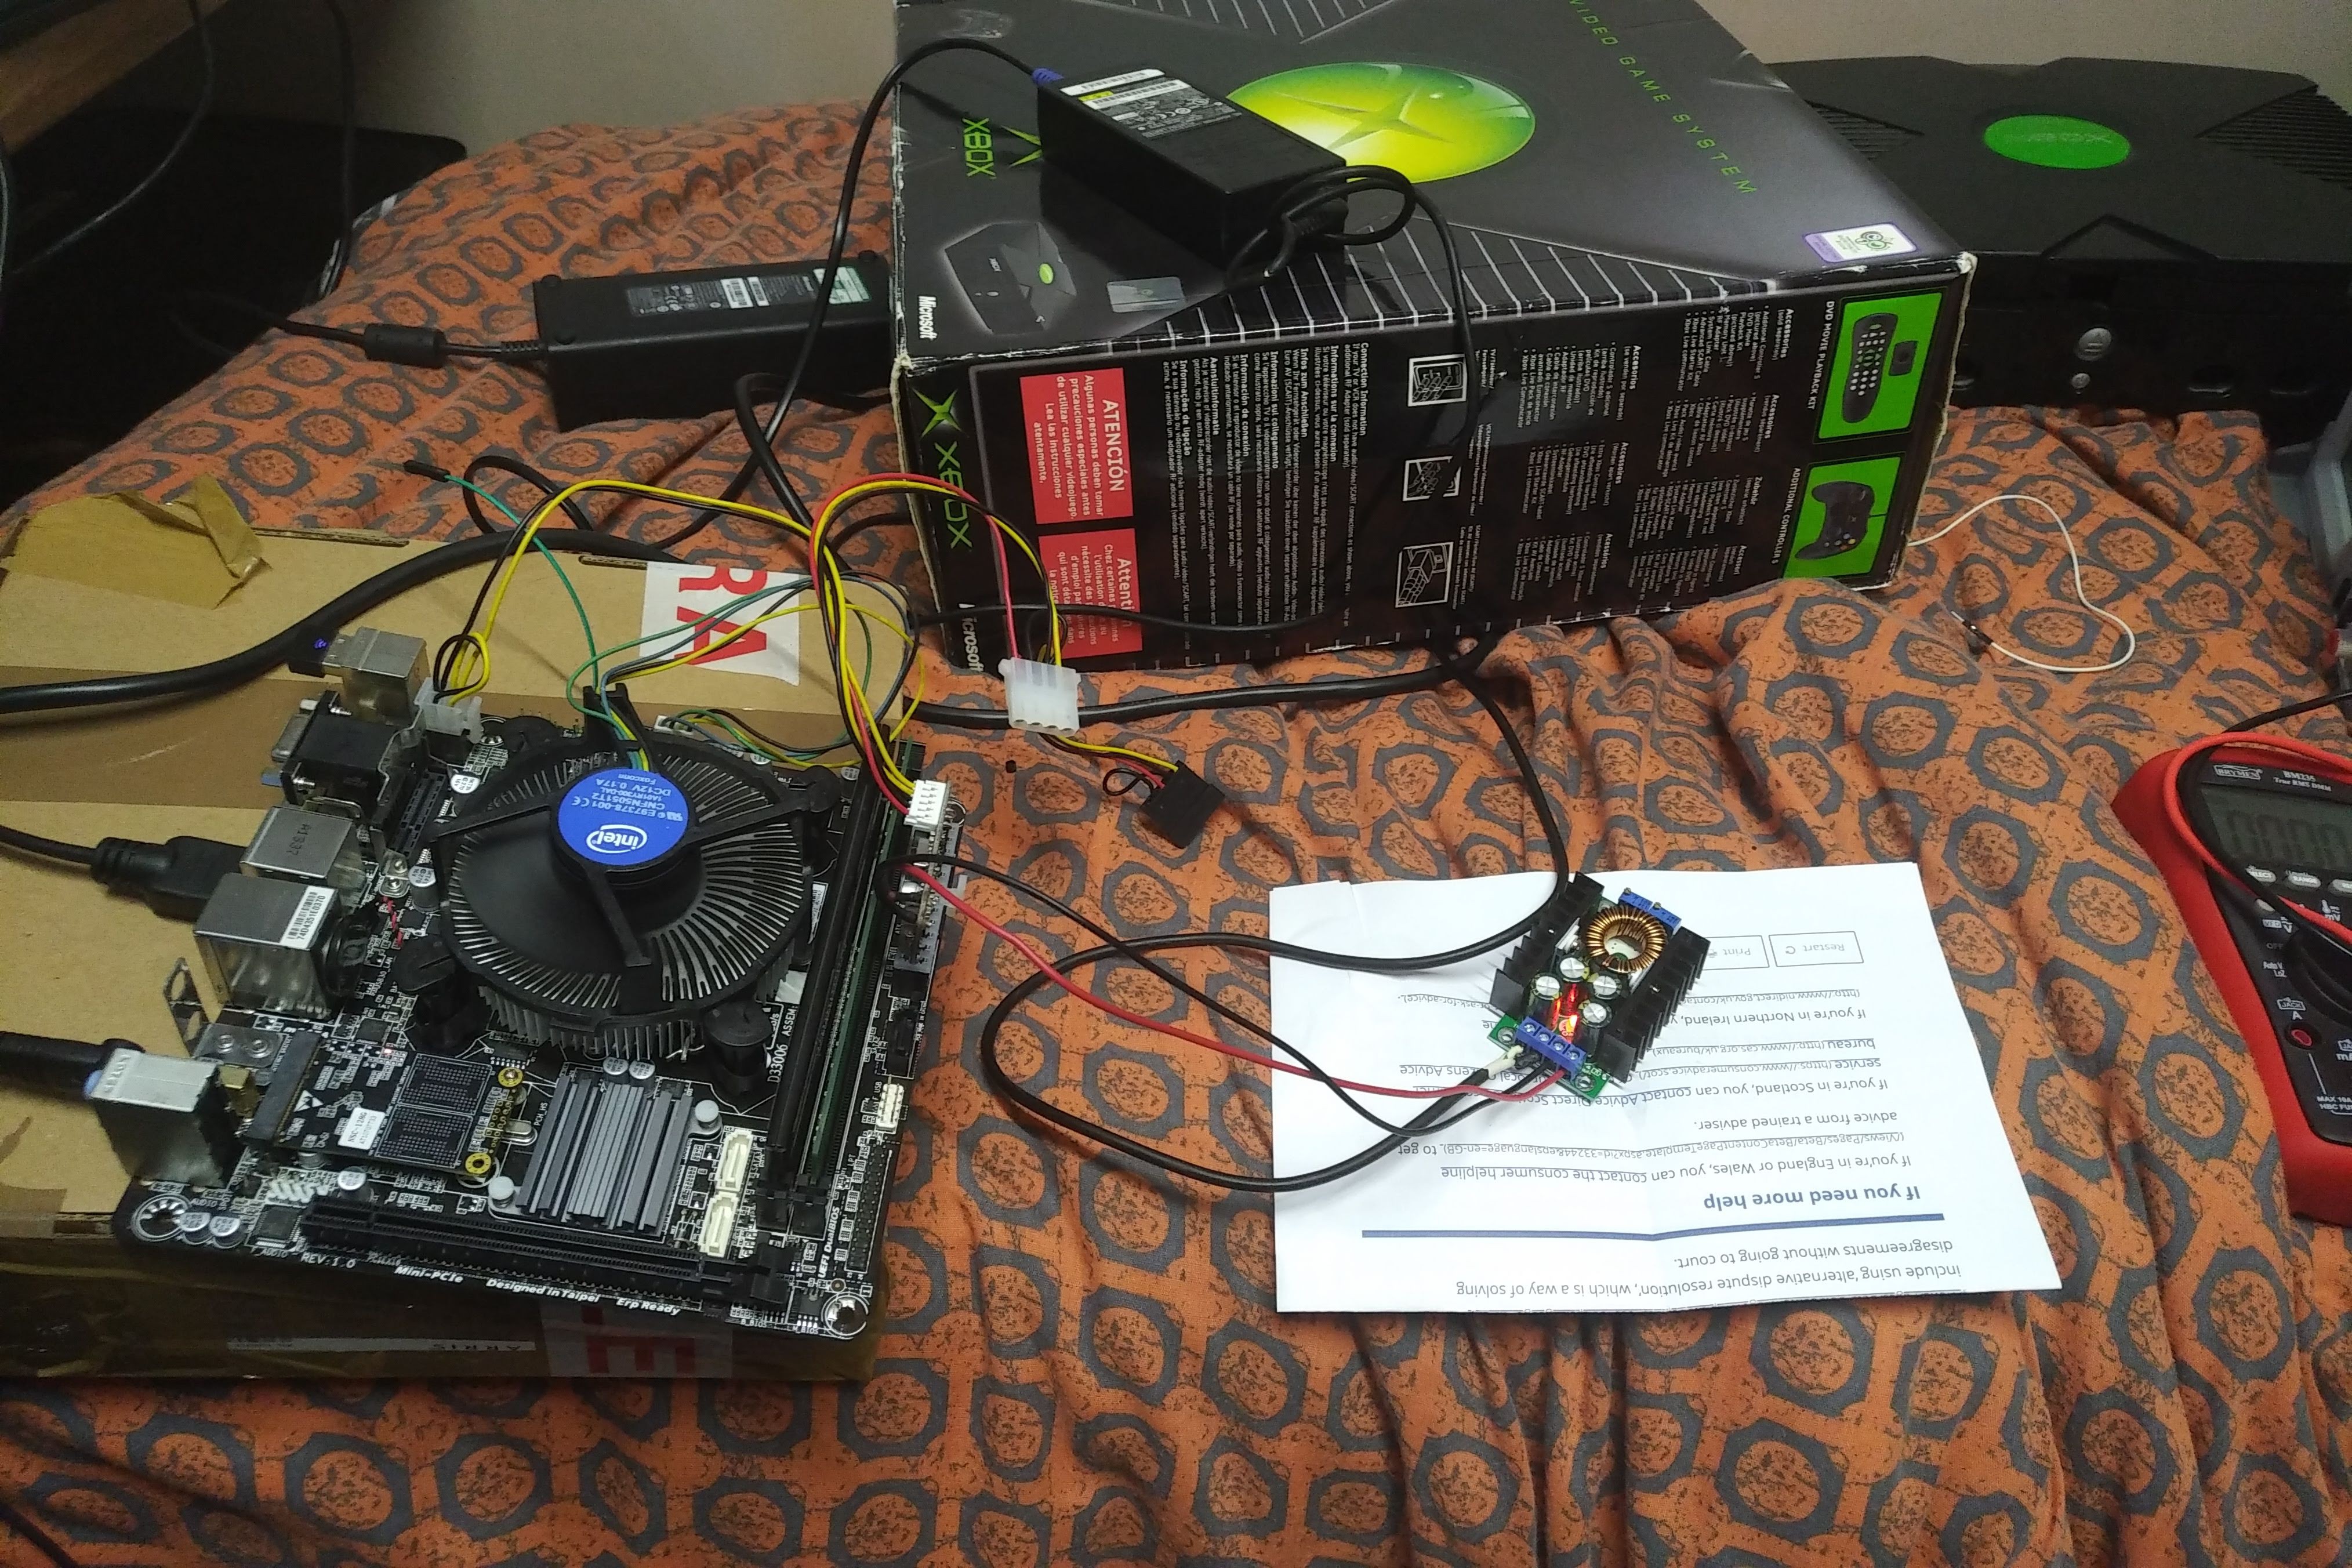
So I then started to neaten it up by trimming the length of wire from the PSU to a much more reasonable amount and wired this into the buck module.
Next was the mains AC cable, the original xbox used a Figure of 8 connector for power and by luck this PSU also used the figure of 8 cable. So what i decided to do was wire a short figure of 8 cable from the original connector to a figure of 8 wire to plug into the PSU.
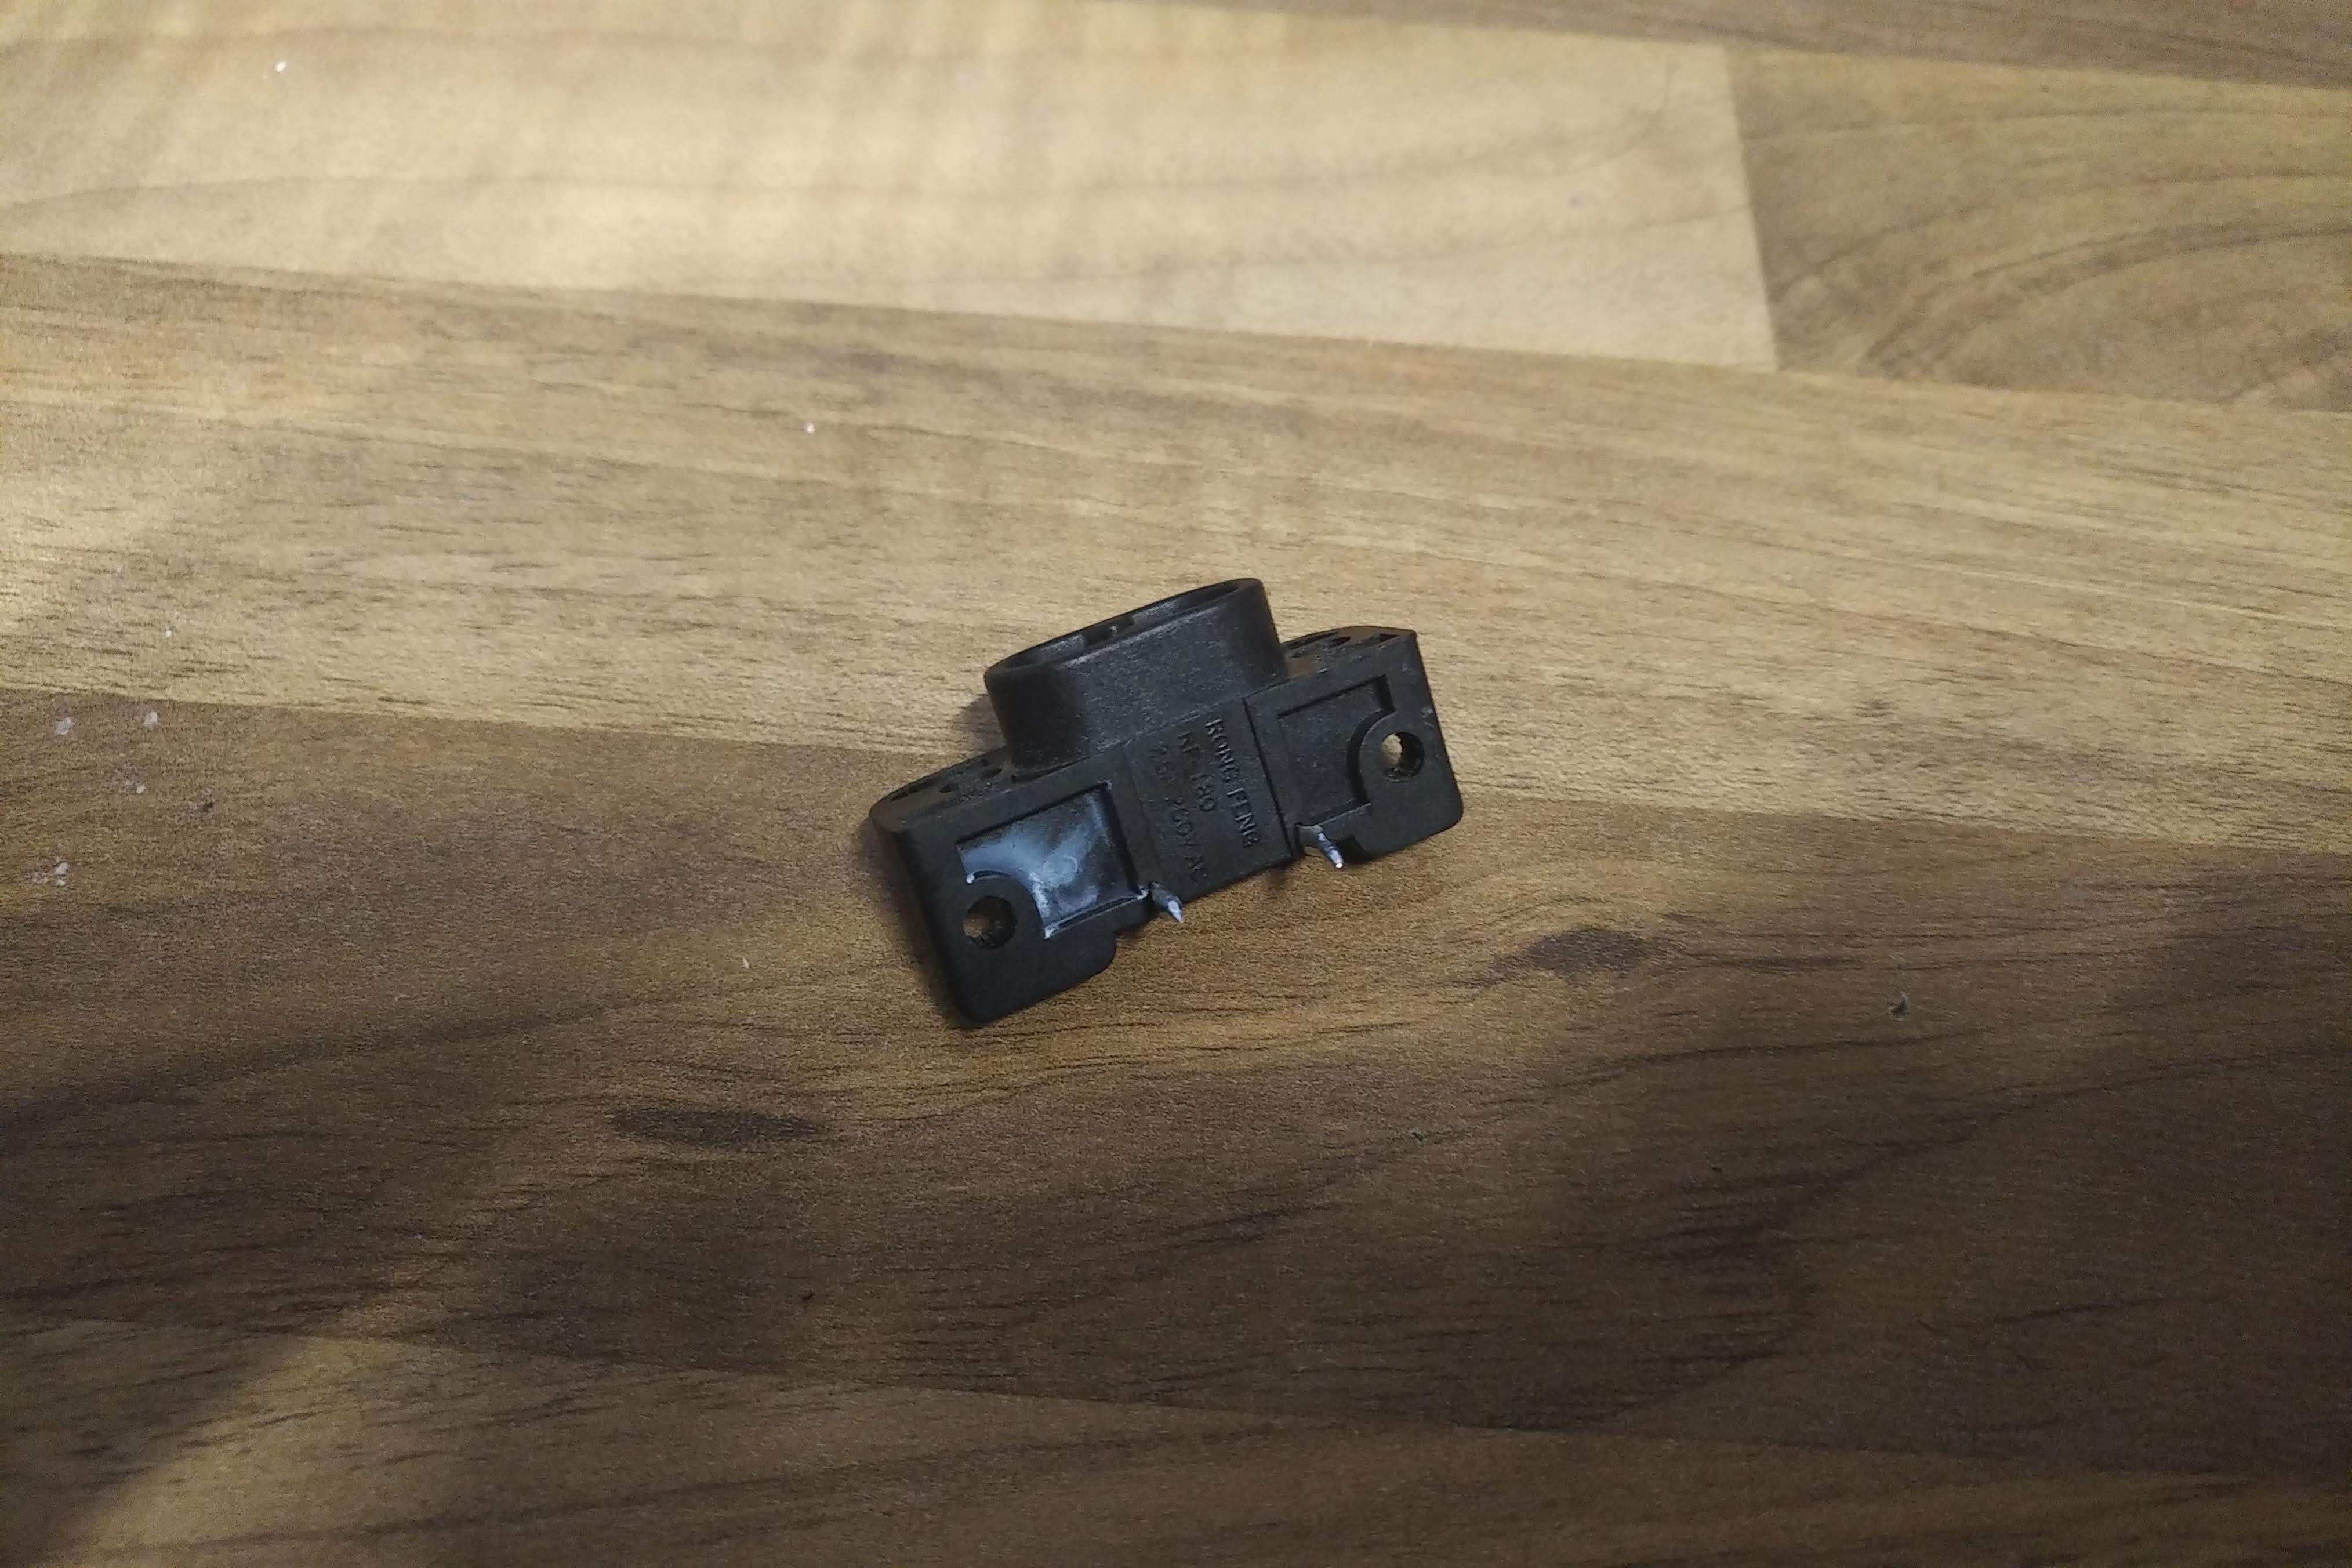
To begin I cut the cable off the sacraficed figure of 8 cable and soldered it to the 2 pins. polarity to a certain extent doesn't matter here as this cable can be plugged in either way.
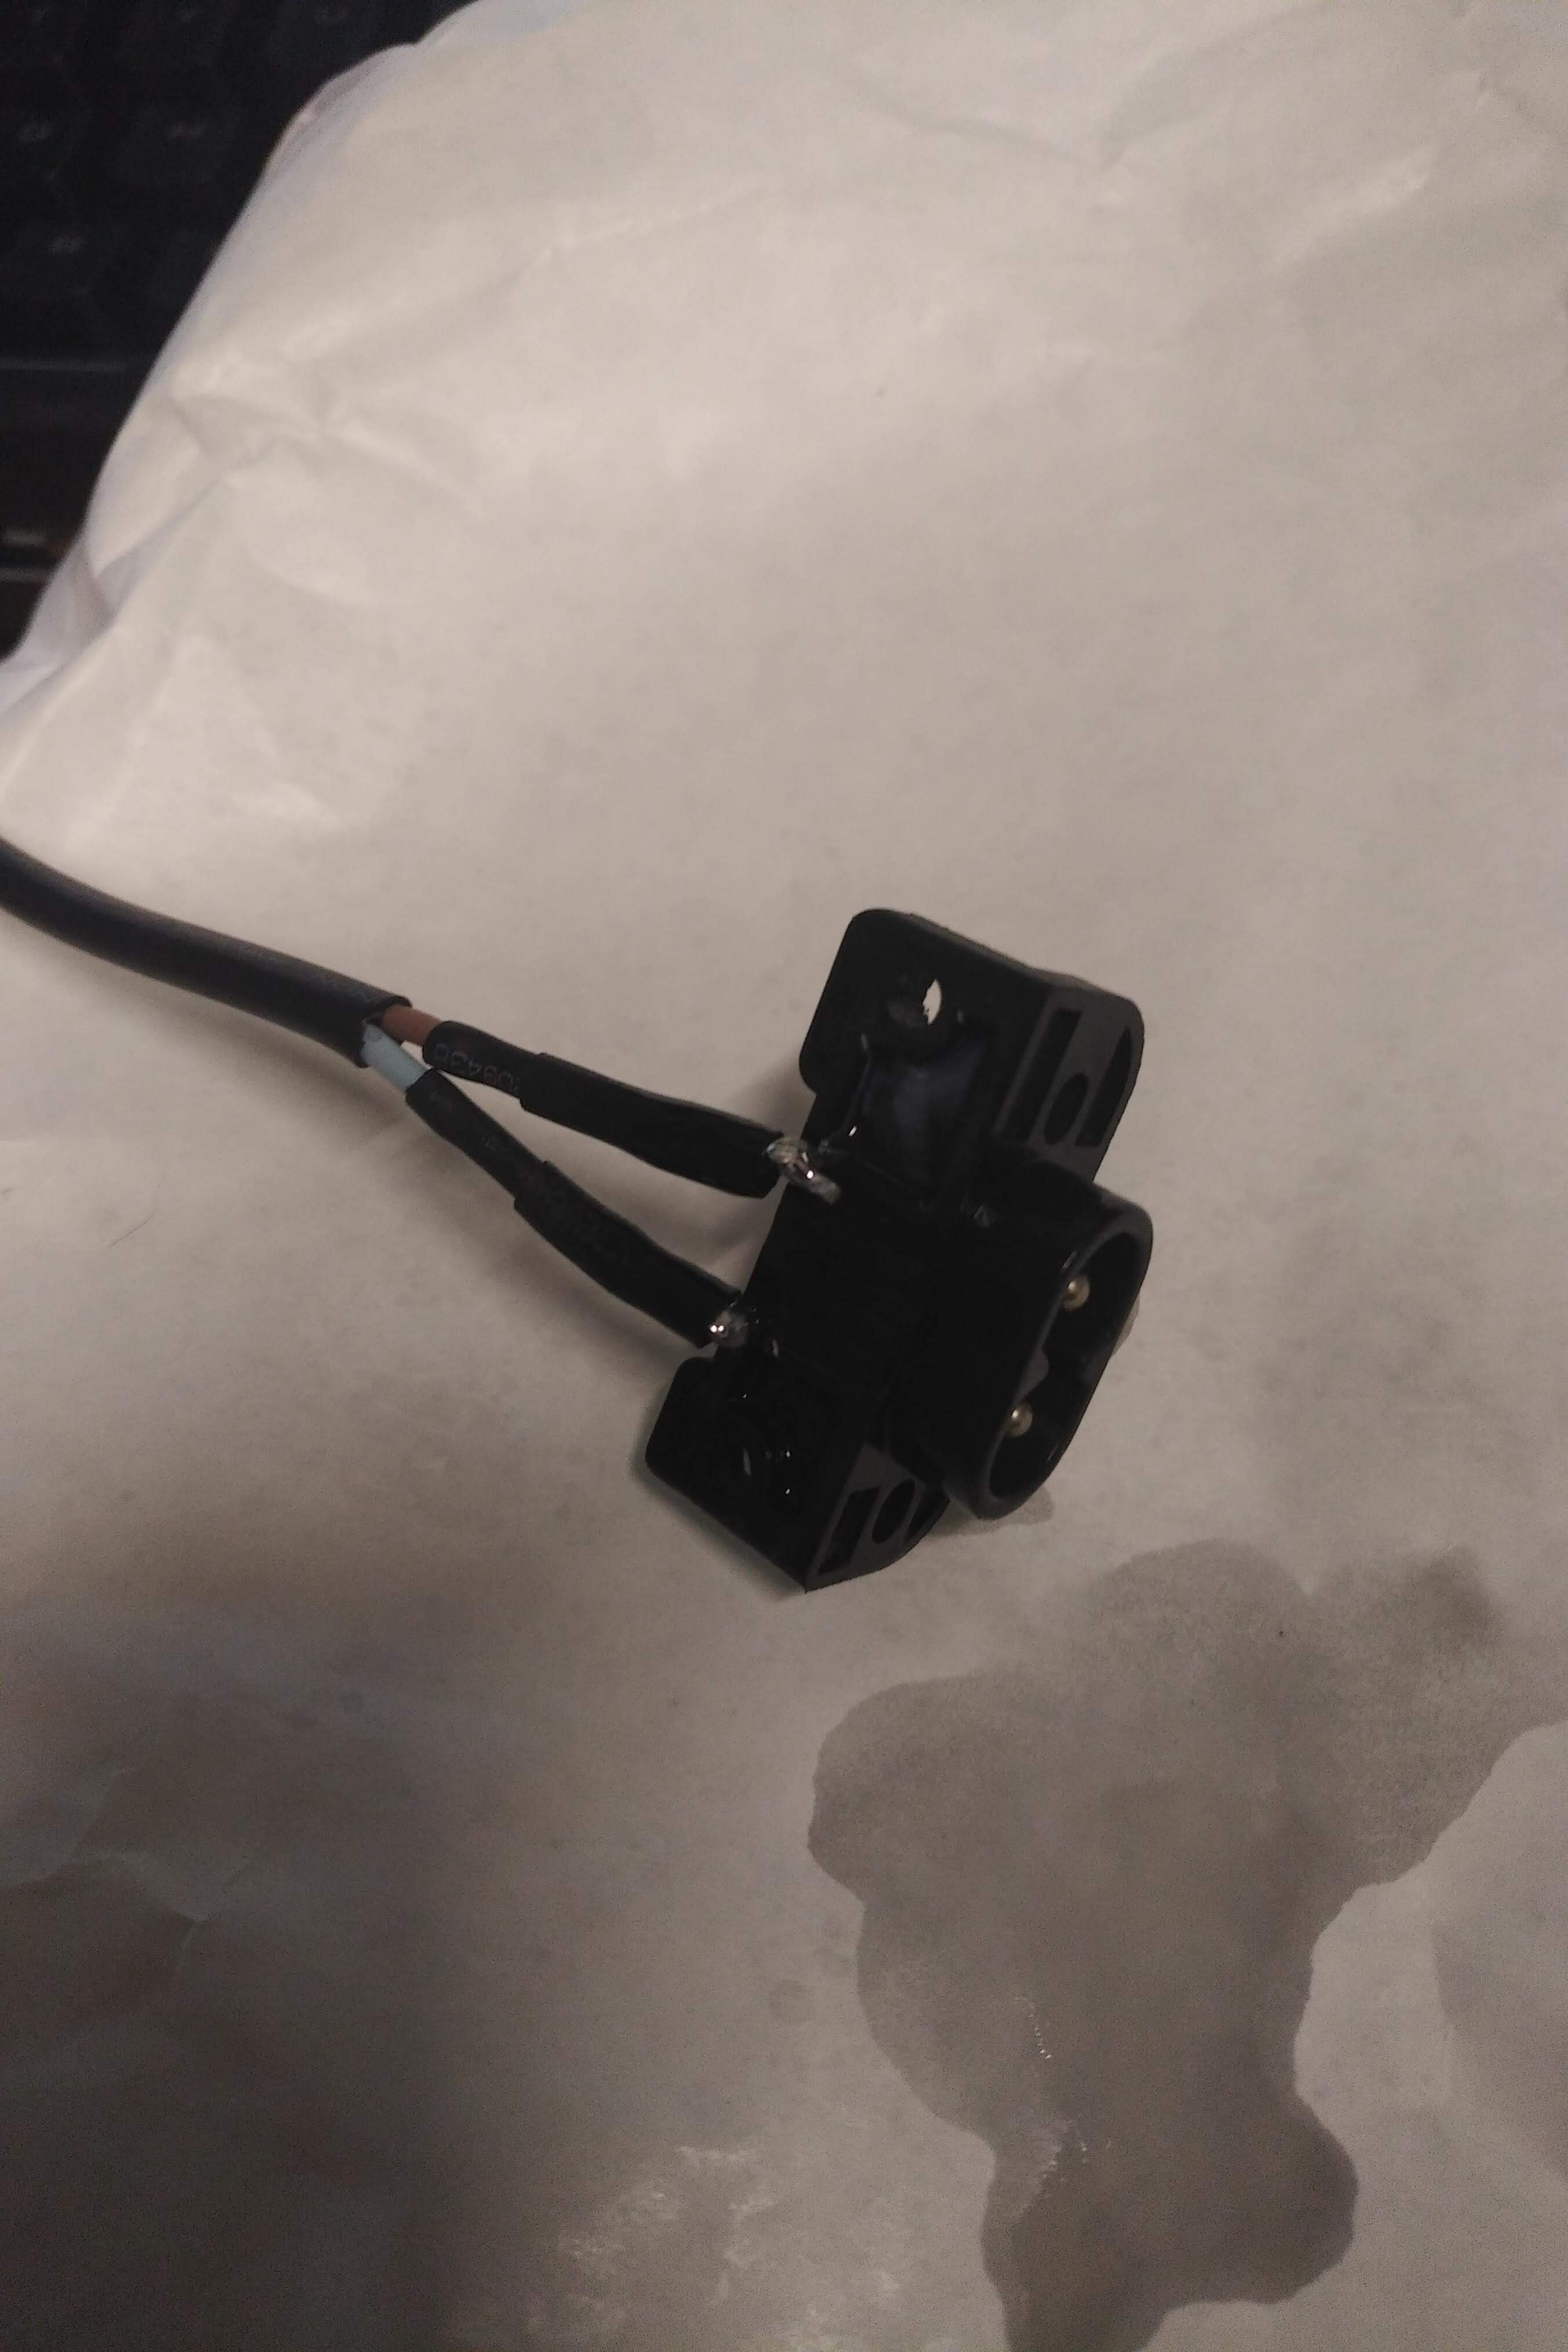
To make it safe I then applied as much heatshrink as I could and then sprayed it with conformal coating which is used to provide electrical insulation however with just my multimeter on continuity mode I was able to test that there wasn't enough of an insulation layer.
Because of this I then "potted" the pins, because I have a resin 3D printer I just dabbed some of the resin on carefully and cured it under my UV light. I done this in very small amounts each time building a little layer ontop of eachother and after curing for around an extra hour had this.
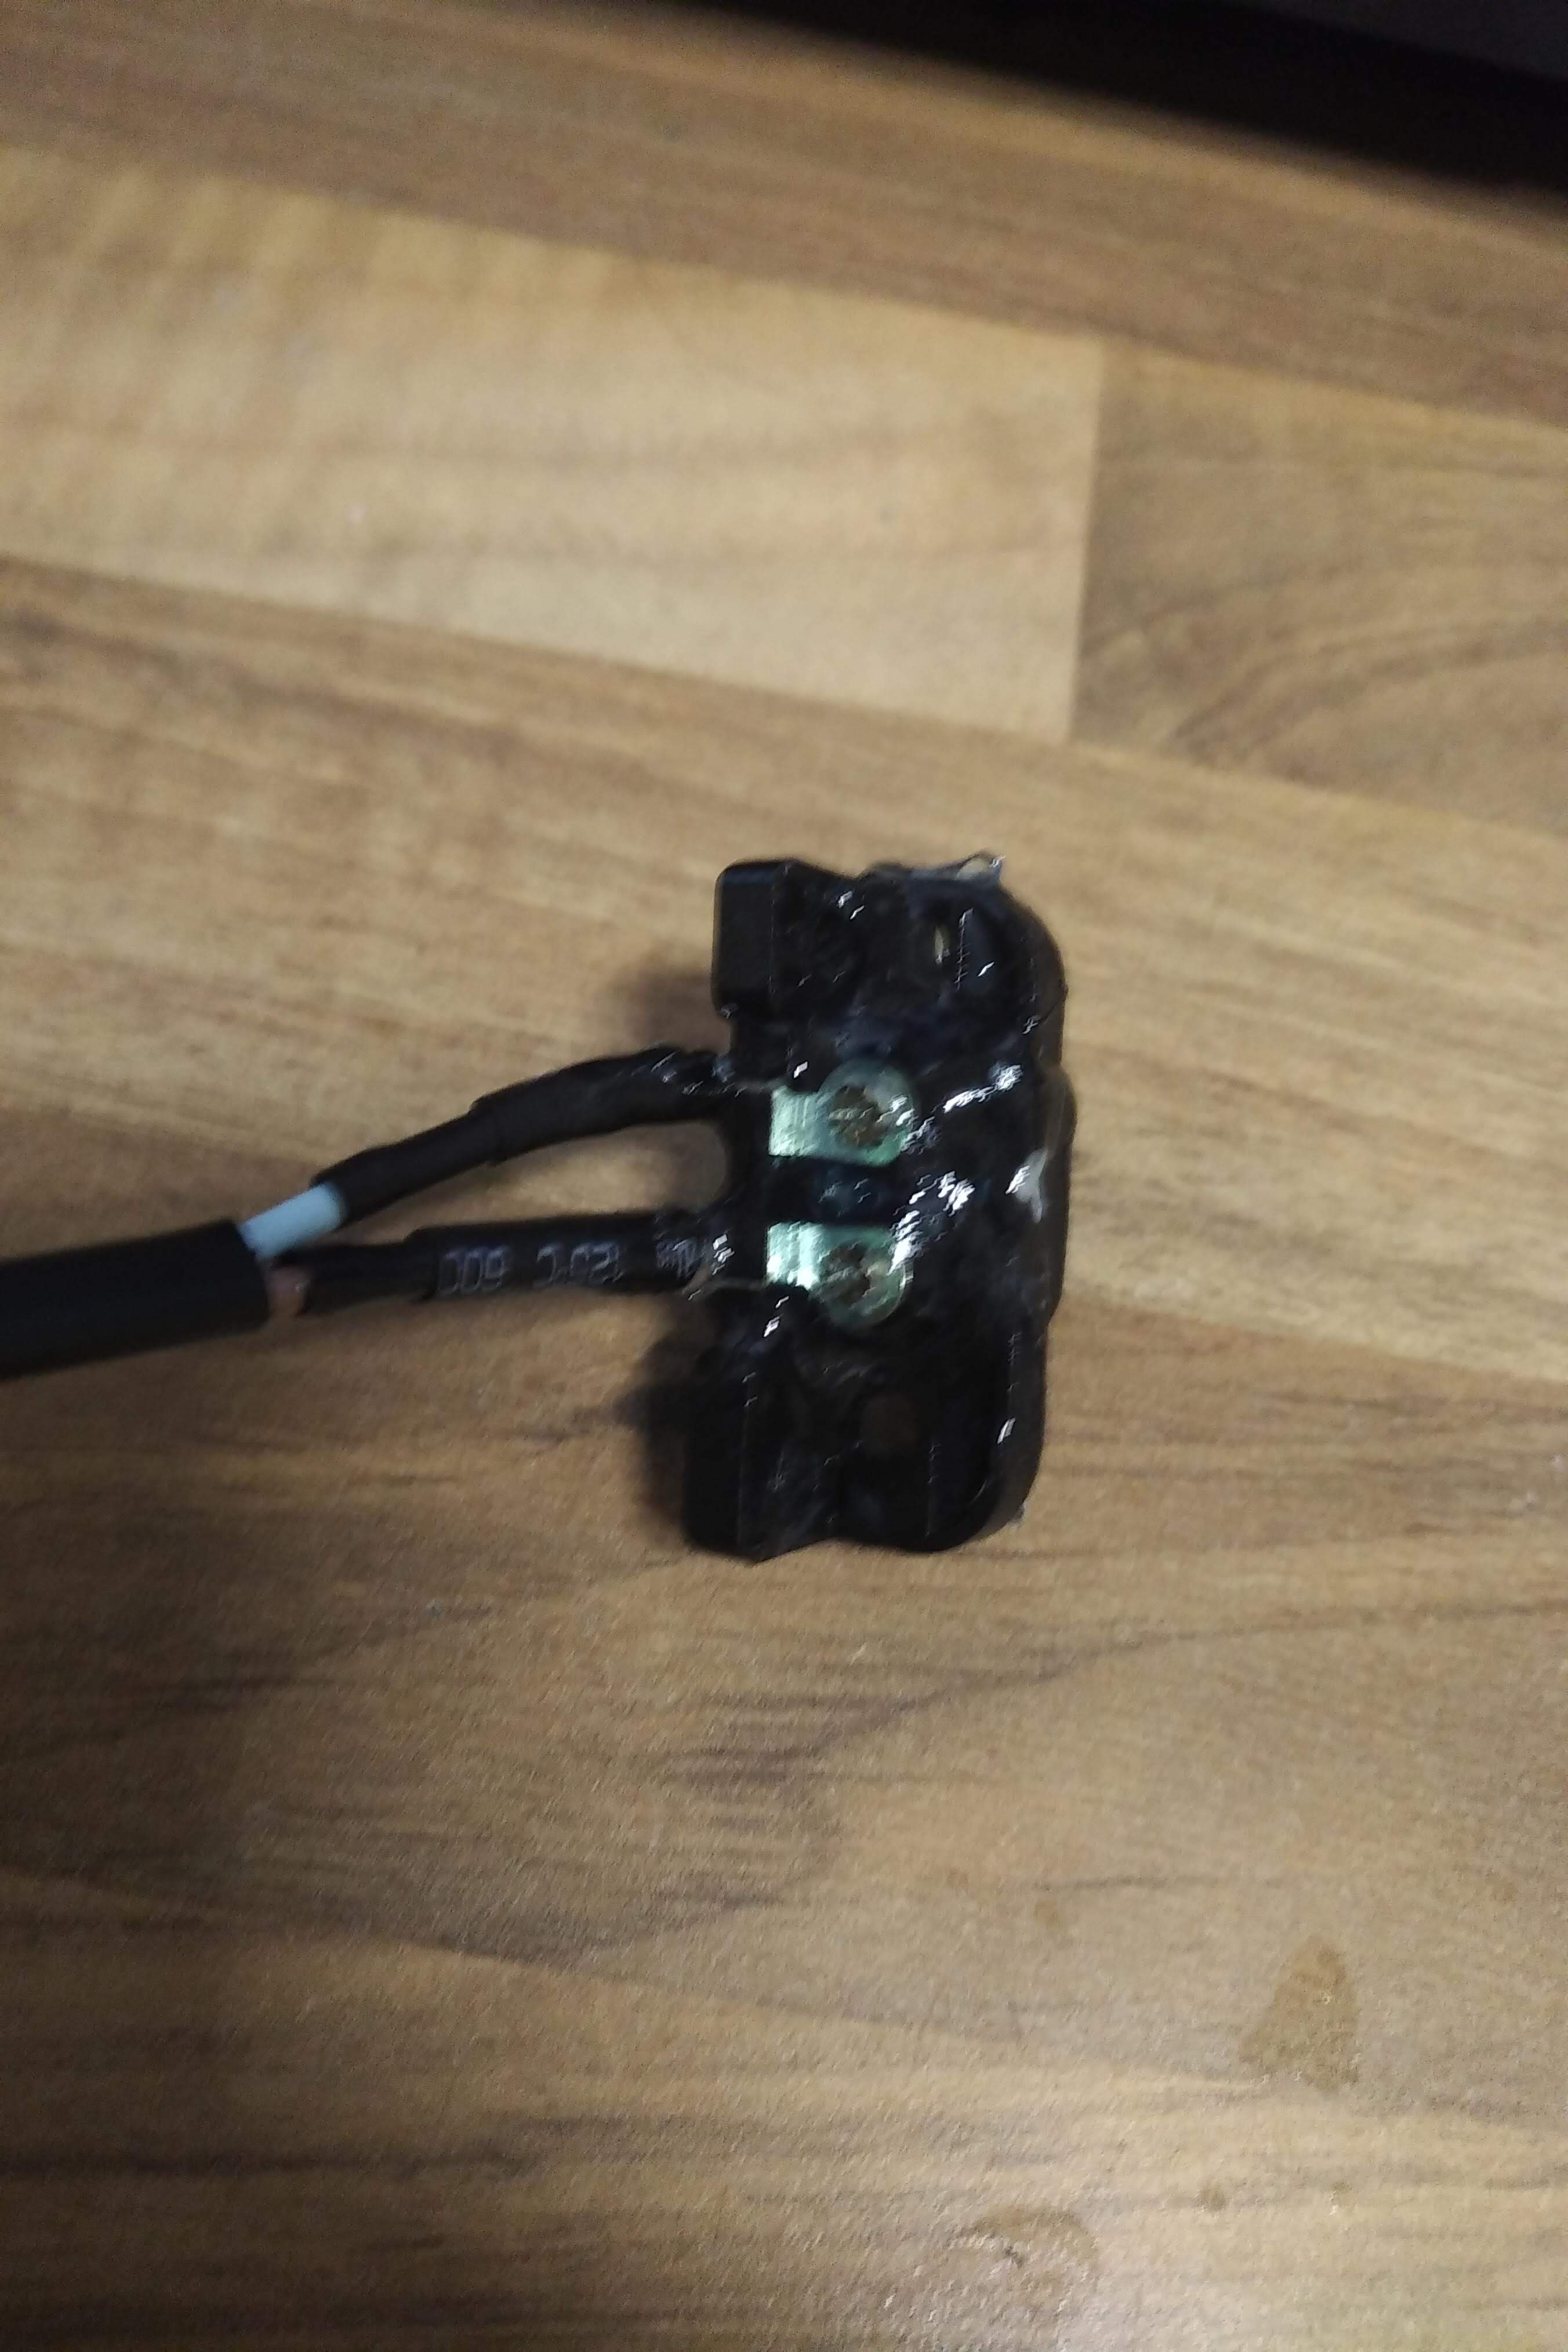
And success it didn't show as being conductive with my multimeter!
Finally to finish up I wanted to properly test it with my PAT Tester. This can test to make sure there's no shorts between the two pins at 500V and that 500V isn't conducting through the resin. And it seemed to pass perfectly fine!
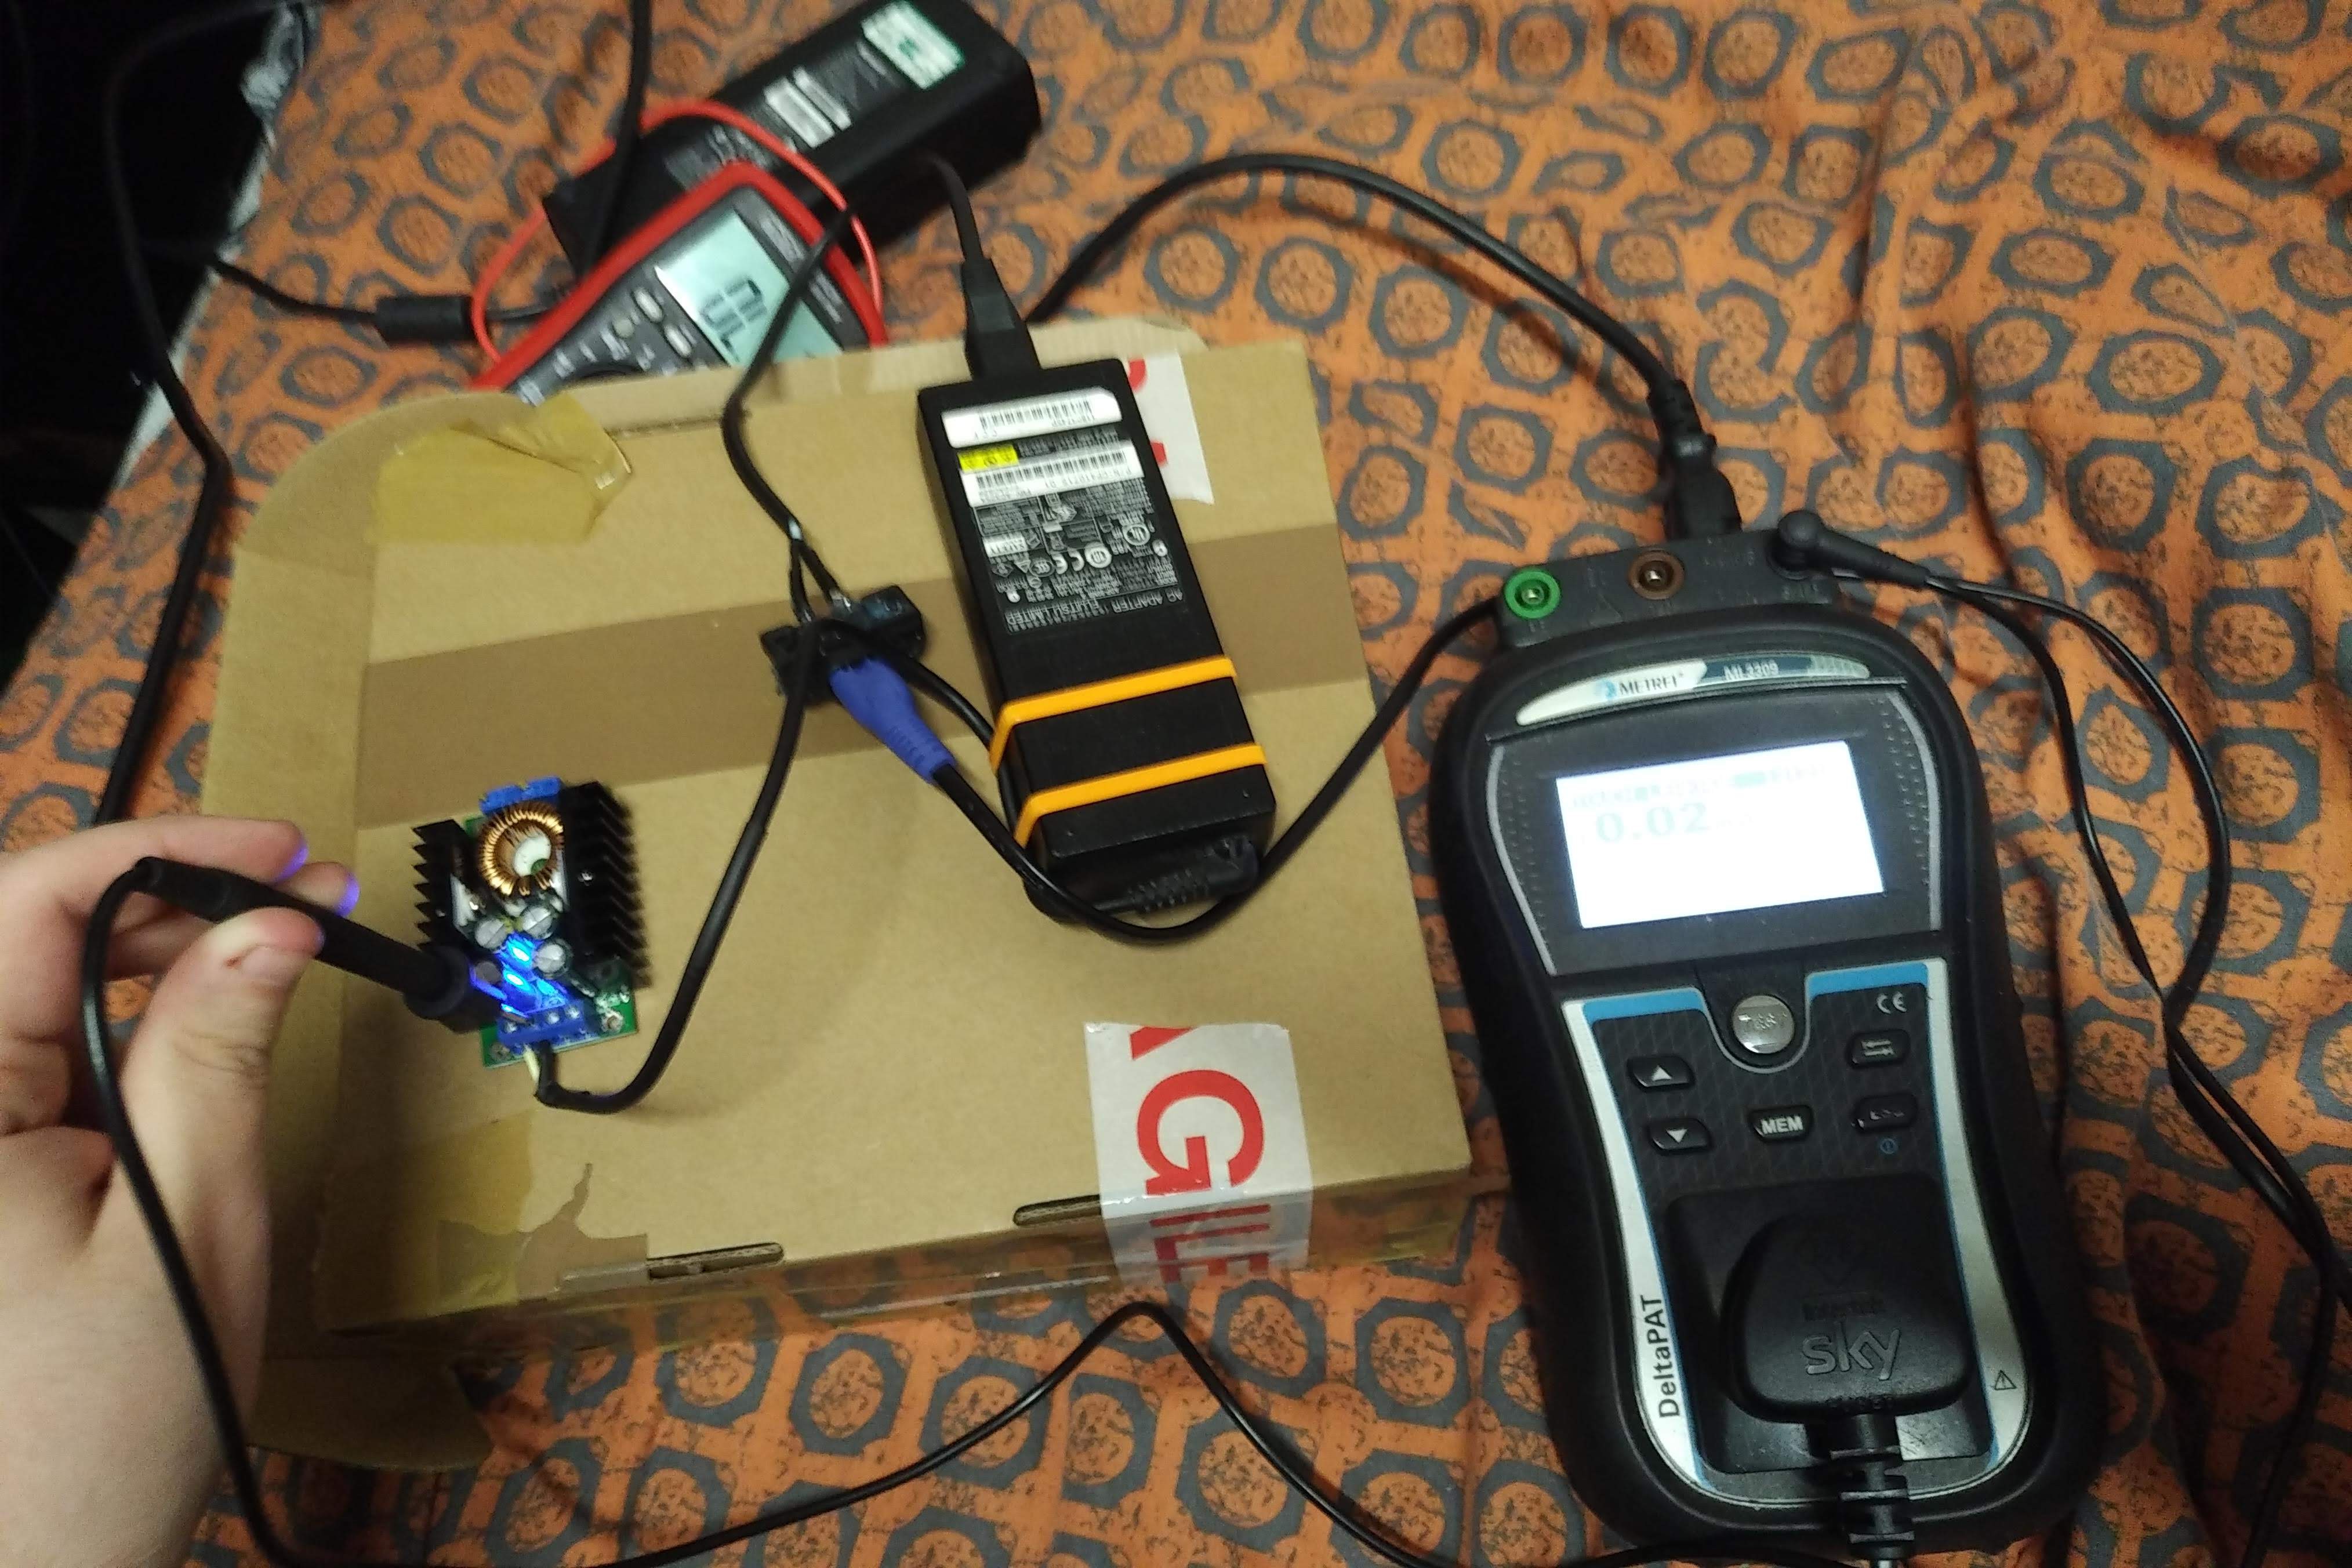
Above is pictured then testing it as a whole to ensure there's no leakage from the AC to DC side either and this passed.
I then superglued the figure of 8 cable in the case and this section was complete.
Discussions
Become a Hackaday.io Member
Create an account to leave a comment. Already have an account? Log In.