Dmitry
These might be very difficult times for many of us, depending on the part of the world you live in. Due to aggravating coronovirus pandemic many countries implemented strict lockdown policies. I myself recently had to spend 14 days in quarantine, staying indoors for 24 hours a day. I decided to make most of it and continue working on the stuff I am excited about, i.e. robotics and machine learning. And this is how aXeleRate was born.
aXeleRate started as a personal project of mine for training YOLOv2 based object detection networks and exporting them to.kmodel format to be run on K210 chip. I also needed to train image classification networks. And sometimes I needed to run inference with Tensorflow Lite on Raspberry Pi. As a result I had a whole bunch of disconnected scripts with somewhat overlapping functionality. So, I decided to fix that by combining all the elements in an easy to use package and as a bonus part – making it fully compatible with Google Colab.
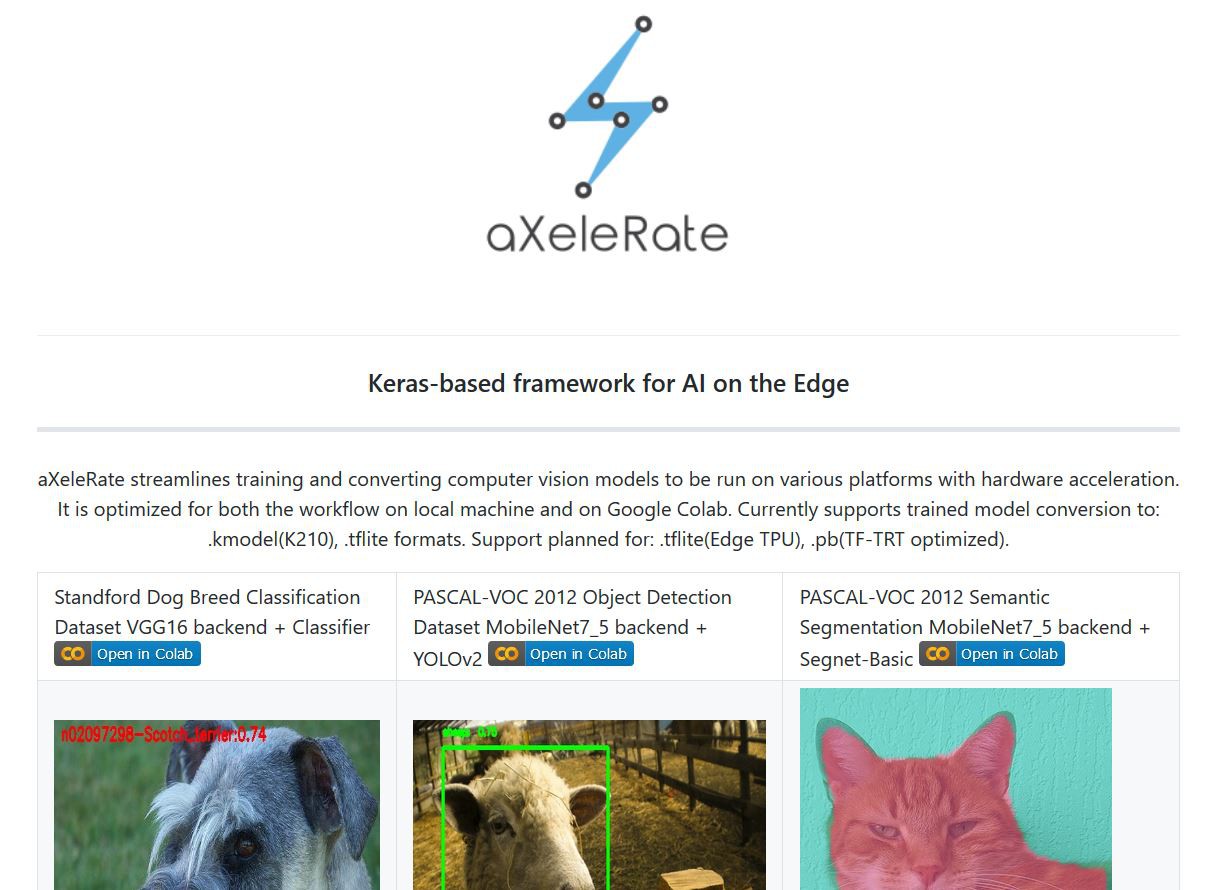
aXeleRate is meant for people who need to run computer vision applications (image classification, object detection, semantic segmentation) on the edge devices with hardware acceleration. It has easy configuration process through config file or config dictionary (for Google Colab) and automatic conversion of the best model for training session into the required file format. You put the properly formatted data in, start the training script and come back to see a converted model that is ready for deployment on your device!
Here is quick rundown of the features:
Key Features
- Supports multiple computer vision models: object detection(YOLOv2), image classification, semantic segmentation(SegNet-basic)
- Different feature extractors to be used with the above network types: Full Yolo, Tiny Yolo, MobileNet, SqueezeNet, VGG16, ResNet50, and Inception3.
- Automatic conversion of the best model for the training session. aXeleRate will download the suitable converter automatically.
- Currently supports trained model conversion to:.kmodel(K210),.tflite formats. Support planned for:.tflite(Edge TPU),.pb(TF-TRT optimized).
- Model version control made easier. Keras model files and converted models are saved in the project folder, grouped by the training date. Training history is saved as.png graph in the model folder.
- Two modes of operation: locally, with train.py script and.json config file and remote, tailored for Google Colab, with module import and dictionary config.
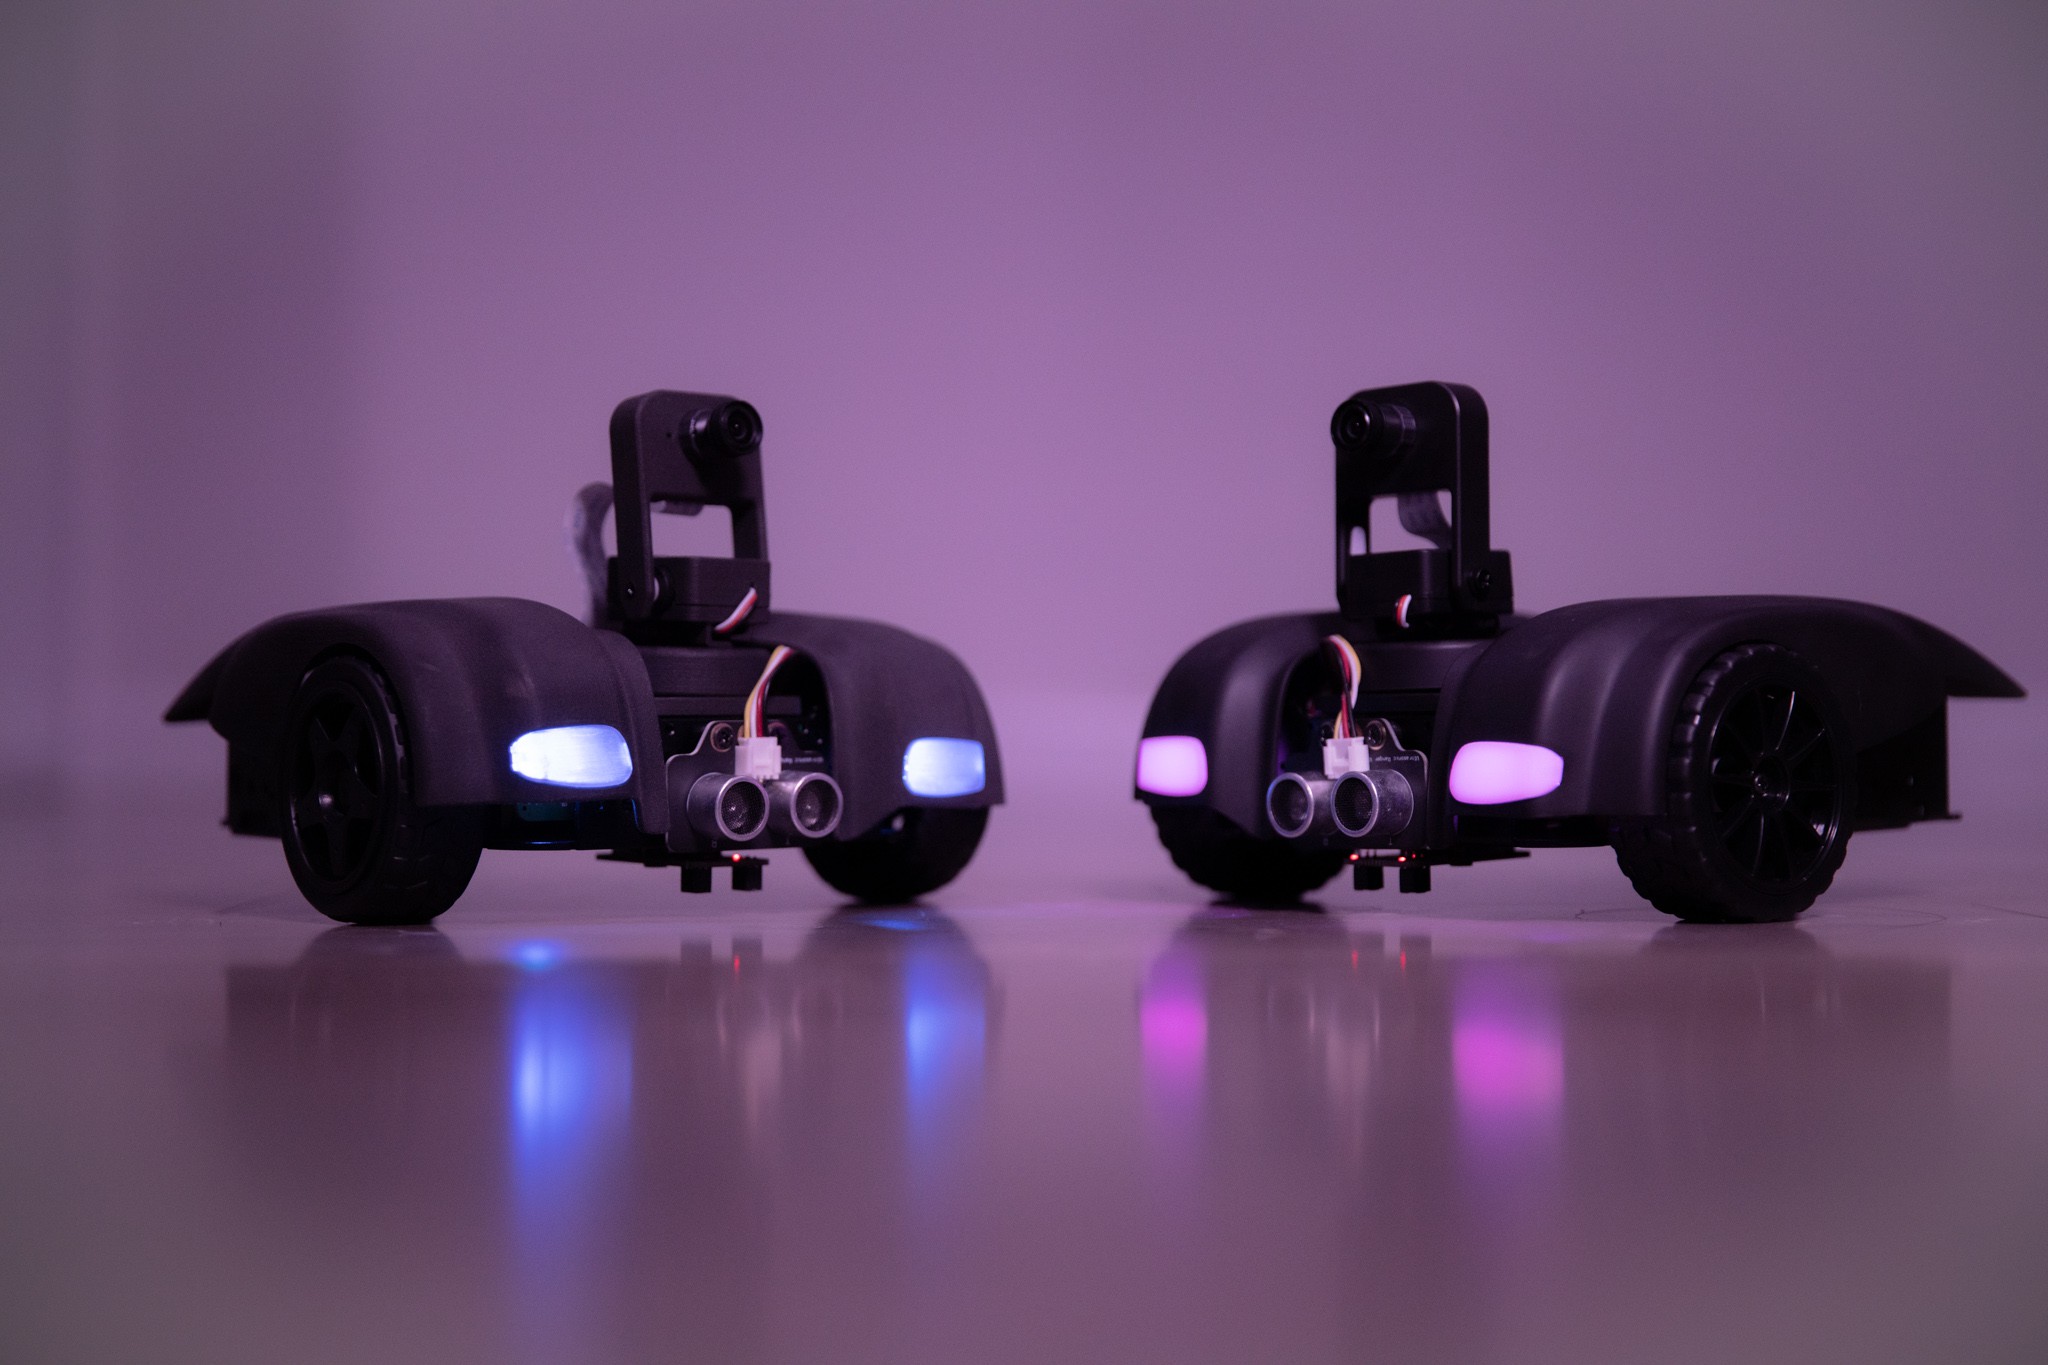
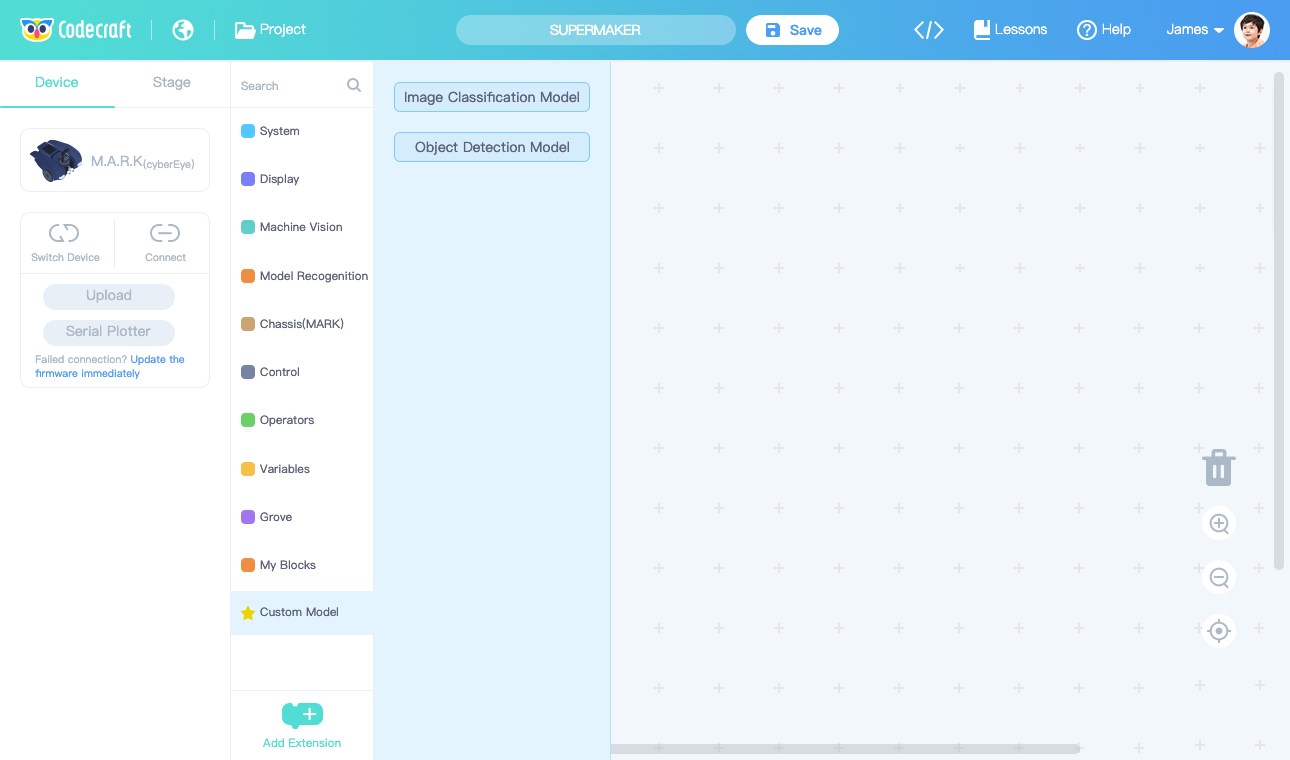
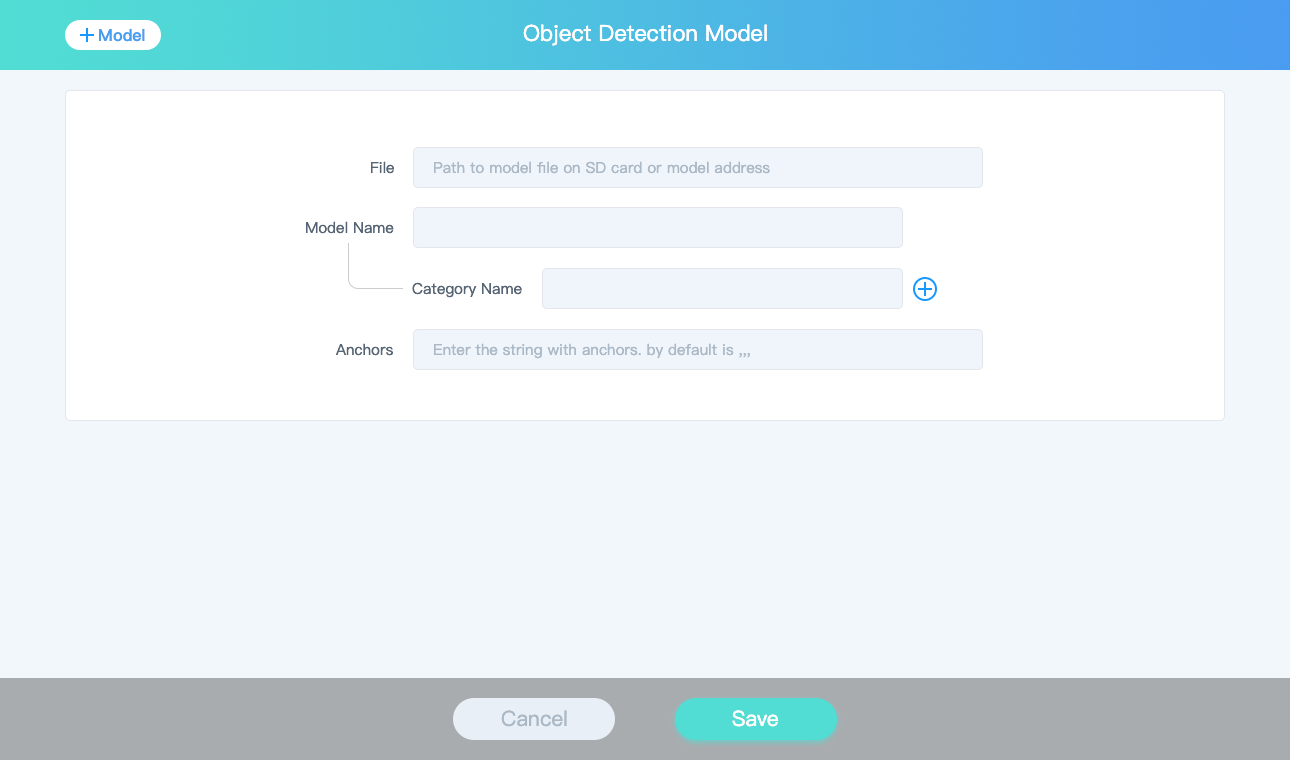
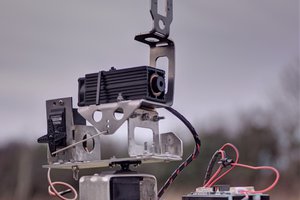
In this article we’re going to train a person detection model for use with K210 chip on cyberEye board installed on M.A.R.K. mobile platform. M.A.R.K. (I'll call it MARK in text) stands for Make a Robot Kit and it is an educational robot platform in development by TinkerGen education. I take part in the development of MARK and we’re currently preparing to launch a Kickstarter campaign. One of the main features of MARK is making machine learning concepts and workflow more transparent and easier to understand and use for teachers and students.
 Capt. Flatus O'Flaherty ☠
 Shakhizat
 Johanna Shi