 fpp
fppBeing French, the terms "vertical cooling" immediately bring to mind those huge cooling towers we see next to power plants all over the country (as in the gallery picture #1). Most of them are nuclear, hence the project title...
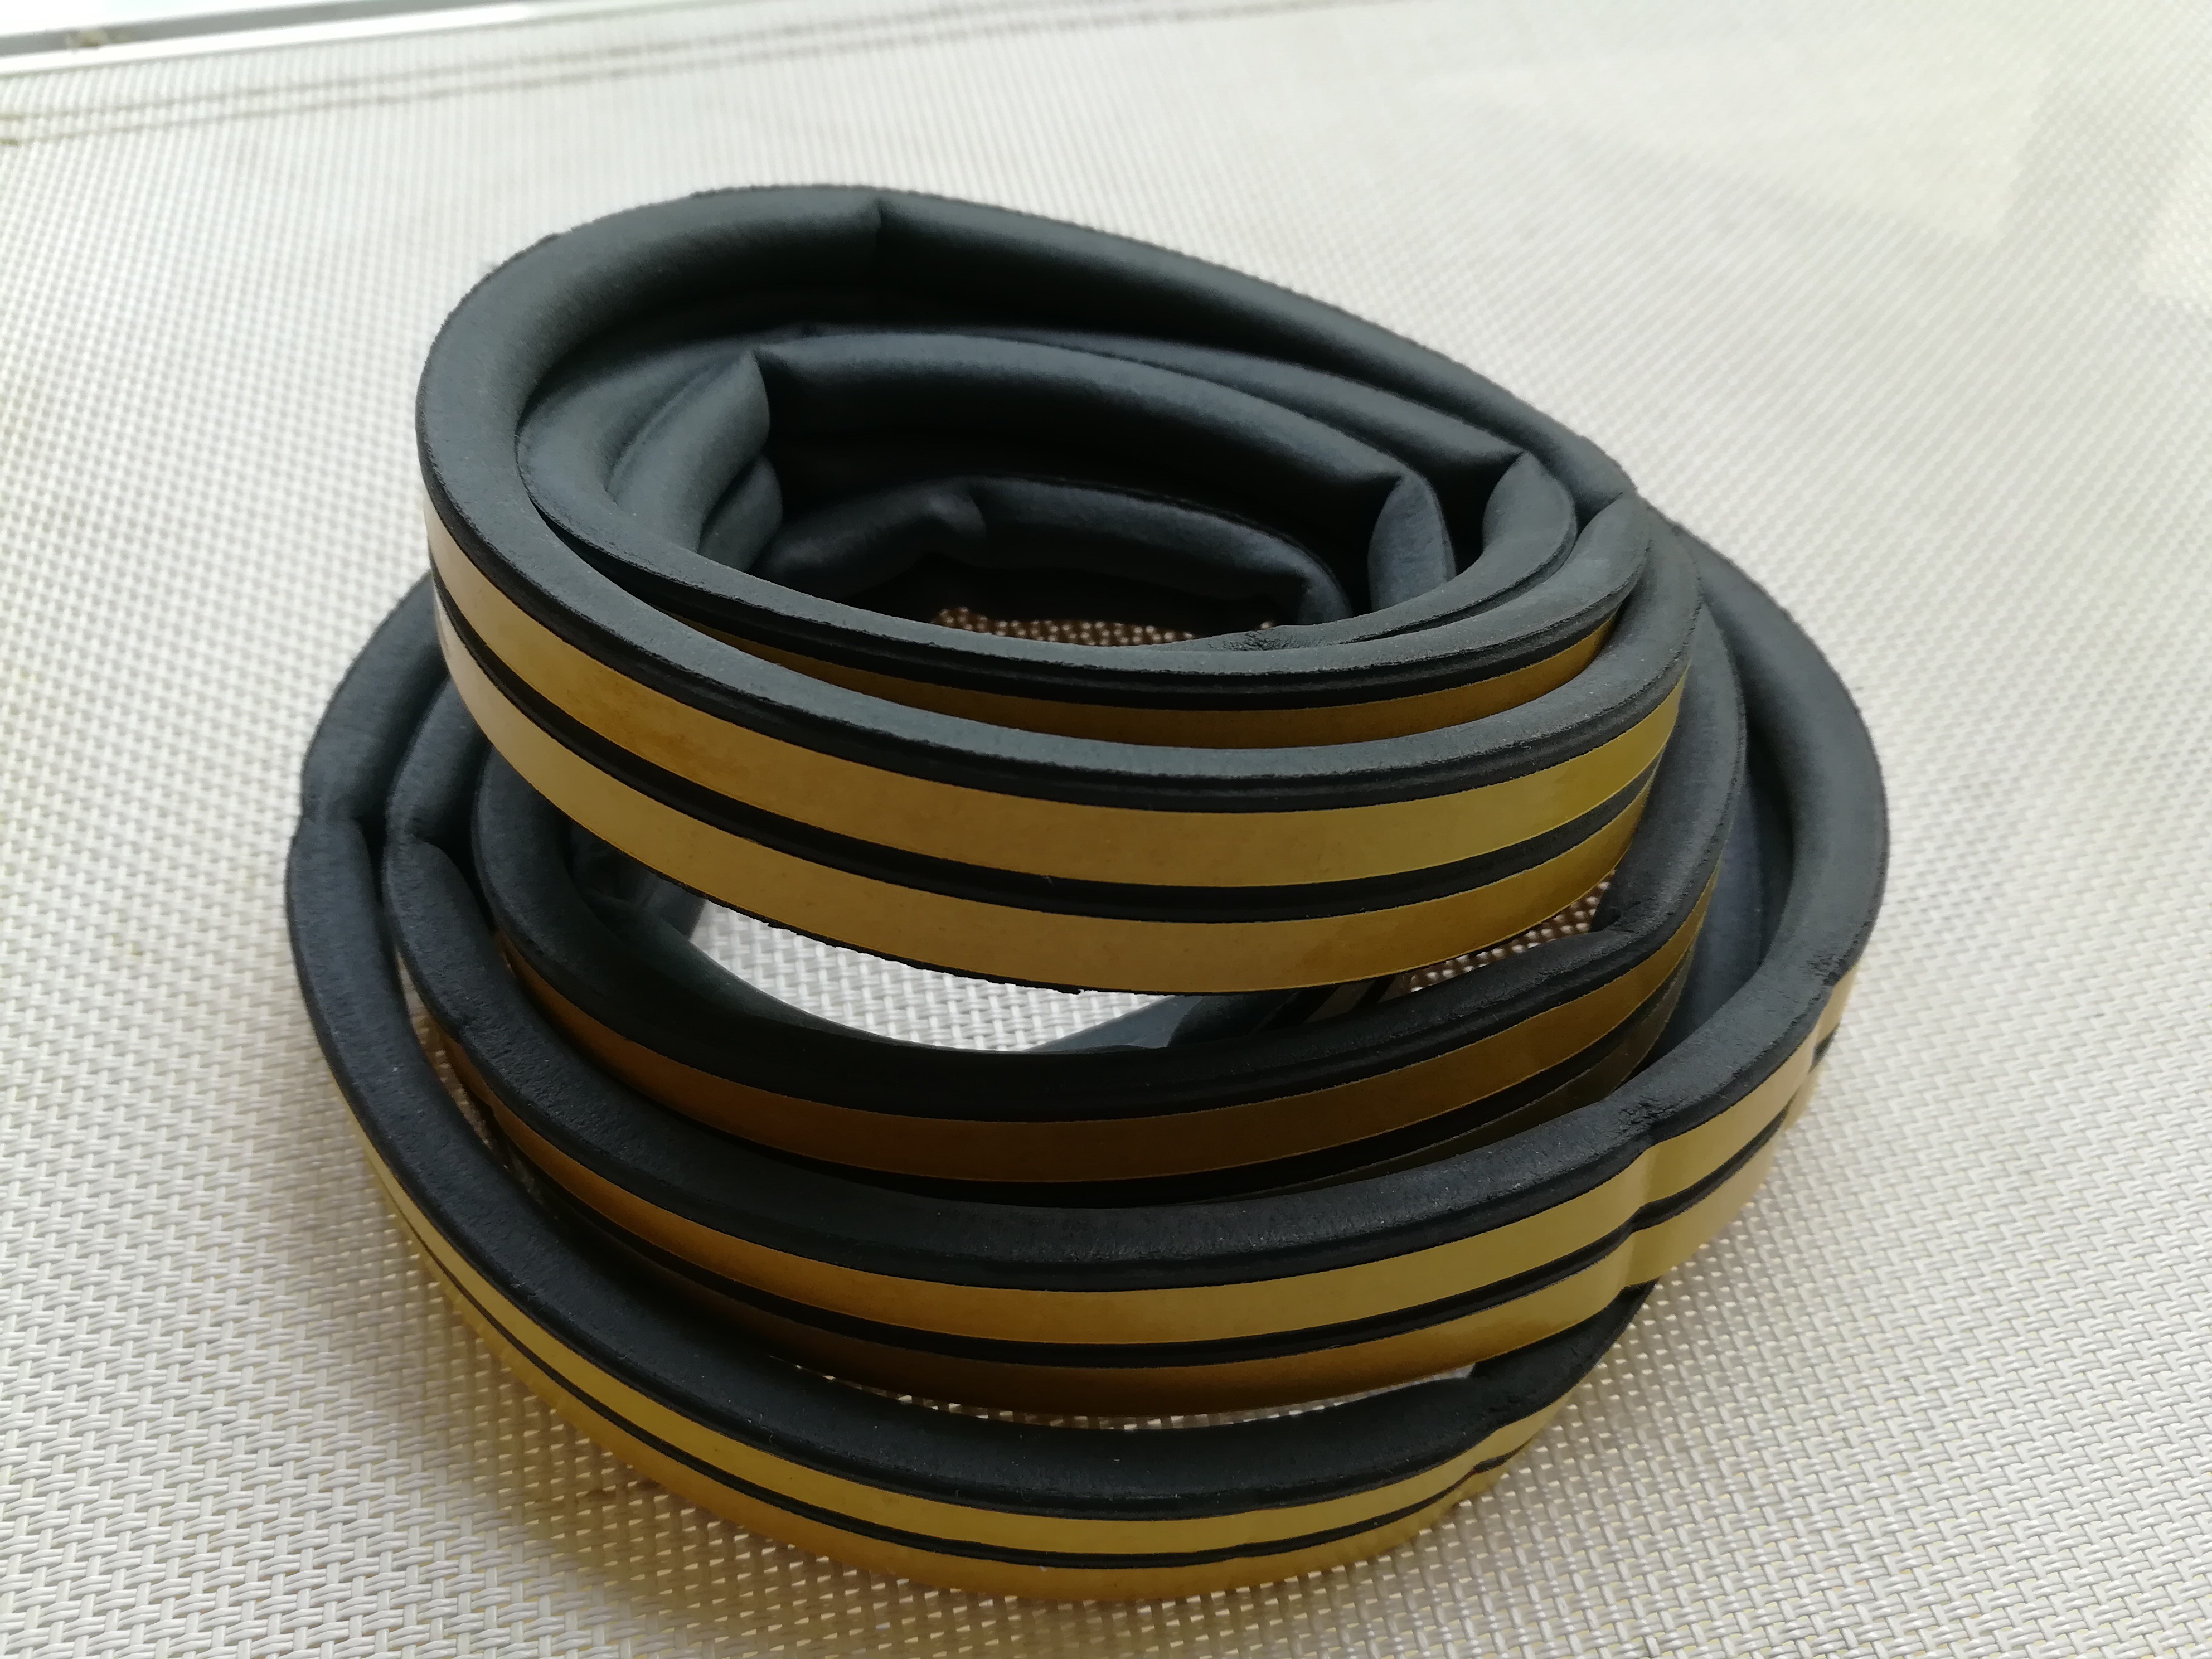
So I went trawling through my garage workshop for something appropriate, and struck gold : the thingy in the gallery picture #2.
It's an adapter that connects two types of air duct plastic tubing : round on one side, narrow (well, flattish with curved sides) on the other.
The round side is 8 cm in diameter, like many PC fans. The narrow side is 10 by 4 cm. Vertically it's 10 cm.
In others words, it could have been made to order for a raspberry and a fan :-)
There's nothing quite so vindicating as finally finding an interesting and bespoke use for an unglamorous item that's been sitting there unheeded for 20 years ! :)
But it gets better : our accidental "cooling tower" has a number of "unintended features" which turn out to be really useful for my purposes:
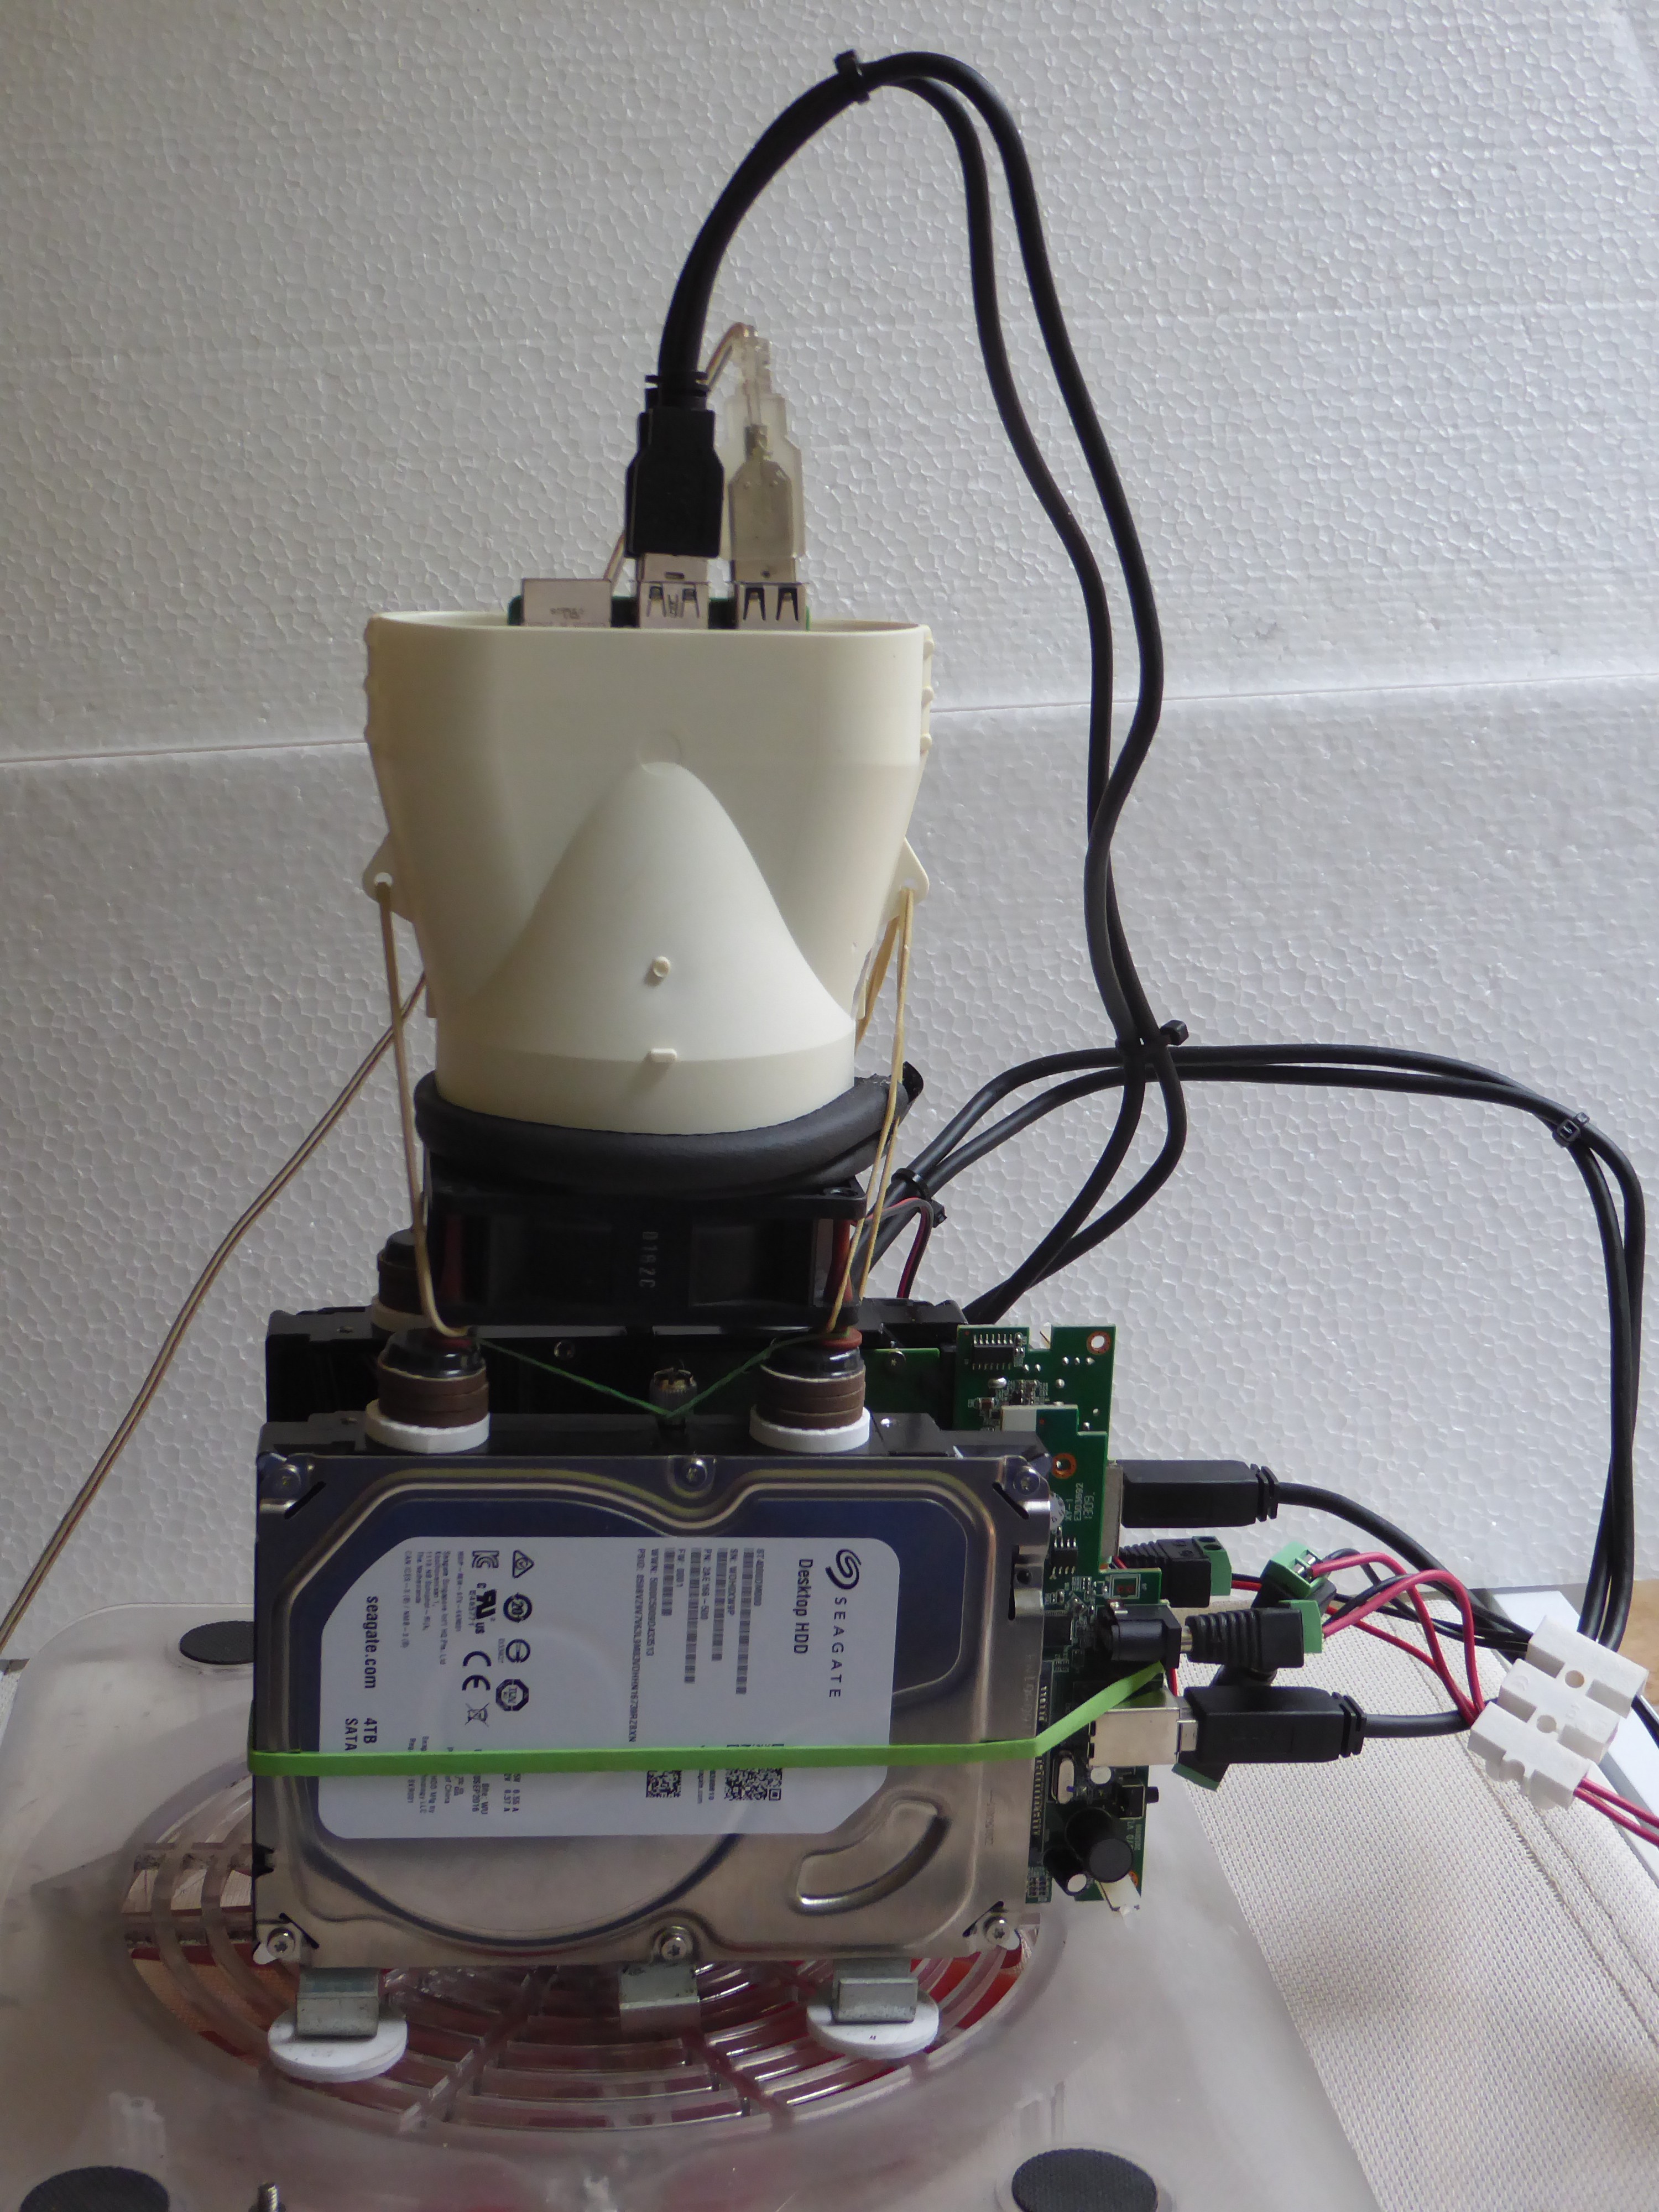
- looking at picture #3 you will see that the narrow end (which will be the at the top) has a ridge and a clip below the rim (to keep an inserted tube in place, I guess)
- here comes the first minor miracle : if you almost-but-not-quite insert the brass stand-offs in the board's mounting holes, just as in the picture, the stand-offs will come to rest on the ridge opposite, and press the USB ports to the other side.
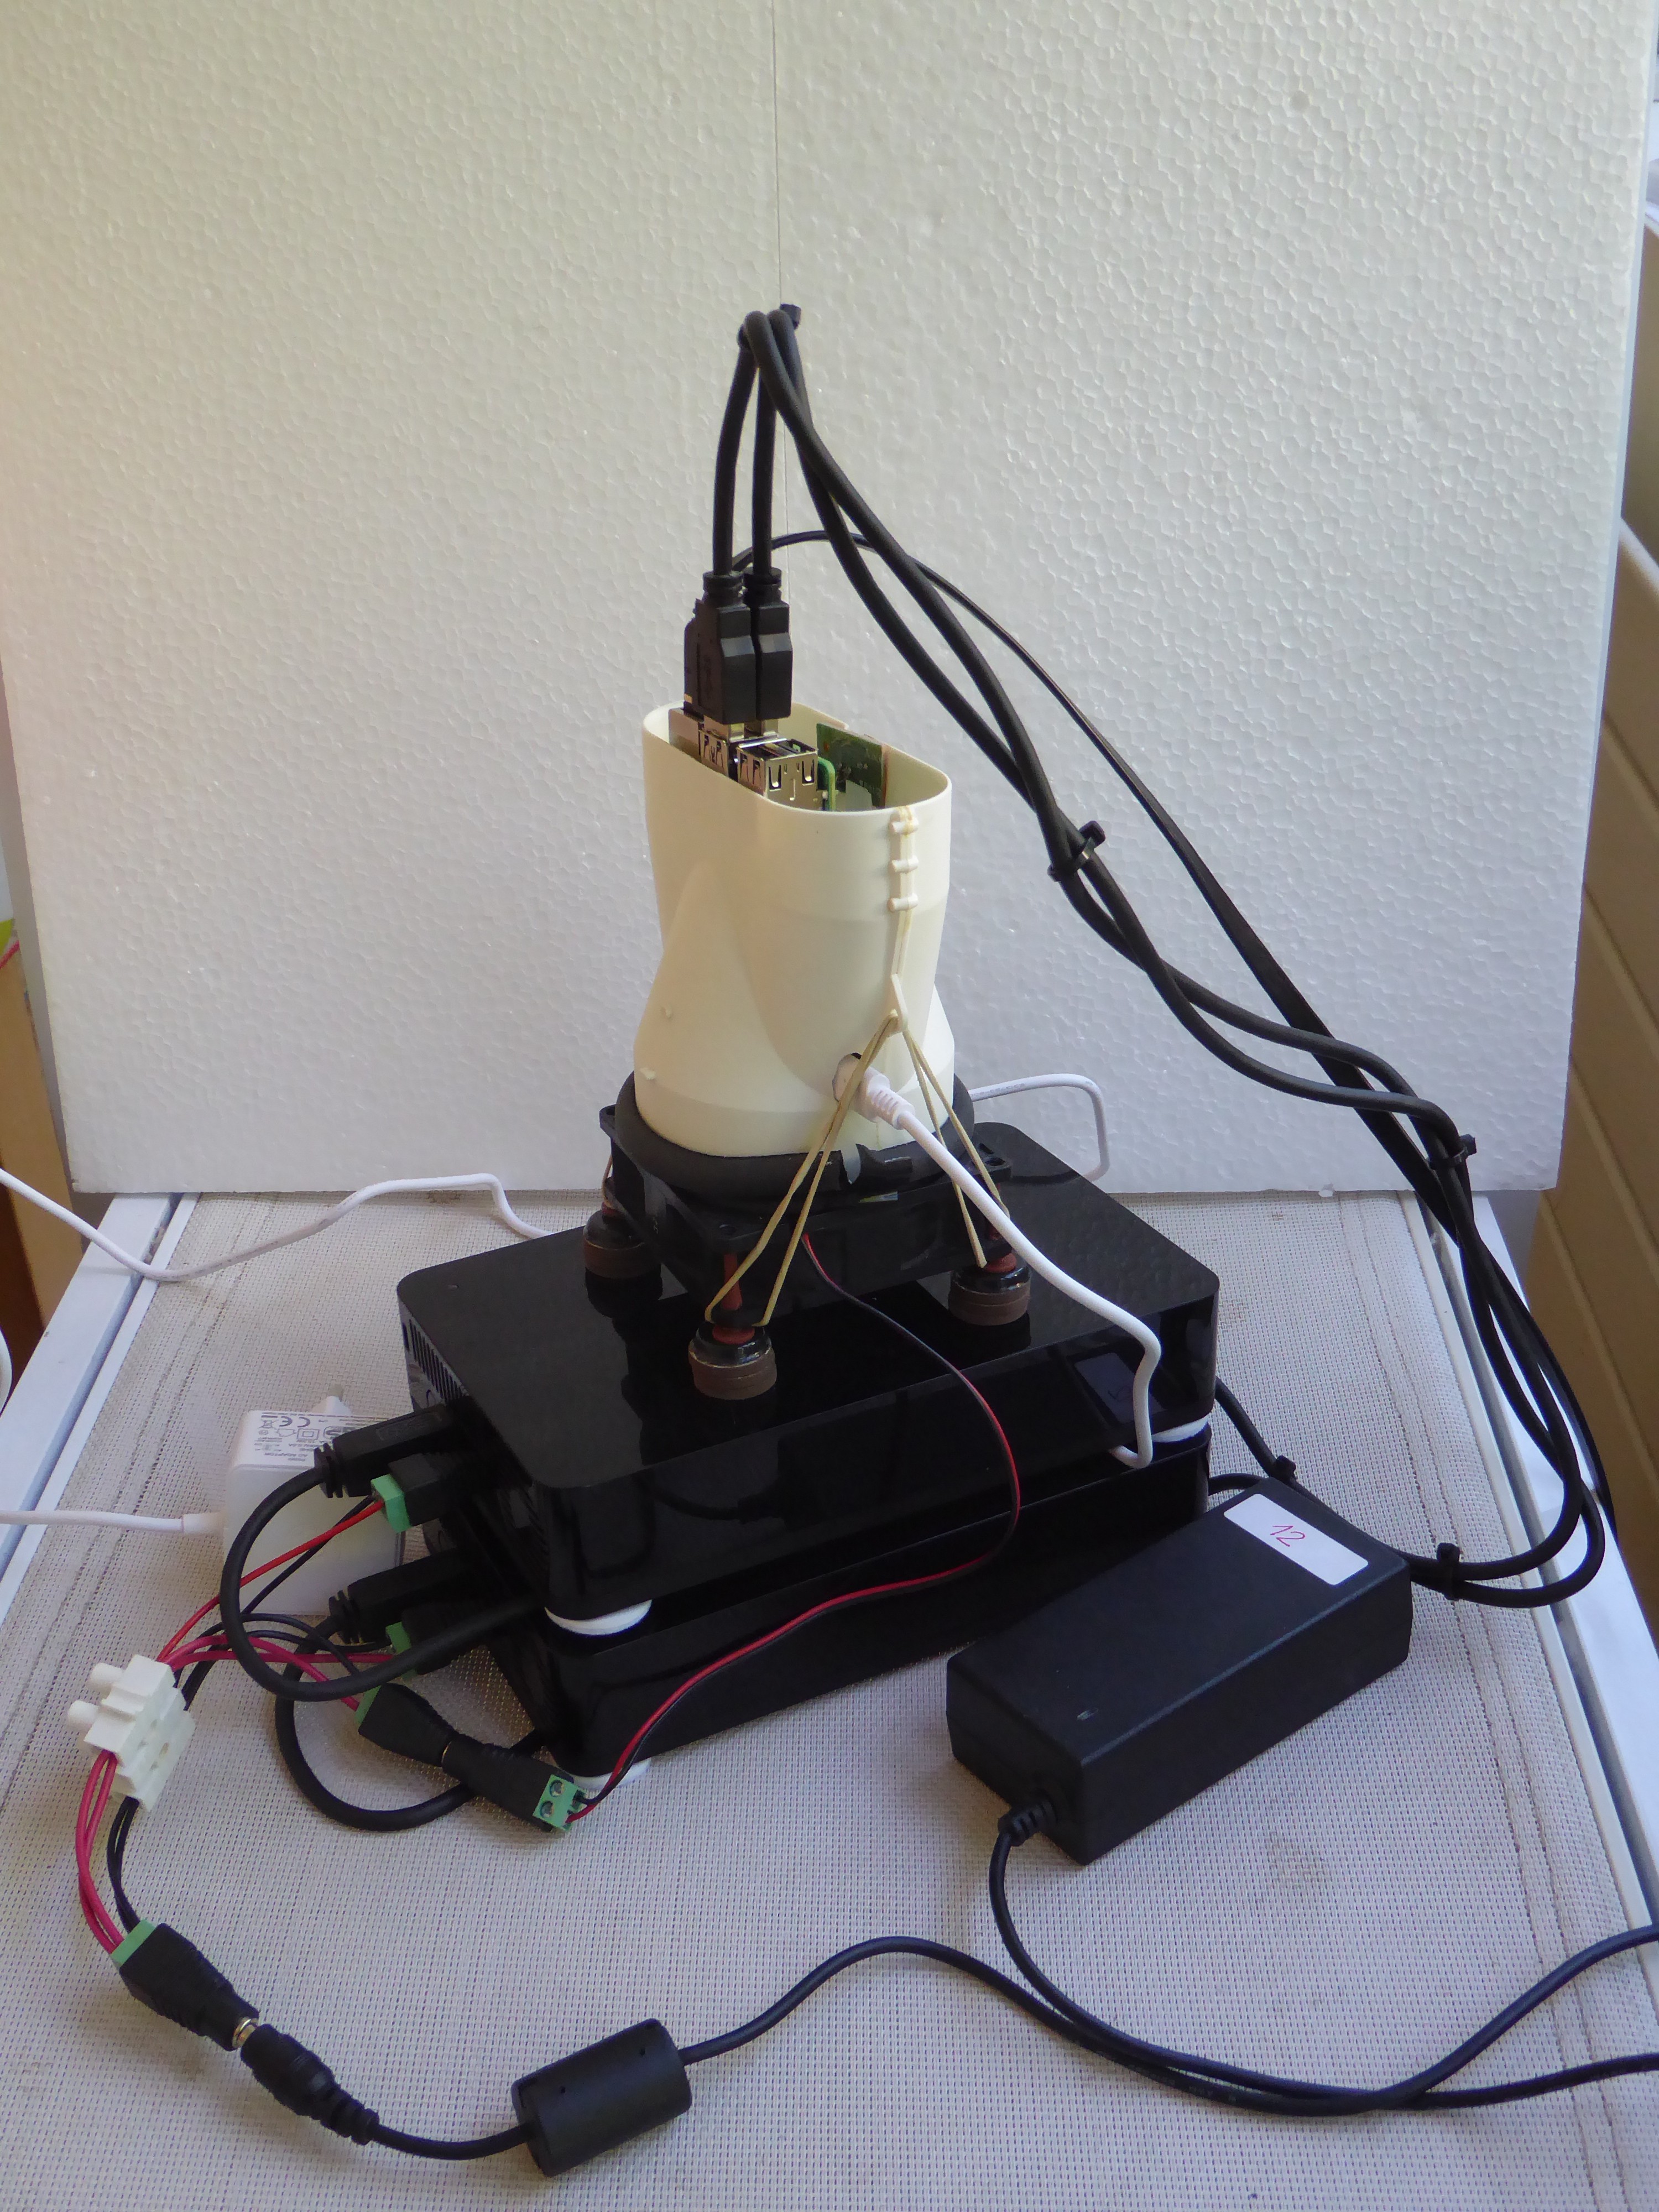
- in picture #4 you can see that the rim "clip" is used to fix a small PCB from the parts bin, for the all-important "on/off button" (and yes, I need to trim it a bit more :-)
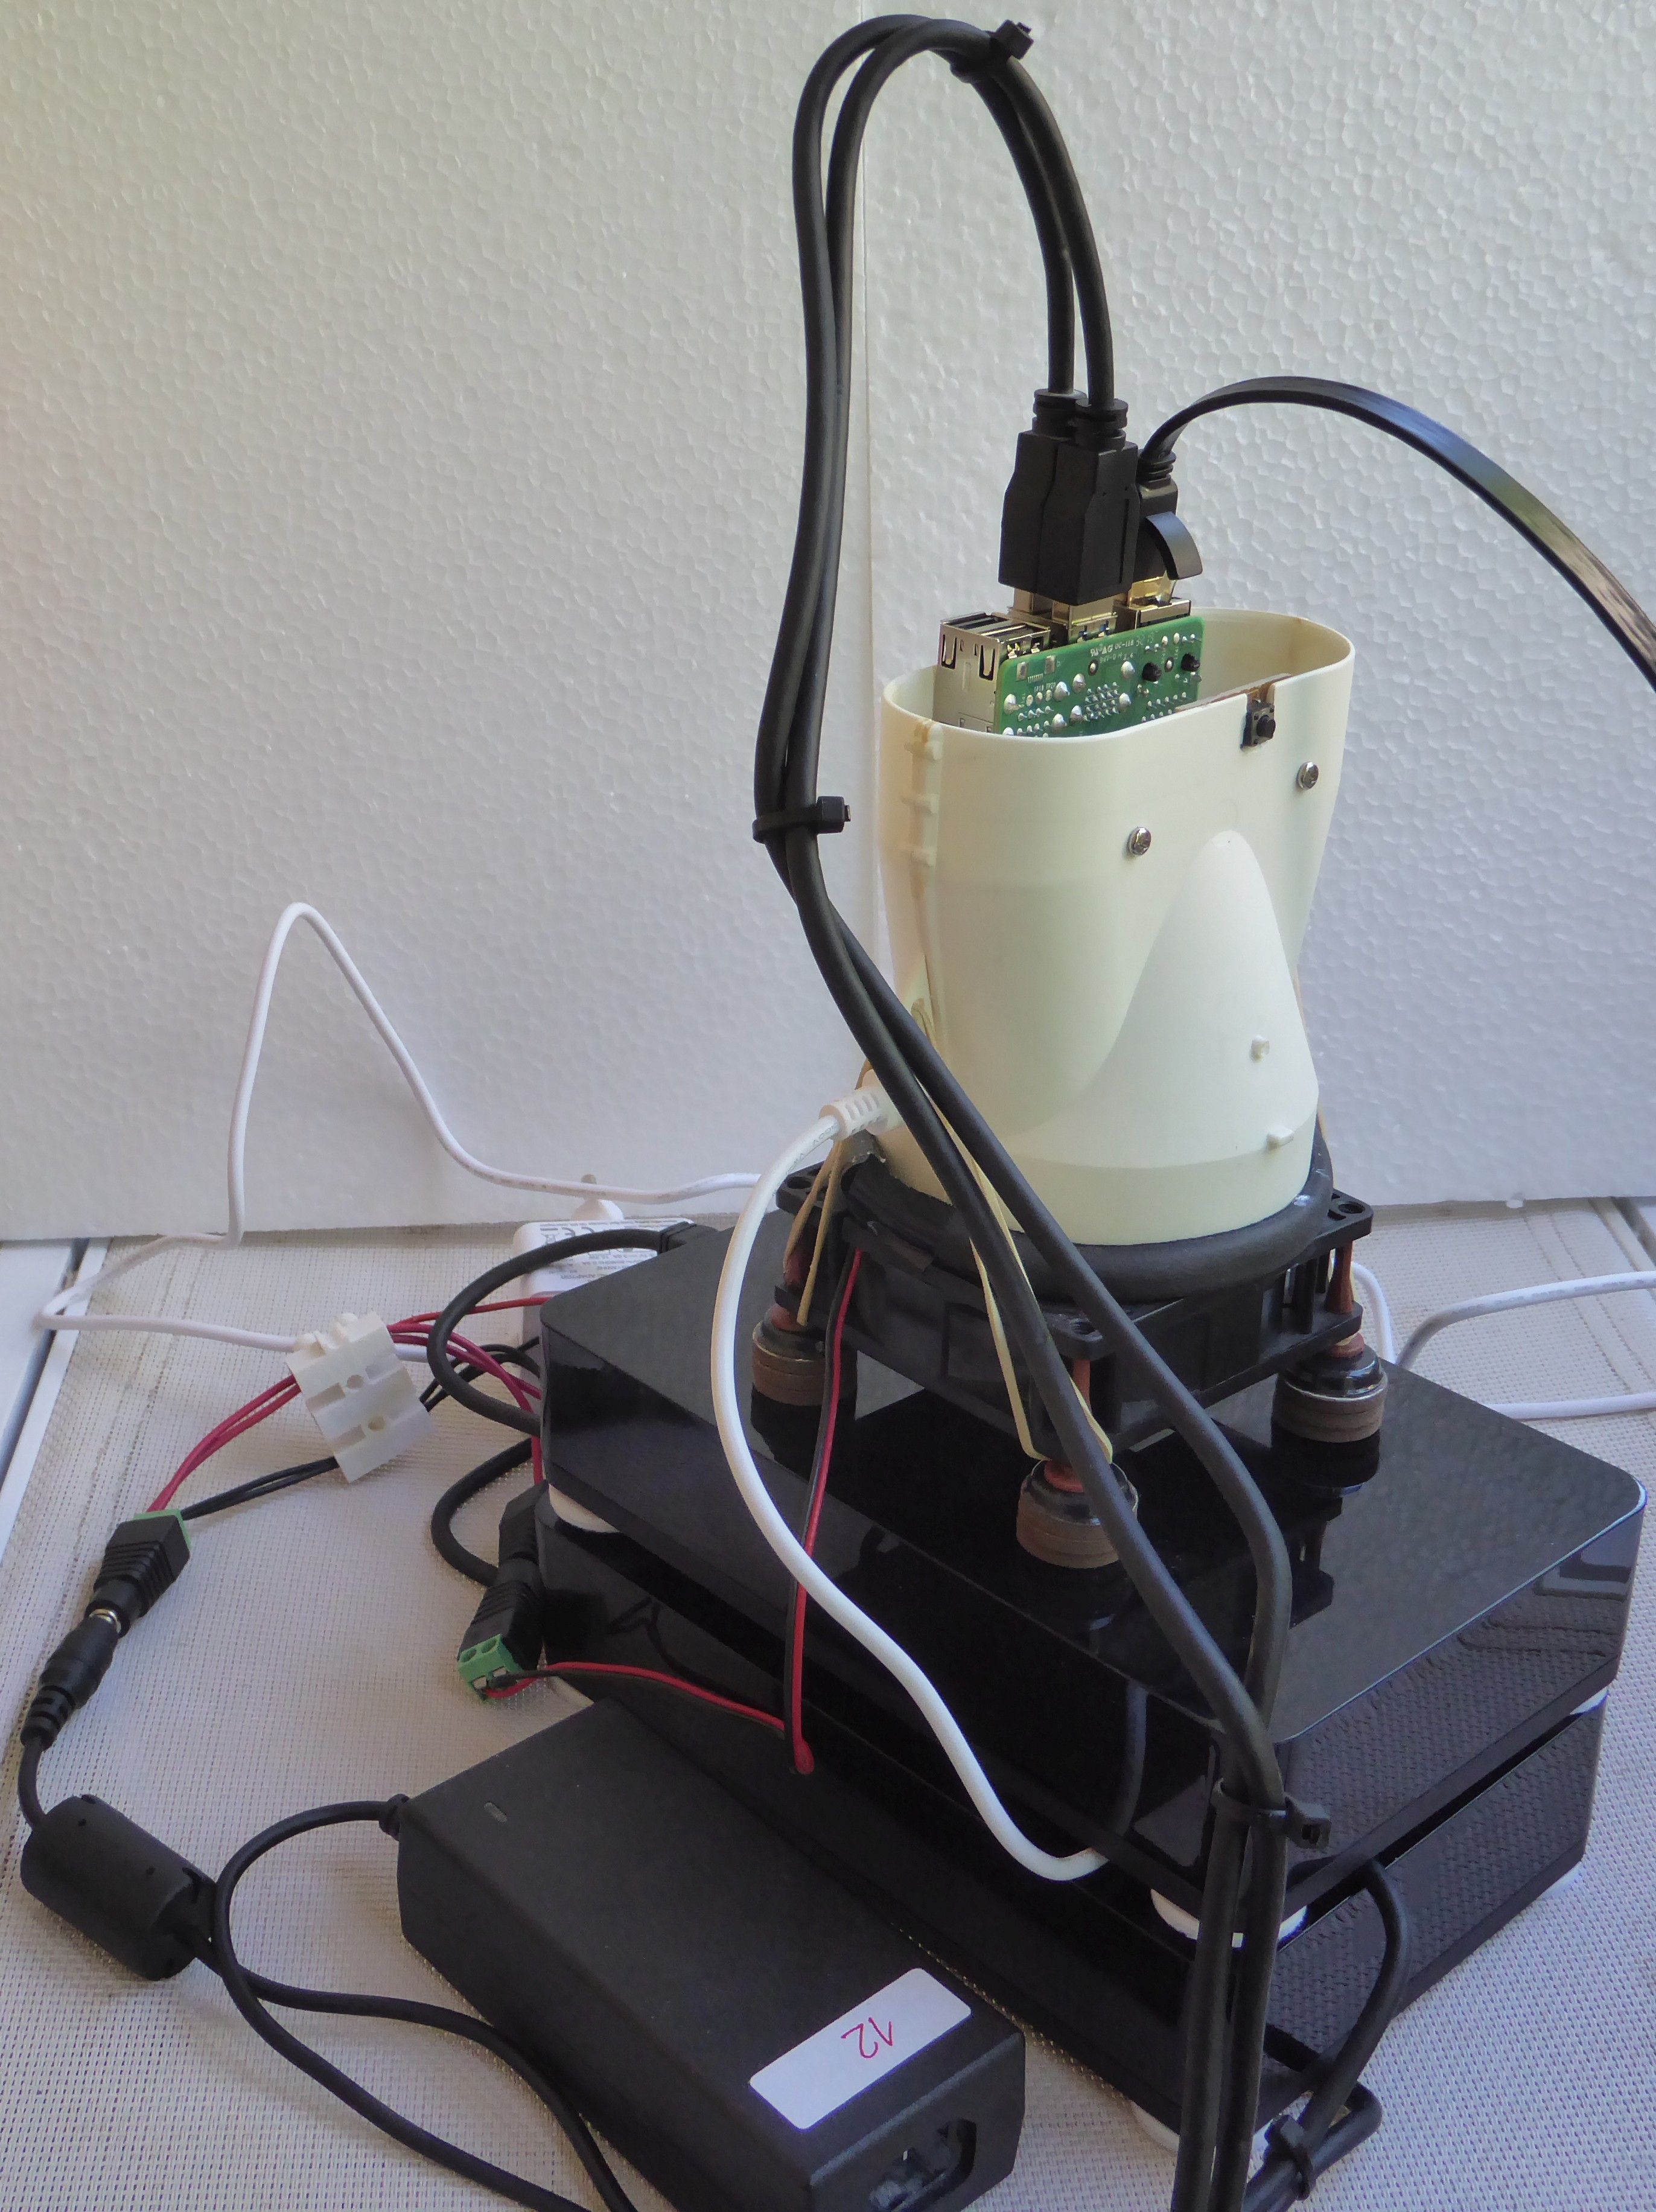
- in picture #5 is the second minor miracle : if you do the same thing with the bottom mounting holes, but with the stand-offs reversed, they will press against the inner cone of the bottom. The board was so steadily fixed then, that I almost left it that way :-)
After that I emptied my box of unused PC fans, and spent some time benchmarking them to find the ideal one : 8 cm, highest air flow, and lowest noise. An old favourite, of the well-named "Silencer" brand, came out waaayyy on top.
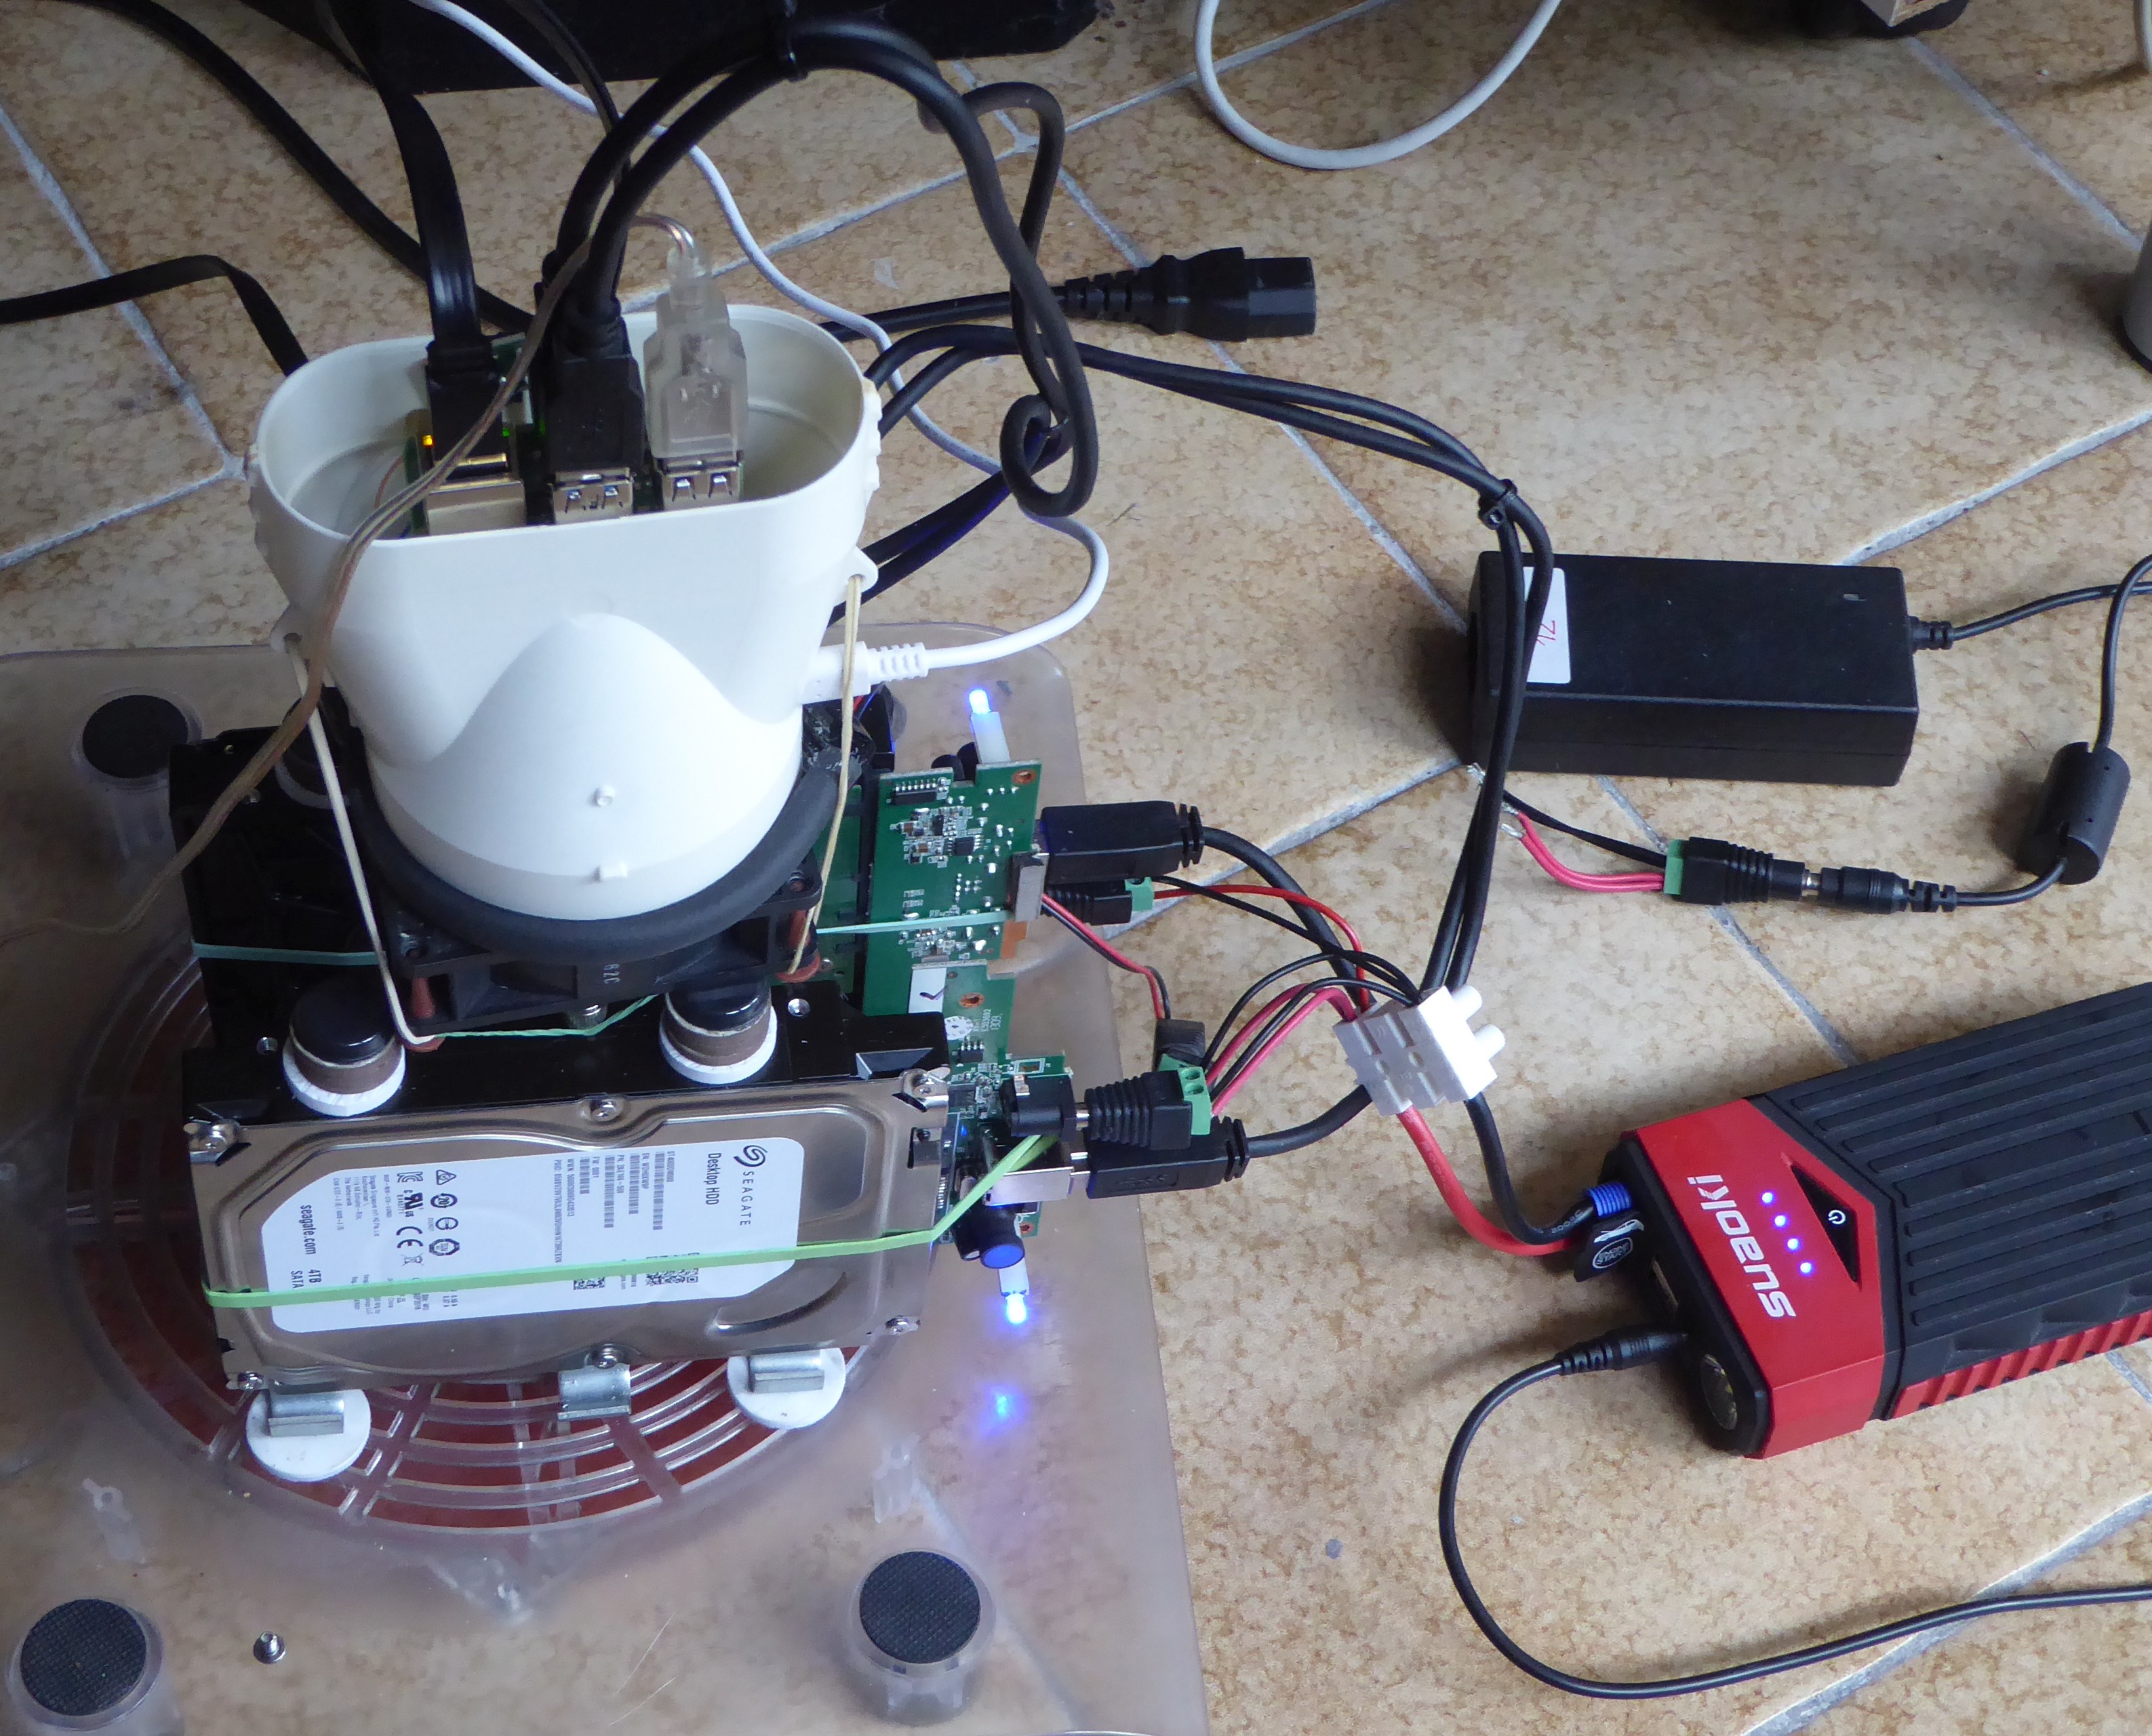
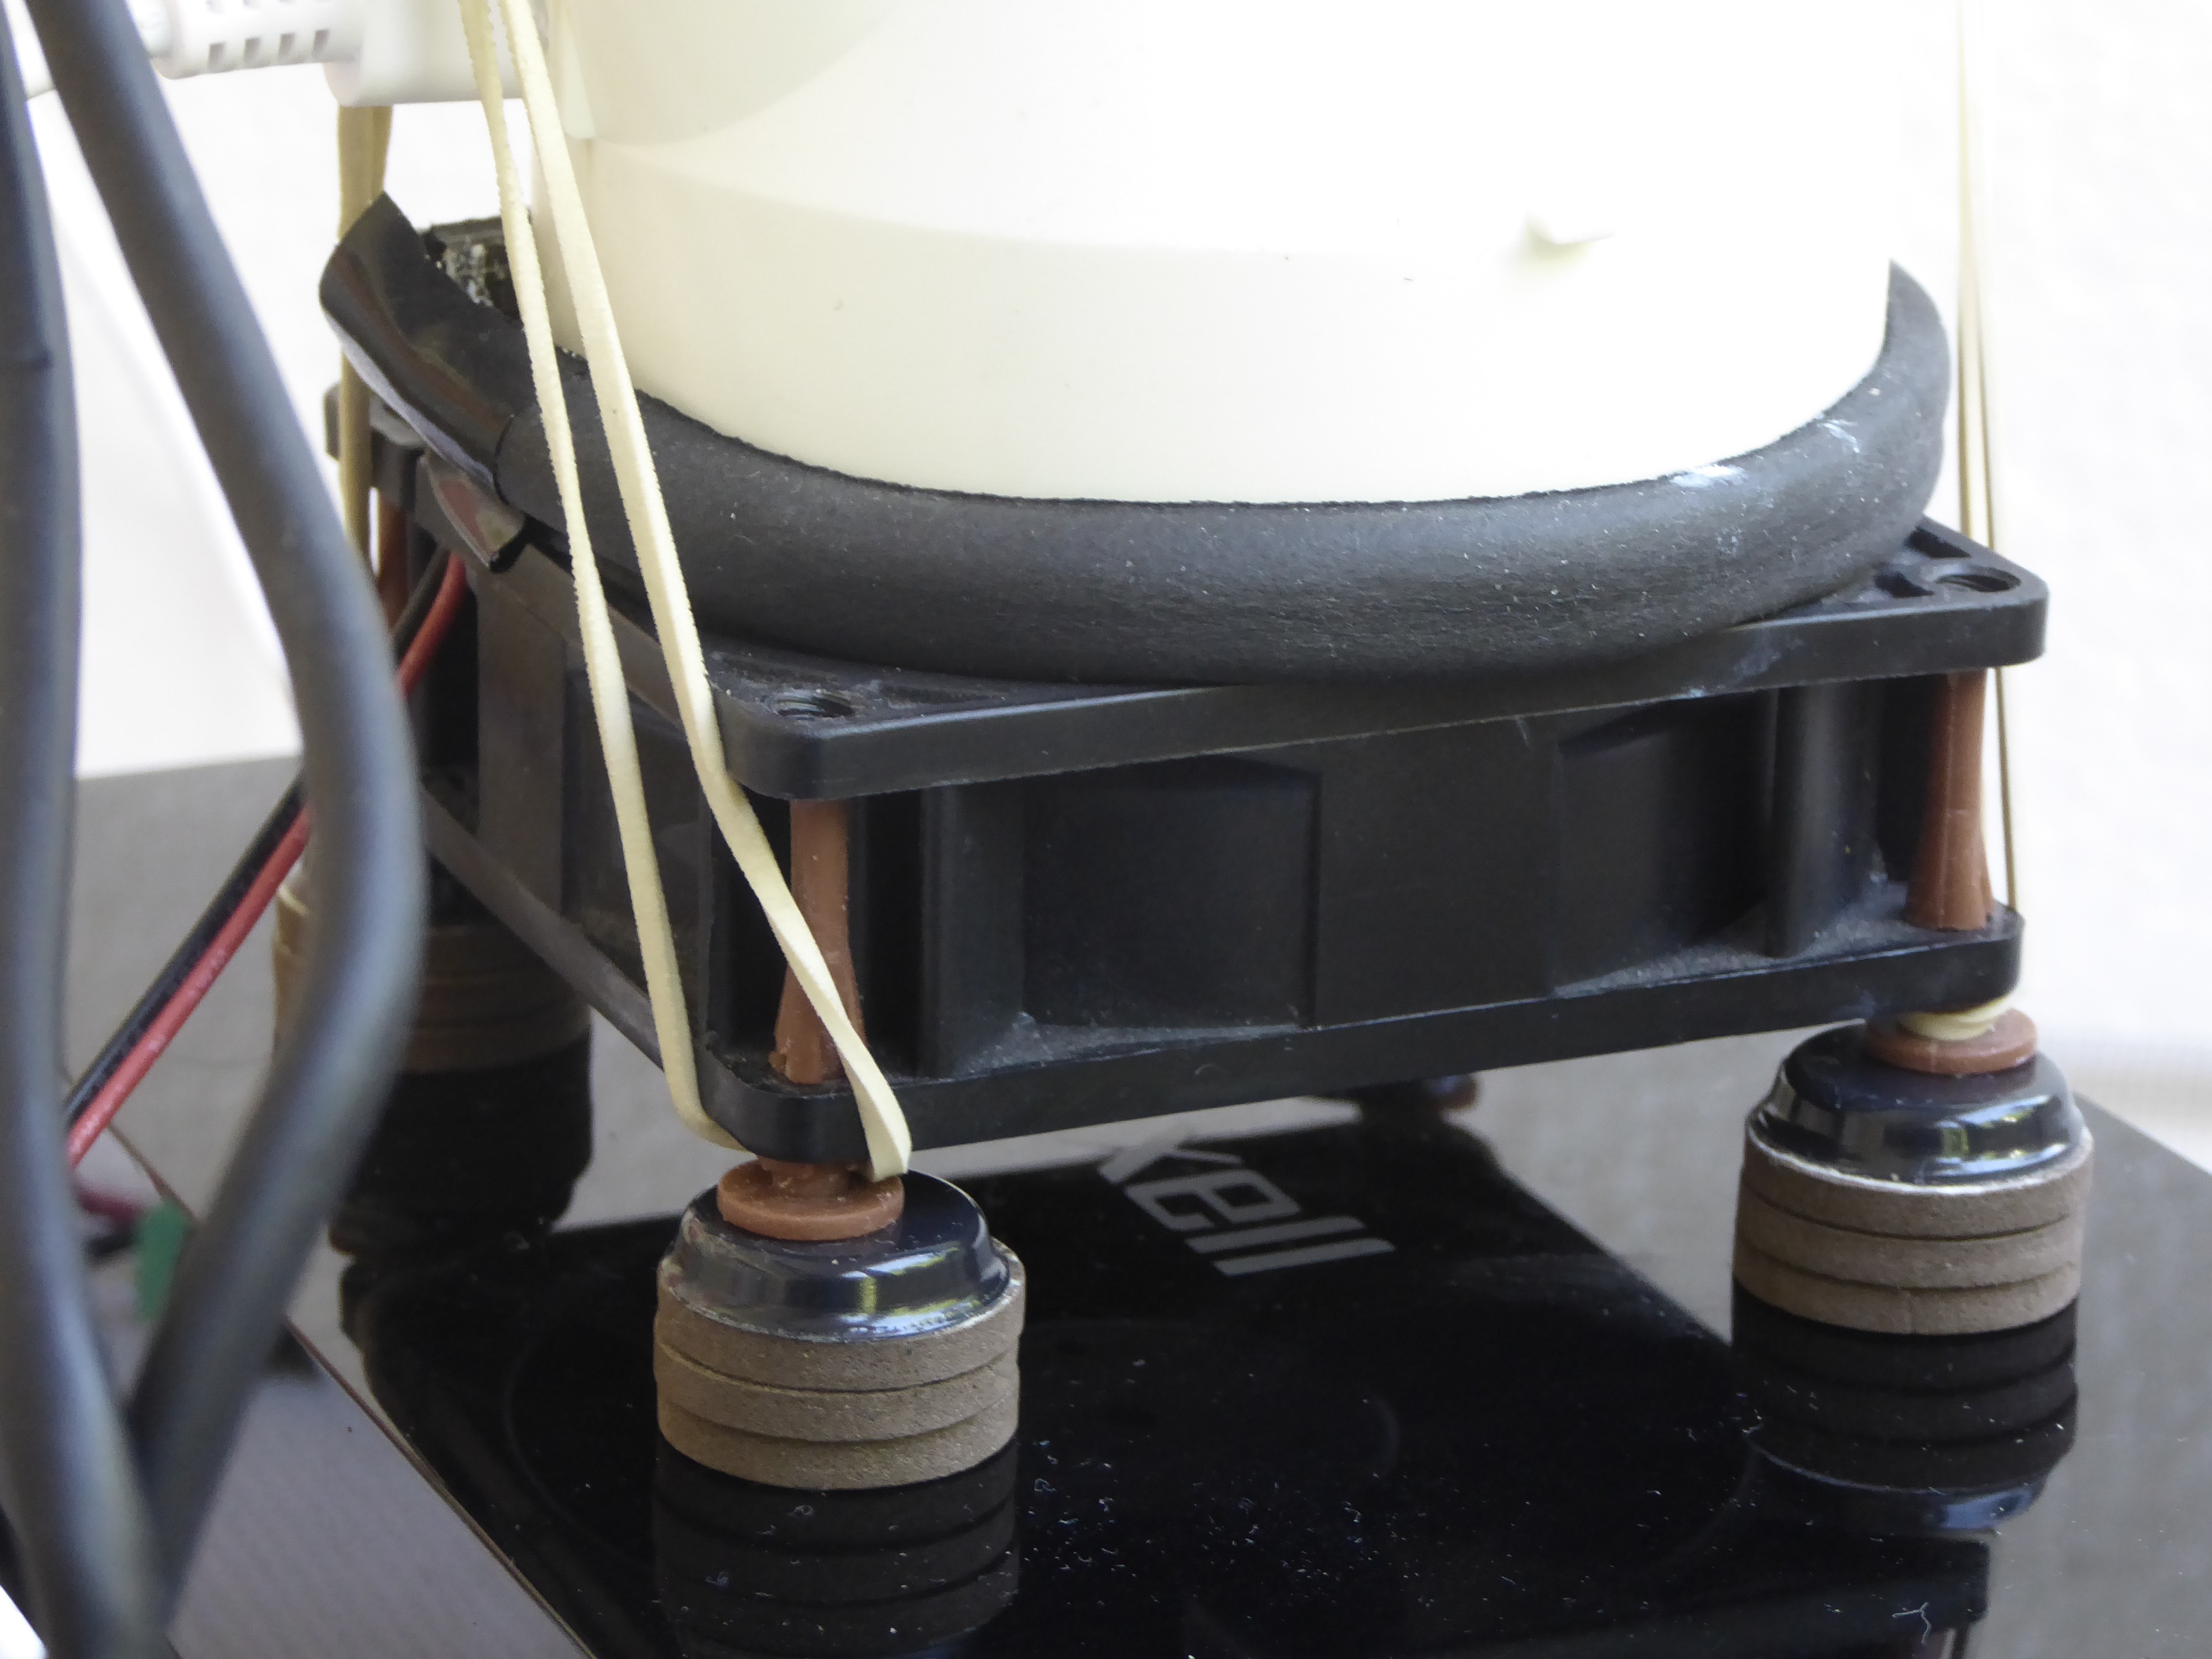
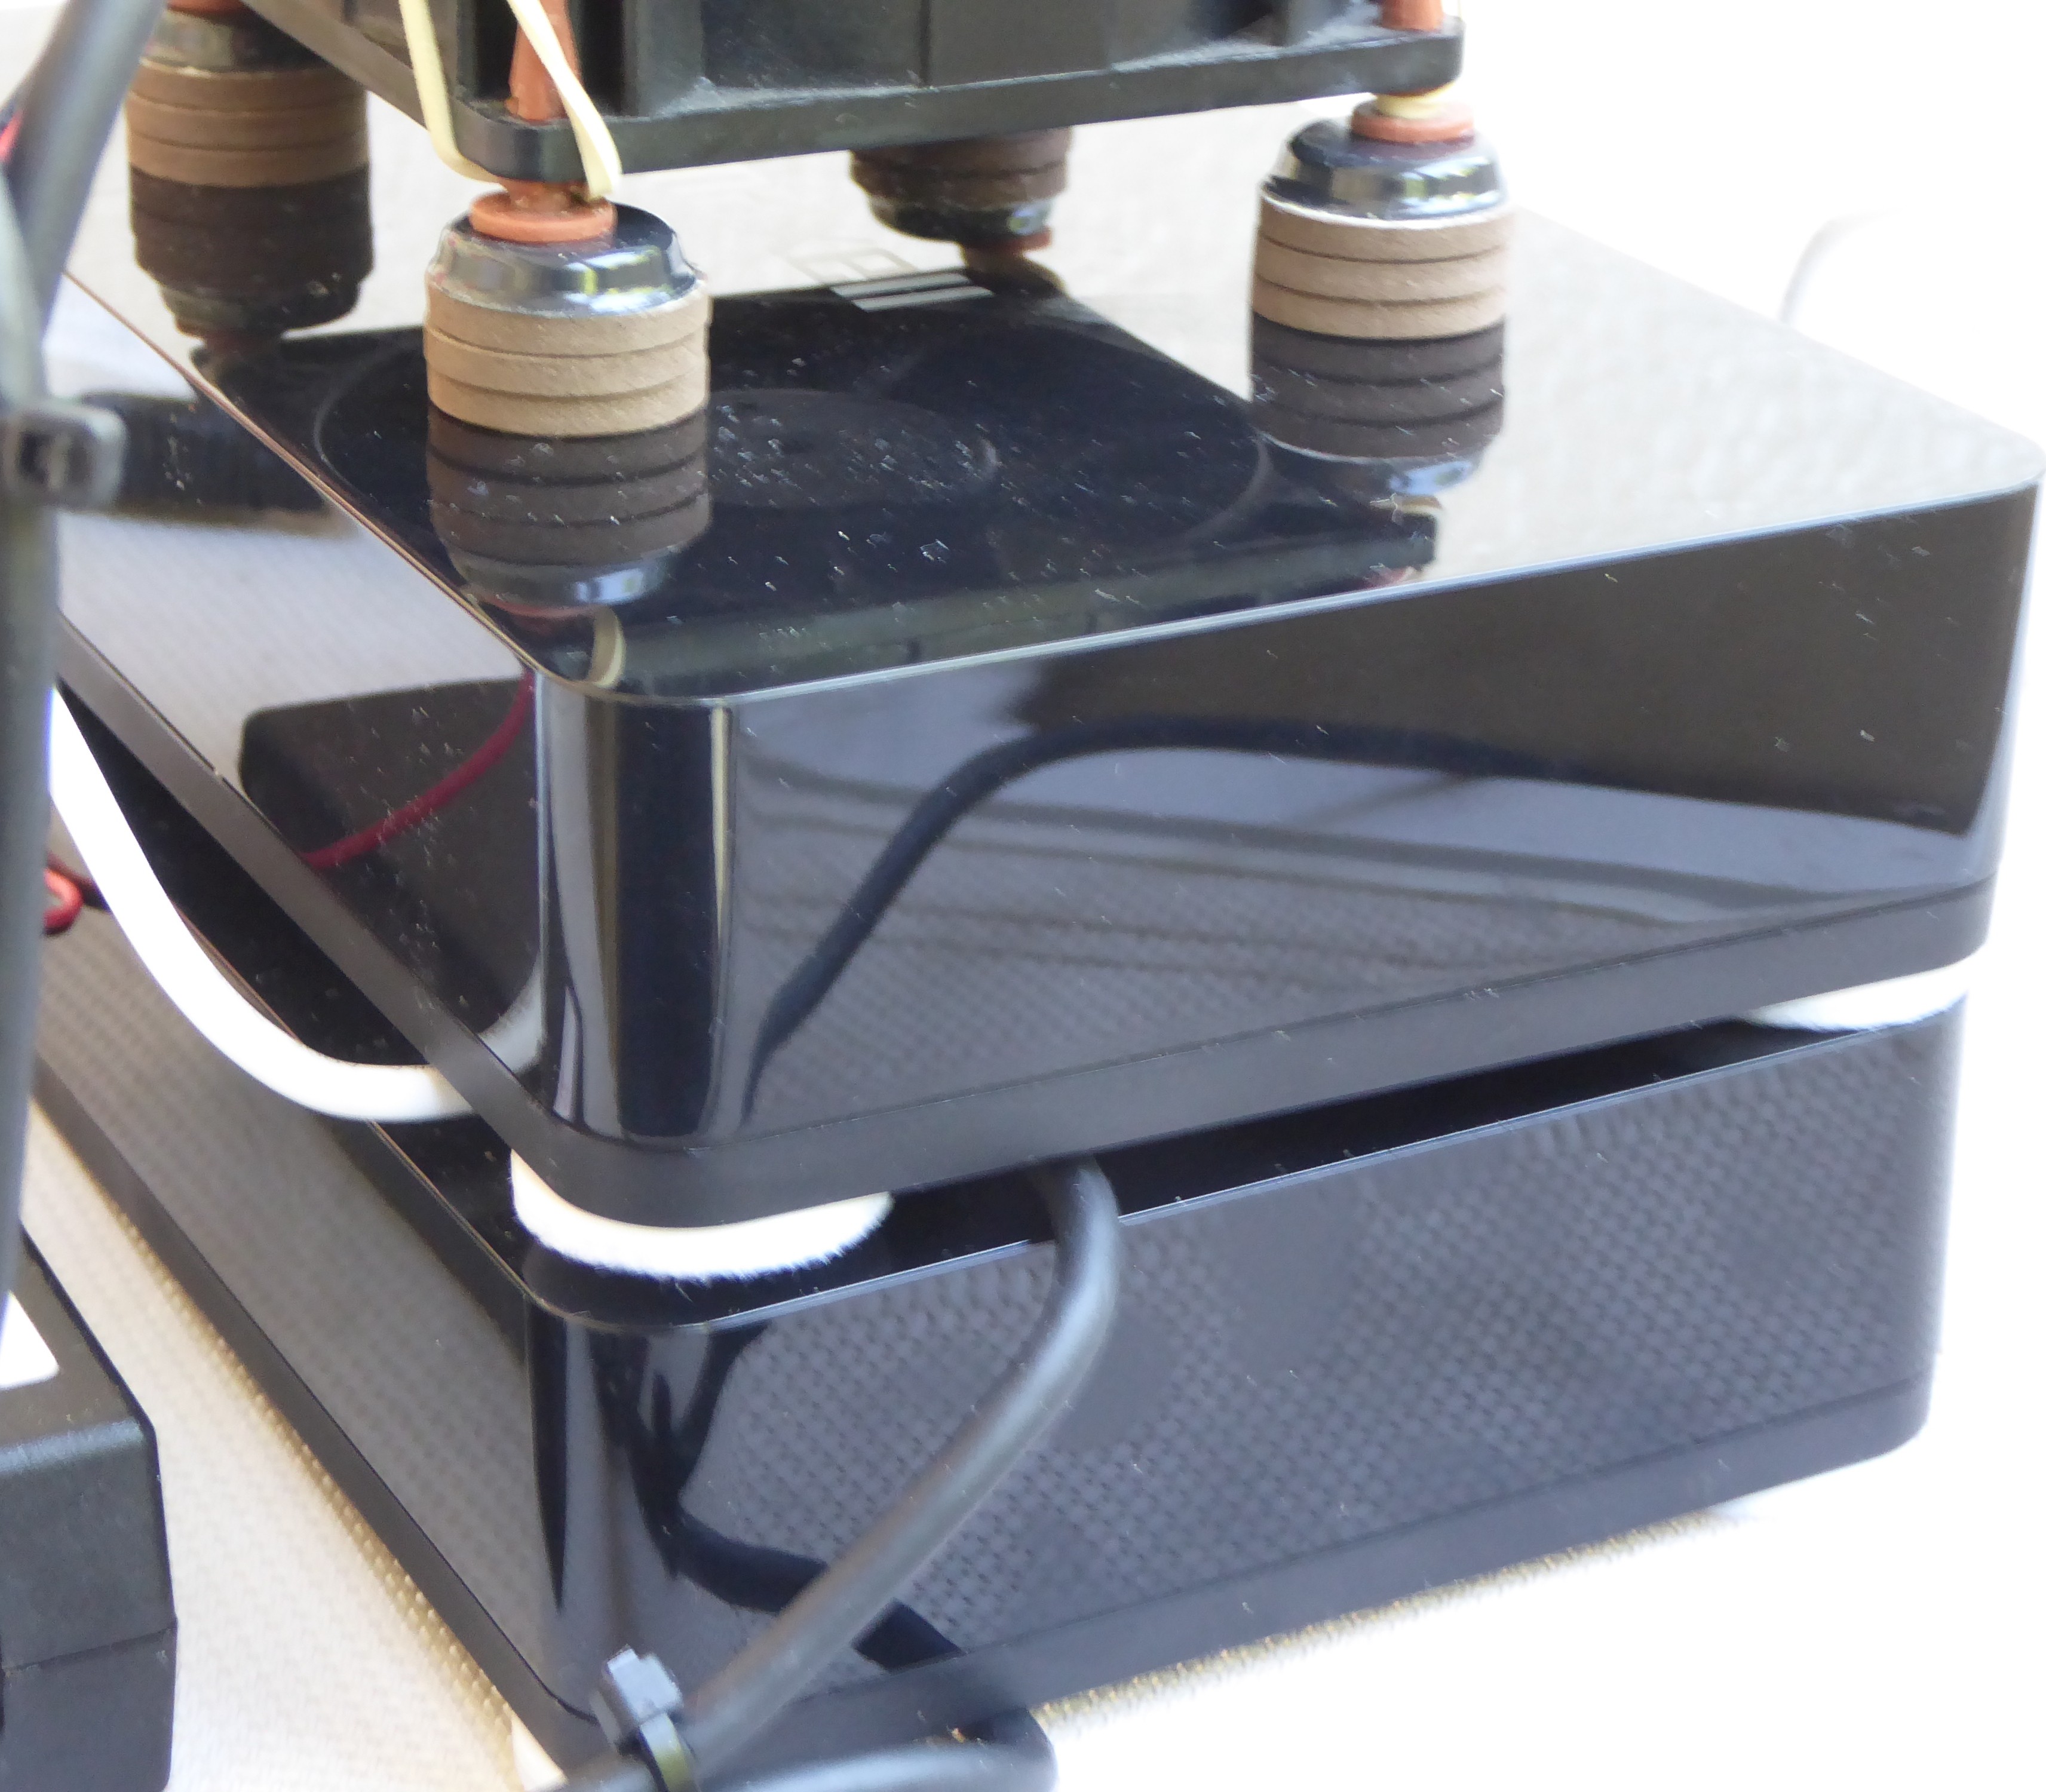
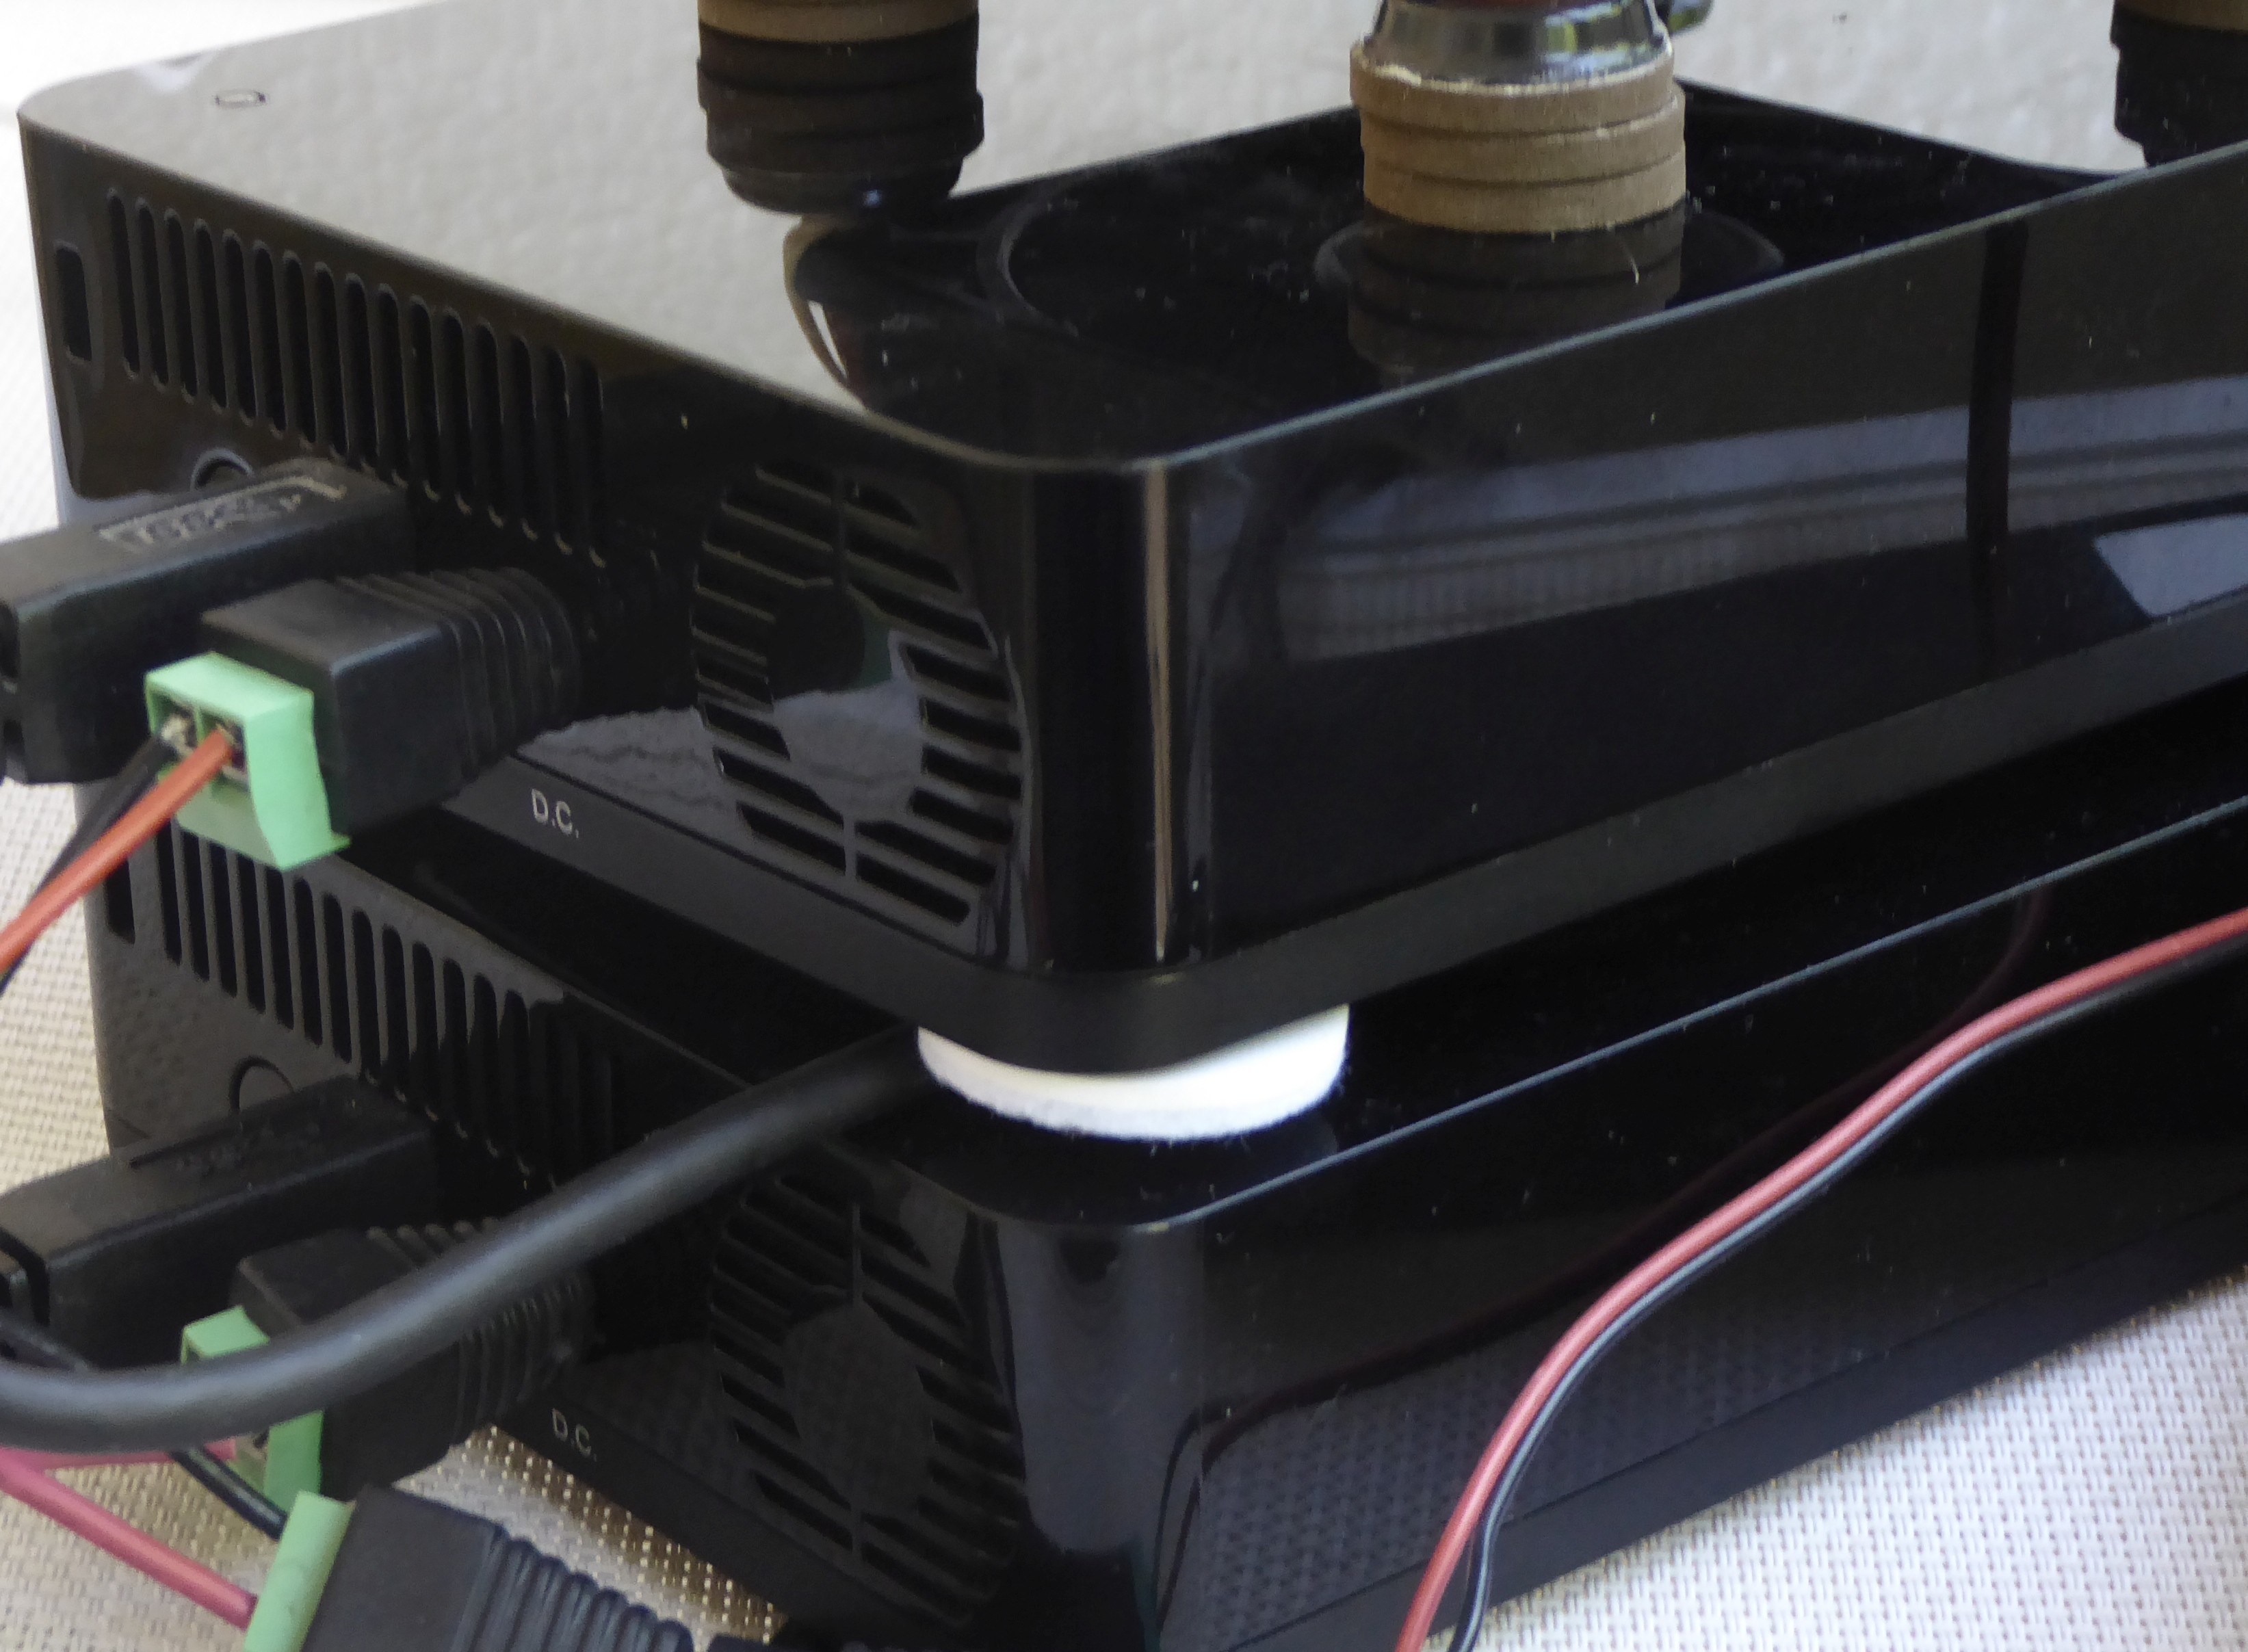
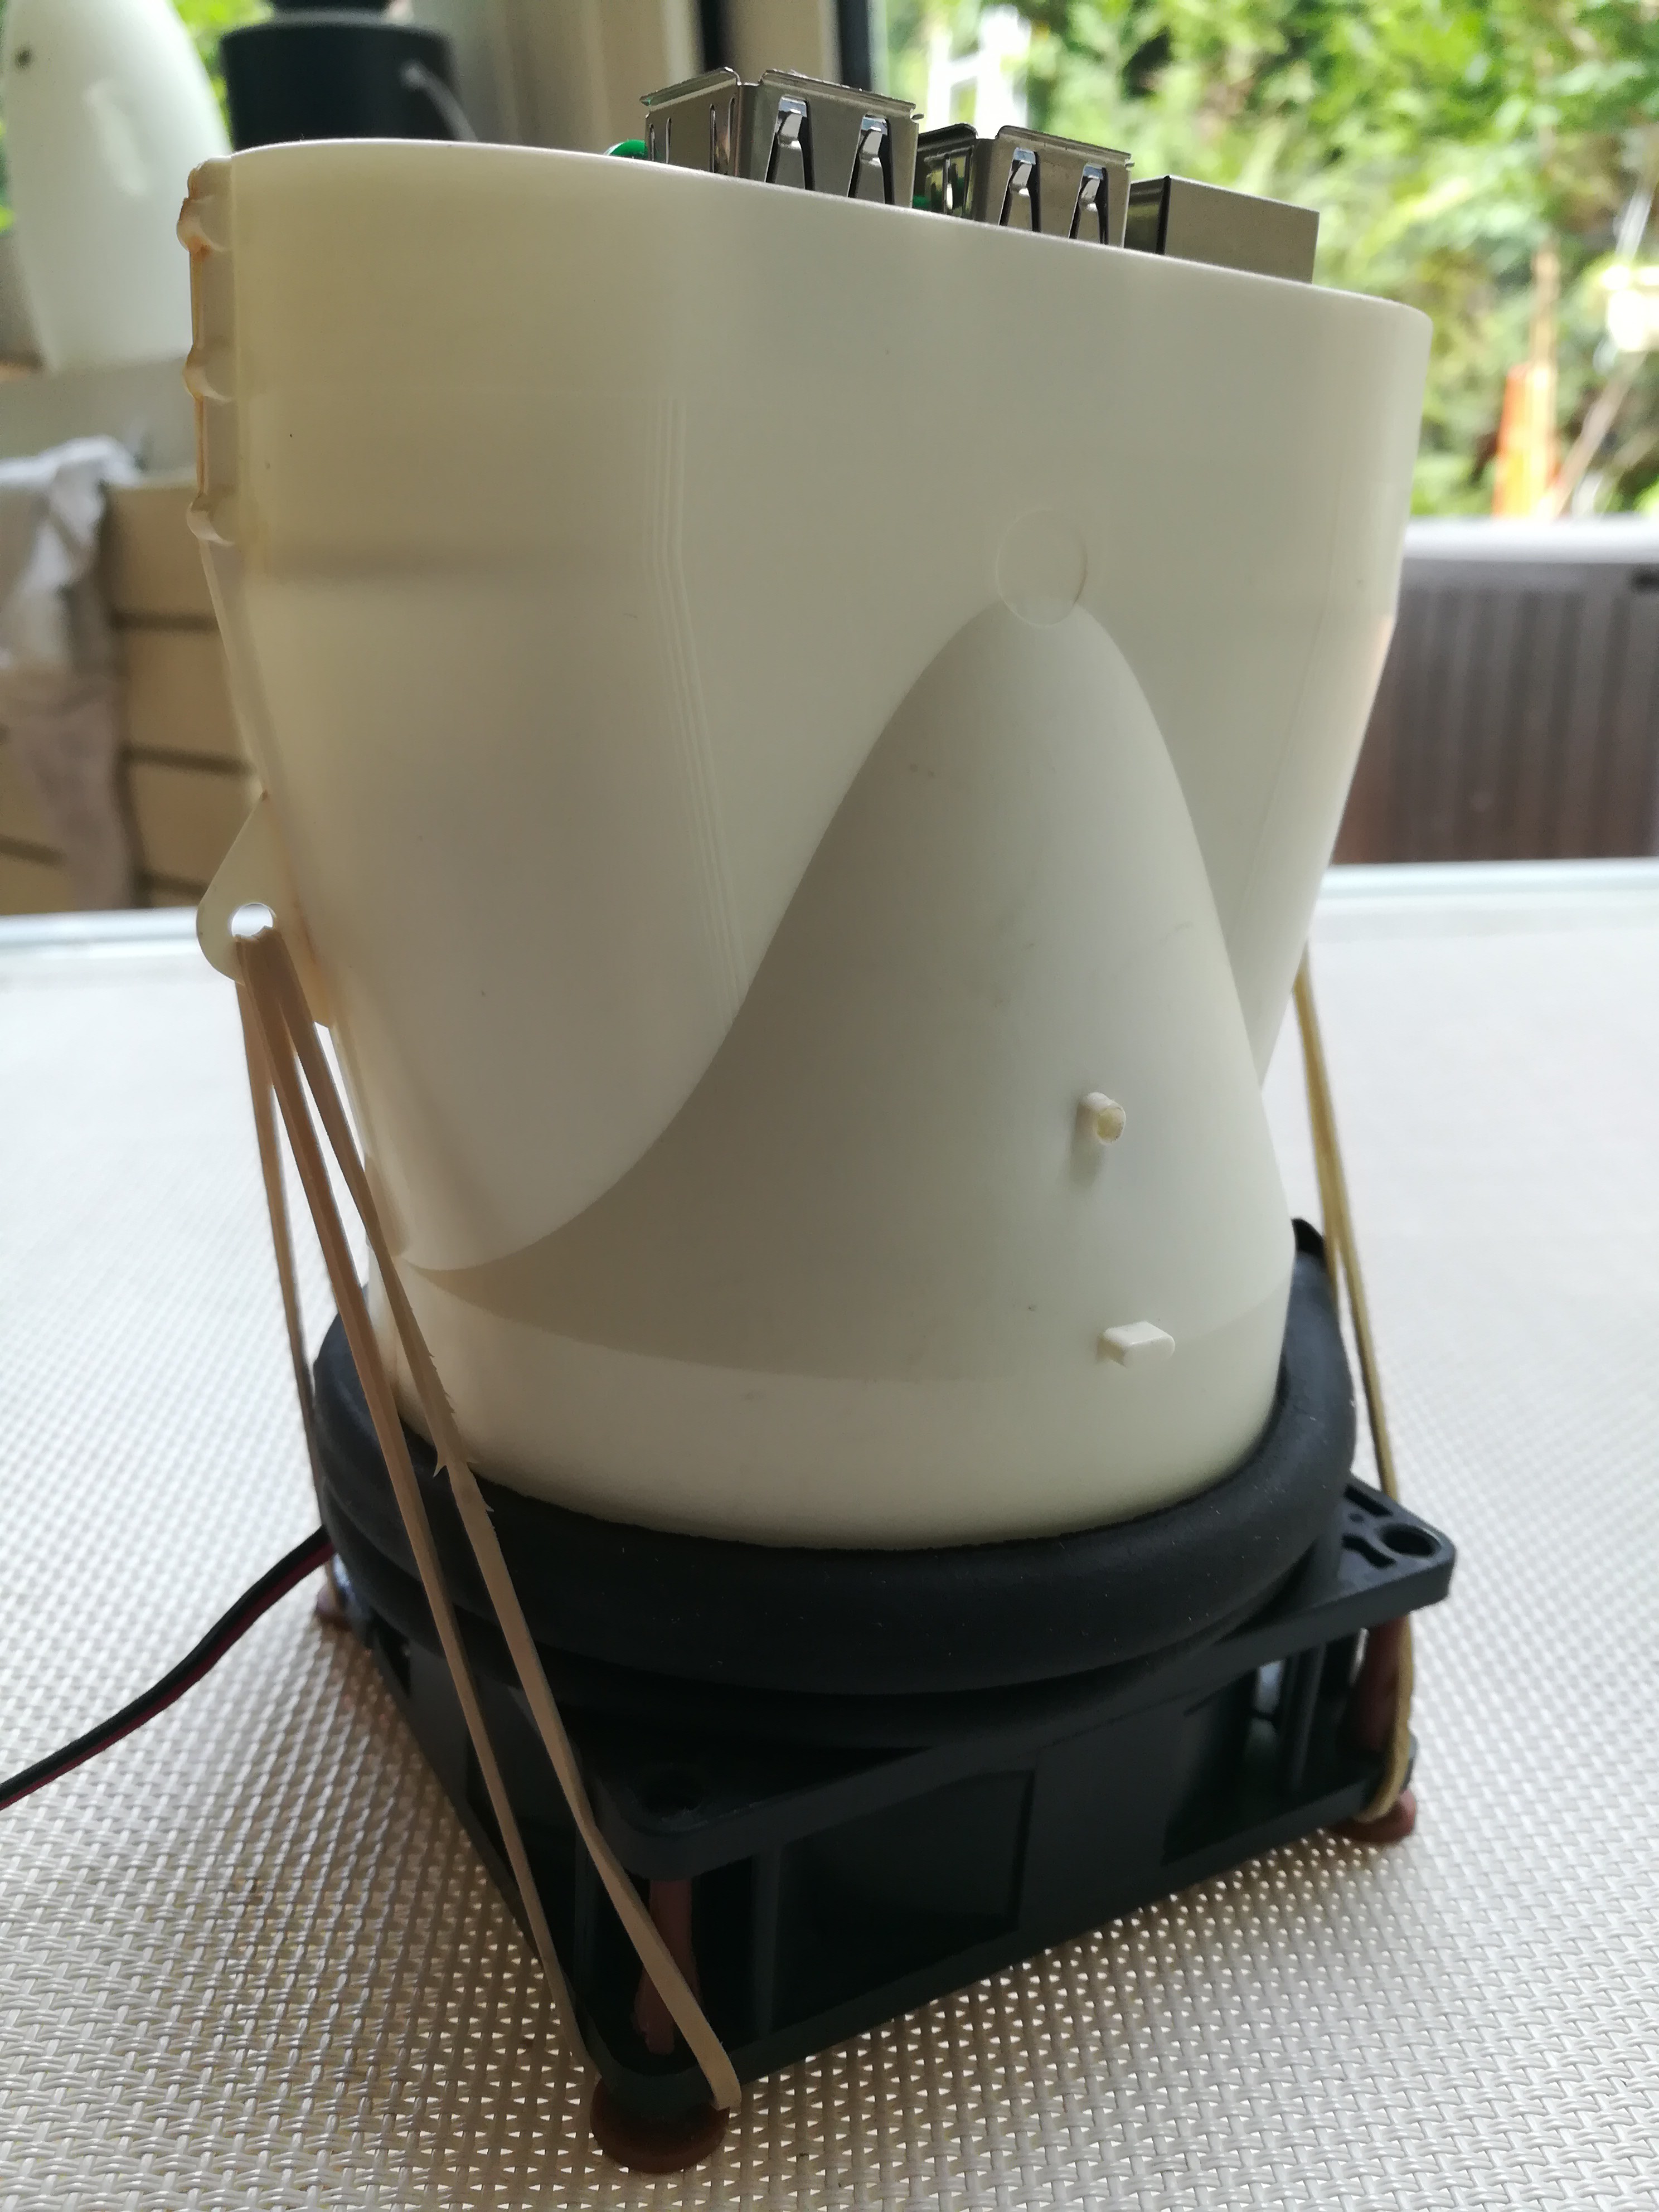
So in picture #6 we have the current state of affairs :
- the Silencer serves as the "enclosure" base, with stable rubber feet, blowing upwards through the funnel.
- another accidentally convenient feature of the gizmo is the pair of pierced "ears" on each side : I just slipped a rubber band through each one et clipped the four ends around the feet of the fan : if you need to swap an SD card, undo one end, lift cone, and voilà :-)
- I ended up punching a couple of holes and screws facing the upper stand-offs, just to be on the safe side... I find that now it has a serious, cyborg look : this guy means business :-)
What's left to do now :
- find compact USB/HDMI plugs that will fit and stay inside, then add more cut-outs for the outside cables.
- swap the Pi3 in the prototype for an actual Pi4 :-)
- stay on track : NO 3D PRINTING, NO AMAZON ORDERS, 100% UPCYCLING :-)

 Tom Nardi
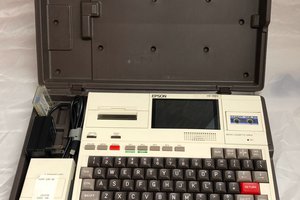
 Don
Don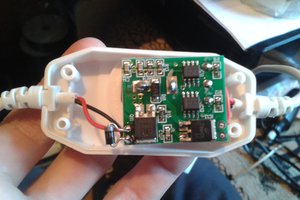
 Arya
Arya
 Nolan McCulloch