 cprossu
As of now:
Both 3D printers are operational, and you can use the MicroSD cards that are inserted into the printers, or Octoprint on the newly installed Octopi's to make prints. You can use any computer connected to the Lab network or Wi-Fi to access these, the IP's are on the printers. I will be making them static once I make it down there again.
Cura (Currently 4.6.2) is installed on the desktop computer at the 3D printing station, and you can use whatever software you want to use just so long as you have a profile for the Ender 5. The only thing special you will need to configure compared to a stock Ender 5 is inserting the command to run the Auto Bed Leveler in the software's 3d "Machine Settings".
You need to find the "G28" command (Which is for "Home") and add a "G29" command right after it to initialize the Auto Bed Leveler.
G28 ;Home
G29 ;Auto Bed Level
^ Example of G29 code to add^
If your slicer does not have an "Ender 5" option, some important bits to know (For ours as configured)
X (Width): 220mm
Y (Depth): 220mm
Z (Height): 300mm
Gantry Height: 25mm
Build plate shape: Rectangular
Heated bed: Yes
Fan Speed Control: Yes
G-code Flavor: Marlin
Number of Extruders: 1
Nozzle Diameter: .4mm (Unless you changed it of course!)
Material Diameter: 1.75m
To Do:
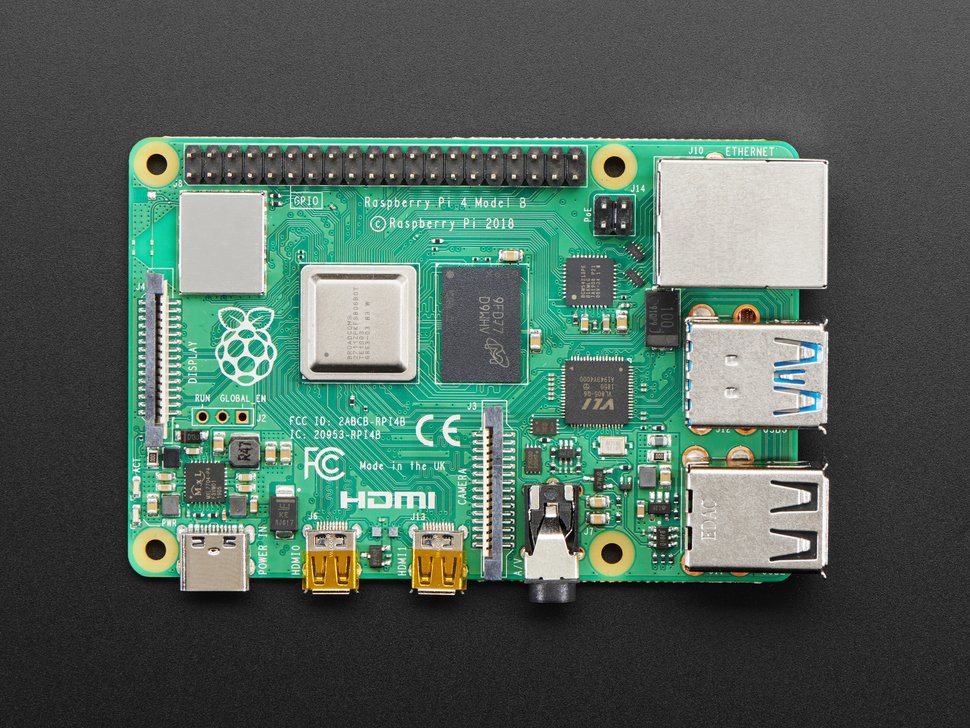
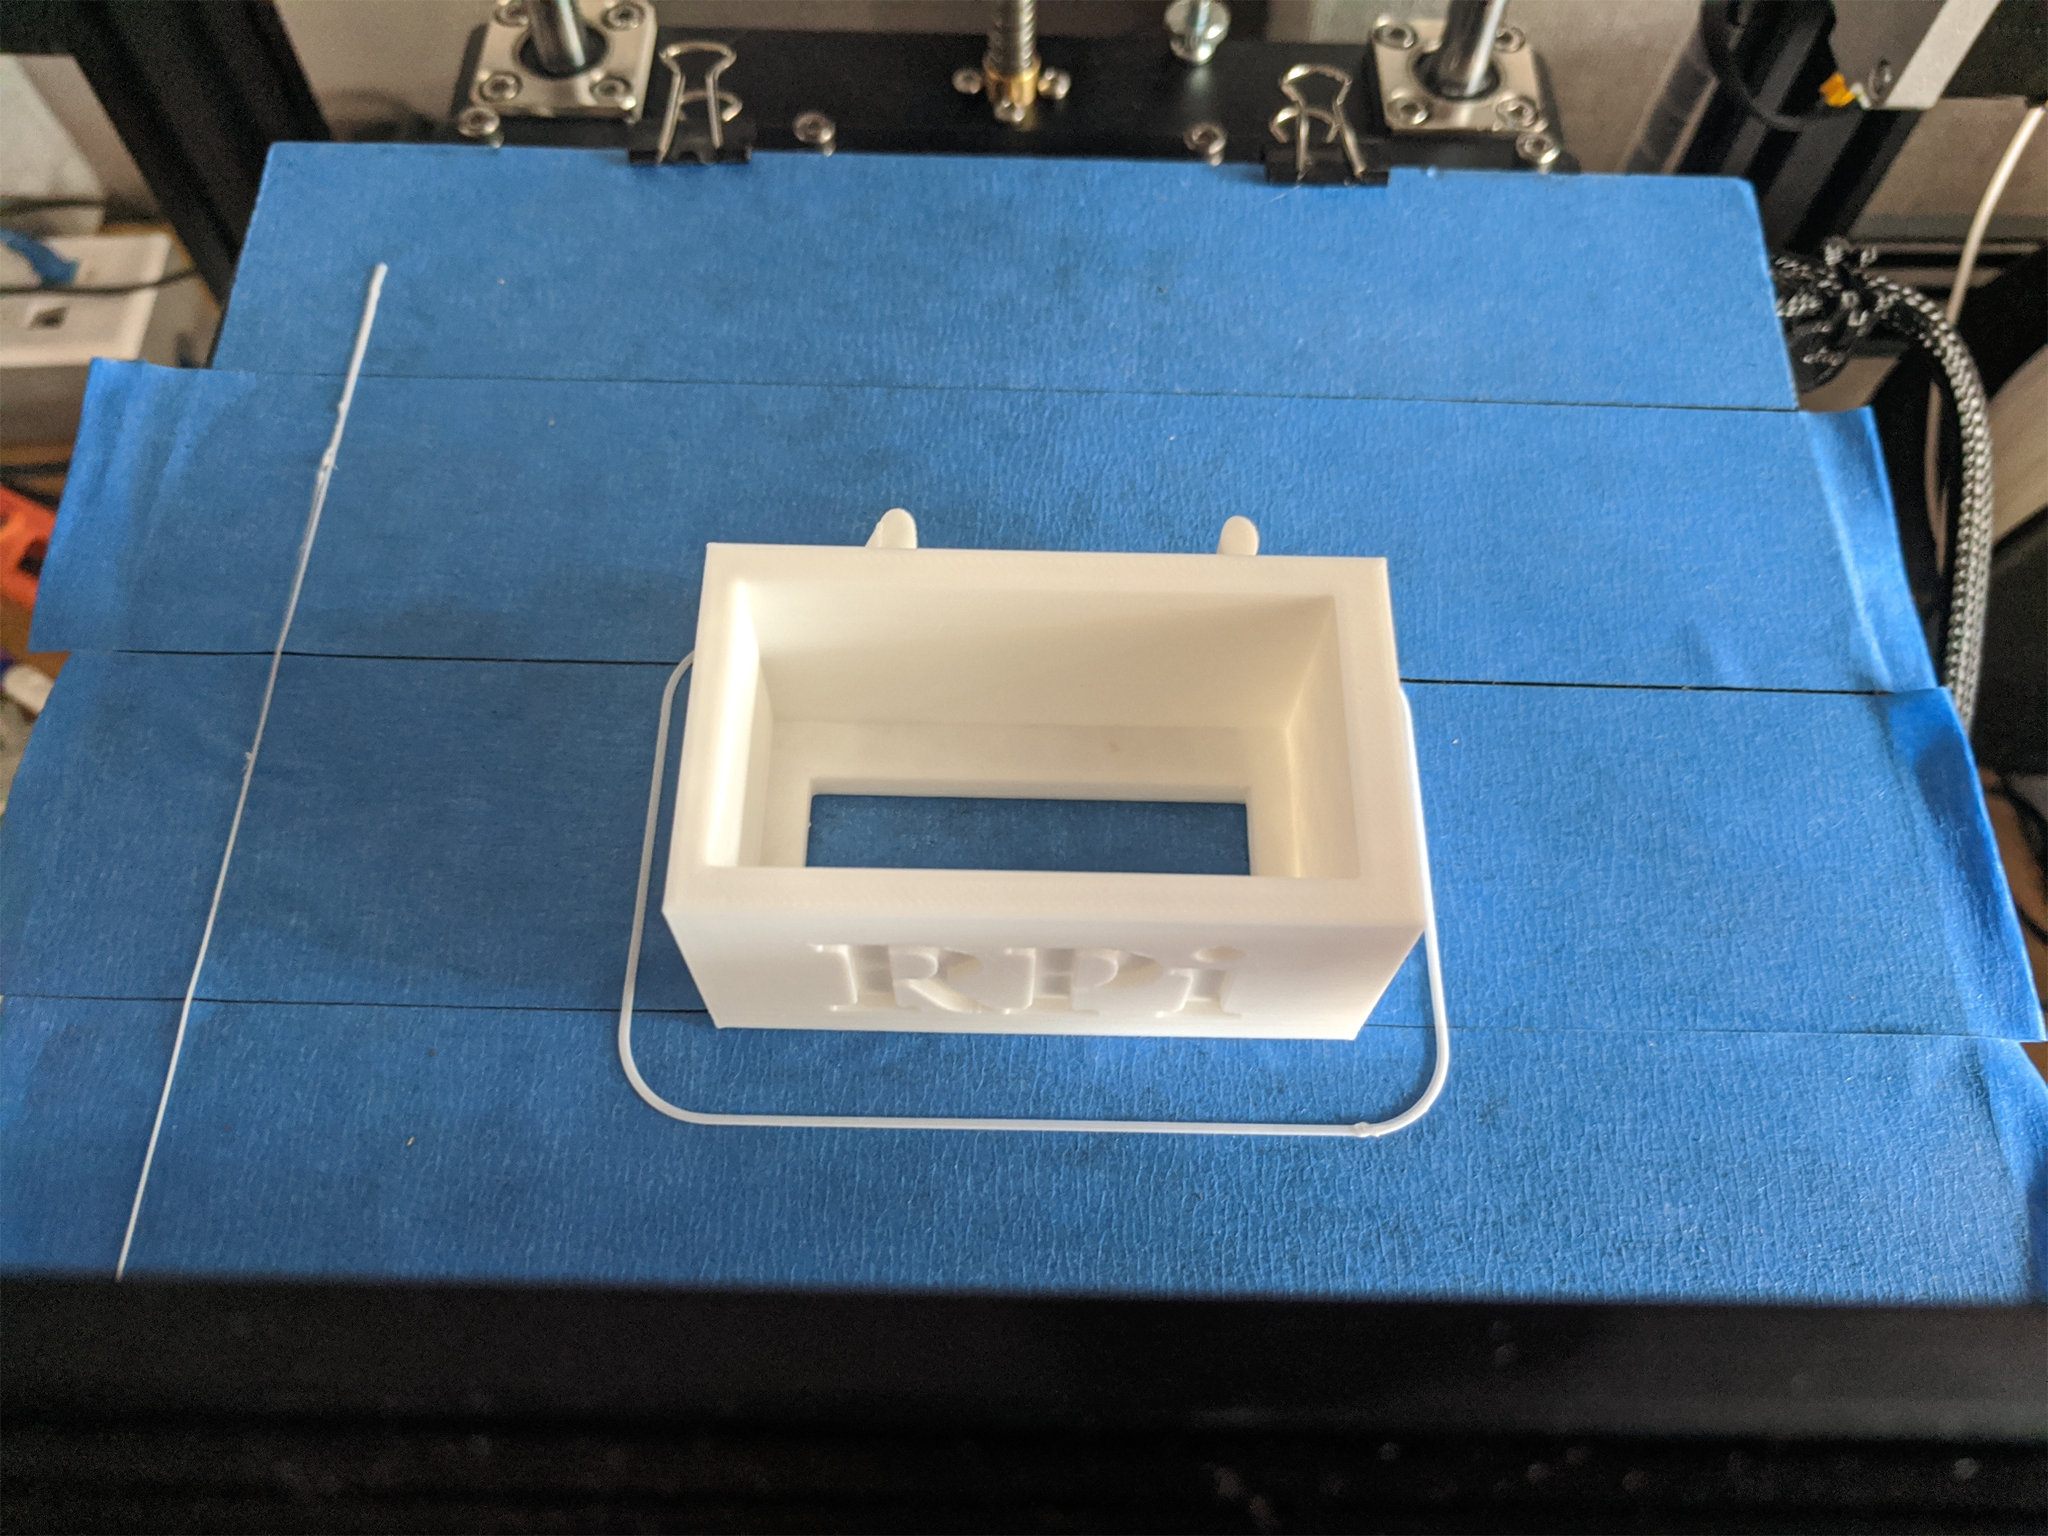
Give the Raspberry Pi 4's / Pi 4 cases something to mount to the printer with
10 step style 'easy' guide to printing stuff
Replace Logitech C270 Web Cameras with Pi cameras (Unless lazy)
Local instance of "The Spaghetti Detective" to aid in detecting and stopping failed prints
Tackle Box to keep spare parts and tools for each printer
3 Ring binder with instructions and maintenance/mod logs per printer
Filament sensor(?)
Acrylic side/upper panels for ABS work(?)
Specific Cura profiles (Or perhaps some other slicer)
Profiles inside of the slic3r addon for OctoPi


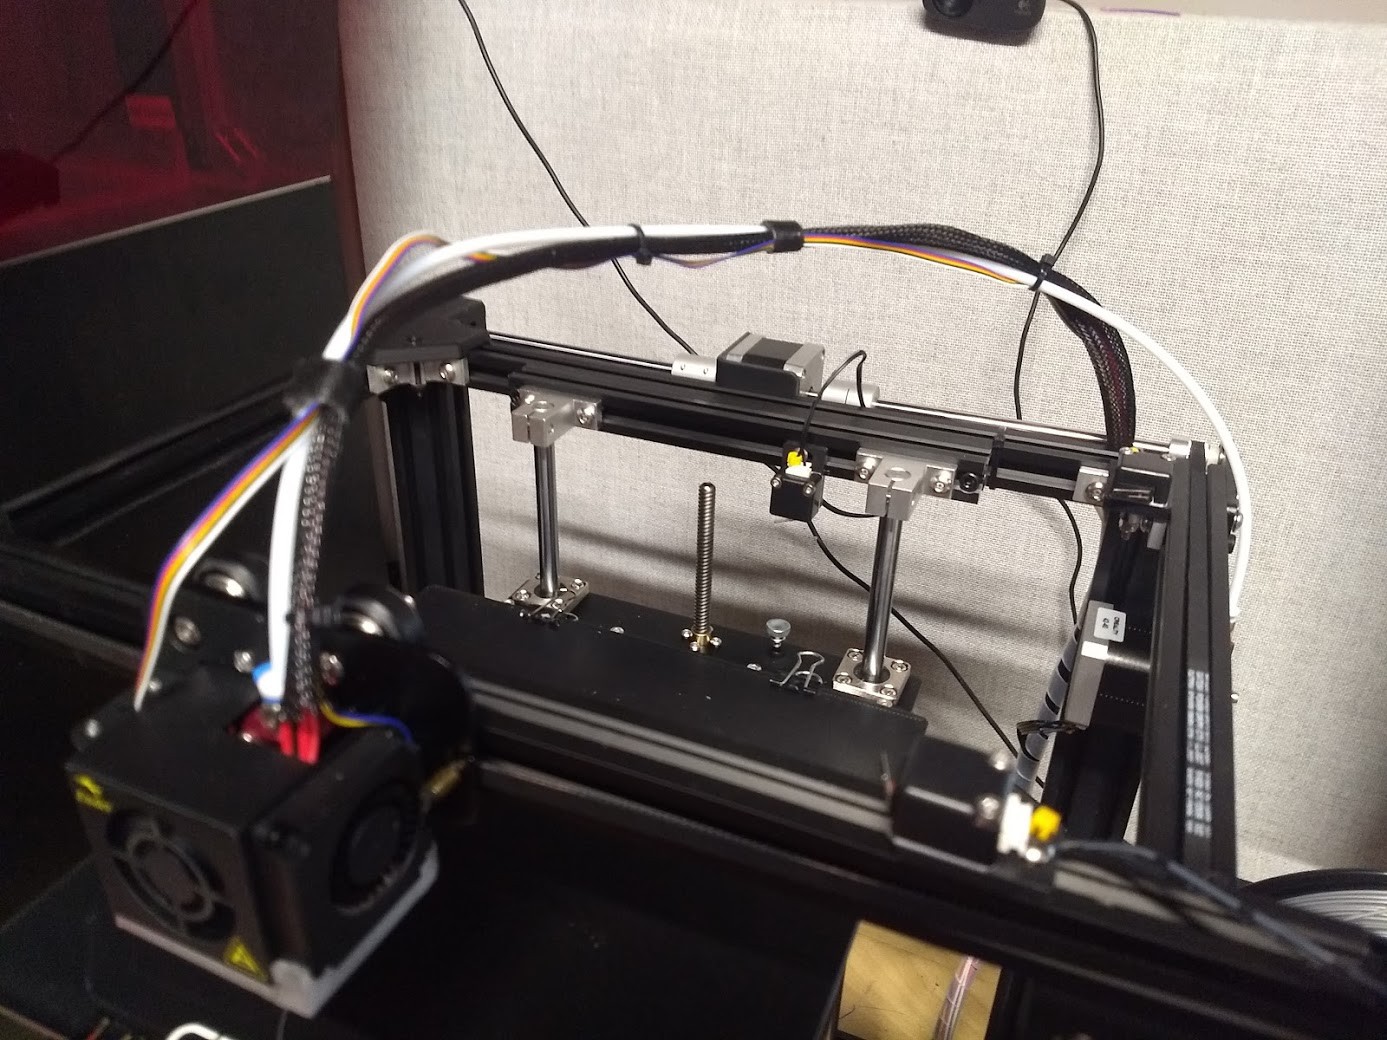

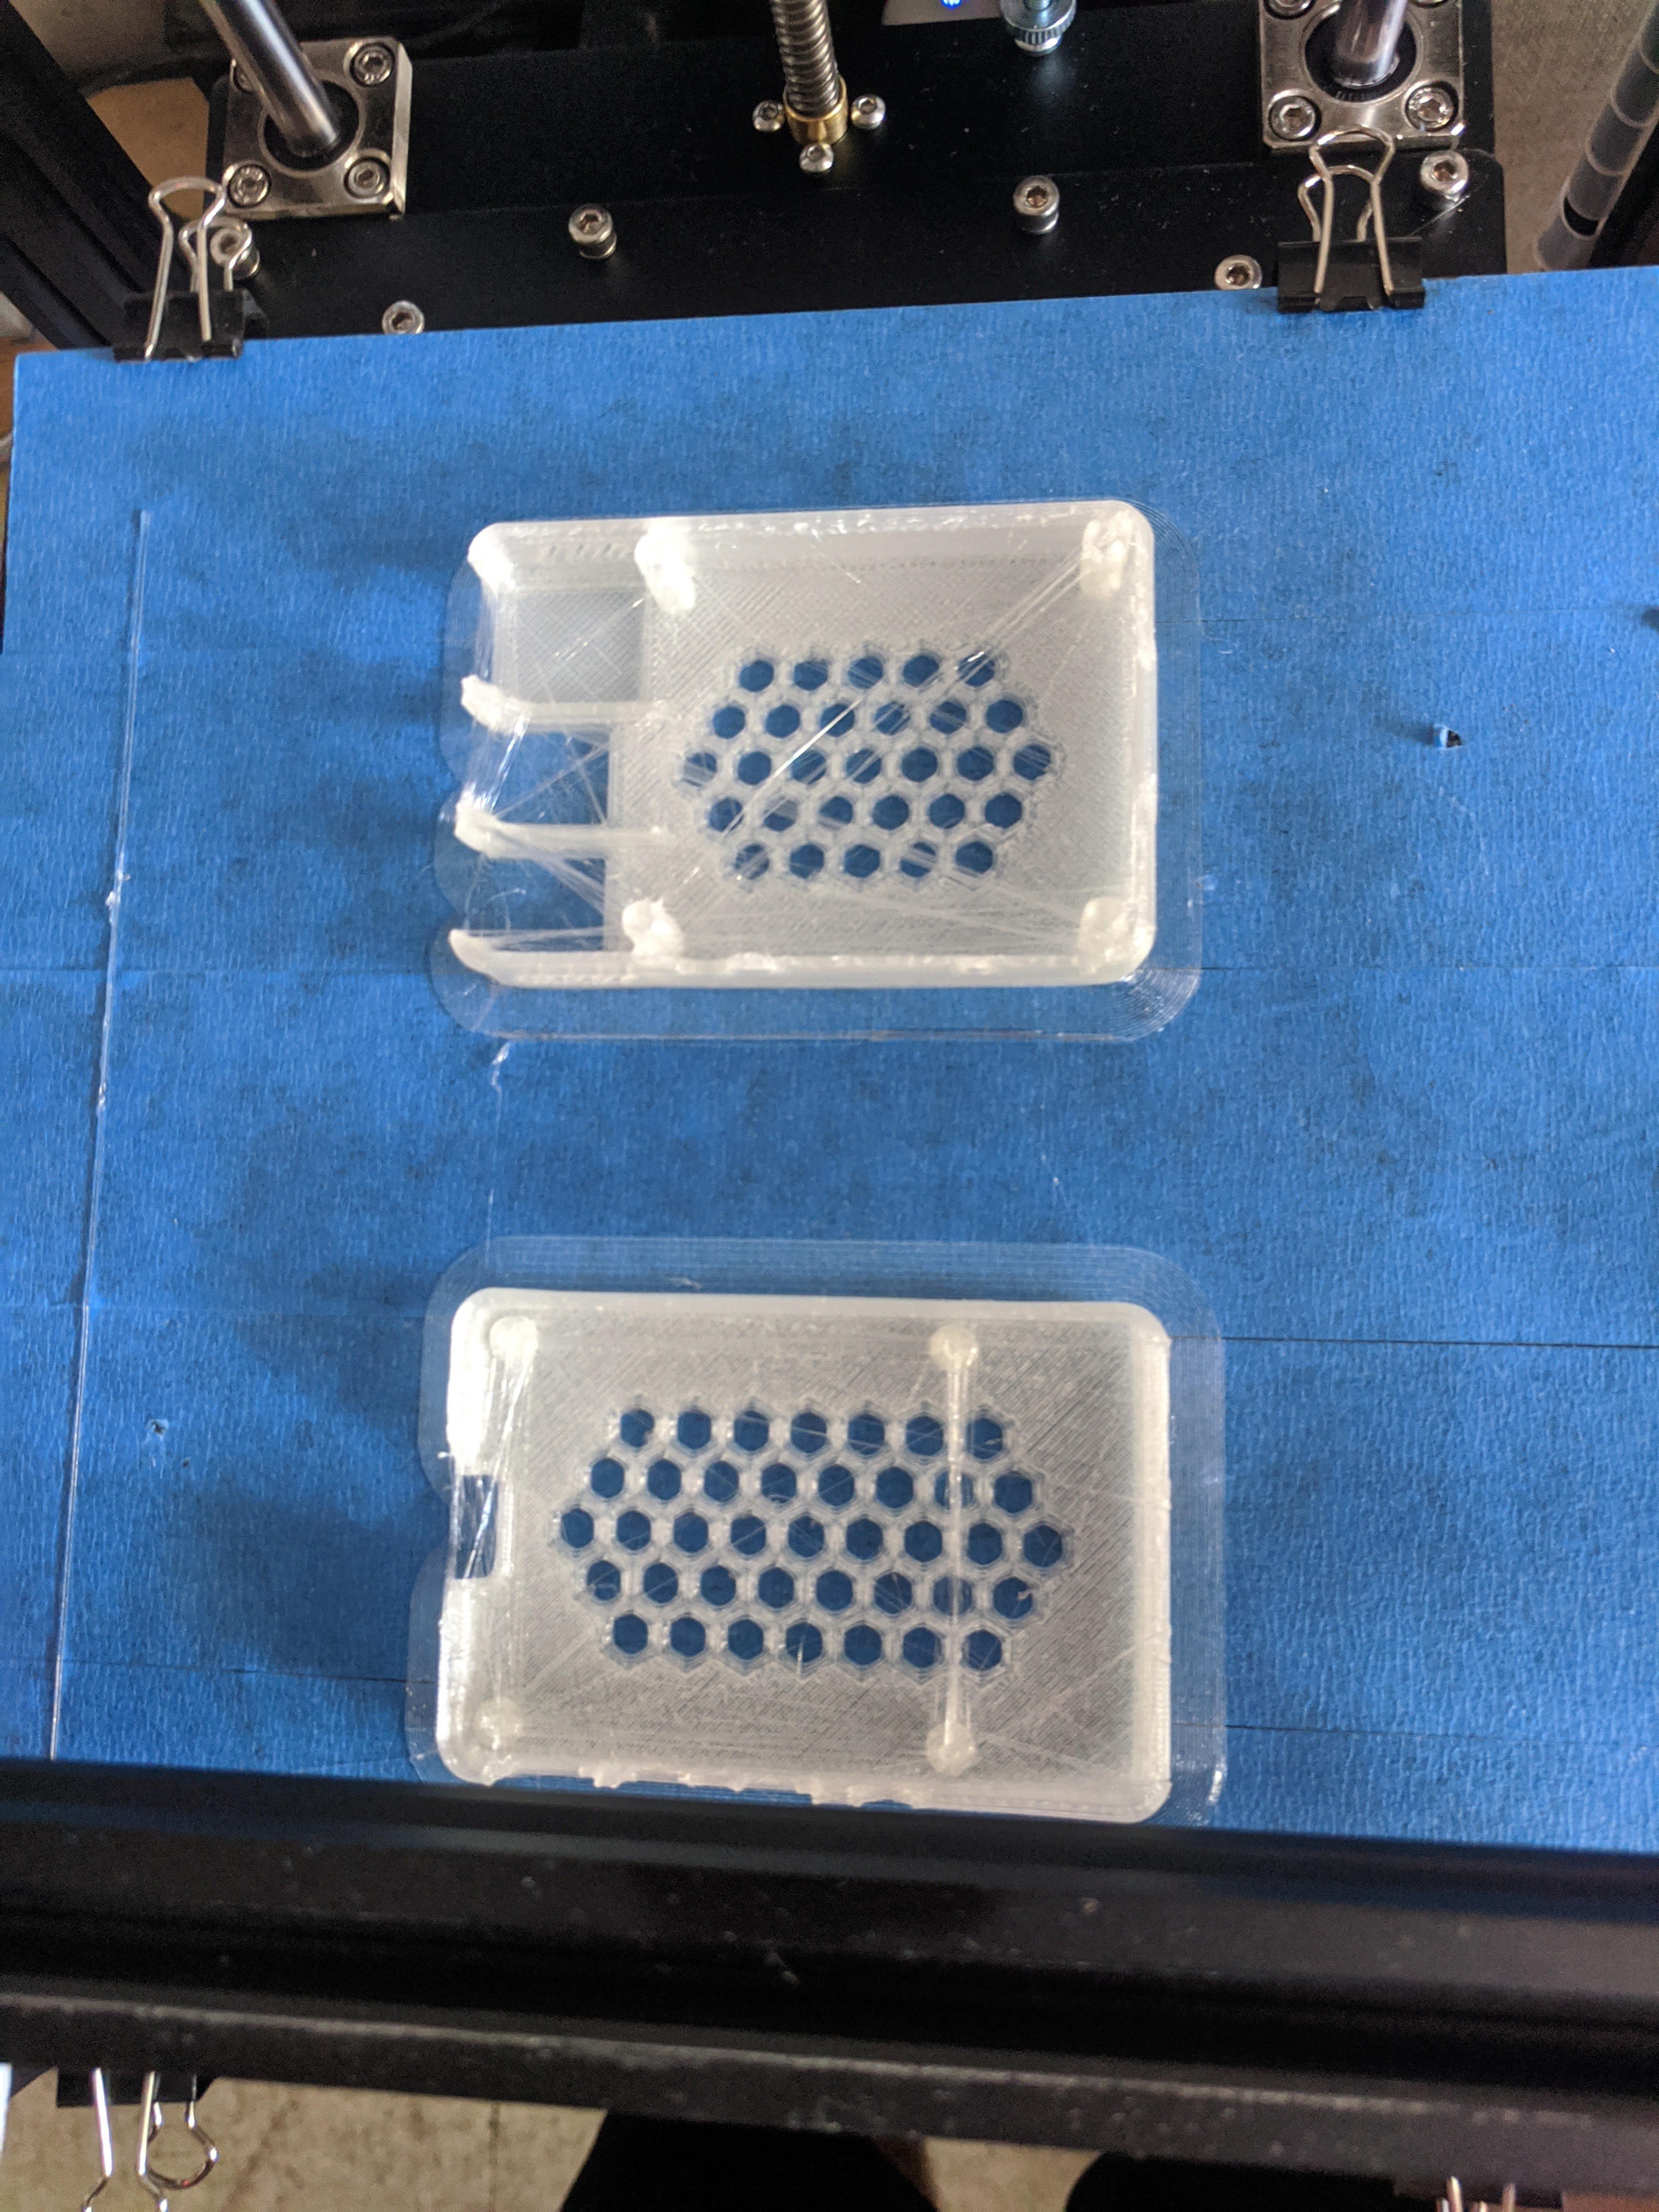
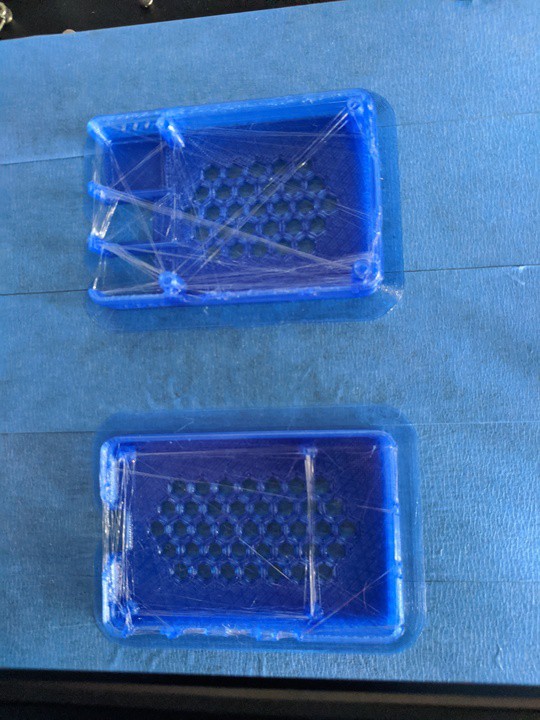

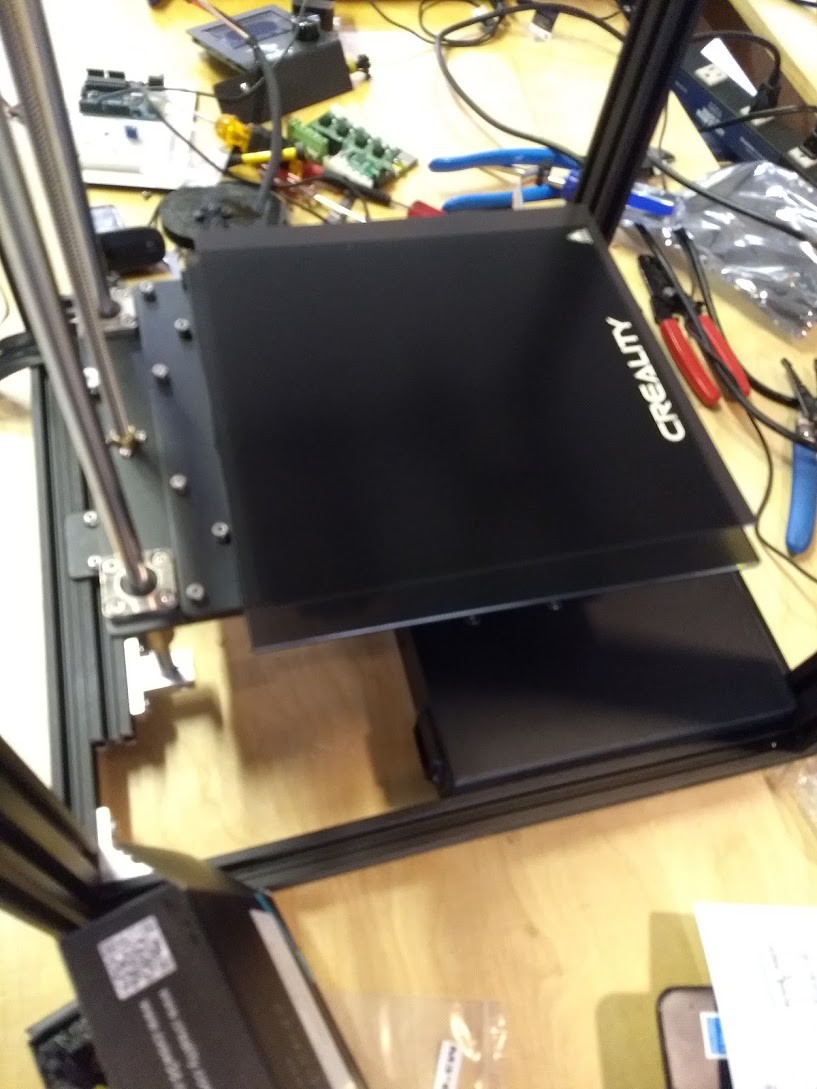
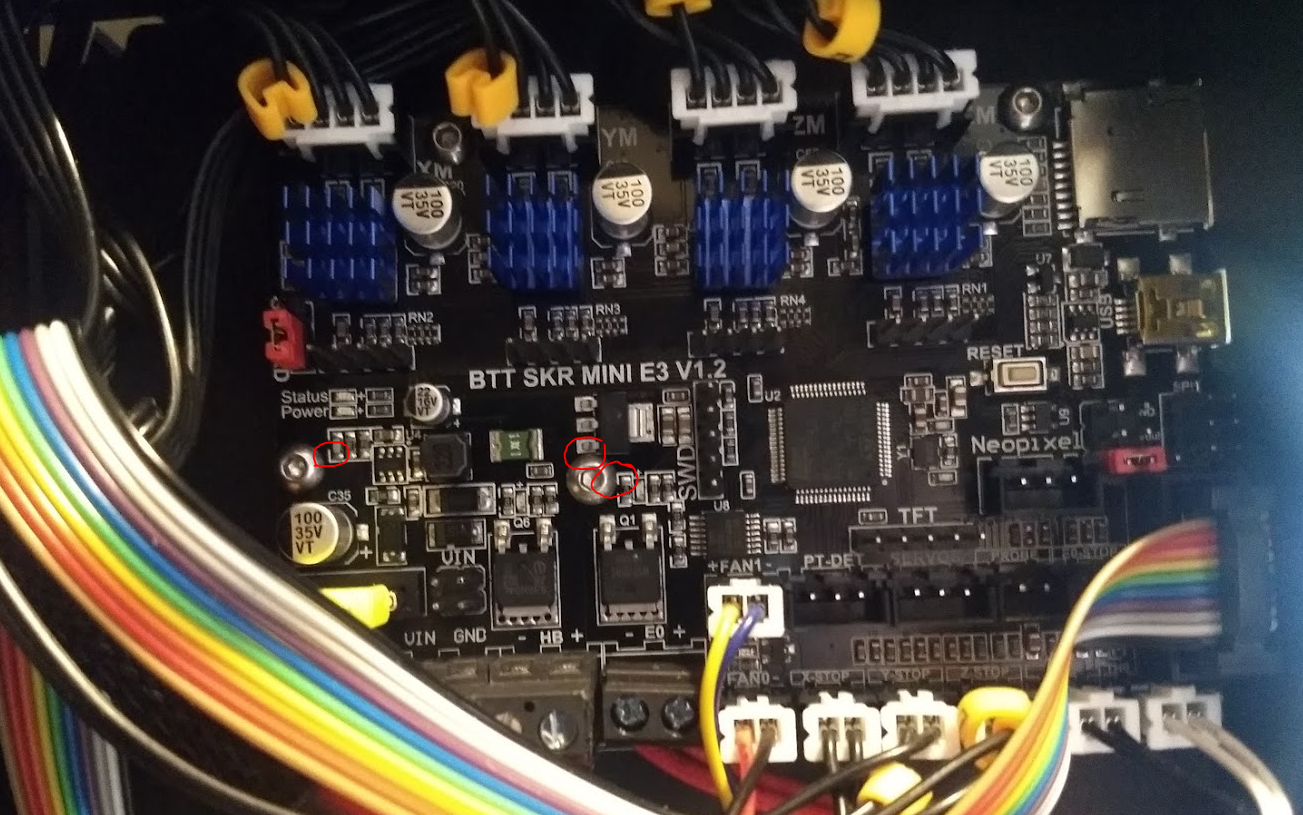
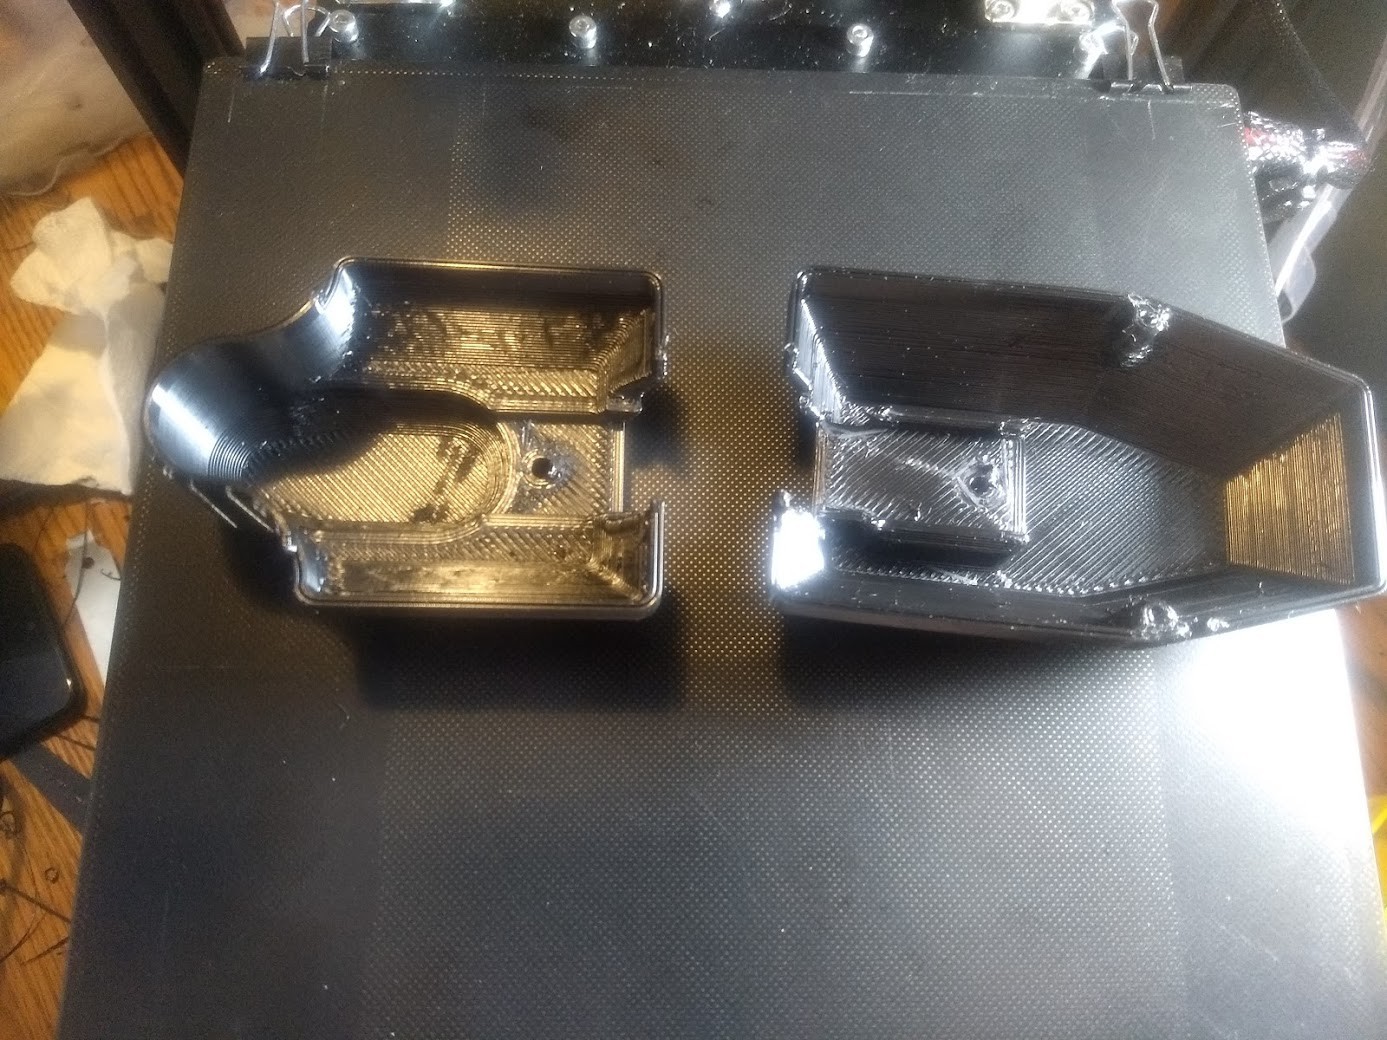
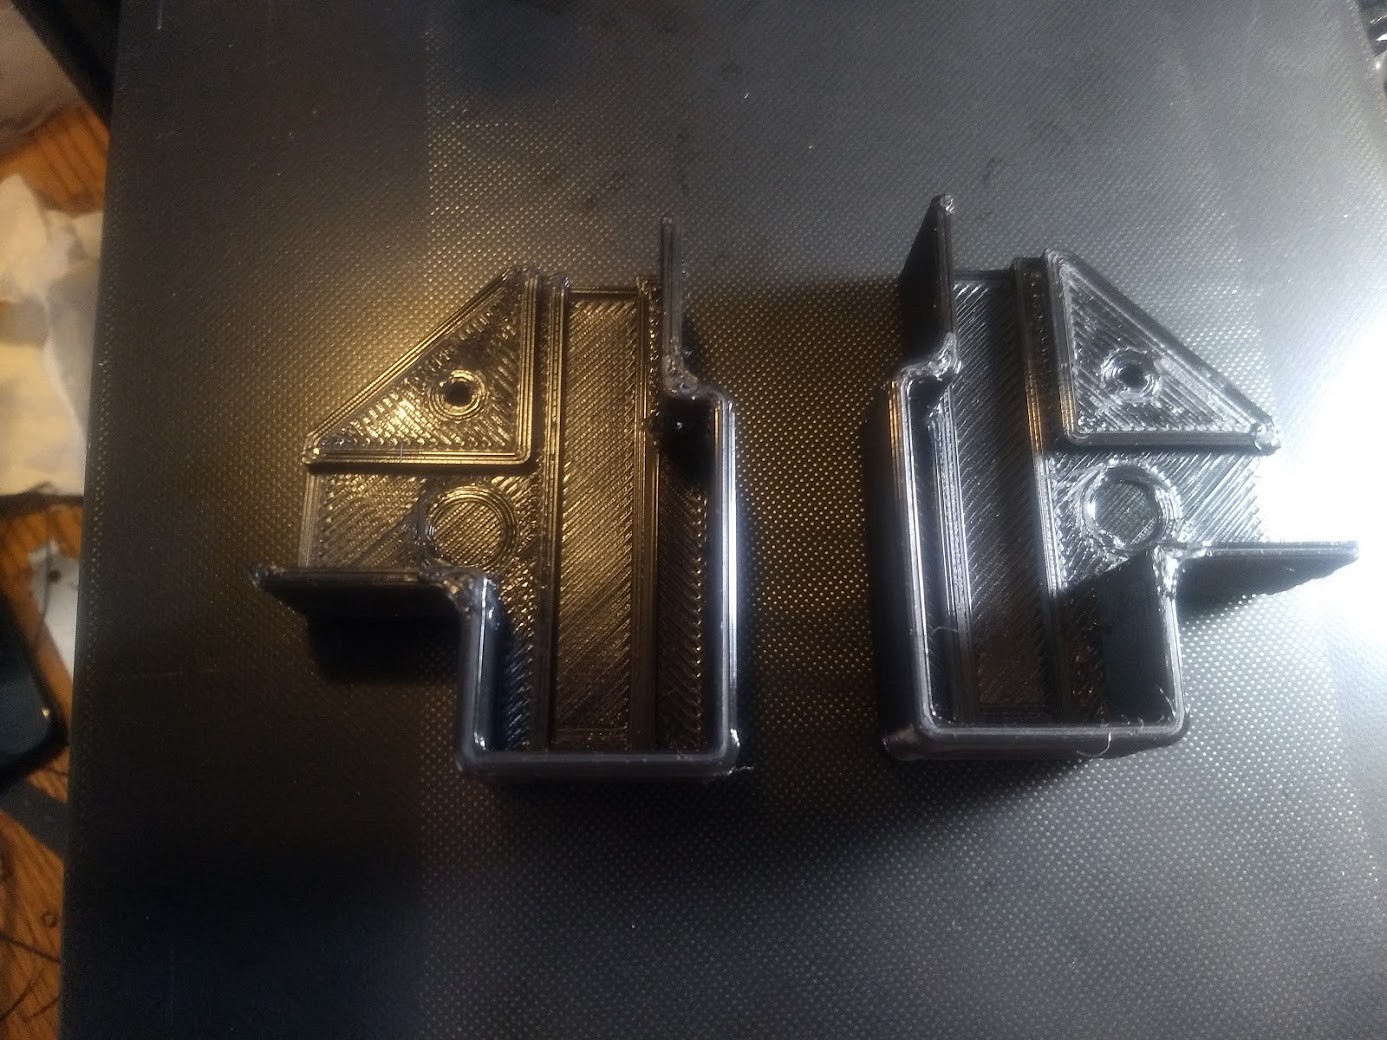
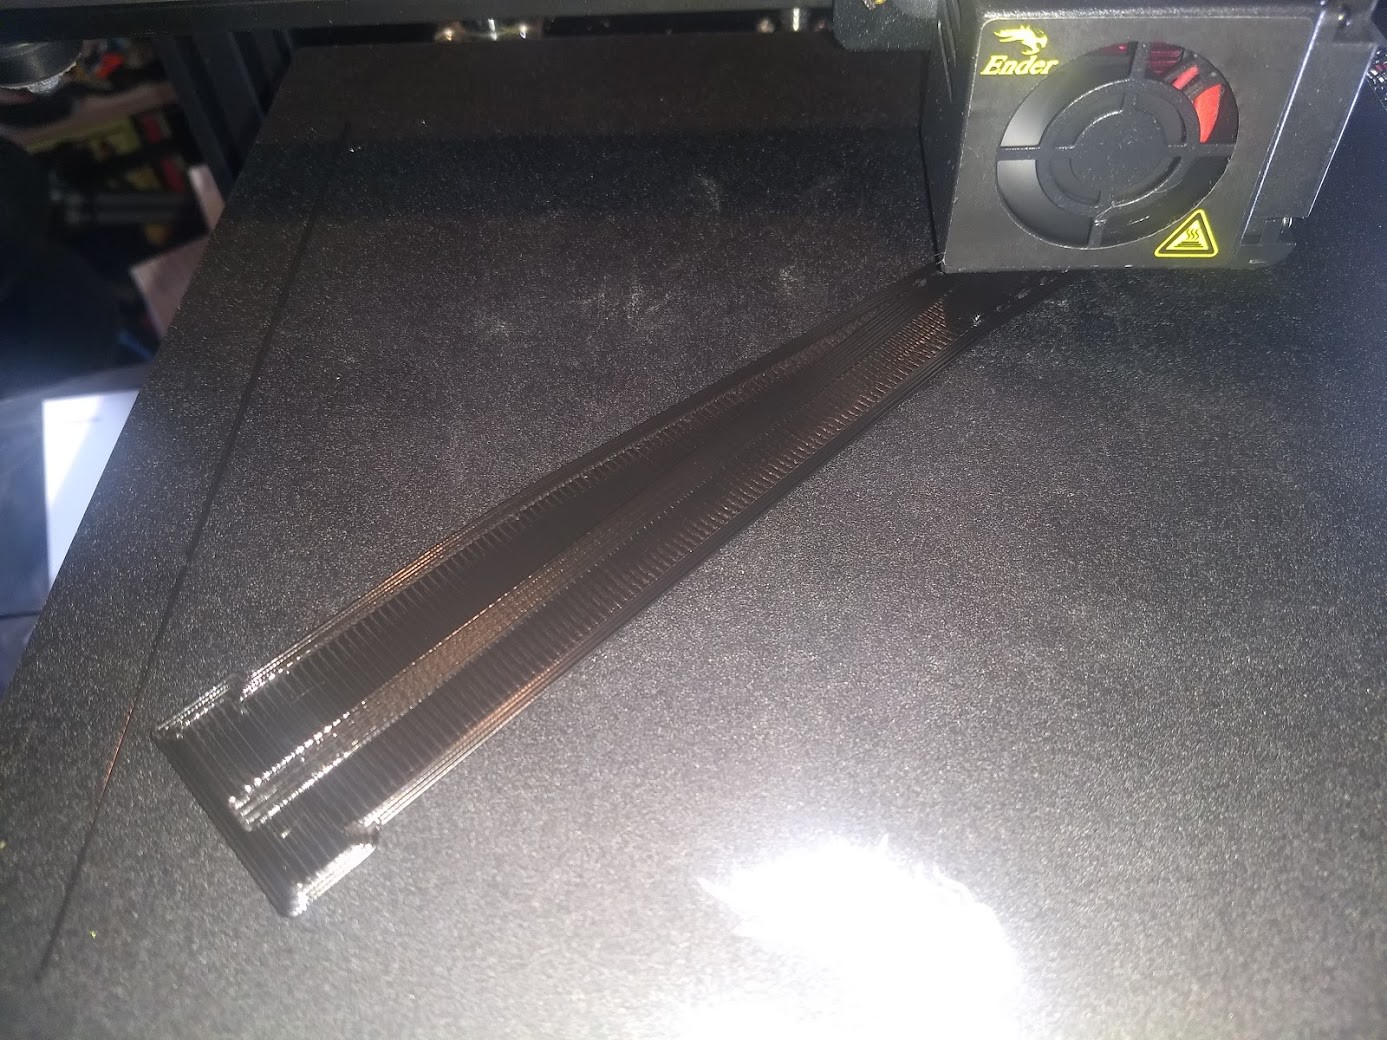
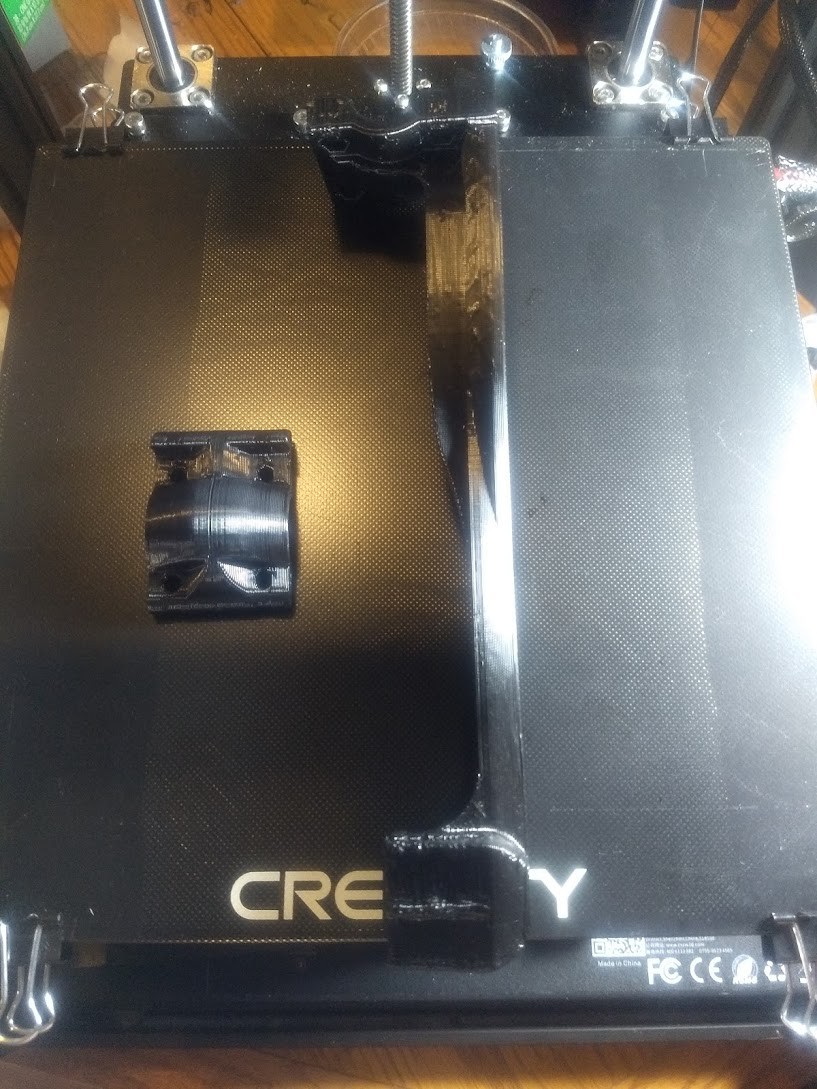
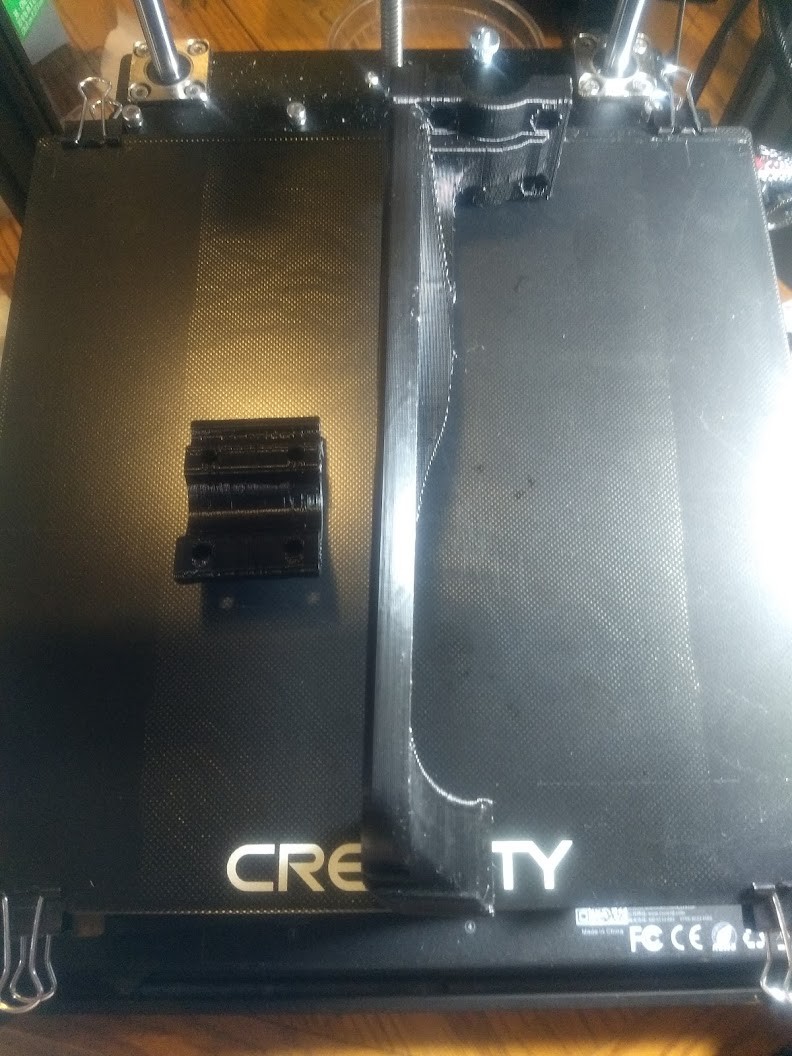
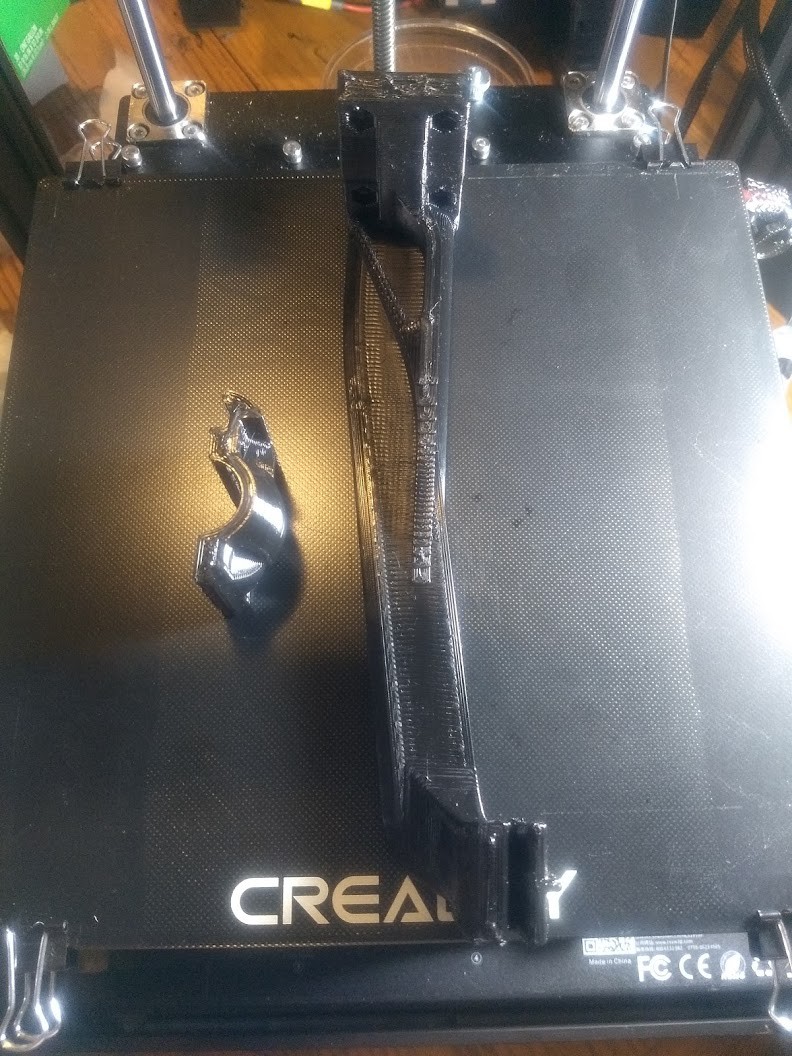
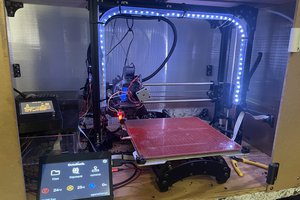
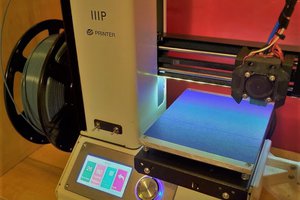
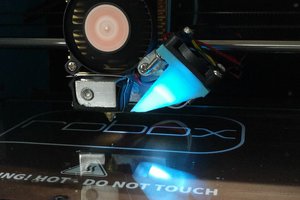
 First print done with the OctoPrint and the Capricorn...
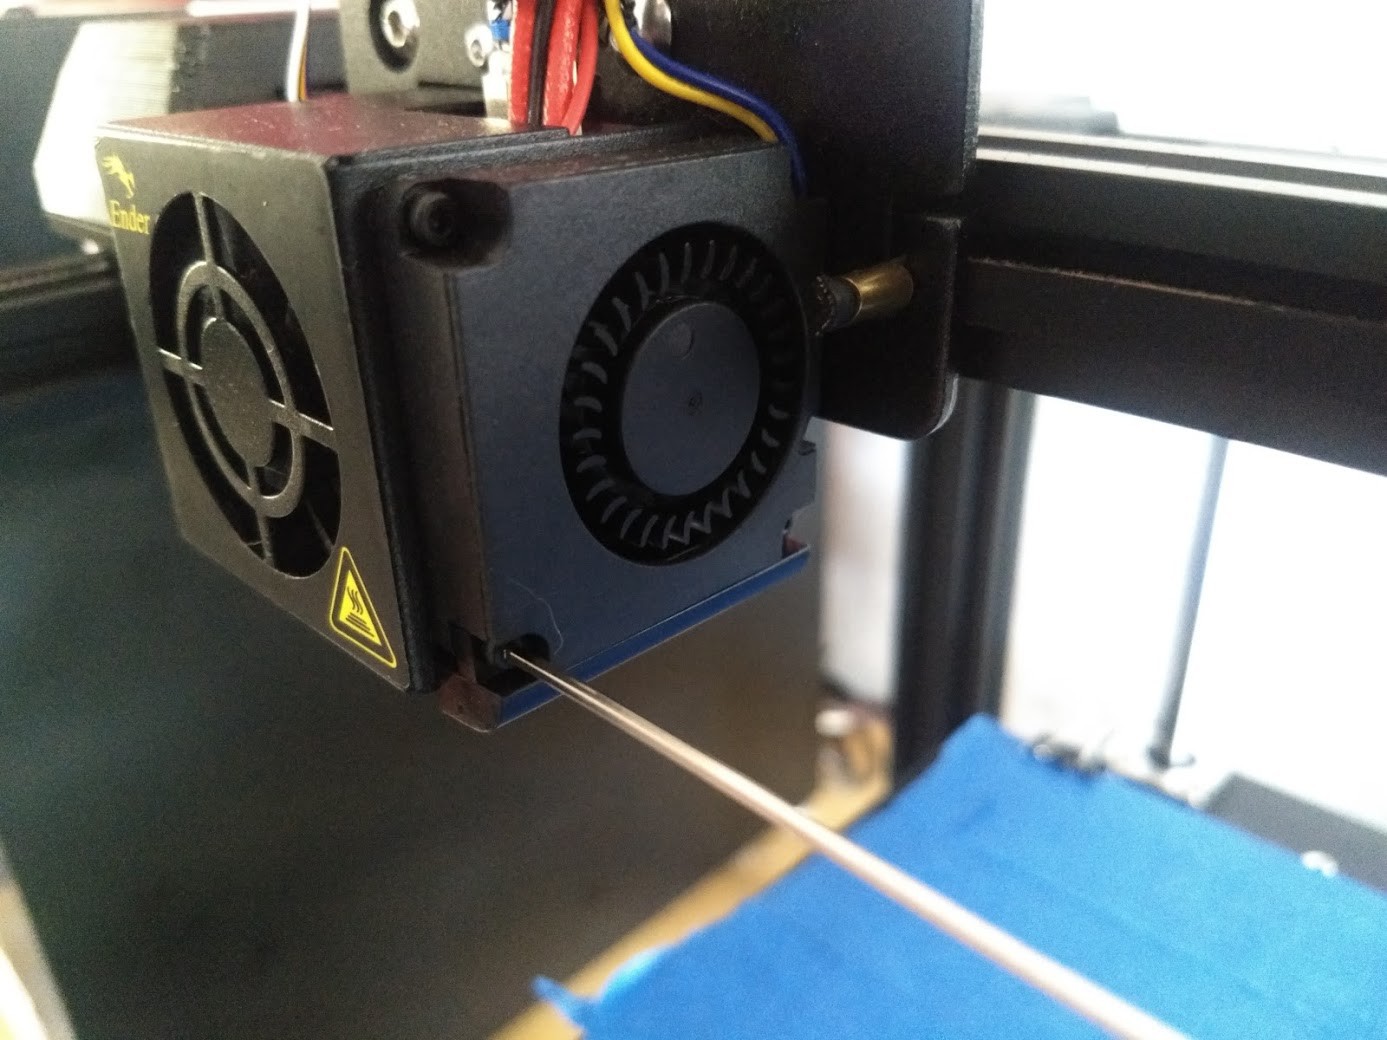
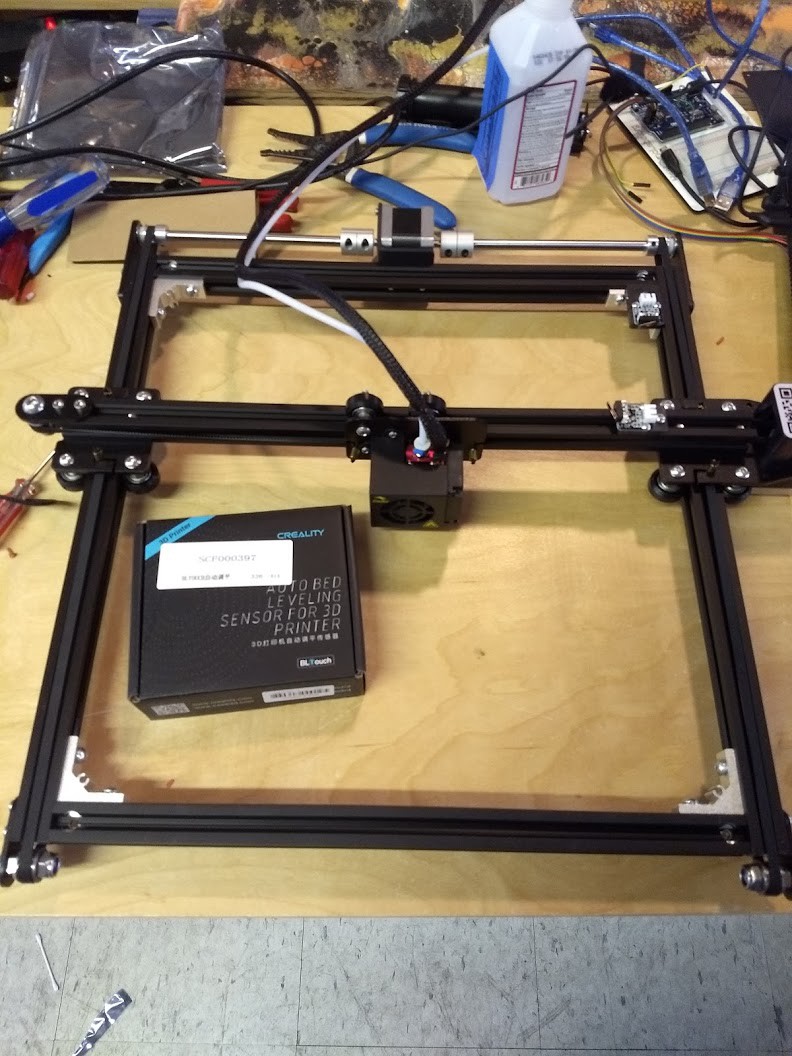
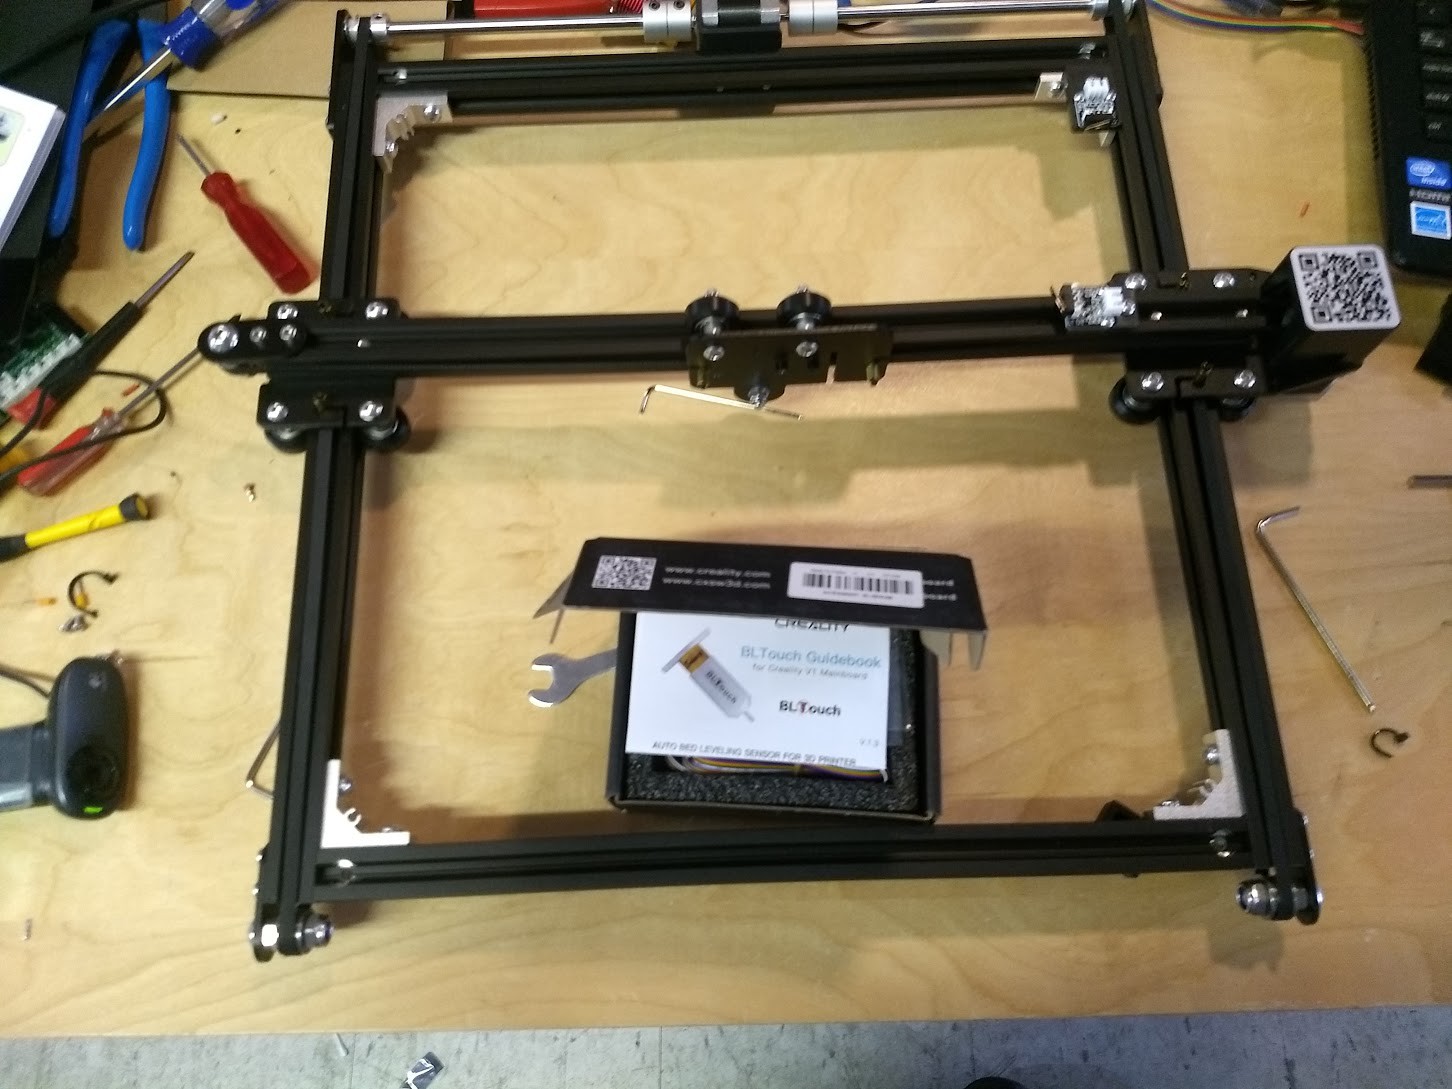
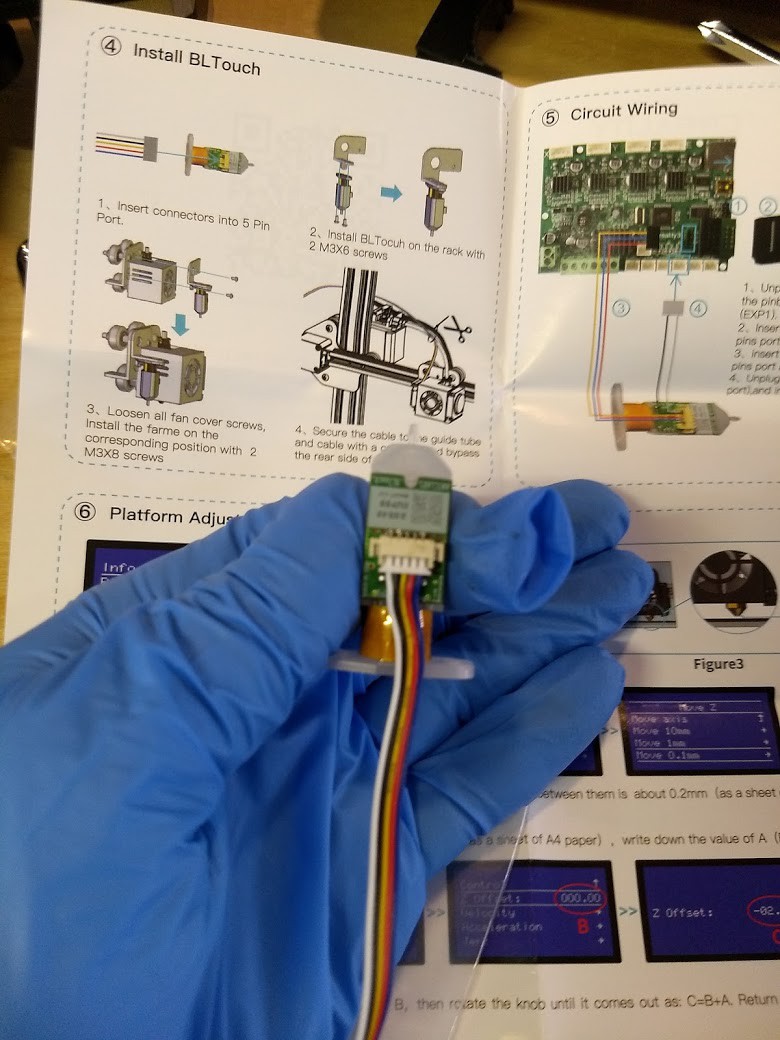


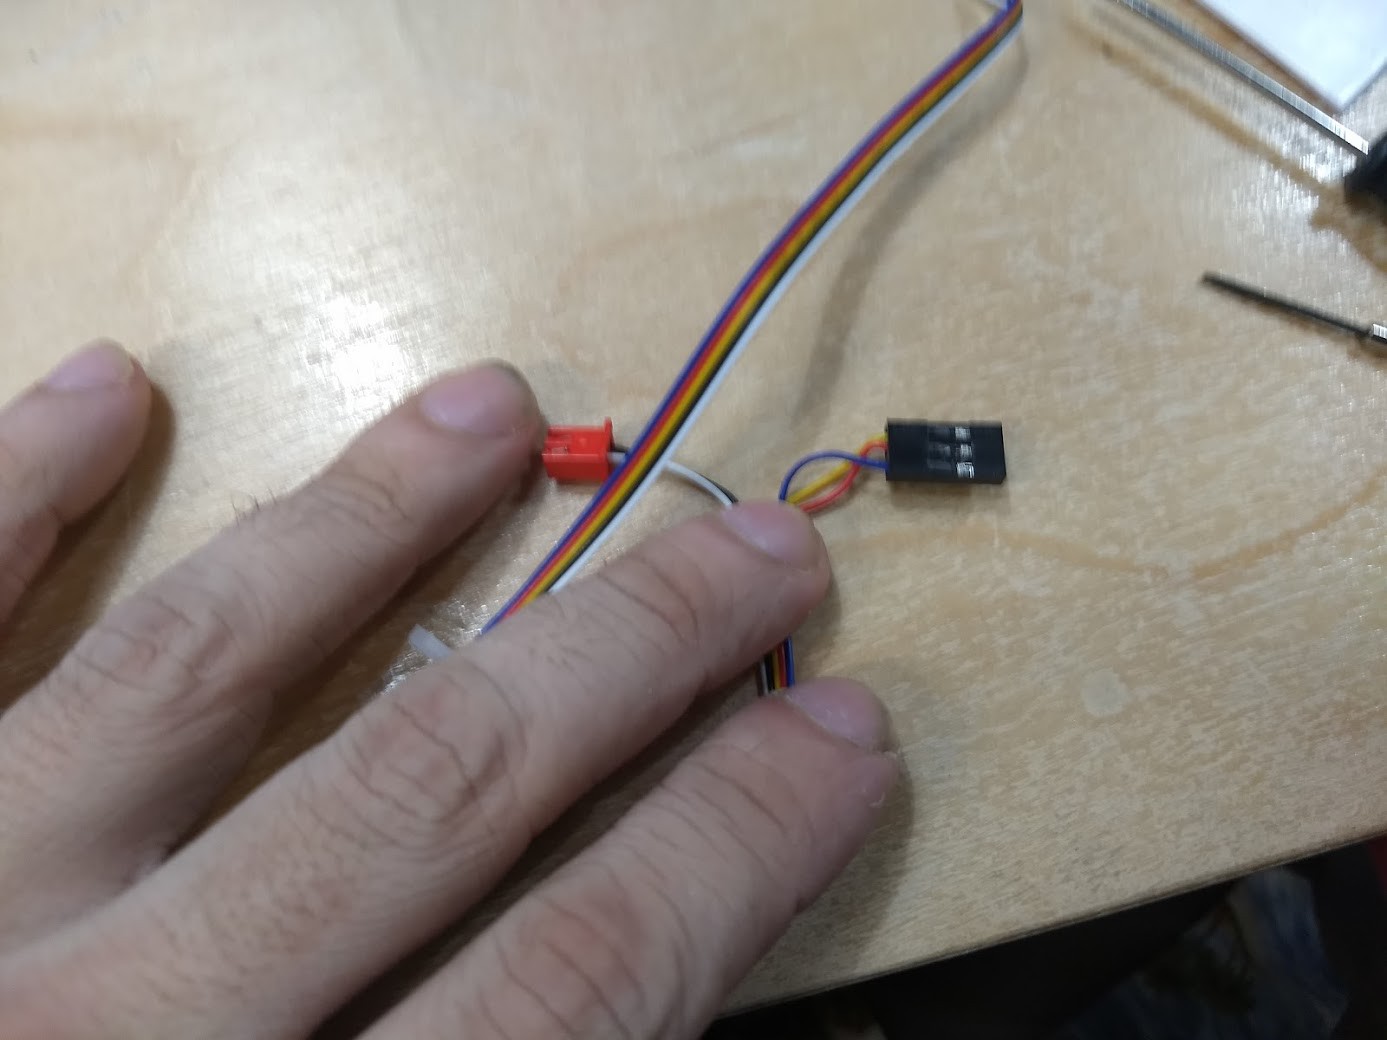
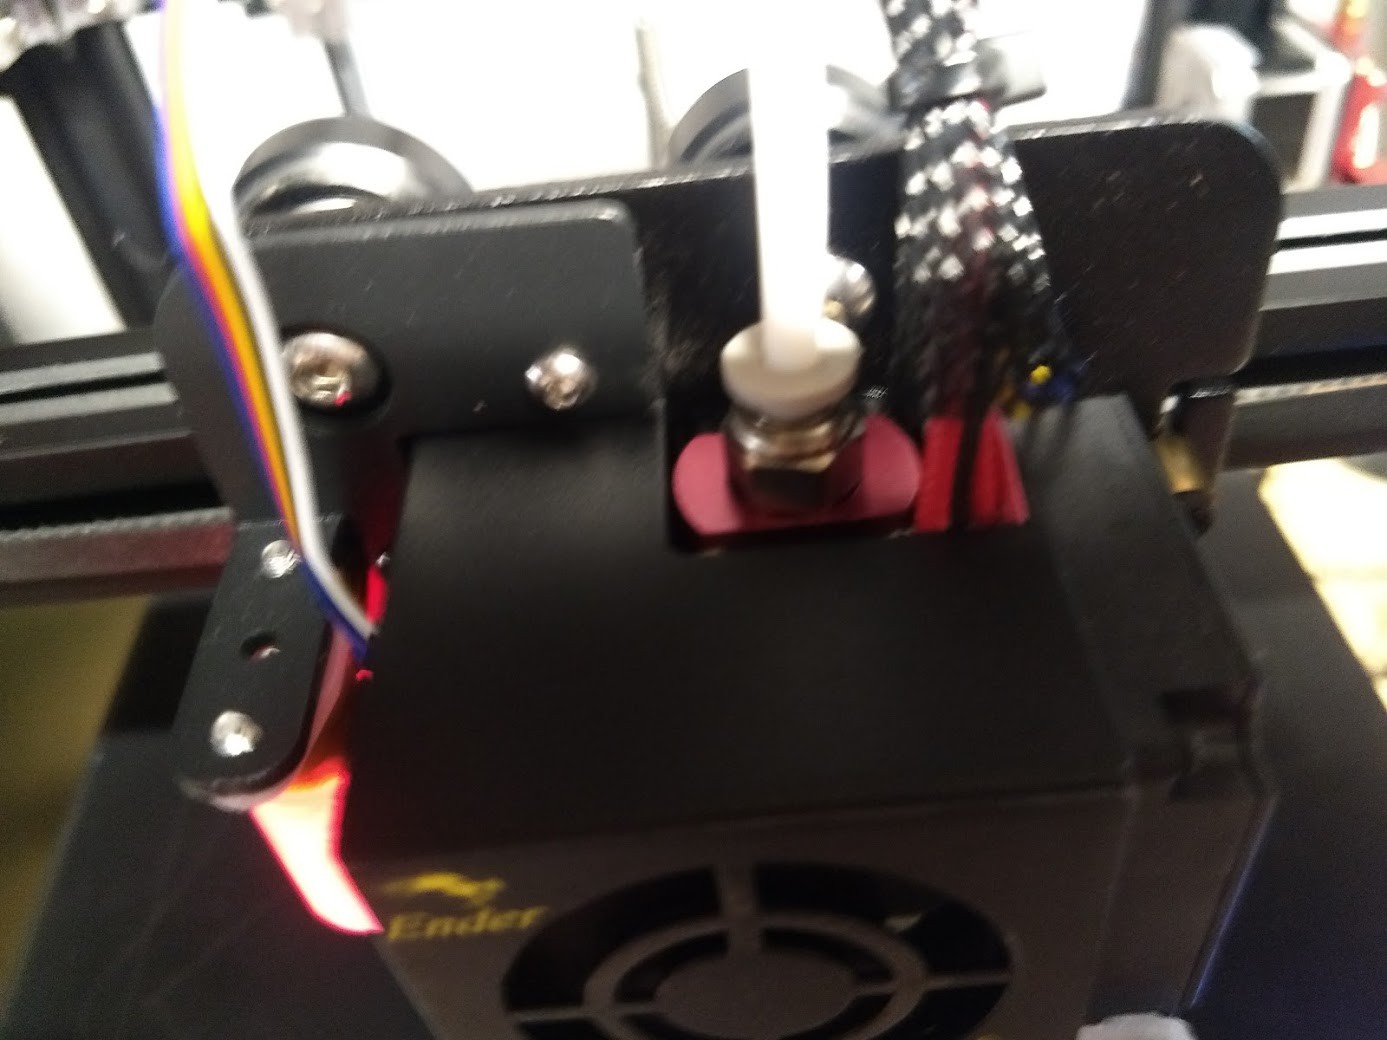
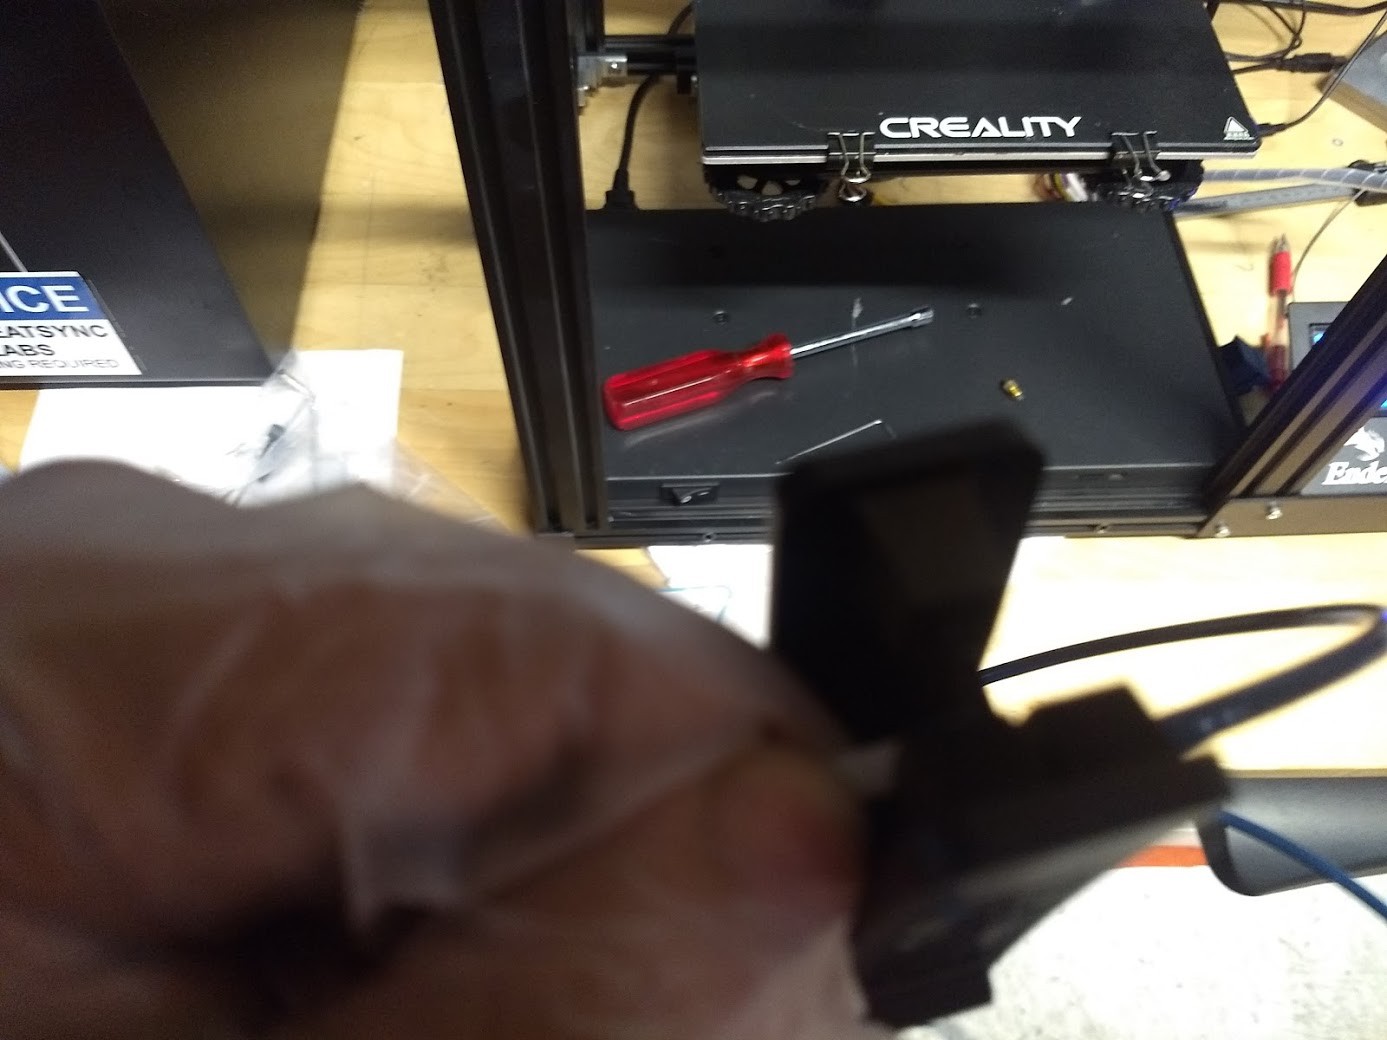
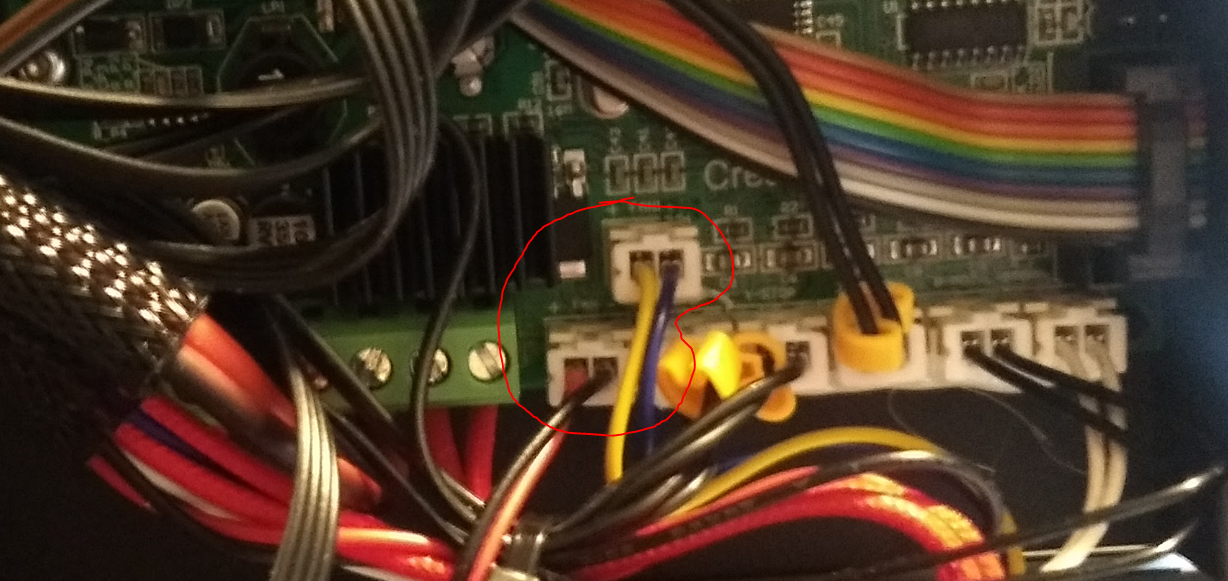
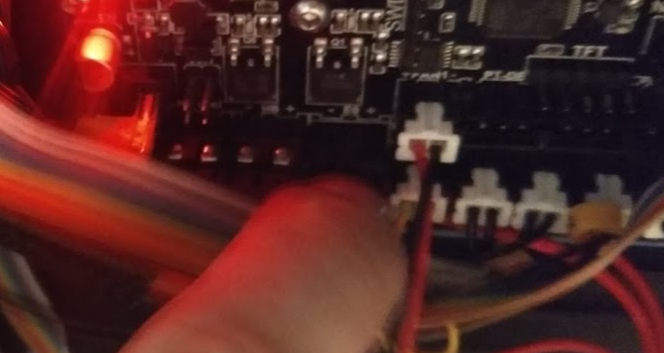
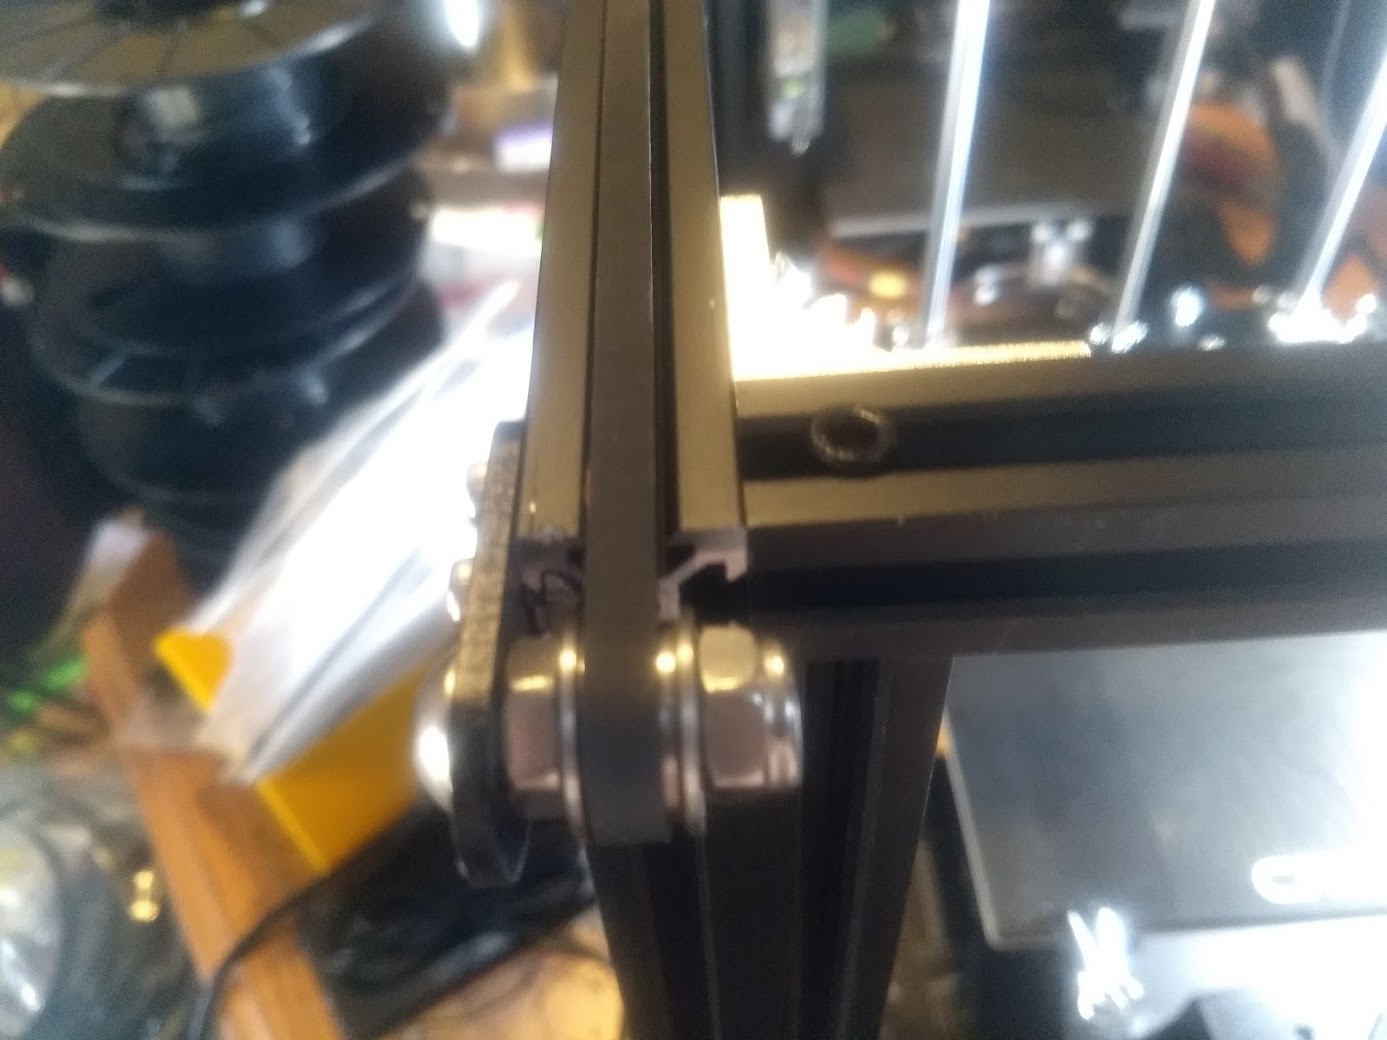
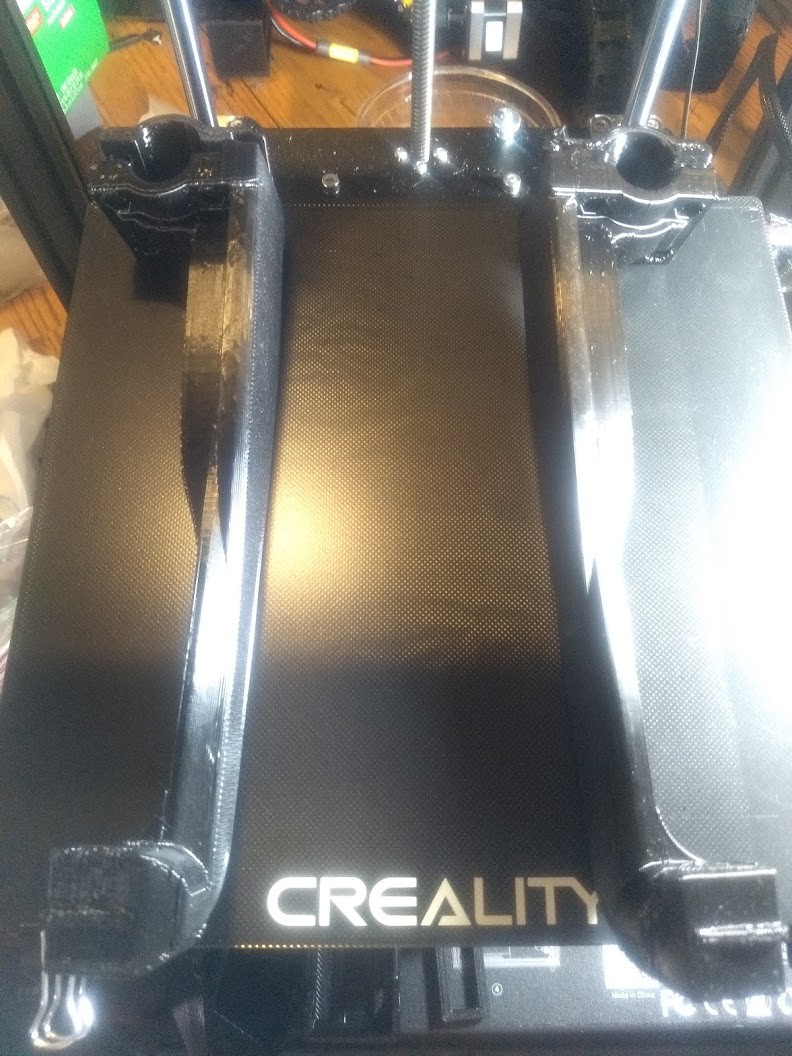
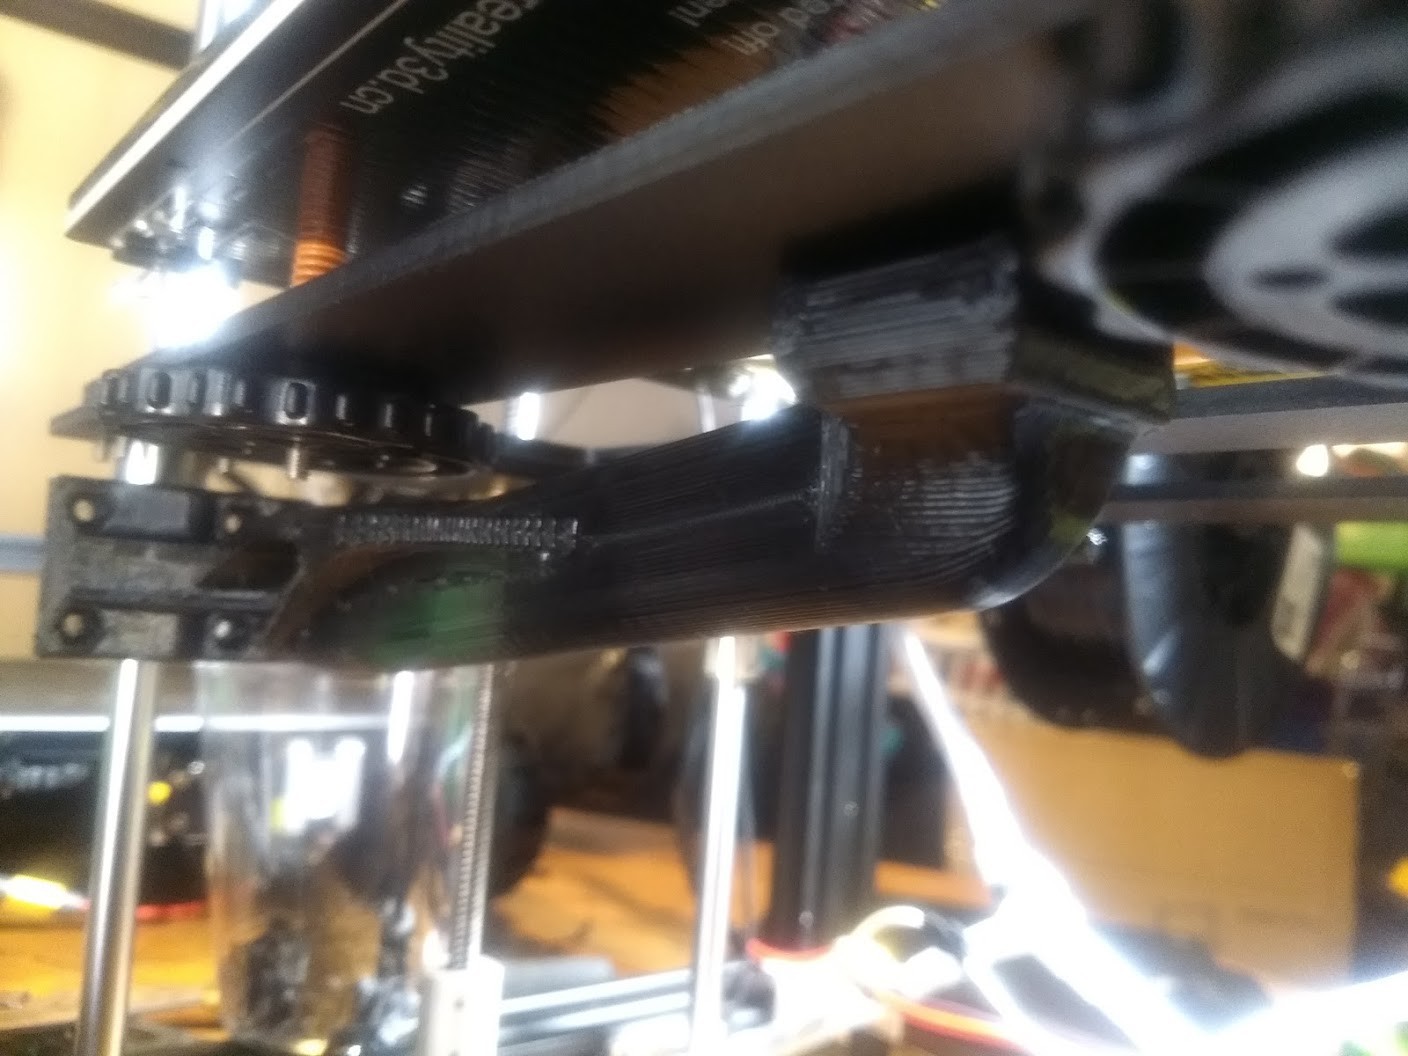
 I managed not to take any pictures of using Velcro and Zip Ties to affix the BLTouch wiring...
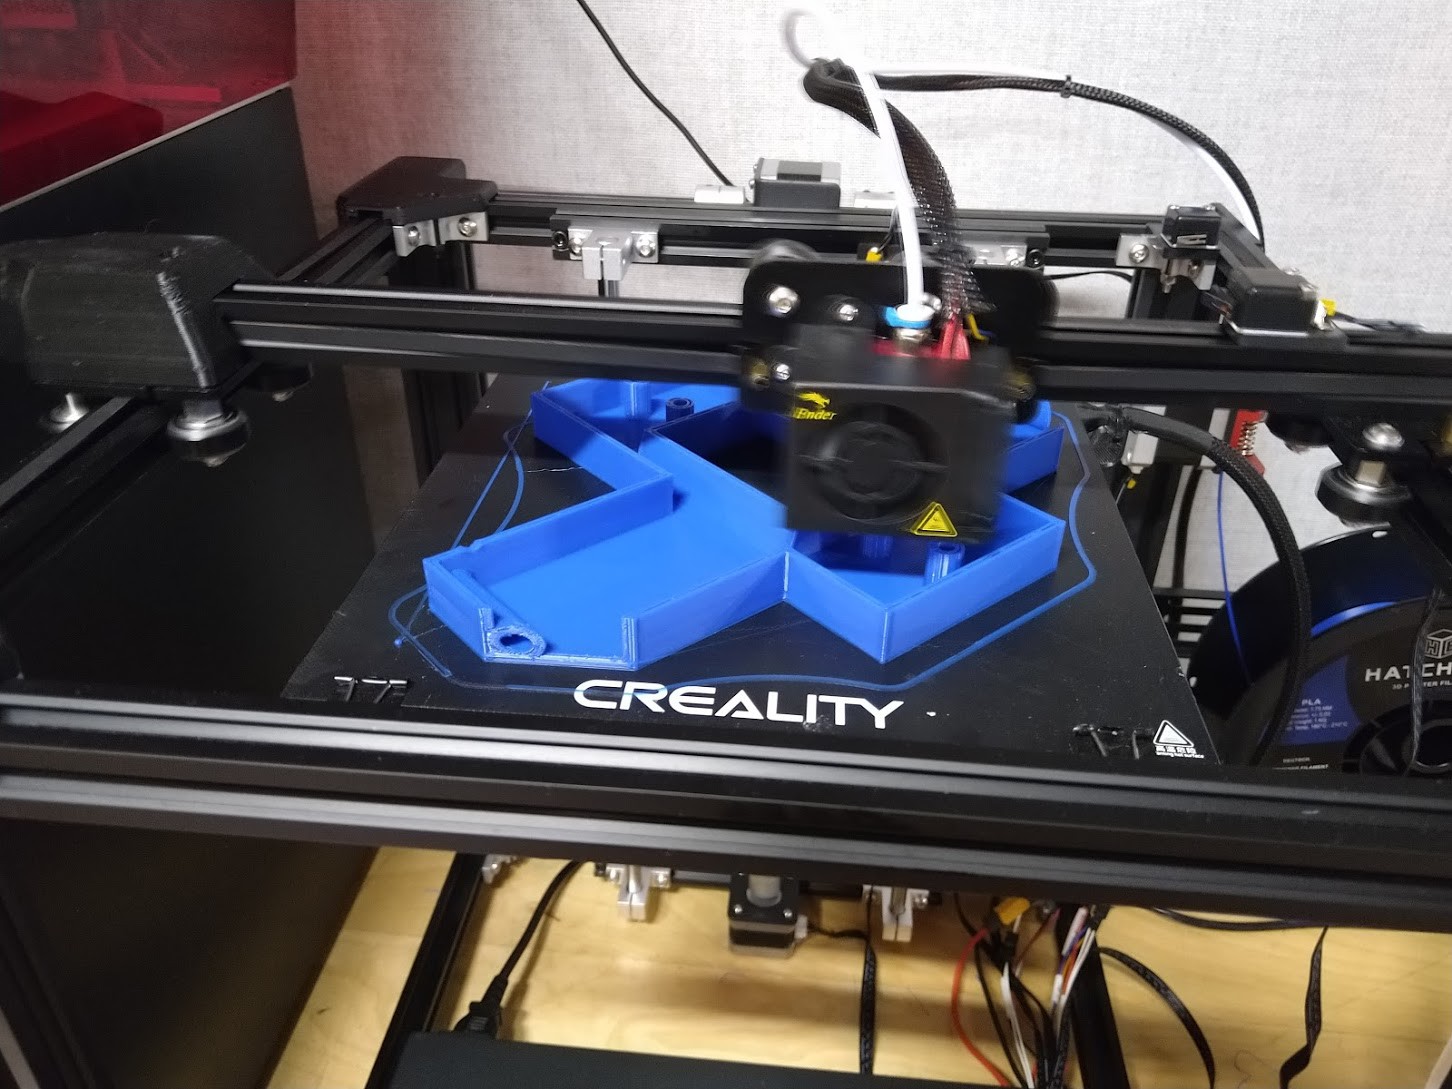
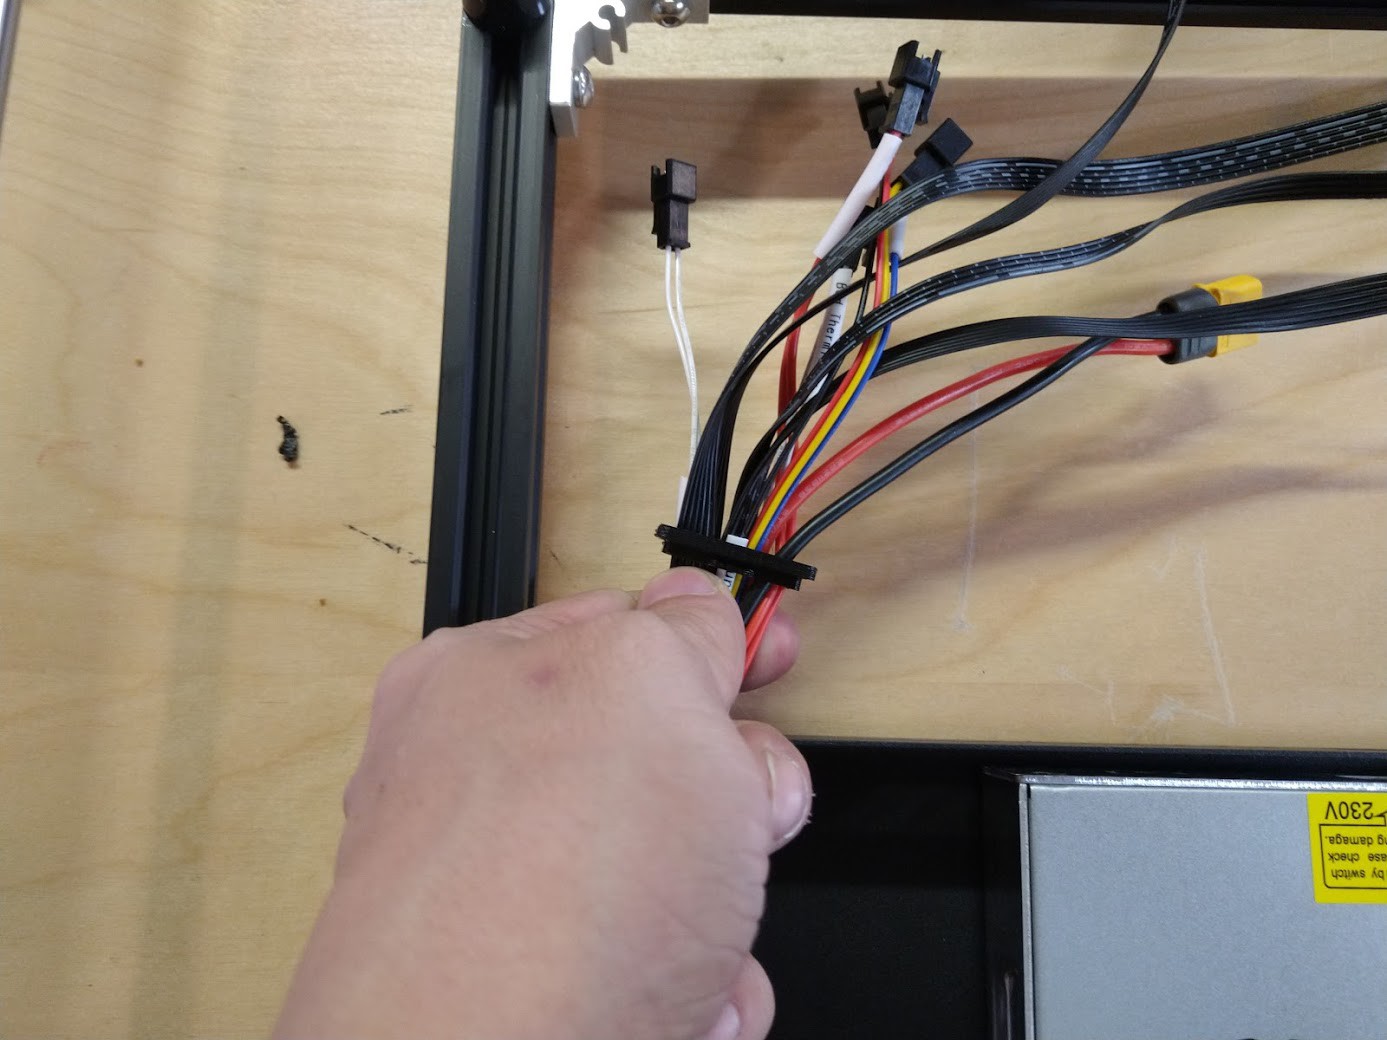
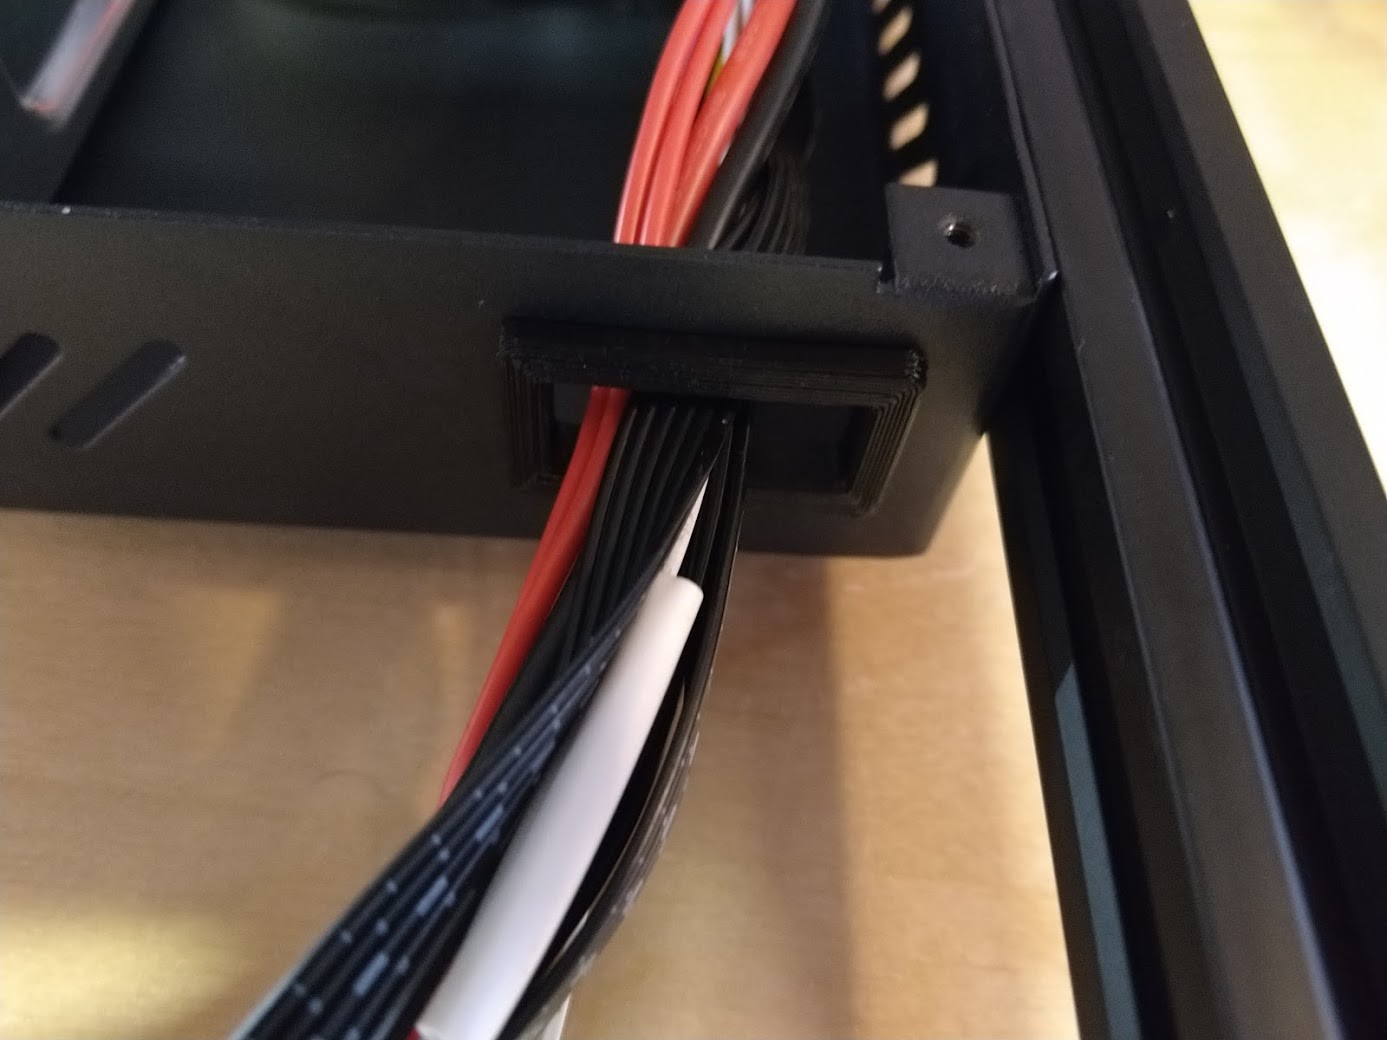

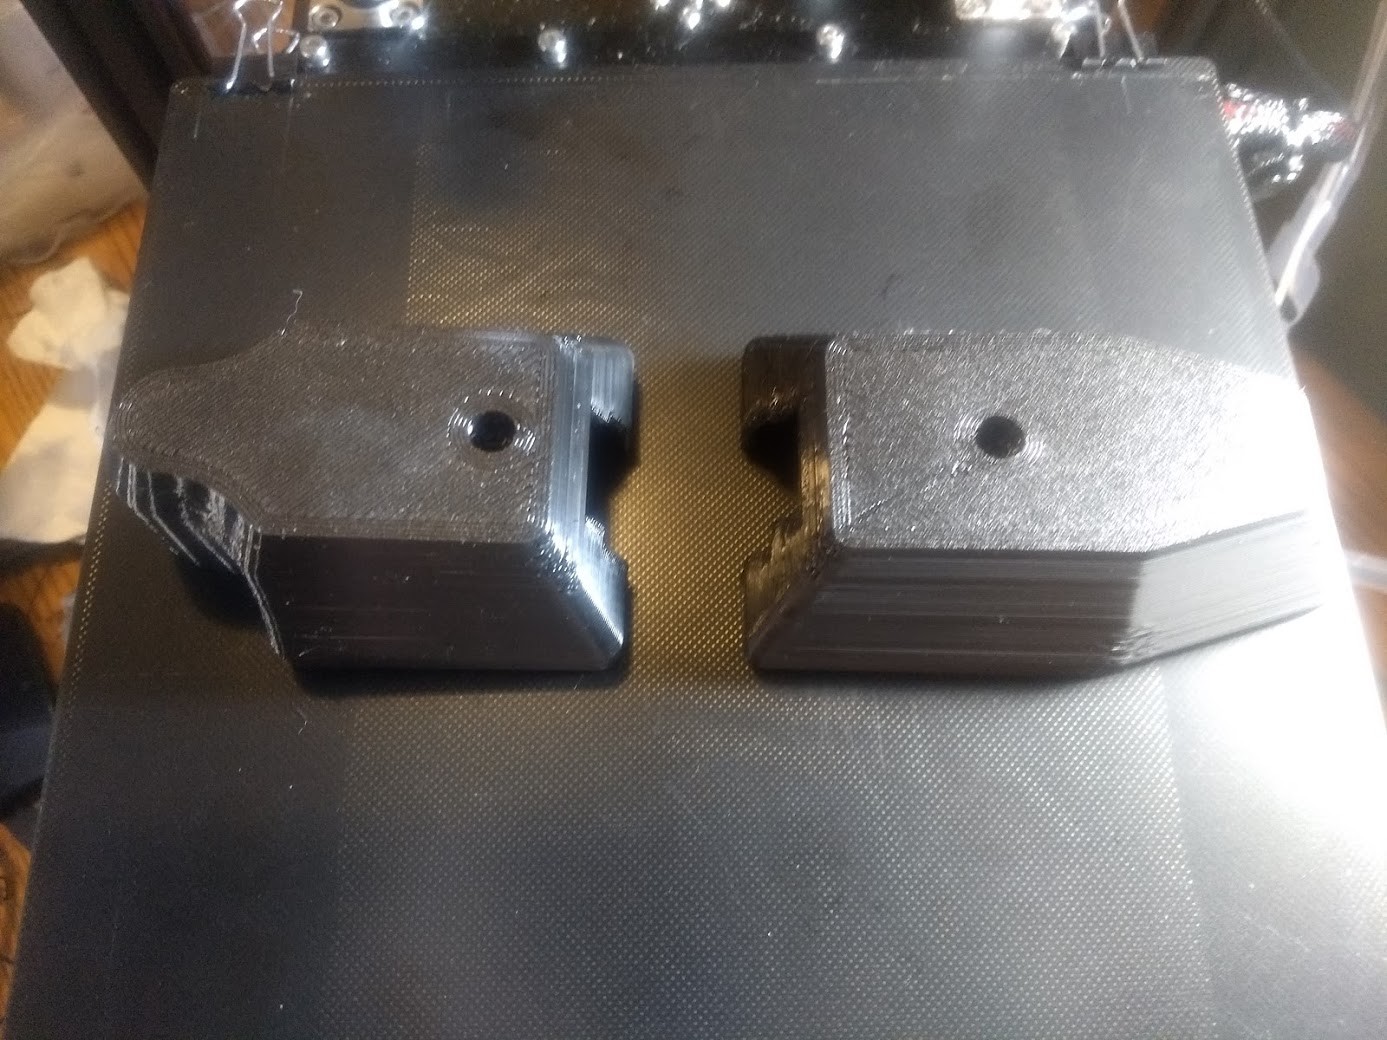
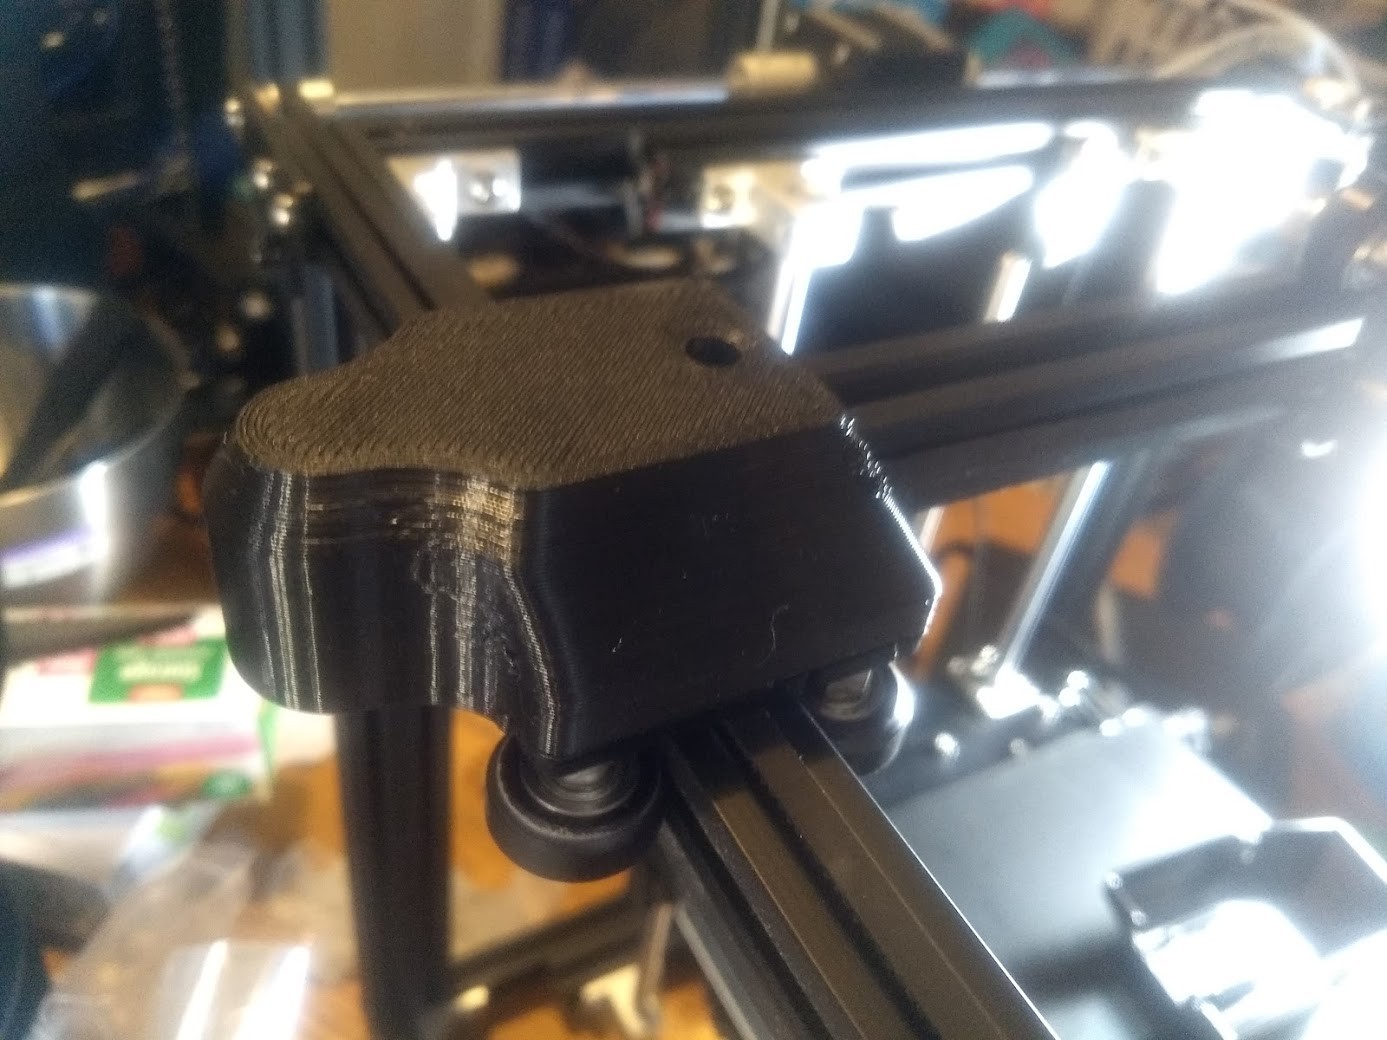

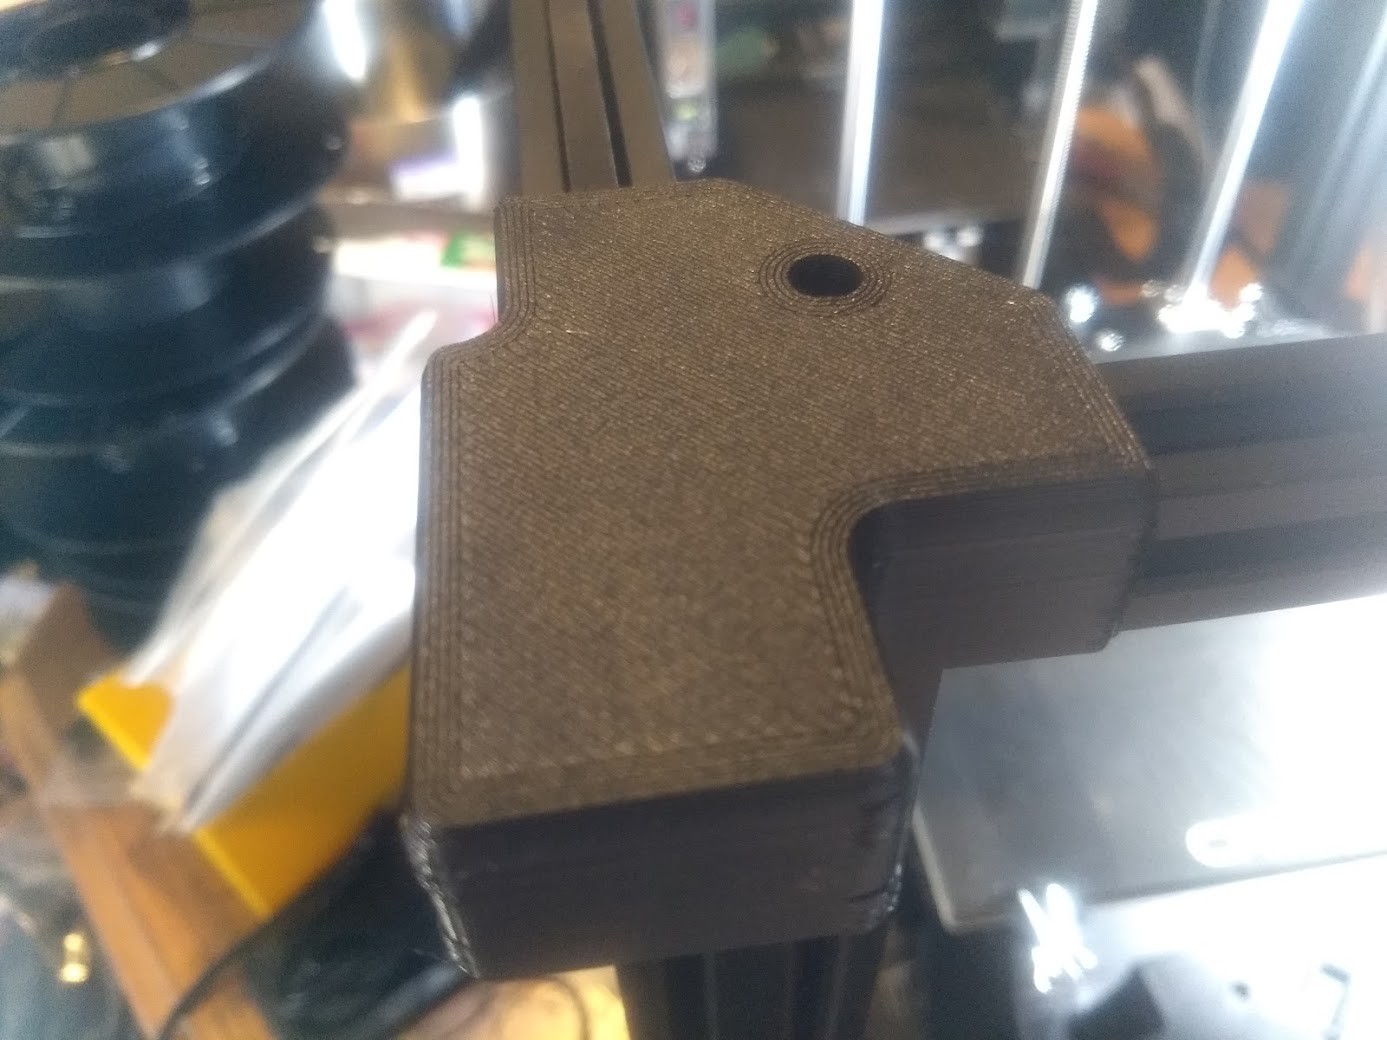
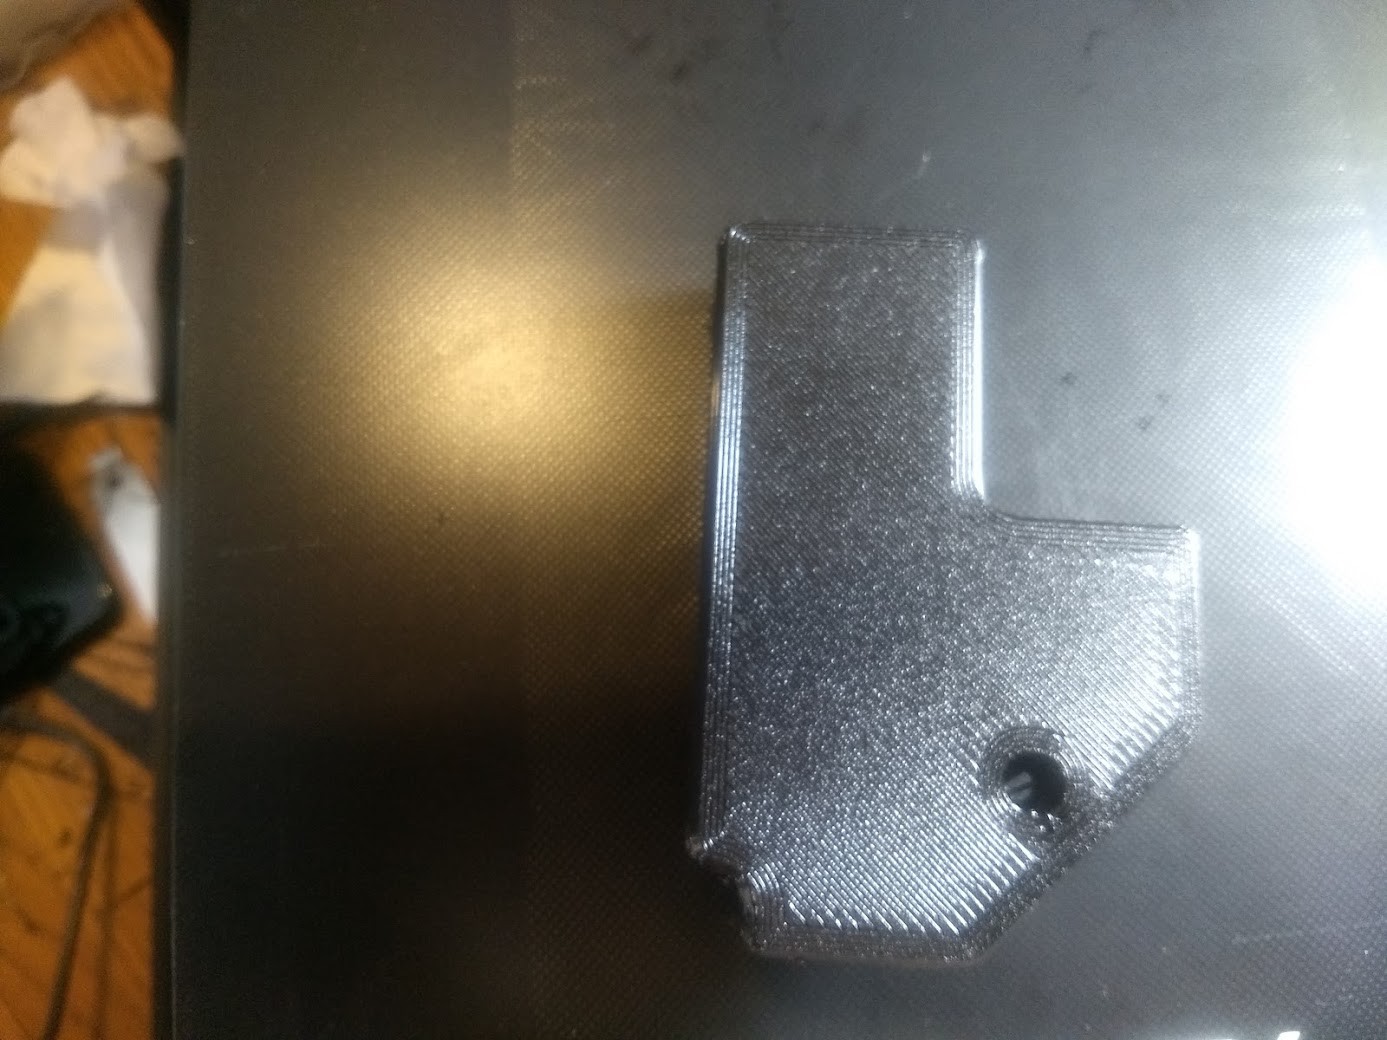
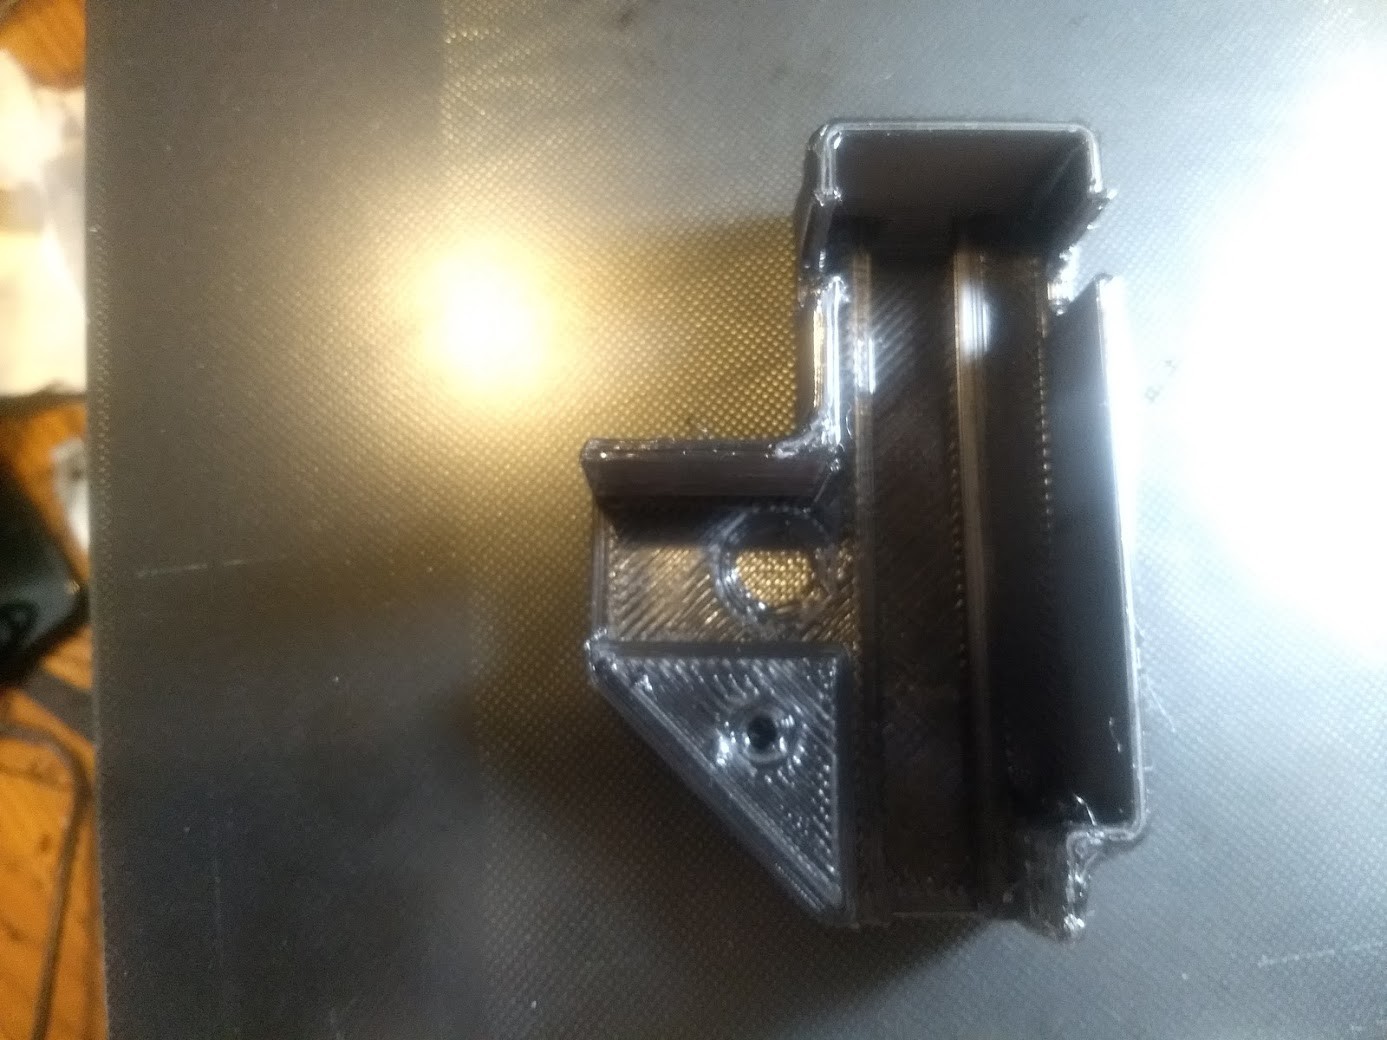
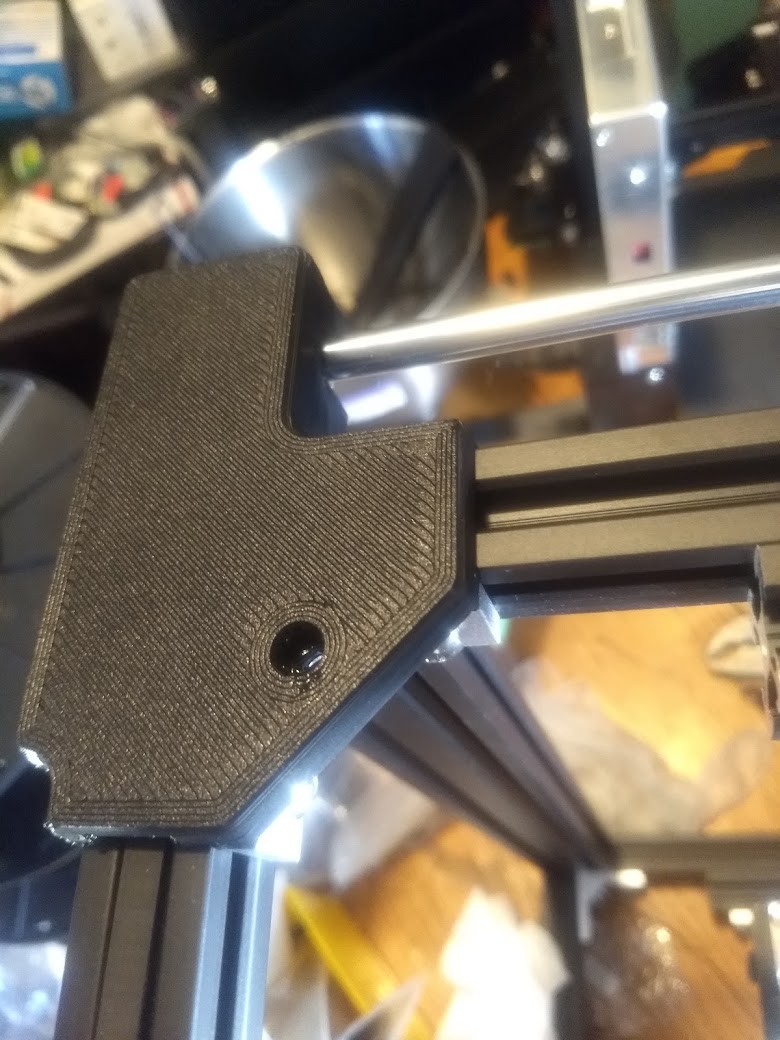

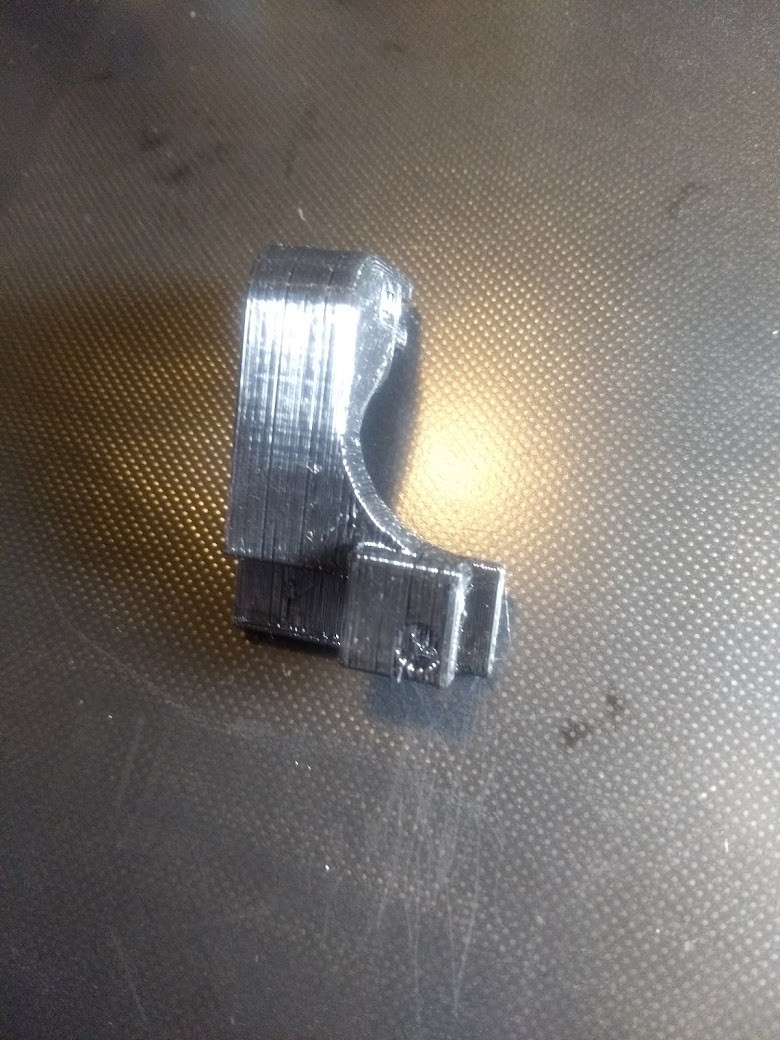
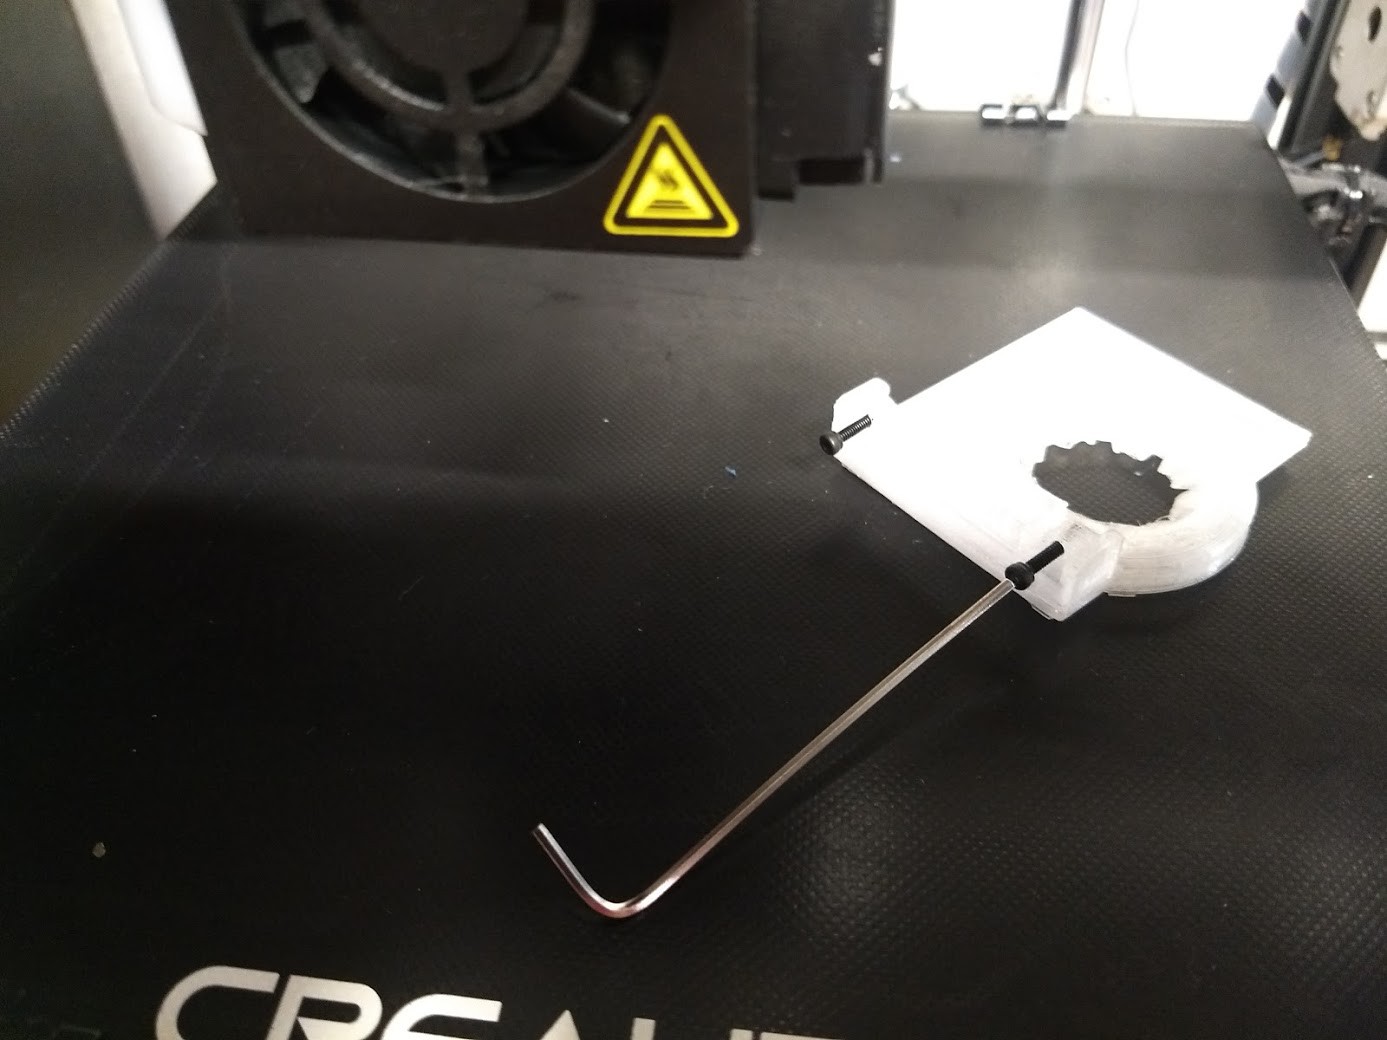
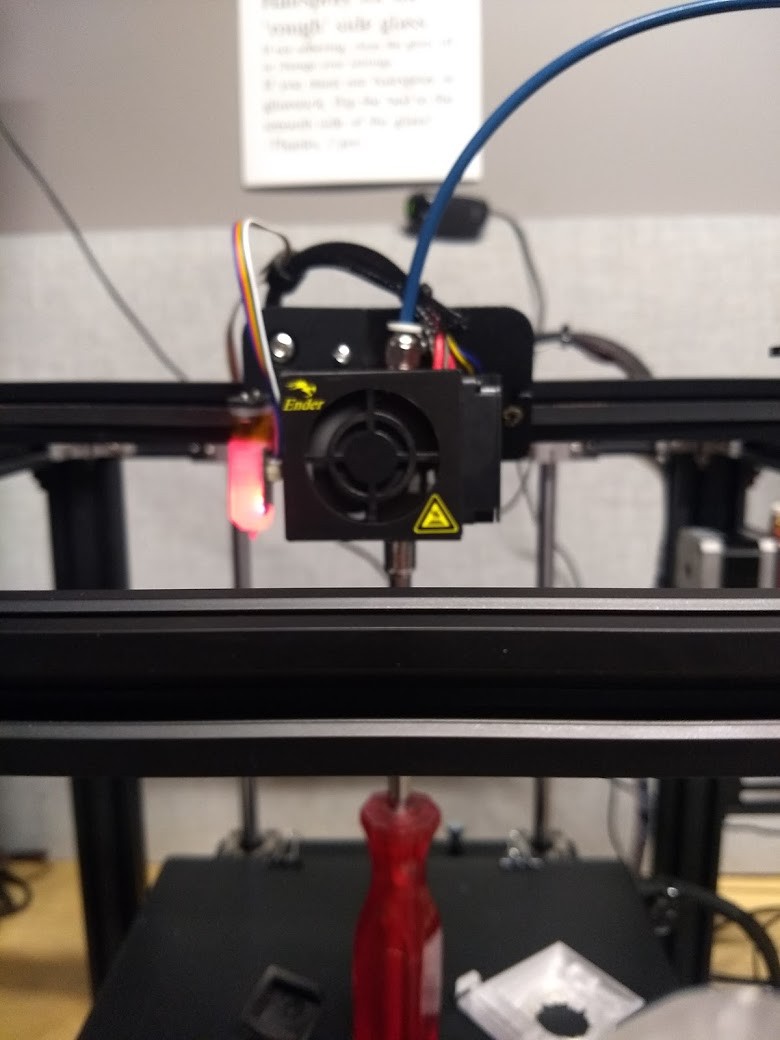
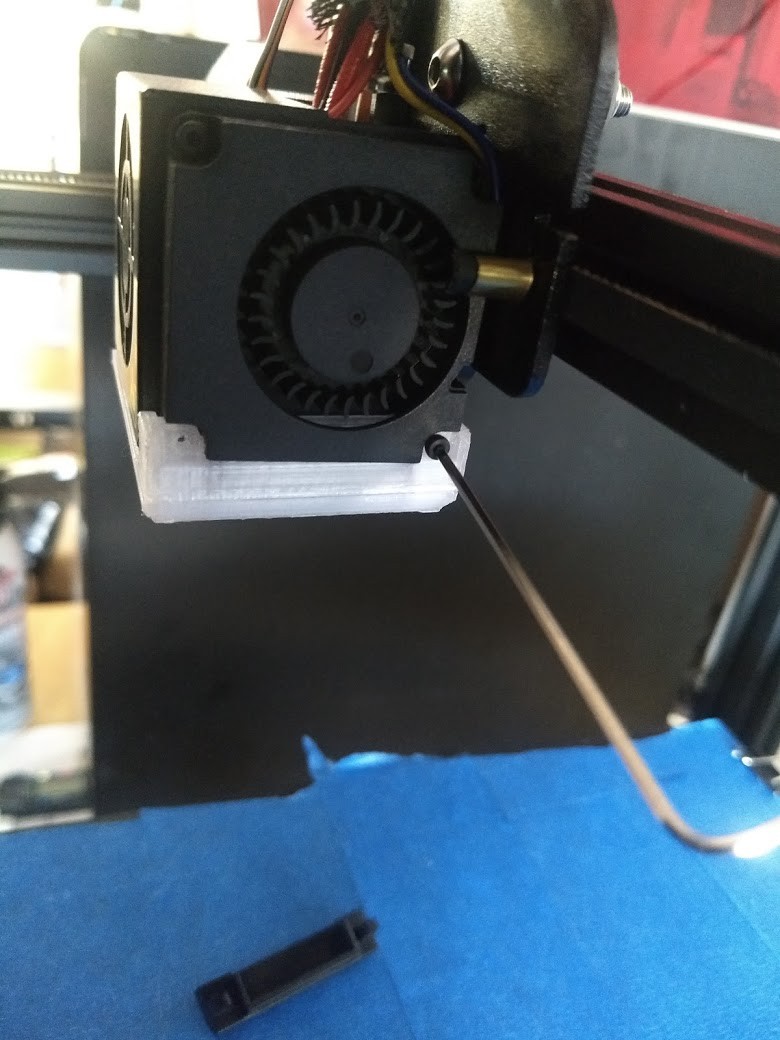
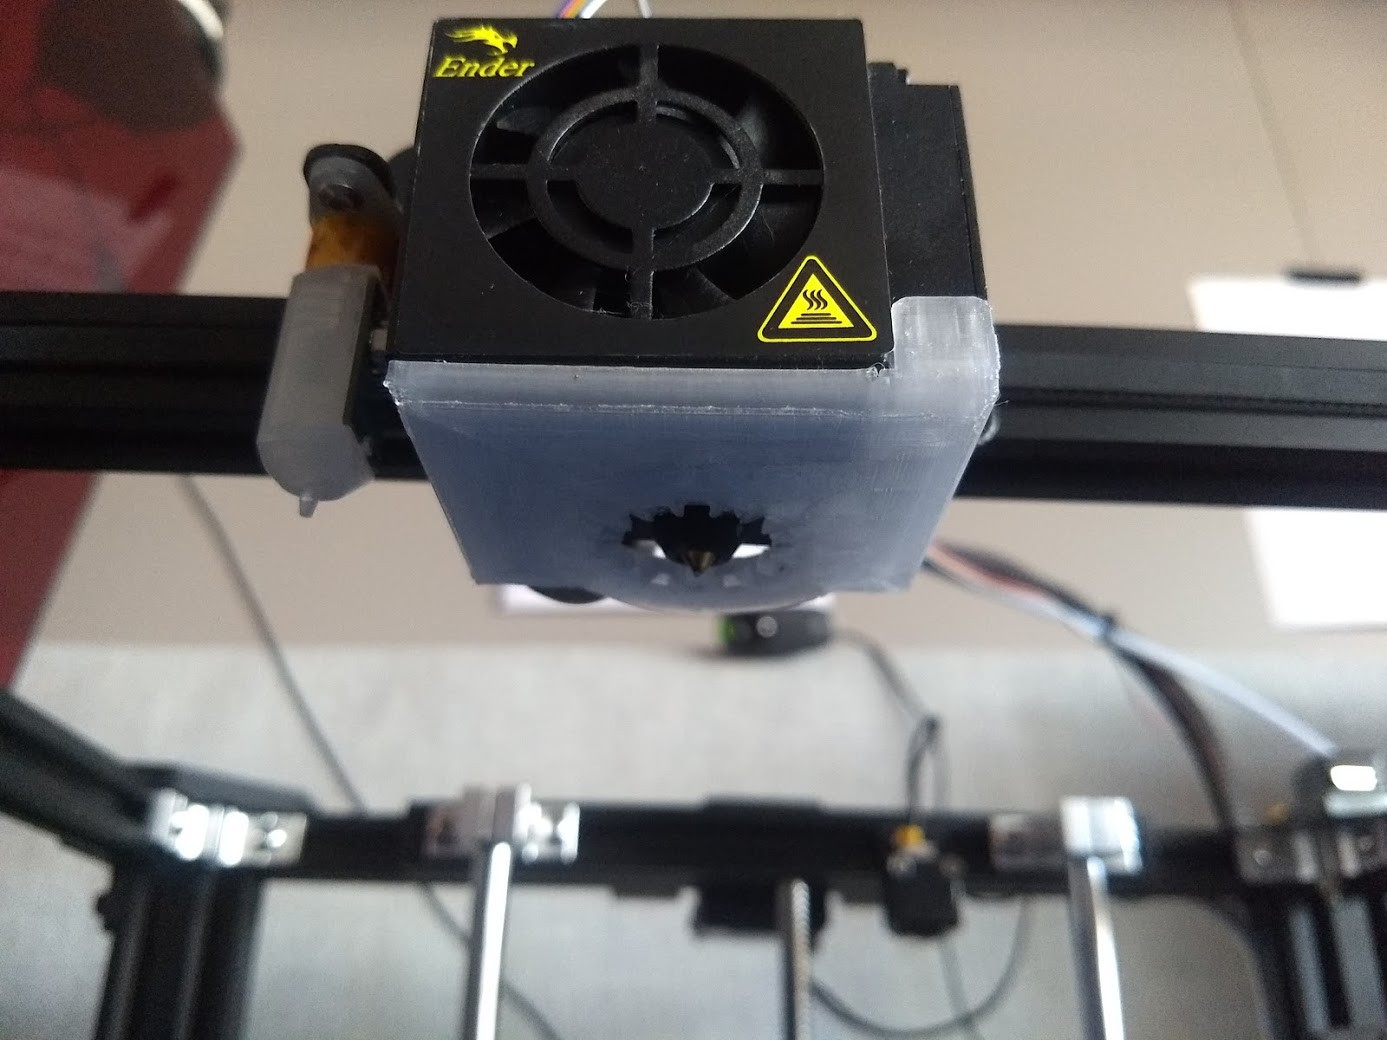
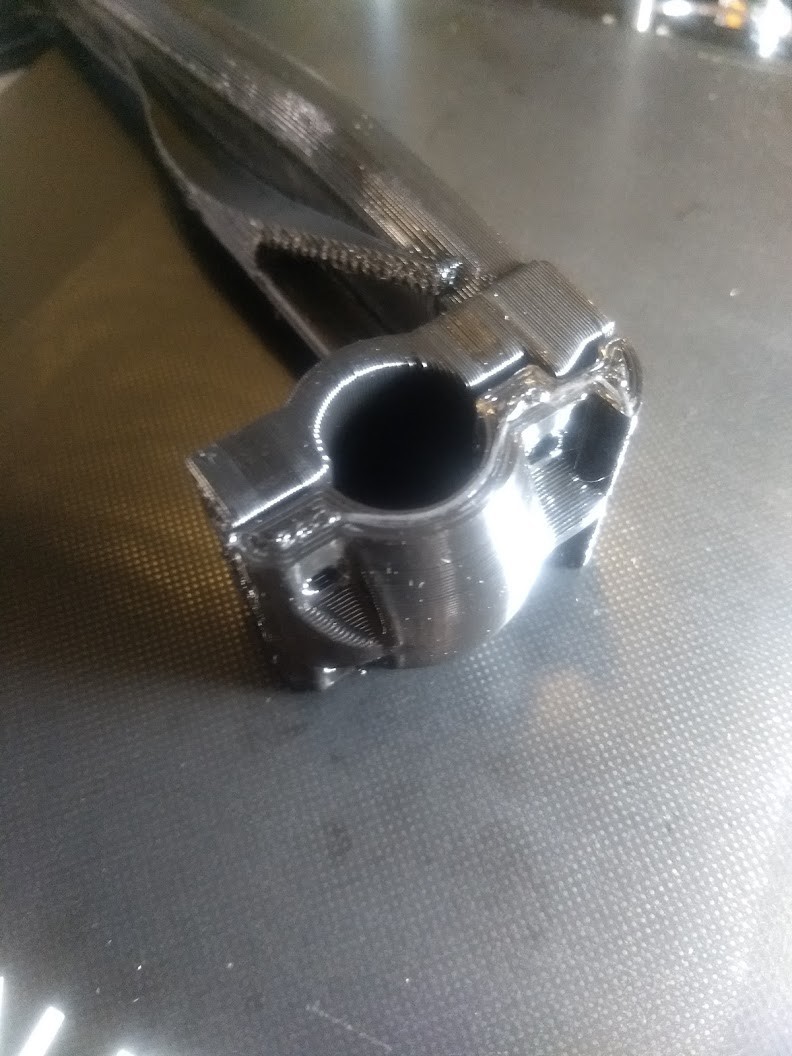
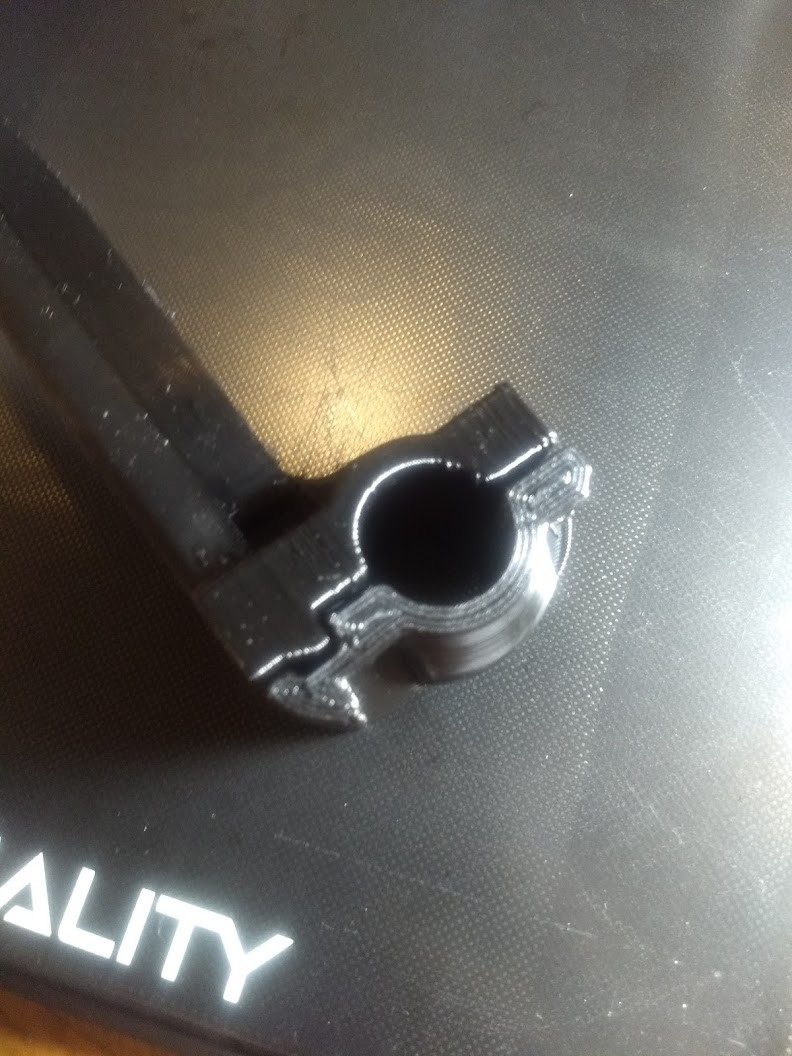
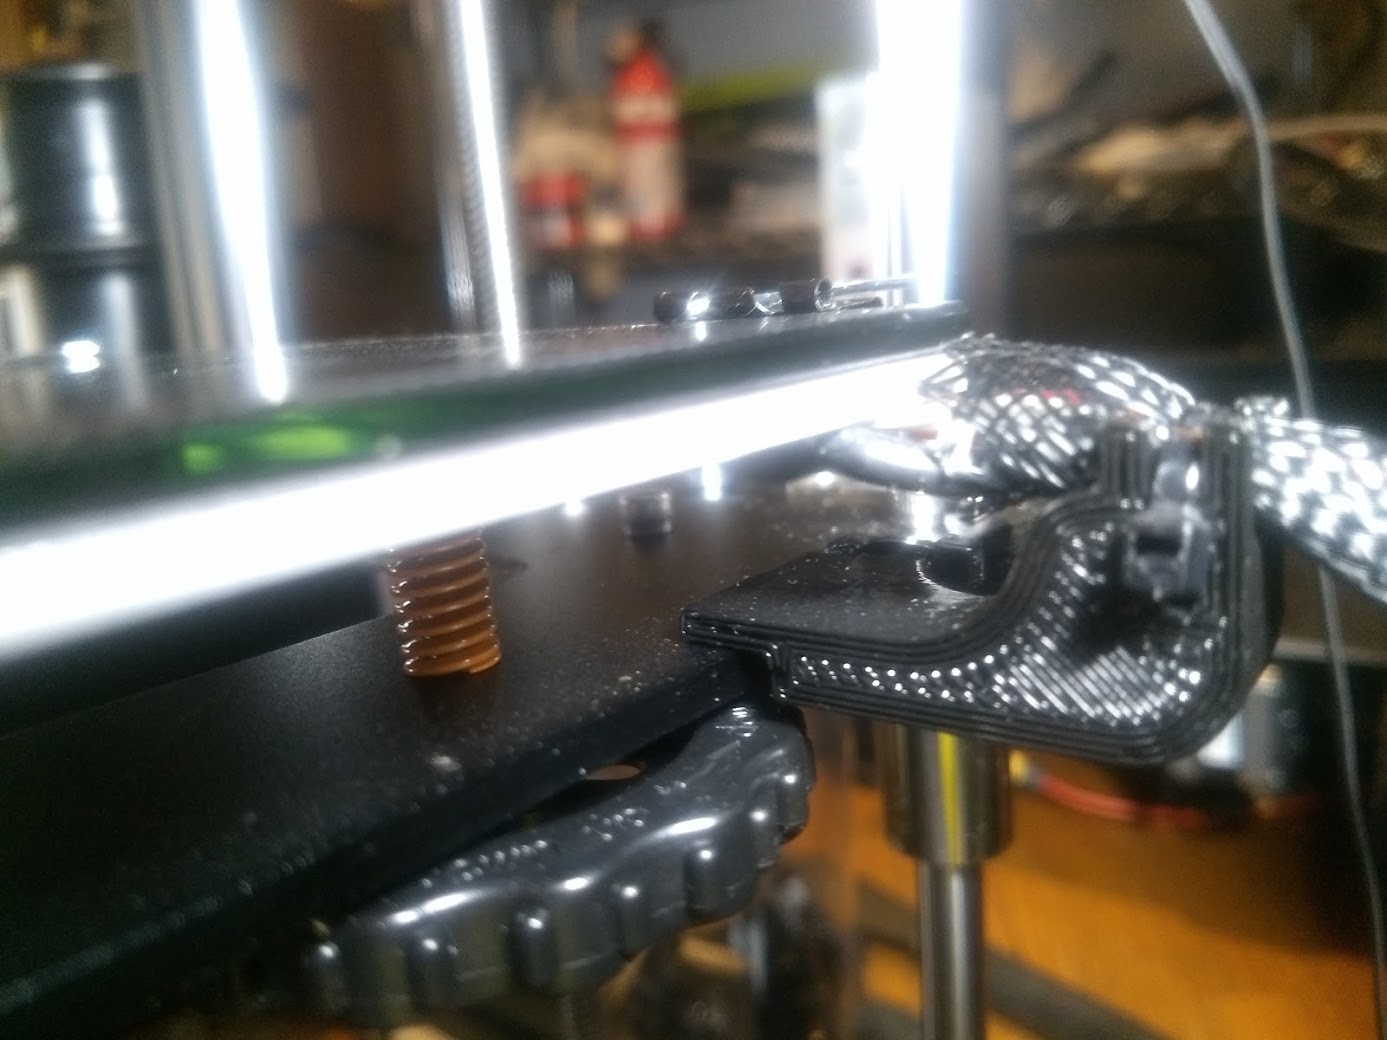 ^ Example of same part fitted to my own Ender 5, to relieve stress that could occur on the heater bed wires.


 Dylan Radcliffe
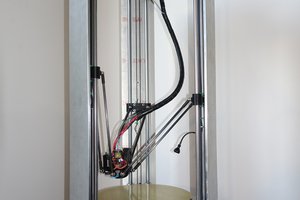
 Rob Ward
Syncing up your printer models makes a lot of sense for a community space like this. As you mentioned, you can stock parts that need frequent repalcement, but you also get a good benefit in people knowing how to use them and how to configure software for them compared to having multiple makers/models on hand.