brucejdii
I am using a: Shopbot PRSalpha 96-60
Let me know of any additions, corrections, or clarifications that you might suggest or need!
0%
0%
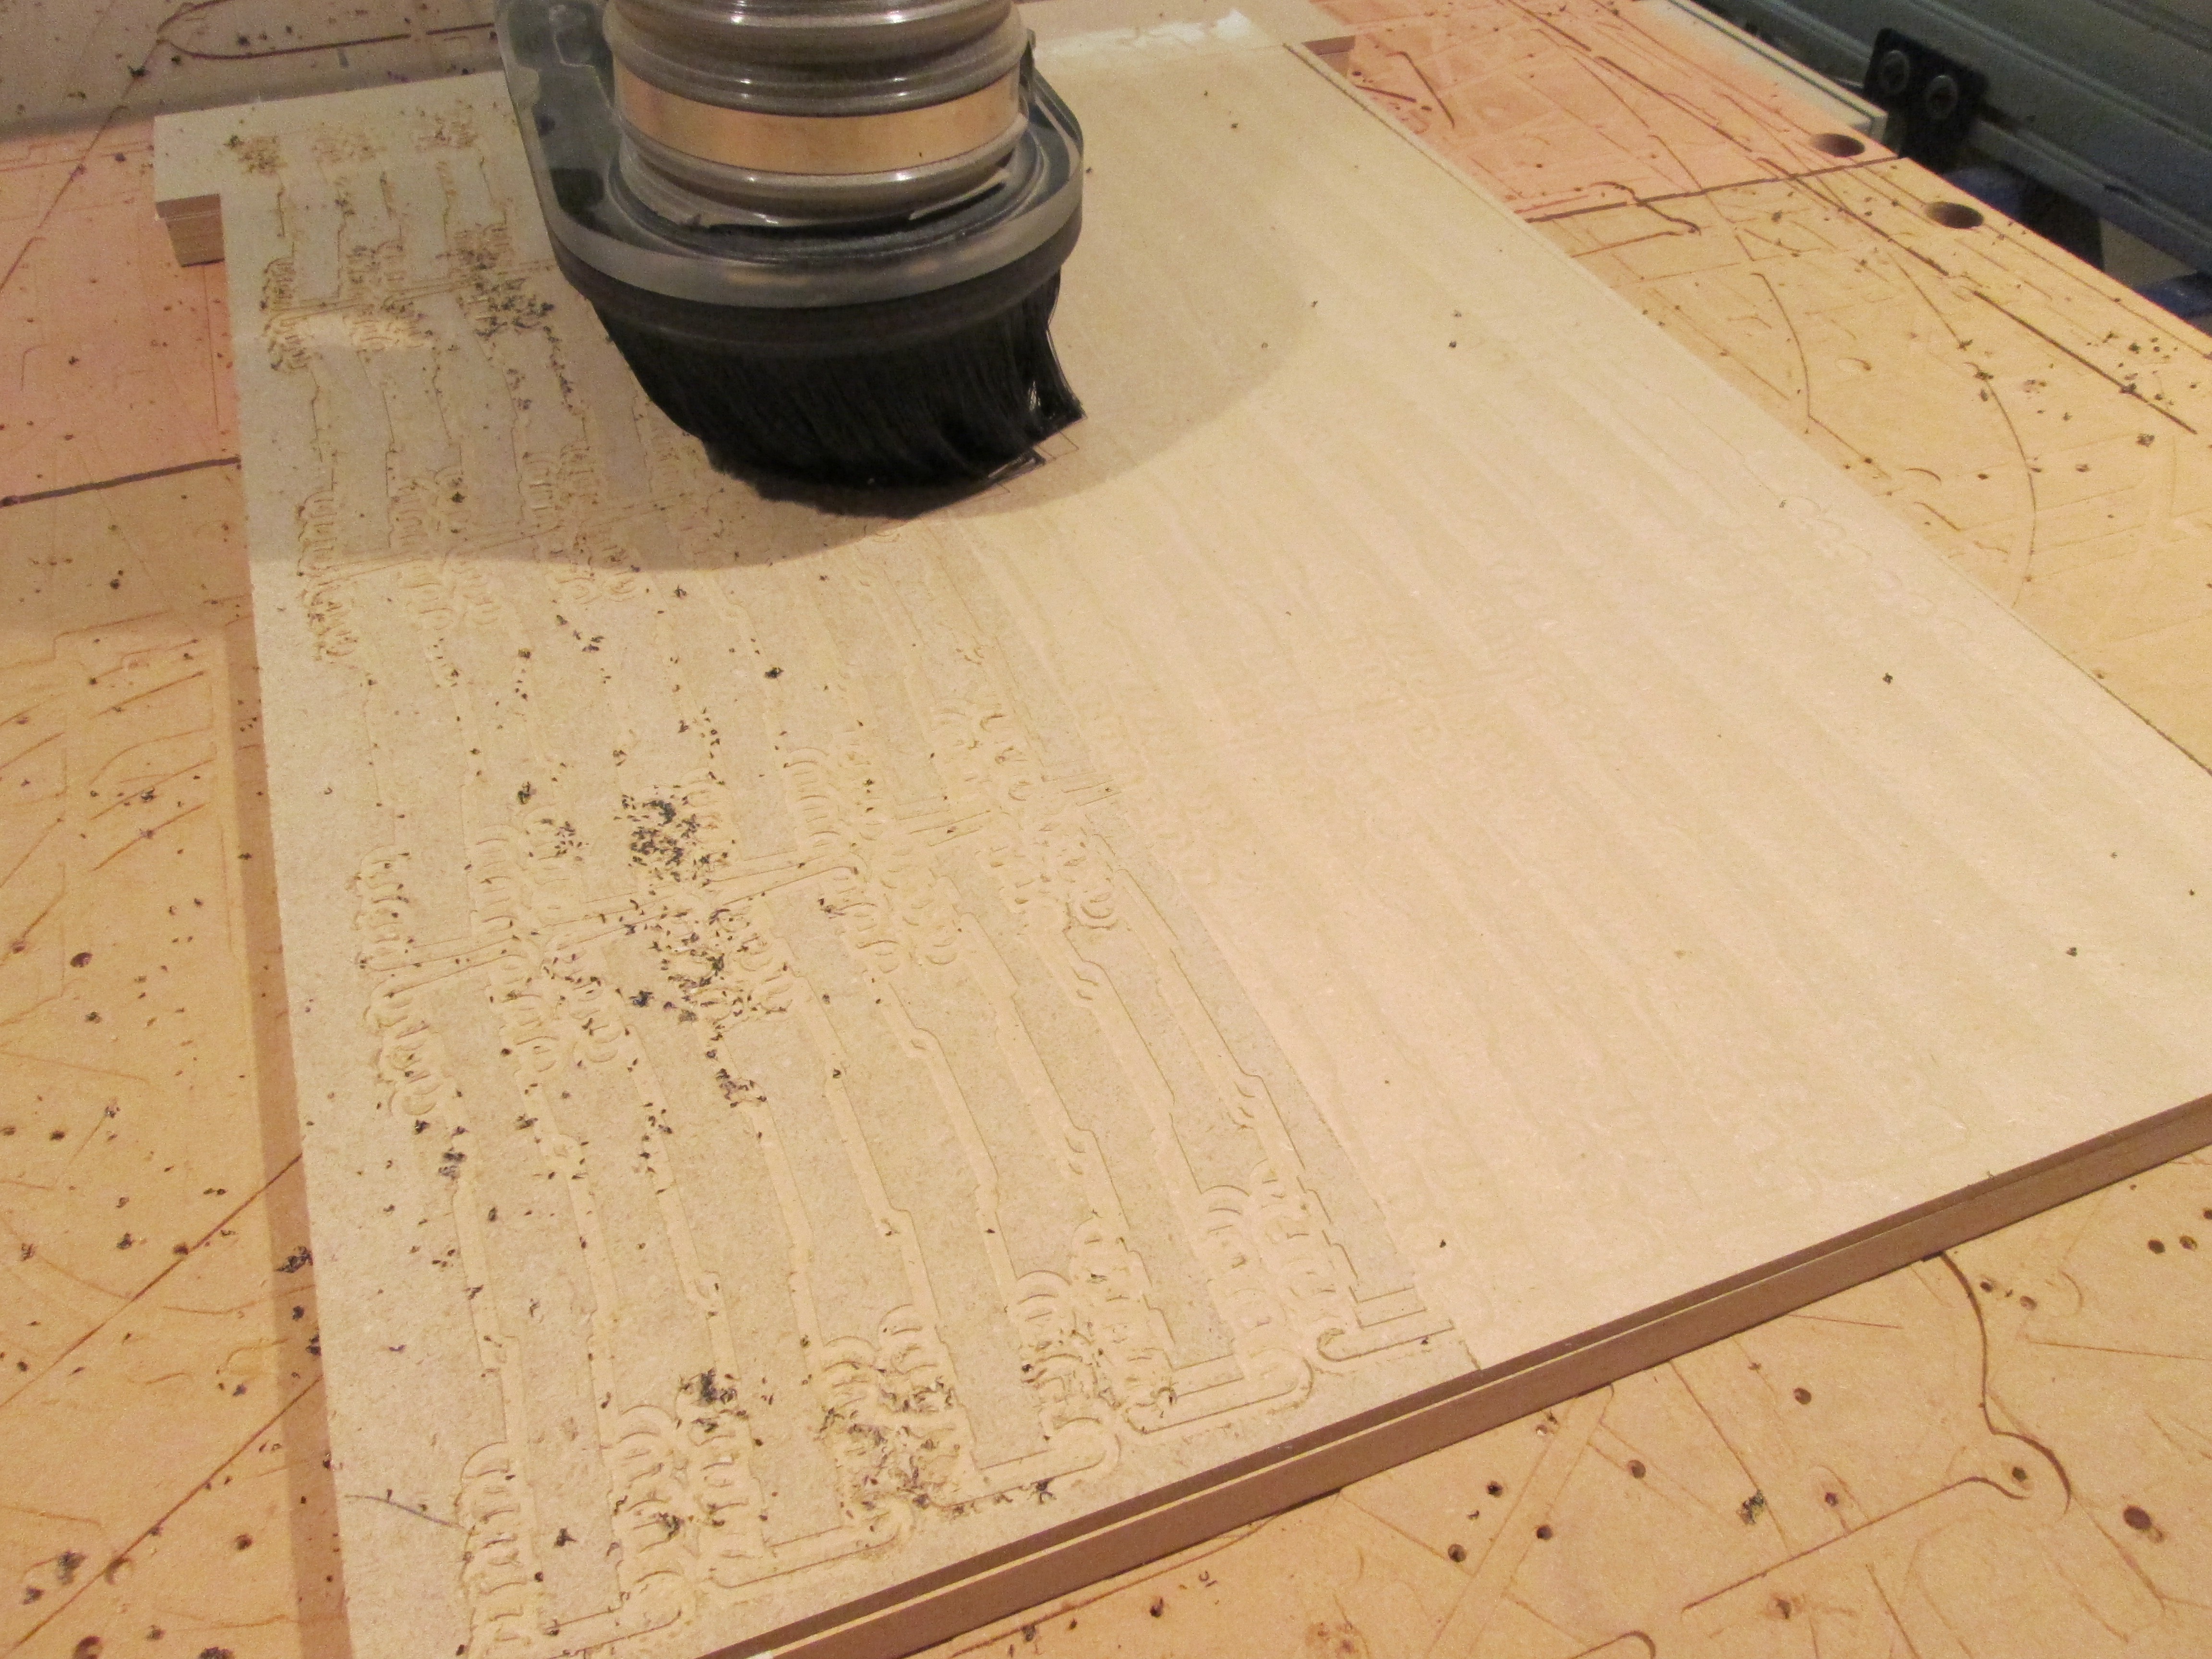
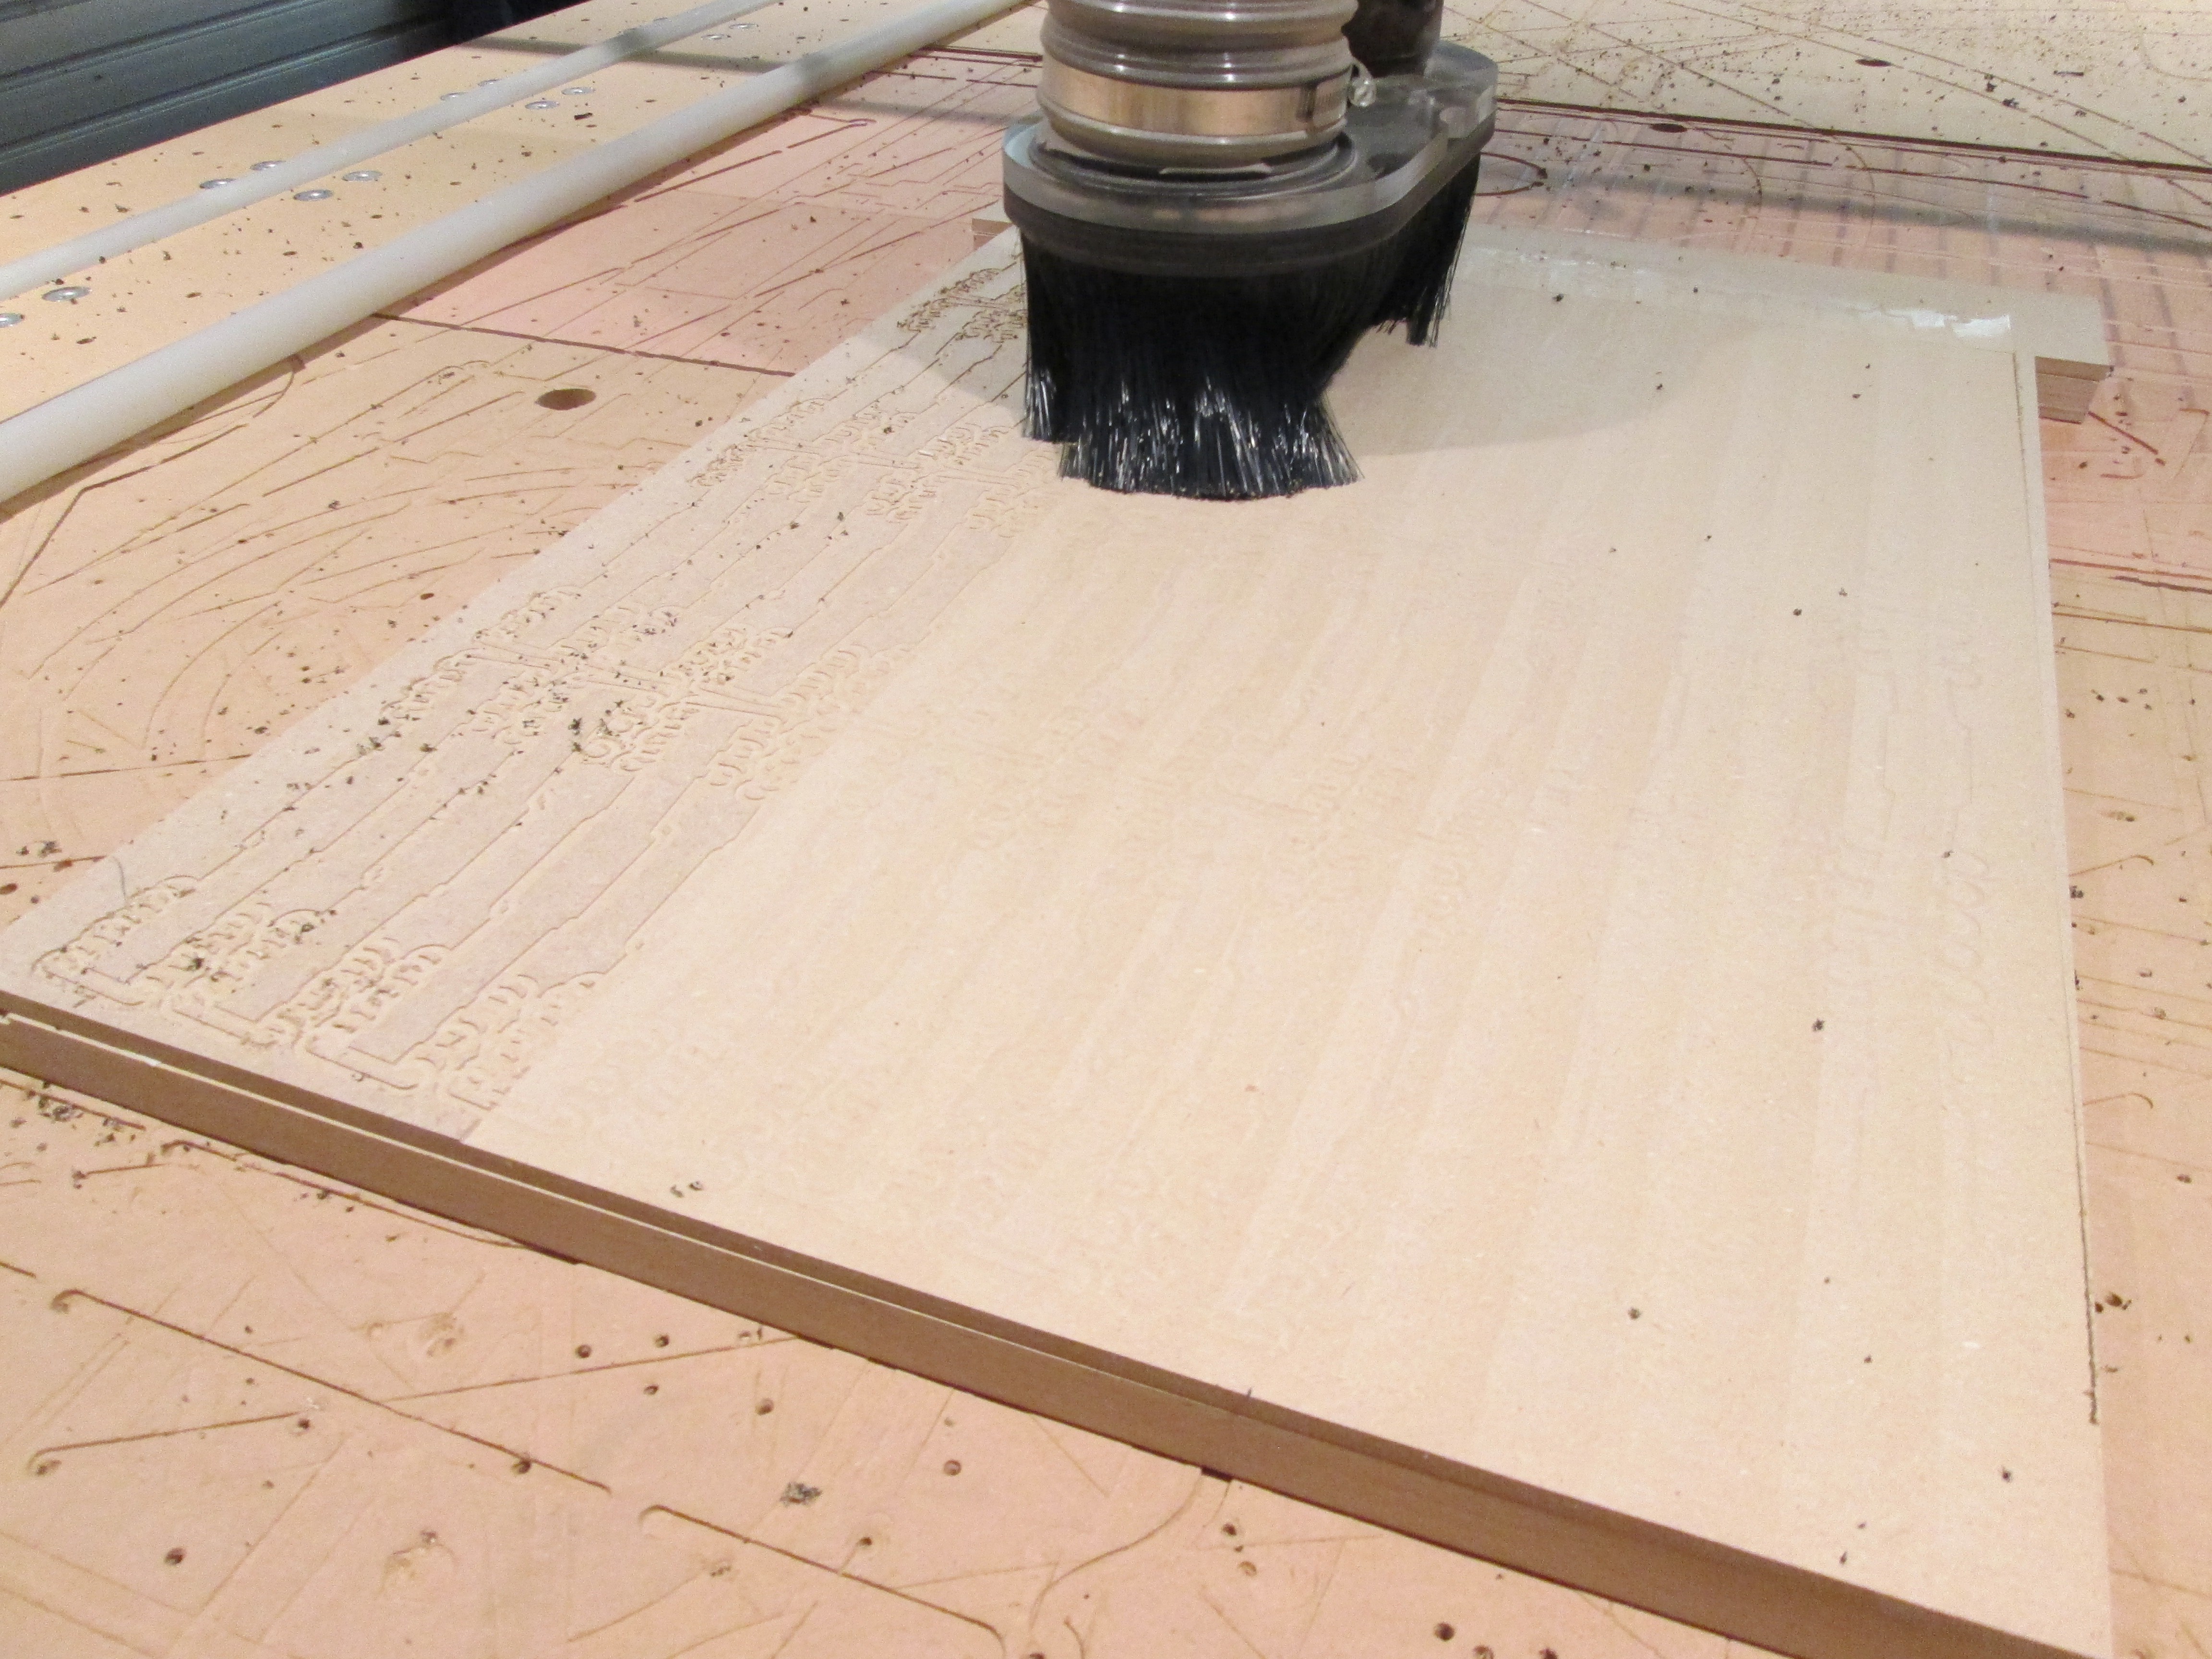
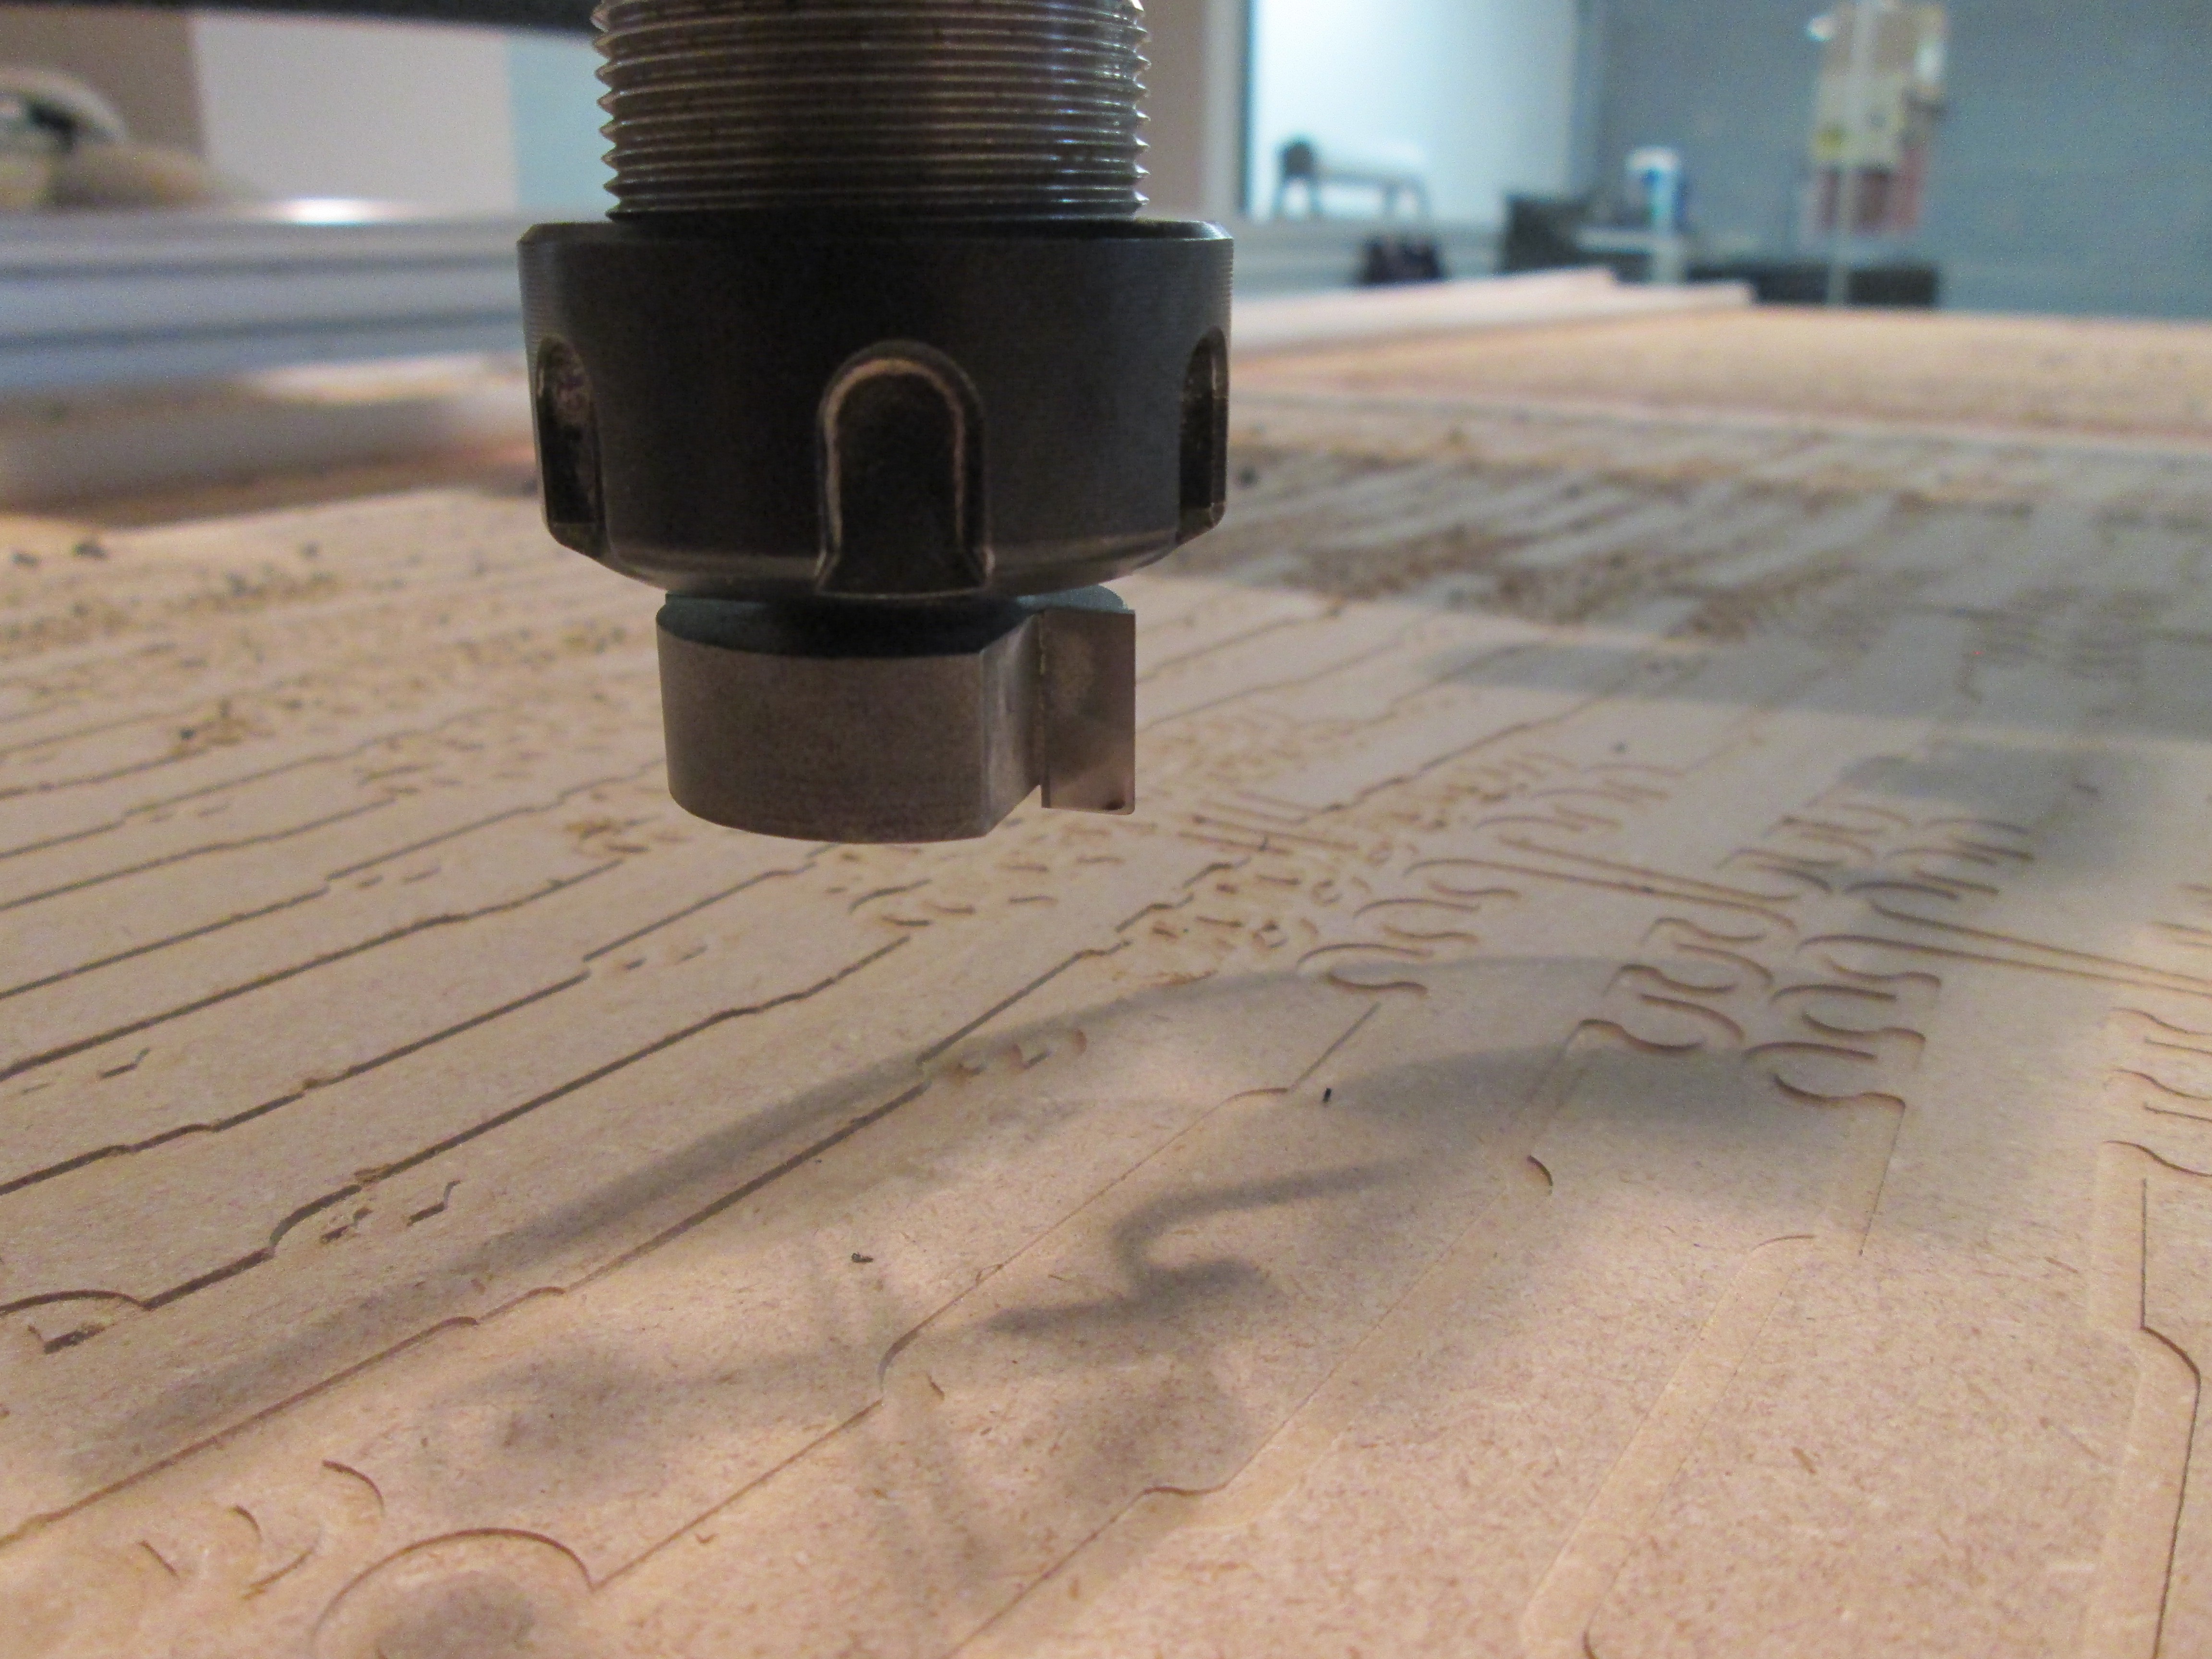
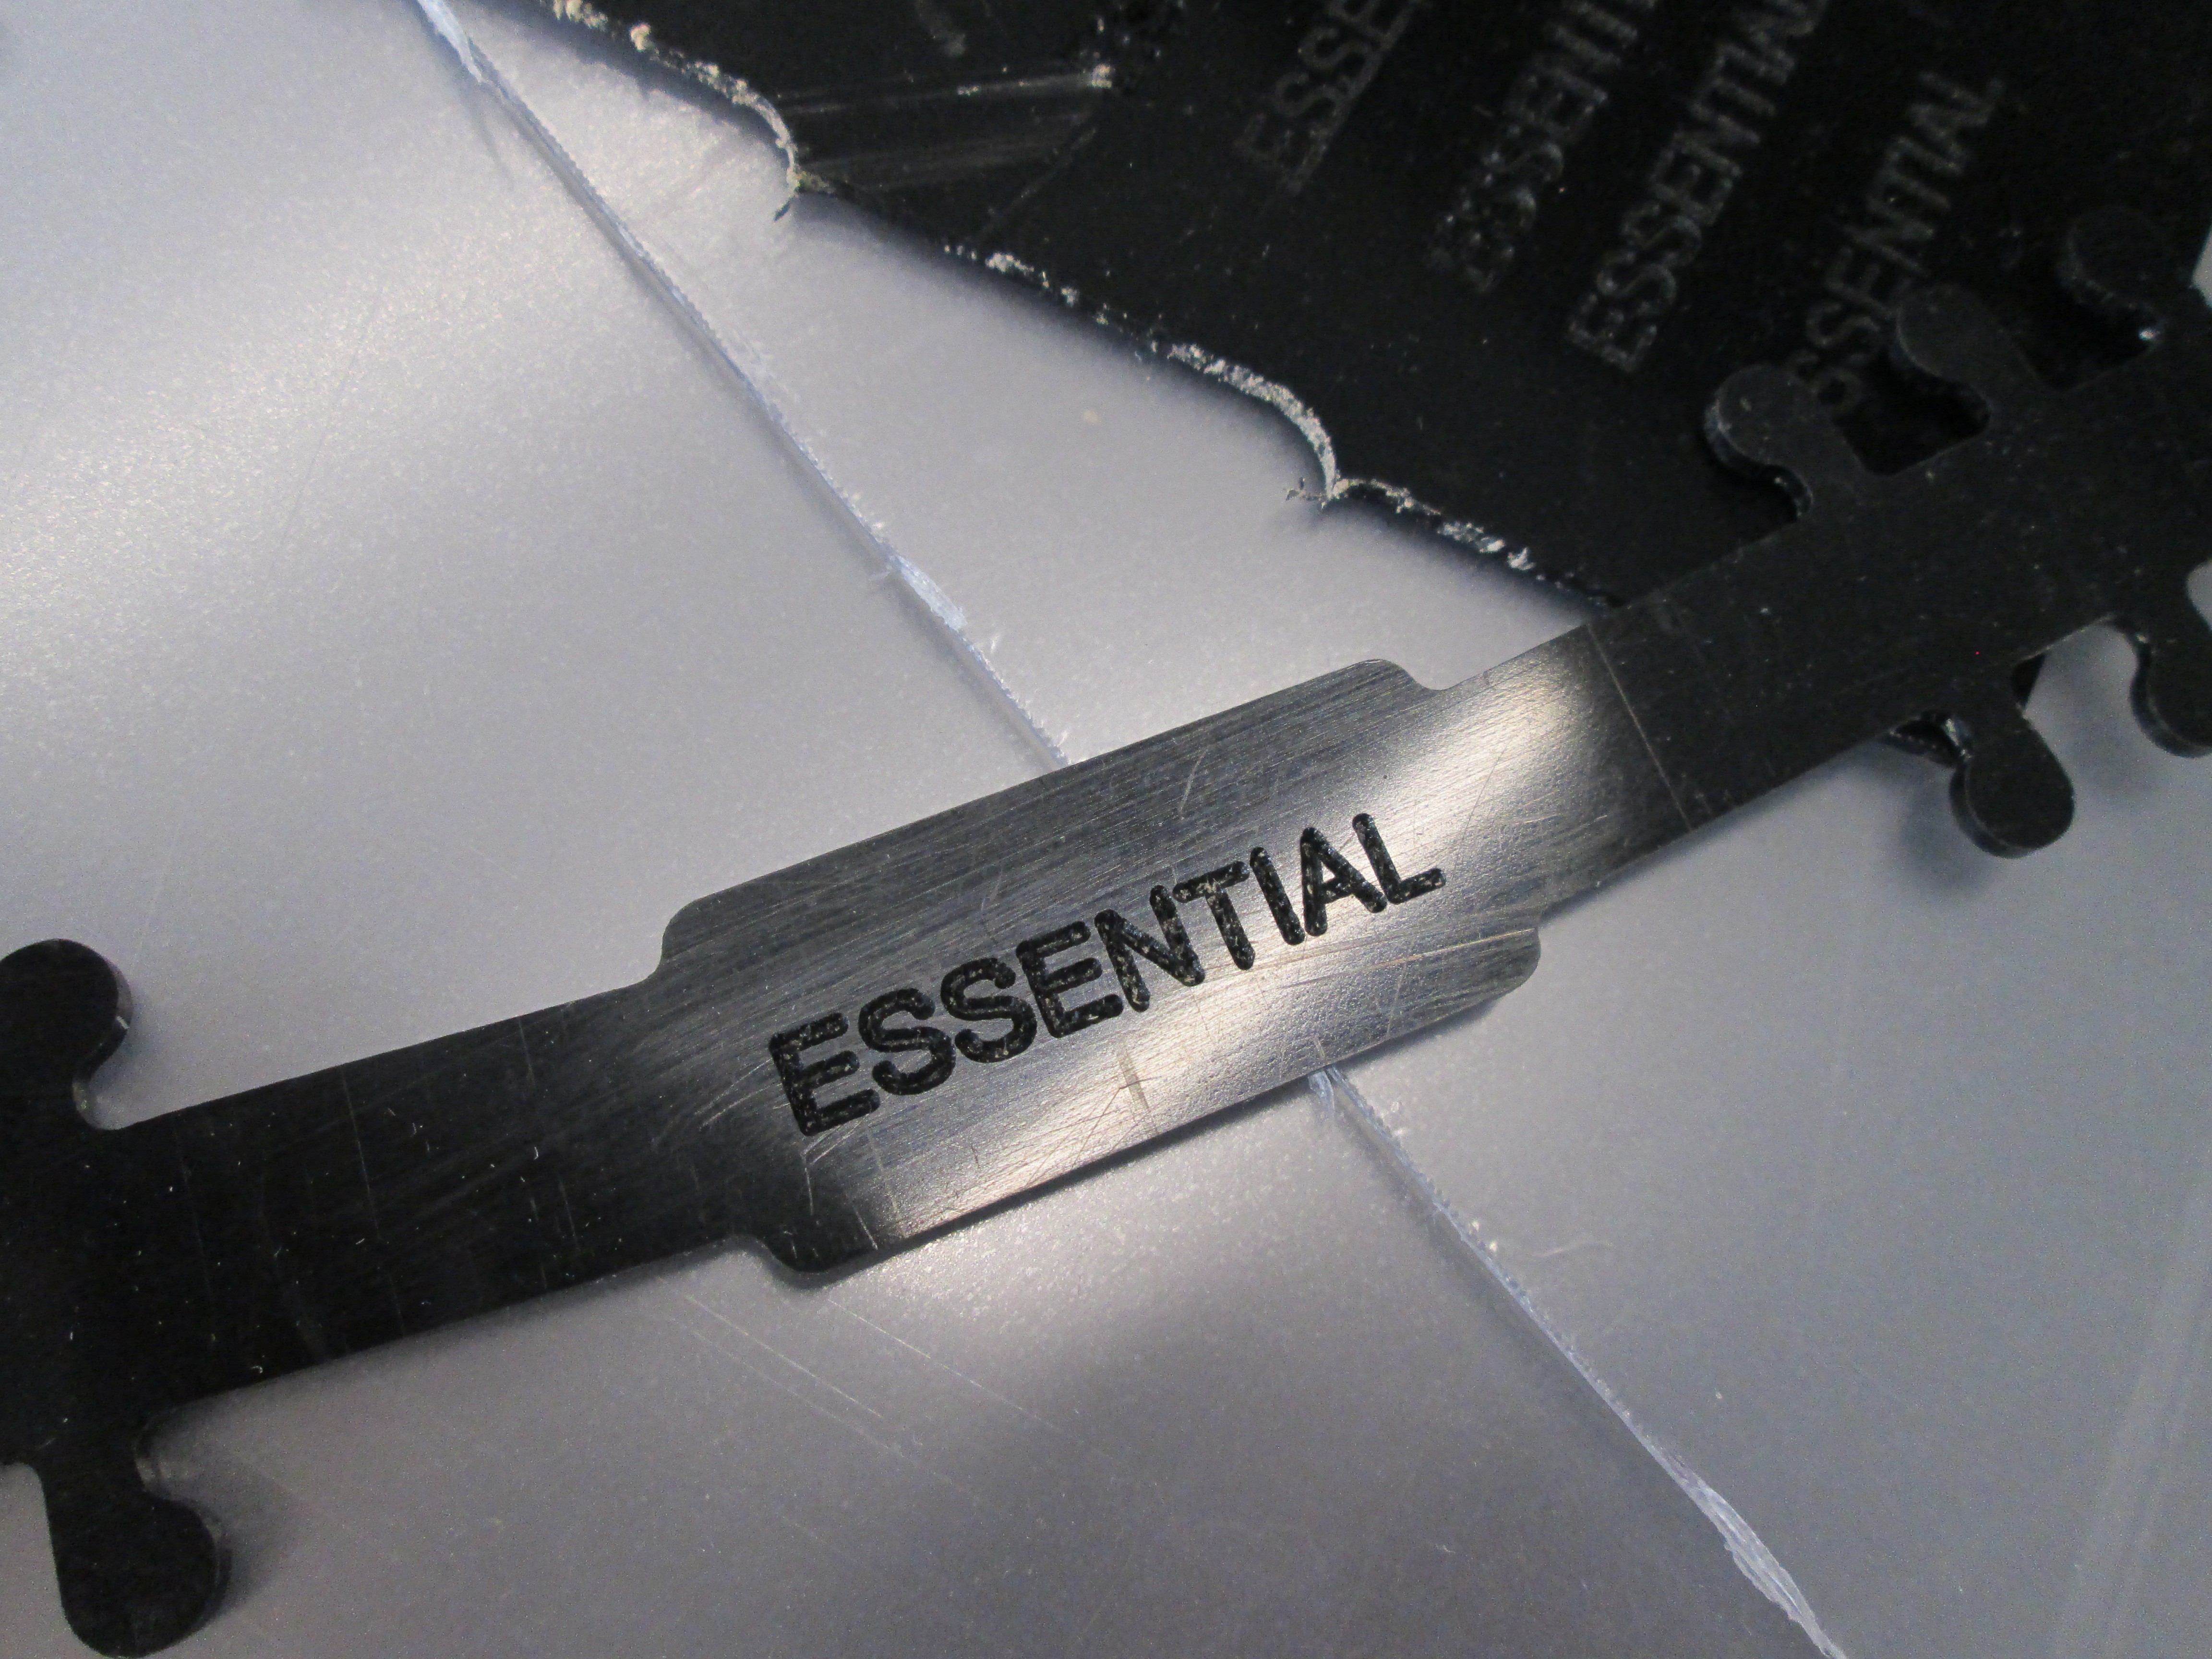
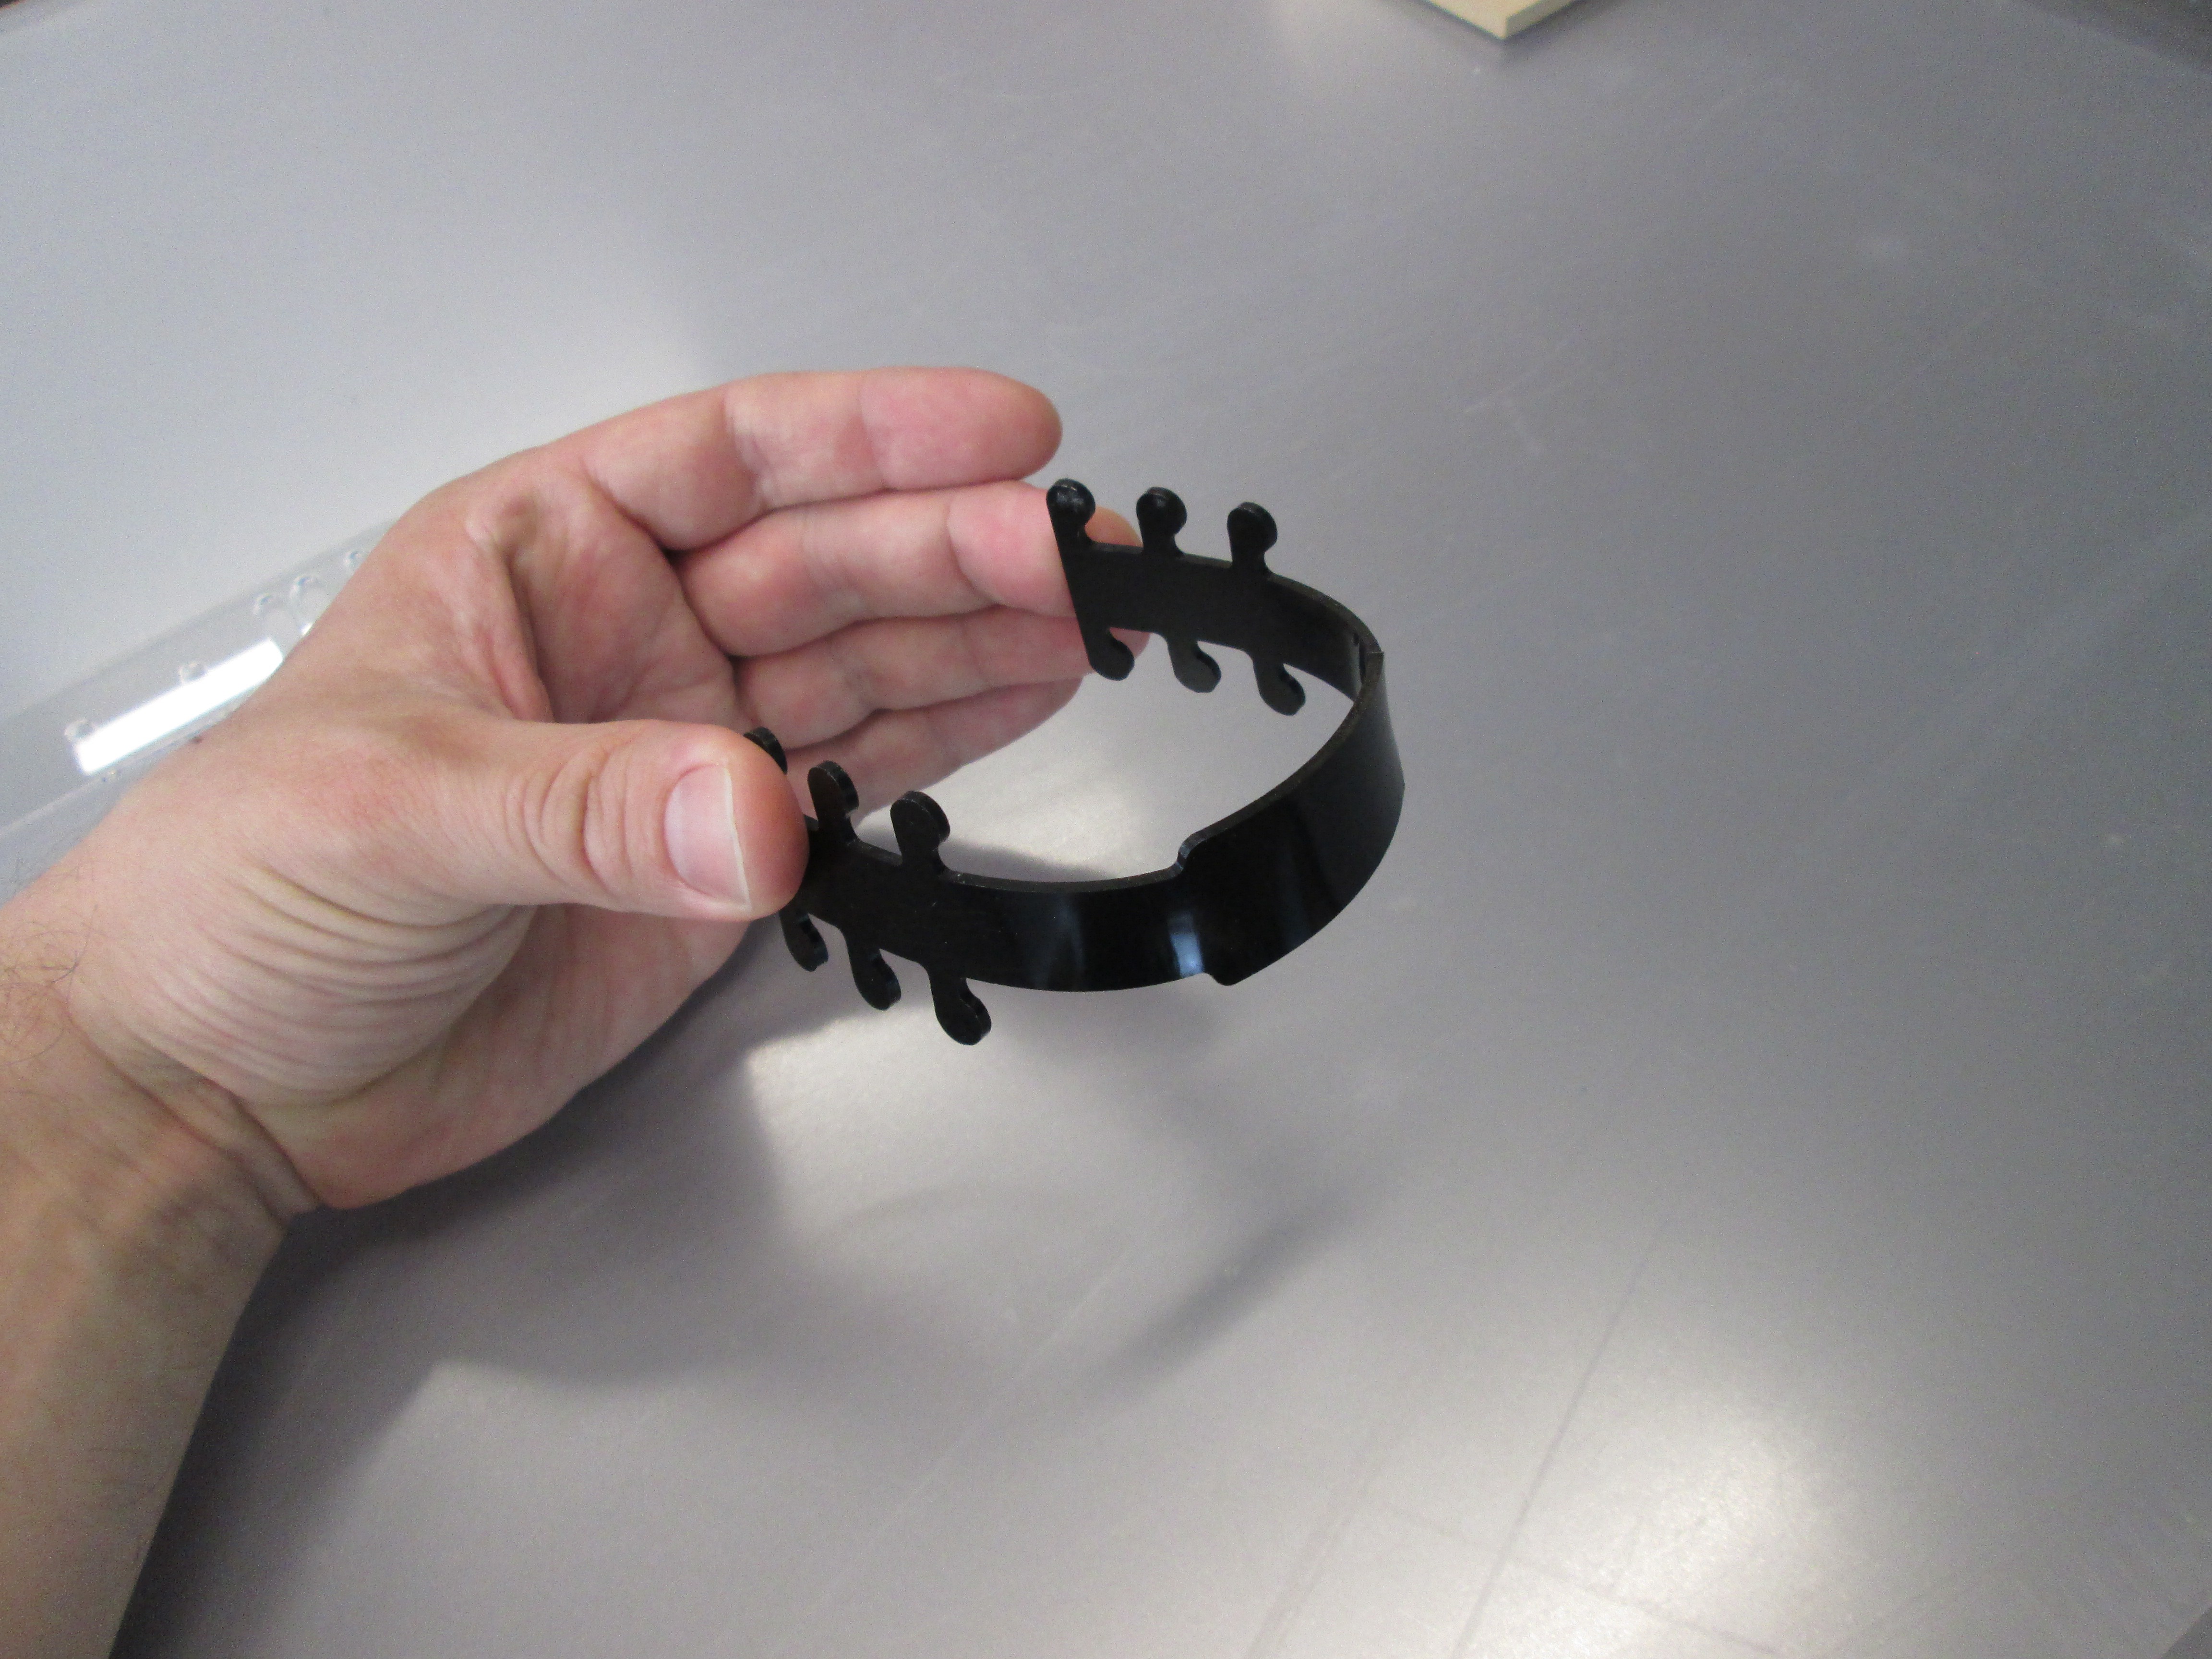
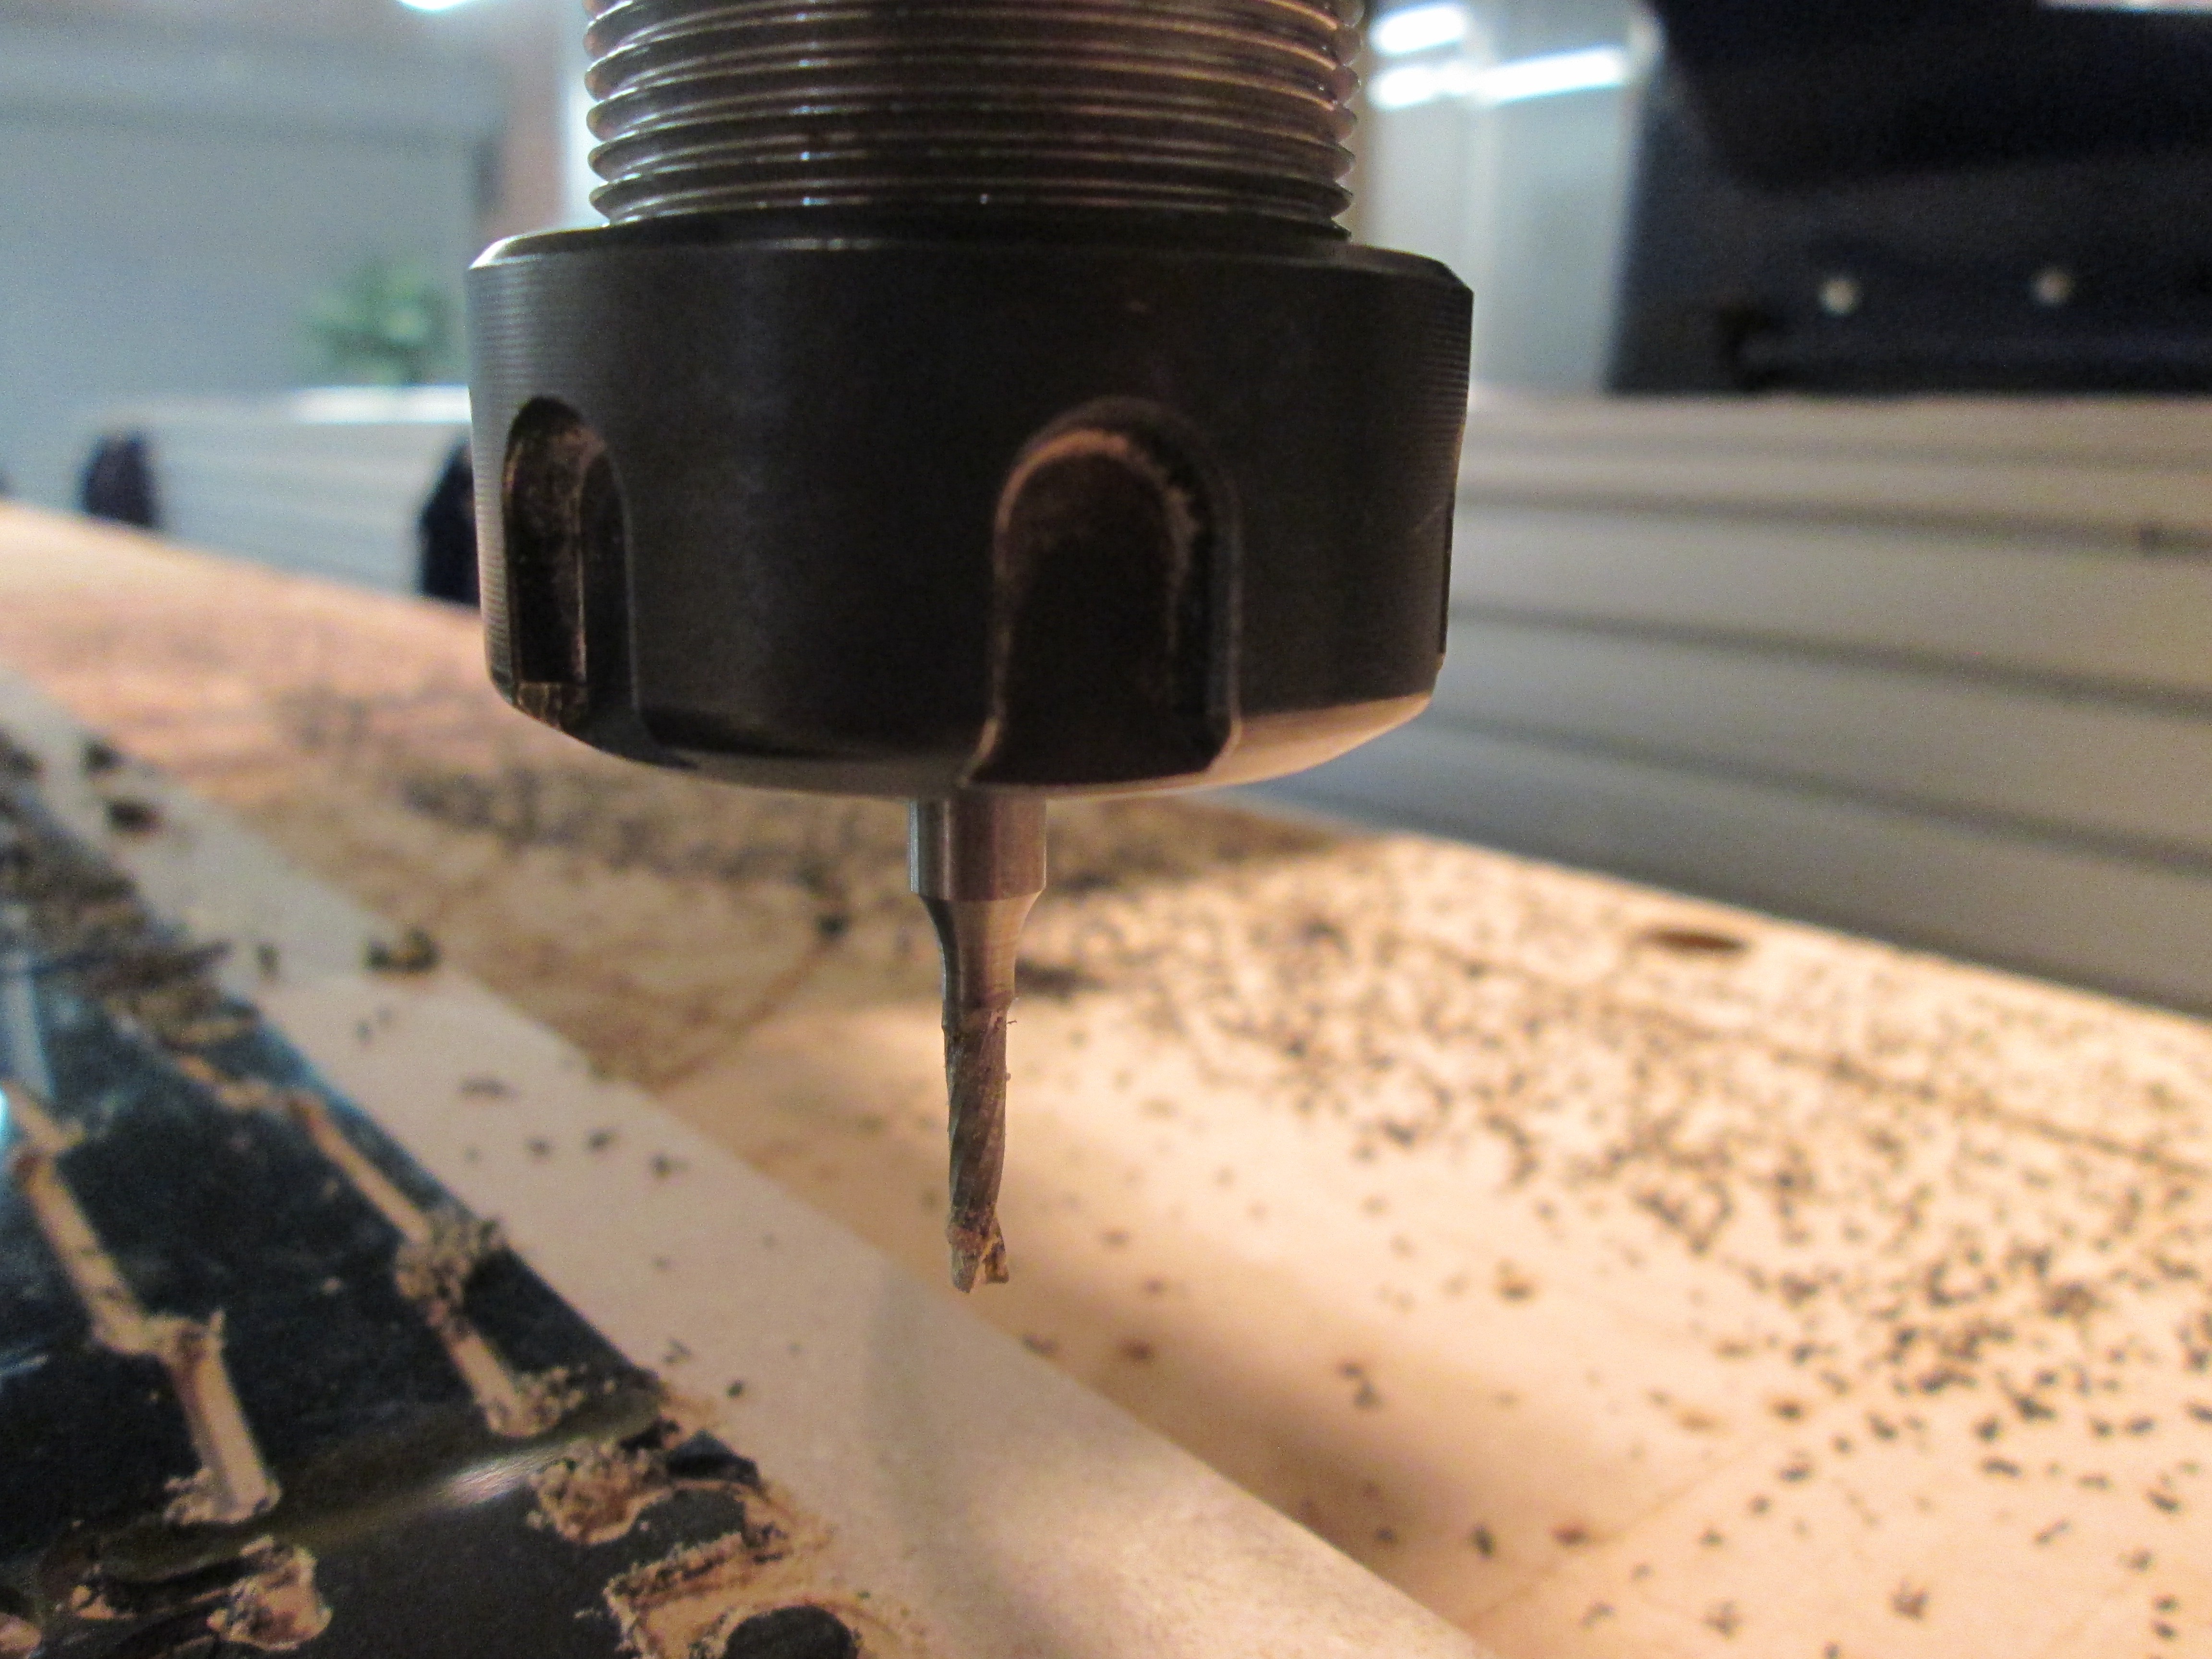
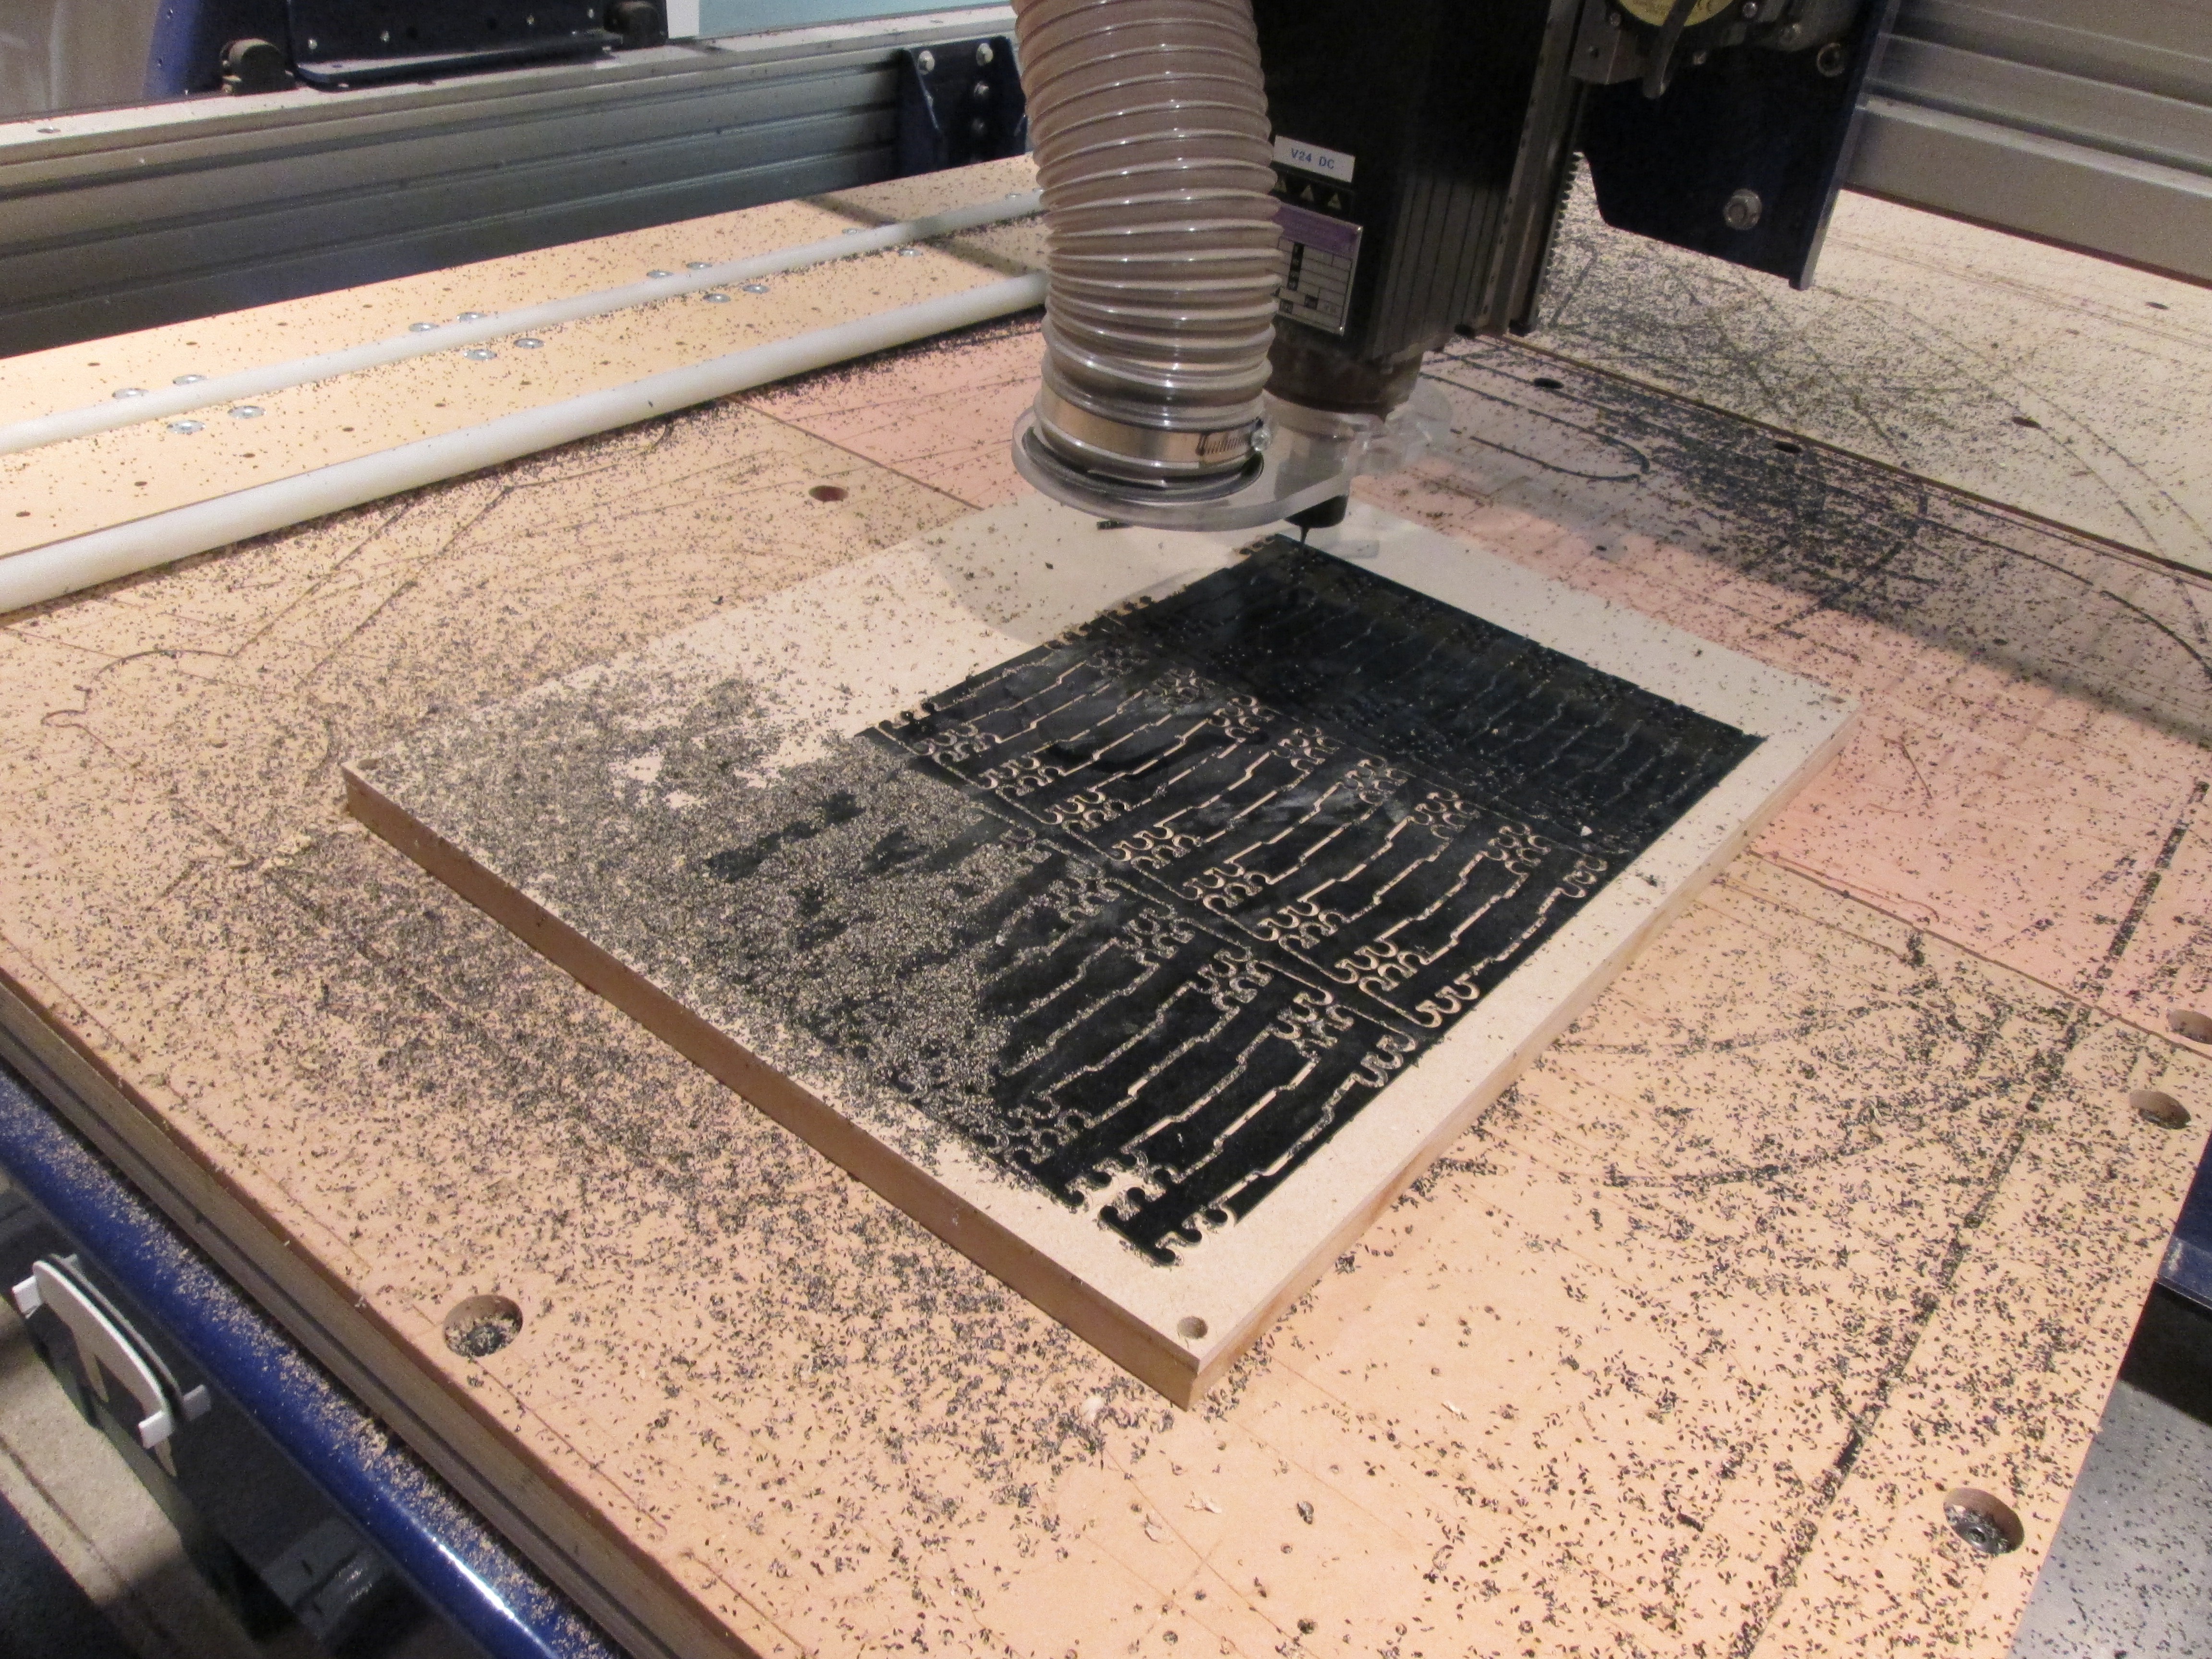
Ear Saver Router CNCing
Protect your ears from face mask ear loop burn!
Become a Hackaday.io member
Already have an account? Log in.
Just one more thing
To make the experience fit your profile, pick a username and tell us what interests you.
Pick an awesome username
hackaday.io/
Your profile's URL: hackaday.io/username. Max 25 alphanumeric characters.
Pick a few interests
Projects that share your interests
People that share your interests

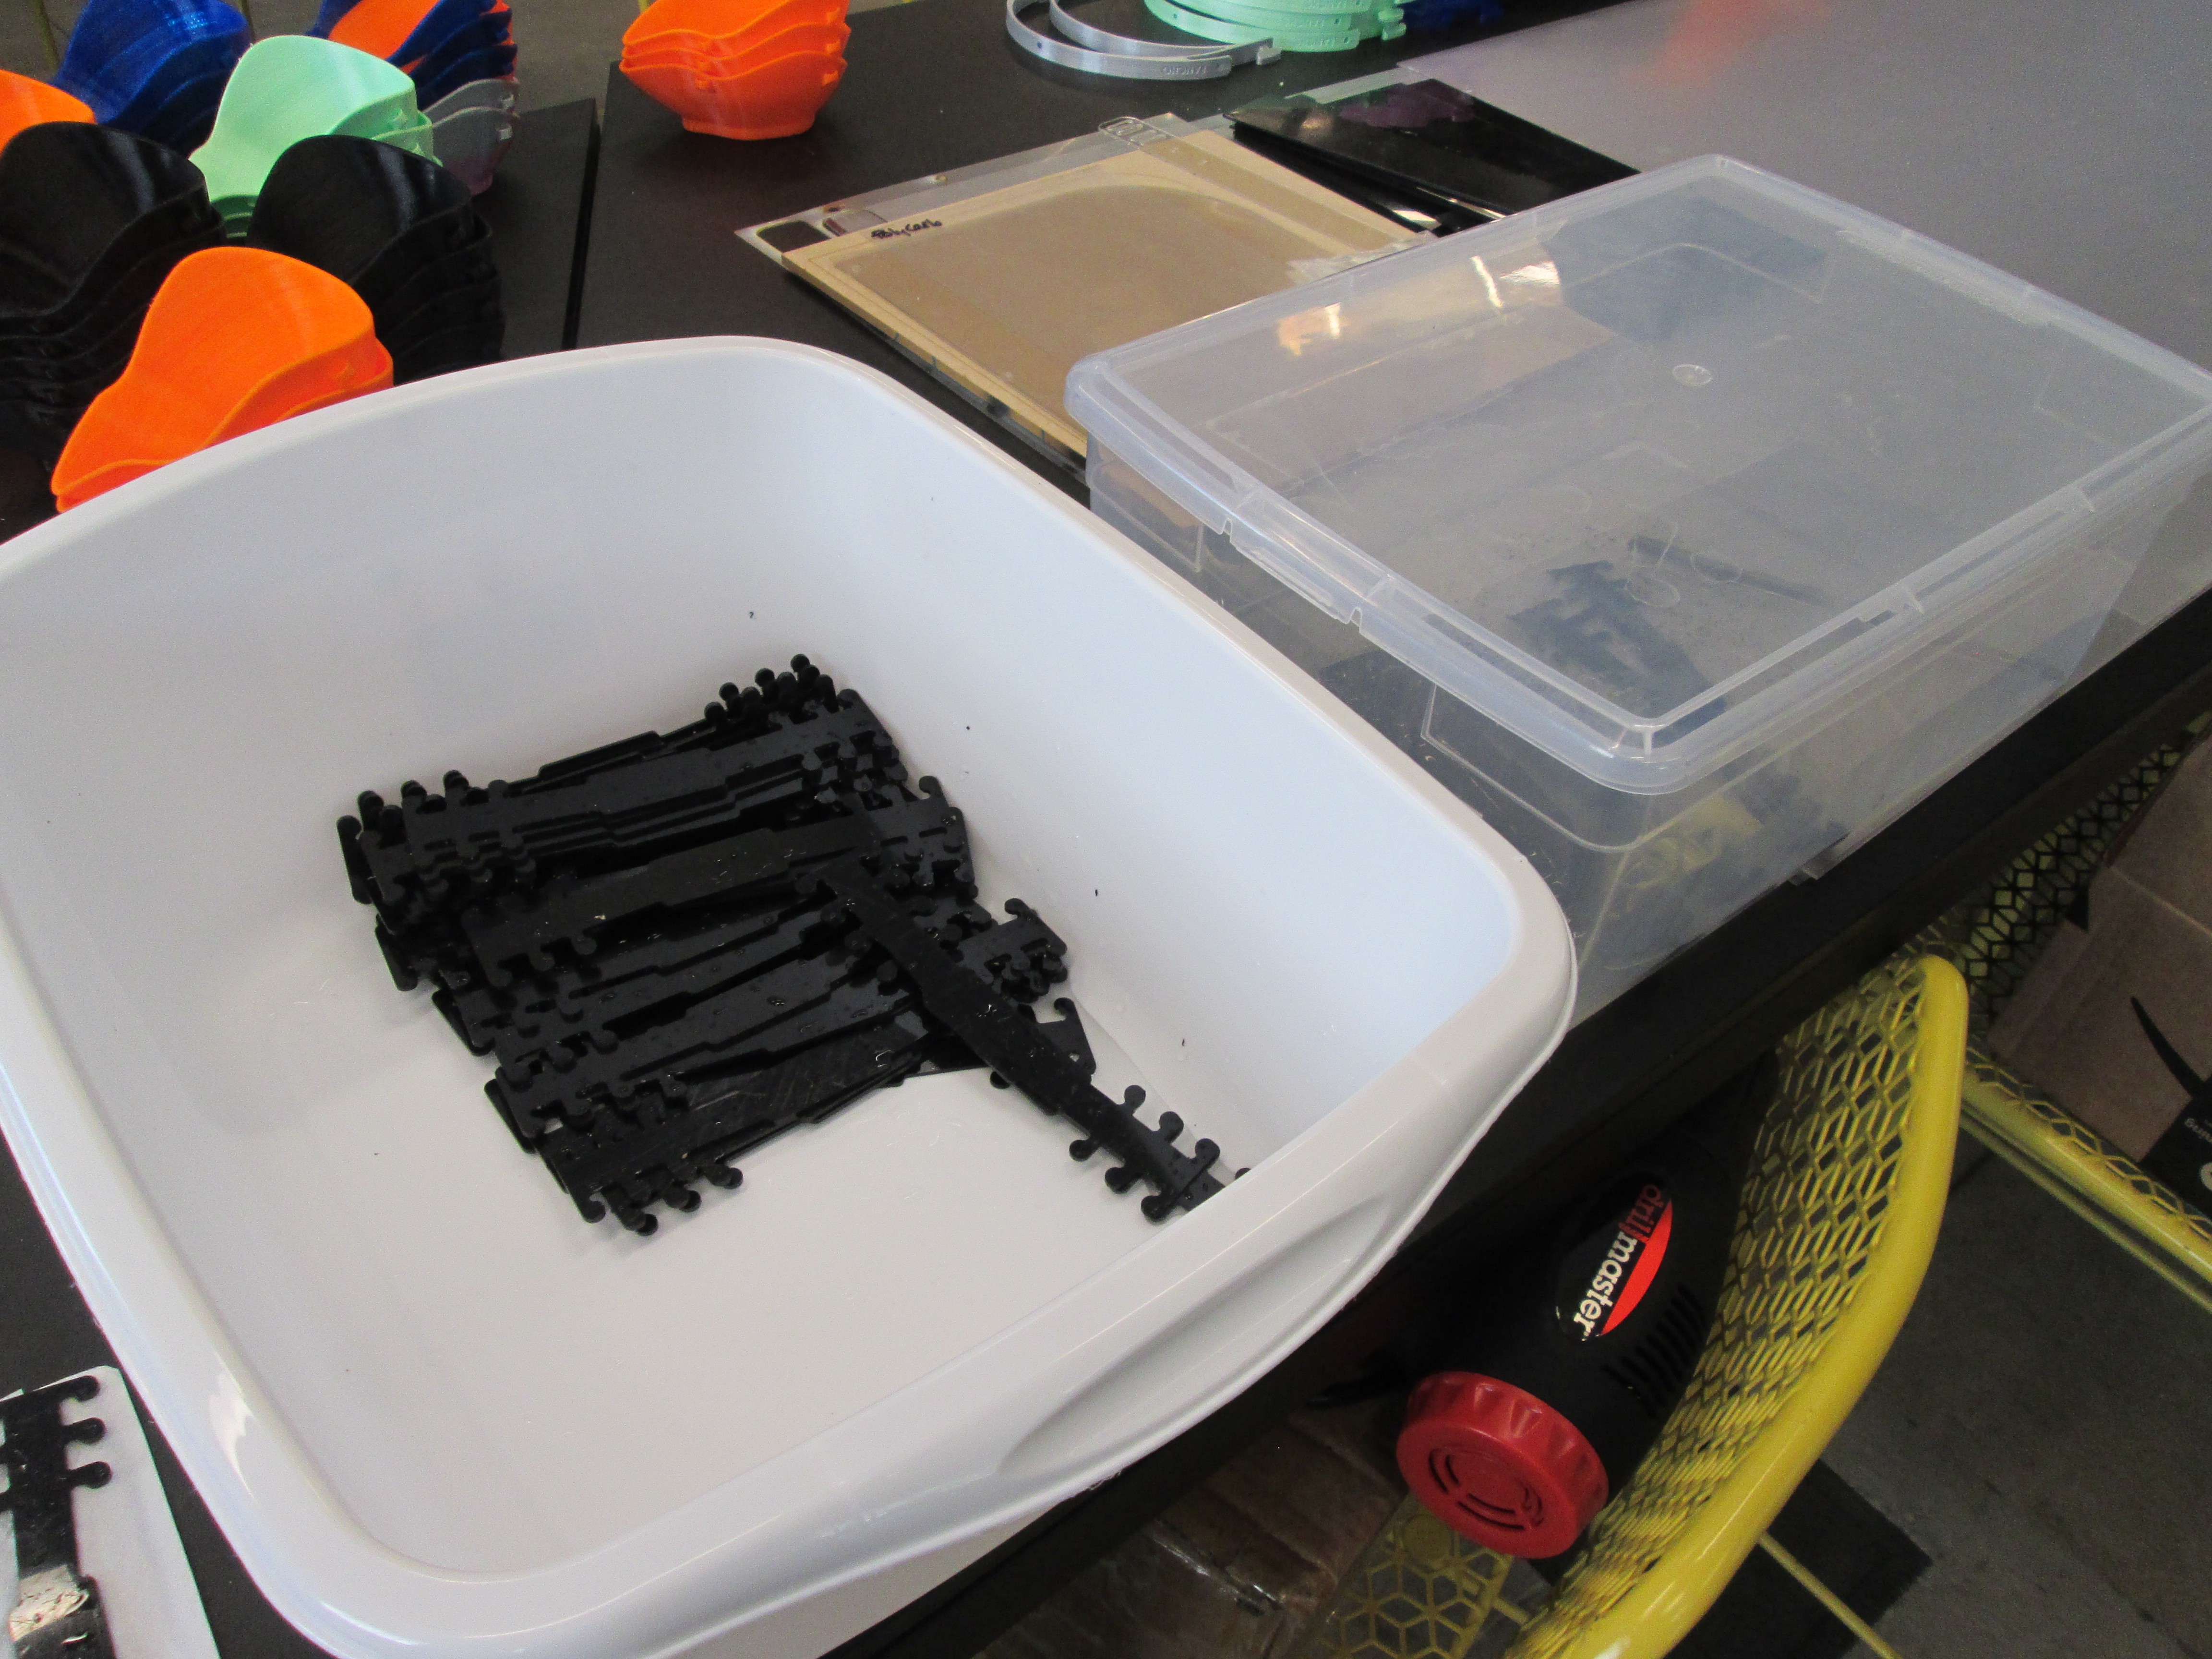

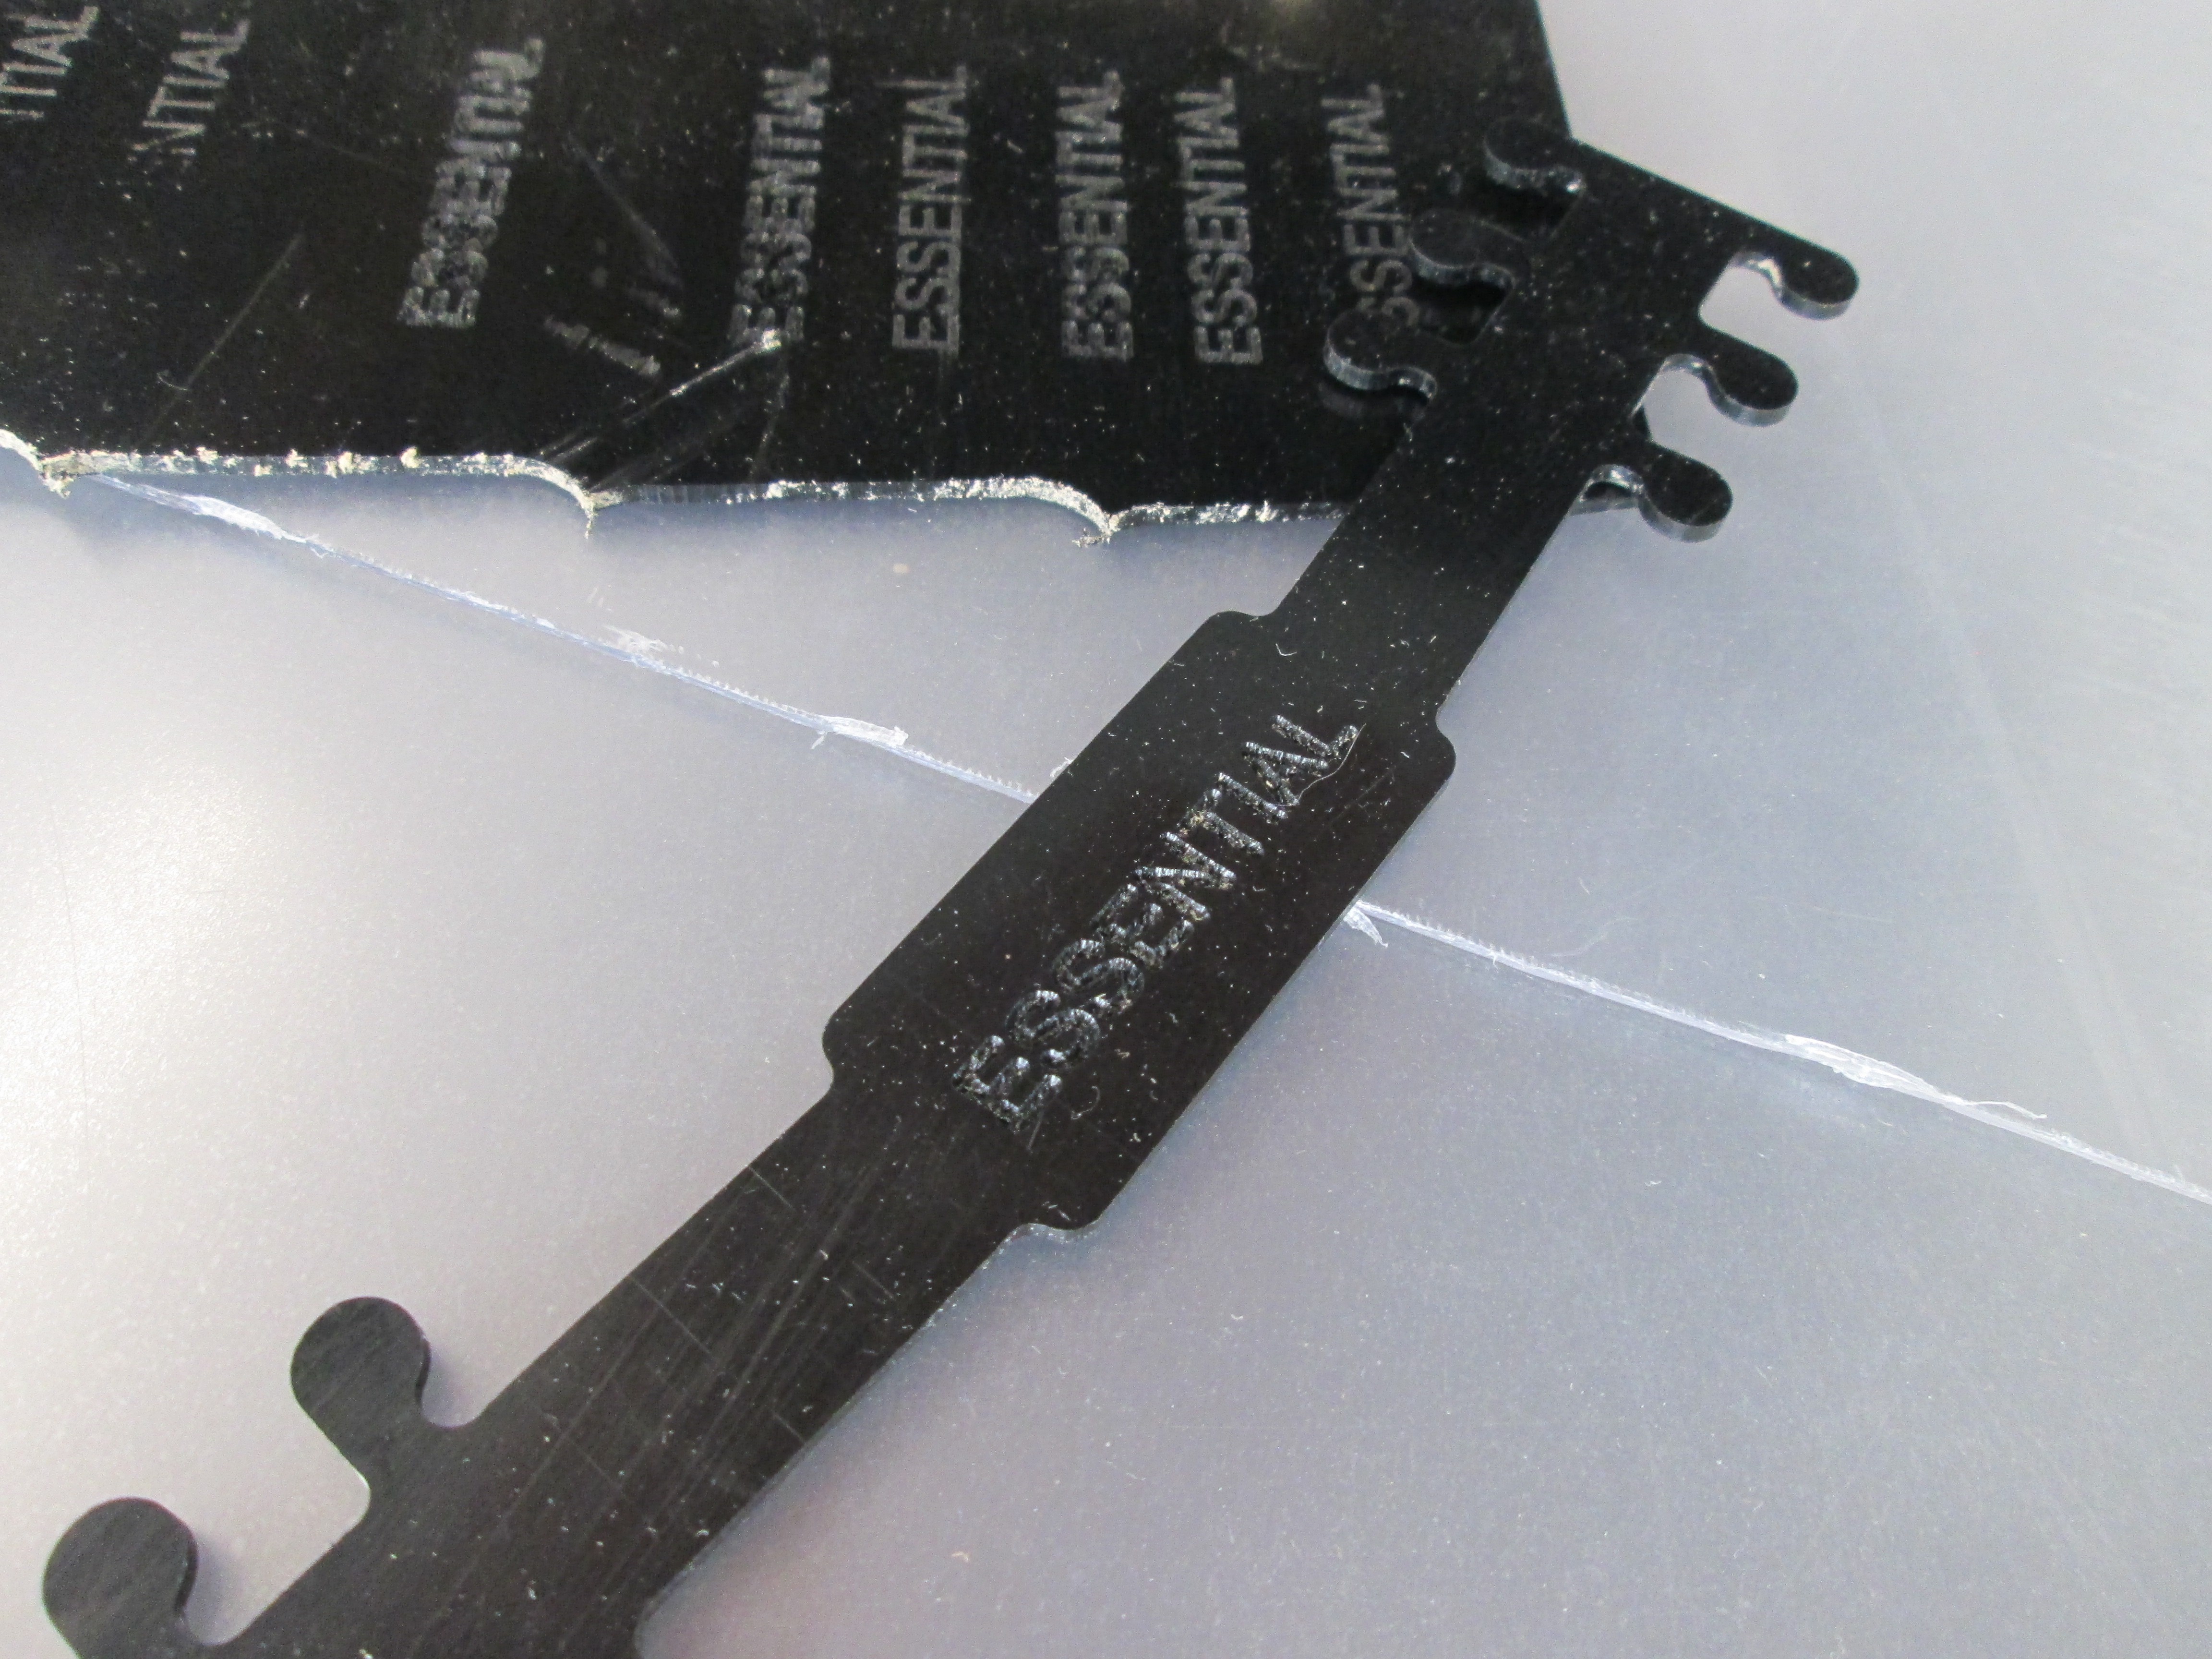
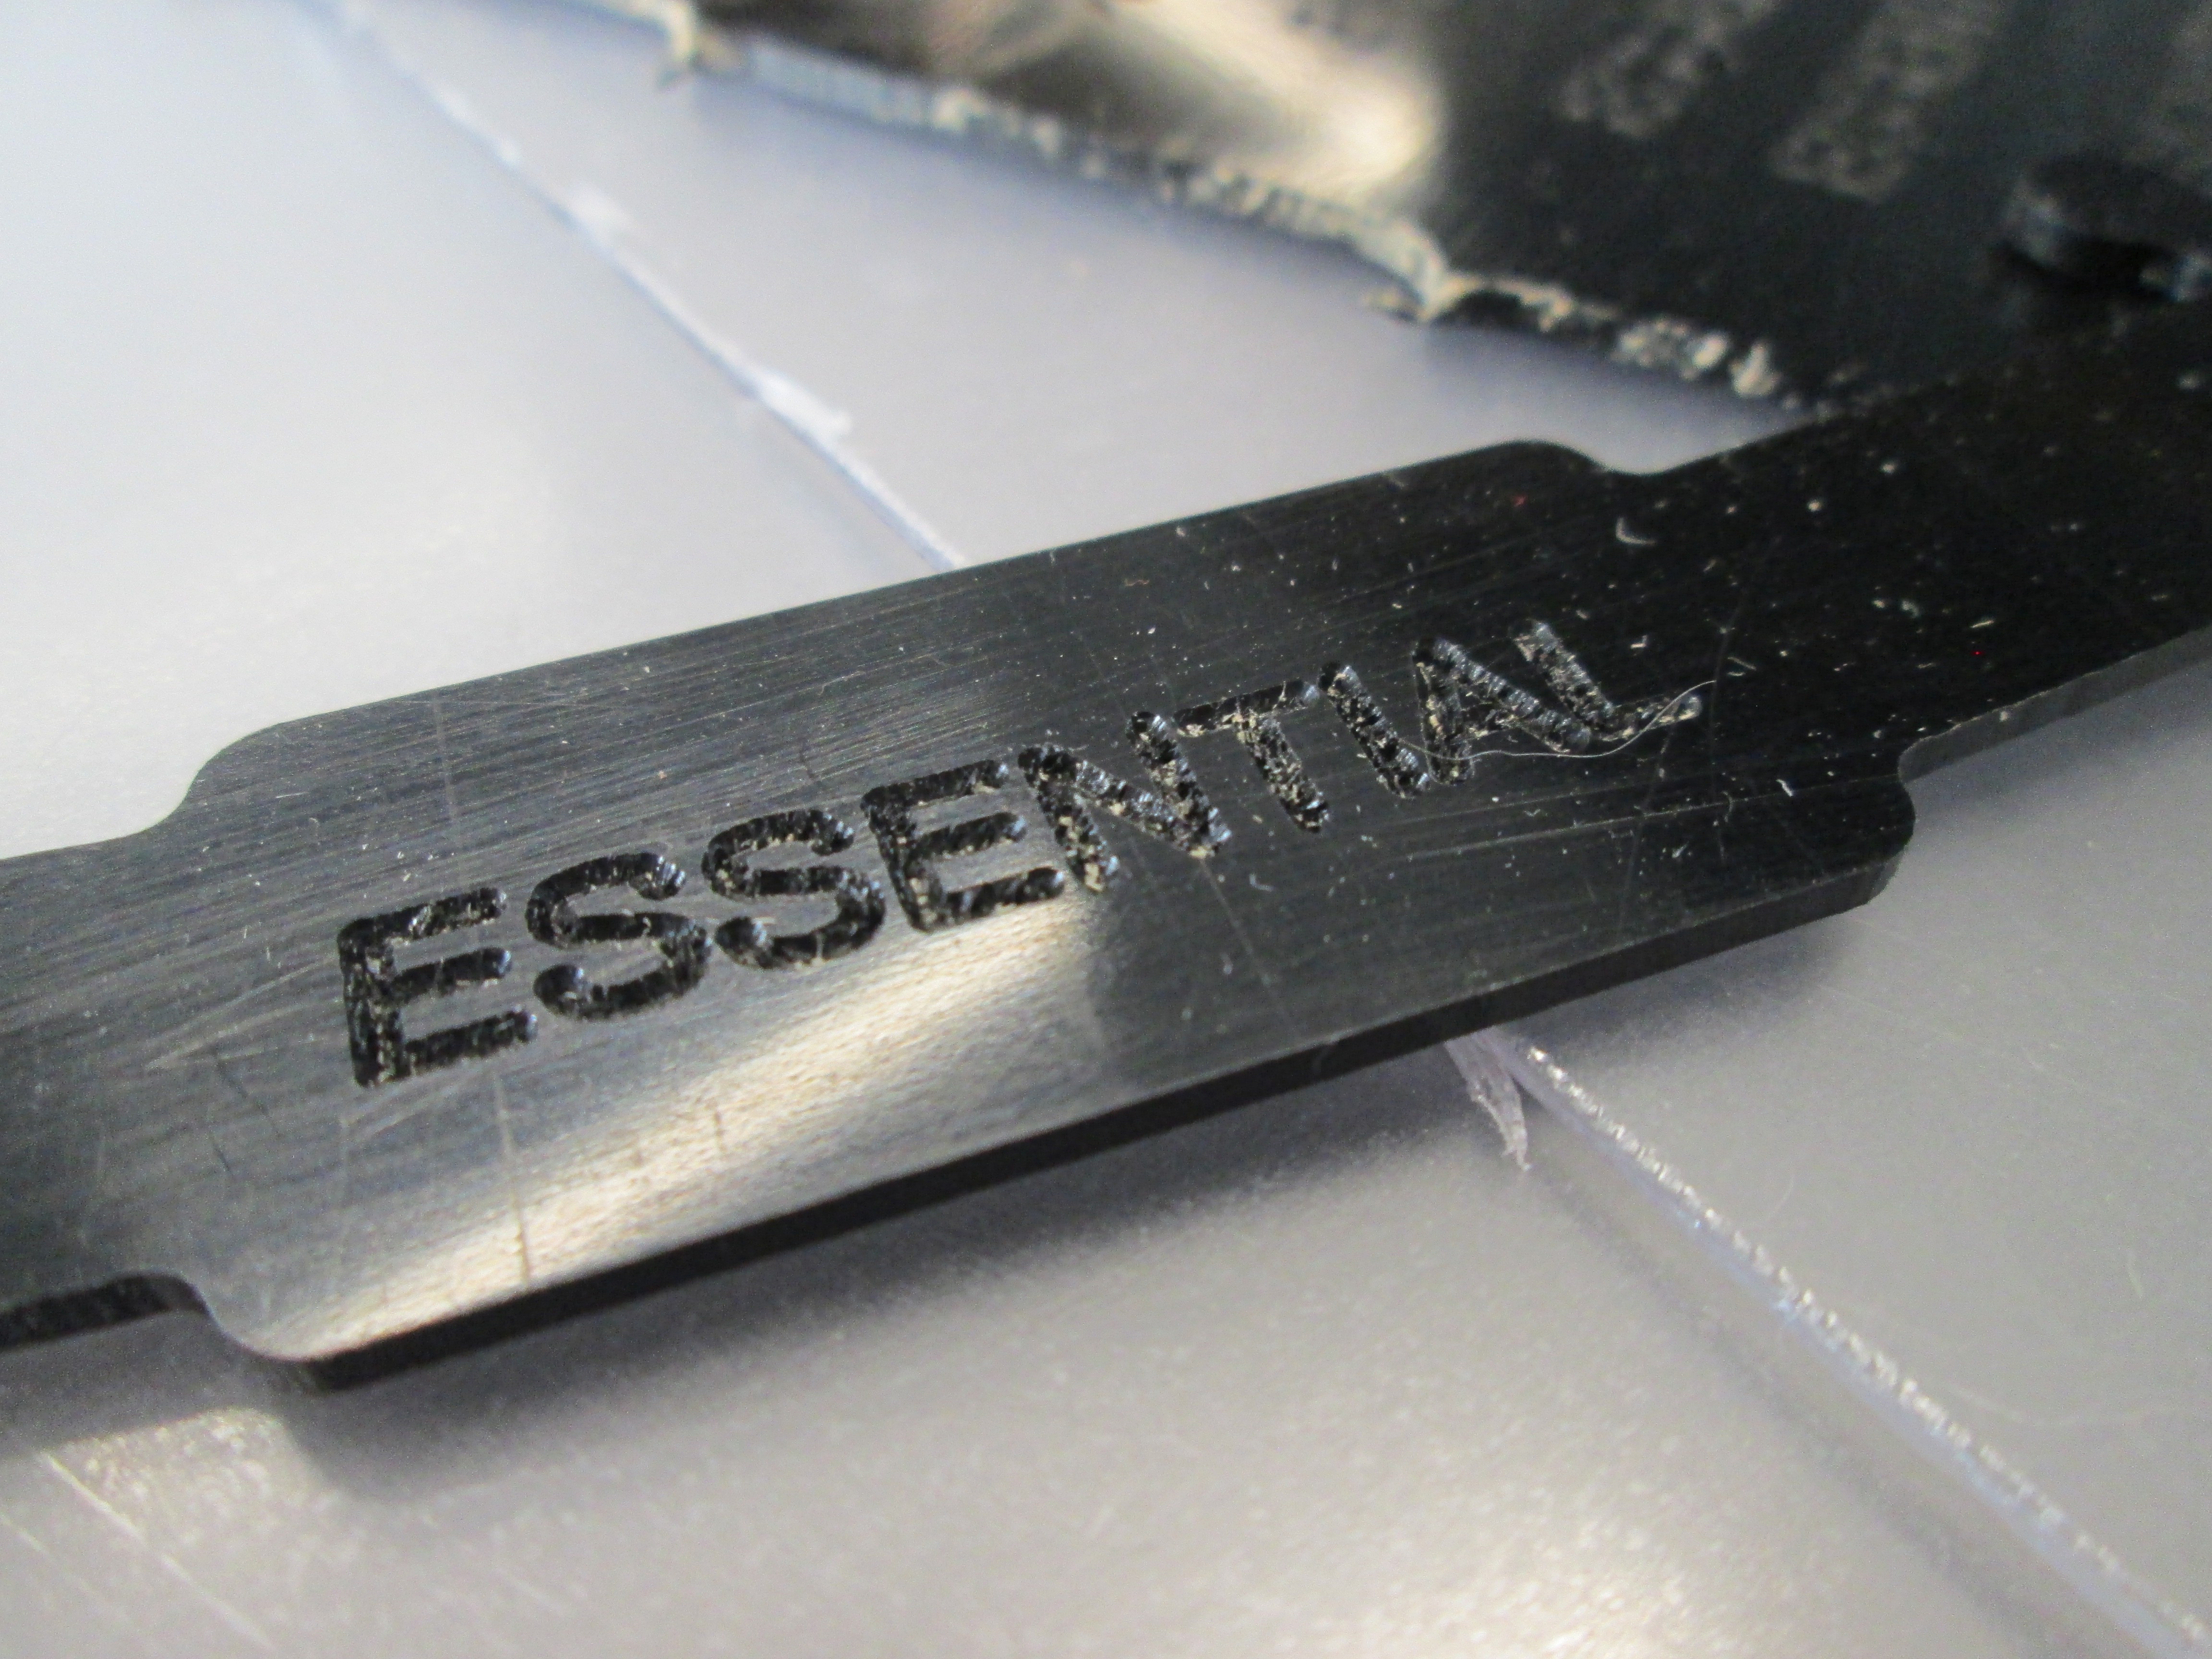
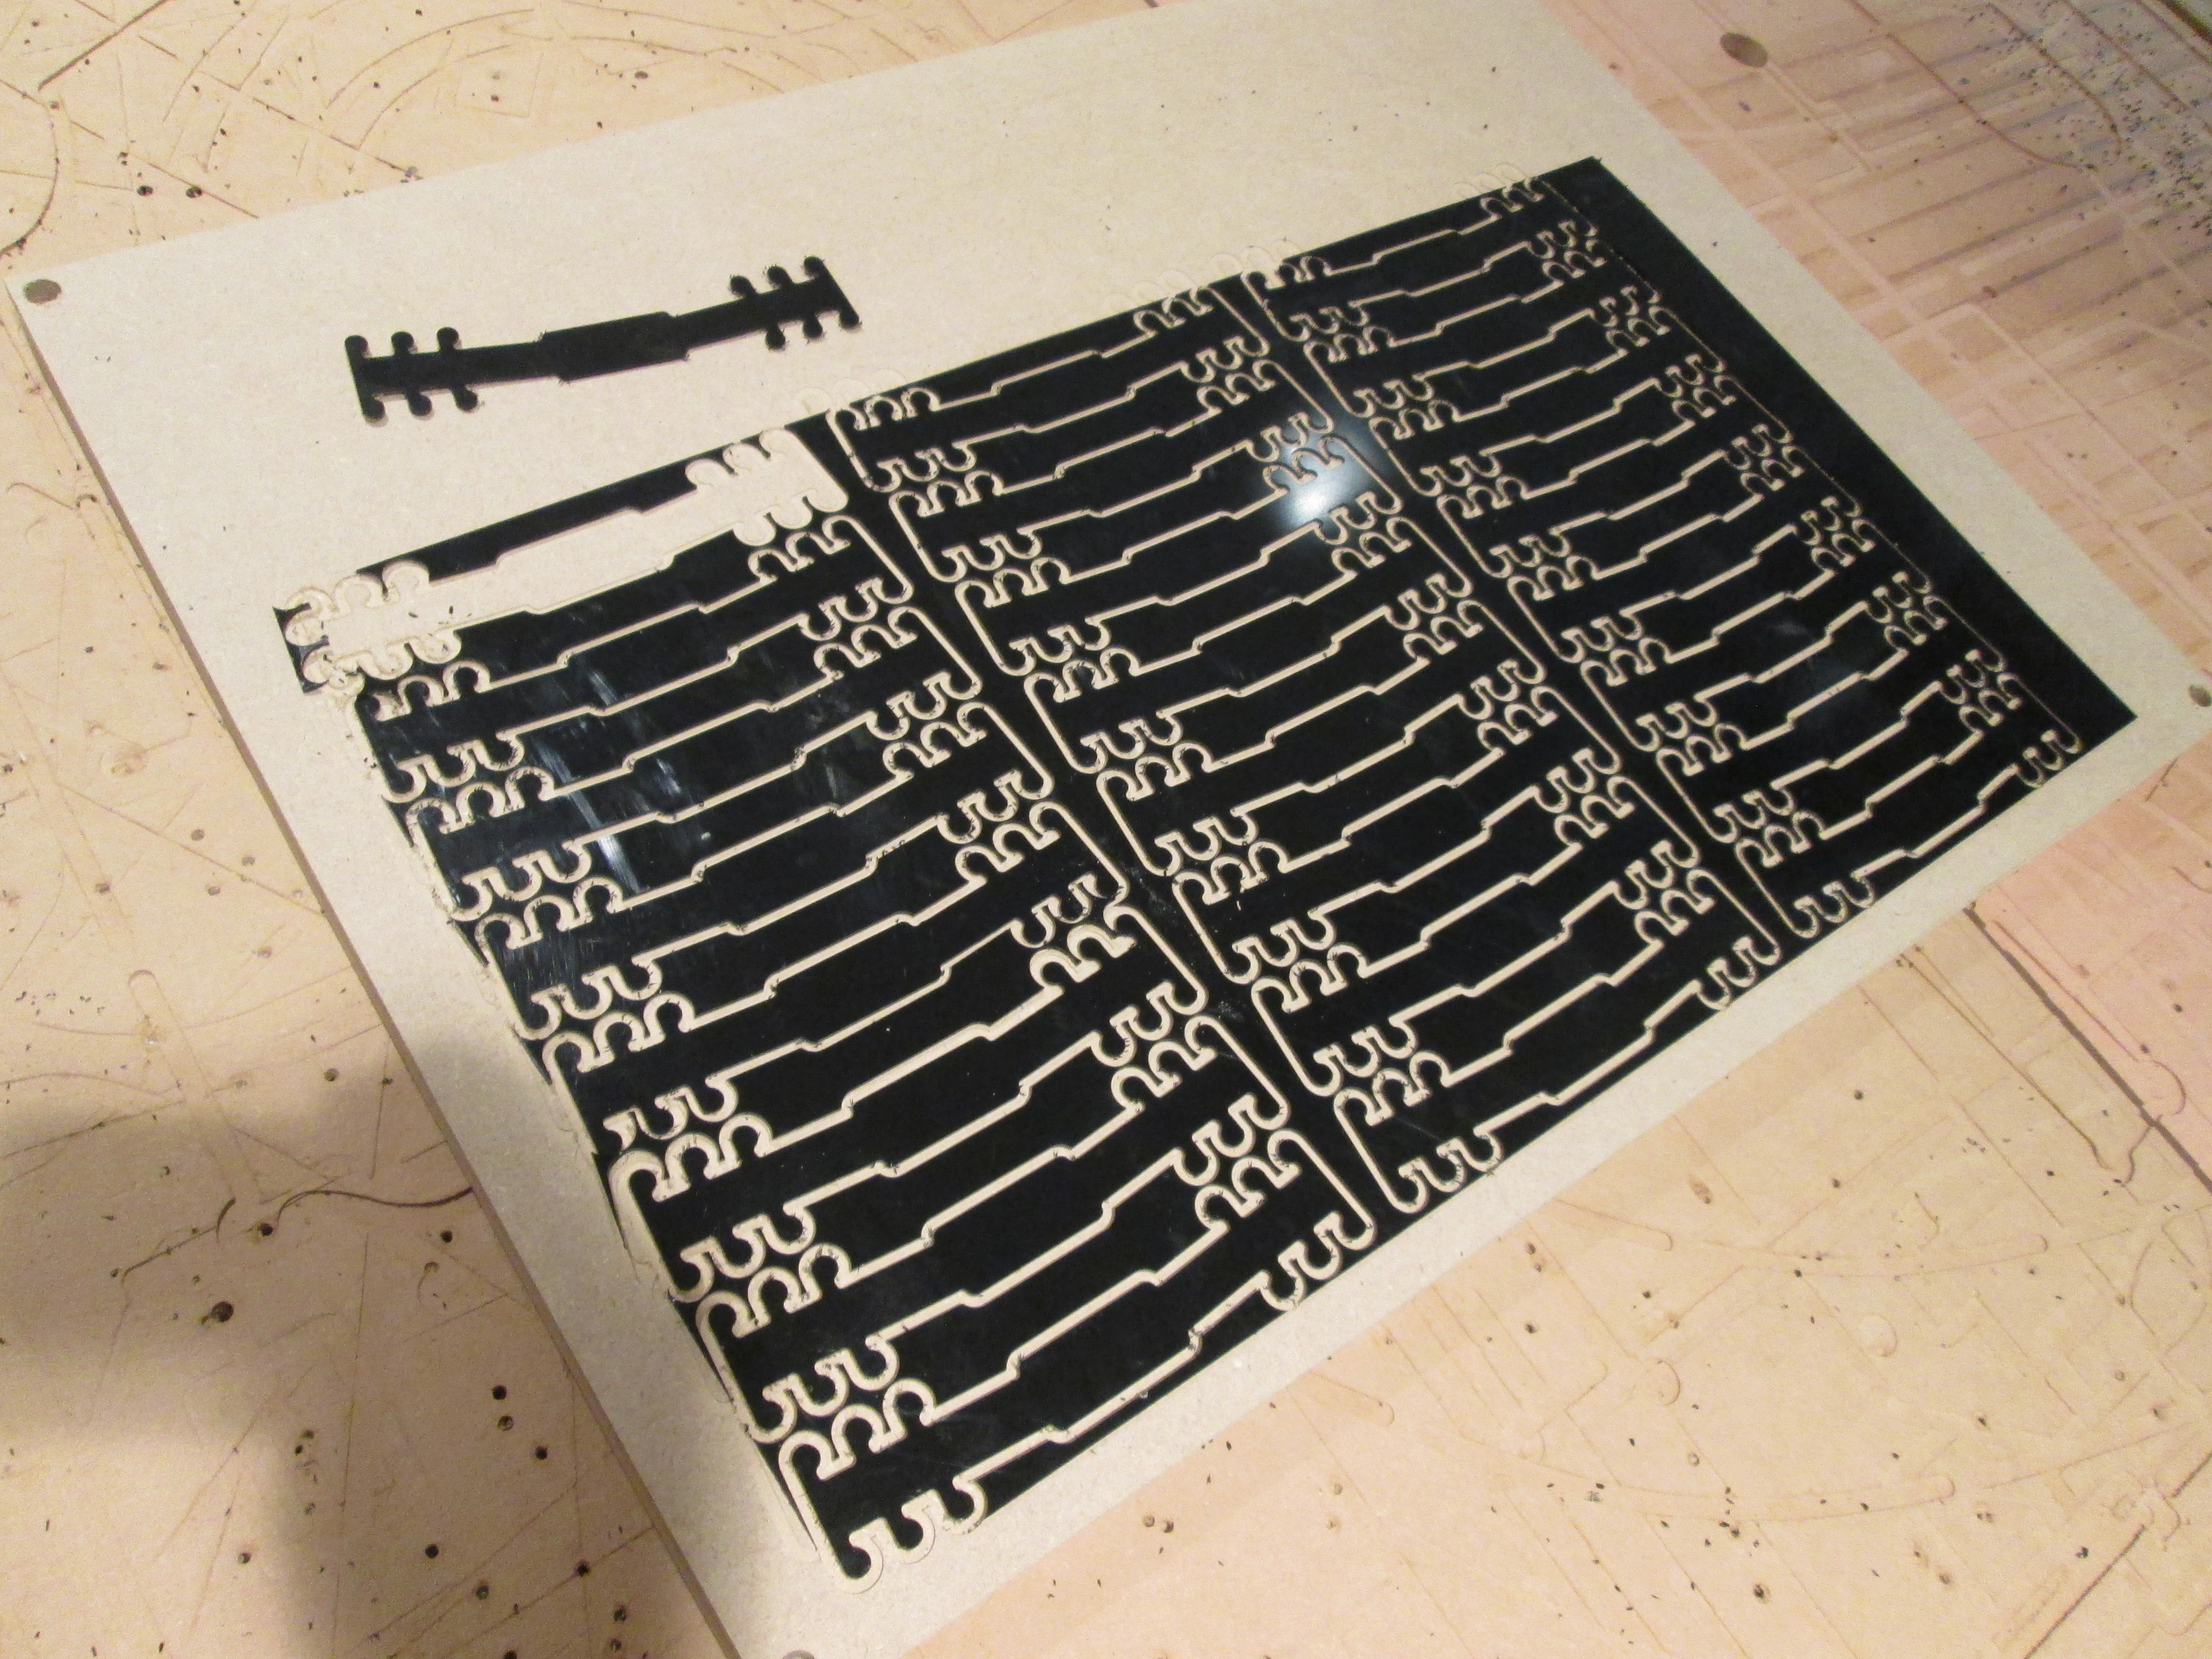
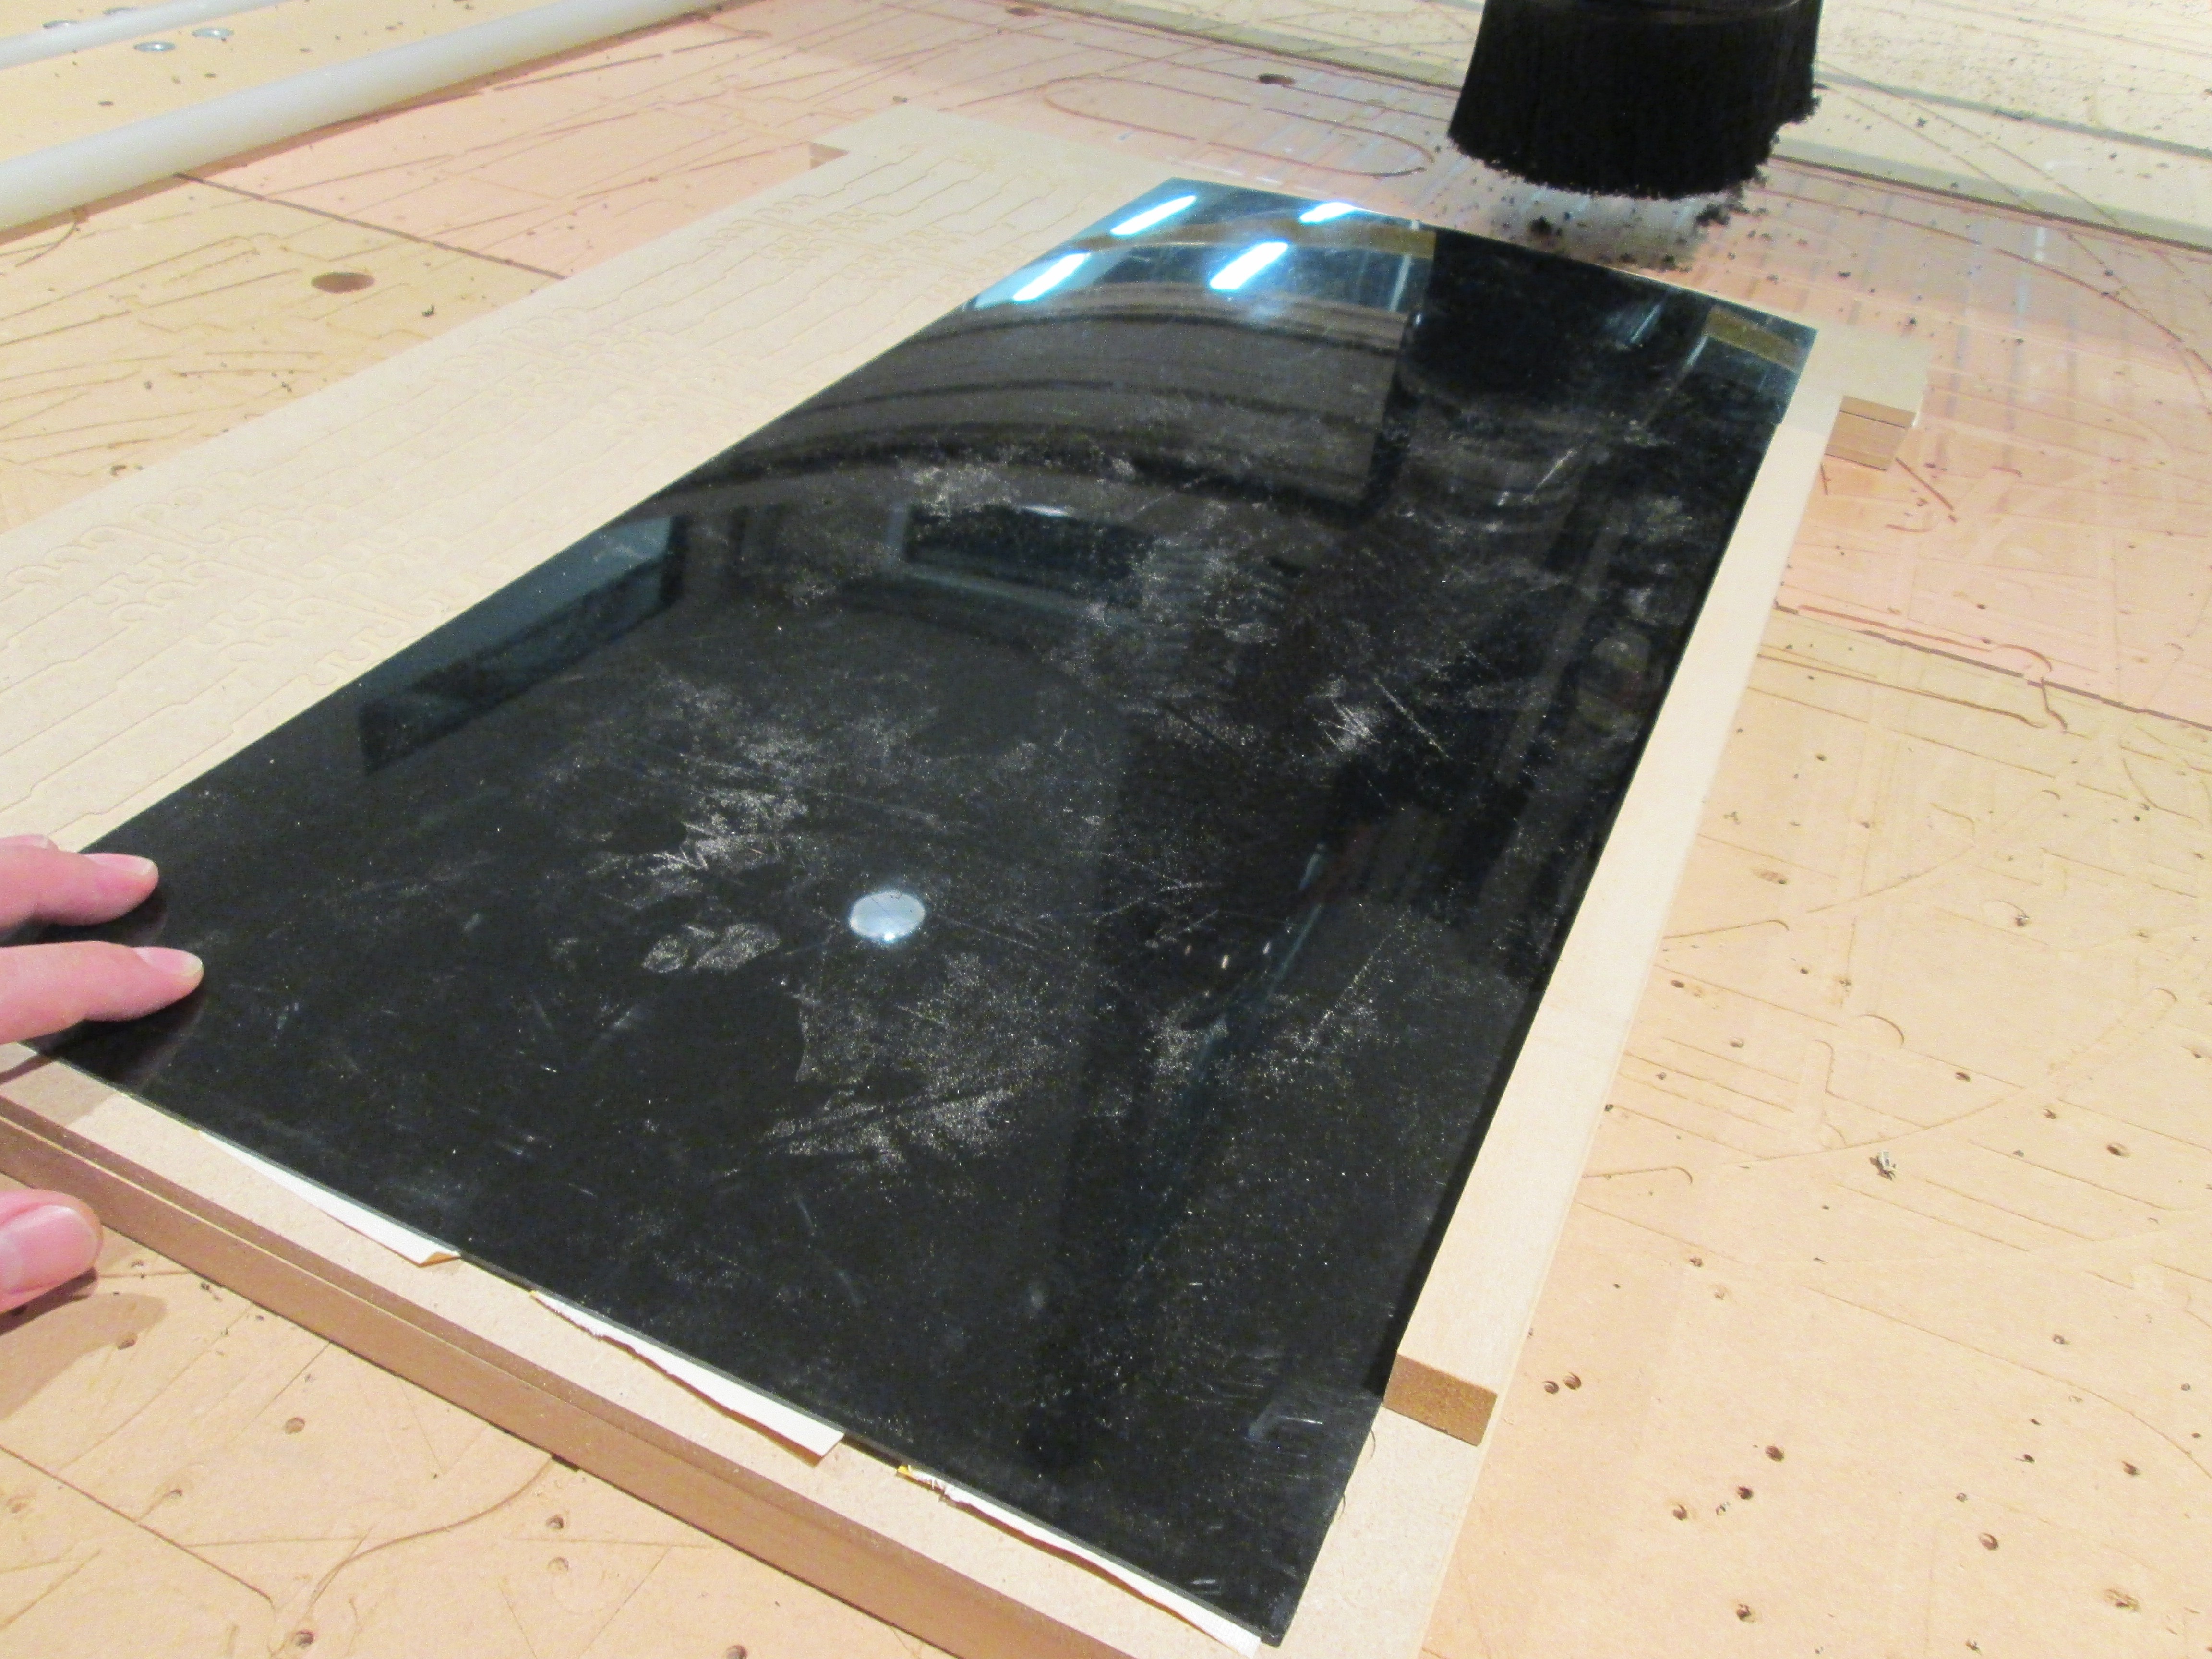 I used an off-cut as a strait edge to align the "Even" Bottom sides of the materials.
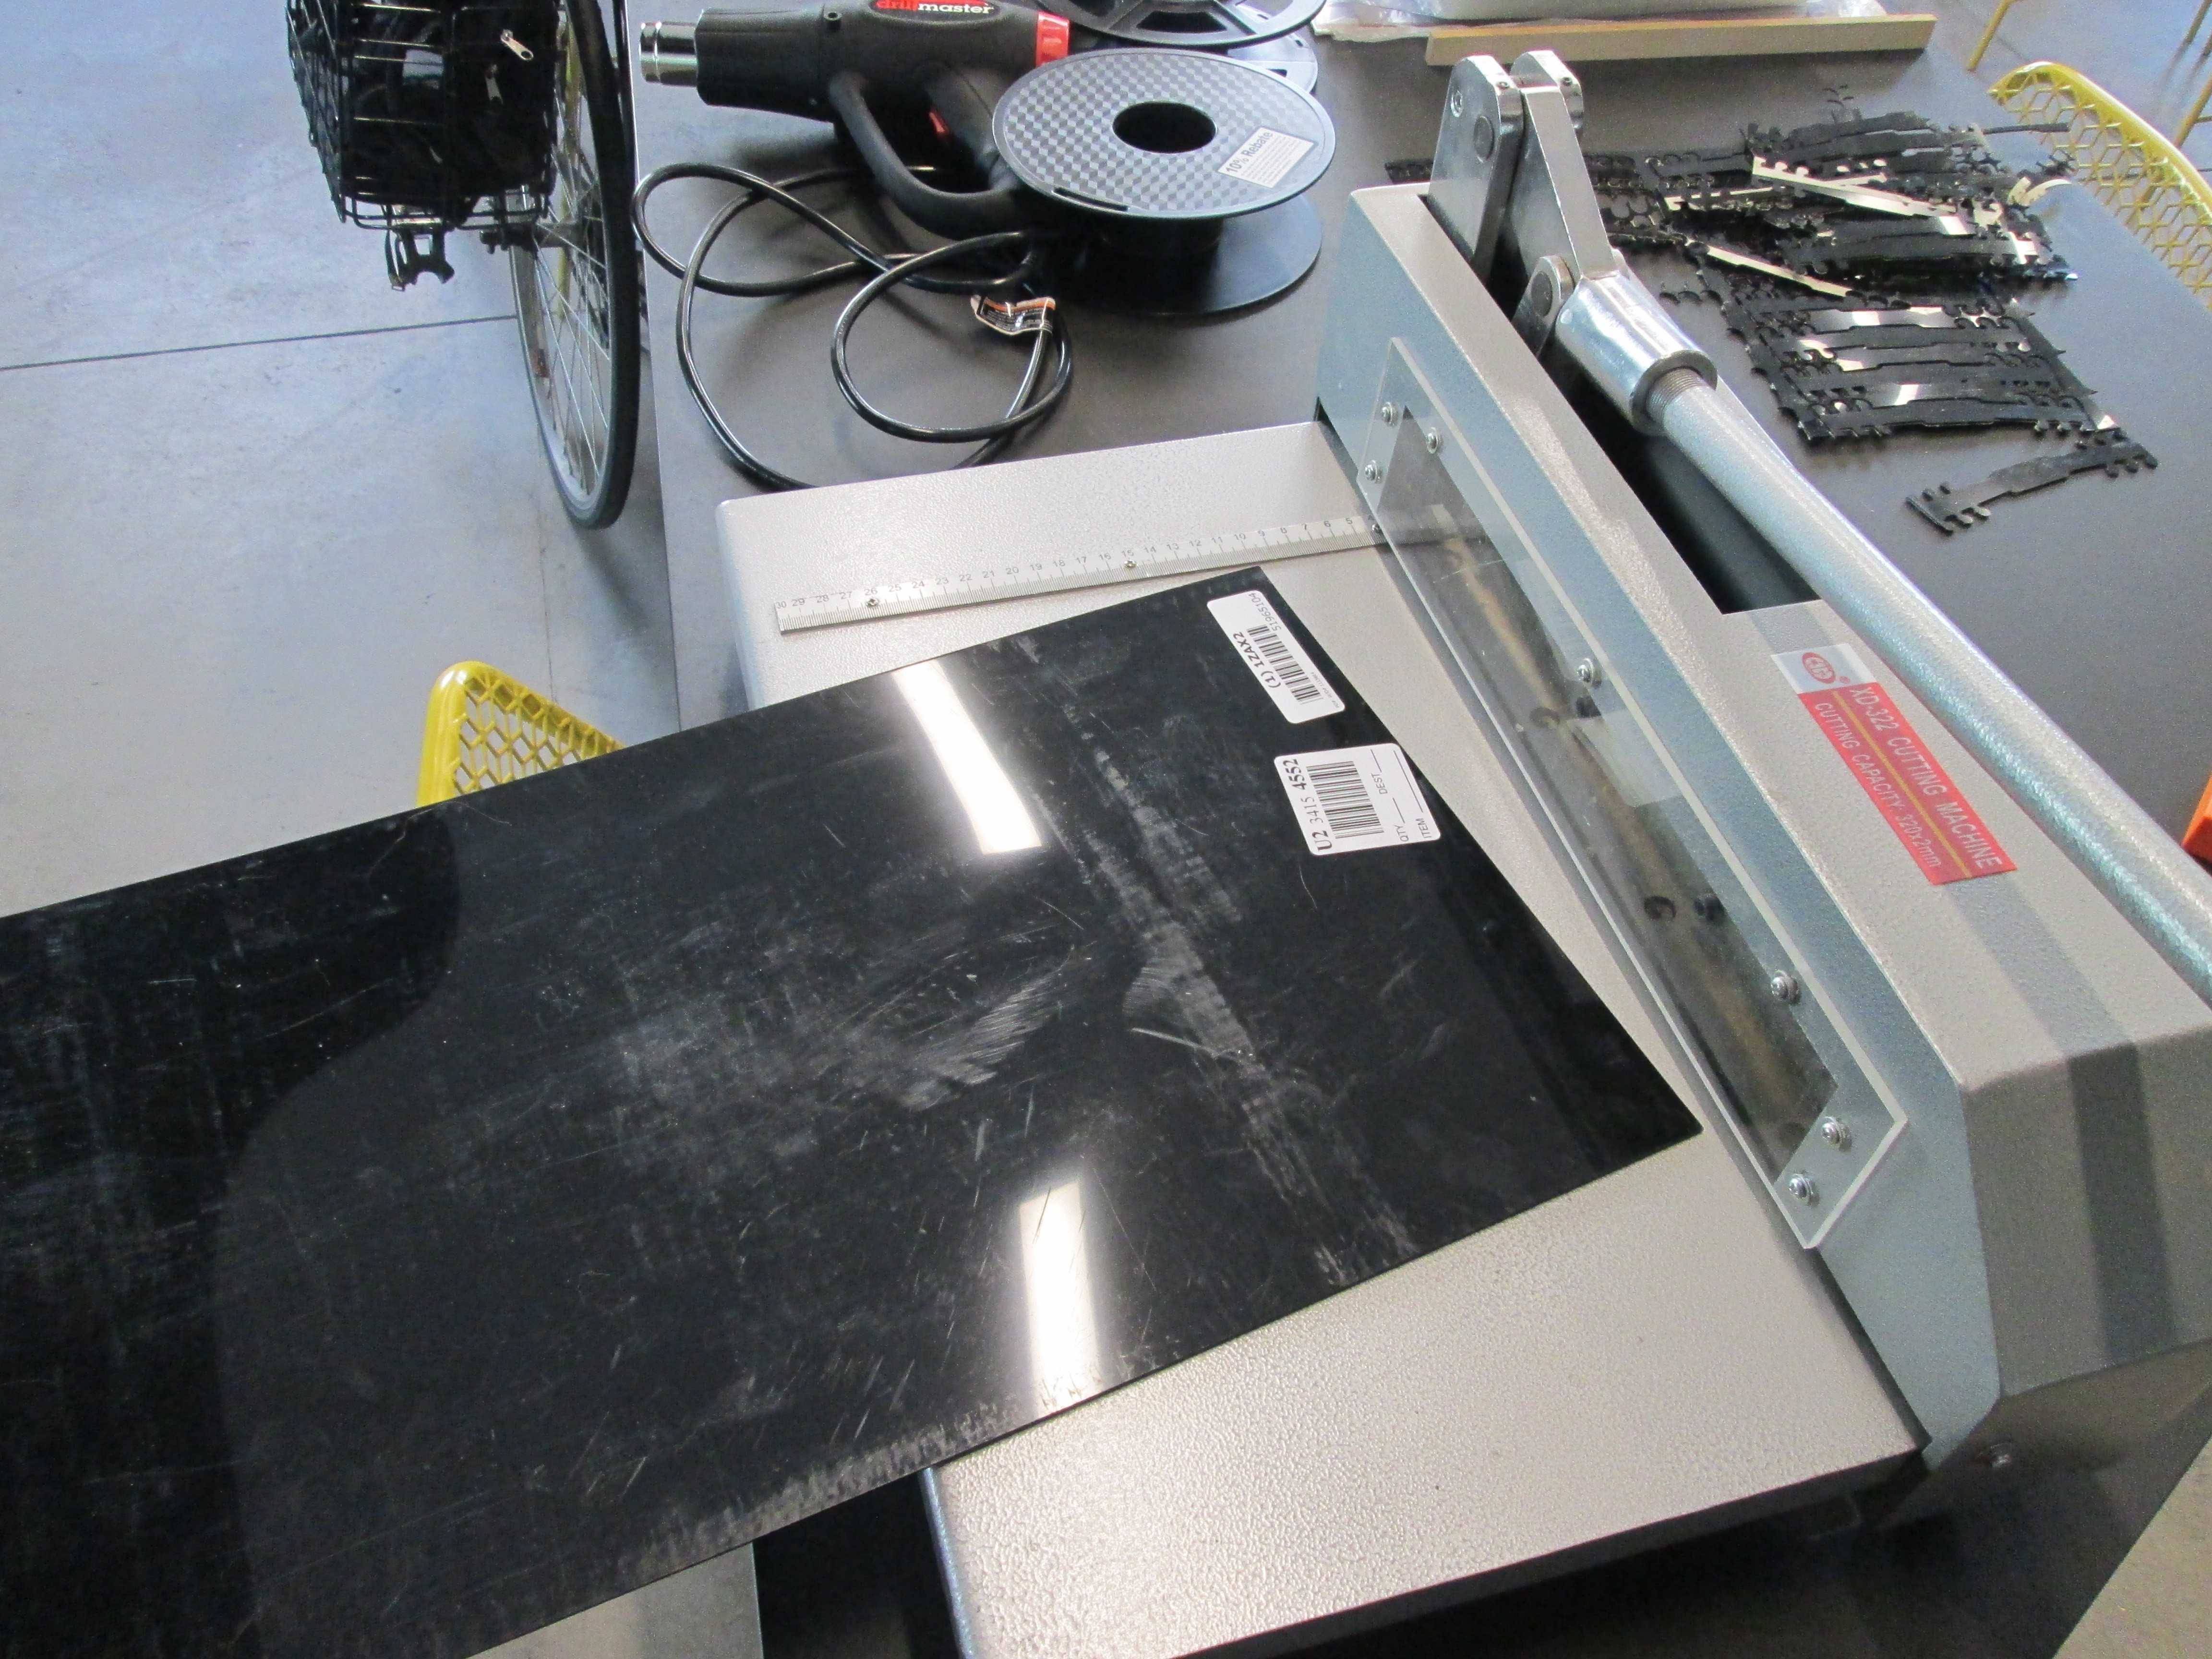 I used shear to cut the material to size, tin snips would have worked as well.
 Mark Langford